Part 1 | Part 2 | Part 3 | Part 4 | Part 5 | Part 6
(This model started out as the SS Sokol and has been recast as the Destroyer – SS Truxtun.)
The starships of the Federation were long and spindly ships with nuclear propulsion and had the very first tunnel drives. I wanted them to resemble the boxy, war machines of the Starstrikers Era but they also had to look interesting and primitive.
I took design cues from the Starstrikers Era ships and the starship featured in Disney’s Black Hole movie. This meant lots of scaffolding and other grids separating the head from the main body and the star drive from the main body.
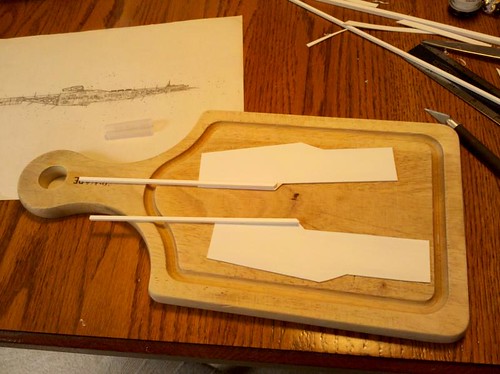
Above is the sketch from which I would build the SS Sokol. It was originally designed to be the SS Bourke but I changed my mind and decided to use it for the Sokol. I wanted to keep the model to right around a foot and a half long. I decided against using cardboard and balsa wood for construction. The only other material left for a scratch builder is plastic.
So a trip to the hobby store resulted in the purchase of some sheet styrene and some square tubing for the girders. Plastic would present a more polished look for a model that would be best seen up close.
I didn’t want wood grains on a metal starship if I had used balsa.
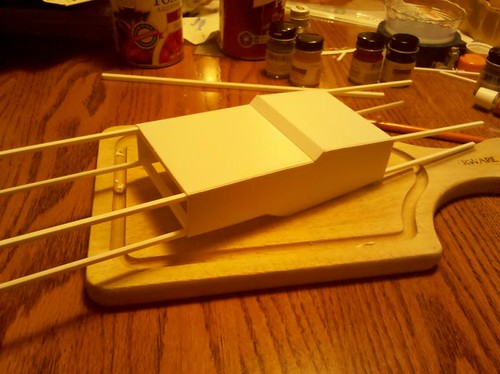
Working with plastic is more difficult than cardboard and less forgiving of mistakes. I decided to proceed as if it were being made from cardboard and just improvise as needed. I started with cutting out the sides of the main body from .40 inch thick sheet styrene. Then I glued the main girders to the sides. In order to get the smooth plastic parts to bond together, you have to score them with a knife or sand paper. The glue I used was basic Testers plastic cement.
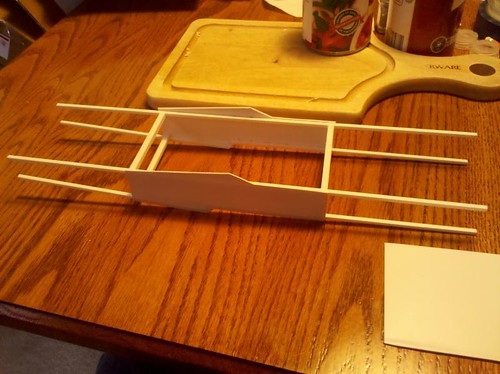
After the two main sides of the hull were attached using notched square beams, I could begin to fill in the bottom. I decided to leave the top off for now, to gain access inside the main hull. I would love to have some fiber optics for interior lighting, but I have no idea where to find that locally. That idea is on hold for now.
Here is a close up of the hull bracing.
The long girders that stick out from the hull will be where the engines and the head sections are attached. I have yet to build them.
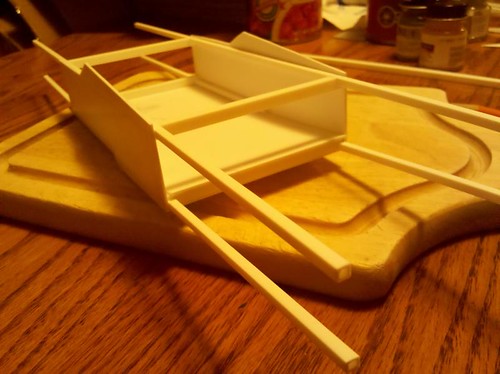
The final picture in this series shows the bottom of the hull completely covered in sheet styrene. I used a thinner sheet .20″ for some of the covering.


BION I’m impdseser! Cool post!