At some point I decided that I really needed a way to mount this model, if it was going to be used for a book cover. So I had to cut a block of RenShape and fit it inside the model after it had been built. Not the way I normally do business. The hull of this ship was built for some other purpose, and I didn’t want to take it apart, so that dictated the order of things a bit.
The model could be mounted from behind, going all the way through it with a metal rod or from underneath with same rod.
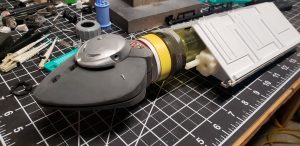
The head of this ship was from a teleconferencing unit and after putting them together I realized it looked like a frog. Oh, well. I actually retrofitted that description into the novellas.
The engines were to be mounted to pylons similar to Star Trek ships. Here I am gluing the pylon mounts and shields.
The stern section gets details. All of the details on this model were taken from the garbage bins where I work. So parts of computers and other electronic equipment. I’ve trained some of the guys I work with to look for interesting plastic parts and every day I get offerings on my desk. This helped immensely and I’d like to shout out a big THANK YOU to Johnathon and the other bin divers!
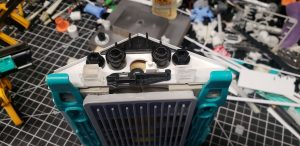
Here’s the model with the pylons attached to the main body. I use Gorilla glue for this kind of job. Also, I’ve filled gaps on the head with car Bondo and sanded.
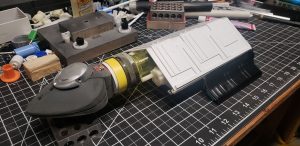
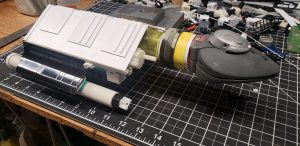
Here’s the frog on the examination table. Heh! The engine tubes are on, just PVC pipes in 1/2 inch. Again, all details are either sheet plastic or bits of computers. No model parts were used on this ship.
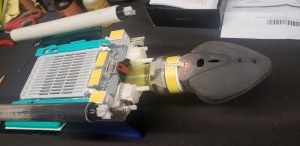
Here she is right side up on the bench and ready for primer. Next post is all about painting and ageing the model.