The final areas to detail are the bridge and the bridge cover.
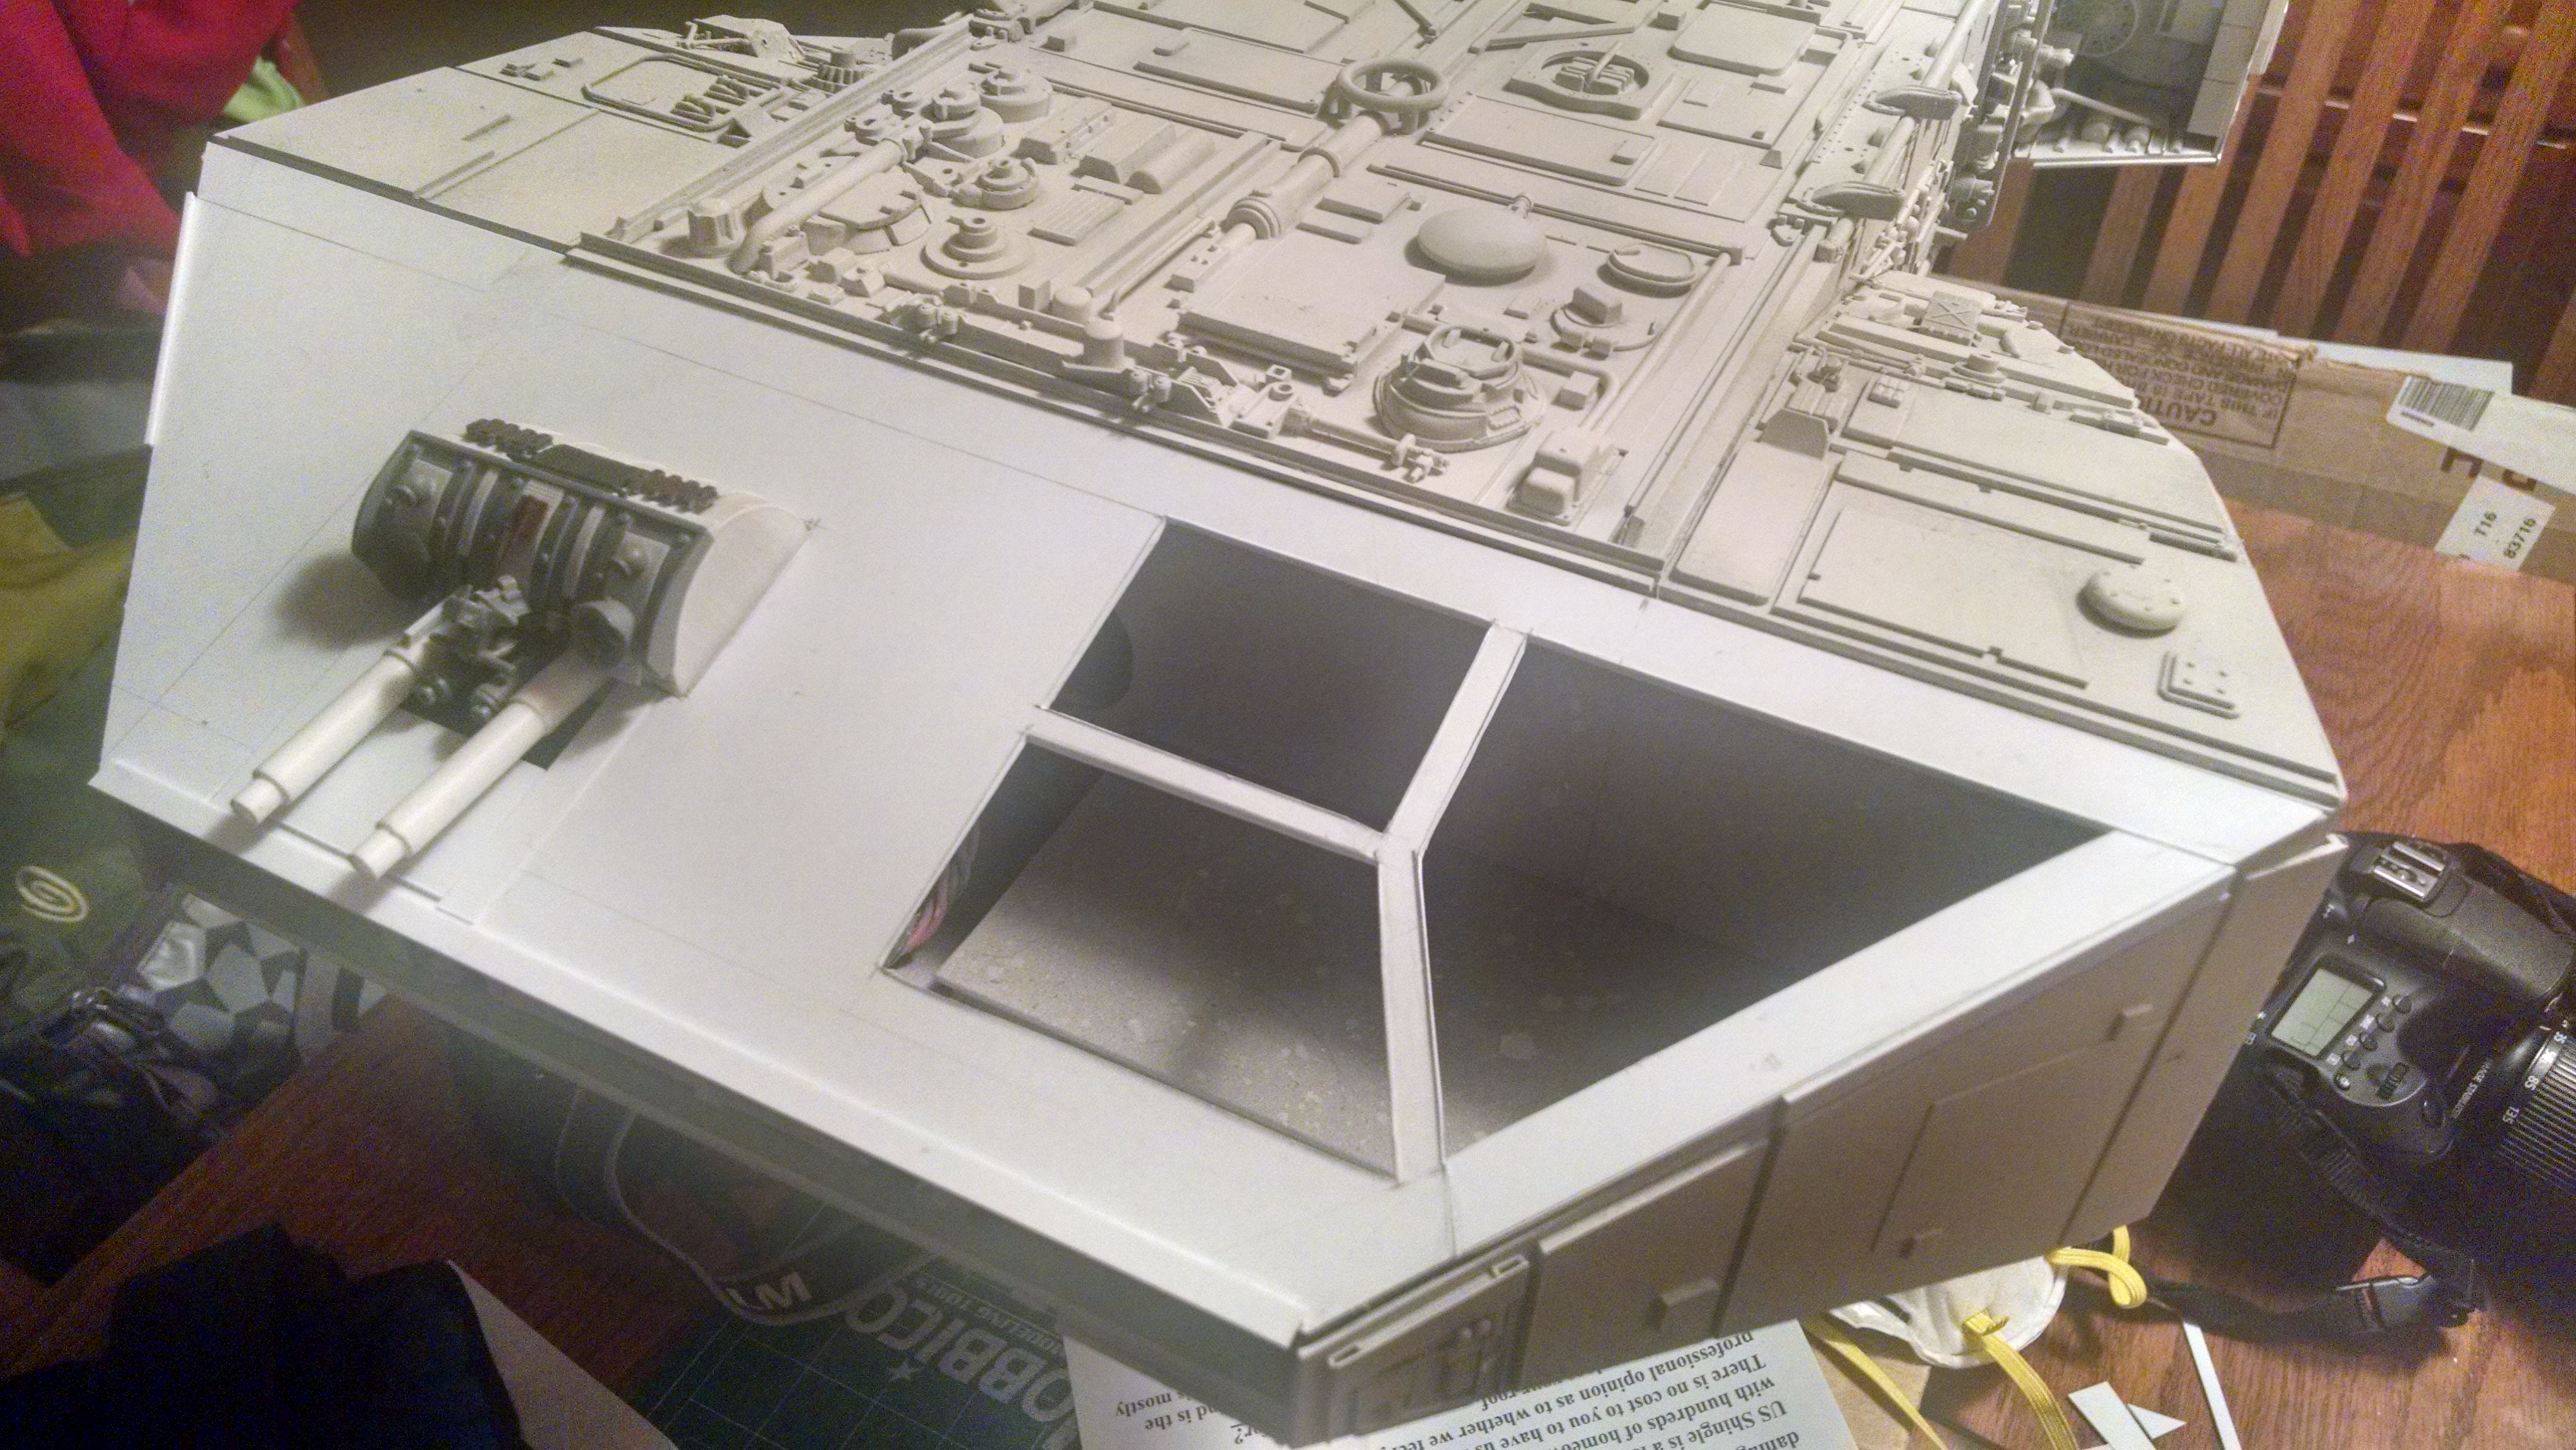
Fitting the top section so that it doesn’t require gluing is not an easy task. But it must be removable to get to the front mount point of the model.
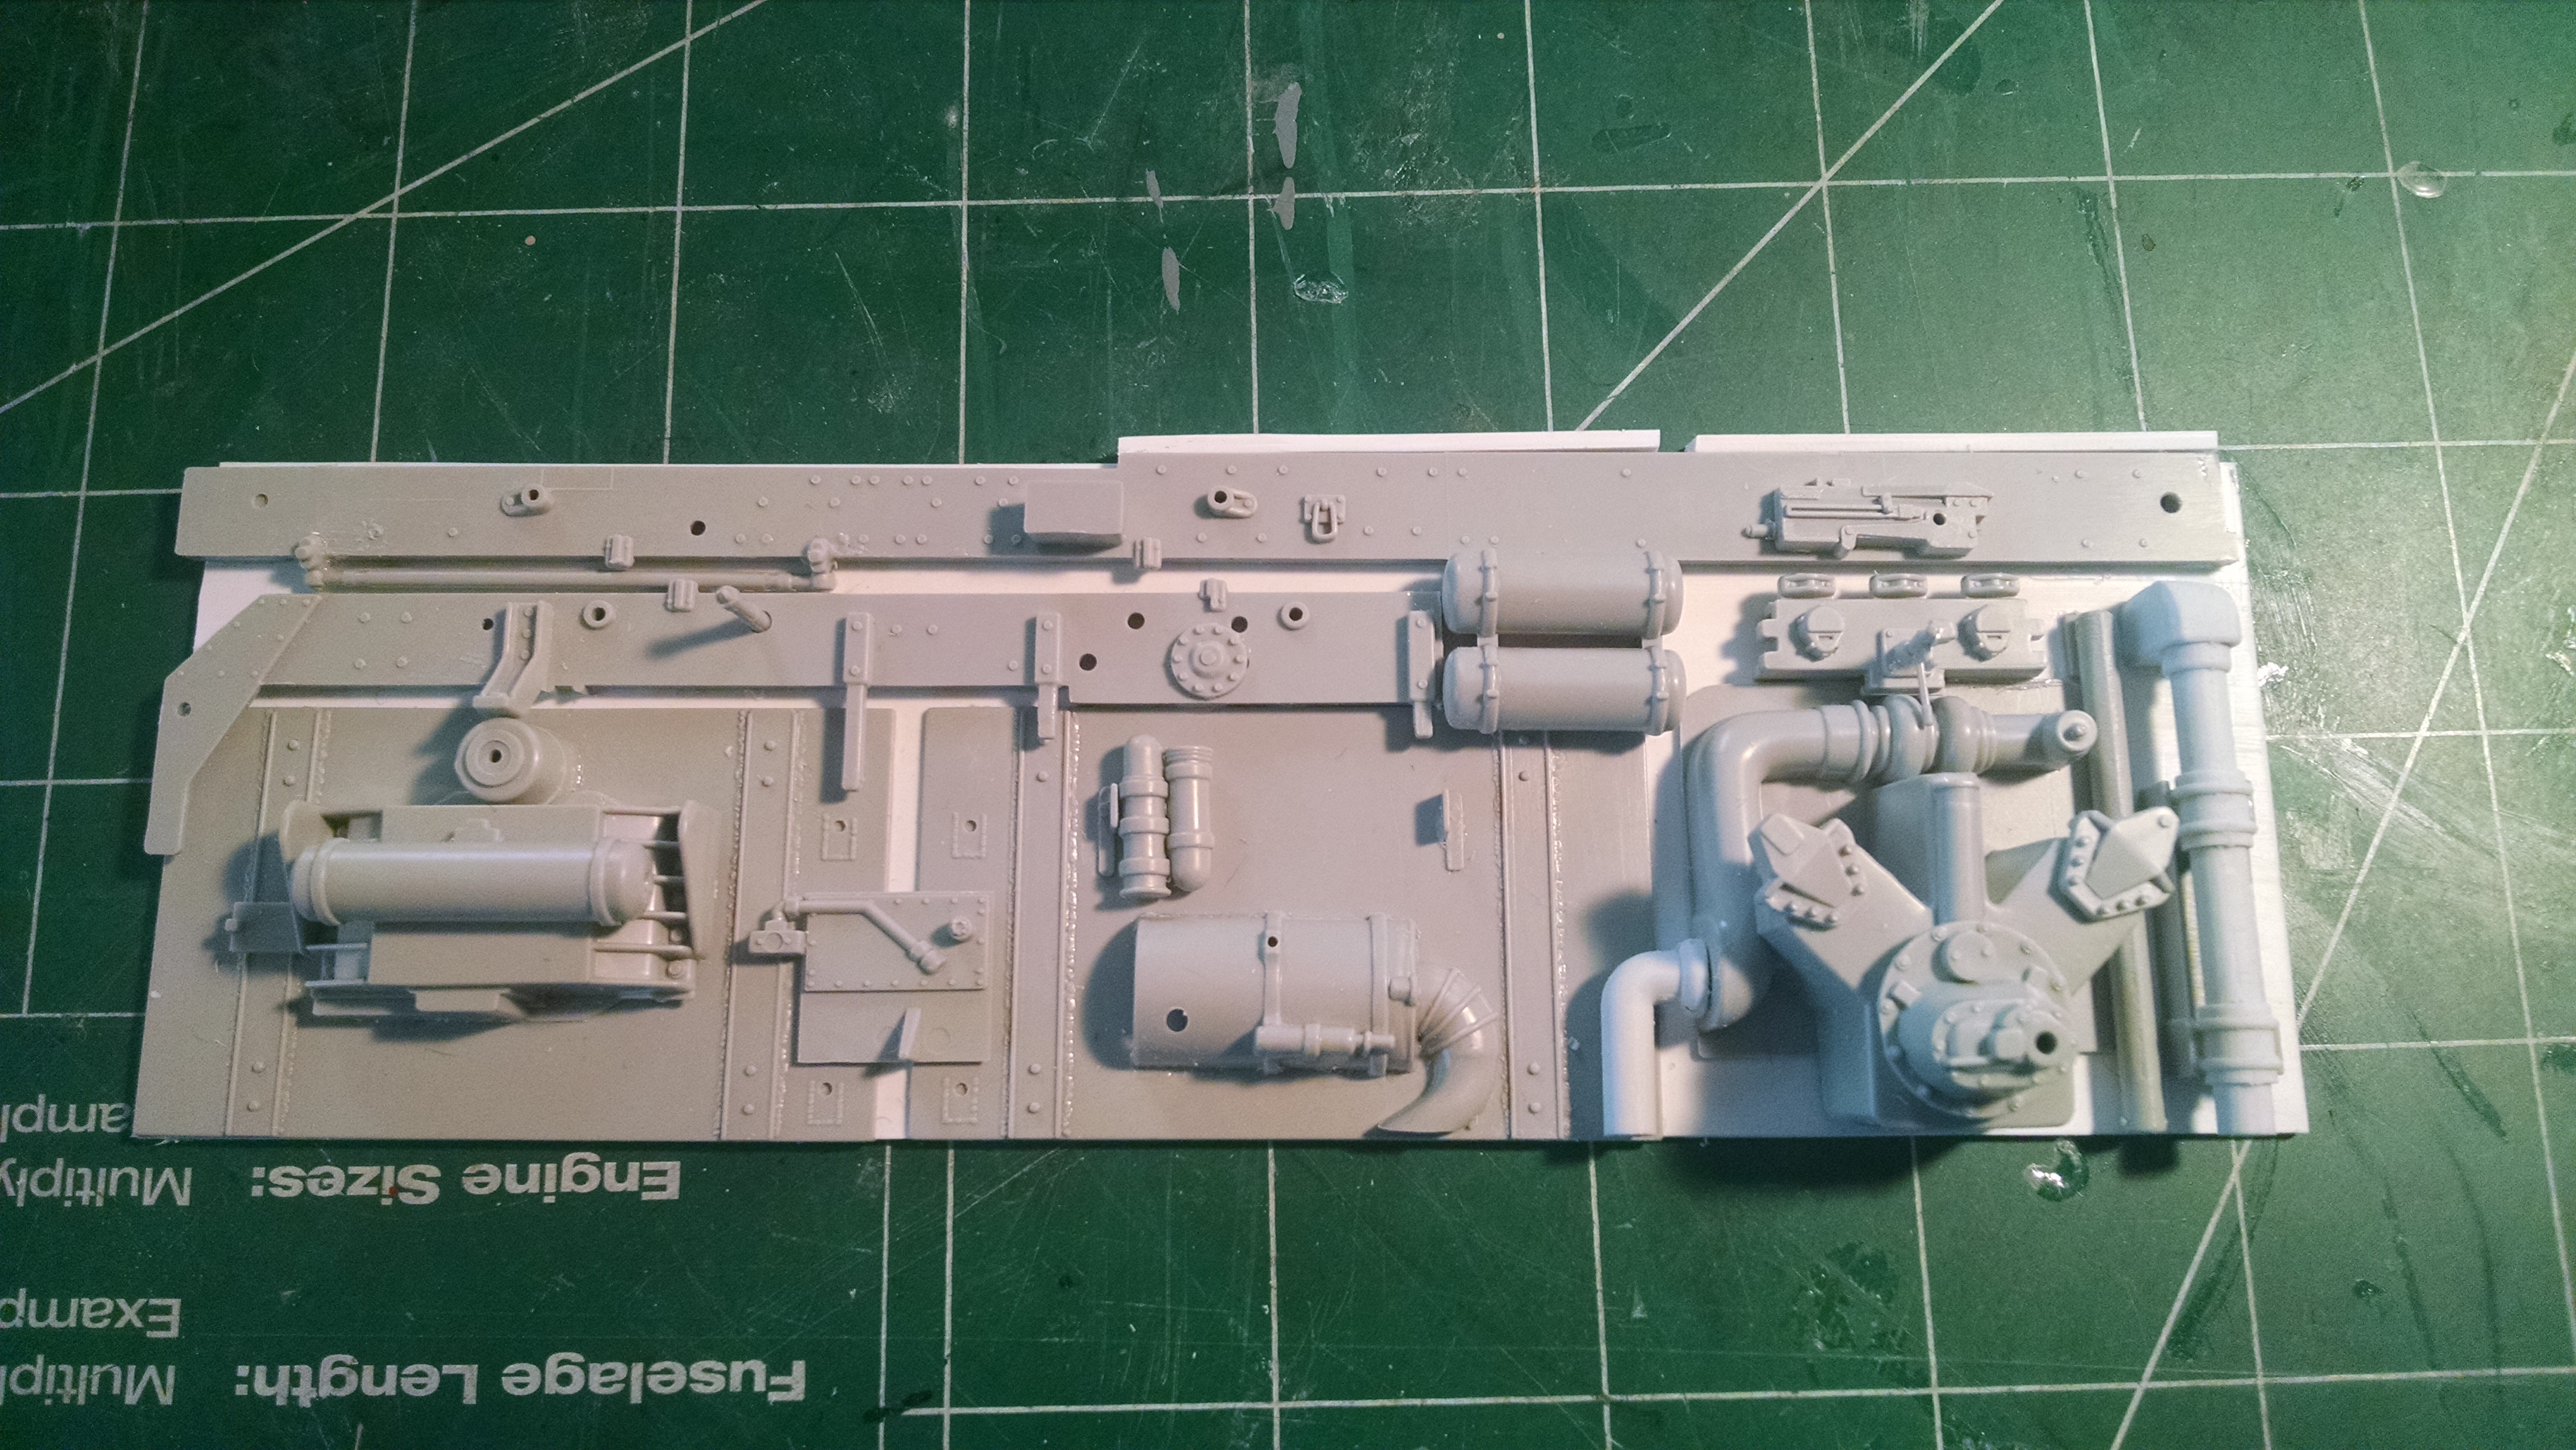
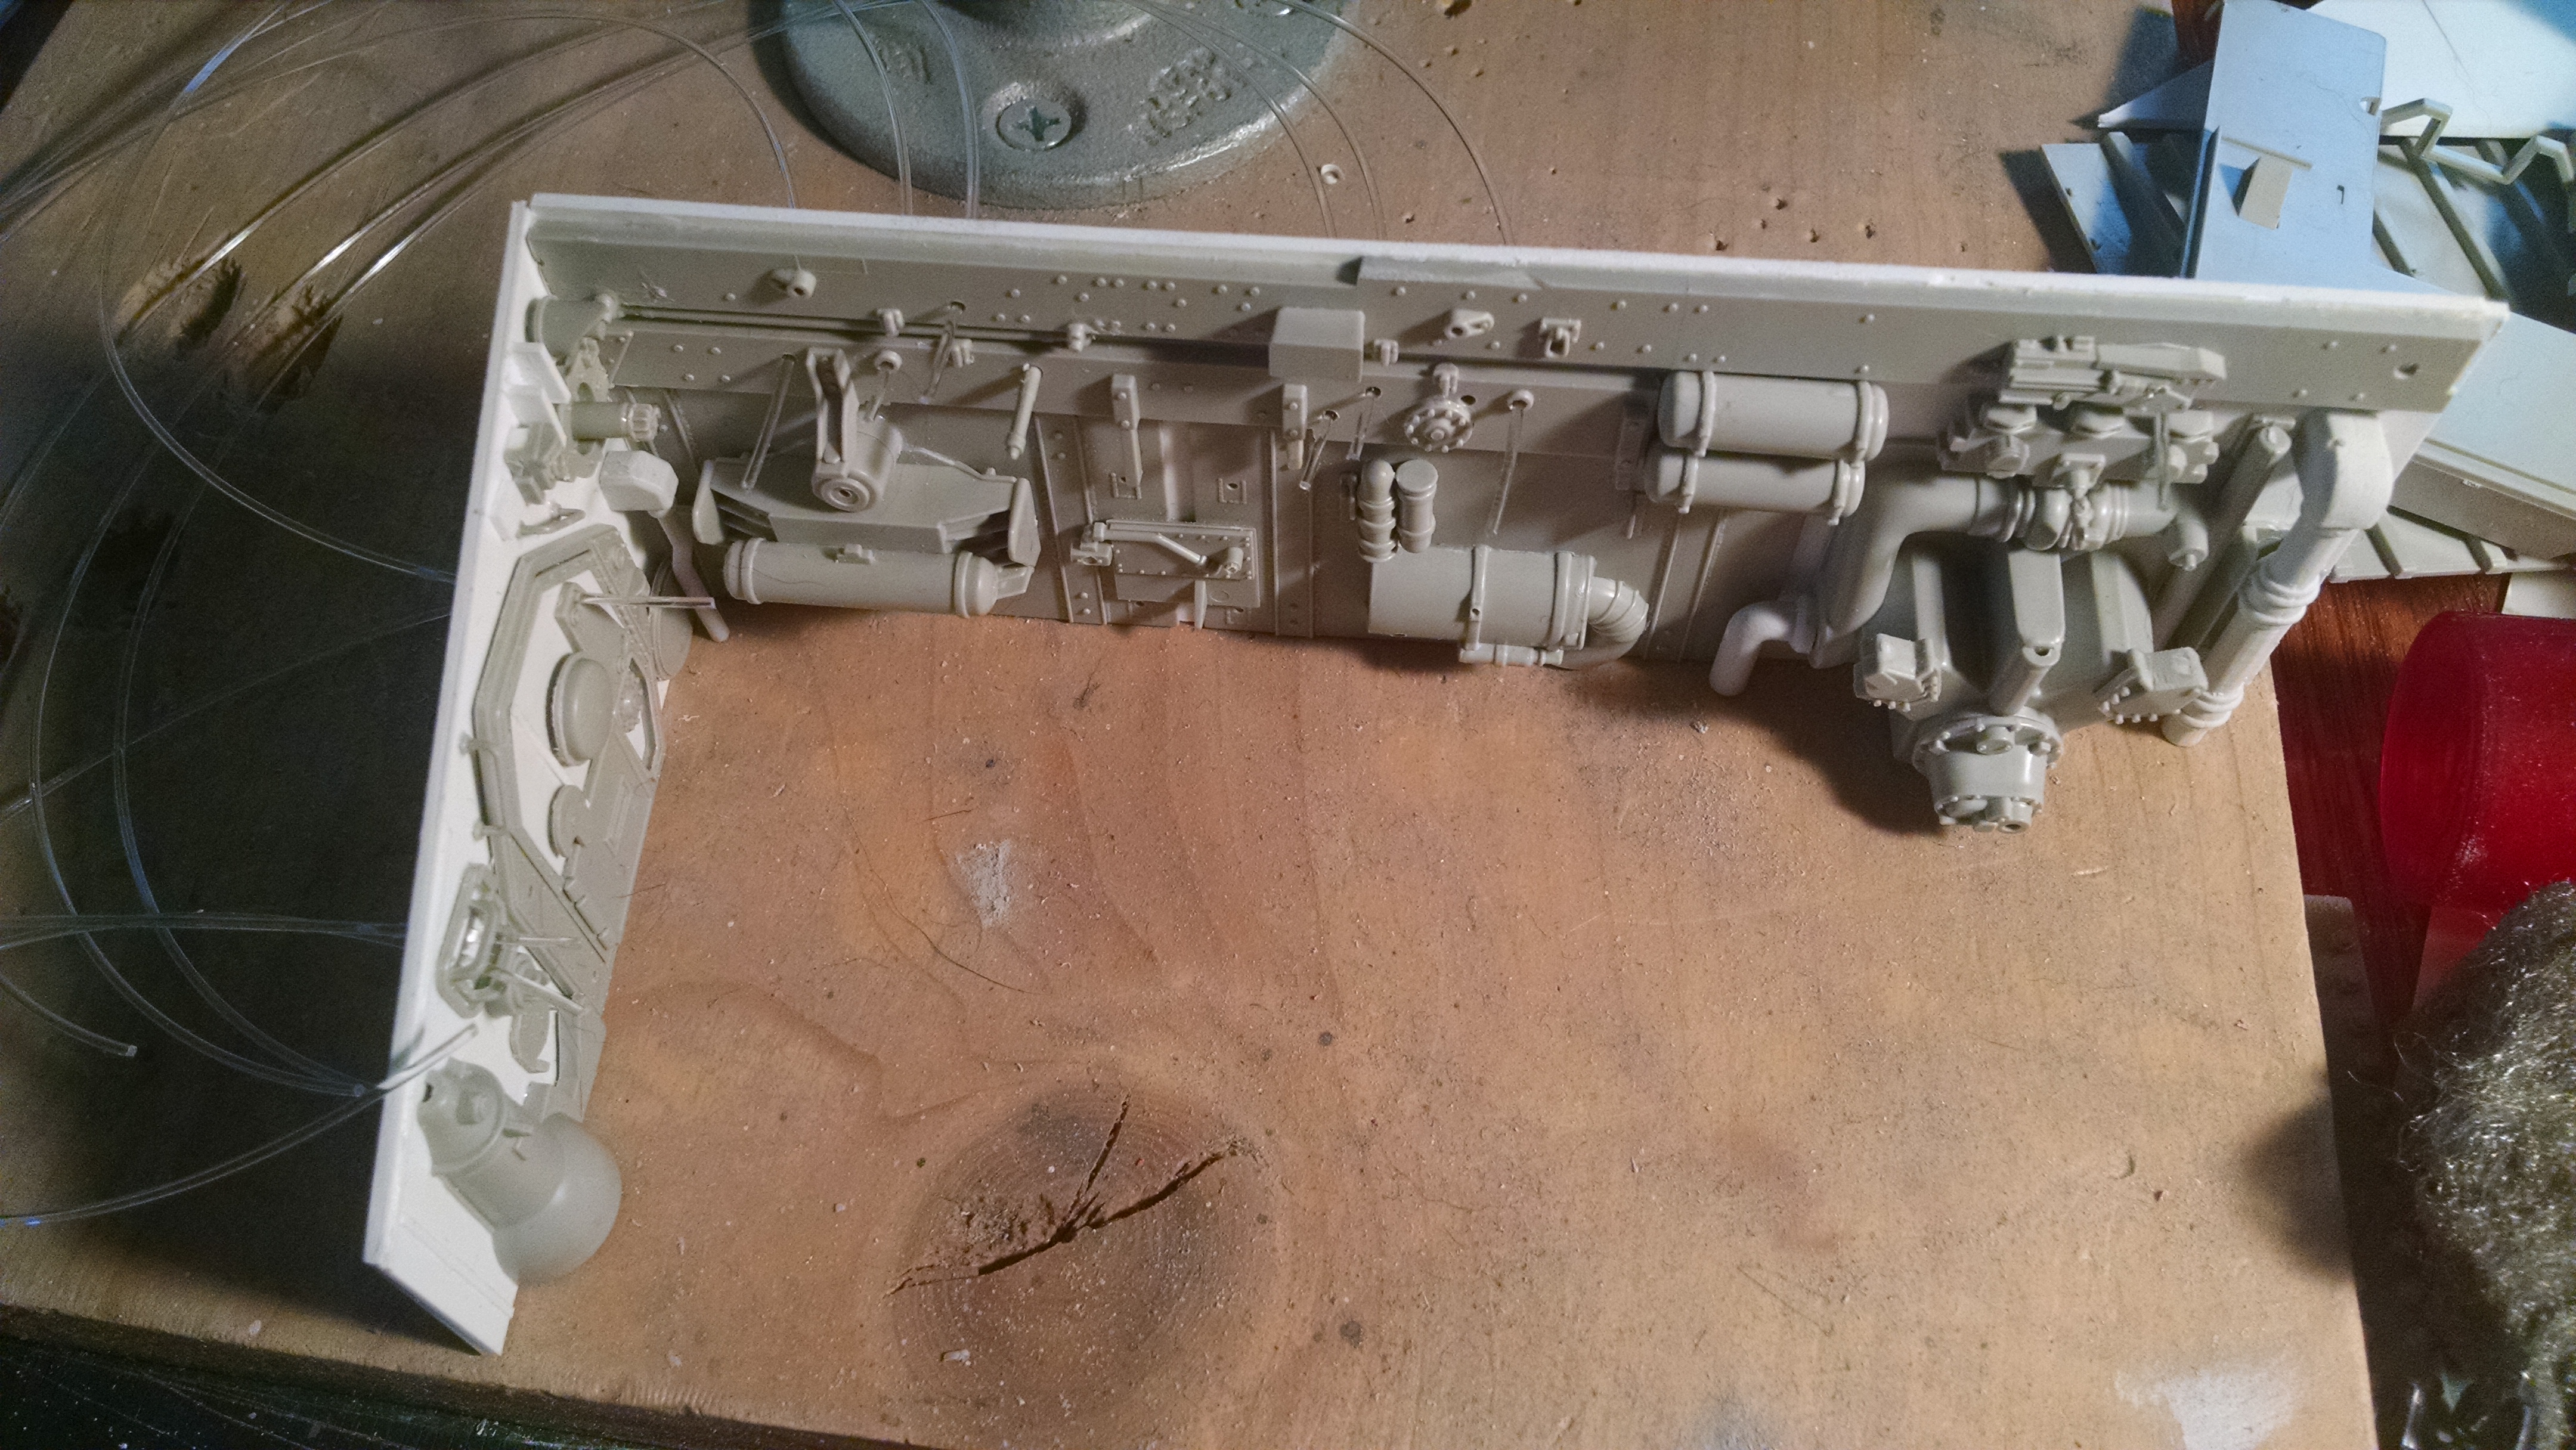
Here is the back wall of the bridge. I love how industrial it looks.
This is the bridge back wall inside.
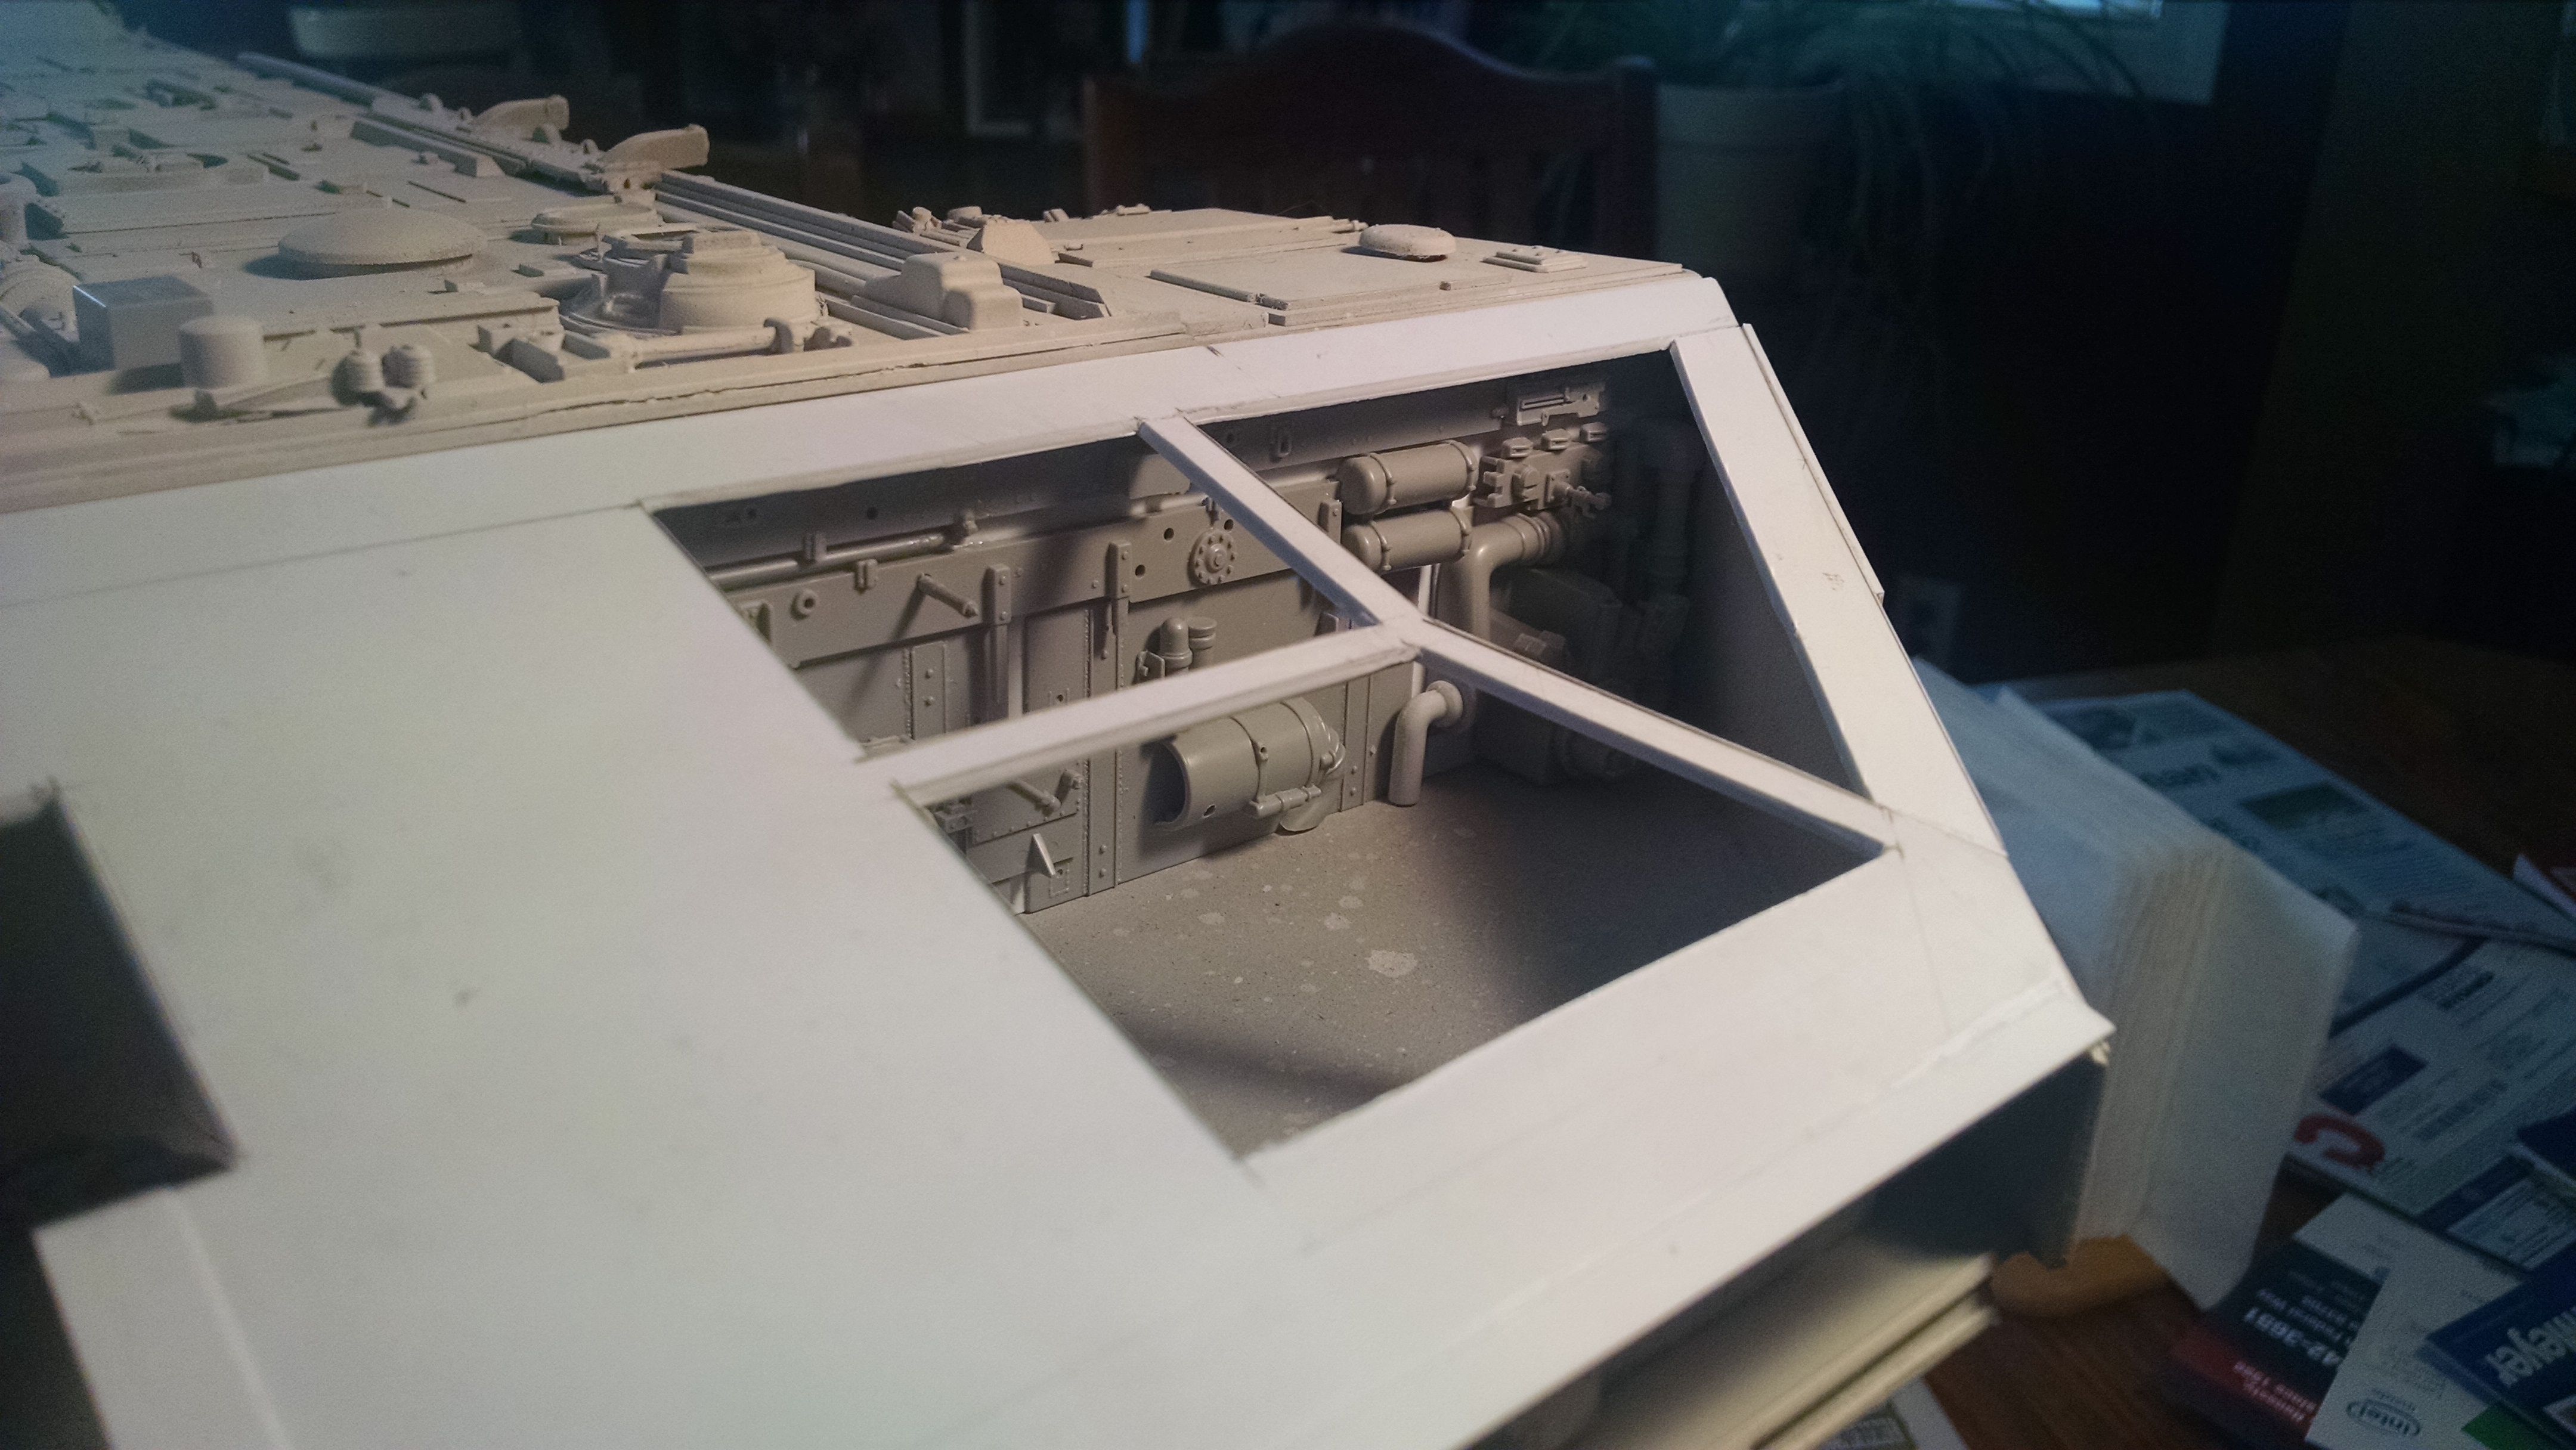
This image shows the other inside wall and the pilot and copilot seat area.
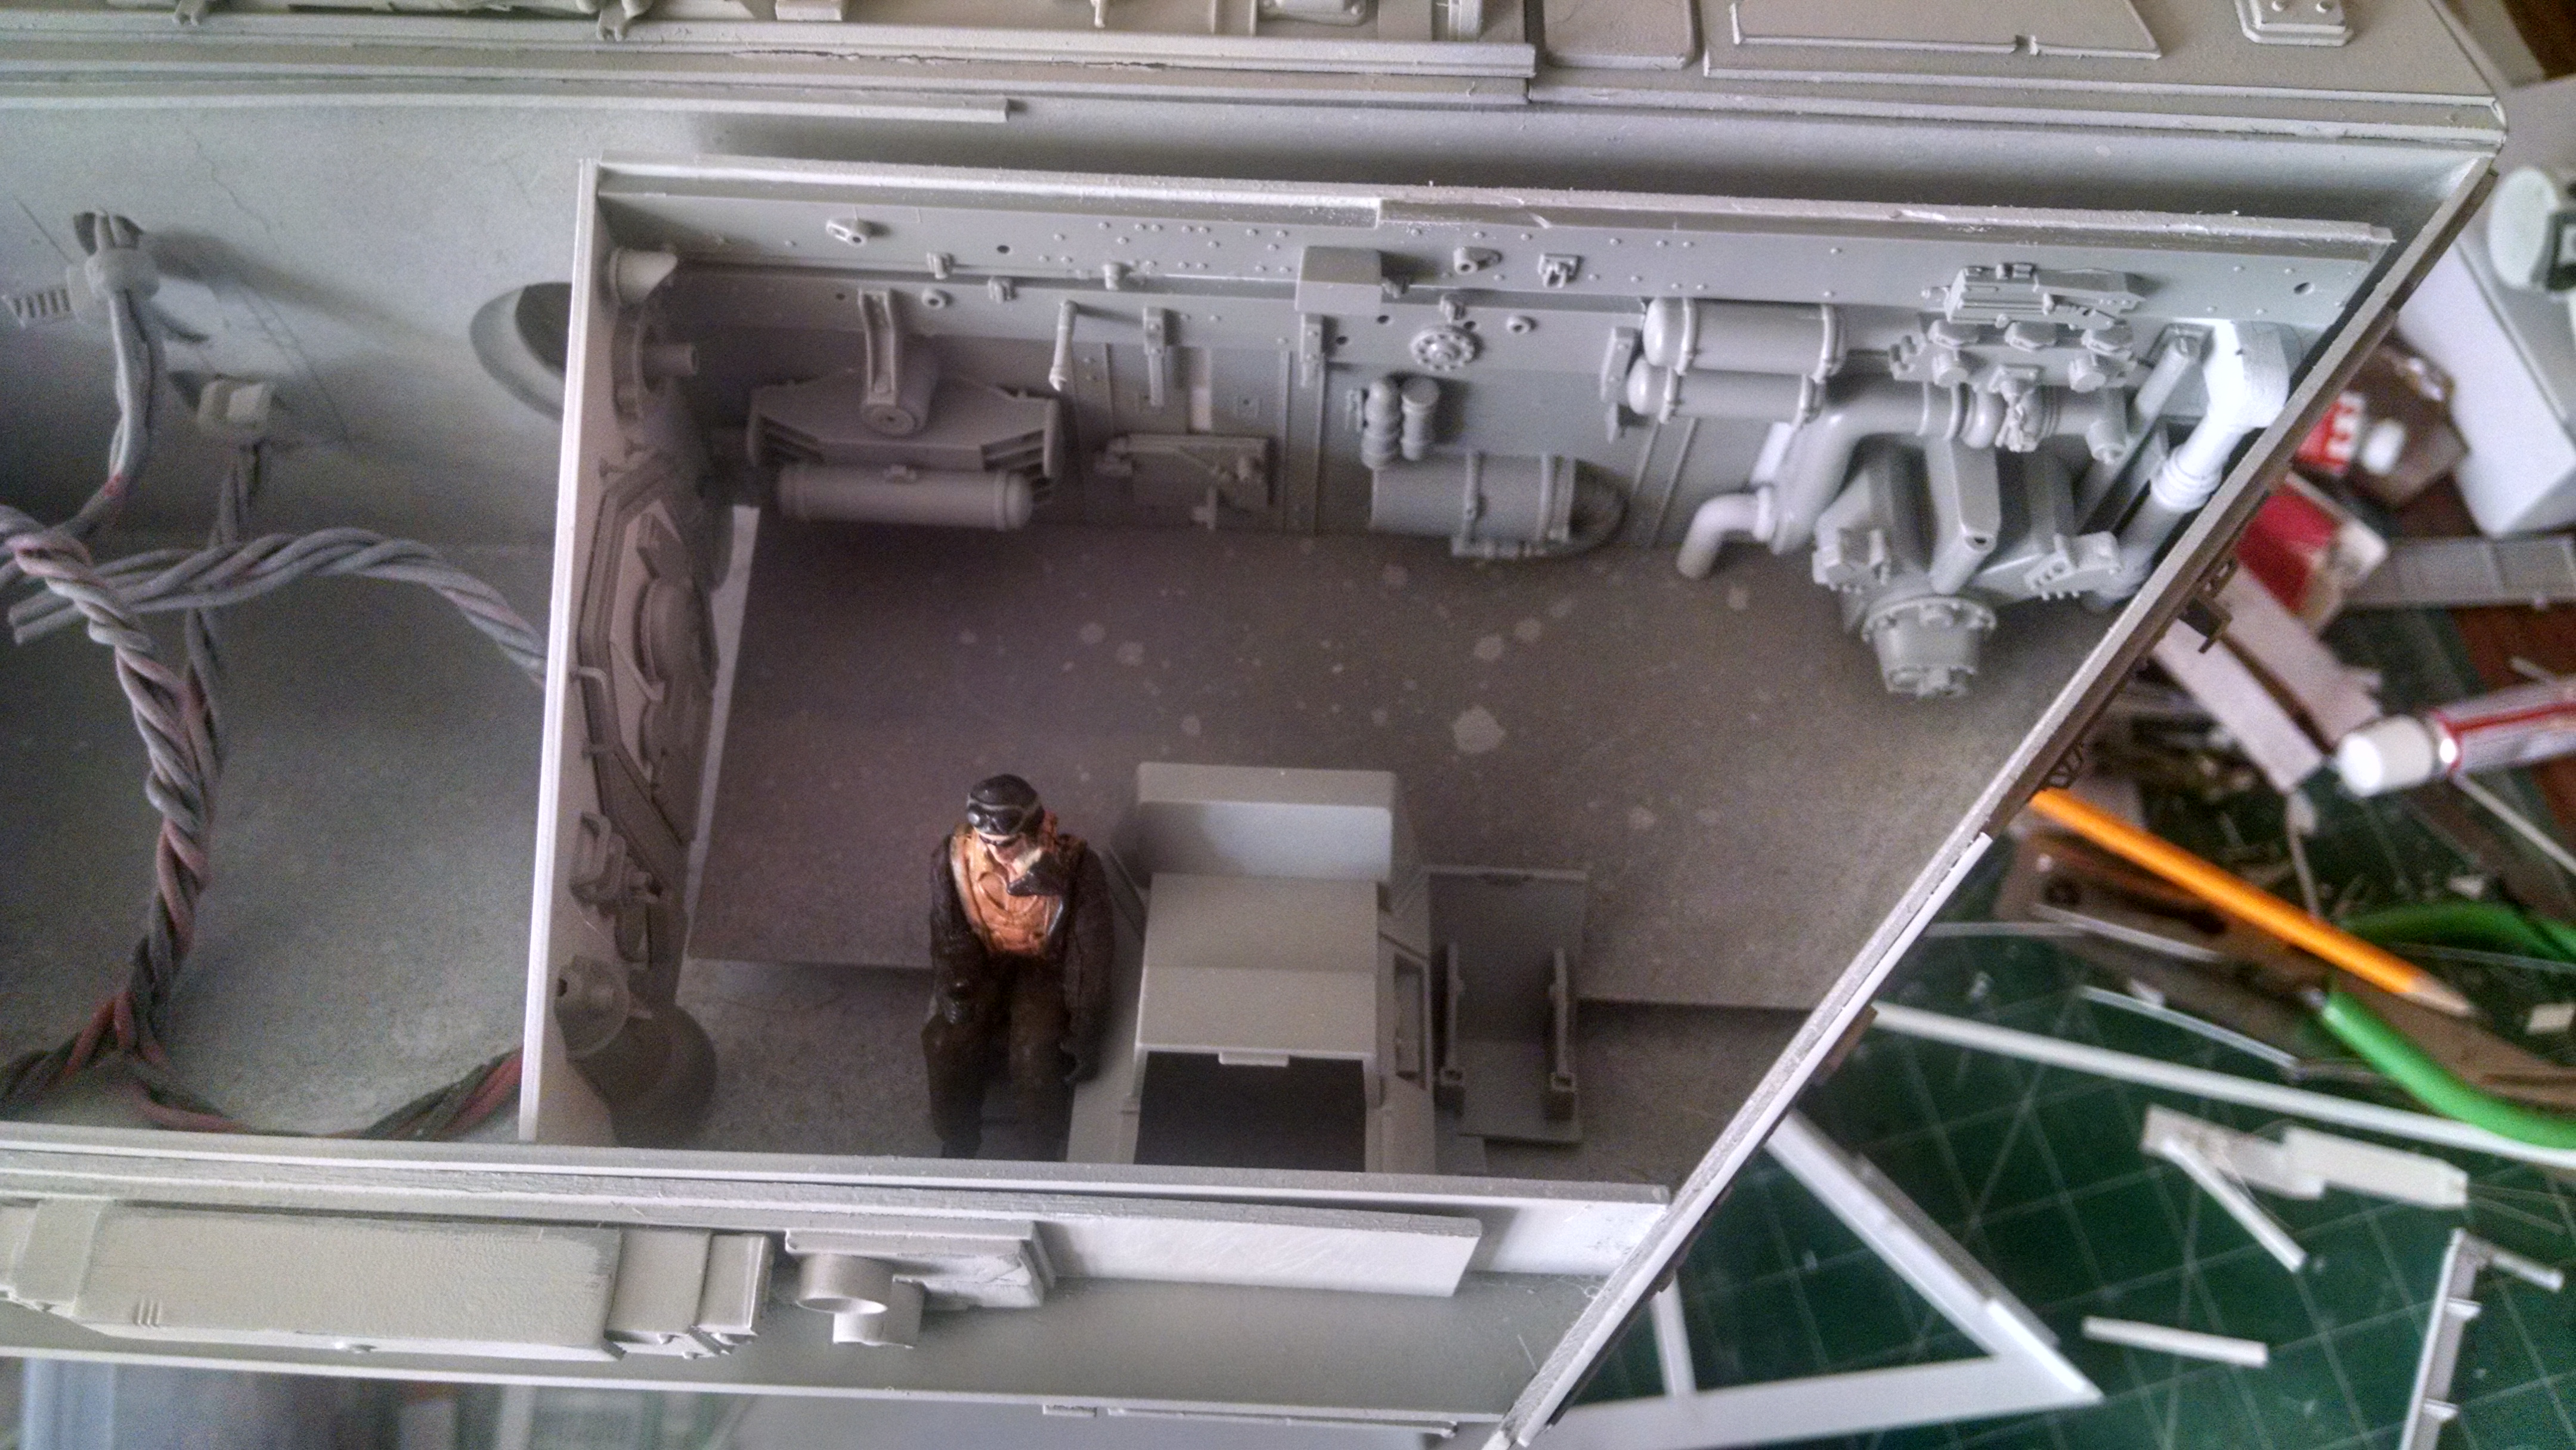
Here you can see I need to build more floor!

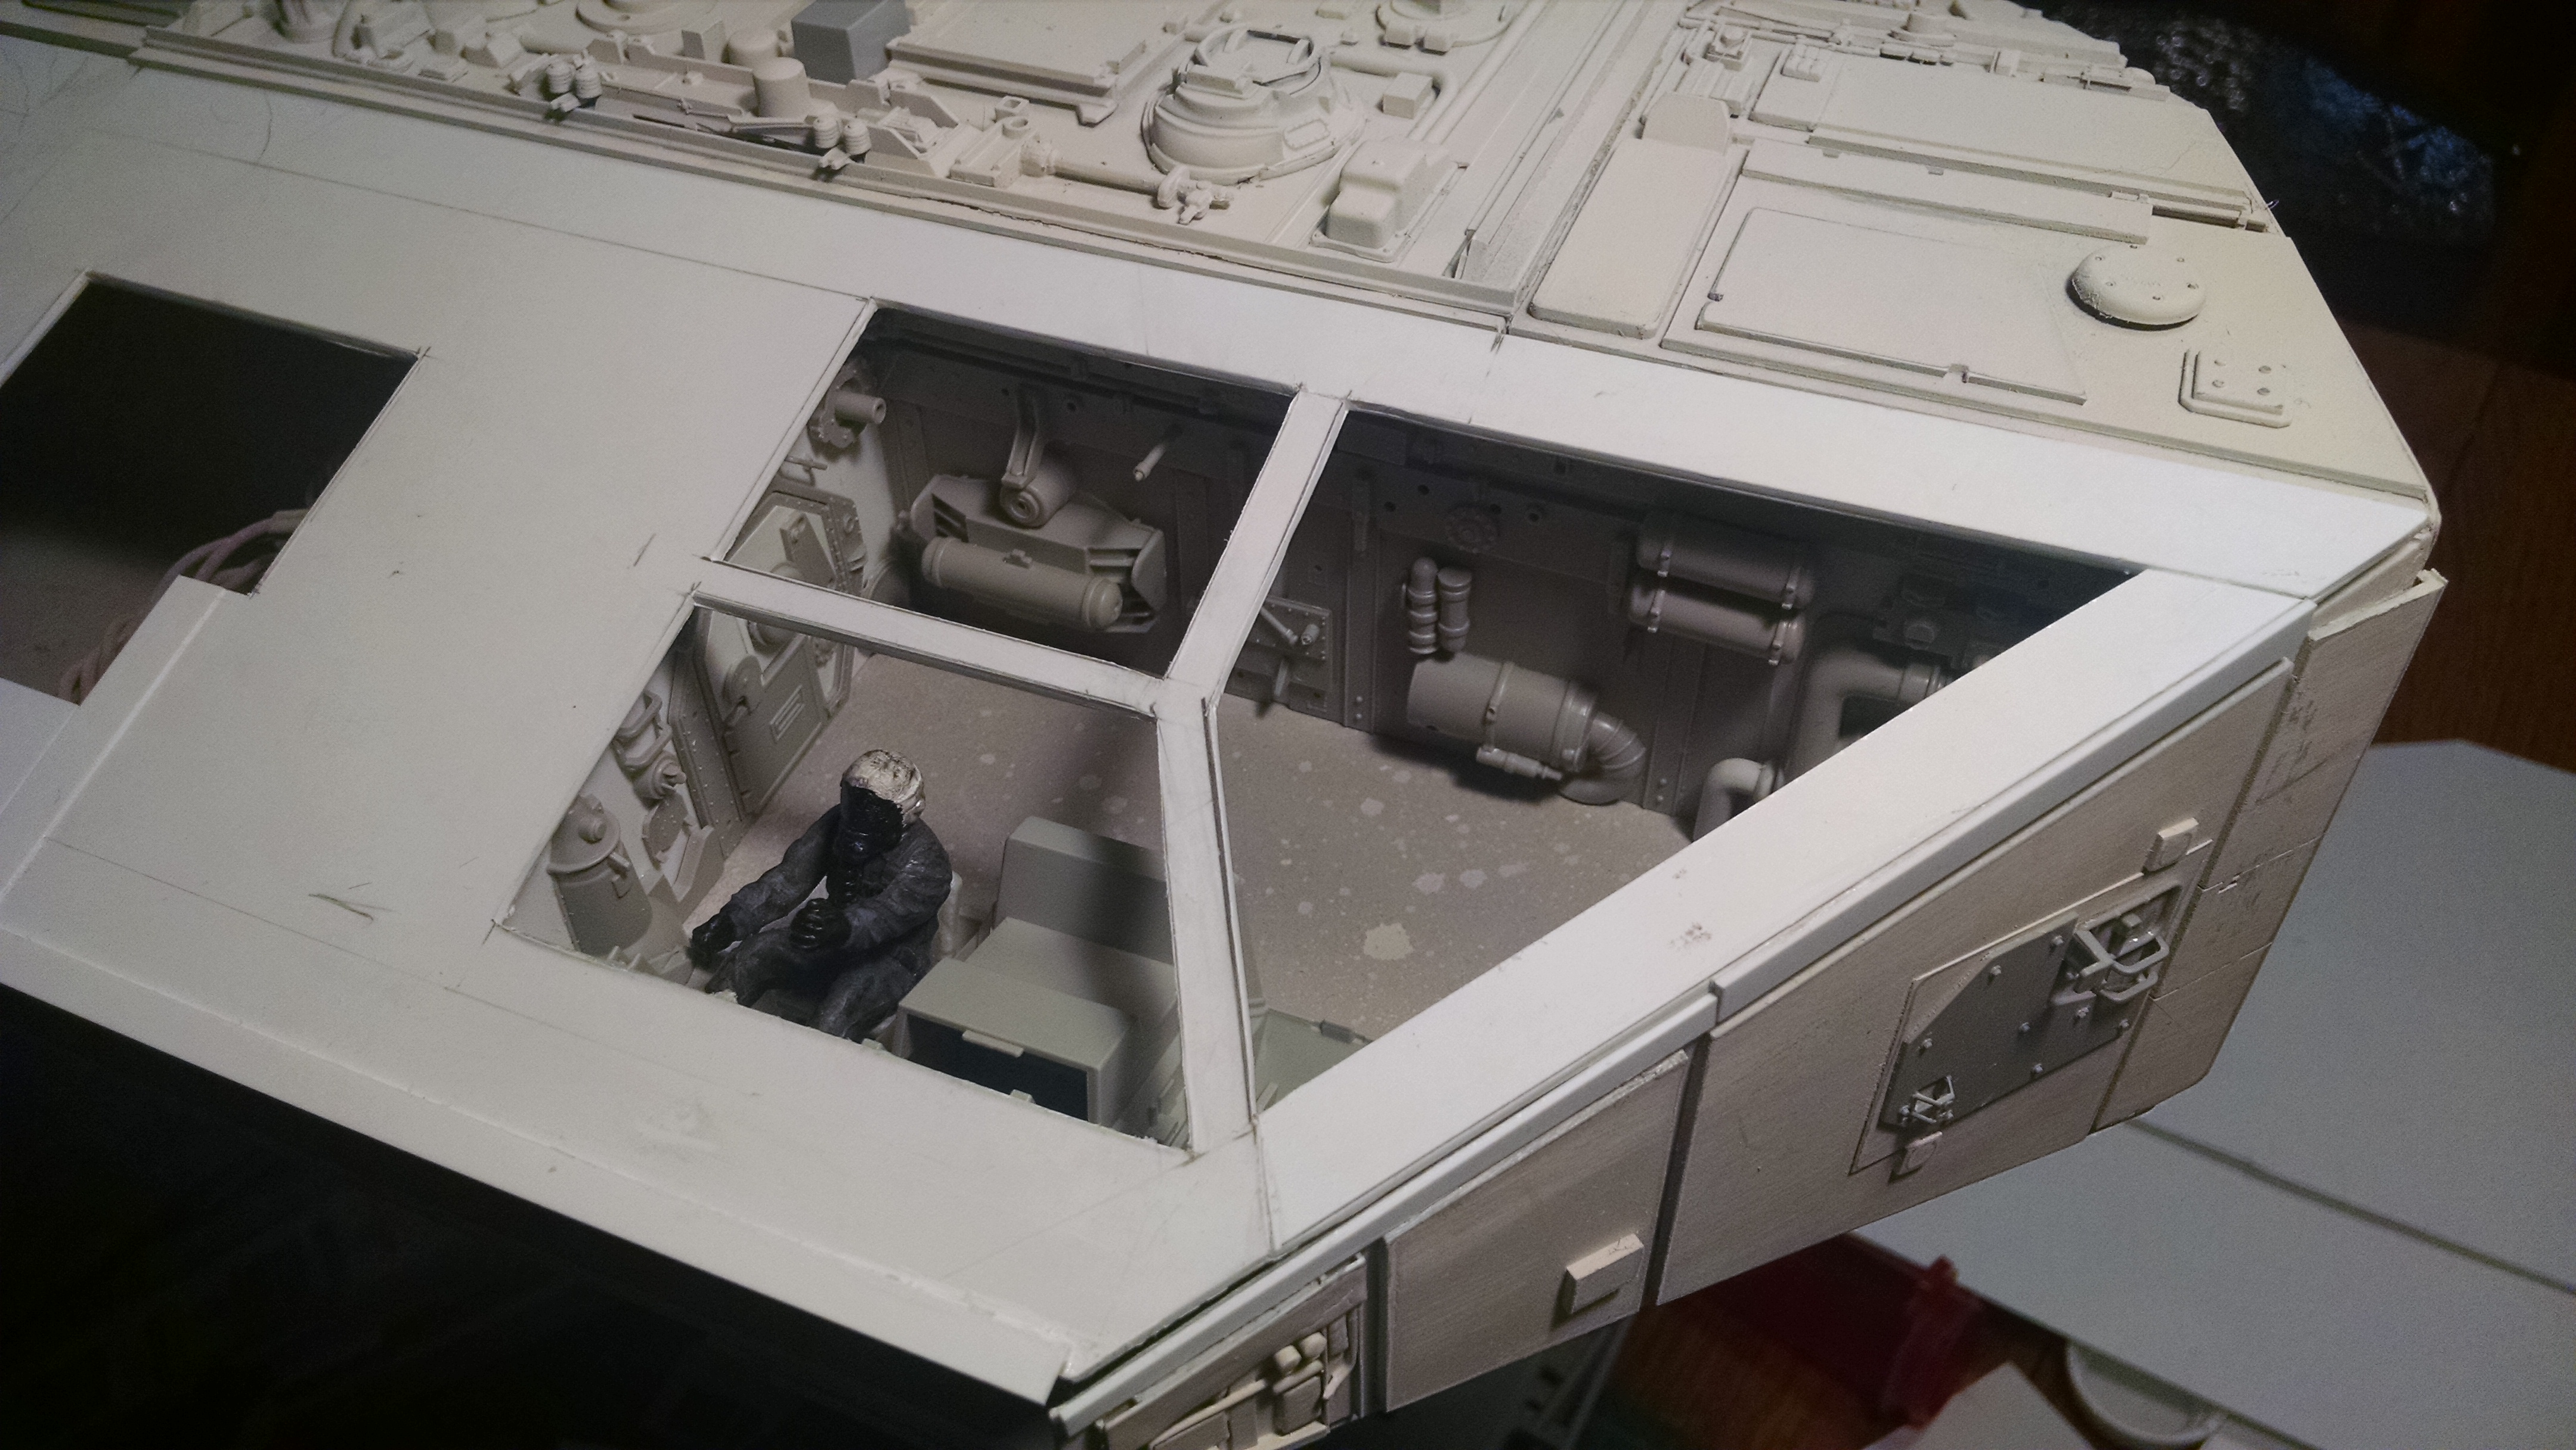
Things are starting to come together in the bridge.
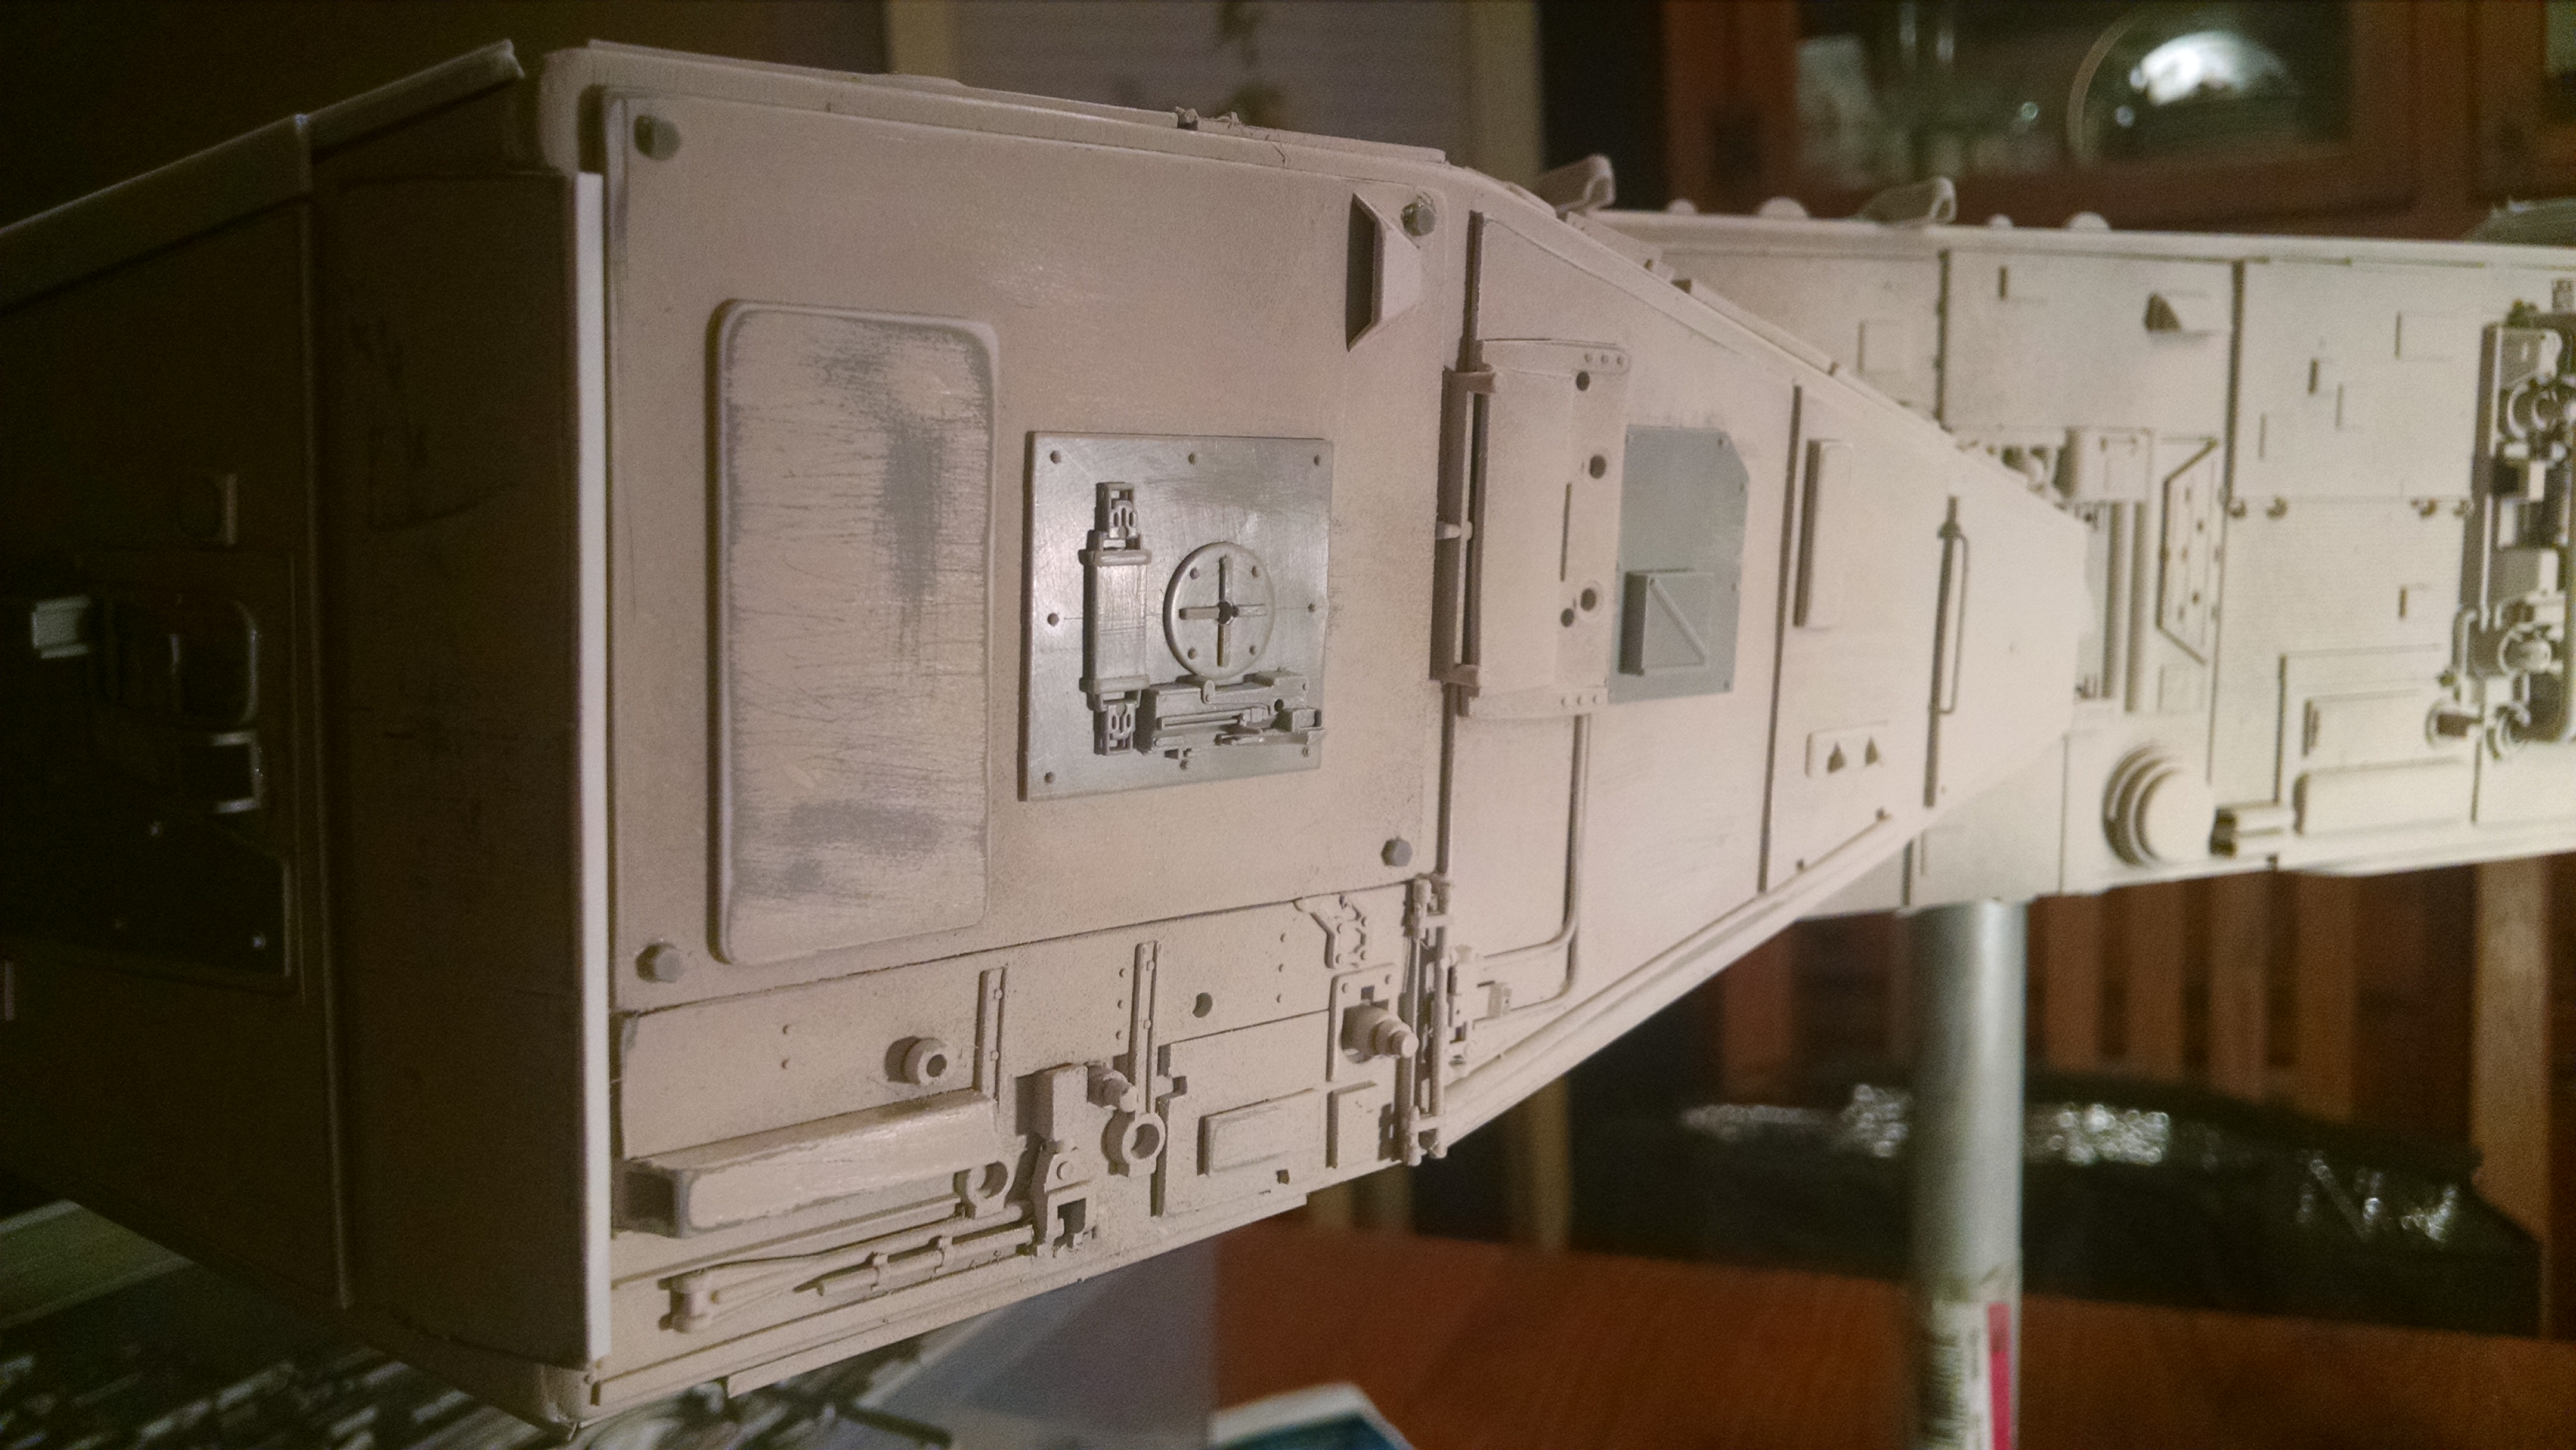
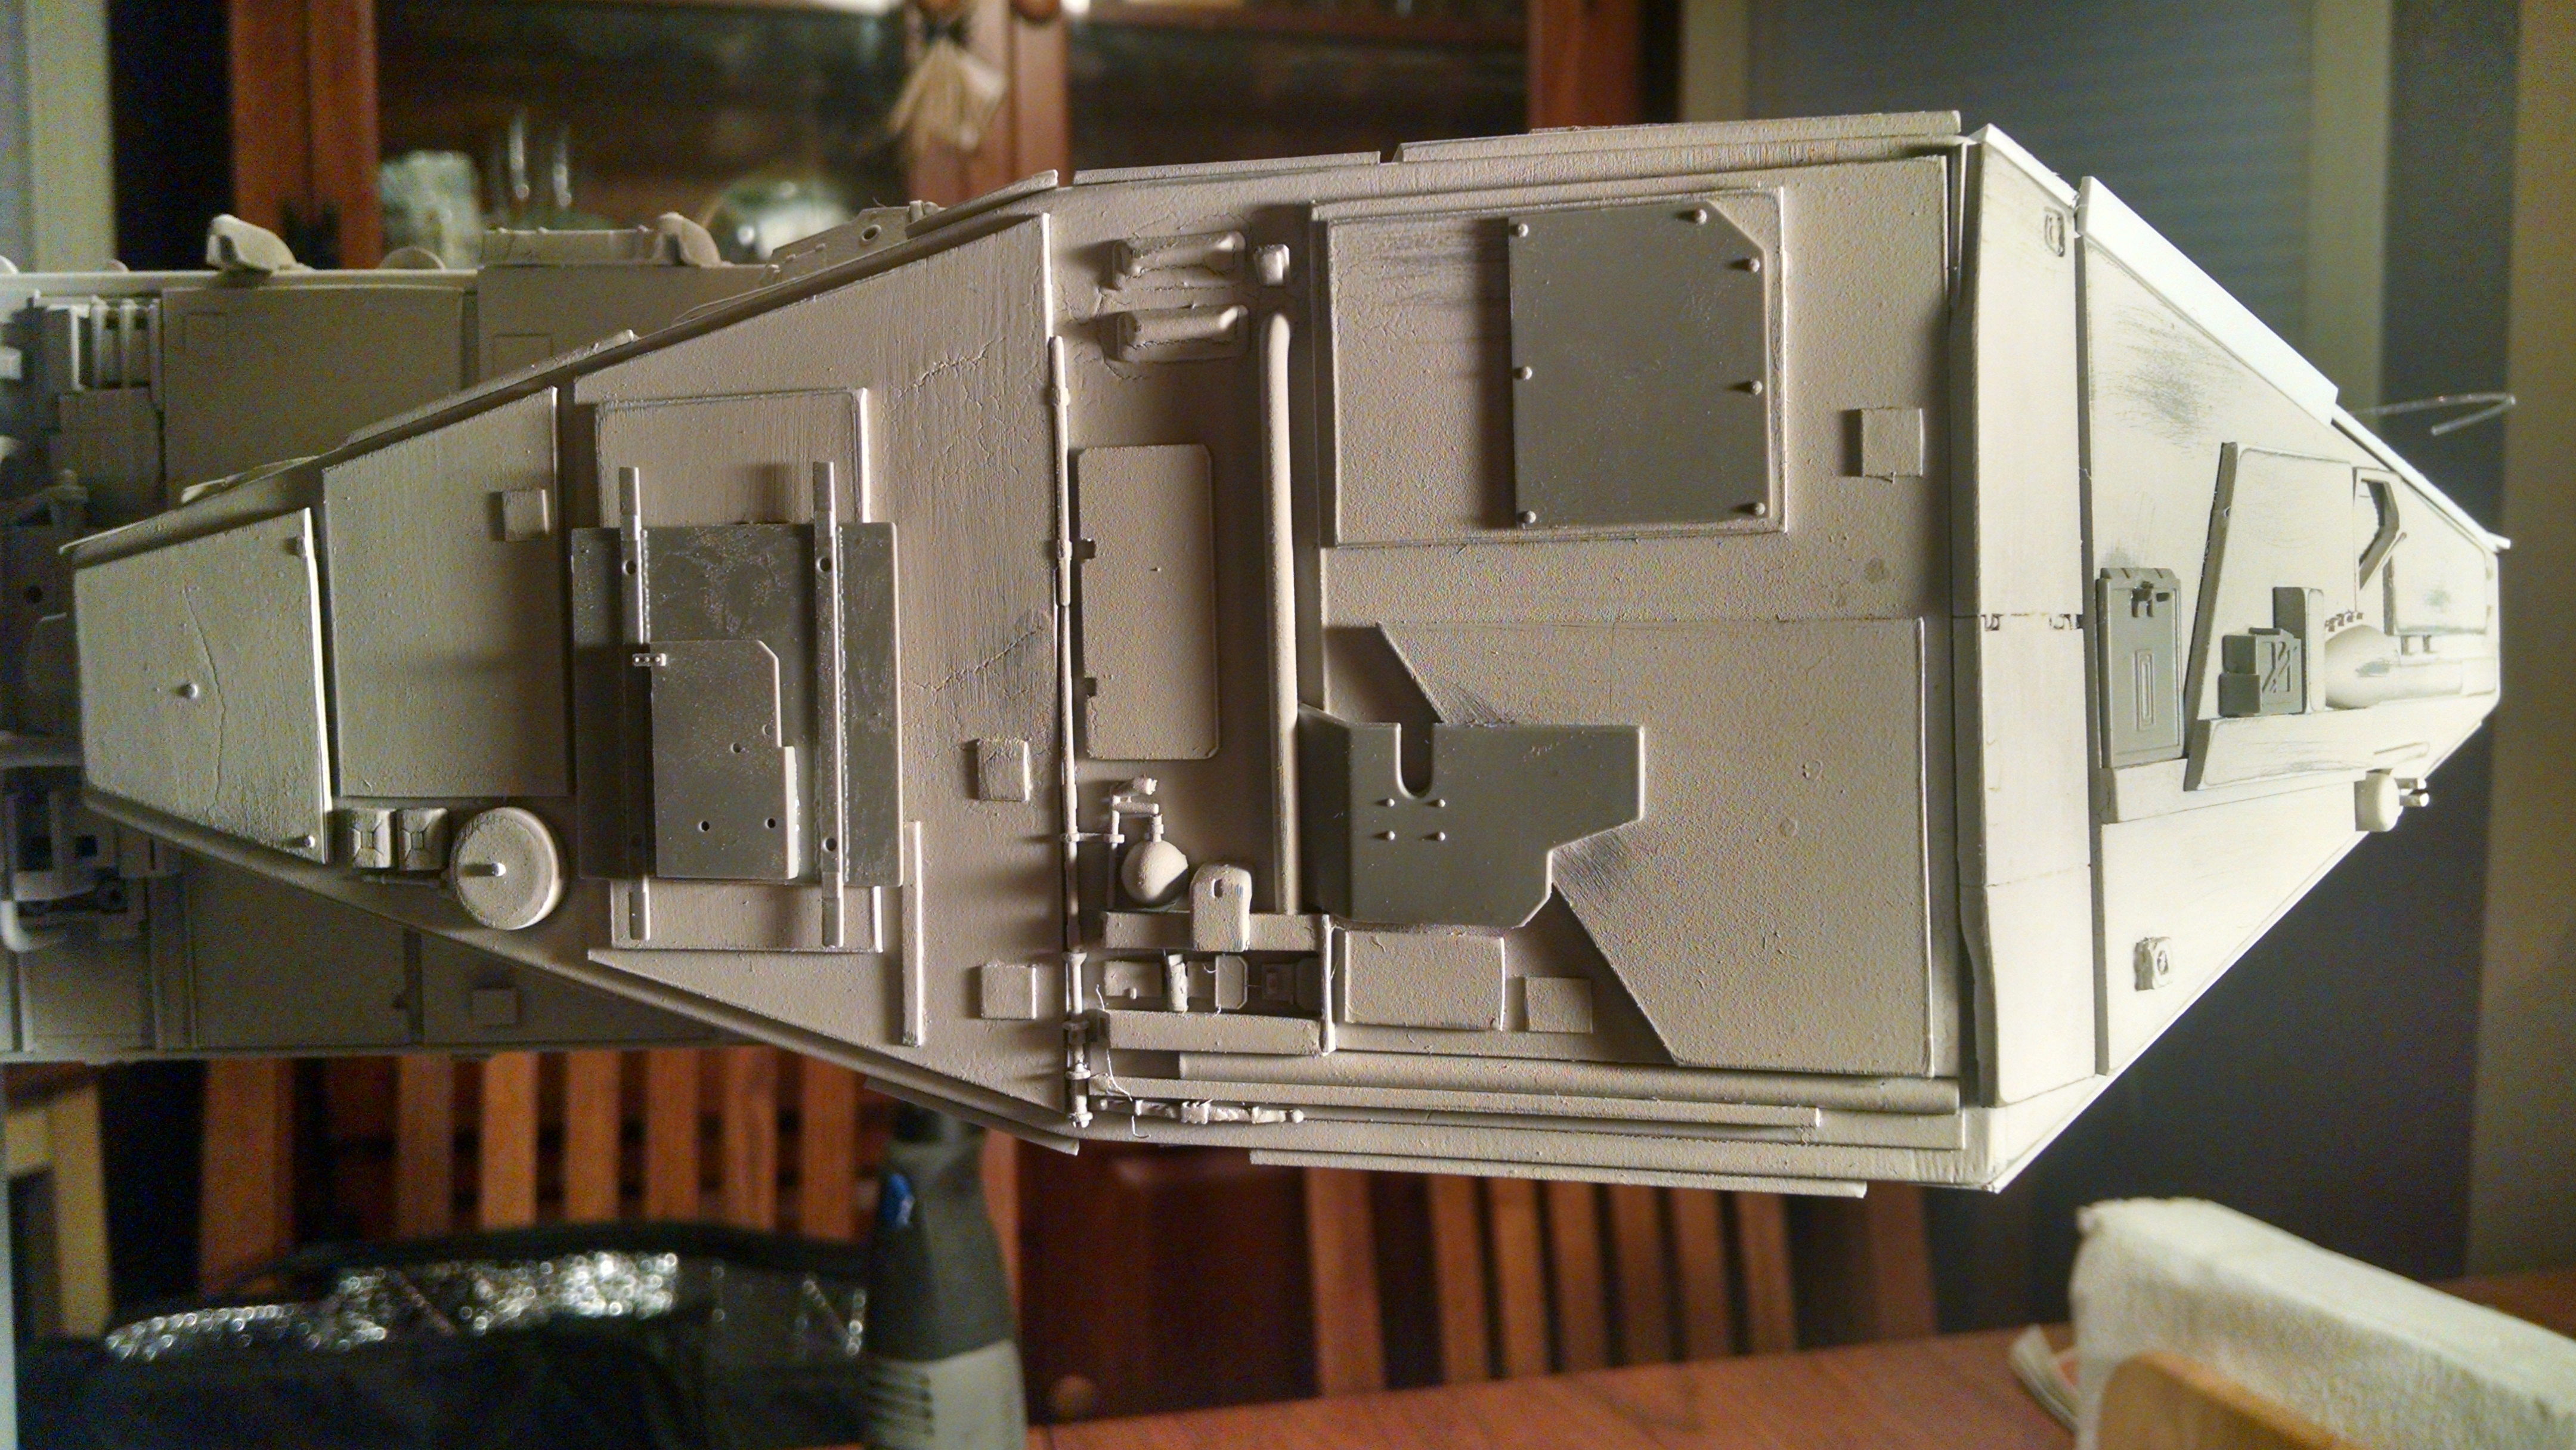
Decided to give the sides some more attention with greeblies.
Here are the bridge fiber optics drilled into the walls and glued in.
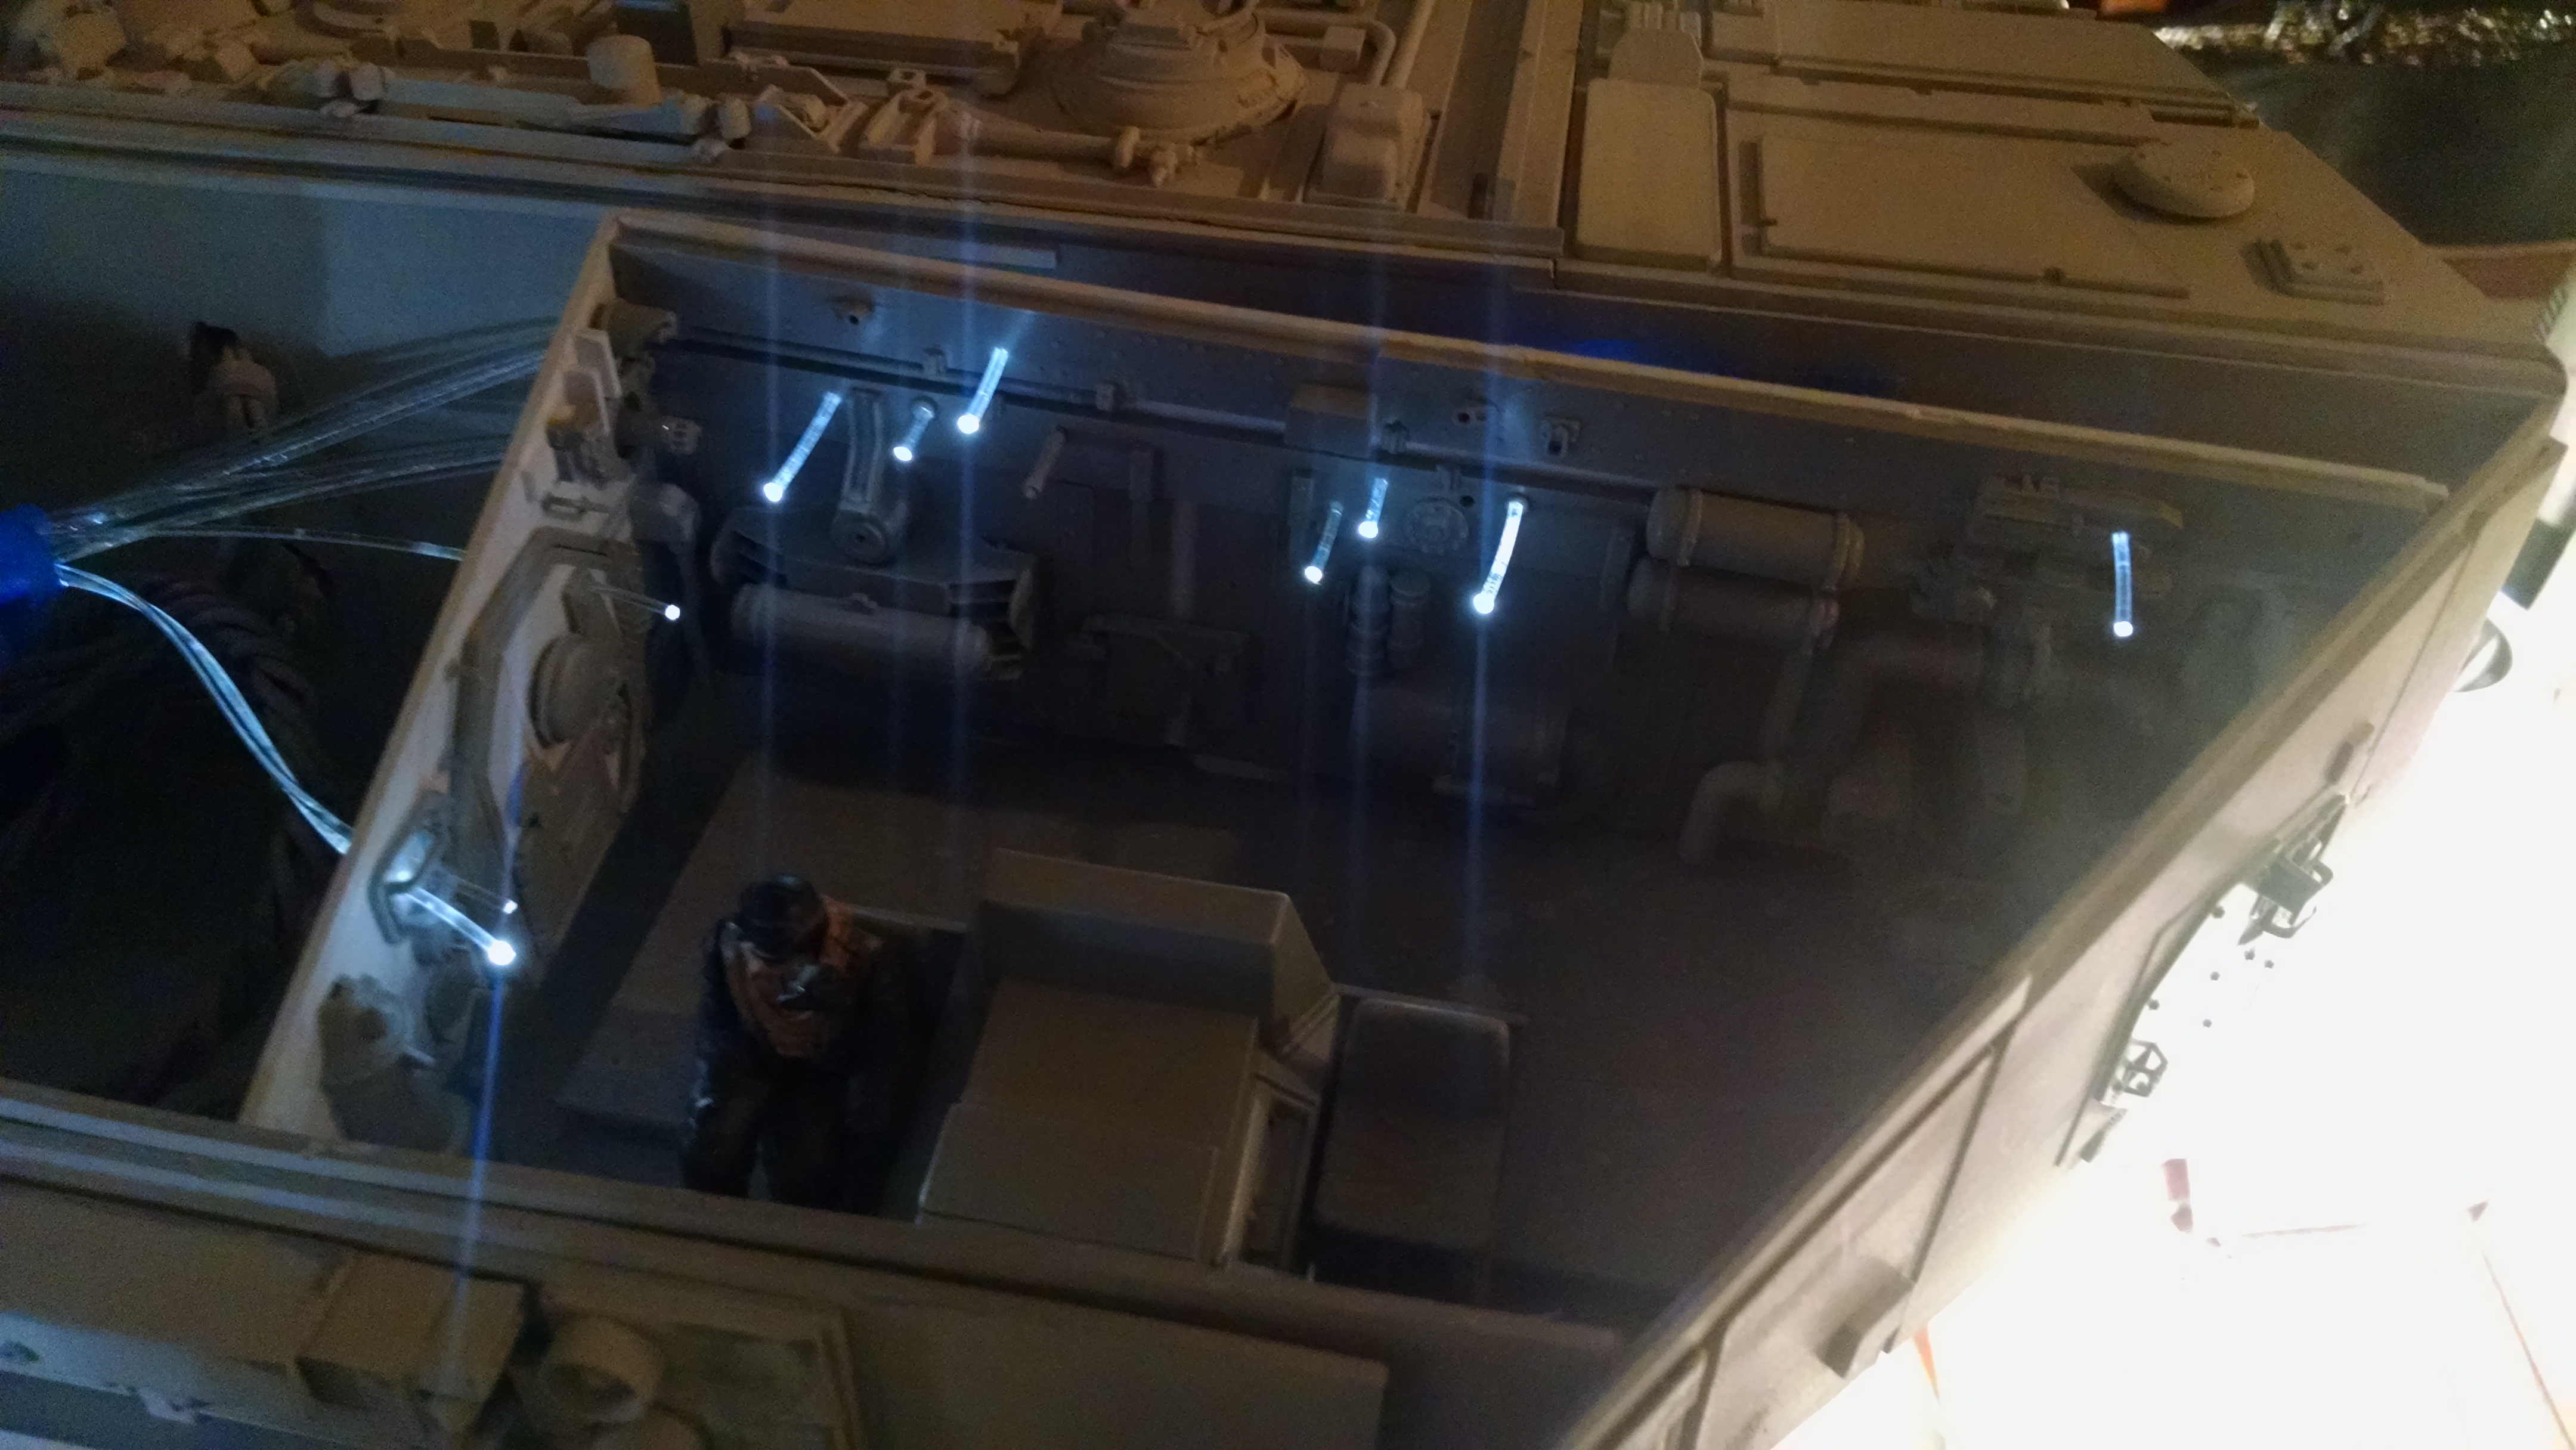
Light test. The fiber optics are going into a single LED.
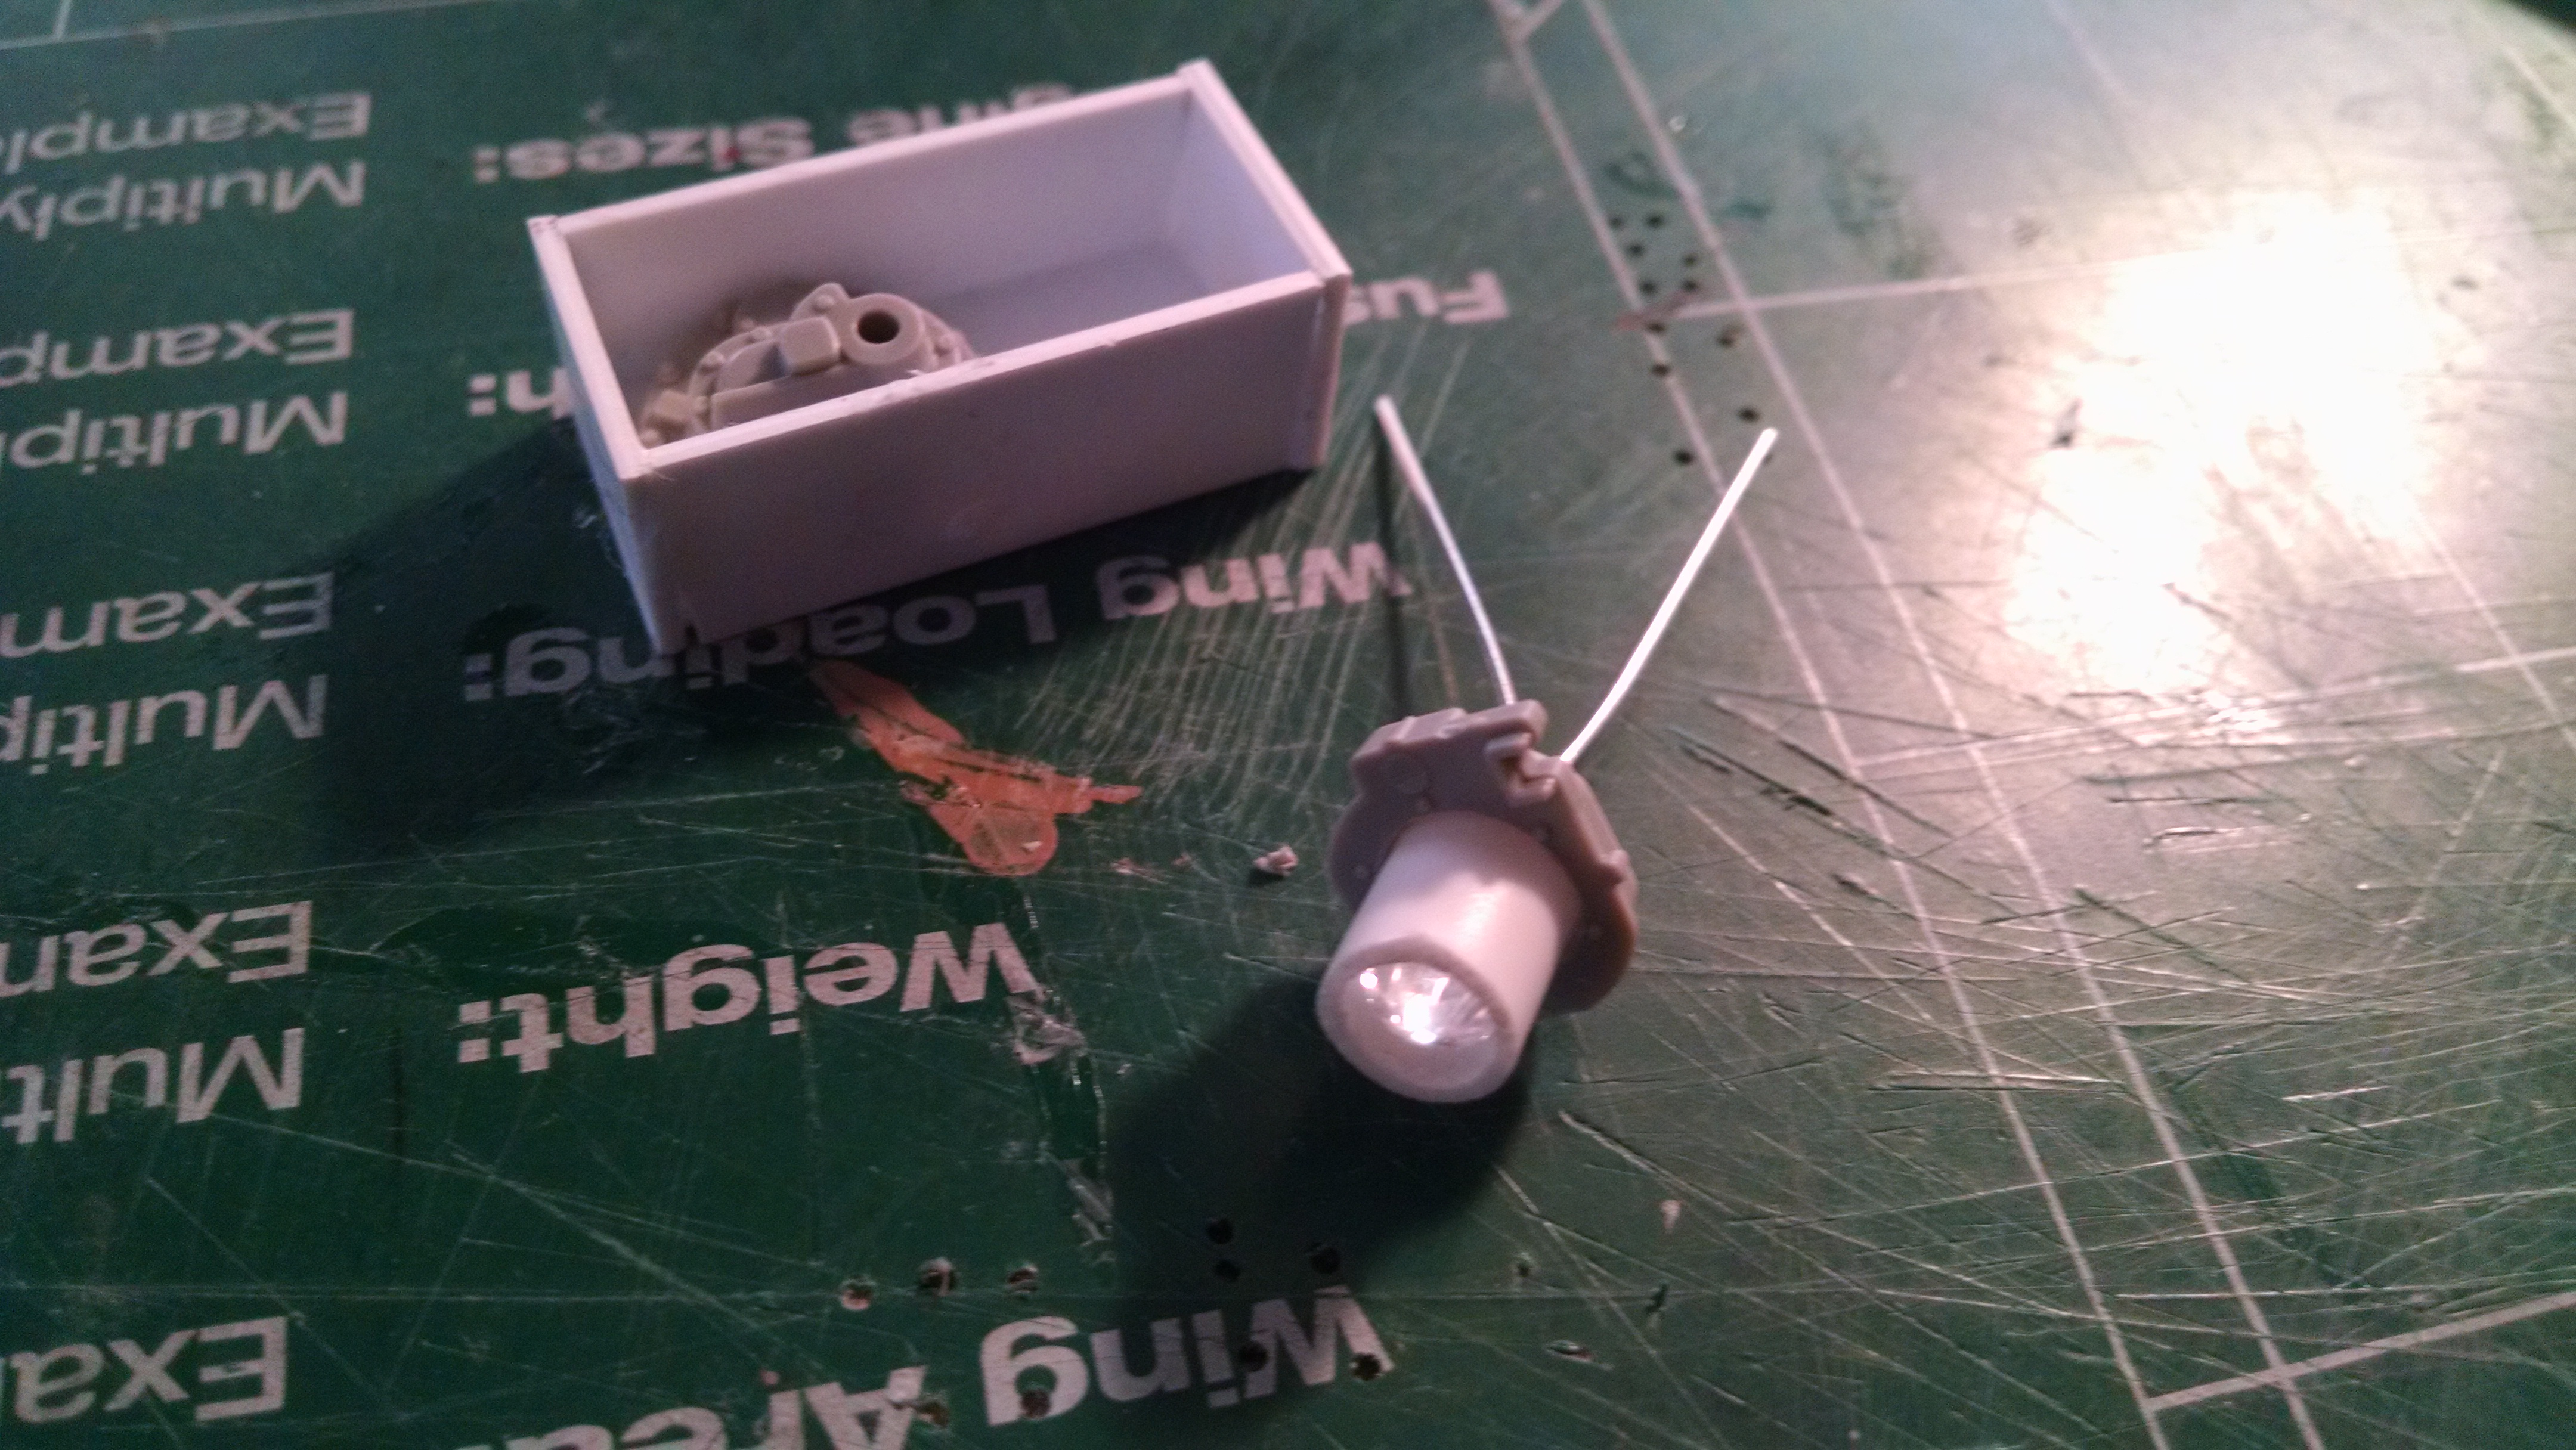
The final bit of light kit is the headlights. For these, I needed to build a box and mount an LED.
Bright as a sun flare!
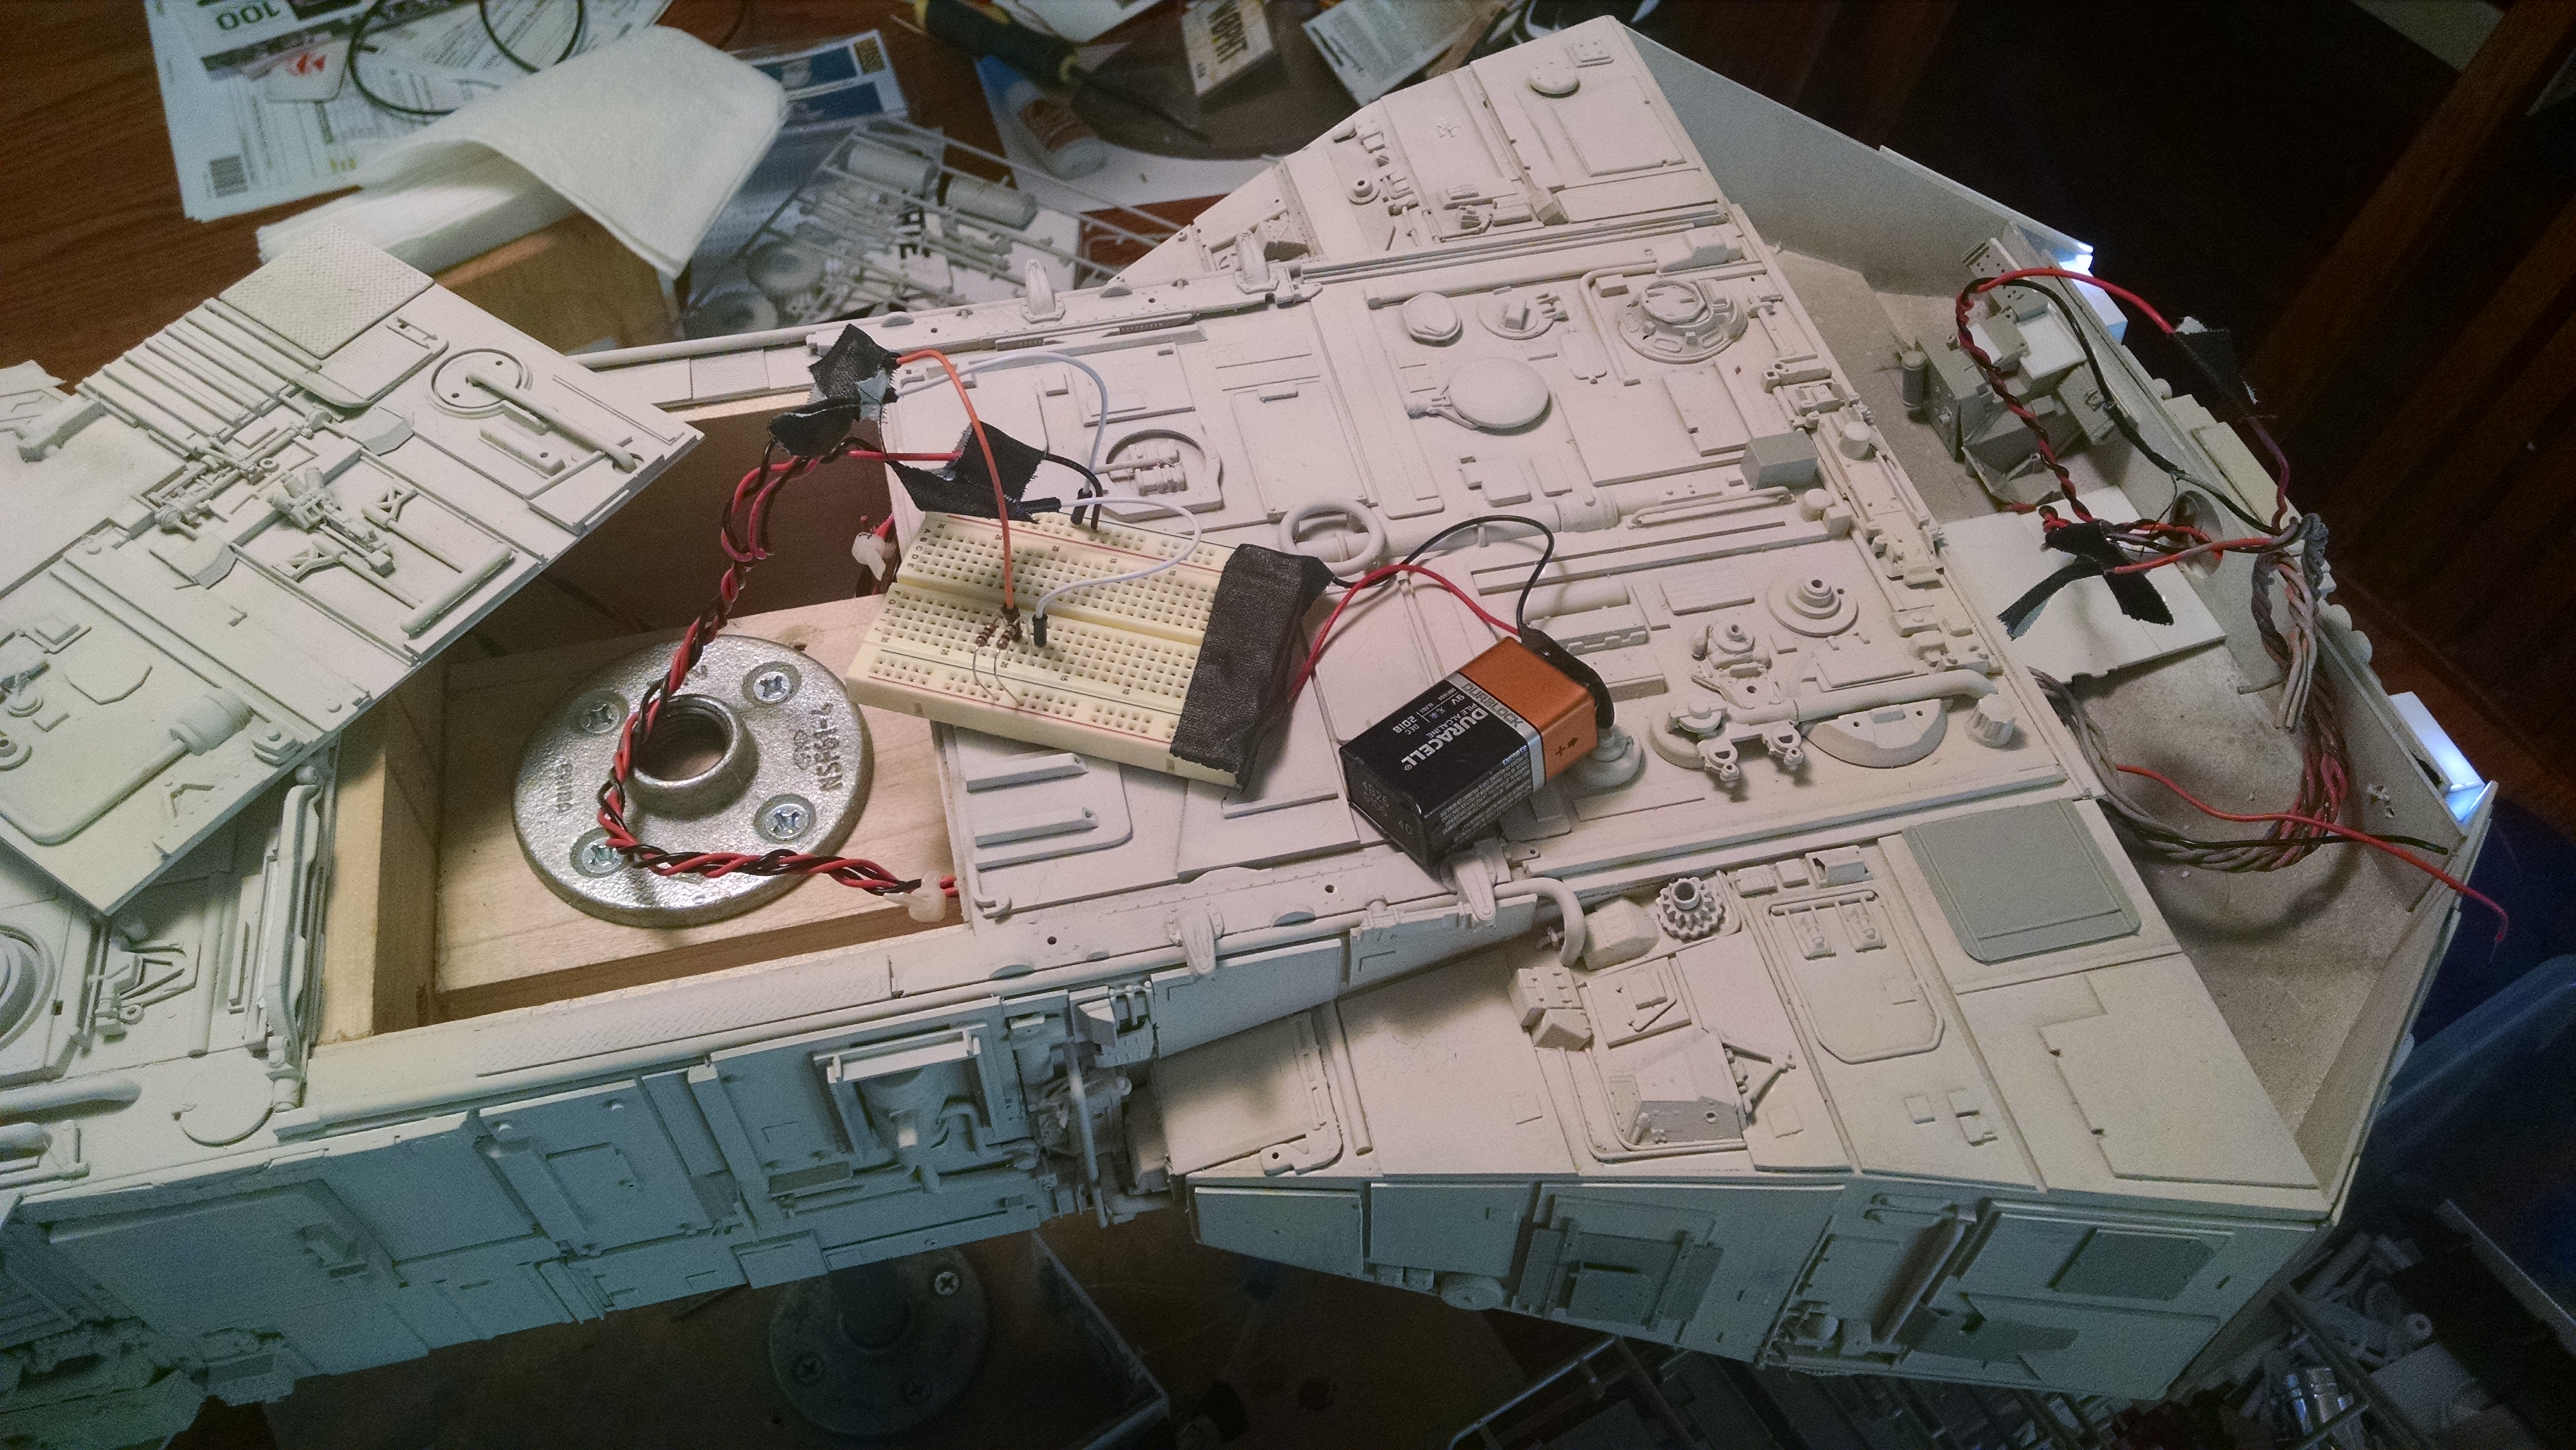
This is the temporary bread board I use to test my simple circuits before soldering them up.
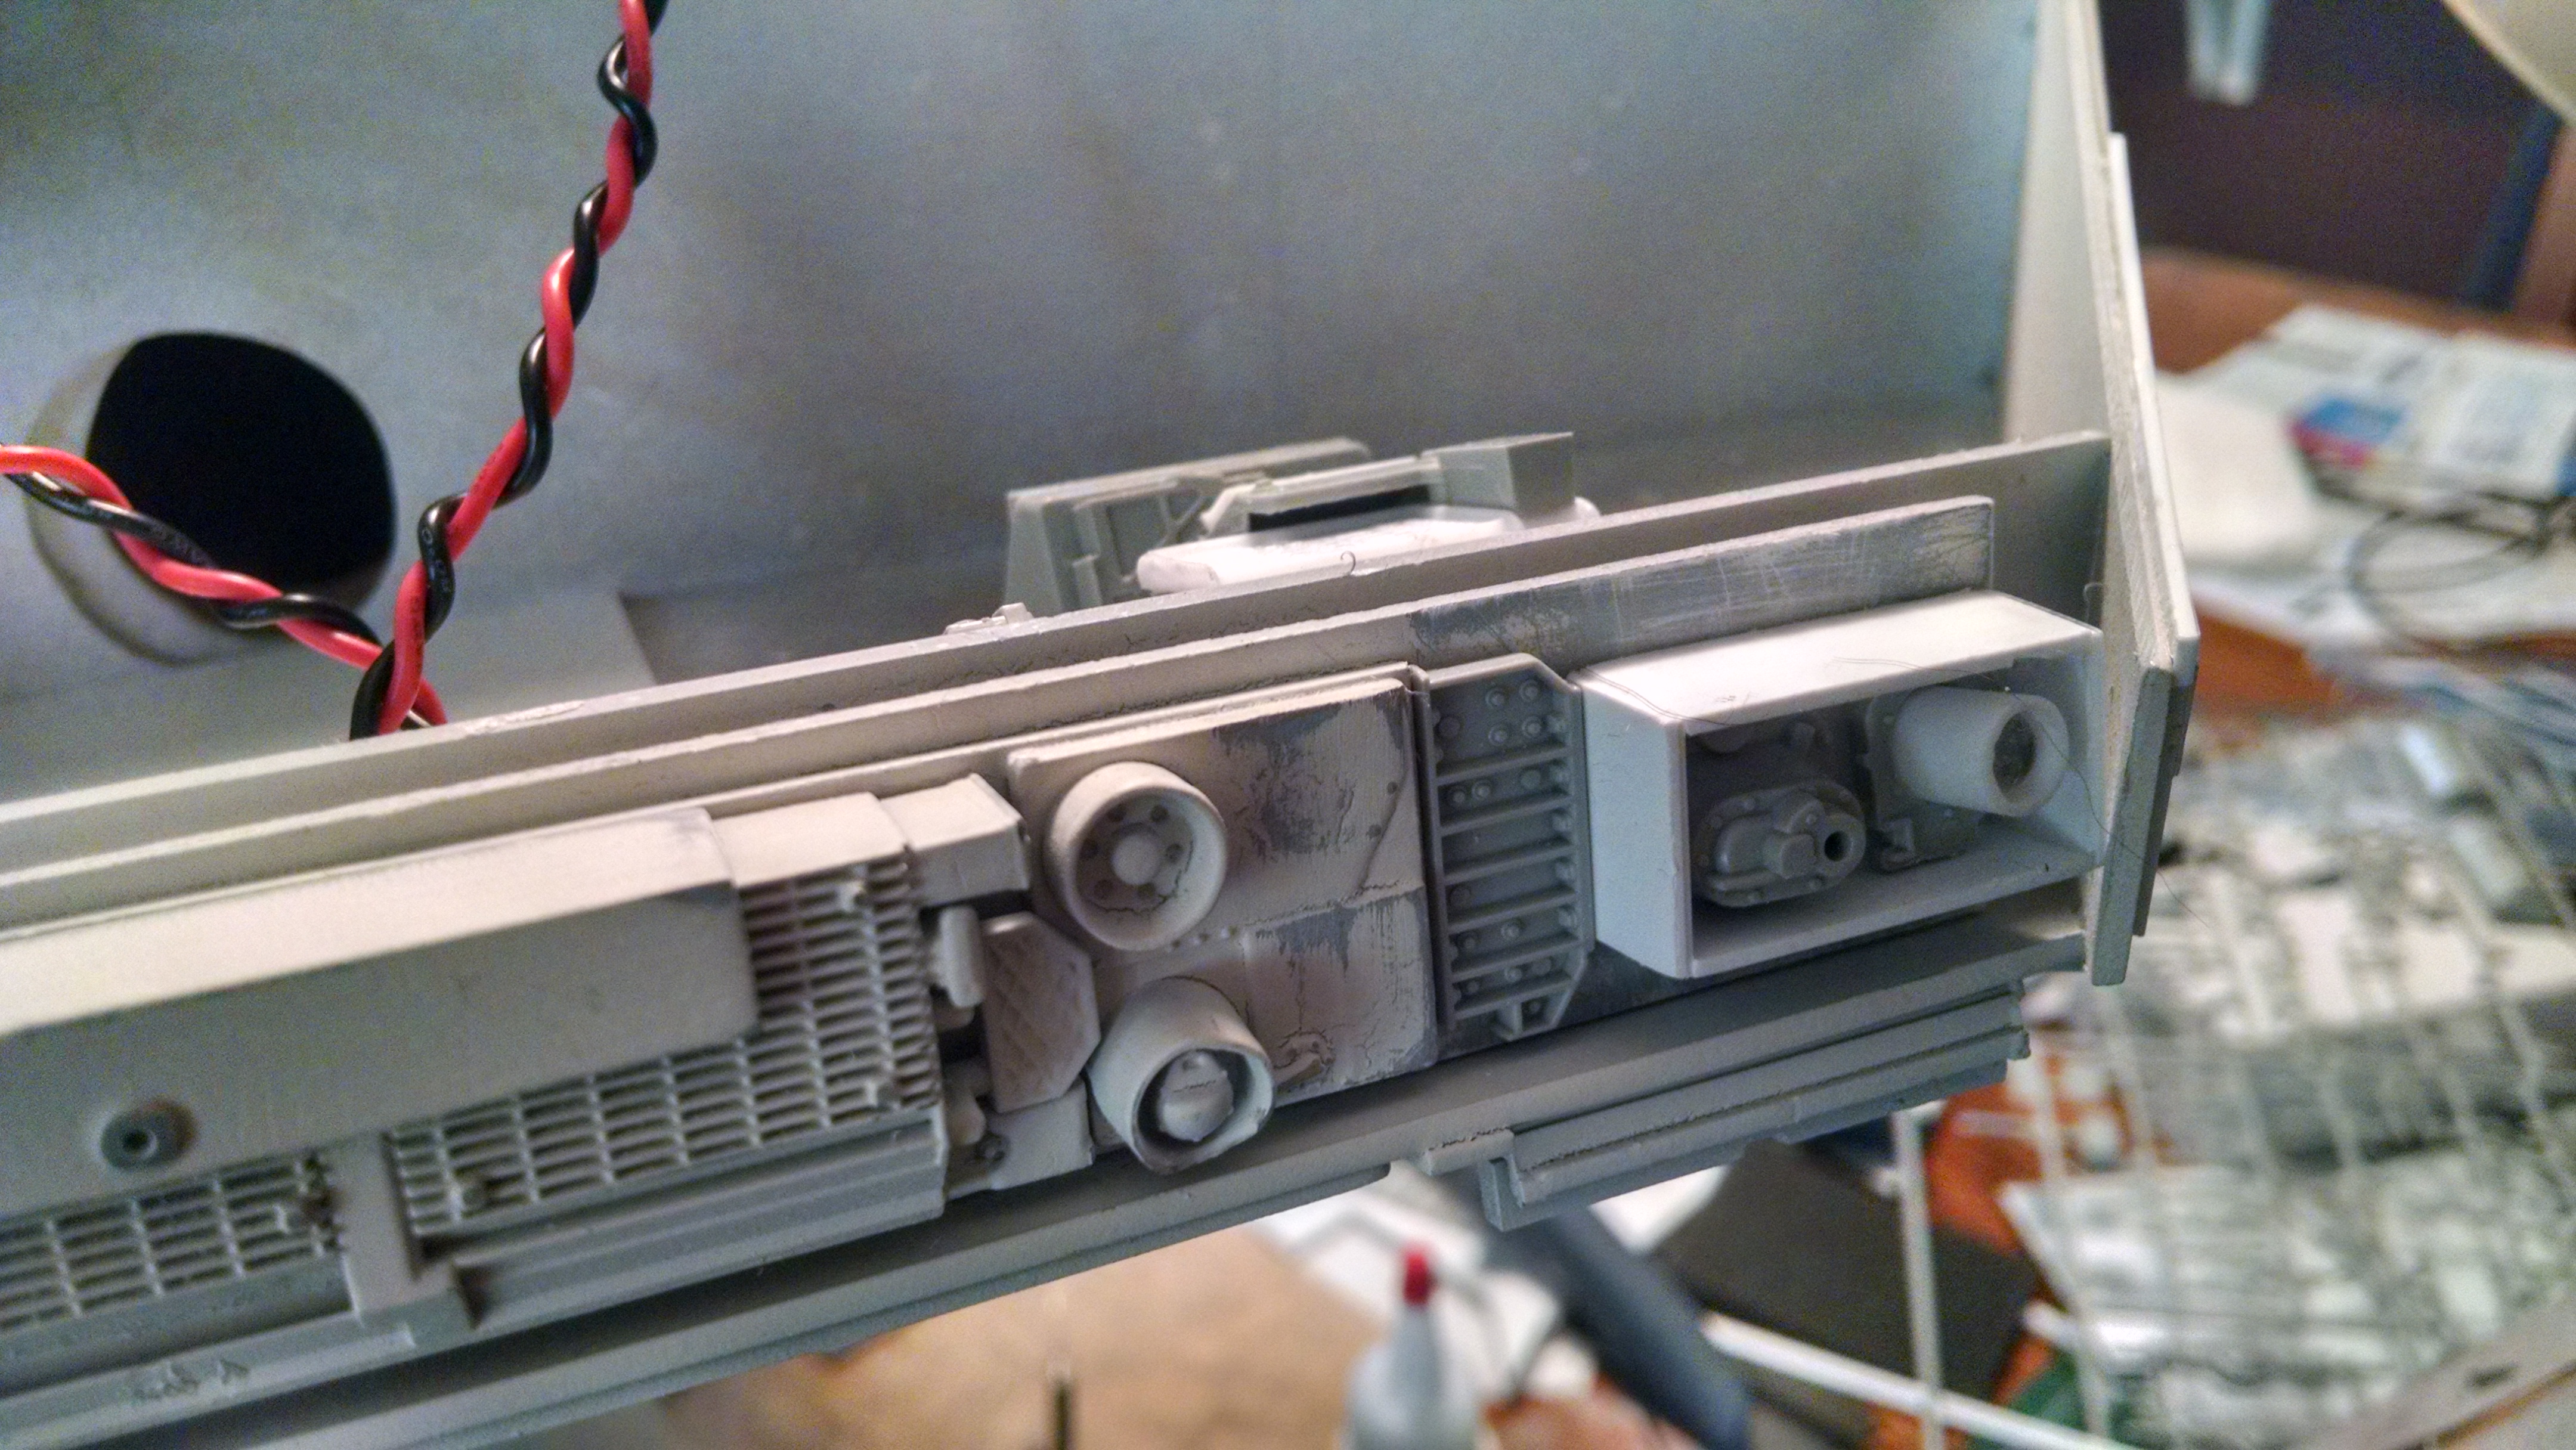
The mounted headlight boxes.

