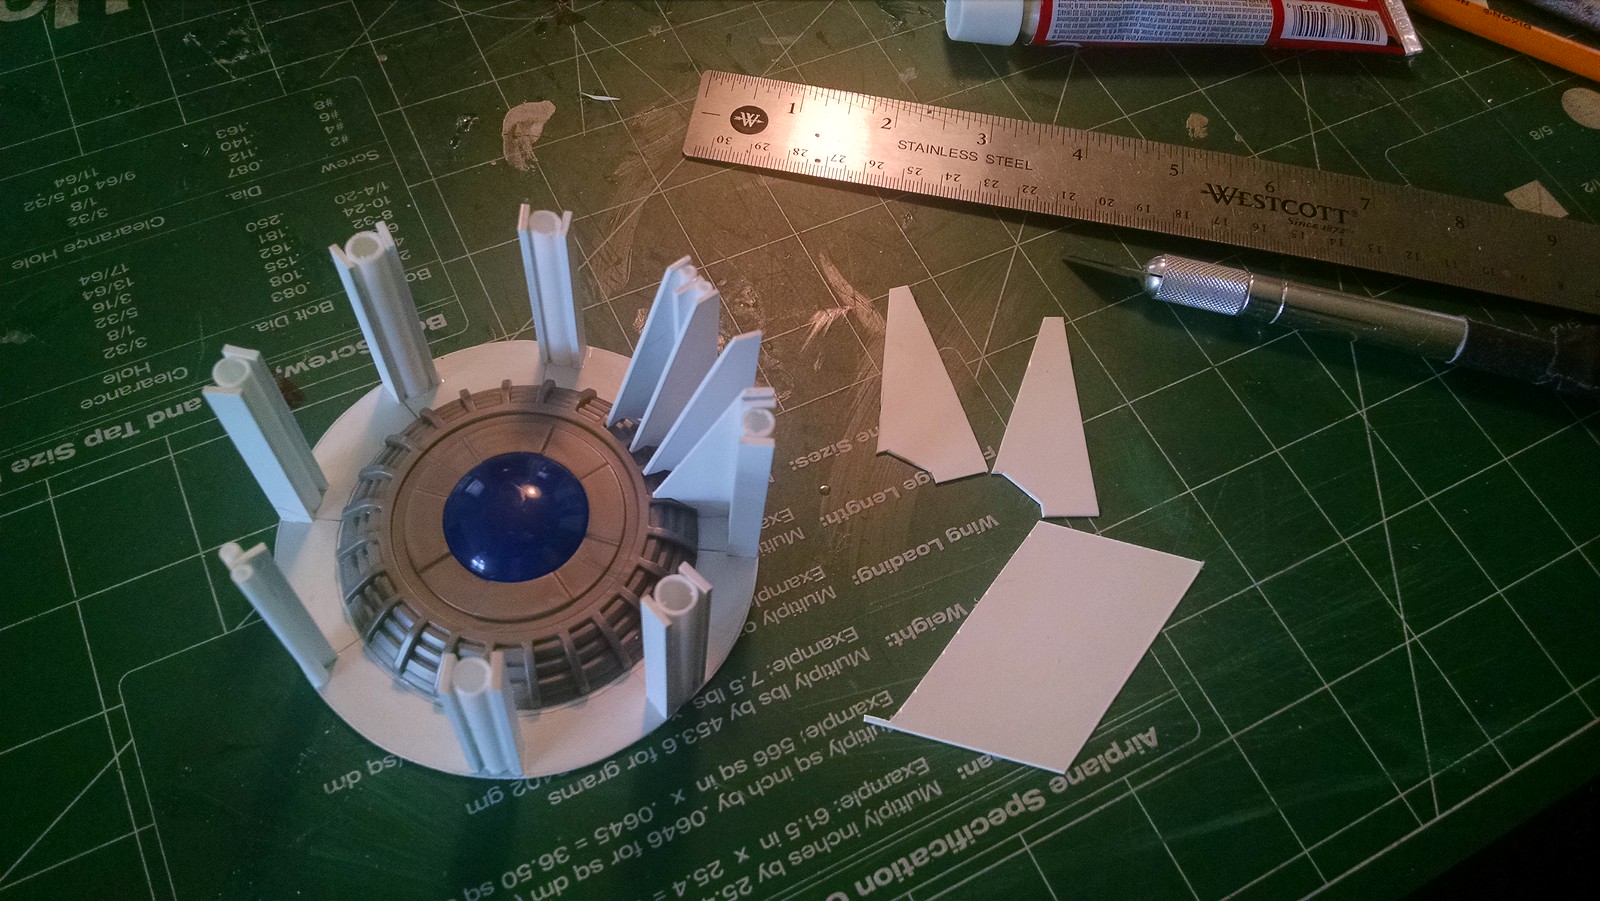
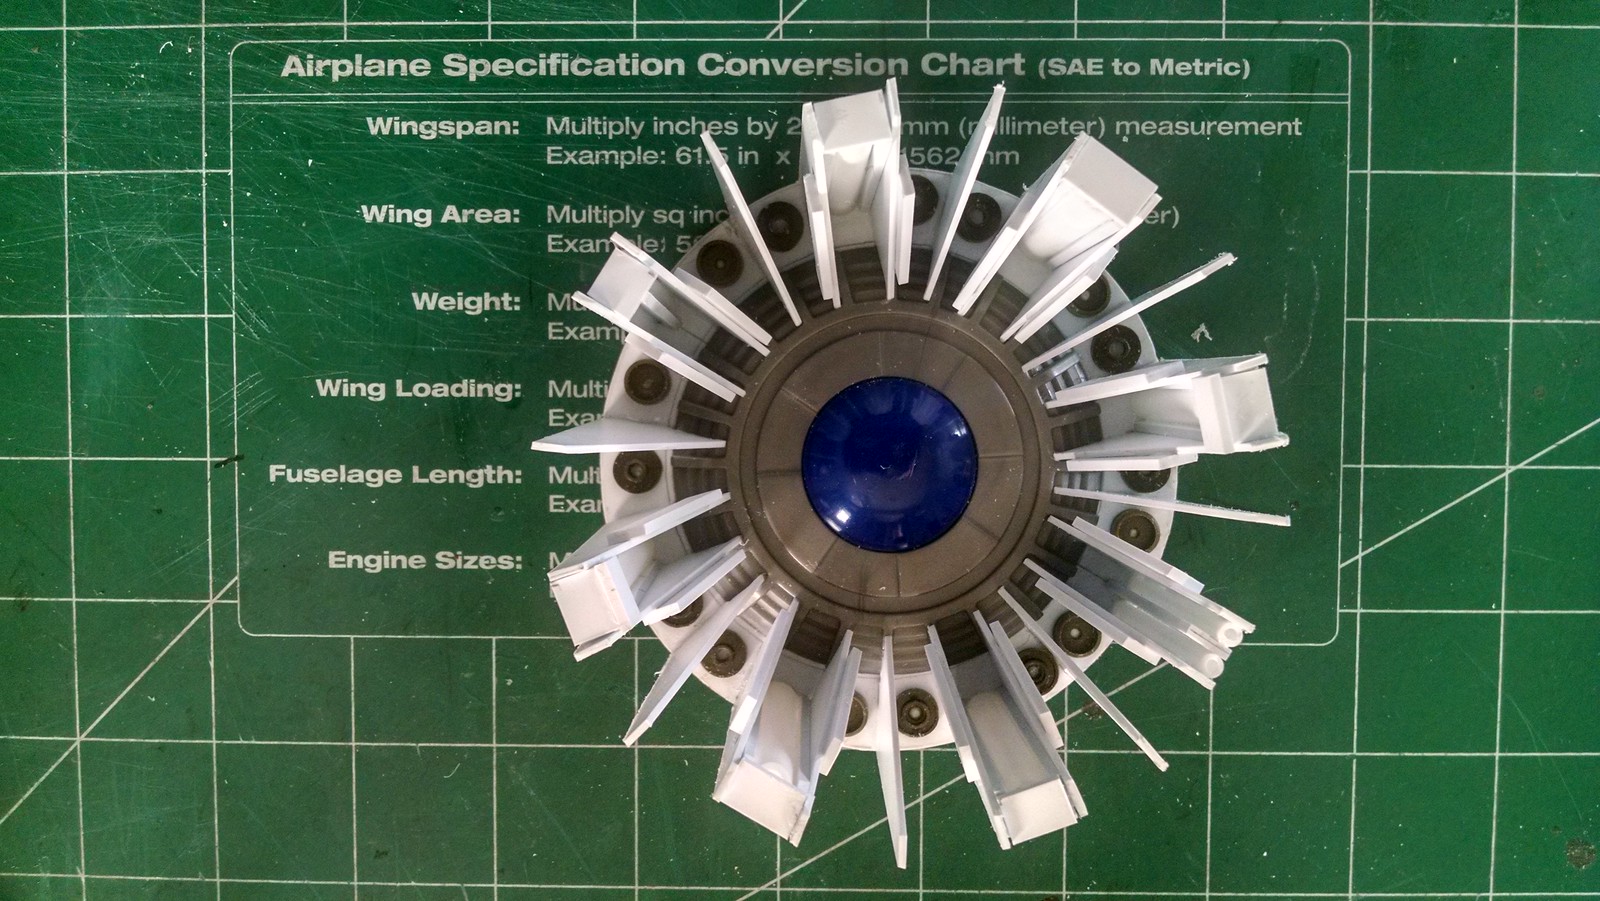
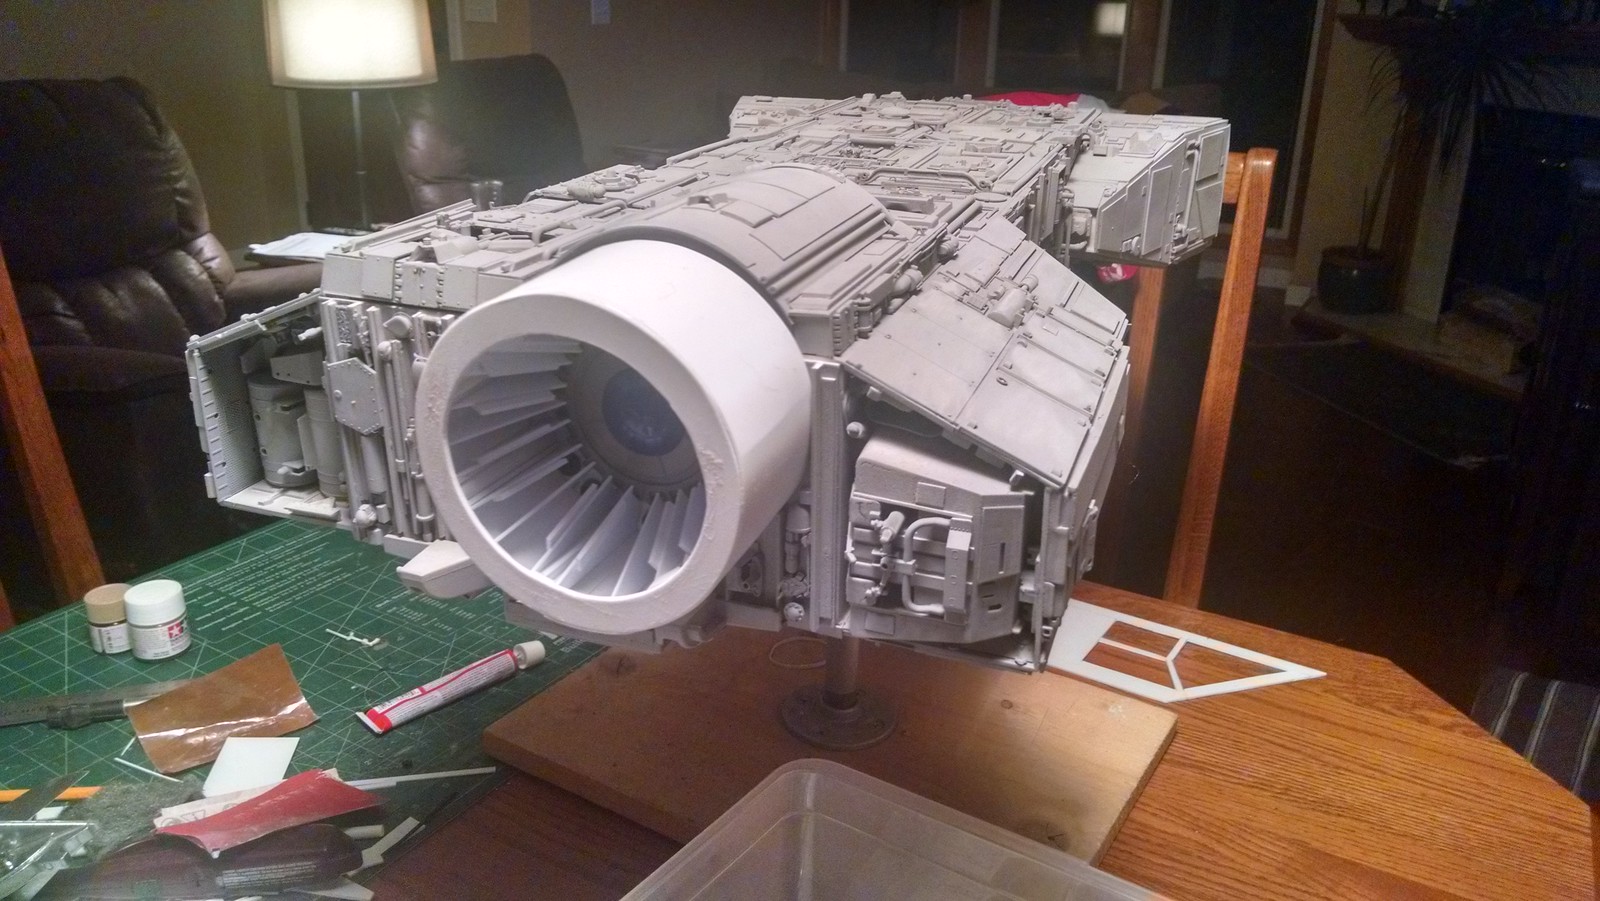
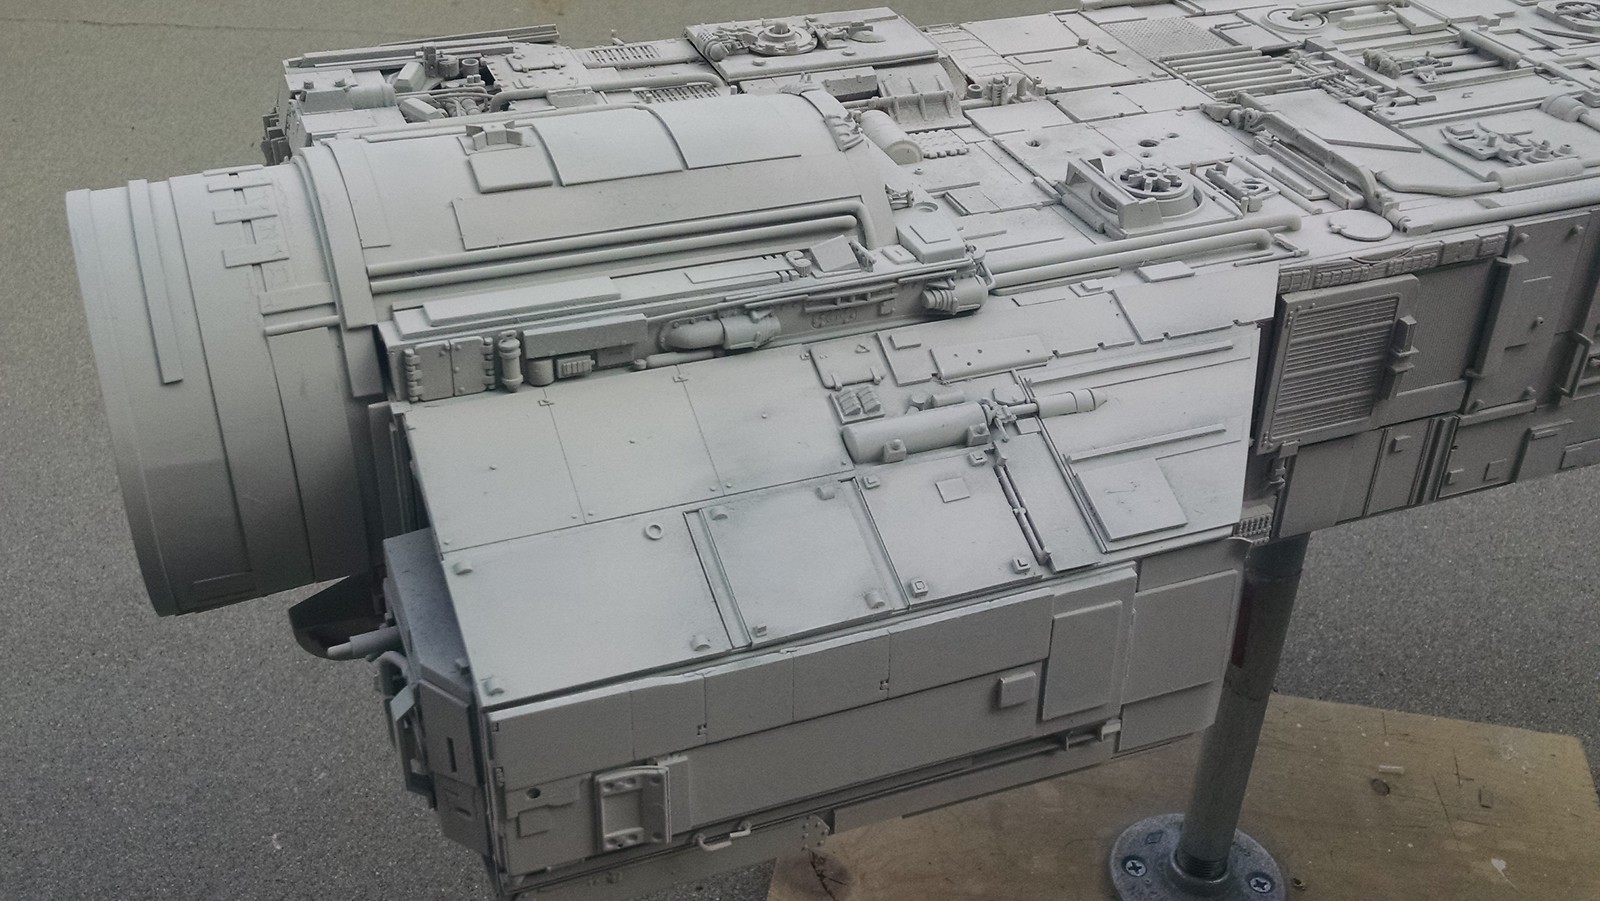
This is the start of the engine detailing. I used a piece of transporter diorama that I had from an old Star Trek toy. It had a blue clear plastic part that would be easy to light up with an LED. I just built up the inside of the engine exhaust with scratch plastic pipe and sheet styrene. Tedious.
But the end result looks pretty good.
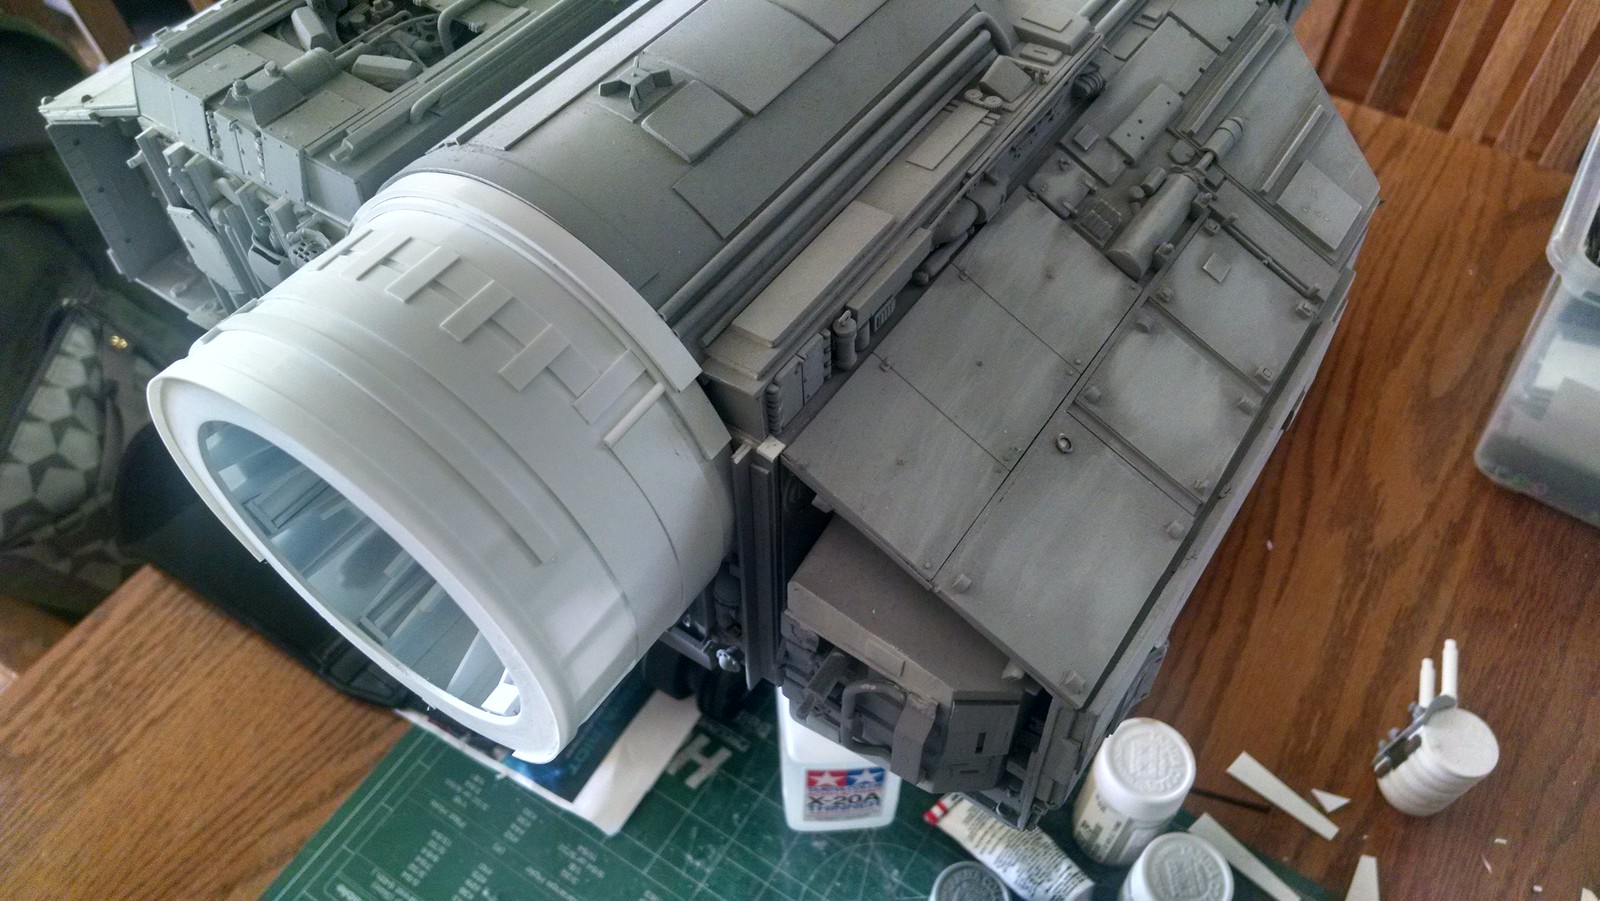
Here are the details used to bring the engine area alive.
This angle shows the bottom front of the Renoke with the rectangular landing pads.
The final bits of details added for the hatch area of the bottom.
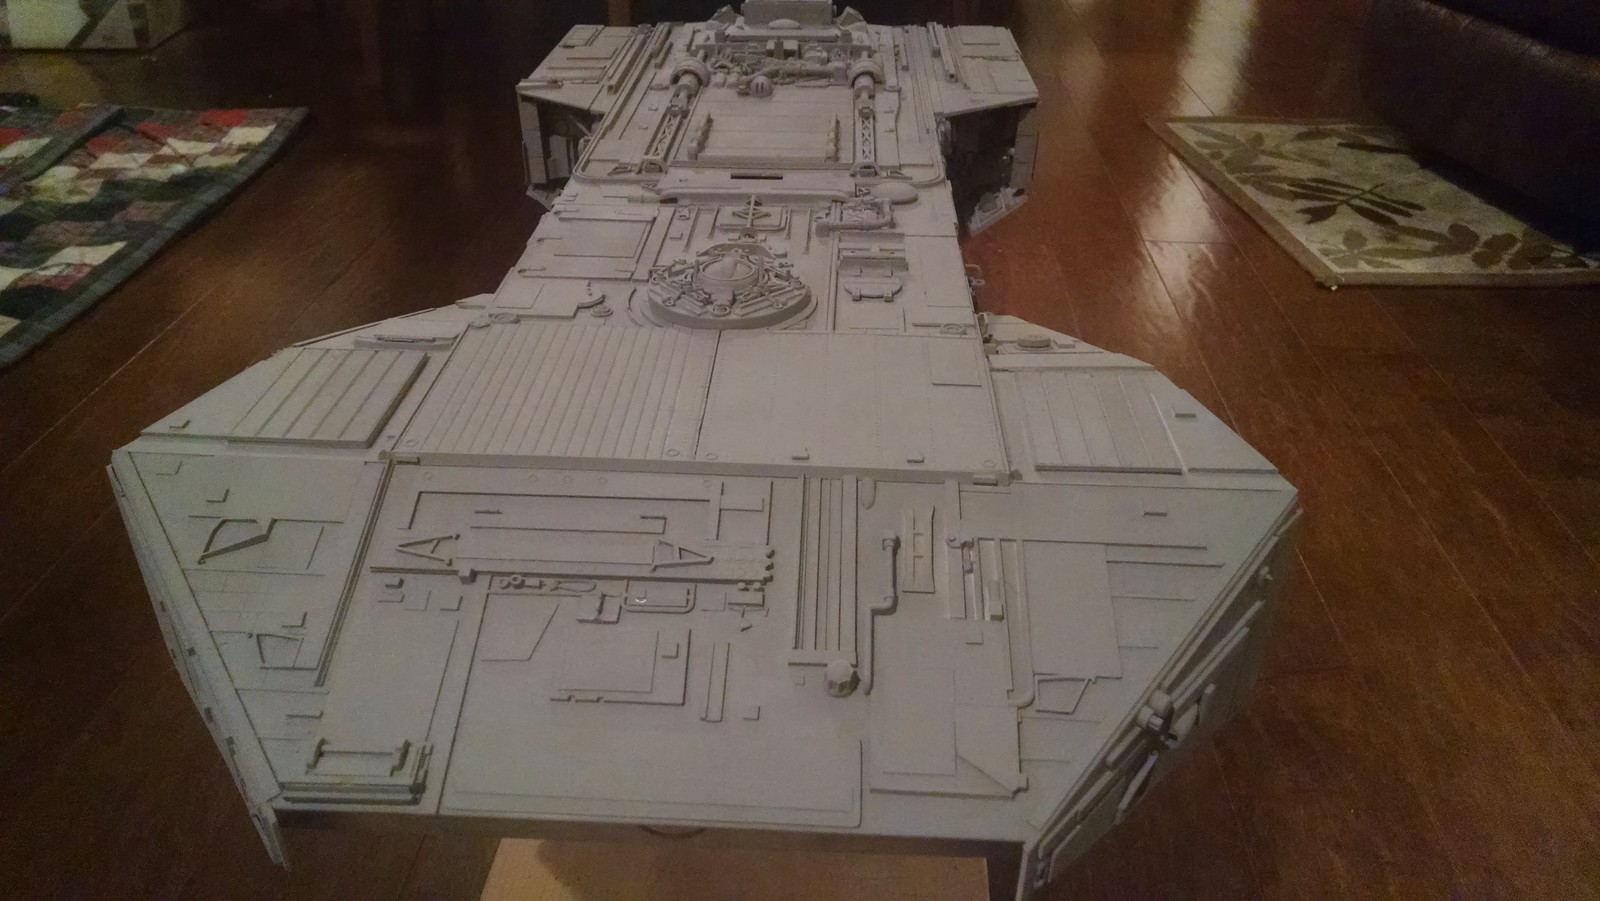
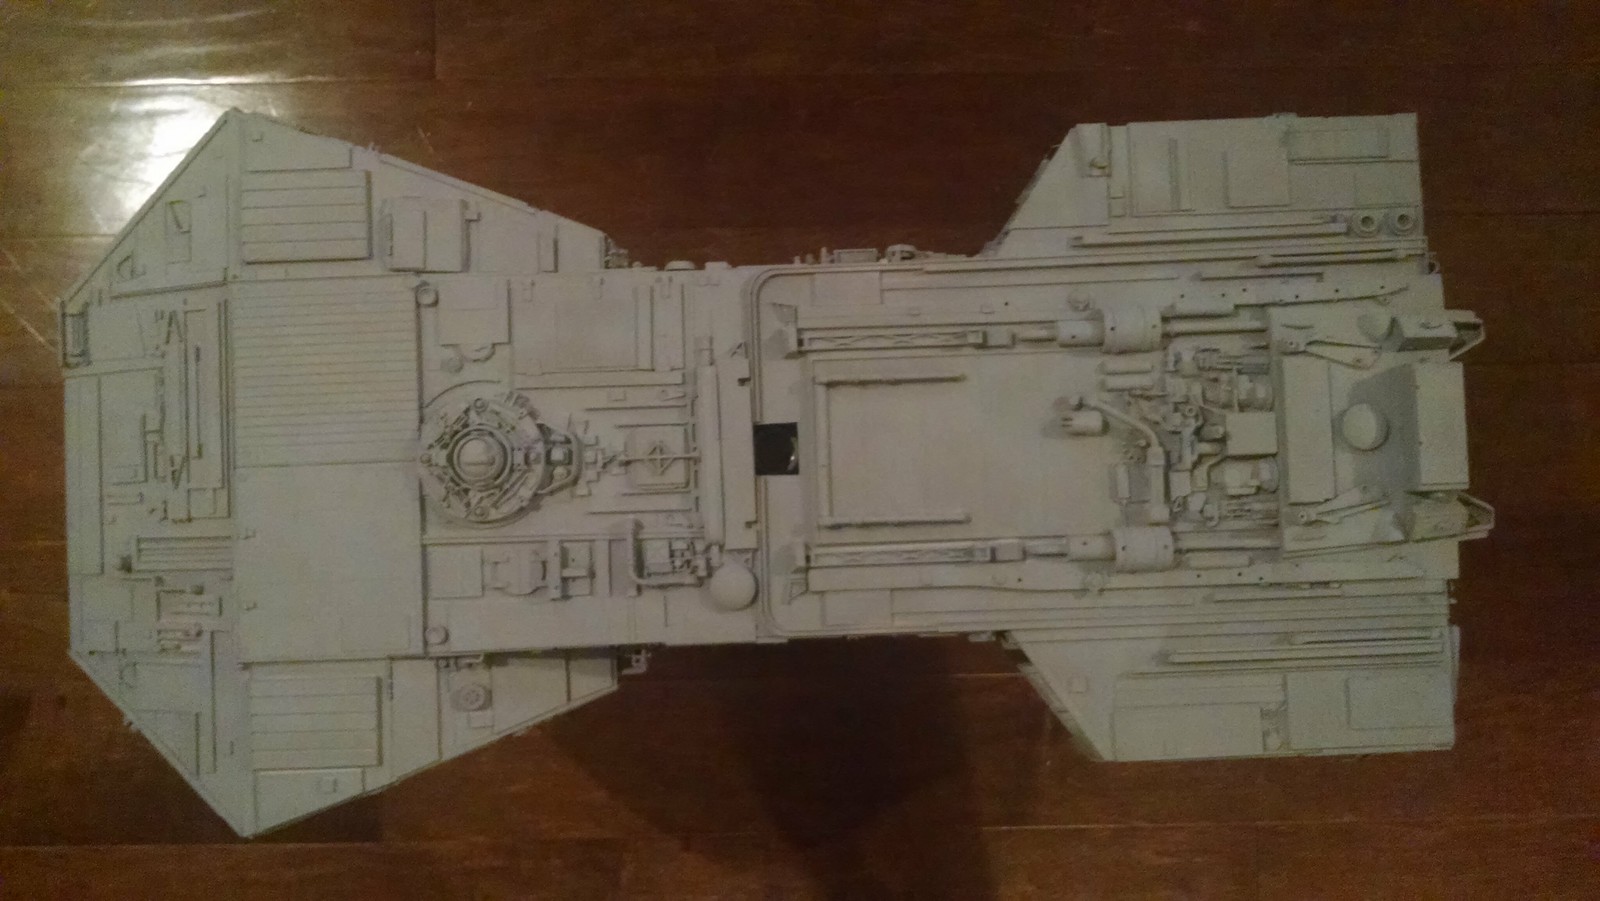
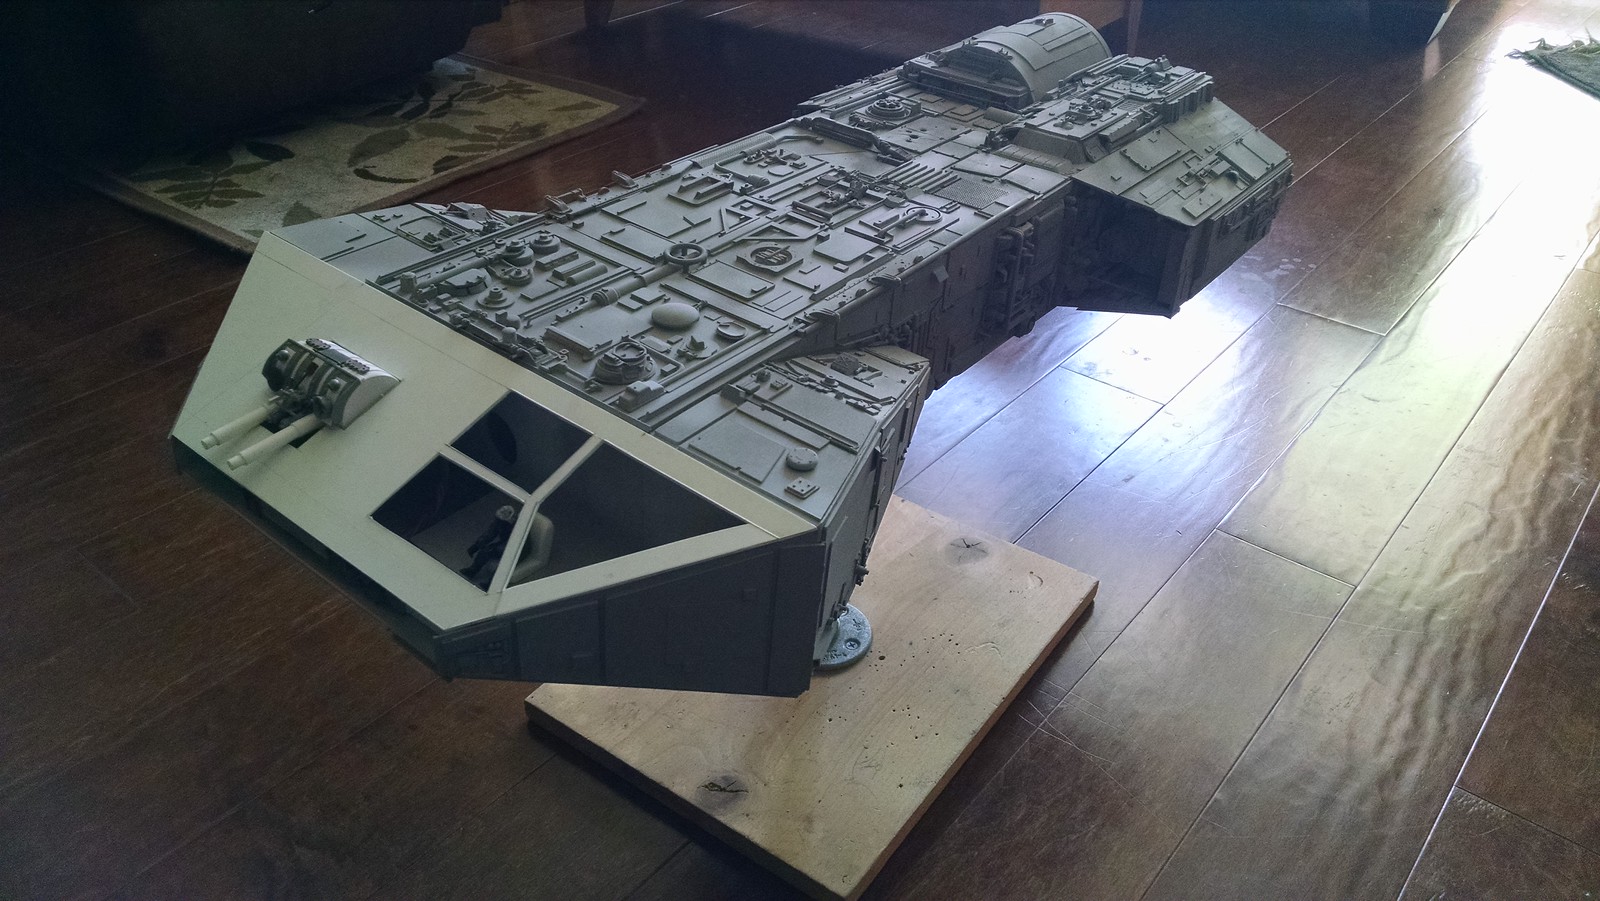
Top of the model after primer.
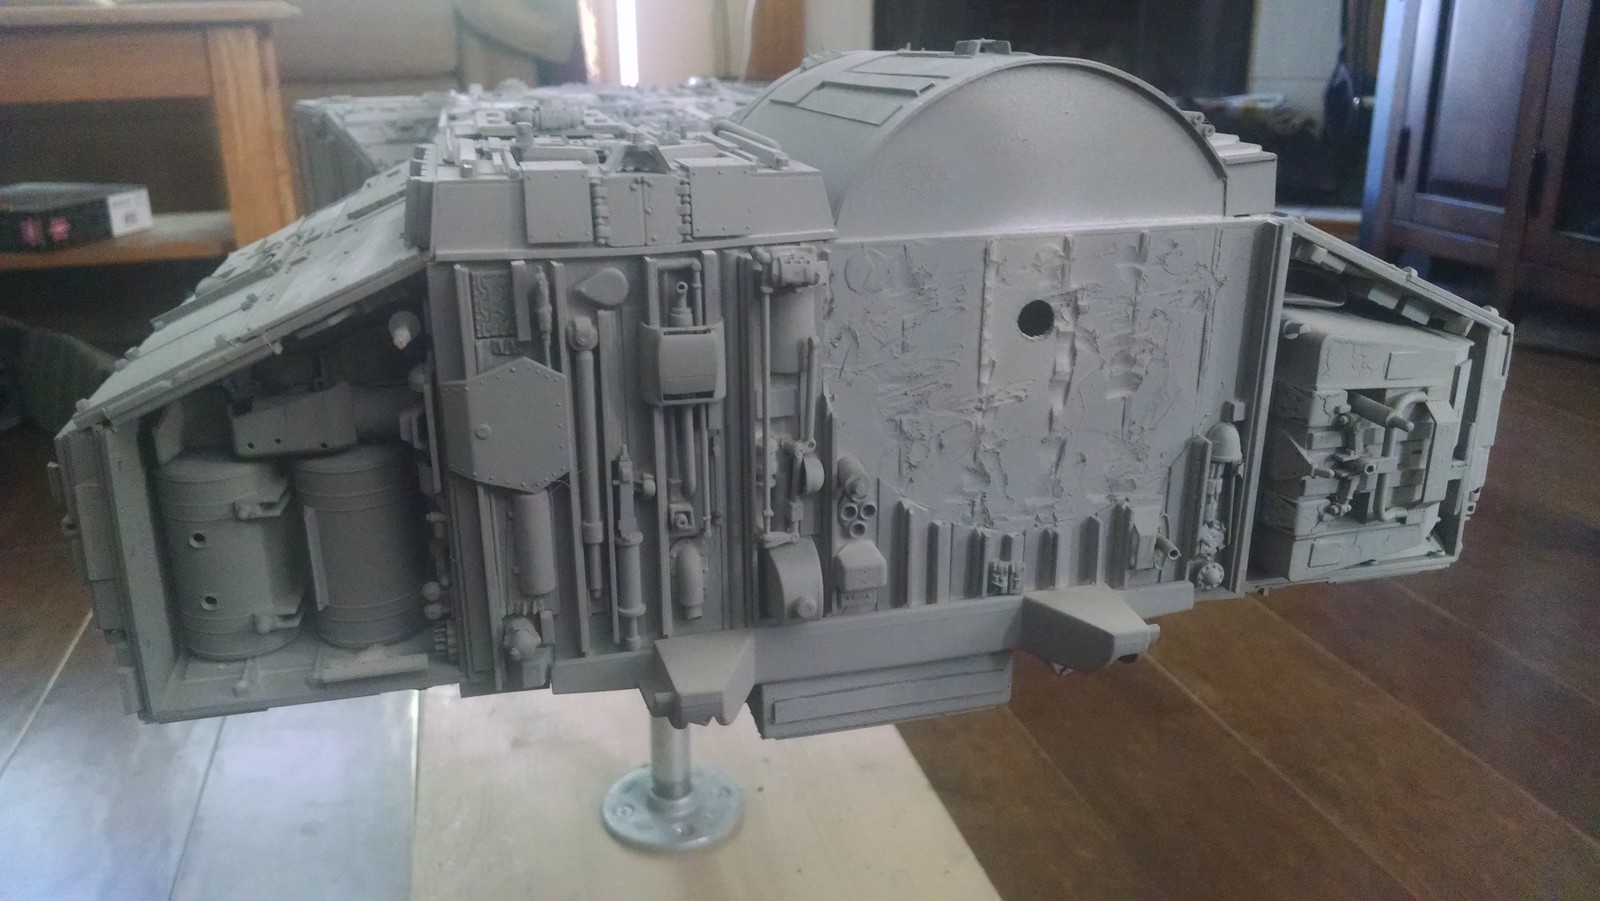
Back of the model after primer.
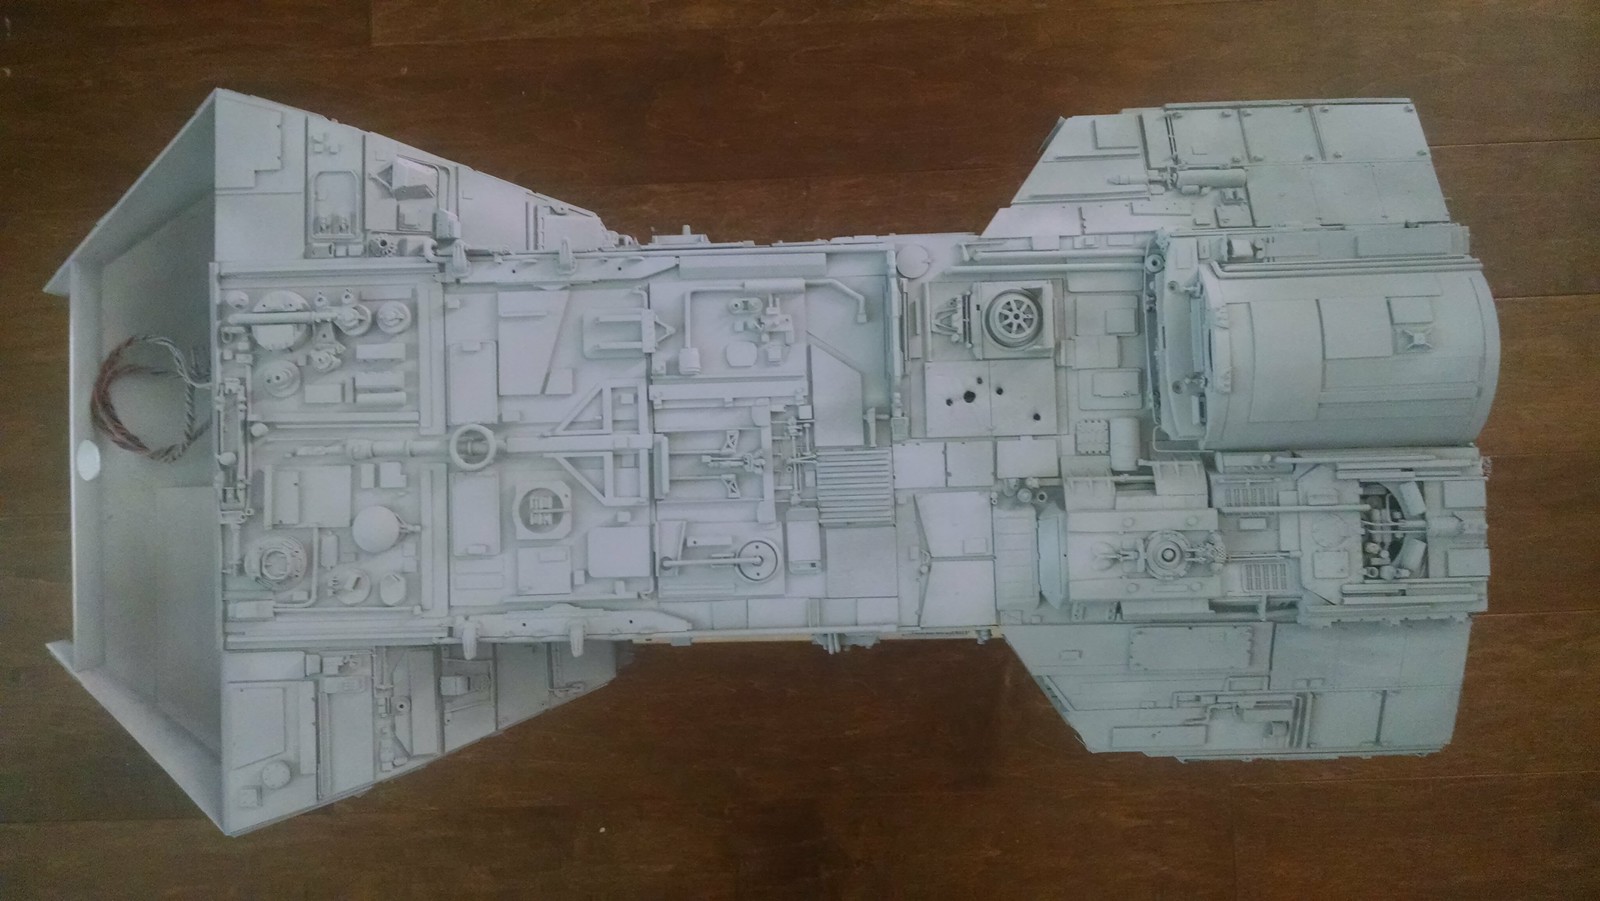
Finished bottom of the model after primer.
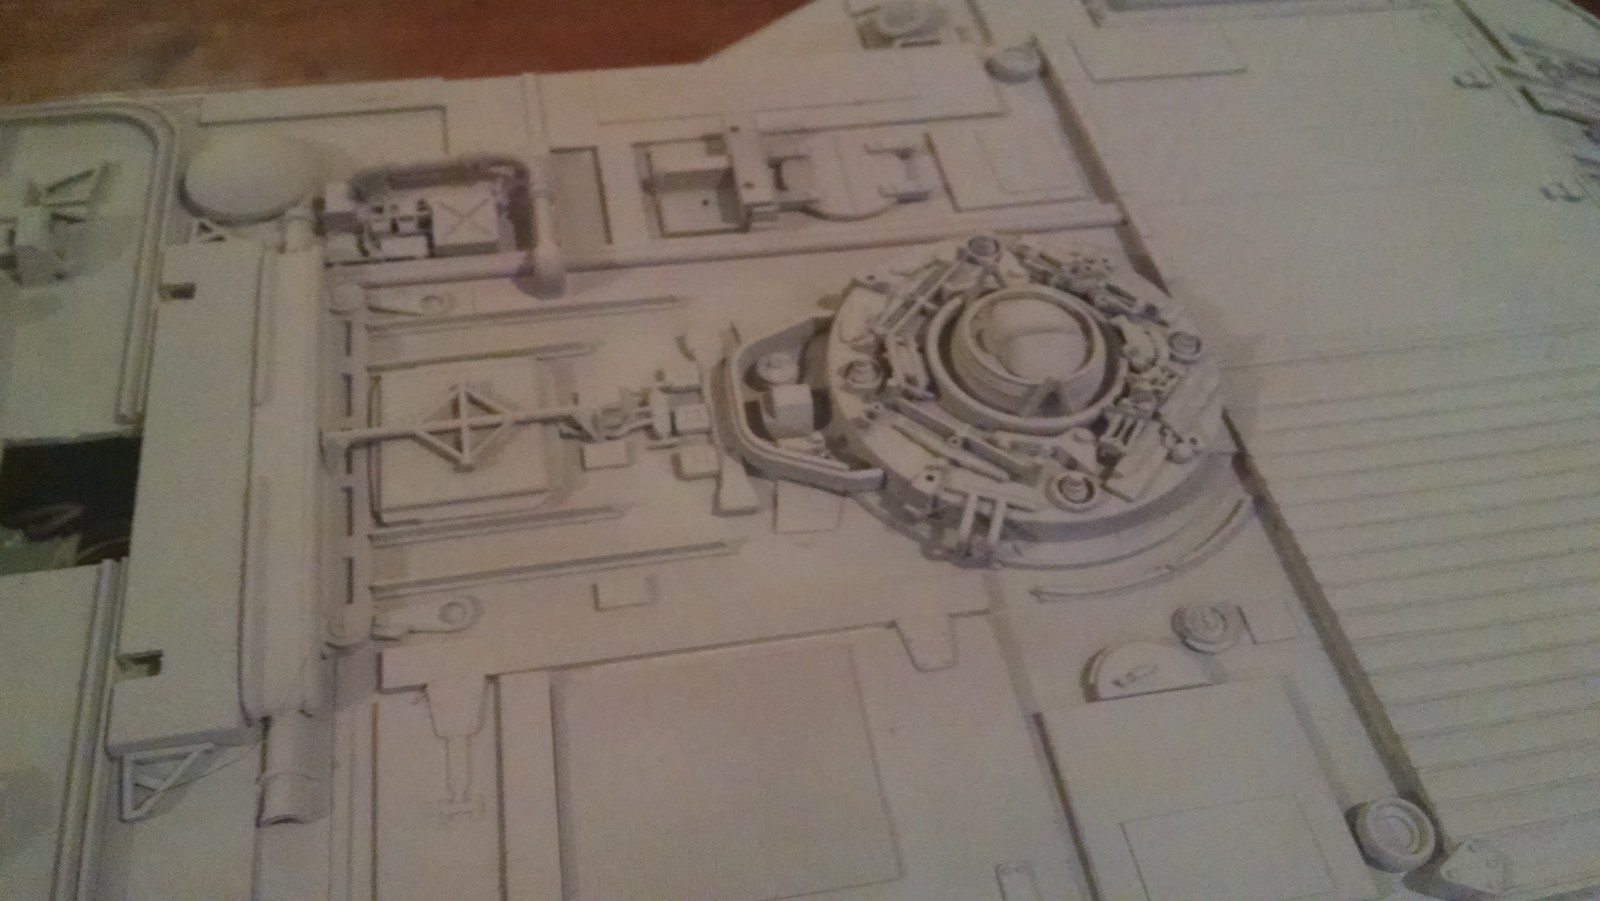
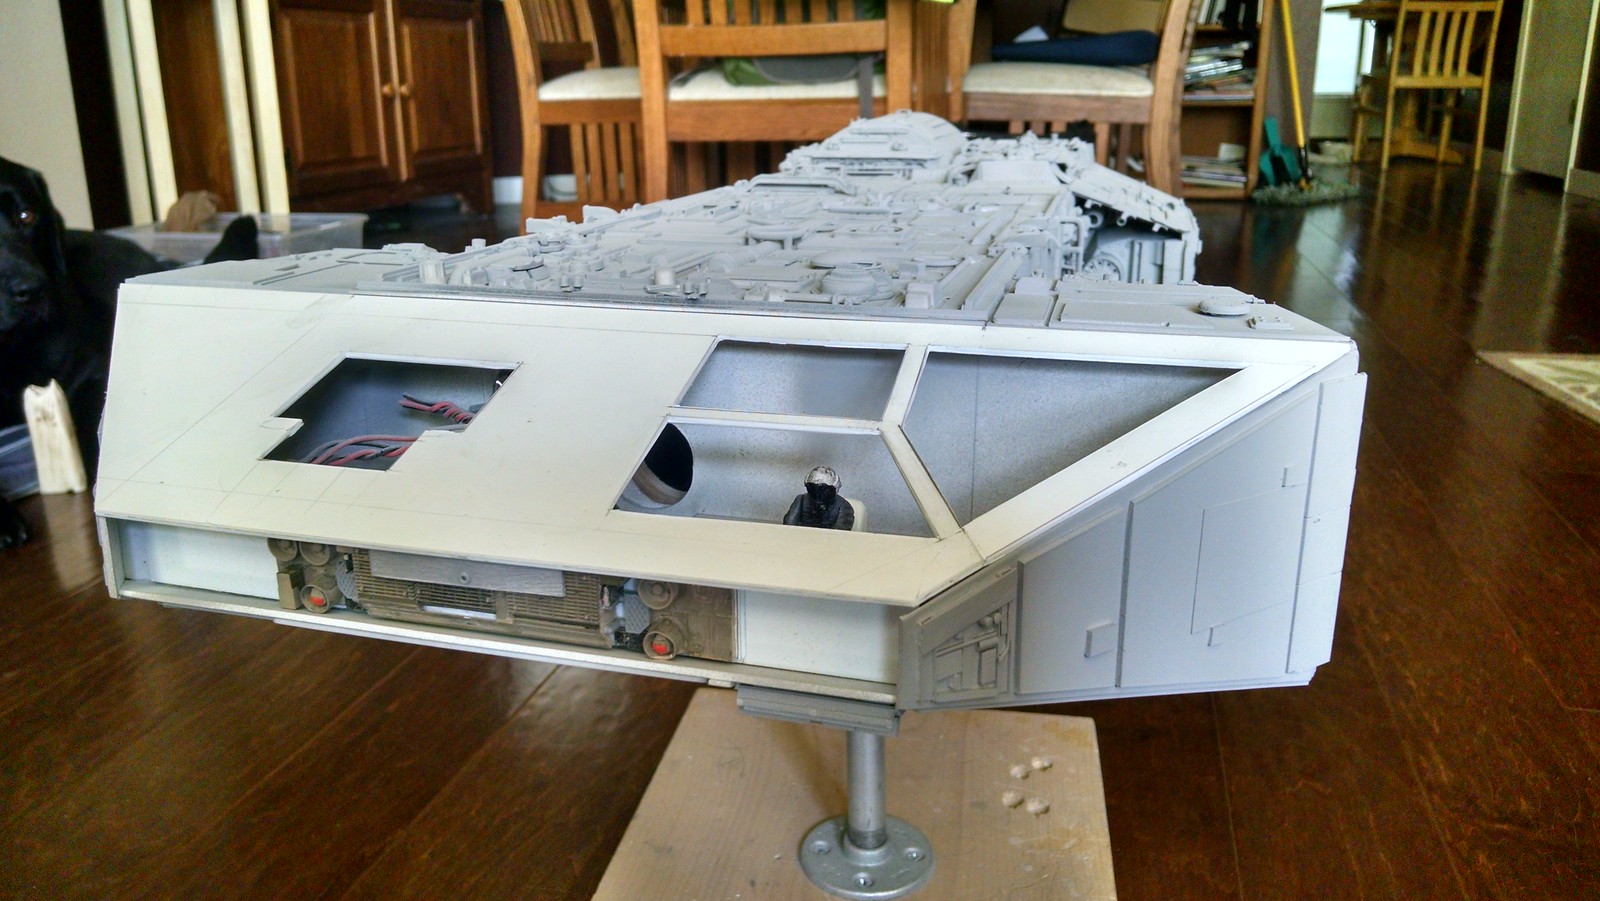
The bridge and front of the top are the final areas to be detailed.
Sanding the primer gives a nice texture. But it will soon be covered with base coat.
