The last two areas to detail are the top of the bridge and the bridge itself. Nearly all of the parts I used for these areas are from the same model kit – the HEMTT Gun Truck 1/35 from Italeri. Beautifully molded parts and nearly all of them worthy of use on a model like the Renoke.
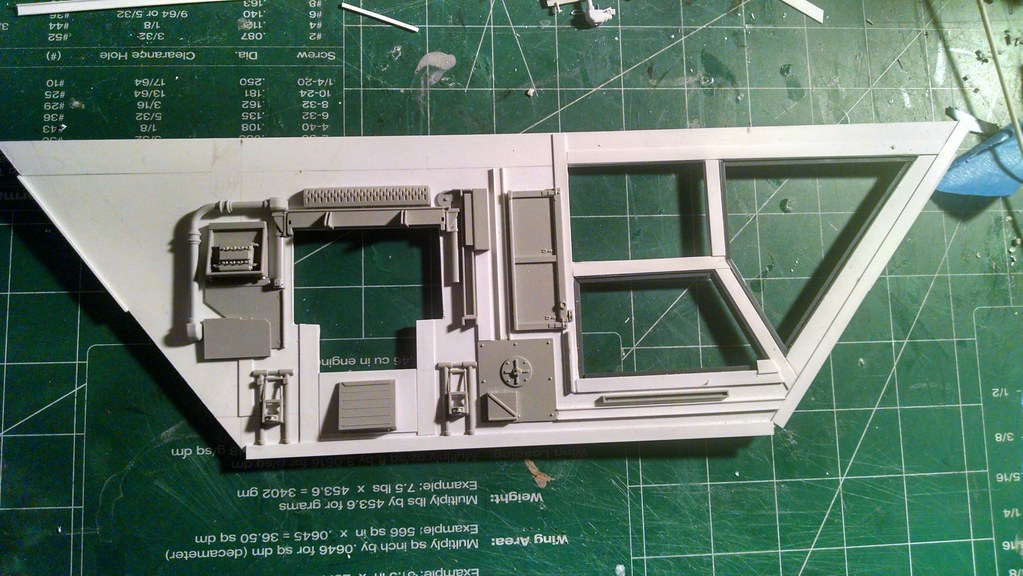
The gray parts above are from the HEMTT kit.
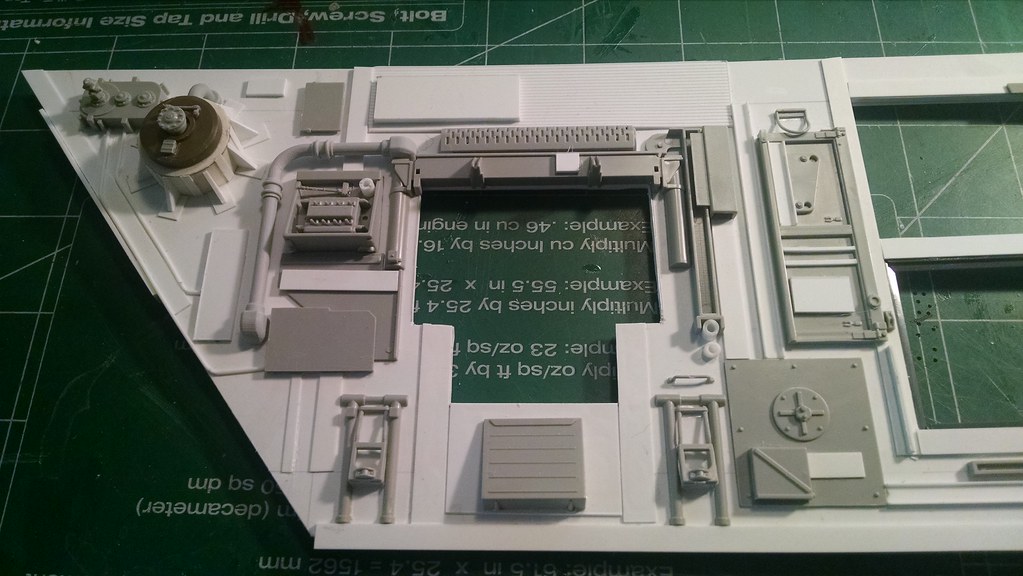
The old crane mount on the left is a piece of 1/2 inch PVC scrap.
There’s only one high intensity LED light in the engine. But it turns out to be enough.

Nicely glowing engine even in broad daylight.

Above is the circuit I used for all the LEDs in the model. Each one wired to a resister and then the leads that carry it to the LEDs themselves. A single 9 volt battery is all I need to light them. Later, I wired a slide switch into the circuit.
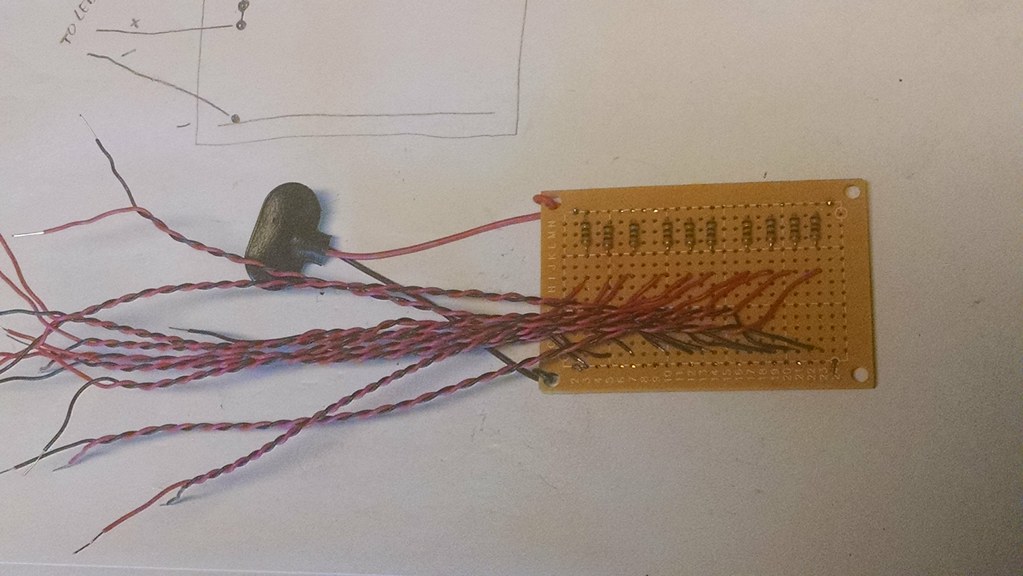
The finished bread board looked like a squid.
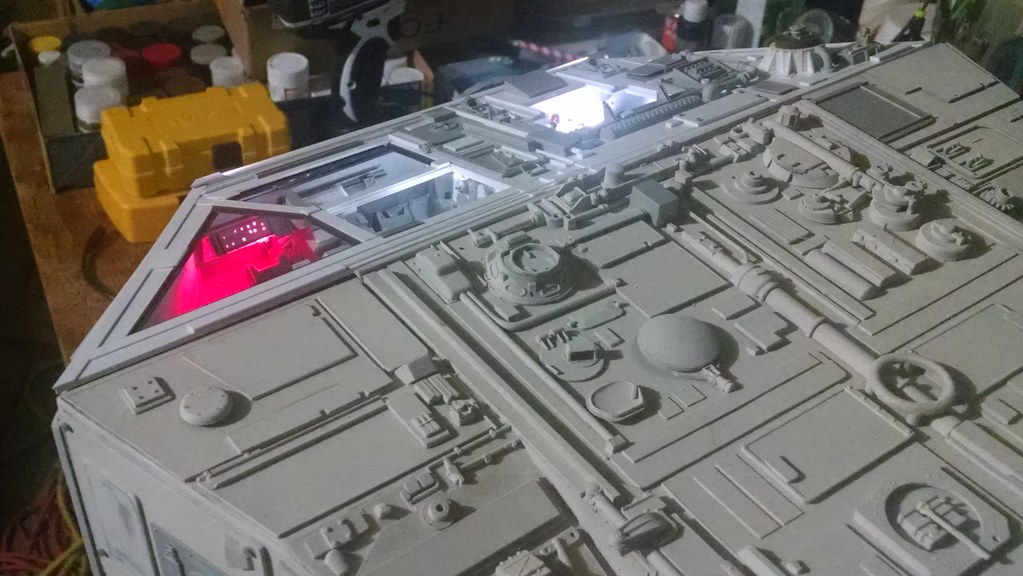
The bridge is lit by a red LED and the fiber optics.
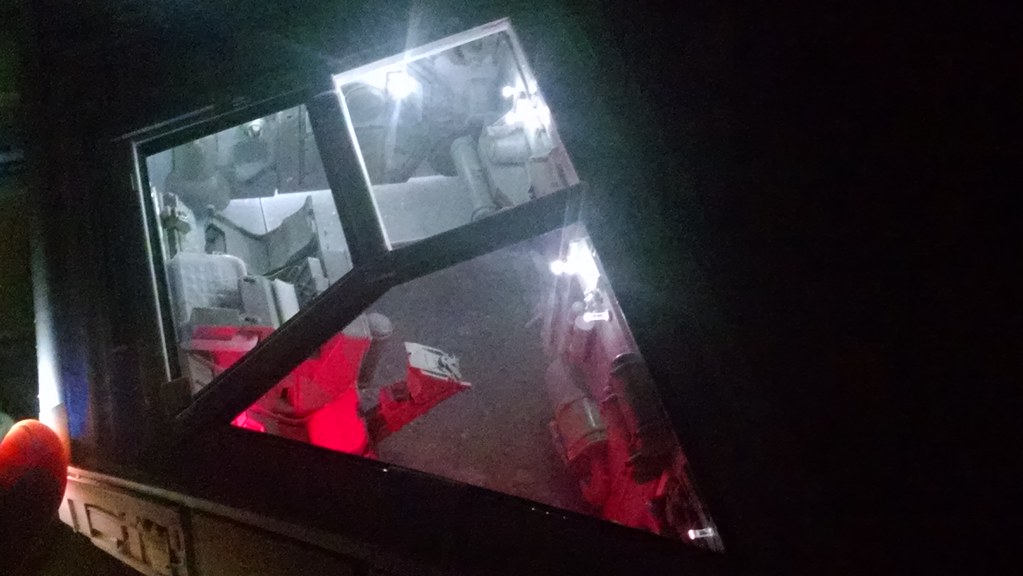
Night time test in the garage. You can also see the two F-4 ejection seats I used.
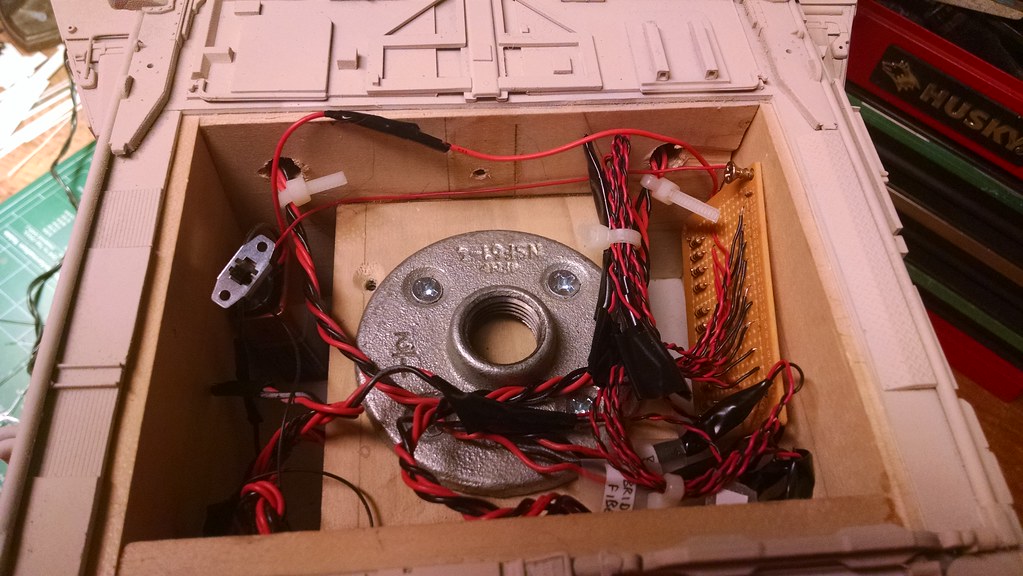
Here is the switch on the left.
I probably should anchor the battery in there too.
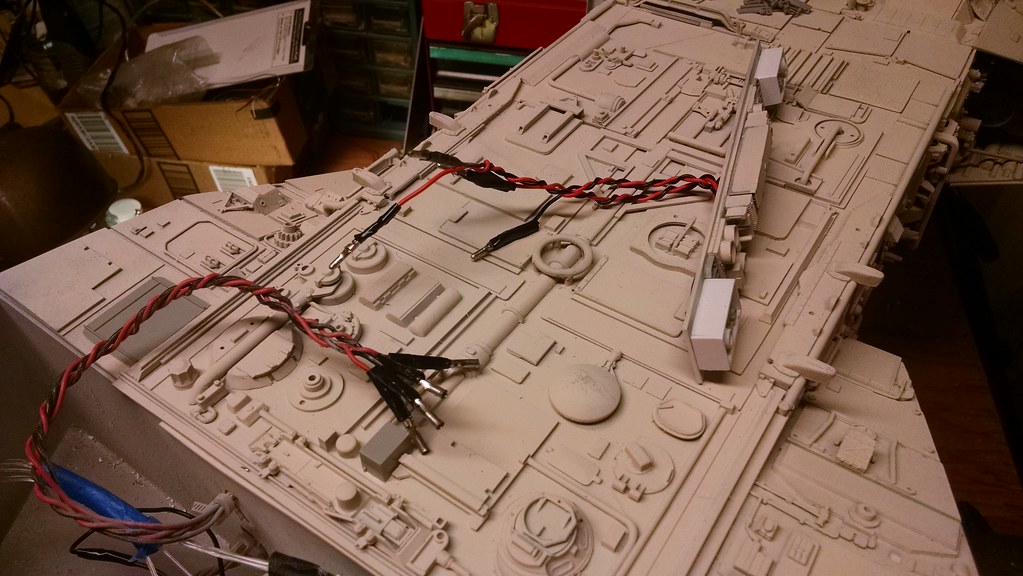
The headlights are connected to the leads with removable metal plugs.
Not what I wanted to use, but what I had on hand.
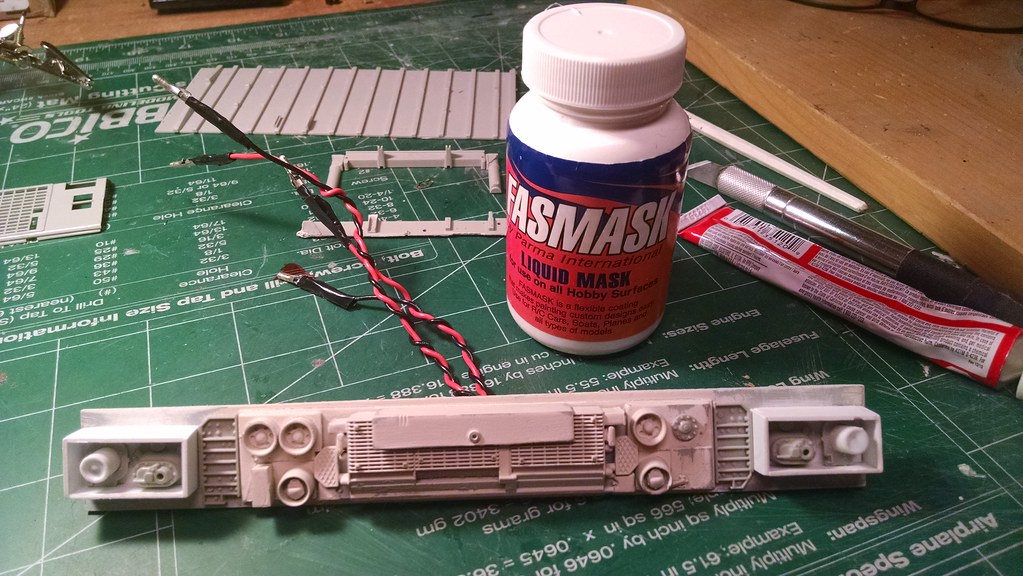
In preparing the headlight area for painting, I used Fasmask to cover up the LEDs.

One final shot of the pretty bridge lights. Next up is painting, followed by weathering.

