This is the second in a series of posts about detailing your scratch built starship models. Part One is here.
Kit Photo Buckets
Every time I get a new model kit in I make a point of photographing the parts trees and then collecting them into a bucket for later use. This lets me refer back to where a part came from in case I need to get that kit again. I spend way too much time on Google Images searching for similar model tree pics for models that I’m interested in purchasing.
Here’s an example of a photo bucket for a model kit I’ve used.
This bridge on a tank model was a gold mine for great parts to use on a warship.
When the model parts are molded in light colors, use a dark background. When they are dark, try and use a lighter background color. It’s no more complicated than that. I don’t spend a lot of time on it and I include a picture of the front box art so I can order it again.
For each model that I scratch build I have to asses whether my boxes and boxes of kit parts is going to cover it. Not only in volume but in type of parts. For instance, tank kits are great for mechanical parts but you always wind up with 200 road wheels that you never use. So, do I really need another tank kit? Maybe I could get a boat kit or a train or here’s a wild hare, how about a truck accessory kit? Believe it or not, I’ve used all of these examples.
Boat kits are awesome for starships that are the same scale as the boat, in this case 1/350.
Generally, if you are replicating the used car look of ILM models you need lots of mechanical pieces to include pipes, boxes, gears and grills and engine blocks. The trouble is, if you just slap them on your model without trying to integrate them correctly you wind up making a model that people look at and go, “Hey, that’s a tank cannon, right?” This is not good. You want your detailing to imply actual mechanical devices that do something. Form follows function. Is that a flapper thingy that pops up from the fuselage? Maybe it needs a hydraulic activator arm under it. Starfighter engine? Maybe it needs some pipes or tubes around it like a jet or rocket engine. I’m not suggesting that you know what every piece does, only that you make the viewer think that it does something.
Strips of plastic on the body remind the viewer of wing strakes on fighters, while plates behind the cockpit remind one of armor.
This is where we cross over from amateur modeling skills to pro level skills. The best models make the viewer think, “Damn, that looks real as heck. Like it could take off and blast a TIE fighter into a million shiny pieces.” Detailing can go a long way towards suspending the disbelief that you’re looking at an actual machine rather than just a model.
Truck parts and pipes used to build the interior of a 1/32 scale starship bridge. They suggest a working, mechanical ship.
That same bridge in the finished cockpit, complete with weathering and lights.My creations are usually built to be photographed for my book covers. So I build them with that purpose in mind. My models don’t have glass cockpits and sometimes they are unfinished when viewed from behind. Why detail and paint what is never seen? So far I’ve only done this once with a large scale KiV-3 model for the cover of The Rising. Usually I complete the model because I never know from what angle I’ll be taking the picture. Or I want to give myself options to photograph it from any angle.
Here you see more than one mount point inside this fighter using a block of RenShape and set screws.
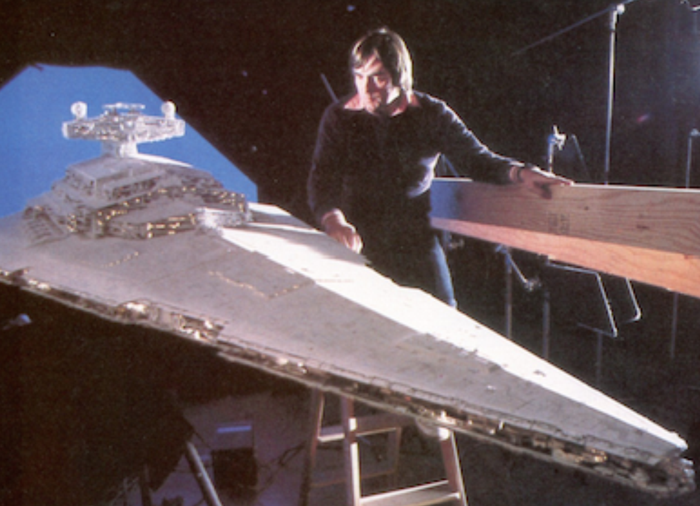
My models always have more than one mounting point and each mounting point has to be hidden from the eye. Display models typically only have one mount on the bottom or through the engine exhaust. But I need the flexibility of multiple mount points. This is why models are more like movie models or Studio Scale models. Typically a model is built to the scale needed to photograph or film it. Most of them are much bigger than you’d first expect. Some of the Star Wars models were measured in feet not inches and they weighed hundreds of pounds.

The massive Star Destroyer model built by ILM for The Empire Strikes Back.
I can’t build my models that big. I’d have no way to move them and no room to store them! So I usually stick to 1/350 to 1/32 for starships and starfighters respectfully. Sometimes I’ll build a smaller fighter in say, 1/72 or even 1/350 or a larger fighter in 1/24 scale to show off more detail.
The large scale KiV-3 model’s cockpit was super detailed because you can see it on the cover quite well. Behind it is not even finished because you would not see it.
Non-Kit Parts
Don’t limit yourself to just model kit parts. You can use any plastic or even some non-plastic parts. I prefer solid plastic pieces and not flexible pieces that are more rubbery, because they don’t stay glued on. I have boxes of greeblies that are collected from all aspects of my life. If it looks interesting, I’ll save it and maybe I’ll use it or maybe not.
Can you ID all the non-kit parts used in the cockpit from above? Even a hair beret!
Glues
Up until about a year ago my go-to blue was Tester’s Model Cement in the iconic red tube with a white cap. I used it to glue ALL THE THINGS. However, it was not the best tool for gluing tiny, detail pieces.
Standard Tester glue is my old faithful.
In the past few years I’ve come to really appreciate Gorilla Glue. I use it for binding metal, and wood to plastic or PVC. This stuff is magical. It doesn’t stink, in fact it’s odorless. It takes about thirty minutes to dry a night to cure. And it’s easily available at hardware stores. LOVE this stuff. But it does have a tendency to expand and explode out from under where you put it. But I can deal with that now and it doesn’t bother me.
Need to glue wood and plastic or metal and plastic or PVC? Gorilla Glue is golden.
Whenever I come across a troublesome piece of plastic I go back to that magical red tube of glue from my childhood. Tester cement. Below is a starship frame with gray plastic and white strips of styrene. The gray stuff, will not take a decent bond with cement. You have to sand it dull to give the glue something to hold onto and you need to use some kind of Cyanoacrylate based glue.
Oh look, it’s good old Tester cement!
My latest favorite glue for model pieces is Revell’s liquid glue with a metal tube applicator. It’s not found on the shelves in US based hobby stores. I order it from Amazon and it comes from Germany. I now reach for that glue more than any other glue for attaching greeblies. It dries clear but can leave clumps if over applied. However, it does put the glue where you want it pretty accurately. And that is pretty awesome. I’d love to get a syringe with a metal tube instead of a needle. I know they are out there, just need to find one.
Revell’s liquid model glue is my new favorite. But what’s that in the background? Testers cement. *sigh
Finally, I’ve been using Mr. Cement’s liquid glue which comes in a clear square bottle with a blue brush cap. This is comparable to Tamiya’s Extra Thin liquid cement. Apparently everyone building kits switched to these and didn’t tell me. Using capillary action, it goes on sloppy and then evaporates from around your part. I’m not a big fan of this stuff yet. But it’s growing on me. Check back in a year to see if I’m using this more than the Revell liquid.
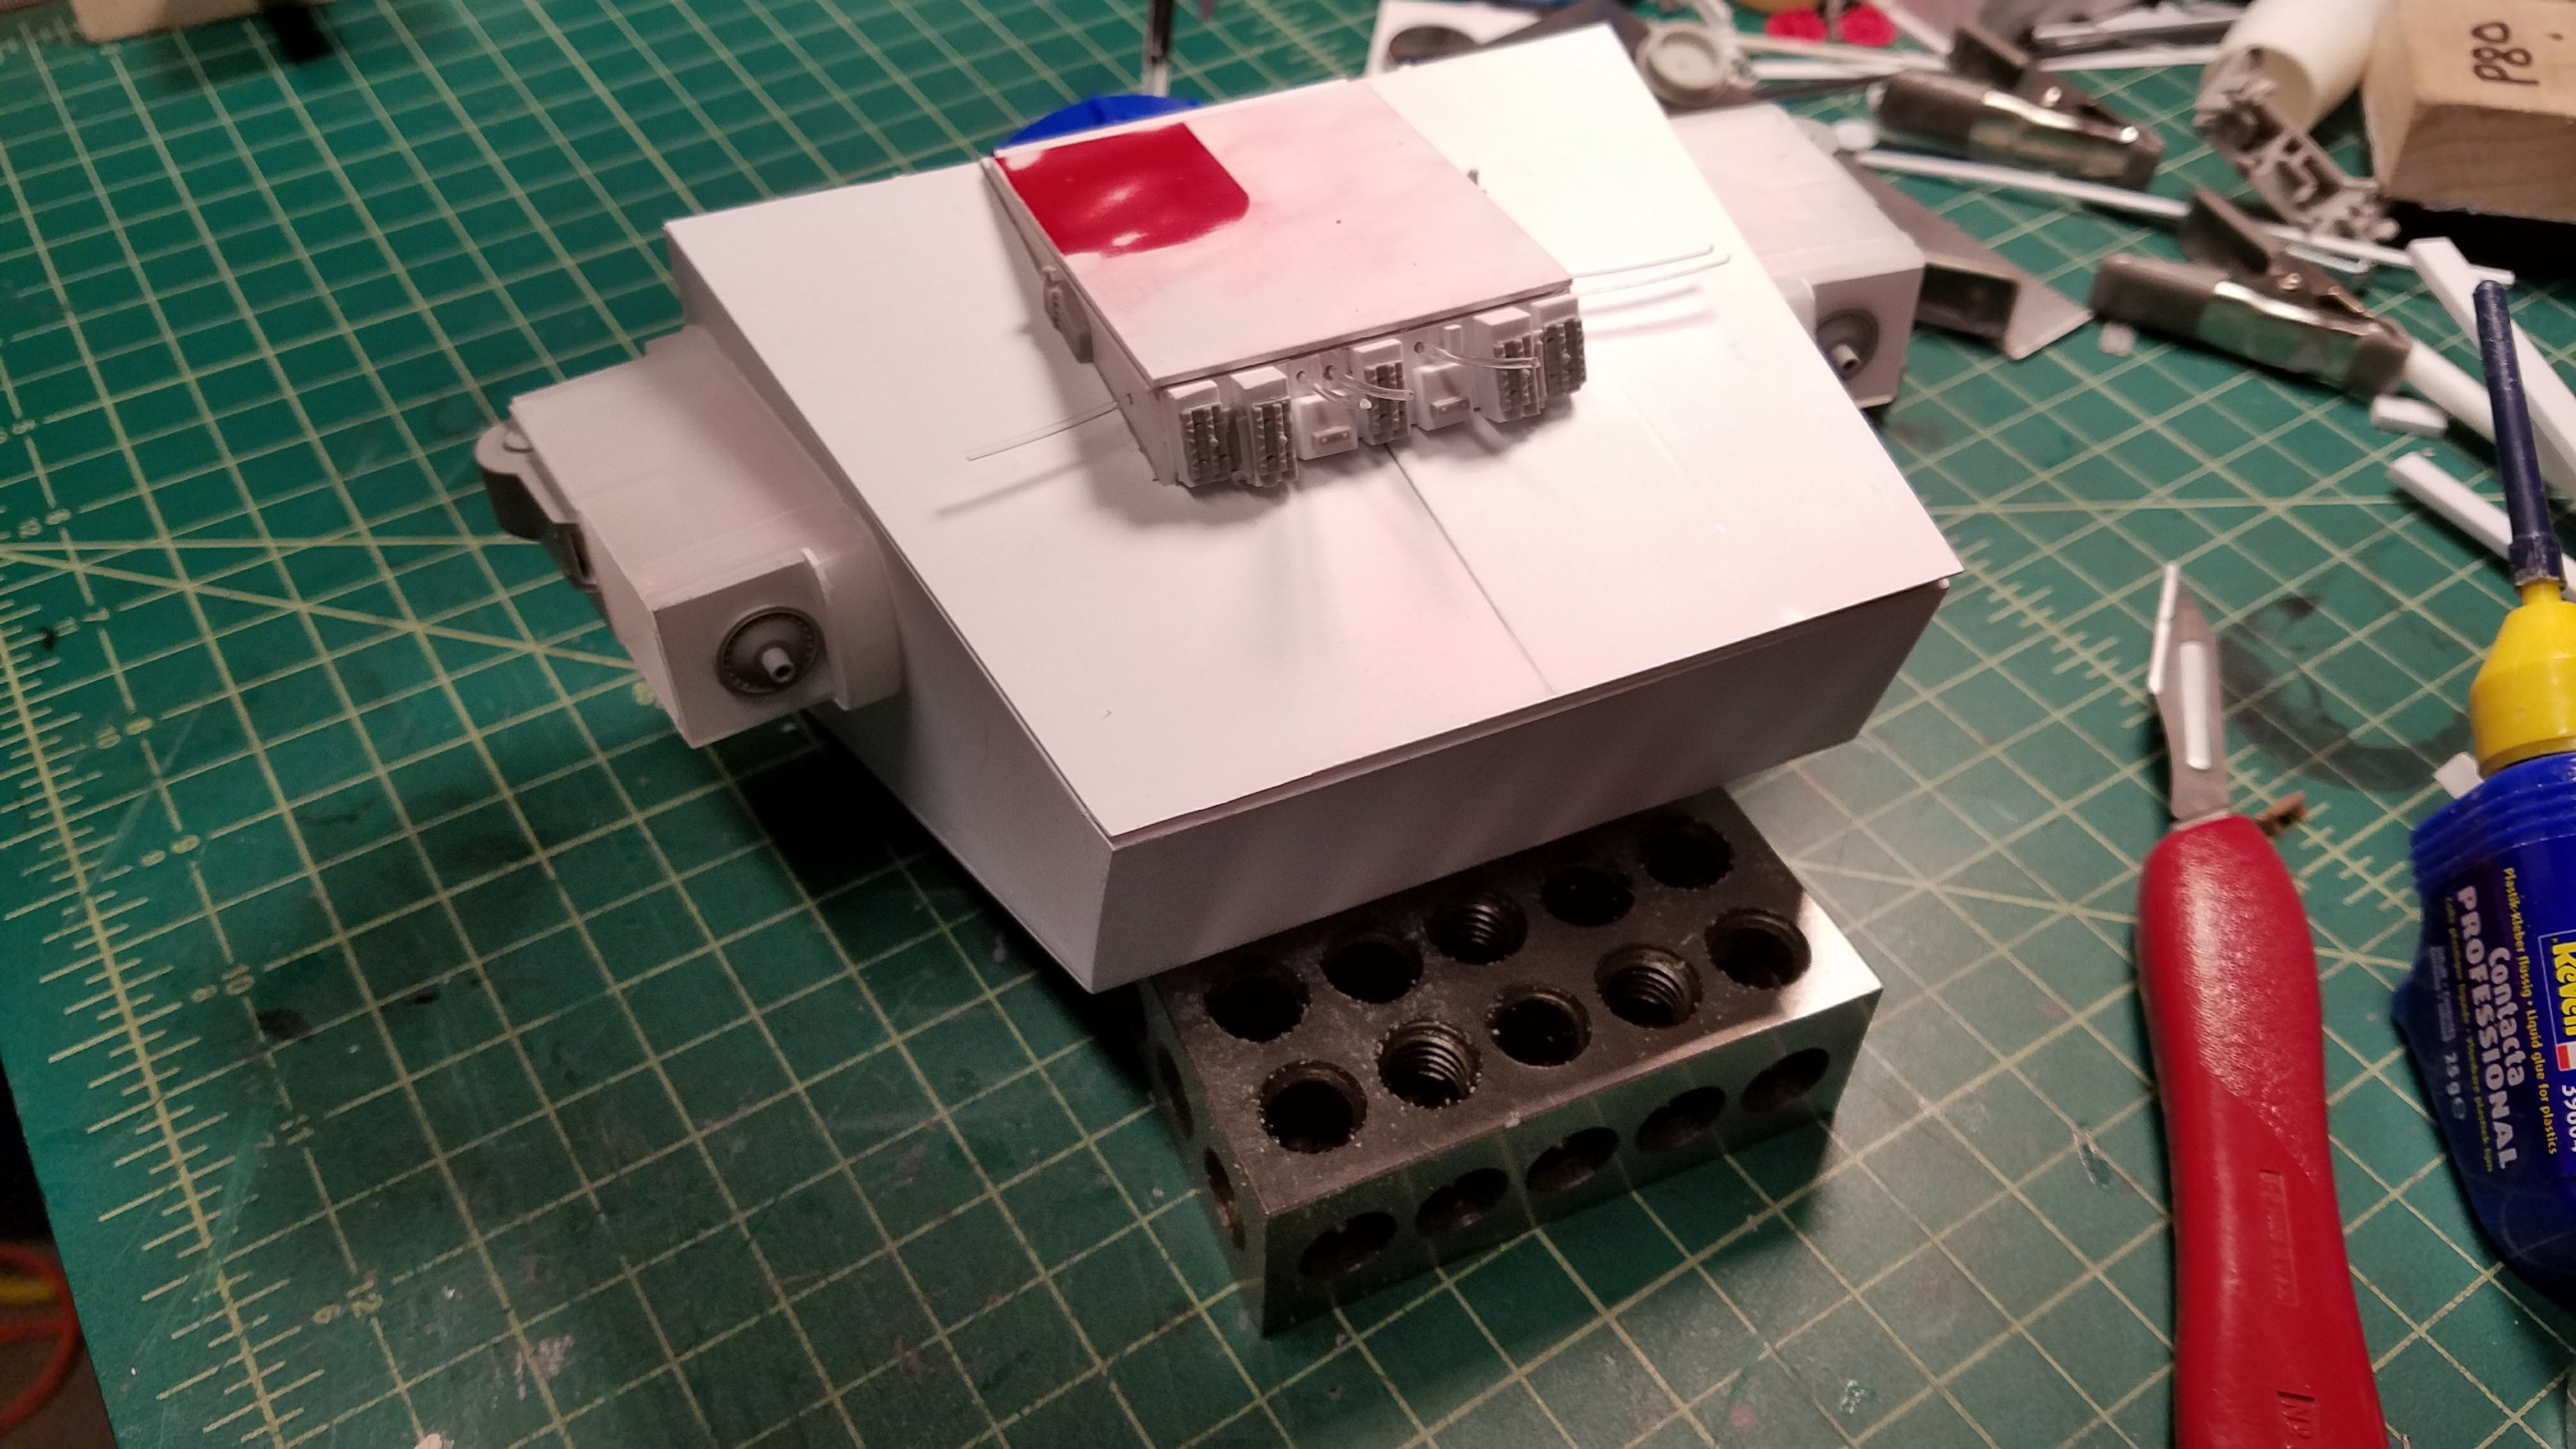
Here we see all three glues in one shot. Also, just off camera right is, you guessed it, Testers cement.
Size and Details
The golden rule for detailing is: the bigger the ship you are modeling, the more detail you show. So if you are building a starfighter, don’t get too detailed outside of the cockpit. You can show panel lines, but not tiny ones. Keep them consistent with airplane panel lines at the same scale. If you are building a starship, you can have some larger panels but then also show much smaller ones that are perhaps smaller than a man in size. Ships are made from smaller parts and larger parts. So go hog wild.
Starfighter panel lines are usually larger at 1/32 scale.
Here are larger panel lines on a Swift model. It looks very much like a modern jet fighter.
On this warship model 1/350 scale, you can see medium sized panels and small panels. This works to help create the scale of the model.
In the warship model above, you can also see smaller plastic pieces as well as larger pieces to the left, on the ship’s neck. Use larger pieces to cover larger areas that have lots of machinery. Use smaller pieces near windows and such to once again, create the impression of scale.
Another thing to keep in mind about panel lines is that you should make some of them angled and some could follow the lines of the vehicle. Look at airplanes and ships and other Sci-Fi models for ideas and patterns that look natural.
One last note on smaller size panels. There is another method of detailing related to scribe panels and that is added panels of different thickness. It’s important to not use raised panels that are too thick for the scale of your model. I’ve built many fighters and sometimes I used strips of styrene that were far too thick for the scale of the model. This breaks scale and looks poorly to the trained eye, much less the untrained eye.
Look at the strip above the wing root. It’s way, way, way too thick for the scale.The strips of plastic below the model are much thinner and would have been preferred to the thick one I actually went with. In fact I’d even go so far as to say that just about every raised panel on this model is too thick for the scale. How do I know this? I’ve built a lot of scale models in my life and I know what looks right. It’s a feeling based on years of experience. If you have no experience building scale models then you won’t have that eye for what looks right.
So why did I use that thick strip on the above model? I was covering the sloppy wing root area gaps. Sometimes even people with lots of experience can screw it up.

Thanks a lot Ken
Here’s the French version : http://www.cyber-mecha.com/blog/tuto-le-detaillage-des-montages-en-scratch-2eme-partie-par-ken-mc-connell/