All of the parts and pieces finally come together in this post. This has been a fairly quick and dirty build for me. I’ve never done a kit bashed starfighter before and in many ways it felt like cheating. I even spaced putting a mount in it and had to screw one in last minute and epoxy it. Not ideal for a working model. There are no lights and only the one mount. I do have a pilot figure, but he’s not very detailed.
Still, it does look pretty cool and I’m glad I did it for the experience. It’s not exactly like what I drew but it’s close enough to give the feeling that there are more than one kind of starfighter in the Votainion livery.
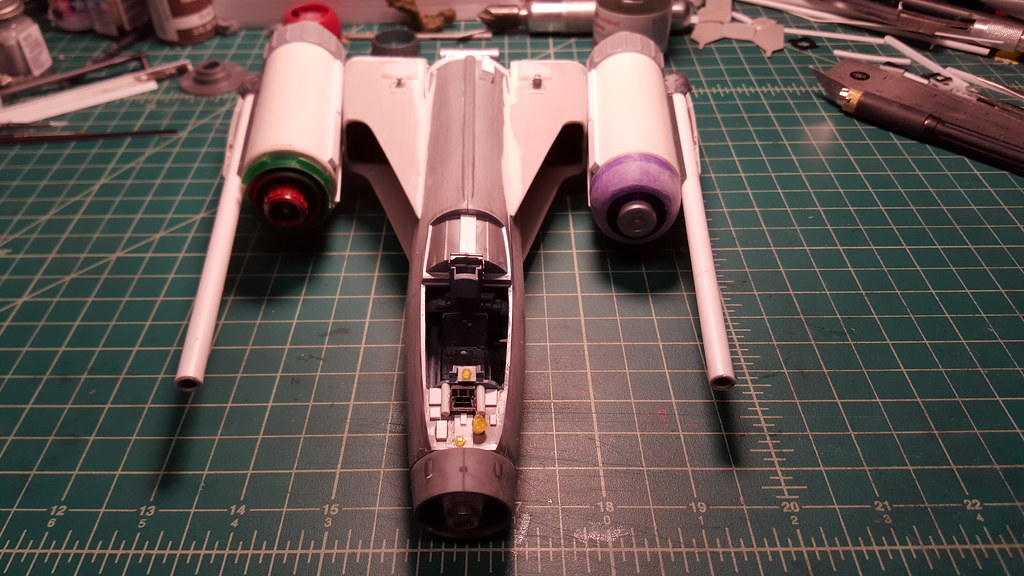
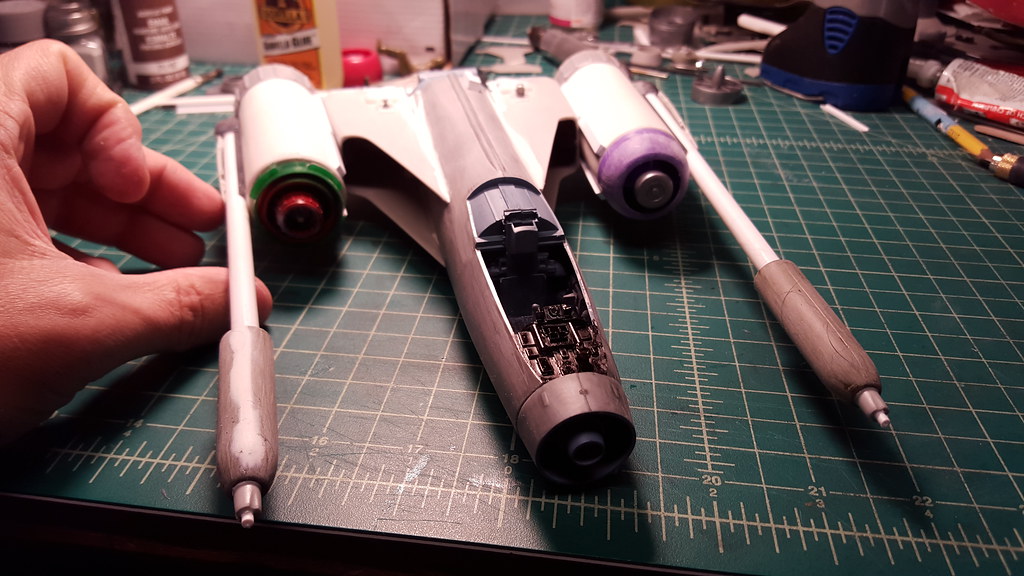
Above you can see the body with the blaster masts in place. Simple plastic tubing was used for that. You can also see some of the scratch built details on the top and at the canopy.
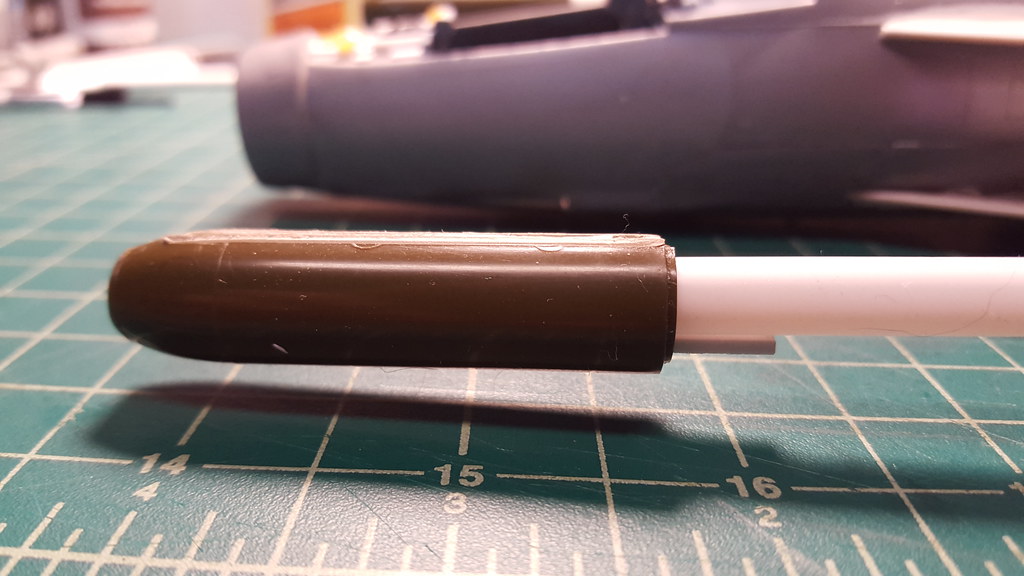
These over sized tips of the guns were from the loose pieces bin and matched the original drawing pretty good.
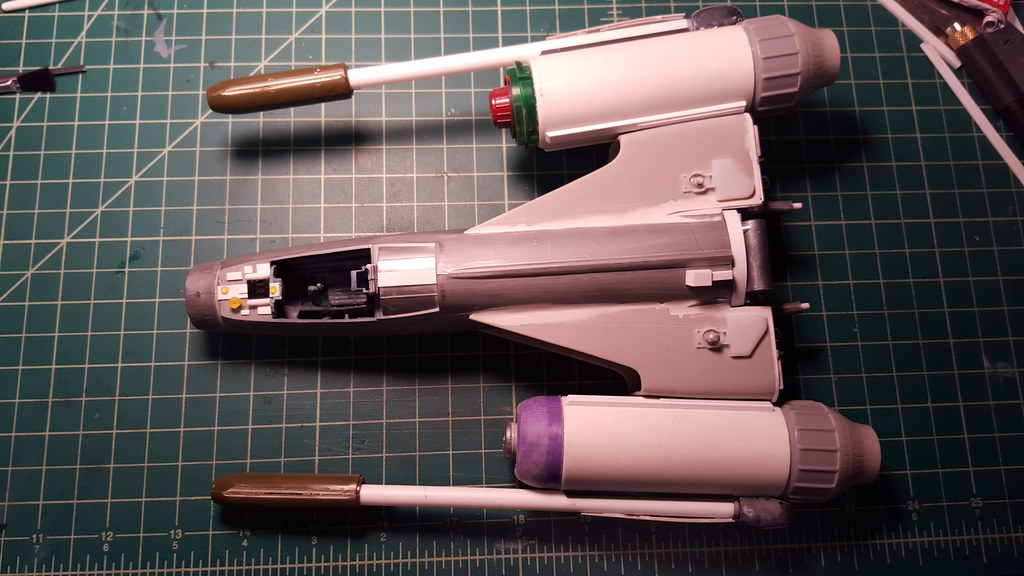
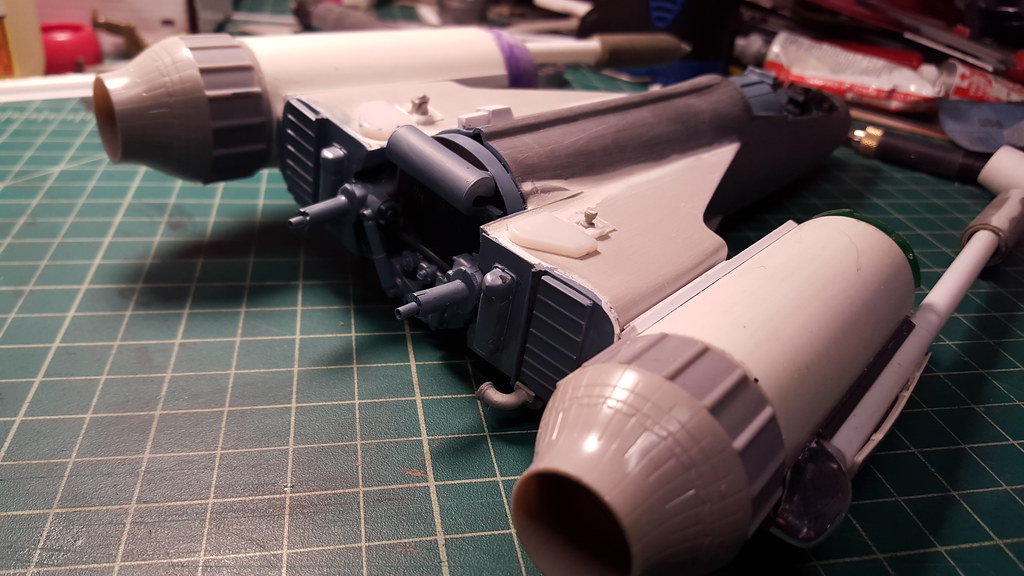
Here is a side view of what I believe were some kind of rocket launcher that were wing mounted. No idea what kit they were from.
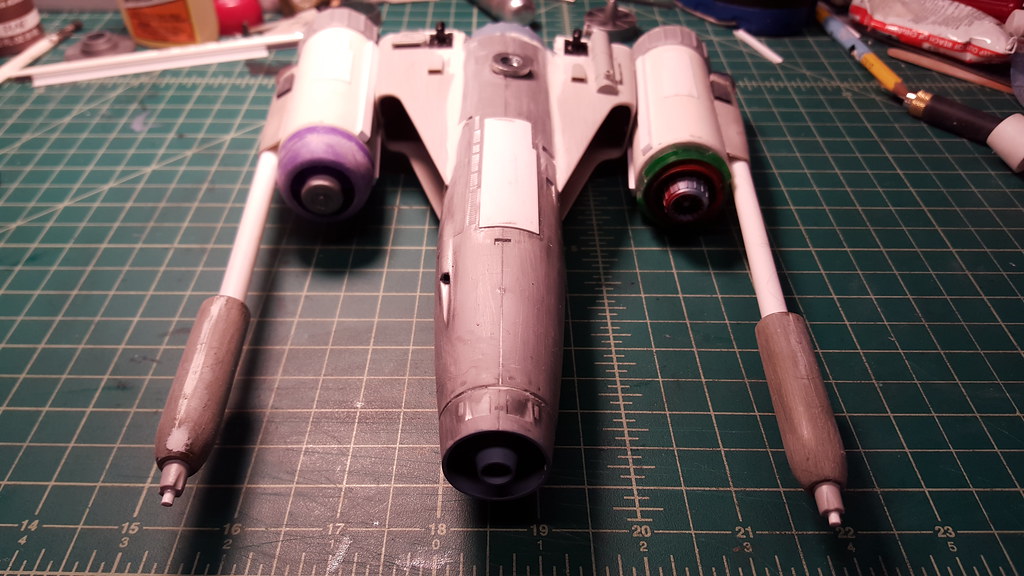
This belly view shows the tips of the guns in place and the panel covering what I assume would be the nose landing gear.
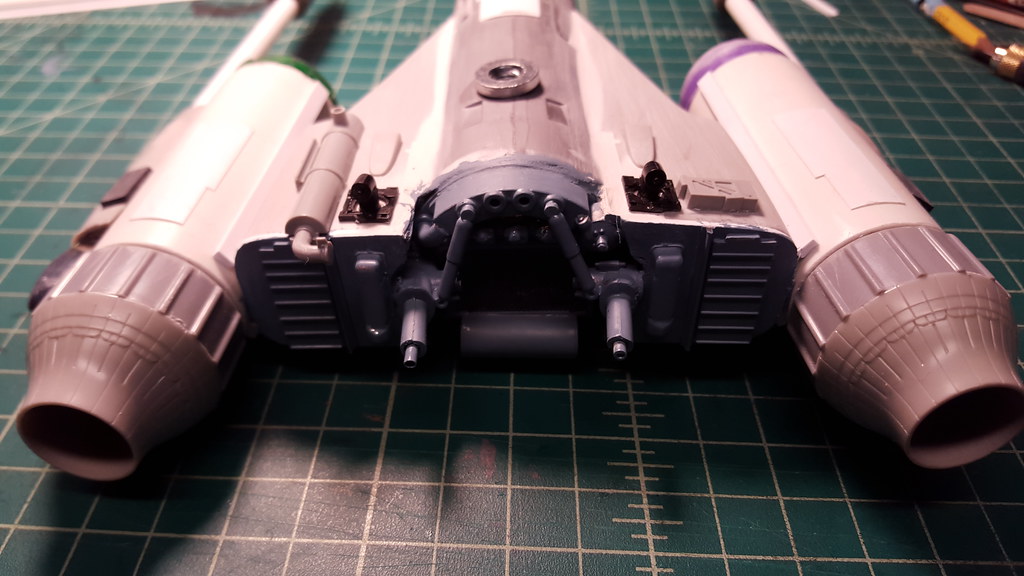
Here you can see the mount point, big and nasty, as well as some new details from the parts bin.
Top side details are visible above.
Not sure why I painted the blue-gray interior color here, before I sprayed on the primer. Dumb move.
Some putty and sanding was required on the blaster canon tips.
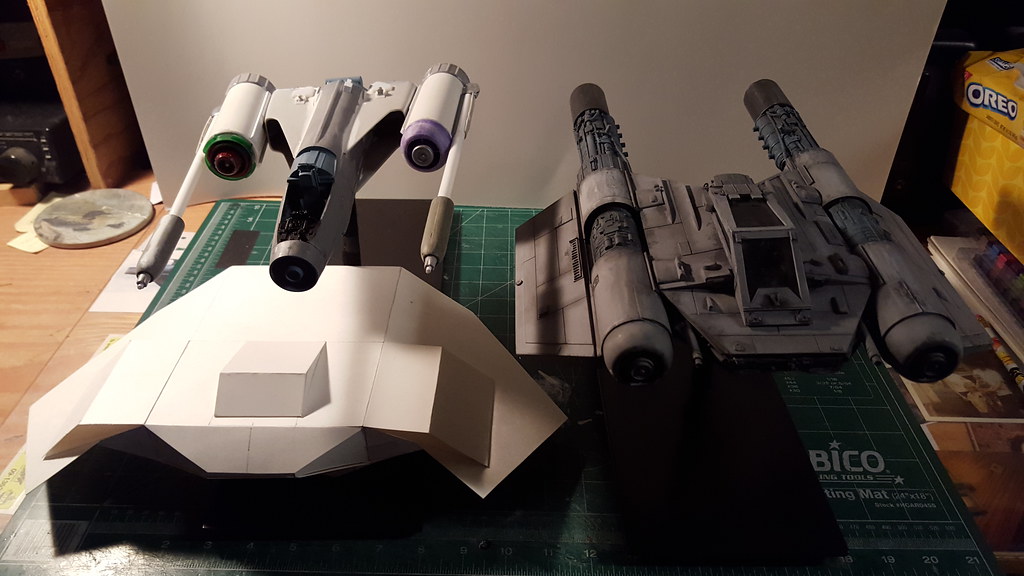
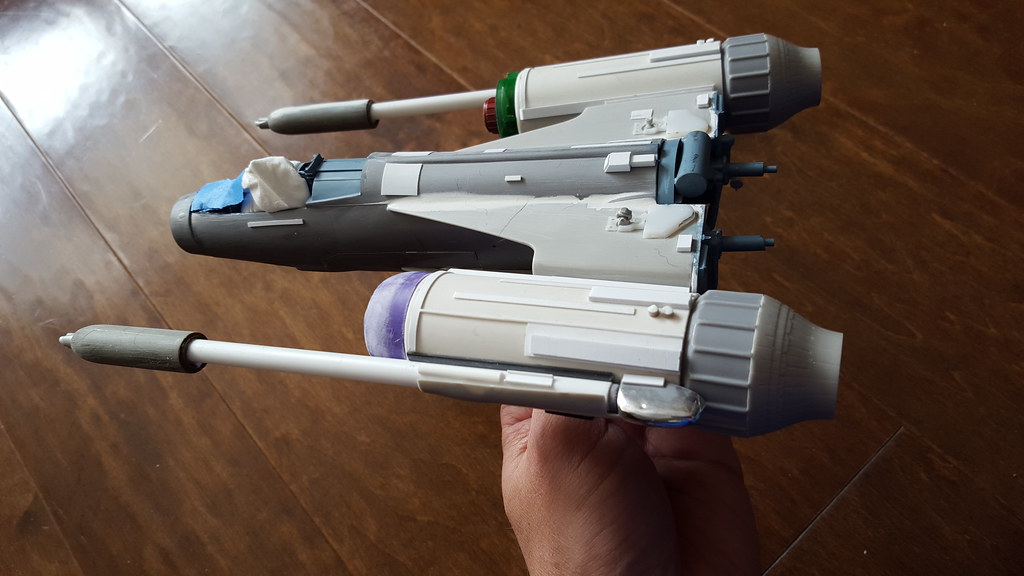
I like this shot above of all three Votainion starfighters from the Starstrikers Era of the Star Saga. The white one is a card board prototype of the next one I will build, the K’nat fighter.
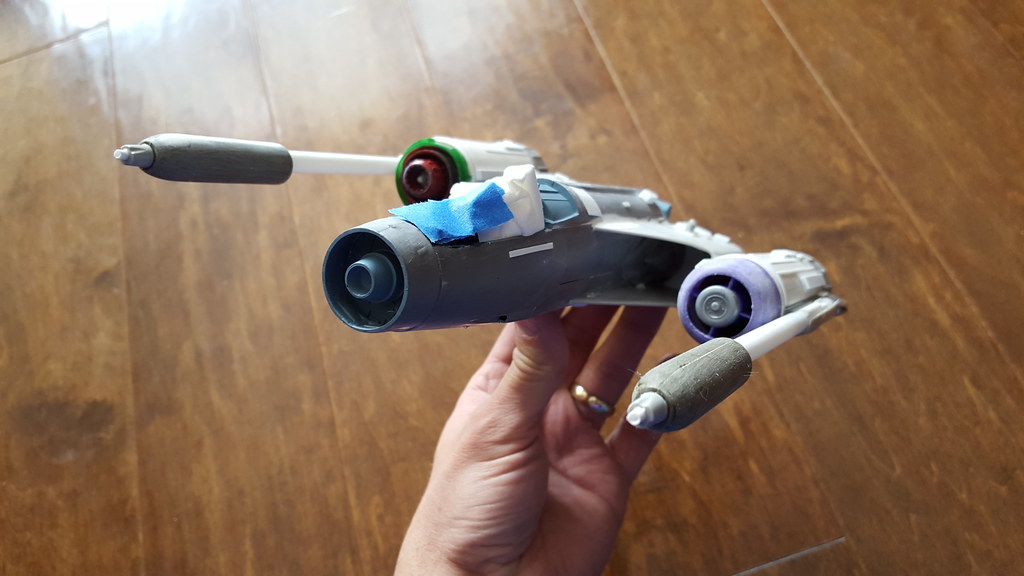
All ready for primer, the cockpit is masked off to preserve it’s paint job.
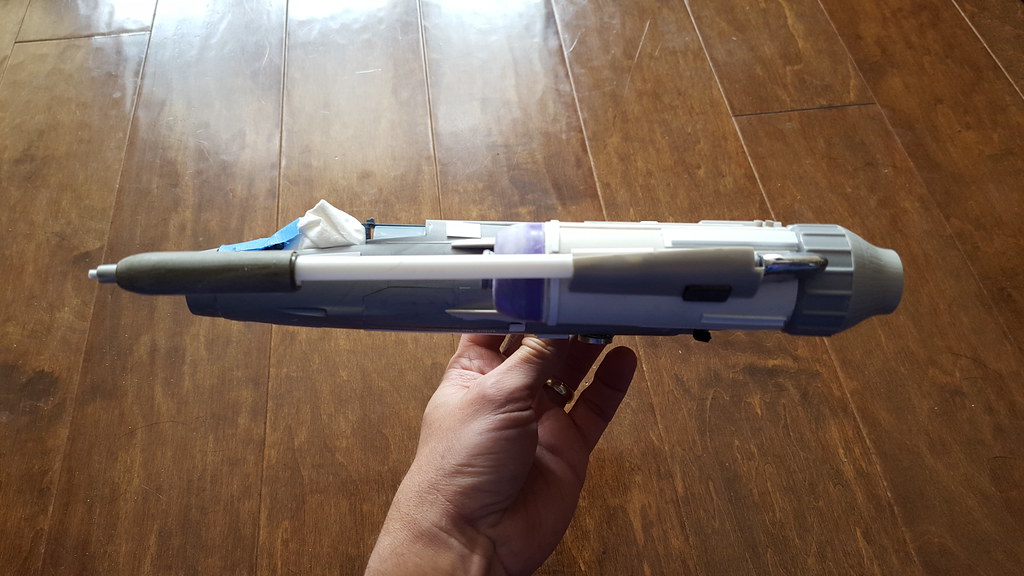
Rare side view.
Here you can see the final details of the engine area and the top.
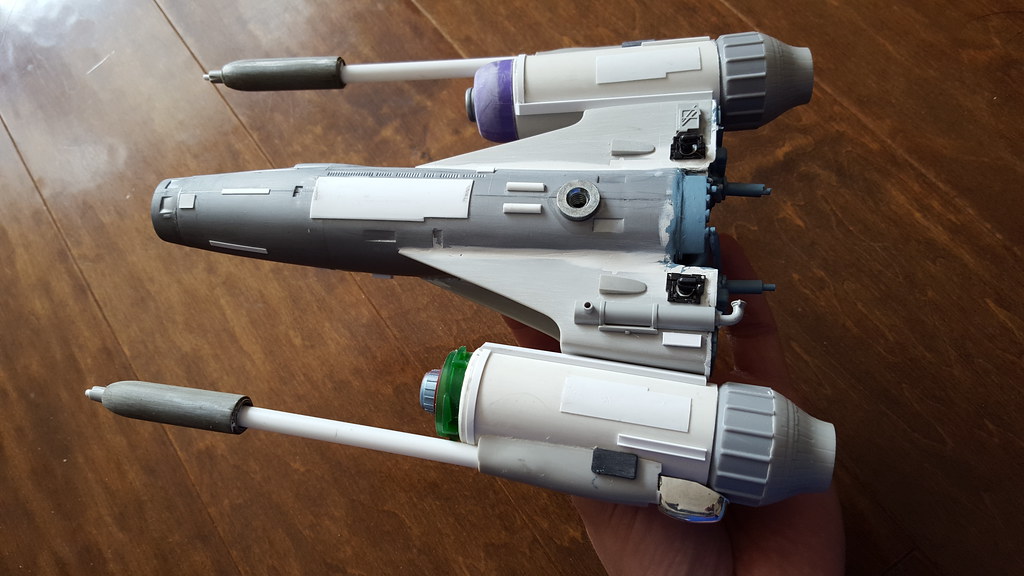 And here you can see the final details on the bottom. A few panels added and various other doodads.
She’s finally ready for primer and then paint, next time on the blog.

