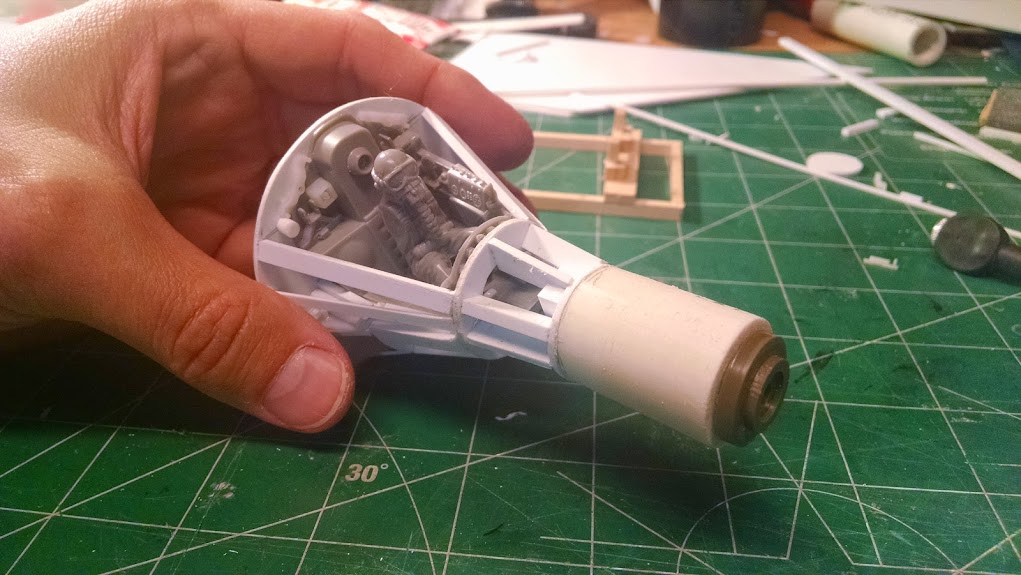
As with the Trogen and Swift builds, this build starts with the cockpit that will attach to a PVC pipe for the fuselage. Once again, for consistency, I used old Chuck Yeager’s Bell X-1 model from Revell as the seat and instrument panel.
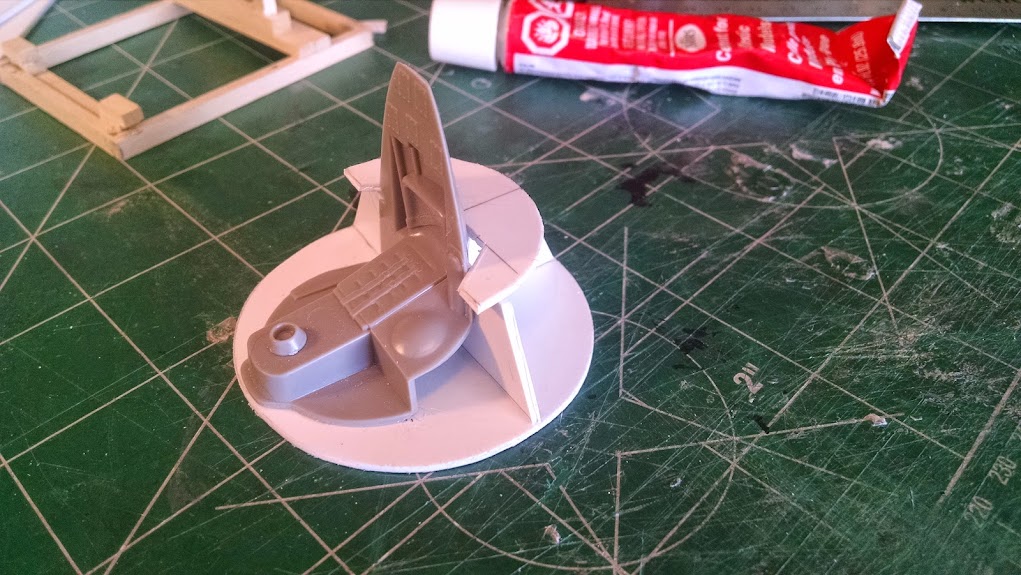
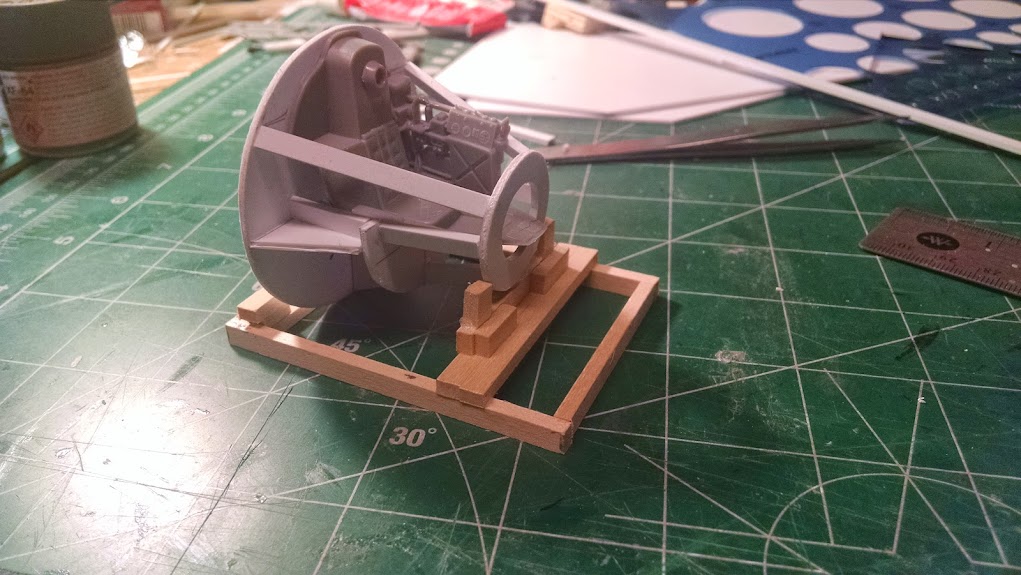
The nose cone is 1/2″ PVC that I had on hand. It’s topped with a wheel from a tank model. Interior cockpit details were built to be similar to the Vickers Swift.
This image shows the old cardboard Victory model I built in 1/48 scale. I used it for a guide while building the 1/32 scale version.
Here are both Vickers models side by side. You can definitely see the resemblance.
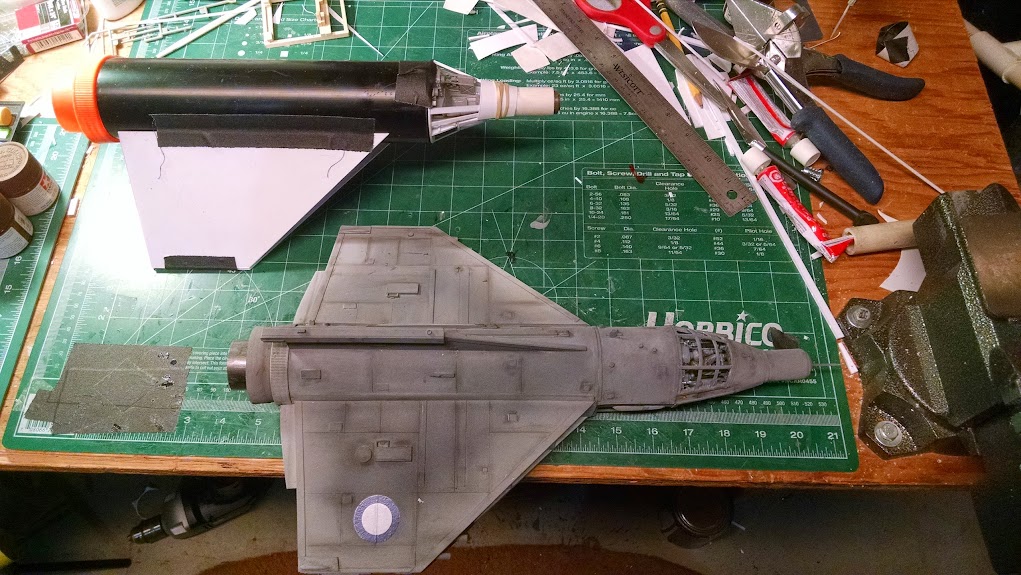
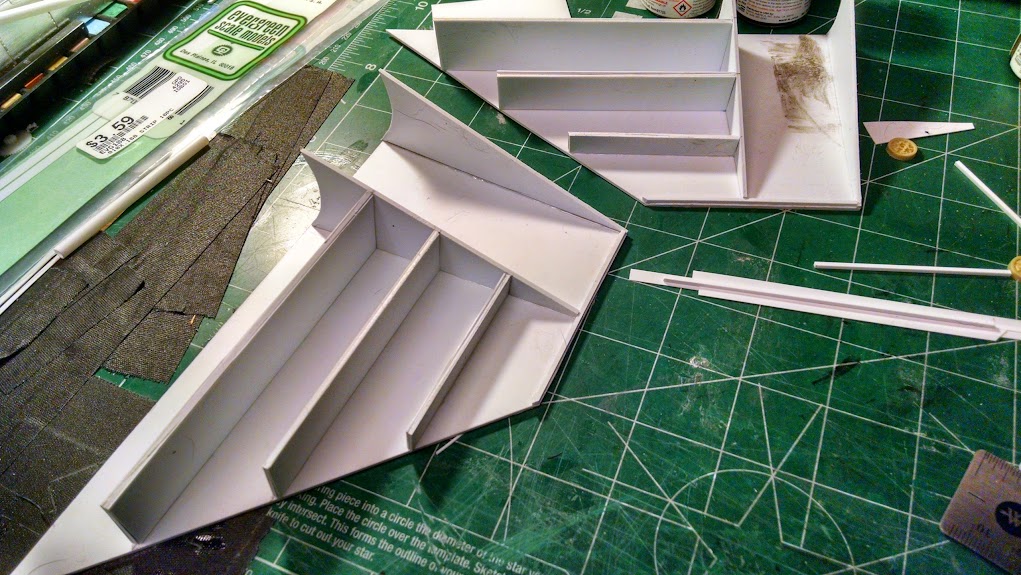
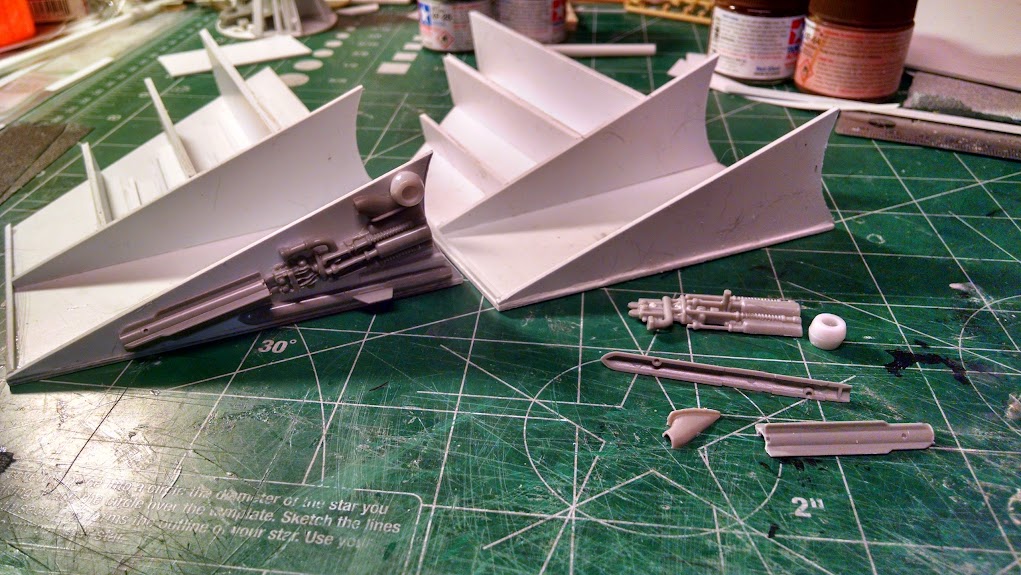
Next up are the wings. They have intake areas just like the Swift. That area needs to be detailed with groves plastic walls and various wheels and plastic bits. This process takes a while and must be repeated for the second wing.
I used many of the same X-1 details for the area behind the wings.
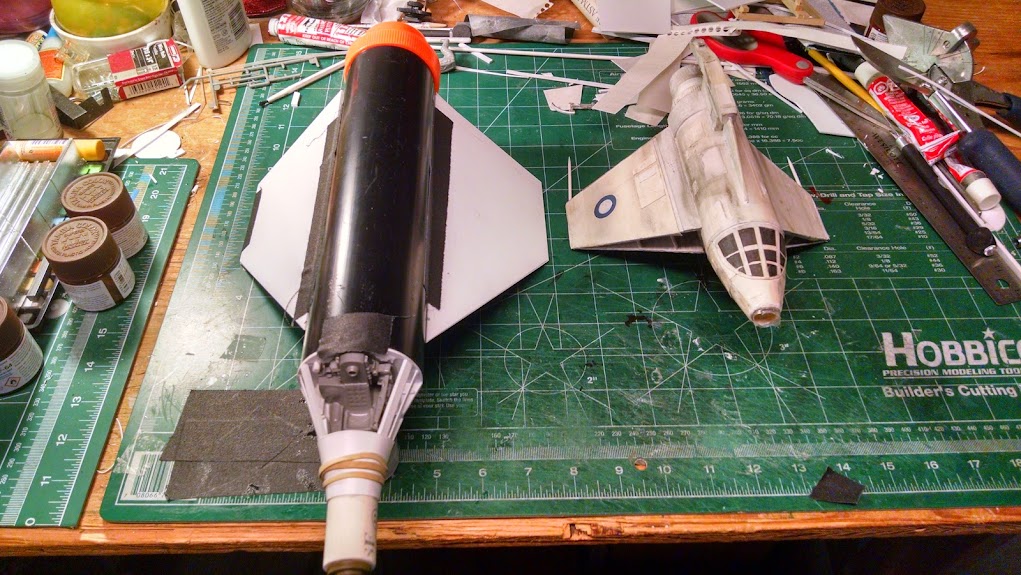
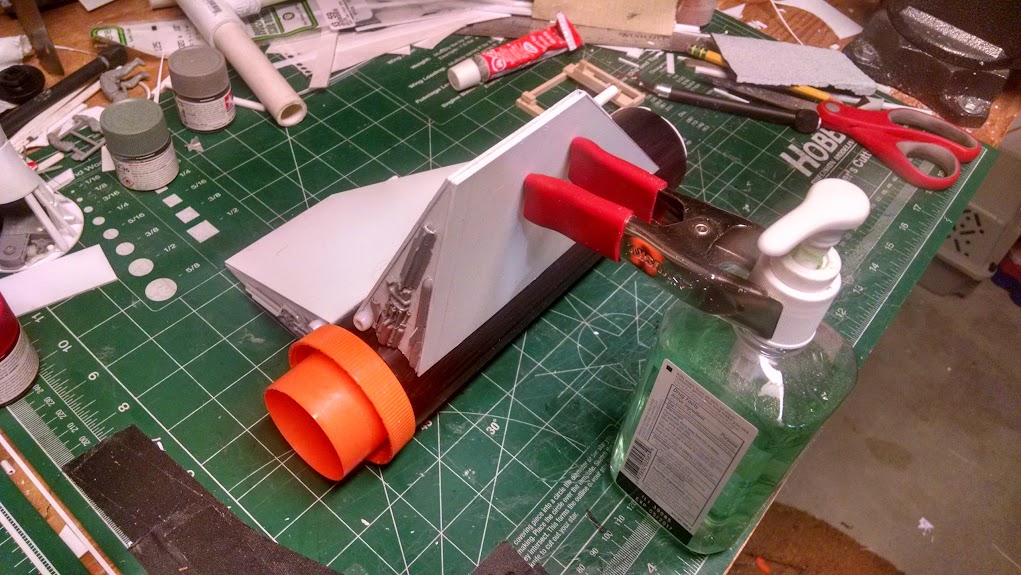
Wings complete, it’s time to cement them to the fuselage.
Next up we’ll detail the top fin, fuselage and wing exteriors and then paint and weather it.

