Lots of progress was made in the last few weeks. I’ll start by updating the blueprint to include the upper fin and the wings. This is a one to one life size blueprint. This model was already built in 1/48 scale using cardboard, so I’m pretty familiar with how it should look. The challenge would be to upsize the design and alter the wings to be flat instead of angled down. Also, this would be a working model, so it needed to have a mounting system using standard tripod mount screw size of 1/4 20.
I continued to work on the cockpit using details from the Revell 1/32 scale kit. The stringer and bulkhead construction was the same until I got to the nose, which would be made from 1/2 inch PVC. I had to build a bass wood cradle for the cockpit so it would sit upright while I glued and painted it.

There will be six bulkheads, five over the 1 inch by 6 inch solid aluminum bar for the spine and mount points.

Is that Red Allen, legendary test pilot for the Alliance? No, that’s Red’s real life inspiration – Chuck Yeager.

Here’s the cockpit resting on the wooden stand. More details were added to it from other model kits.

The aluminum bar finally came and I set about cutting out the bulkheads from .20 ” thick plastic and sliding them over the bar.

Here’s the stand up of the parts to get a feel for how big the model will ultimately be. The top fin is already built above.

The metal bar was drilled and then tapped at the back end and the bottom. It was deemed that the model only needed two mount points to be filmed for cover art.

One of the advantages of working in the garage on a bench that I built, is being able to drill a hole in it for a temporary mount. ;-) Here is the built up fuselage.

On to the wings. I first built paper cut outs to get the shape correct. Here I am holding them in place.

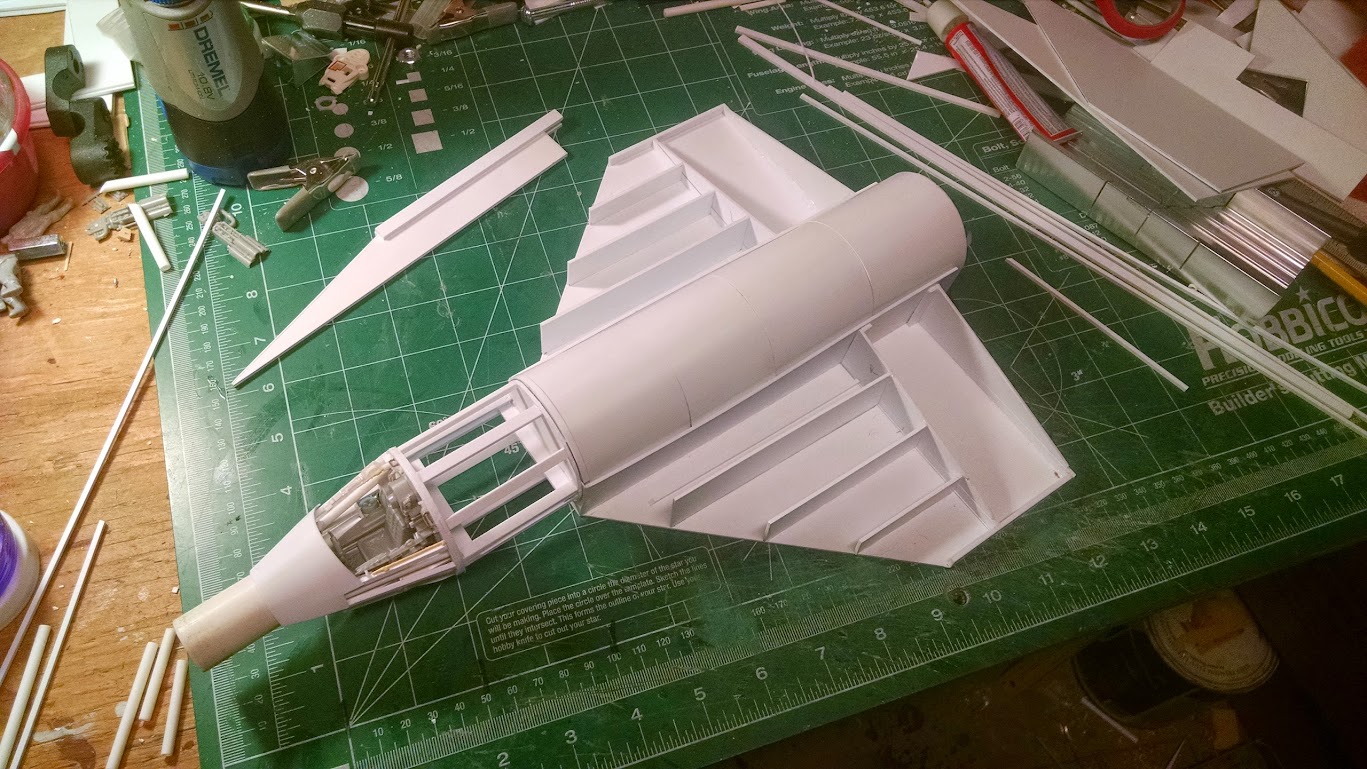
Then I cut out and attached the bottom wing as a single piece. Ribs were then made from plastic strips and a cradle was built up to house the fuselage. I then glued it into the cradle between the wings. I was going to make this interchangeable, but those plans were nixed in favor of speed and durability of the final model.

The back end of the starfighter has a single engine and I used two plastic container lids for this. The purple one is from a bottle of fabric softener. I collect all manner of “junk” for use in my models. In this shot you can see the rear mount screw hole.

The final part of the fuselage was then made and the cockpit connected to it. The smaller model had a much shorter fuselage, but my eye likes the longer one for this version.

The top of the fuselage is covered with very thin plastic sheeting. Each section gets a single panel to cover it.

Here is the whole model minus the top fin.
The next step is to make the wing inlets and then detail them. Along the way here I decided to add two canons to the wing tips.

Here are the canons, made from plastic tubing. I was going to make landing gear and then opted against it. So that simplifies the build and lets me focus on finishing what I have as a “flying” model only.
She’s starting to look like a real starfighter now, but there is plenty more work ahead.

