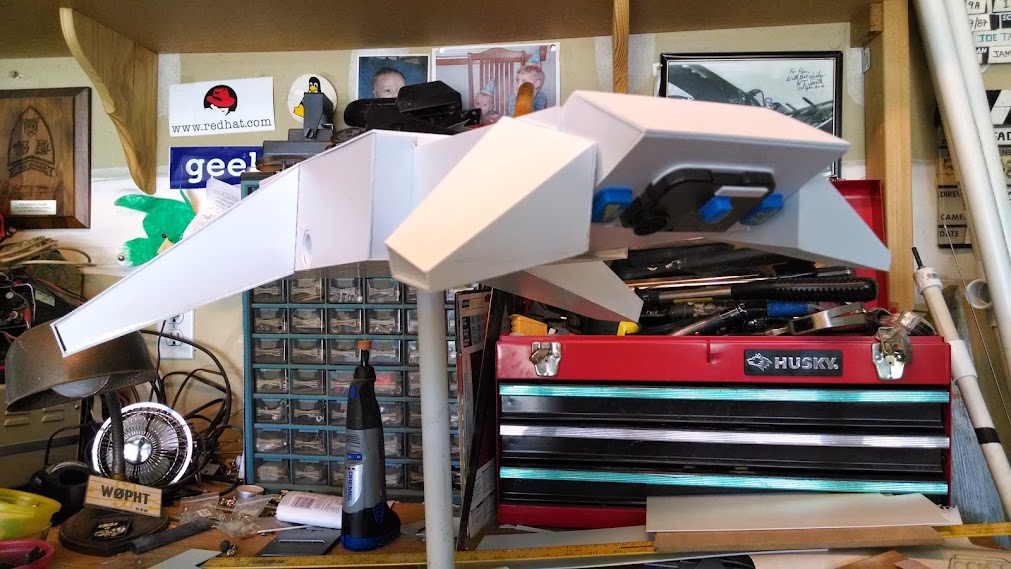
In this episode we build up the head of the warship and the main wings that give the ship it’s unique look. Then we start detailing the top deck. As the model gets heavier and heavier, I begin to realize that the internal mounting system was not good enough. For my next model of this size I will have to use a wooden rib construction technique to ensure that the PVC tube mounts are secure.
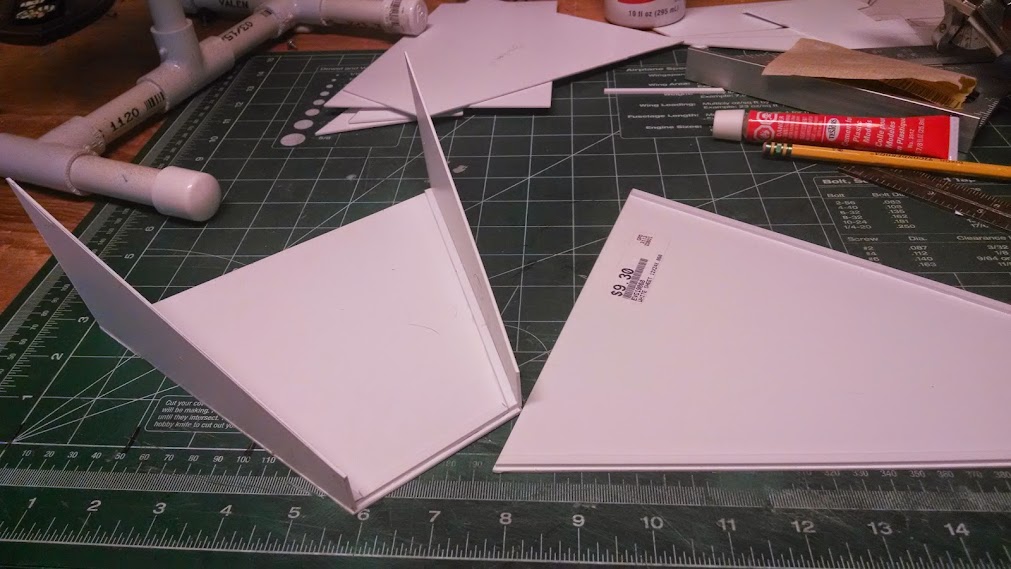
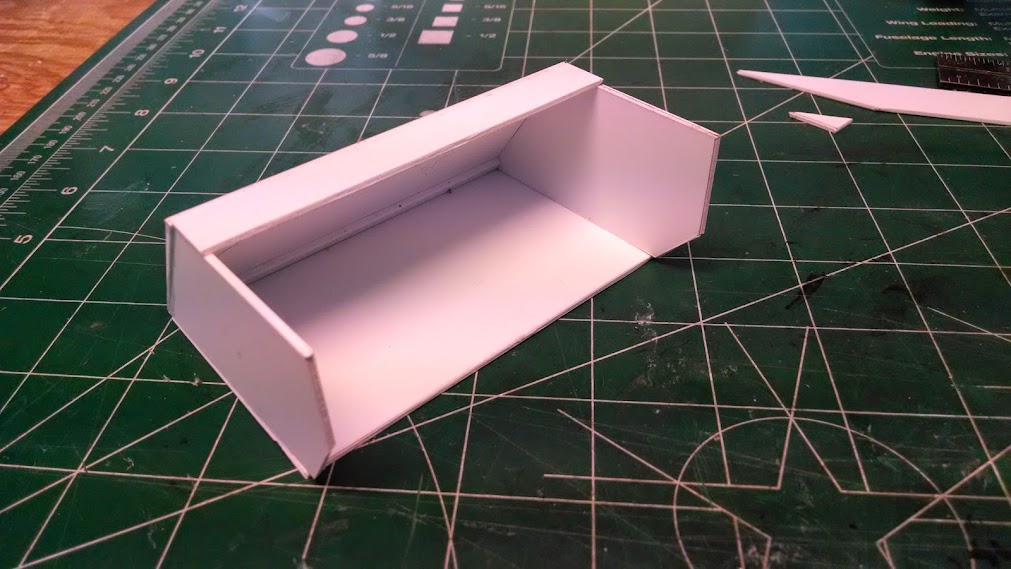
The main wings were again created with thicker sheet styrene and the edges were reinforced with strips of plastic then glued together with Testors cement.
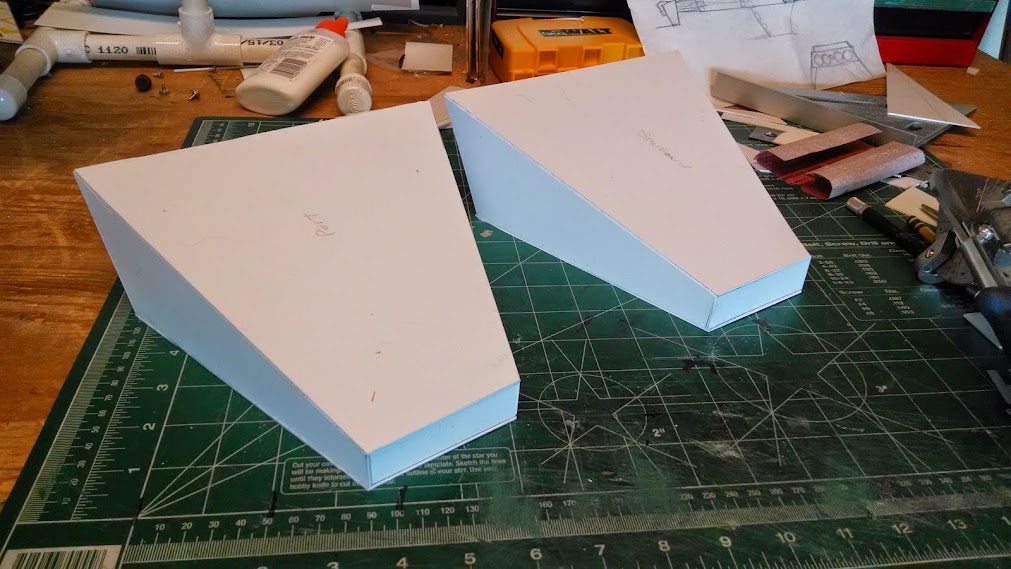
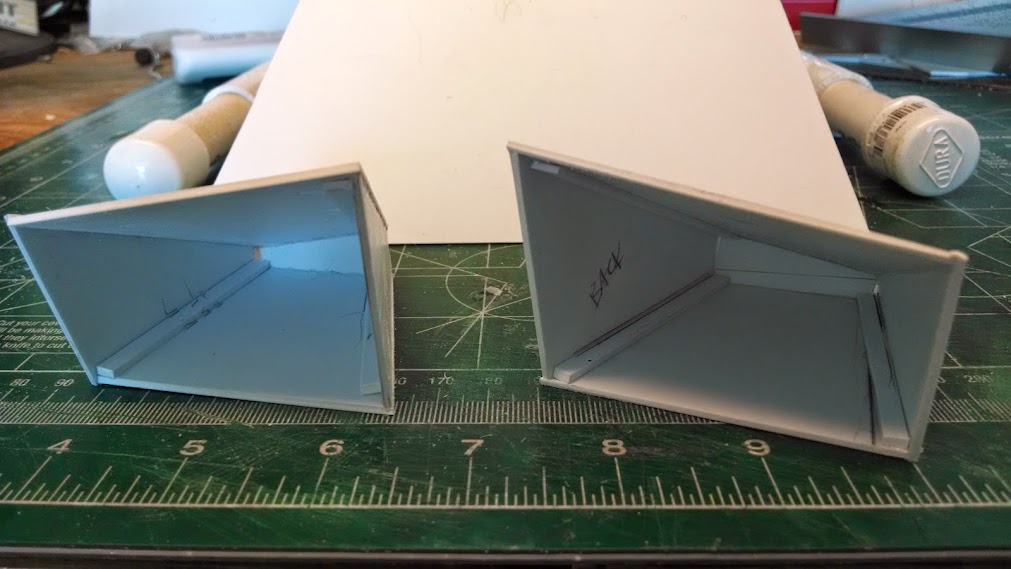
Here we have both wings boxed in and ready to mount to the back sides of the warship. I’m not always concerned about making things look super even here, model putty can be your friend as most exterior panels will cover any serious flaws in the outer hull.
The pylons just behind the head of the warship are also constructed in a similar fashion. Then both the pylons and the wings are glued to the main hull.
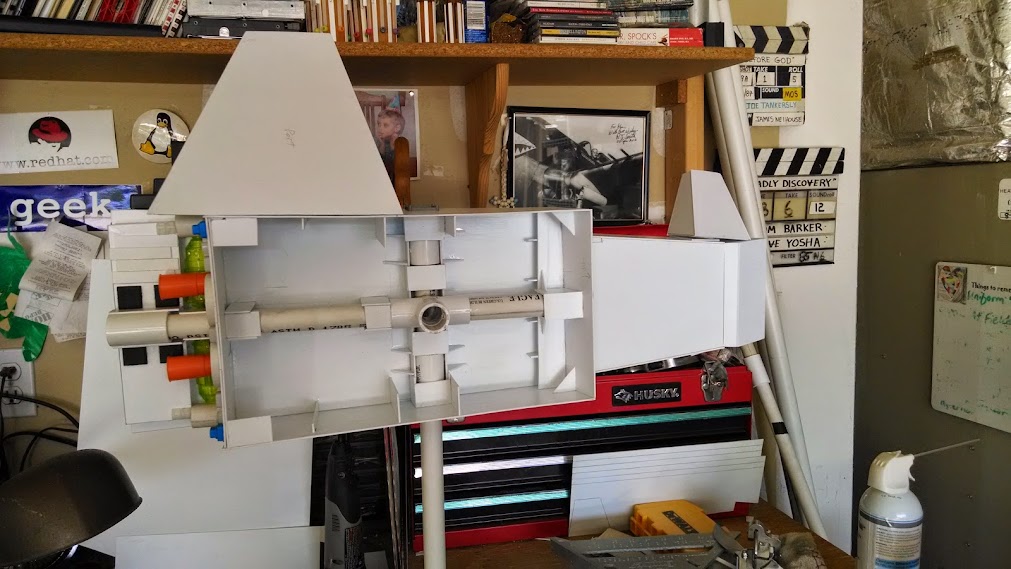
Gluing the wings and pylons into position for each side of the model.
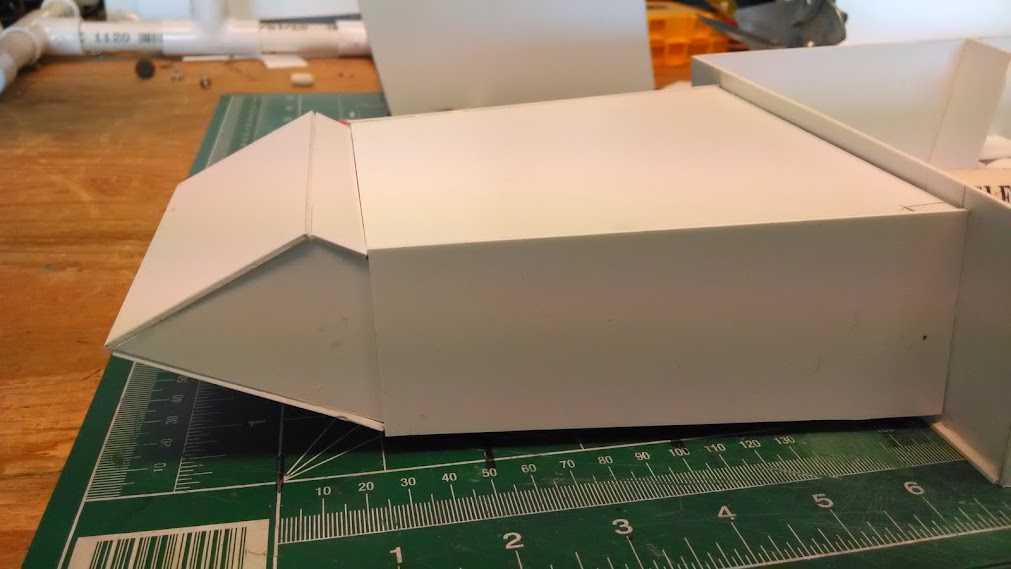
I also built up the head of the warship at this time. My only requirement for the head was that it be removable so that I can access the front mounting hole.
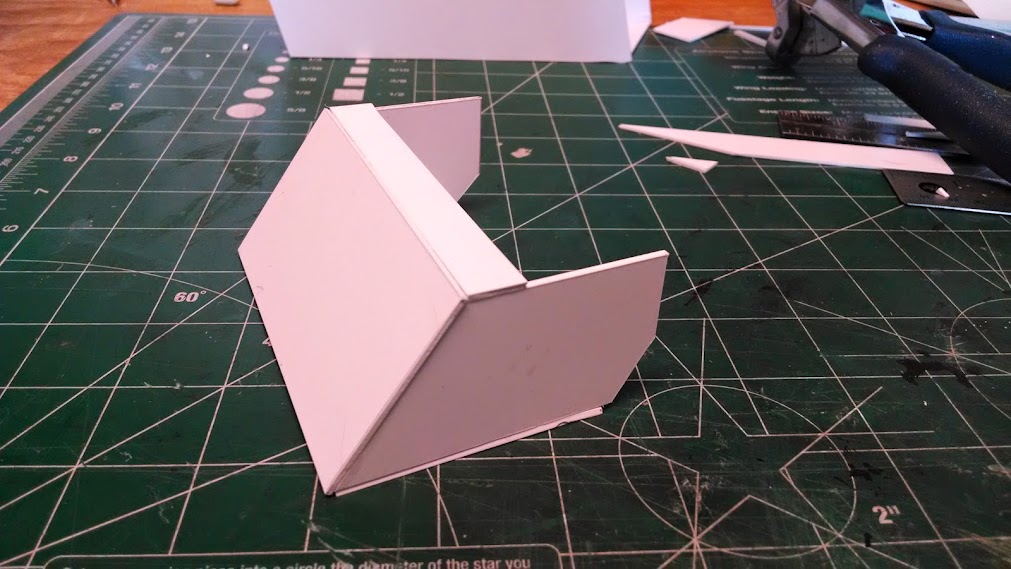
Here is the completed head mounted into the neck before the pylons were added. I had to give myself some separation from the hull for the pylons so that I could pull the head out.
Here are the pylons mounted to the hull and the head with some fresh details added underneath.
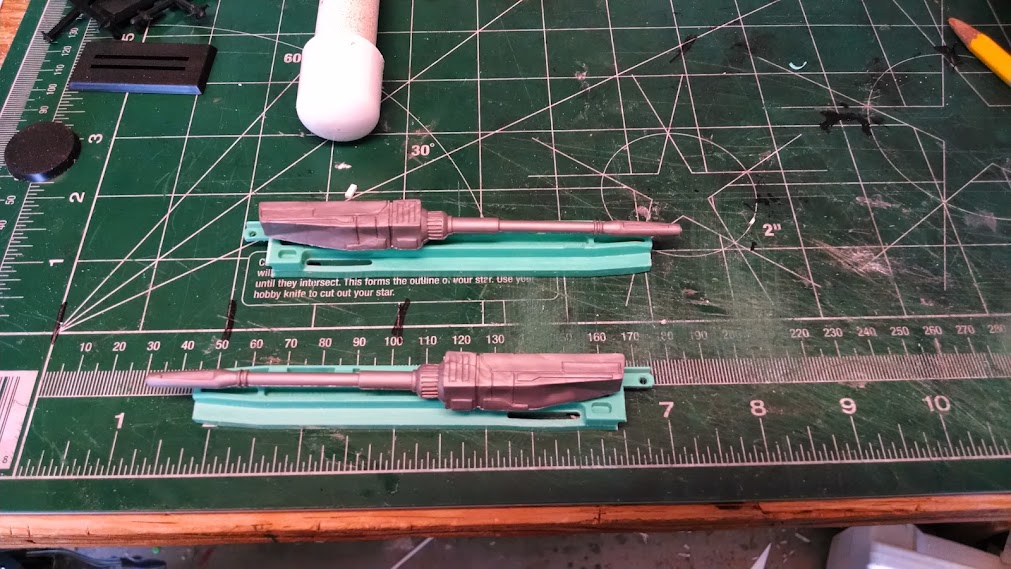
The wingtips will house a scanner probe package complete with weapons. I used some old PC mounting brackets for the frames.
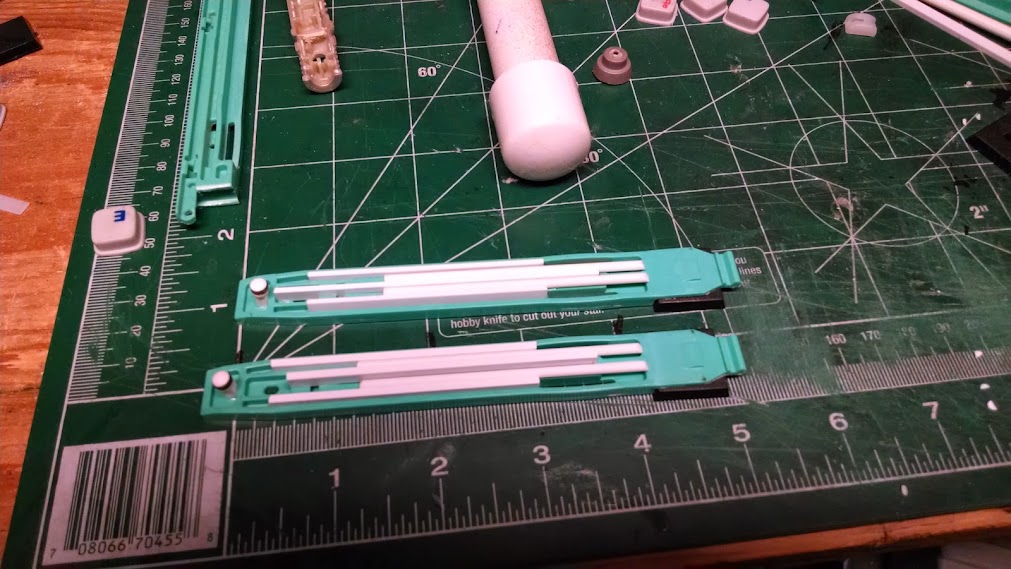
I used larger PC mounting brackets for more top deck details. Of course I modified them with plastic strips an tubes and other bits of greeblies.
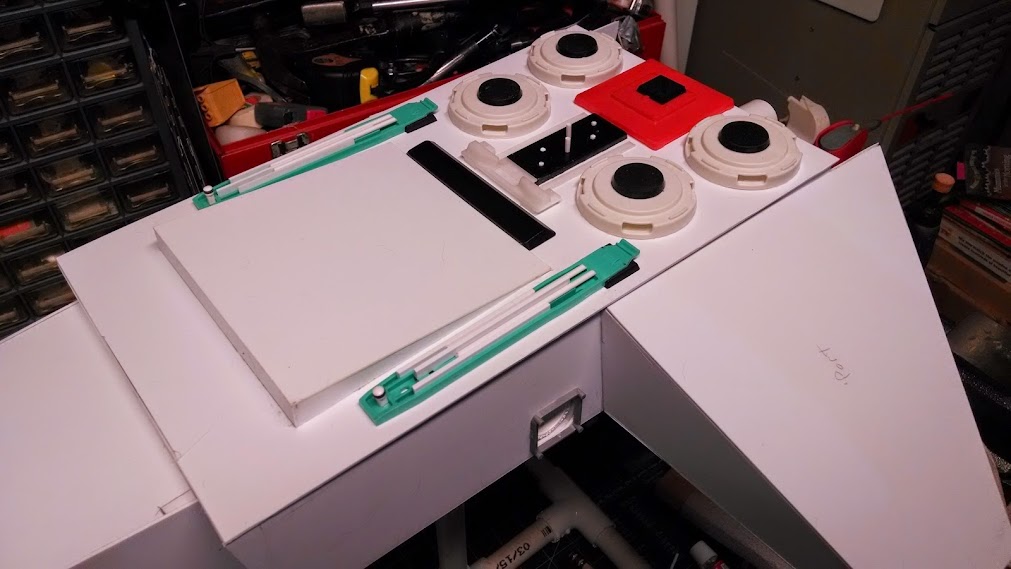
With the basic shape of the model blocked out, it was time to start adding details. I started with the top deck. This is my favorite part of scratch building starship models. This detailing stage will continue for a while. I’m not including lights on this model, so that will cut down on build time.

