The cover art for the third book in the Star Saga series will need to depict a massive starship battle between Votainion warships and Alliance starships. I have one Alliance starship from the time period, the S. S. Sokol. I might have to create another starship to reflect diversity, but I for sure need to create a Votainion warship model. Thus was born my next big modeling project – a Votainion warship from the Starforgers Era.
The model would need to be the same scale as the S. S. Sokol model so that they could be displayed together and possibly photographed together. The design of the warship was first sketched out many years ago, as this series has been in my head for over twenty years. I just needed to build it. I started with 1/2 inch PVC joints and tubes that would form the backbone of the model and let me mount it from four access points.
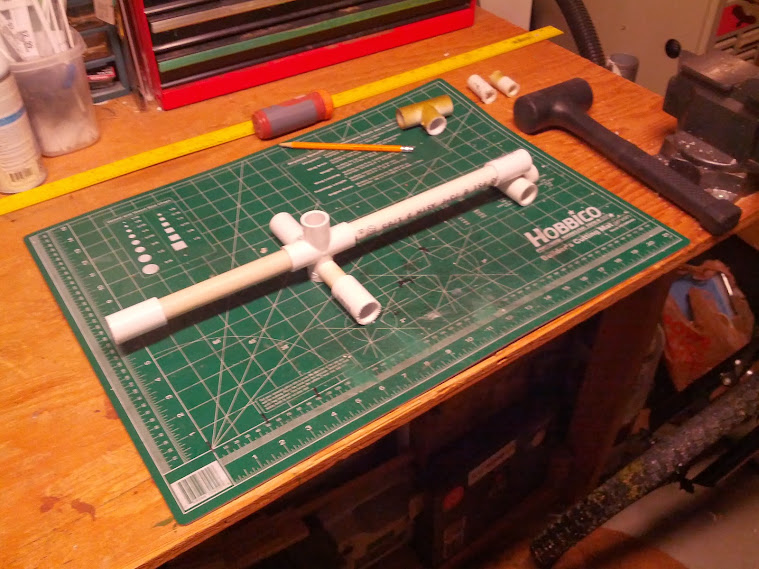
Here is the PVC frame I fashioned. The model can be mounted from every axis to make photographing it as easy as possible.
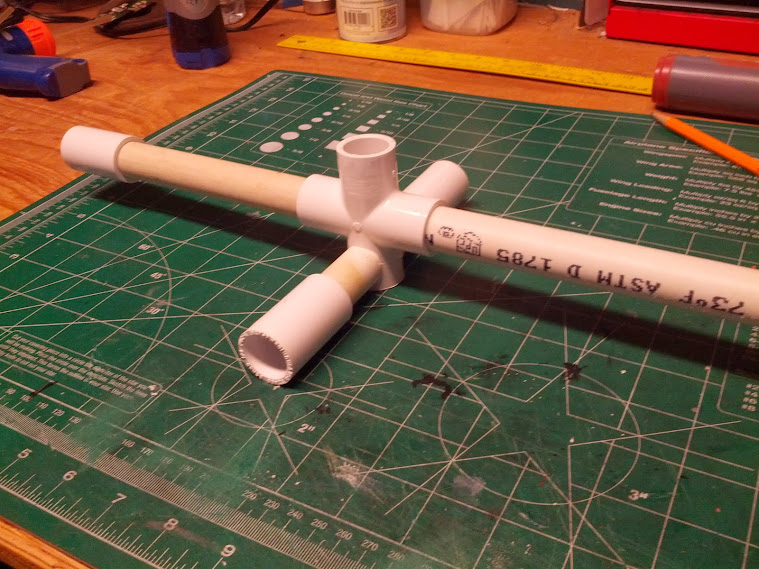
The left and right mount pointed needed to be bonded to the center cross section with some PVC welding glue. This stuff is not pleasant to work with and I use it sparingly.
Early on in the design process, I knew that I would need lots of engines. I thought that the ends of these water guns the kids had abandoned would do the trick, so I cut them off the guns and used them for reference while I built up the hull. I later determined that they would not work and so now of course the kids wanted the old water guns back but they were now just scrap.

Next up was framing out the main body of the warship. I used thick sheet plastic purchased from my local hobby store to build up the model’s basic shape in typical box frame fashion.
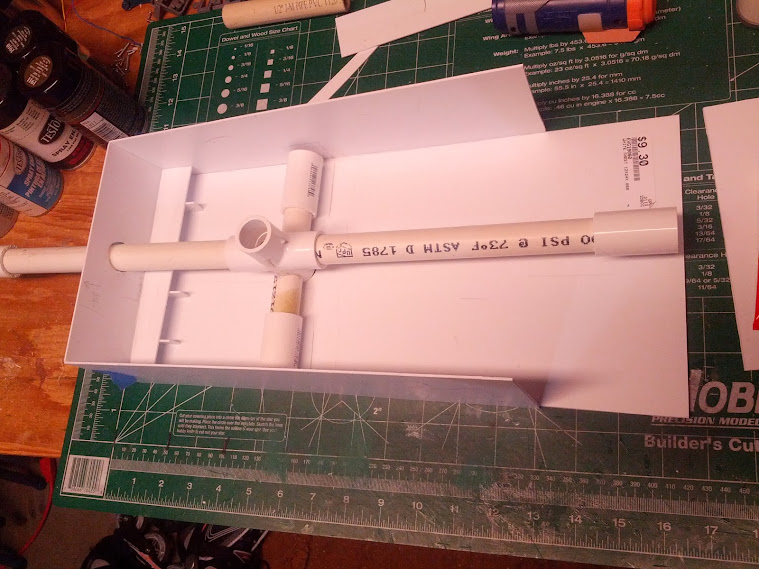
Here we see the framing underway. I had to build a shelf at both the bow and stern to hold up the mount tube. Below we see another view of the bow area. I used my hobby grinder to make that hole and it didn’t need to be perfect because the neck will cover it.

Below we see the body up on the PVC mount that I use to both build and shoot the model.

Below we see how I have gone all brace crazy in the main body to shore things up and ensure the PVC mount does not move inside the body.

Below is the stern side where the engines will go. More bracing and staging the mount.
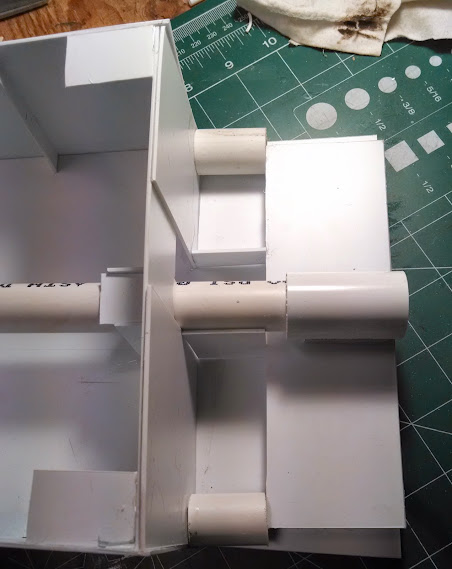
Somewhere along the line I decided to use pill boxes for my engines. Bellow we see the engine placement experiment I did to see how they would fit together.

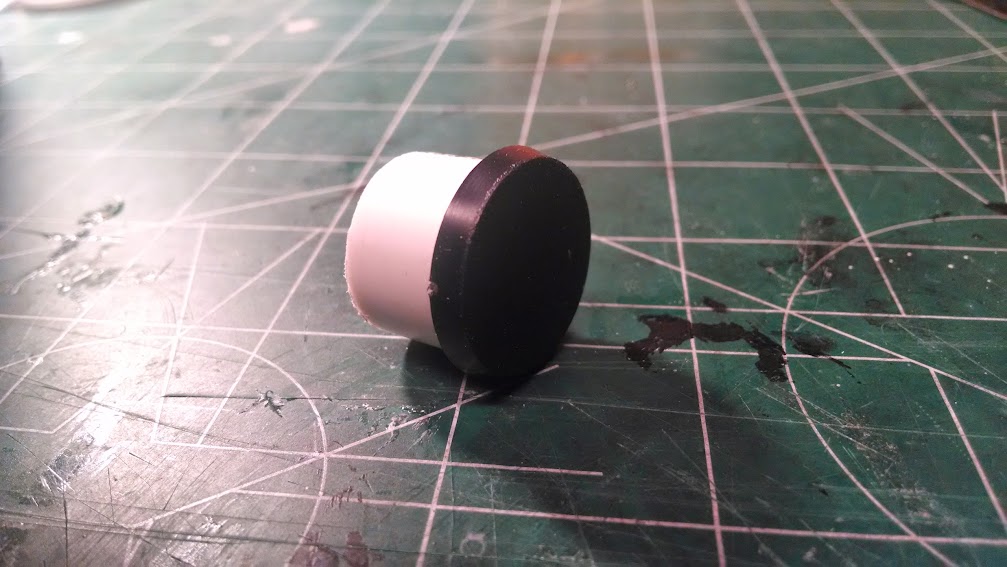
Below is the plug that will cover the rear mount whole.
The neck is now being boxed in.

Then I glued the neck to the main body.

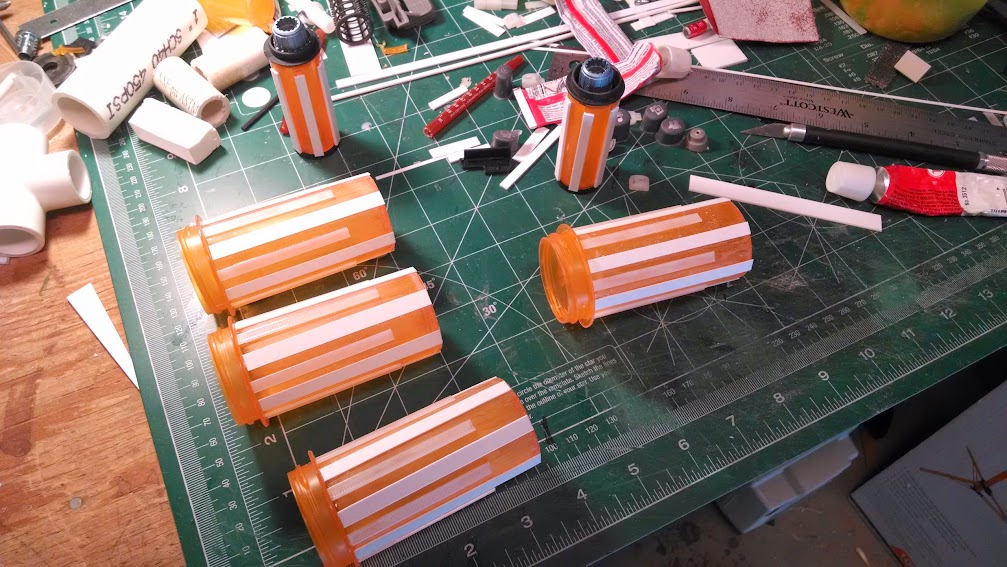
Now that I have decided to use pill bottles for the engines, I felt the need to build the engines. Not what I need to focus on but what was interesting to me at the time. So I built the engines using plastic caps and lots of spare plastic.
Below is the area of the stern where the engines will be mounted.

Next time I’ll show off how I framed out the “wings” and hopefully the head.

