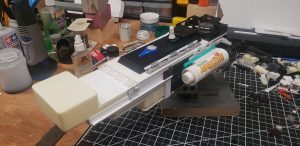
The large white colored pieces used as the bridge and forward hull are discarded 3D printed parts from our model lab at work. No idea what they were intended to be for. If you work on computers, you will see parts you can readily identify on this model. I didn’t restrict myself to the junk bins for parts, like on the Sultran warship, so you will see some model parts mixed in there too.
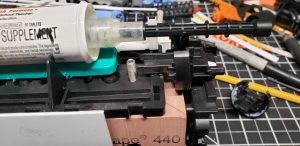
This model has a solid block of RenShape for the mount. It can be mounted from behind and underneath and locked off with the set screw shown below. I made no effort to hide the set screw. Primarily because it won’t ever be seen in the final book cover image. I even left the RenShape as part of the ship’s hull. Sloppy. But worst of all, the mount is too far stern so it doesn’t really stand up nicely on a the mount. It leans forward due to gravity. Terrible modeling skilz.
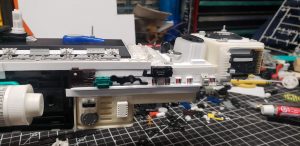
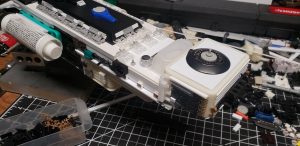
Working out the smaller details along the top of the ship. As you can see, I used some pill bottles for the engines.
The bridge on the top is also very Star Trek looking. Consider them homages. ;-) In the image below you can see the RJ45 plugs and other various electronic connectors used for details.
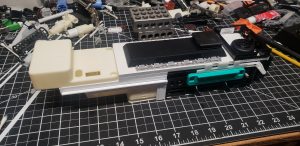
Here are the side details before getting painted. This is my favorite part of space ship model building. My second favorite is ageing or weathering. And that’s what’s coming up in Part 3!