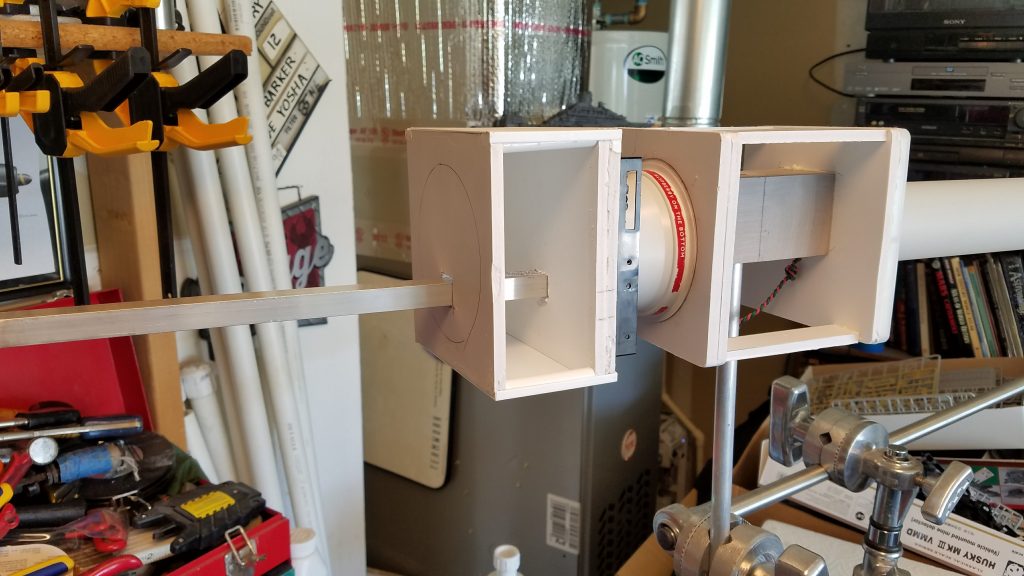
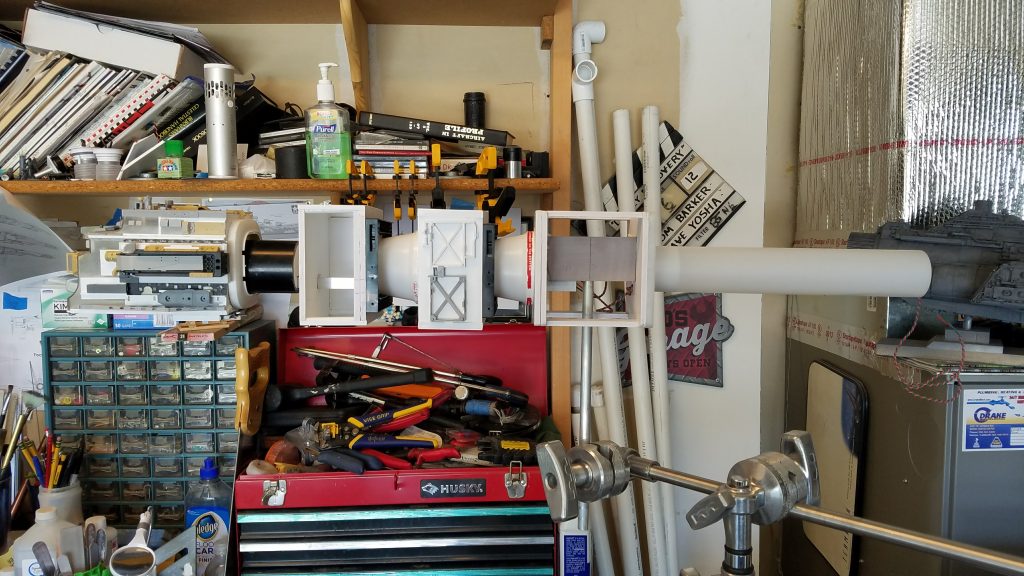
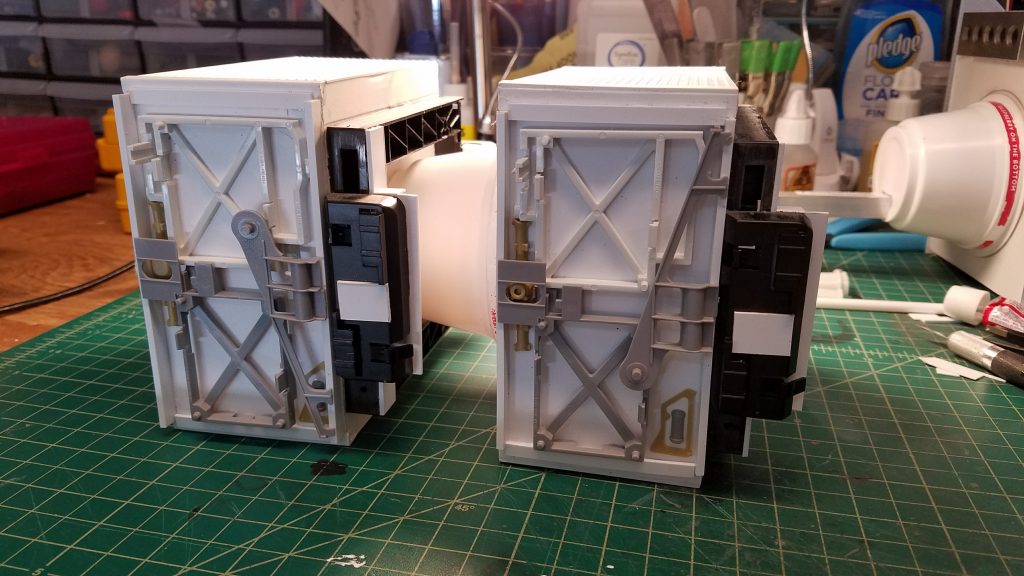
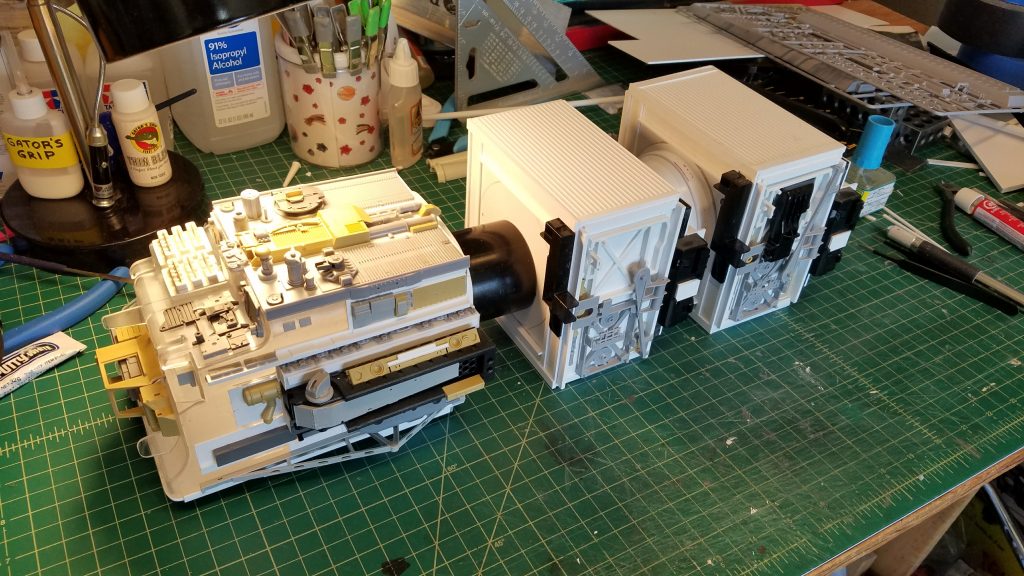
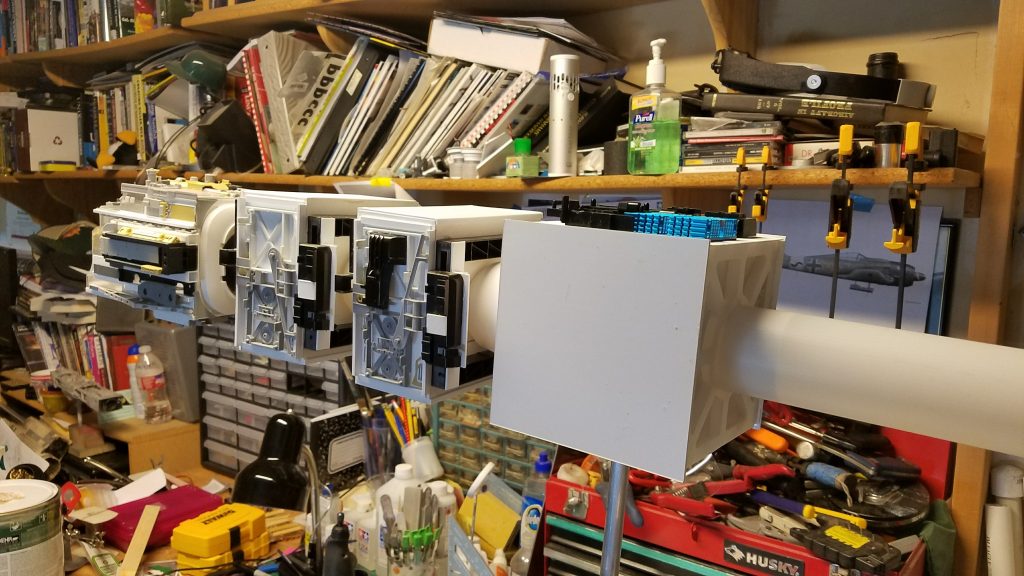
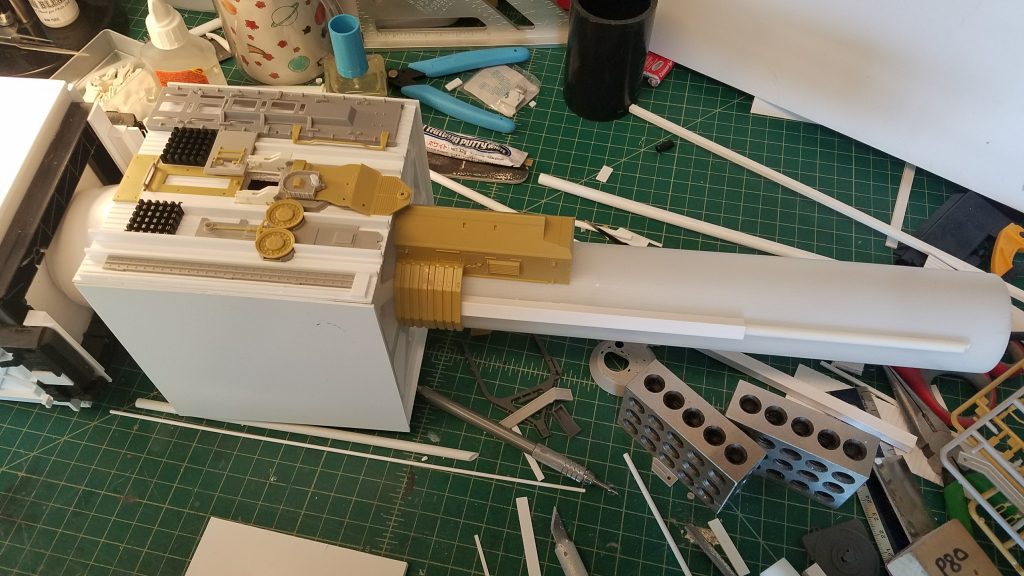
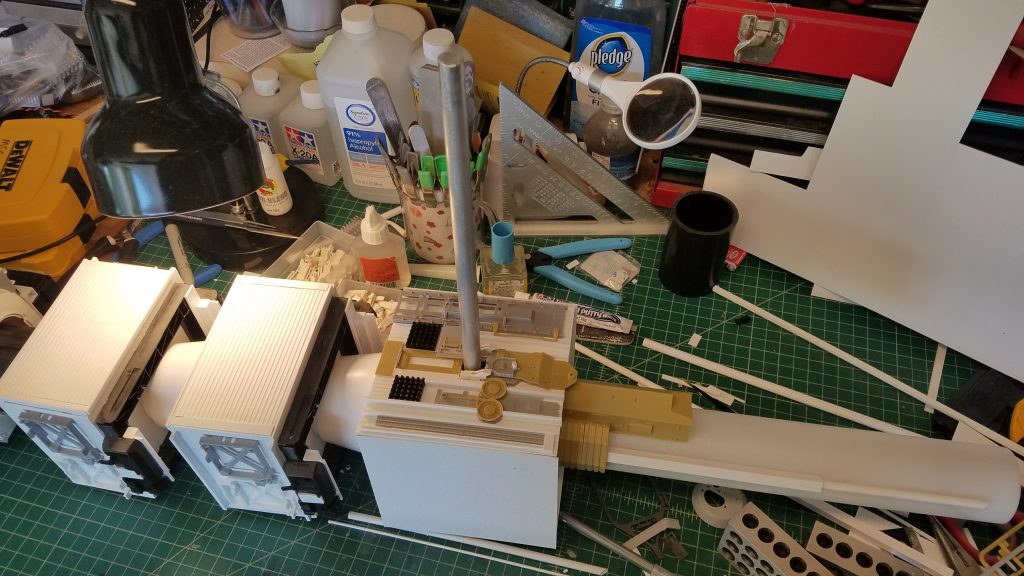
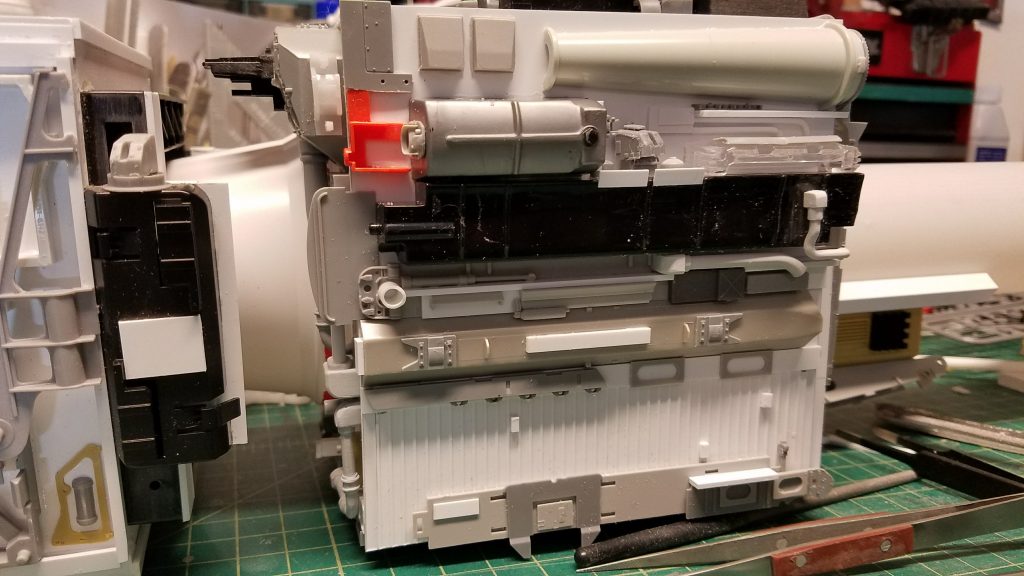
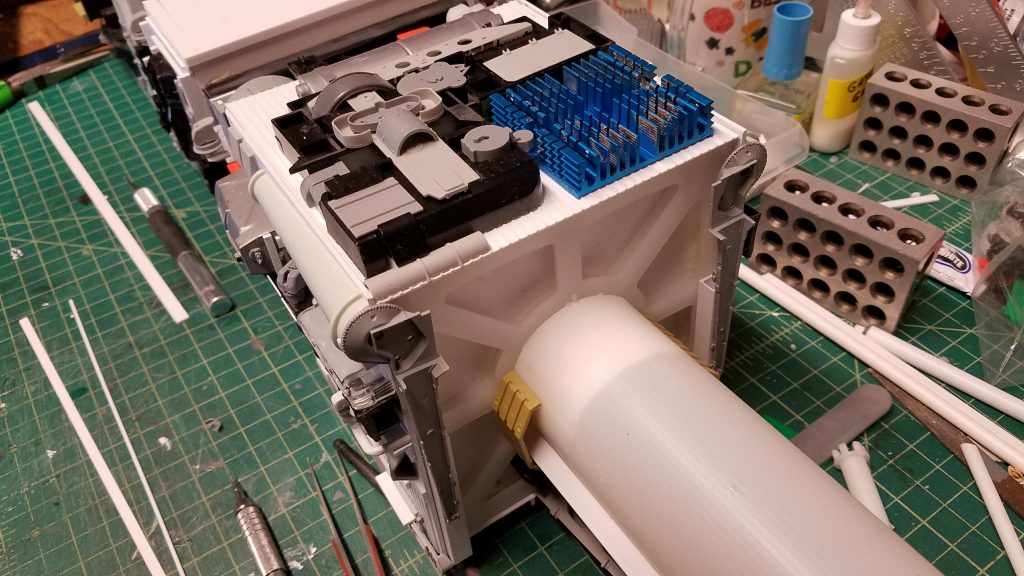
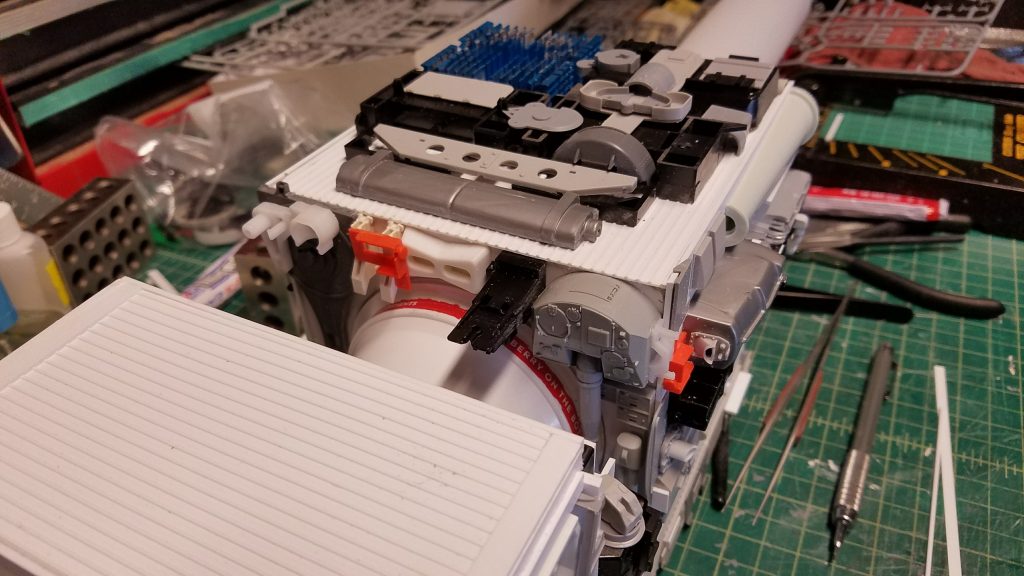
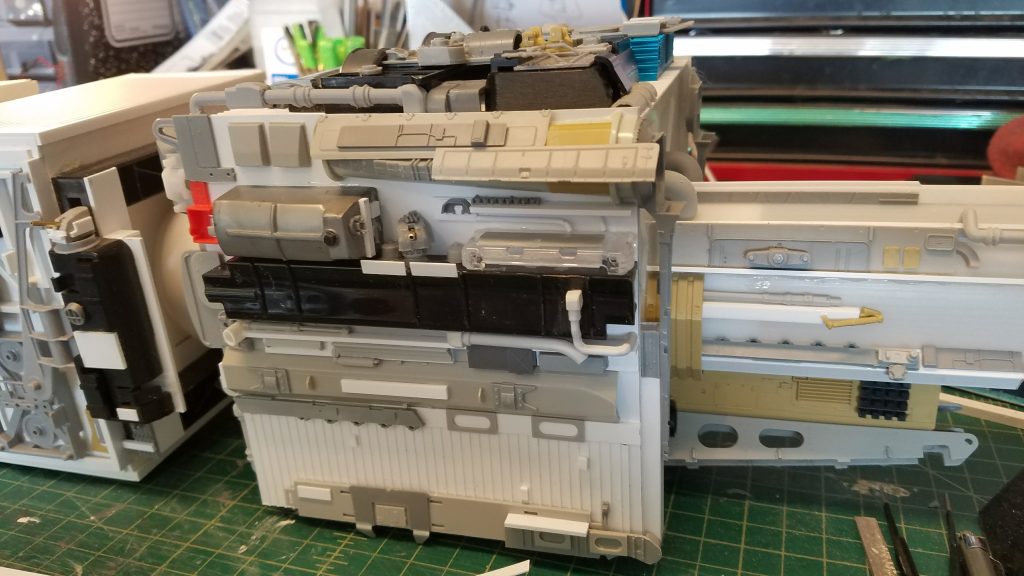
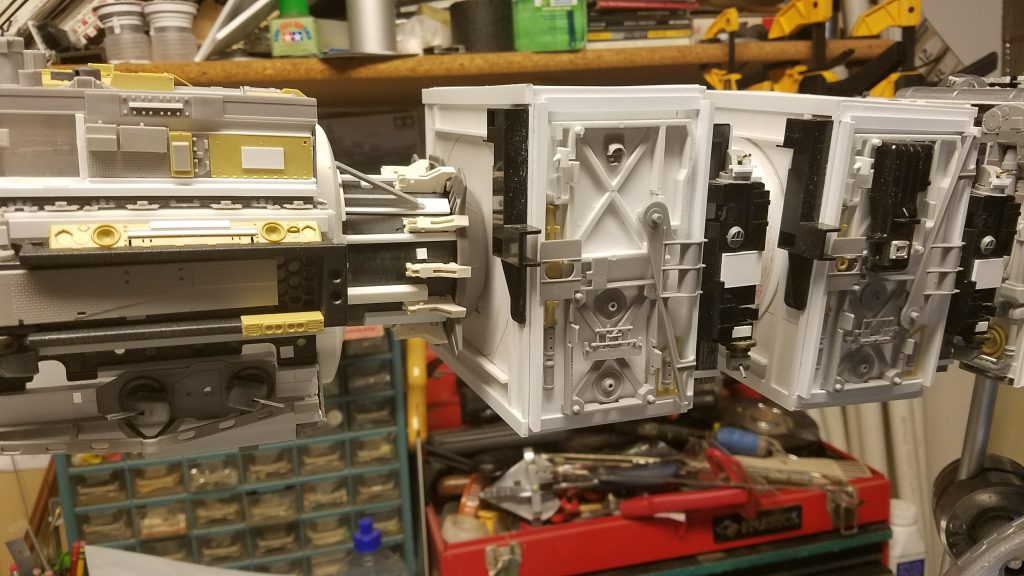
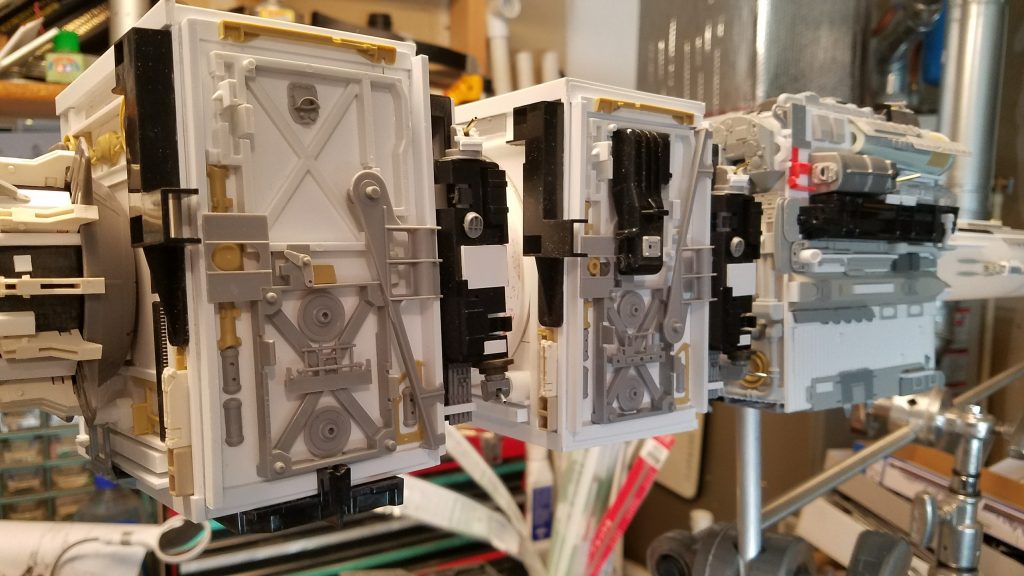
Remember last time when I said there would be trouble with the frame? Yeah, well there was trouble. Primarily because there was no backbone for the length of the ship. It turns out yogurt cups can’t hold all those cargo pods together. So I improvised like a Jazz musician and stuck a bracket through the center and bolted it to the RenShape block.
Retro-fitting a frame is not recommended. Prior thought would have been easier.
The model has held together nicely after the aluminum frame was installed. Here it is on the C-stand above the bench.
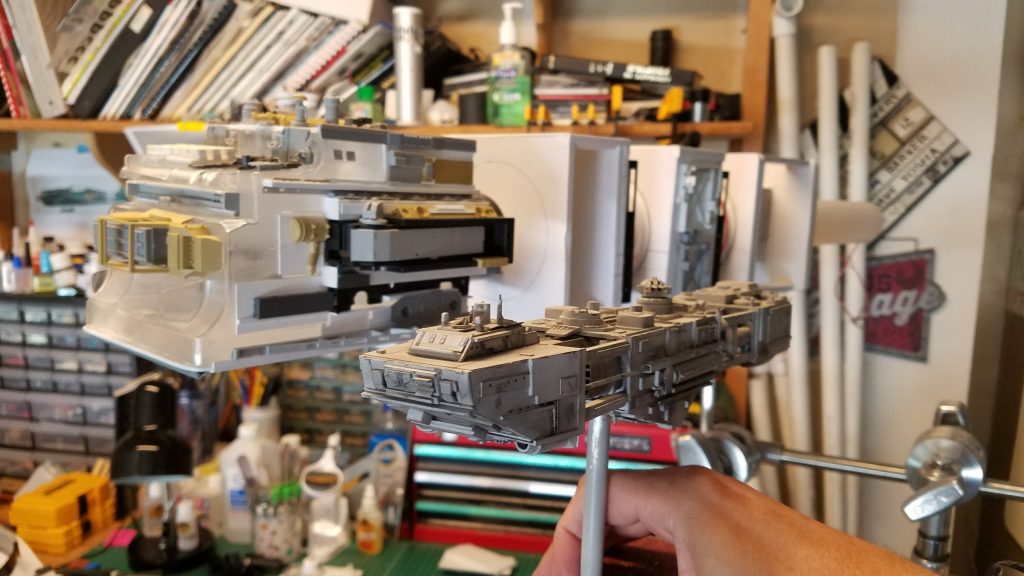
Here’s the Star and the Weippe in formation.
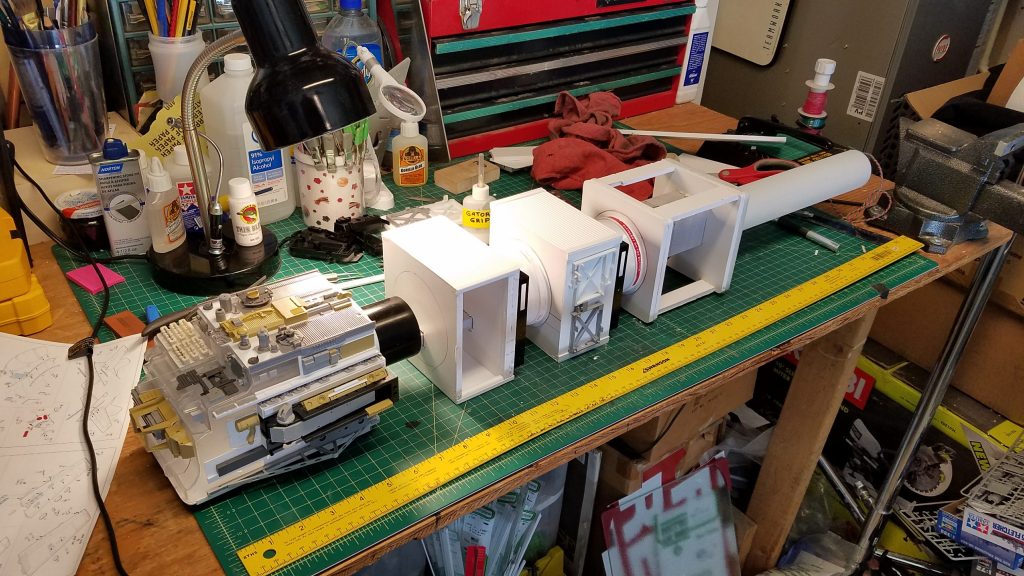
One last shot showing it next to a yardstick. Yeah, now that’s a starship. Easily the biggest one I’ve built.
Back to the cargo pods and detailing. Mmmm, detailing.
Starting to look like a ship. Pass the model parts, there are some flat spaces in there that need details. Note the clean desktop. It happens.
Something missing on the last section. Oh yeah, details! Better get busy.
For some reason, I started on the bottom first. Check out that bad-ass looking piece on the engine. I think that’s a military tractor or something. Love it.
Then I impaled it with the mount pole and it finally died.
Fast forward to the drive section’s side. More delicious details. I only detailed one side due to reasons. Mainly because I knew I would be photographing it from only one side, so to save time and parts, I only built three sides.
Detailing these models is an art form in and of itself. You can’t just slap parts on there and paint ’em. Things have to look like they have a purpose. It’s my absolutely favorite part of scratch building starships.
It’s okay to recognize parts at this stage, but after it’s done, I don’t want you be able to do that. At least not quickly.
This area is starting to look pretty cool.
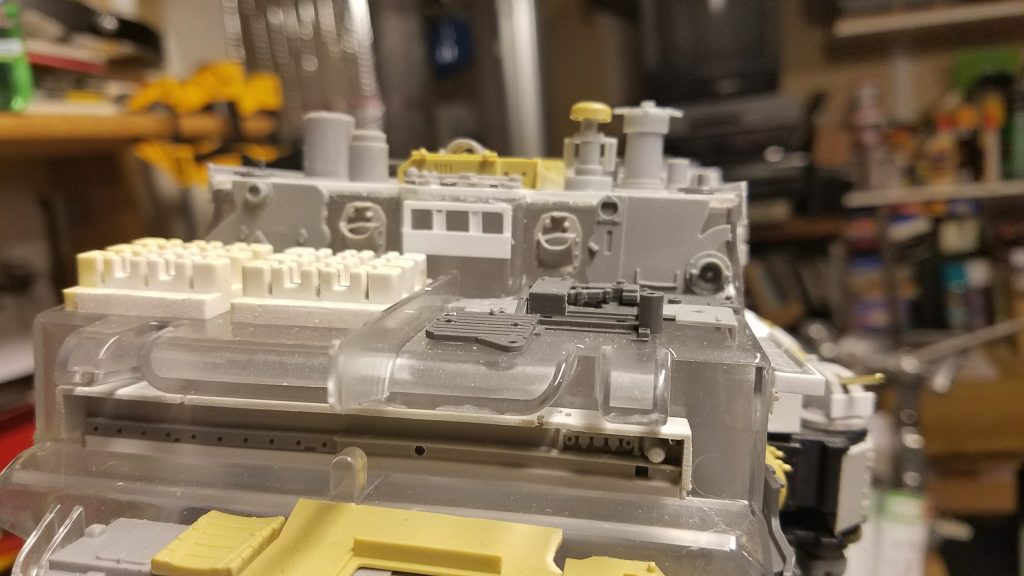
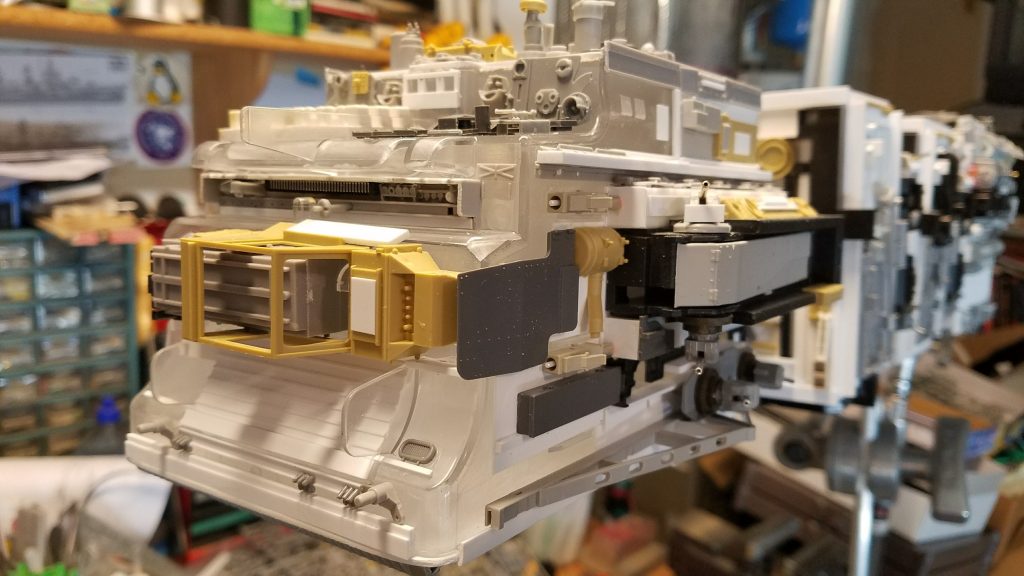
Back to the front and some nice neck details behind the bridge section. One of the parts in there is a AT-AT Walker foot from a Star Wars toy.
Bridge windows were created from styrene strips. I with I had a store display of Evergreen plastic. I’d use it all in just a year.
Damn. She’s looking pretty fierce for a transporter.
That’s it for the detailing phase. Next up is paint. Not my favorite part, but paint makes the model.
