This model was going to be a little different from my others. I wanted to build it fast and on the cheap. I didn’t want to spend money on specific model kits for details and I wanted to use just what I had on hand to build it. I work for a large tech company in the valley and I have access to lots of mechanical parts in the garbage bins. I decided to recycle those parts into a bad ass starship.
This would save time and money and hopefully produce a model in record time because I was writing the book as fast as I could and that book needed a cover model.
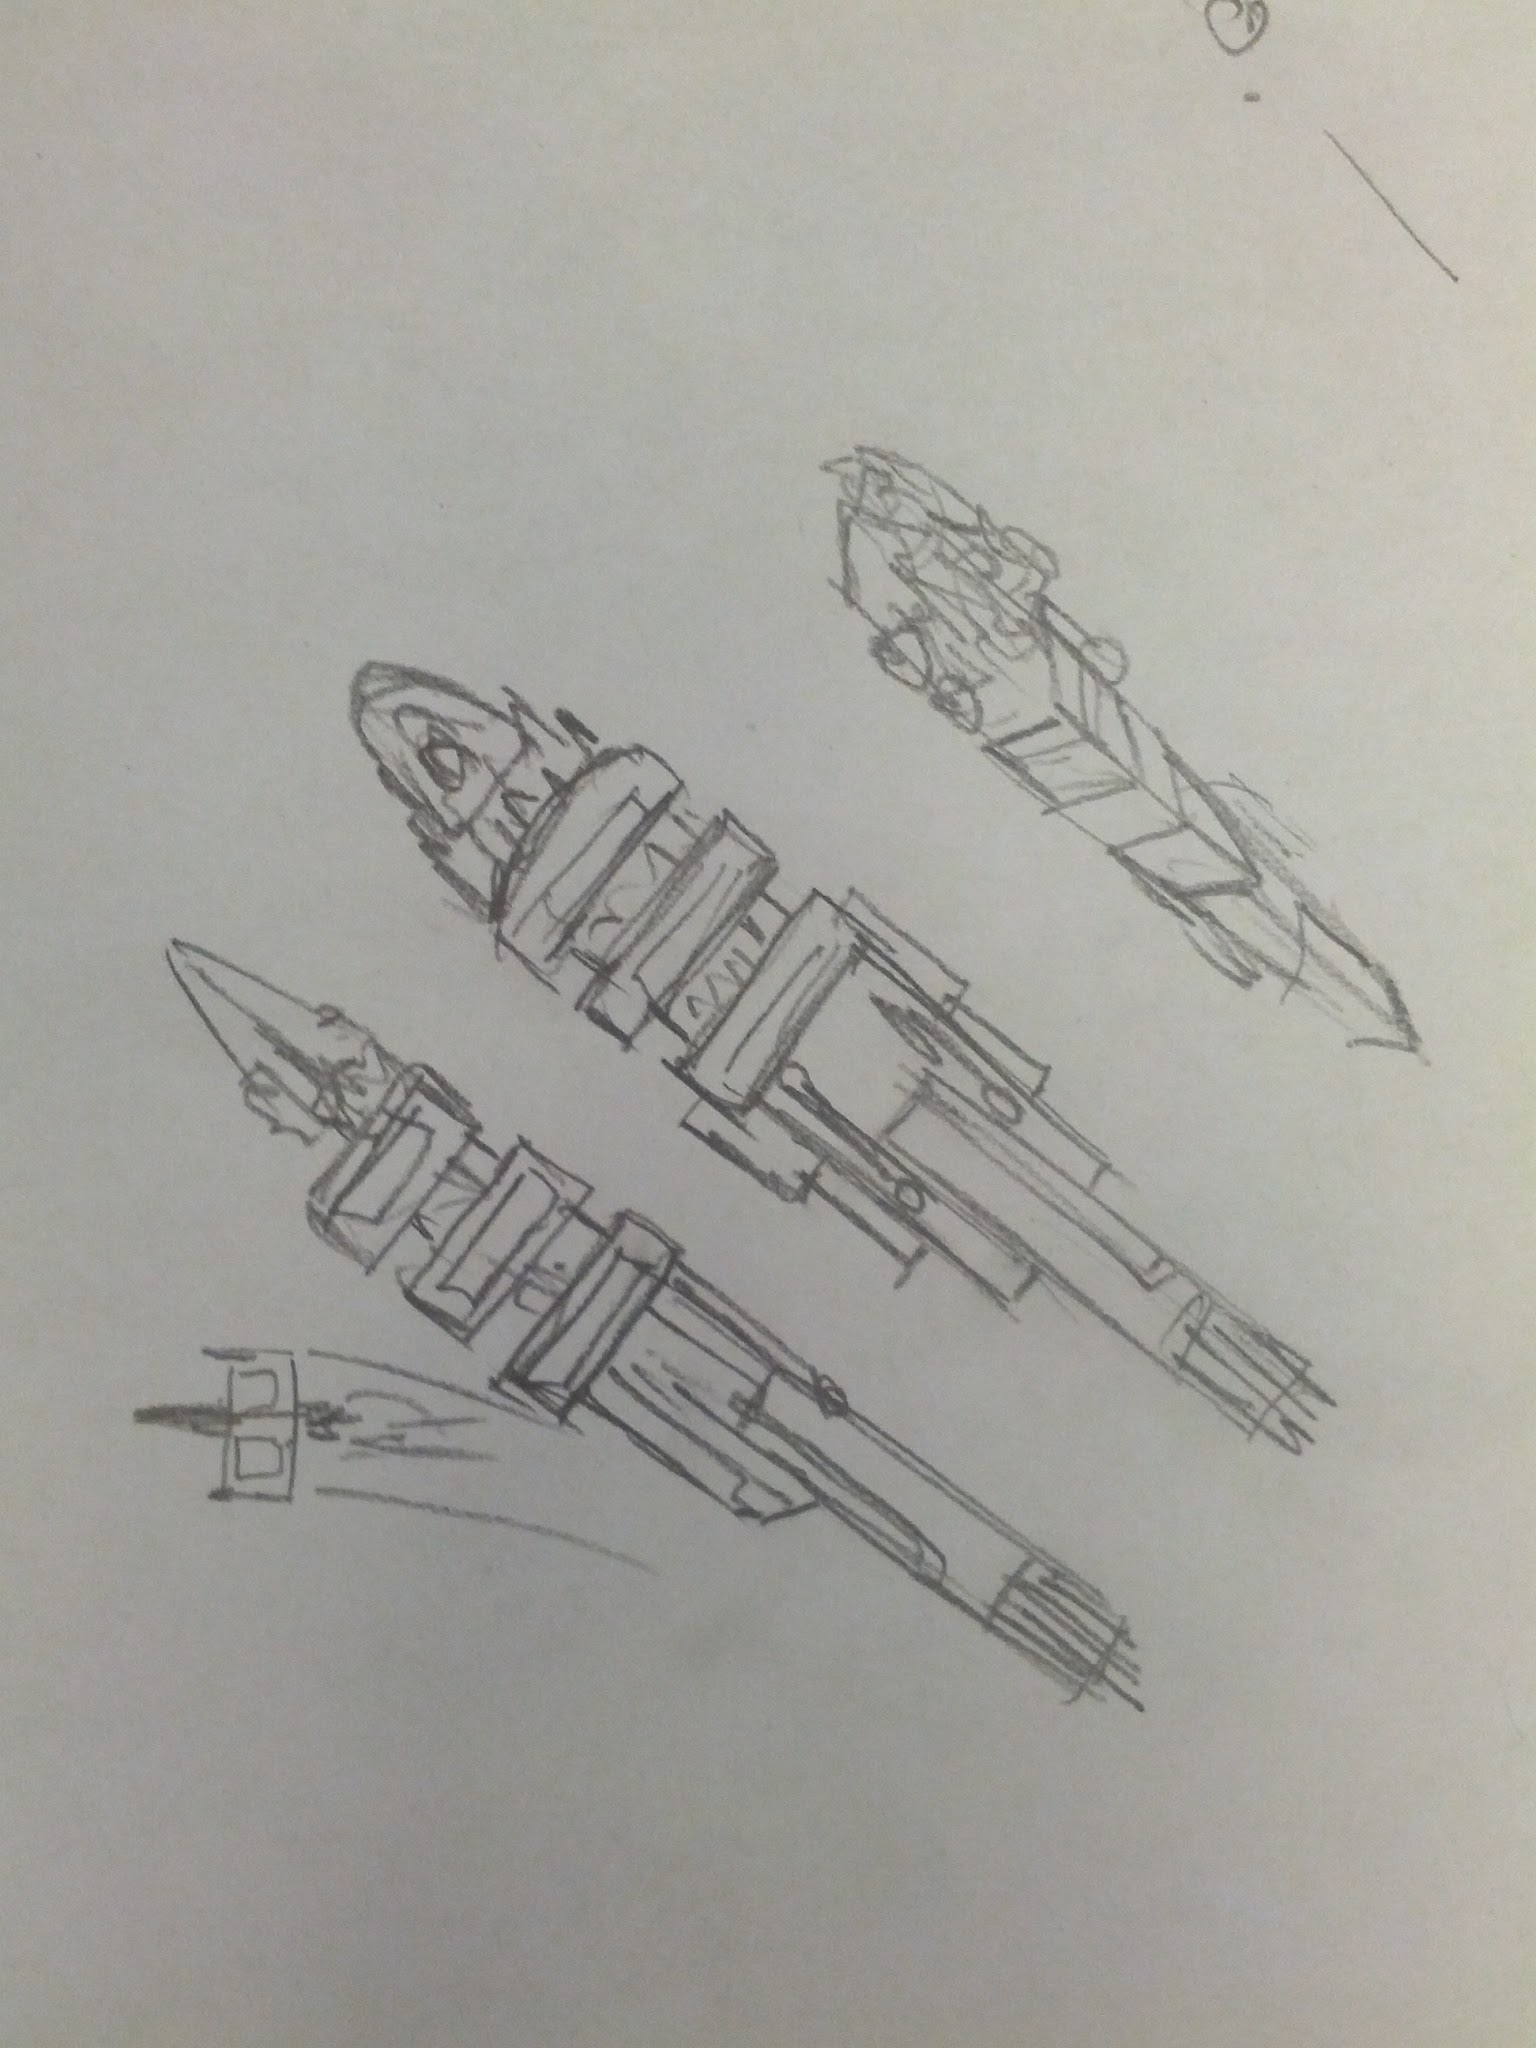
I used these drawings as I wrote the novella and so started with them when it came time to build the Black Star. The ship was originally a long haul transporter with a single big Class C stardrive and lots of modular container pods to store things. Pirates took the transport over in a raid and then slowly converted it to a brutal pirate ship with lots of guns and shielding.

With this in mind, I surveyed my junk pile in the garage and found some parts that would work for the basic frame. A large plastic pipe and some hard drive mounts would be the first parts I selected. I went with a block of RenShape for the mount, as has been my standard for some time now. You can drill it out for a metal rod mount that can be secured with a set screw and that fits on my C-stand model mount
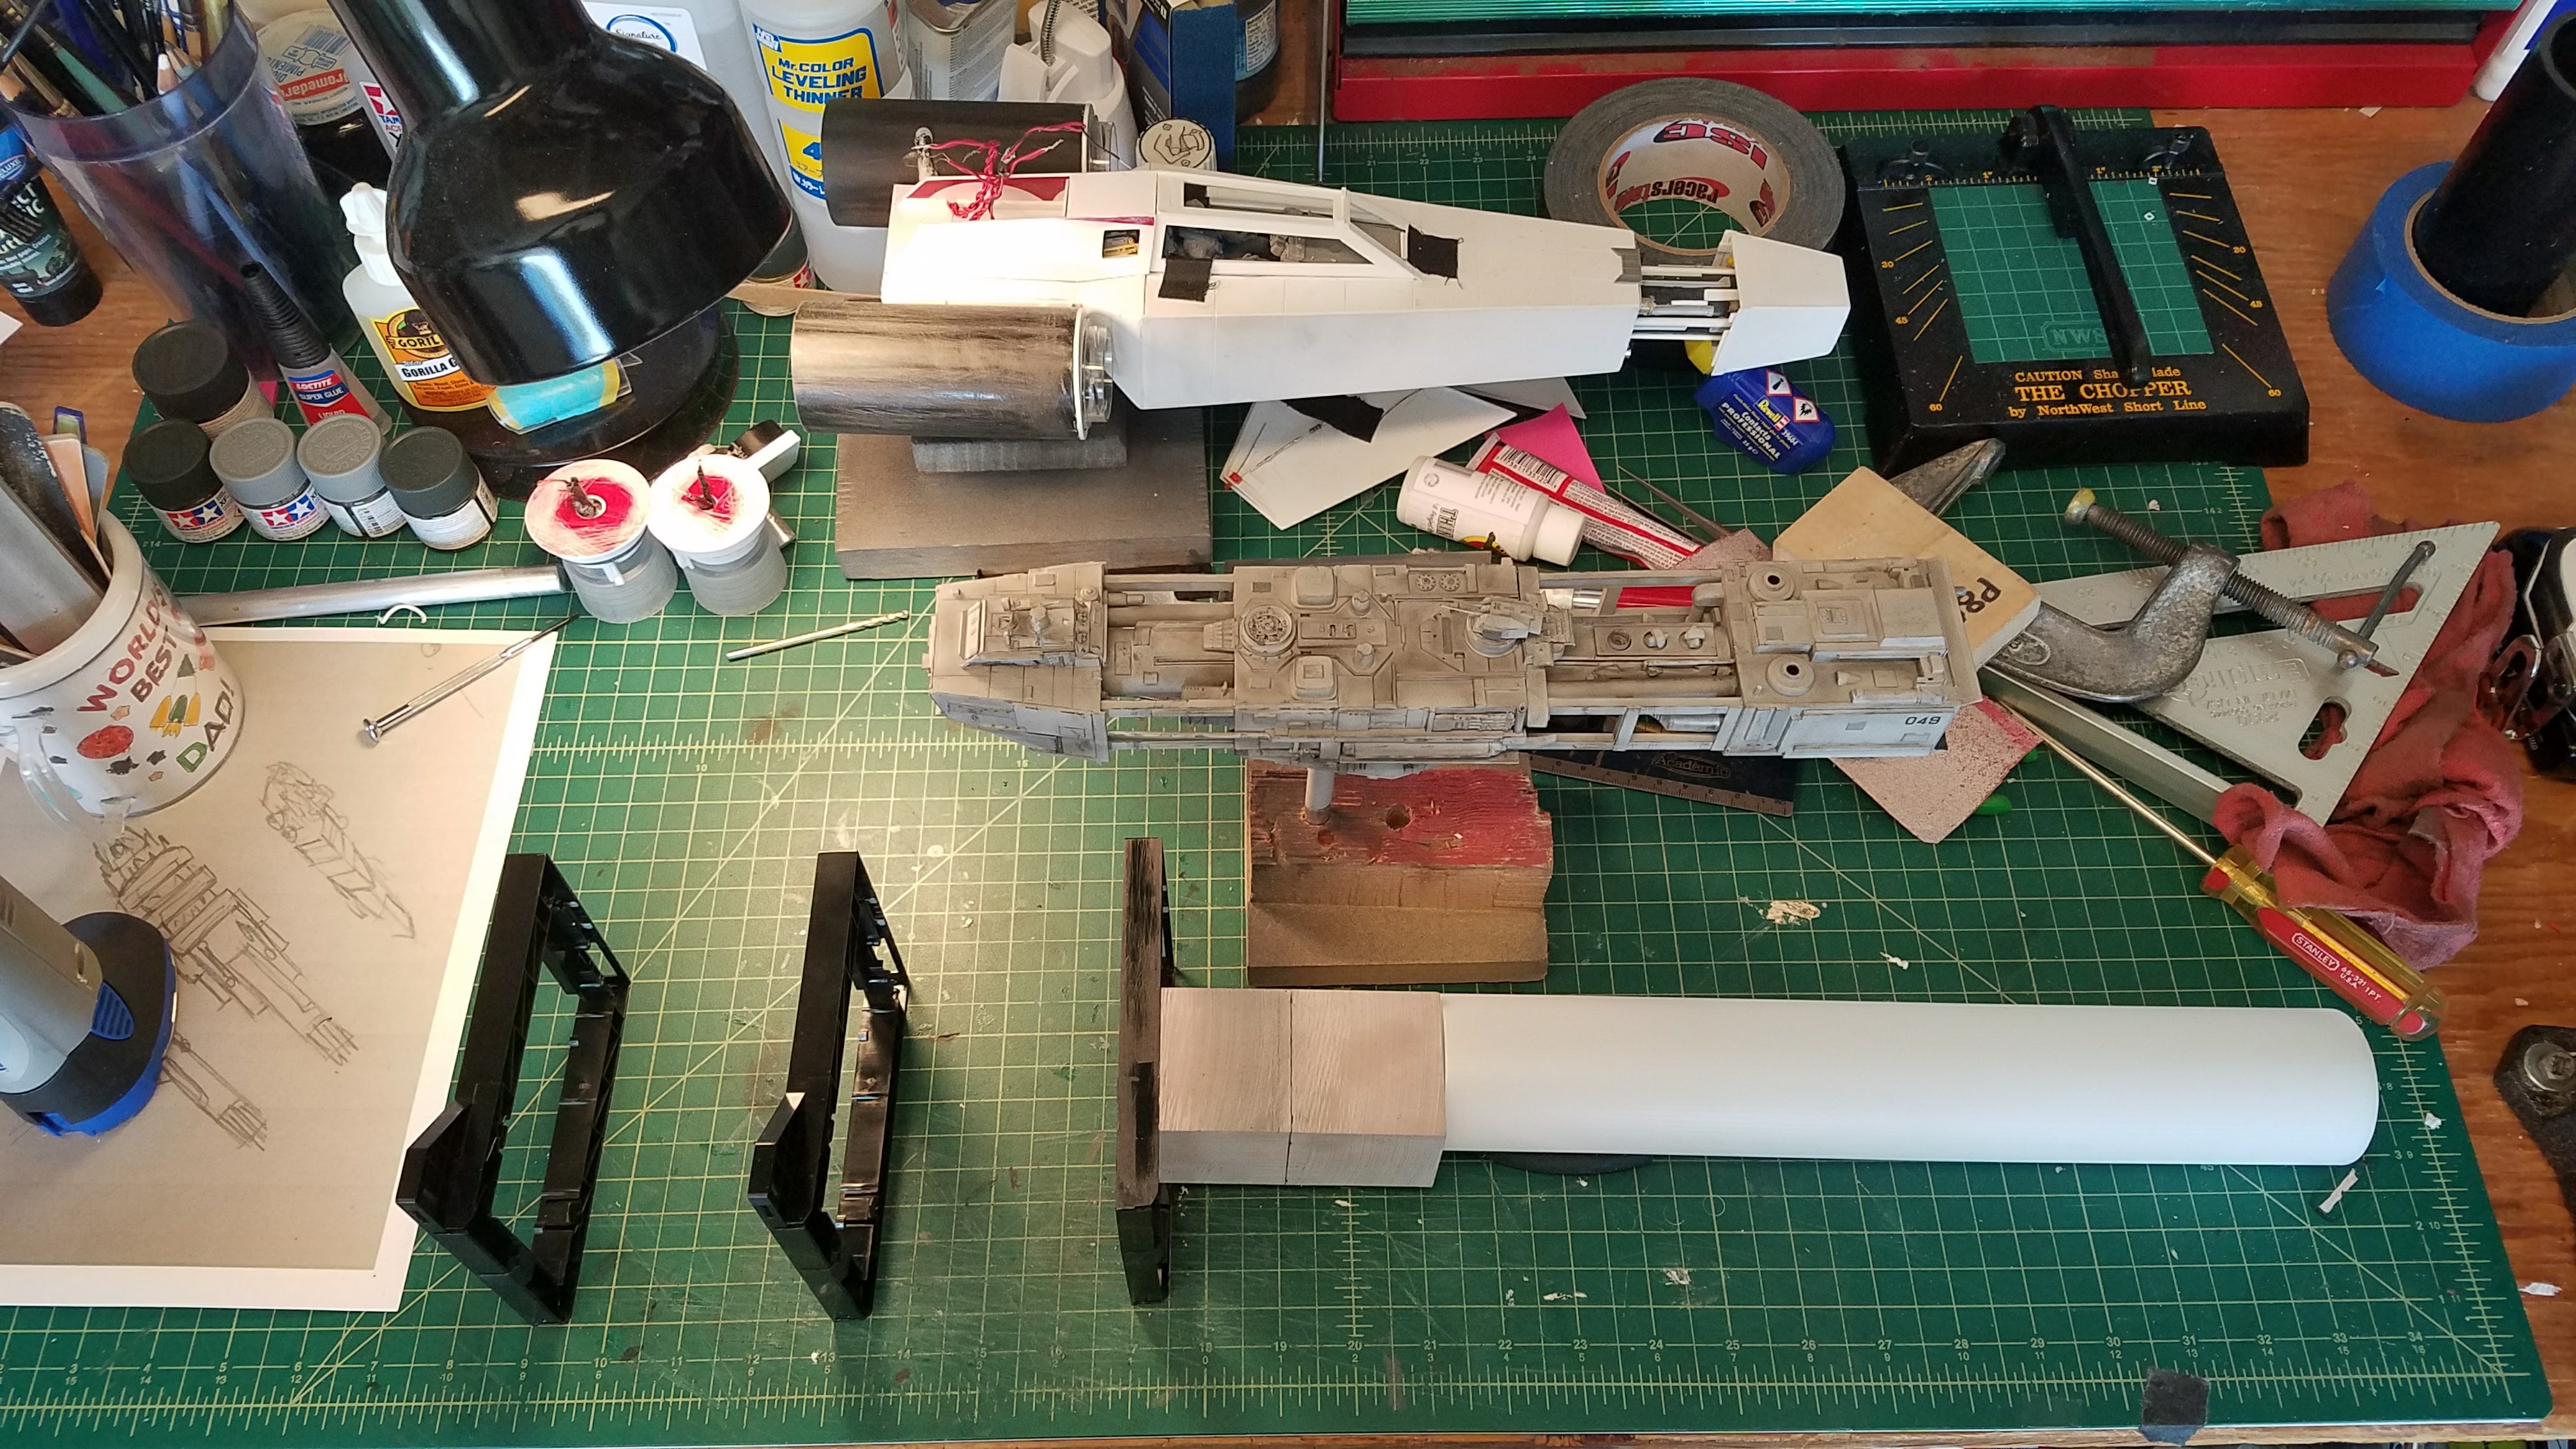
The SS Wieppe model is there for scale. The Black Star had to be bigger than the tiny corvette.
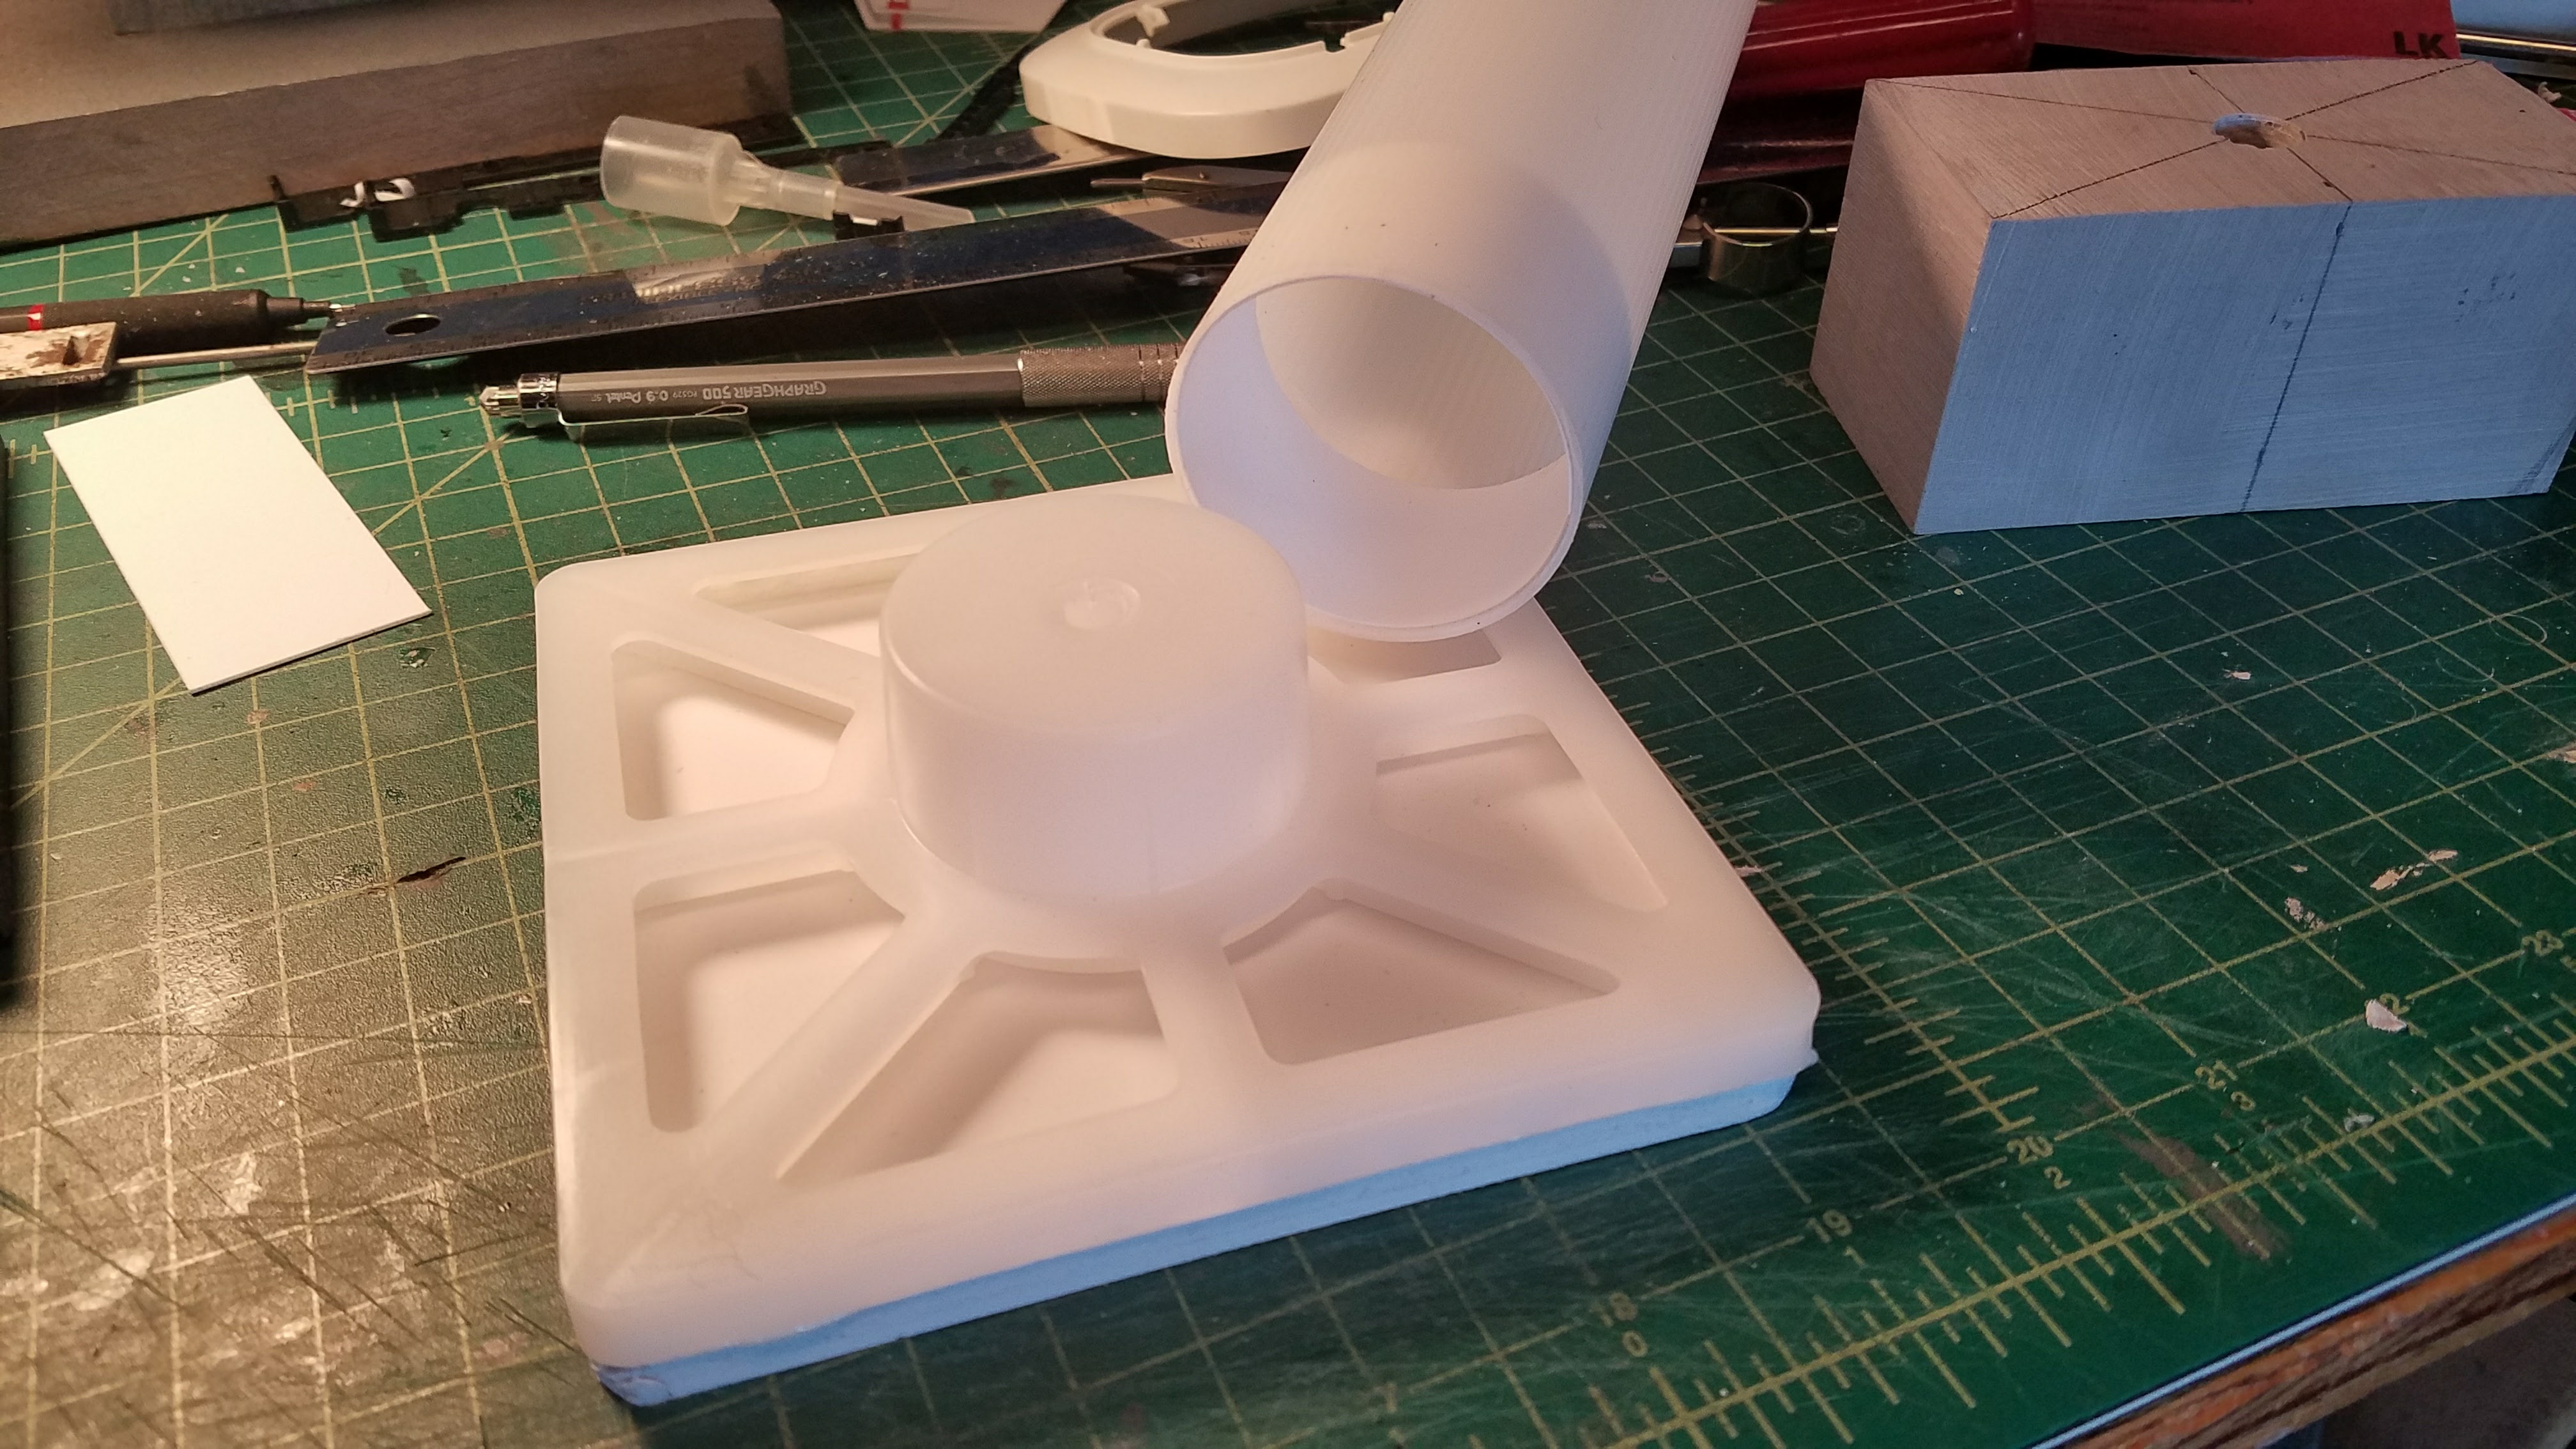
The plastic pipe fit into this piece from the junk bins at work.
All I added was some PVC board to give it some heft and to build out the container pods.

The head was a concern until I found this wonderful clear plastic fan cover from a high end PC. The above photo shows the mount block drilled out and the PVC boards cut for the pods.
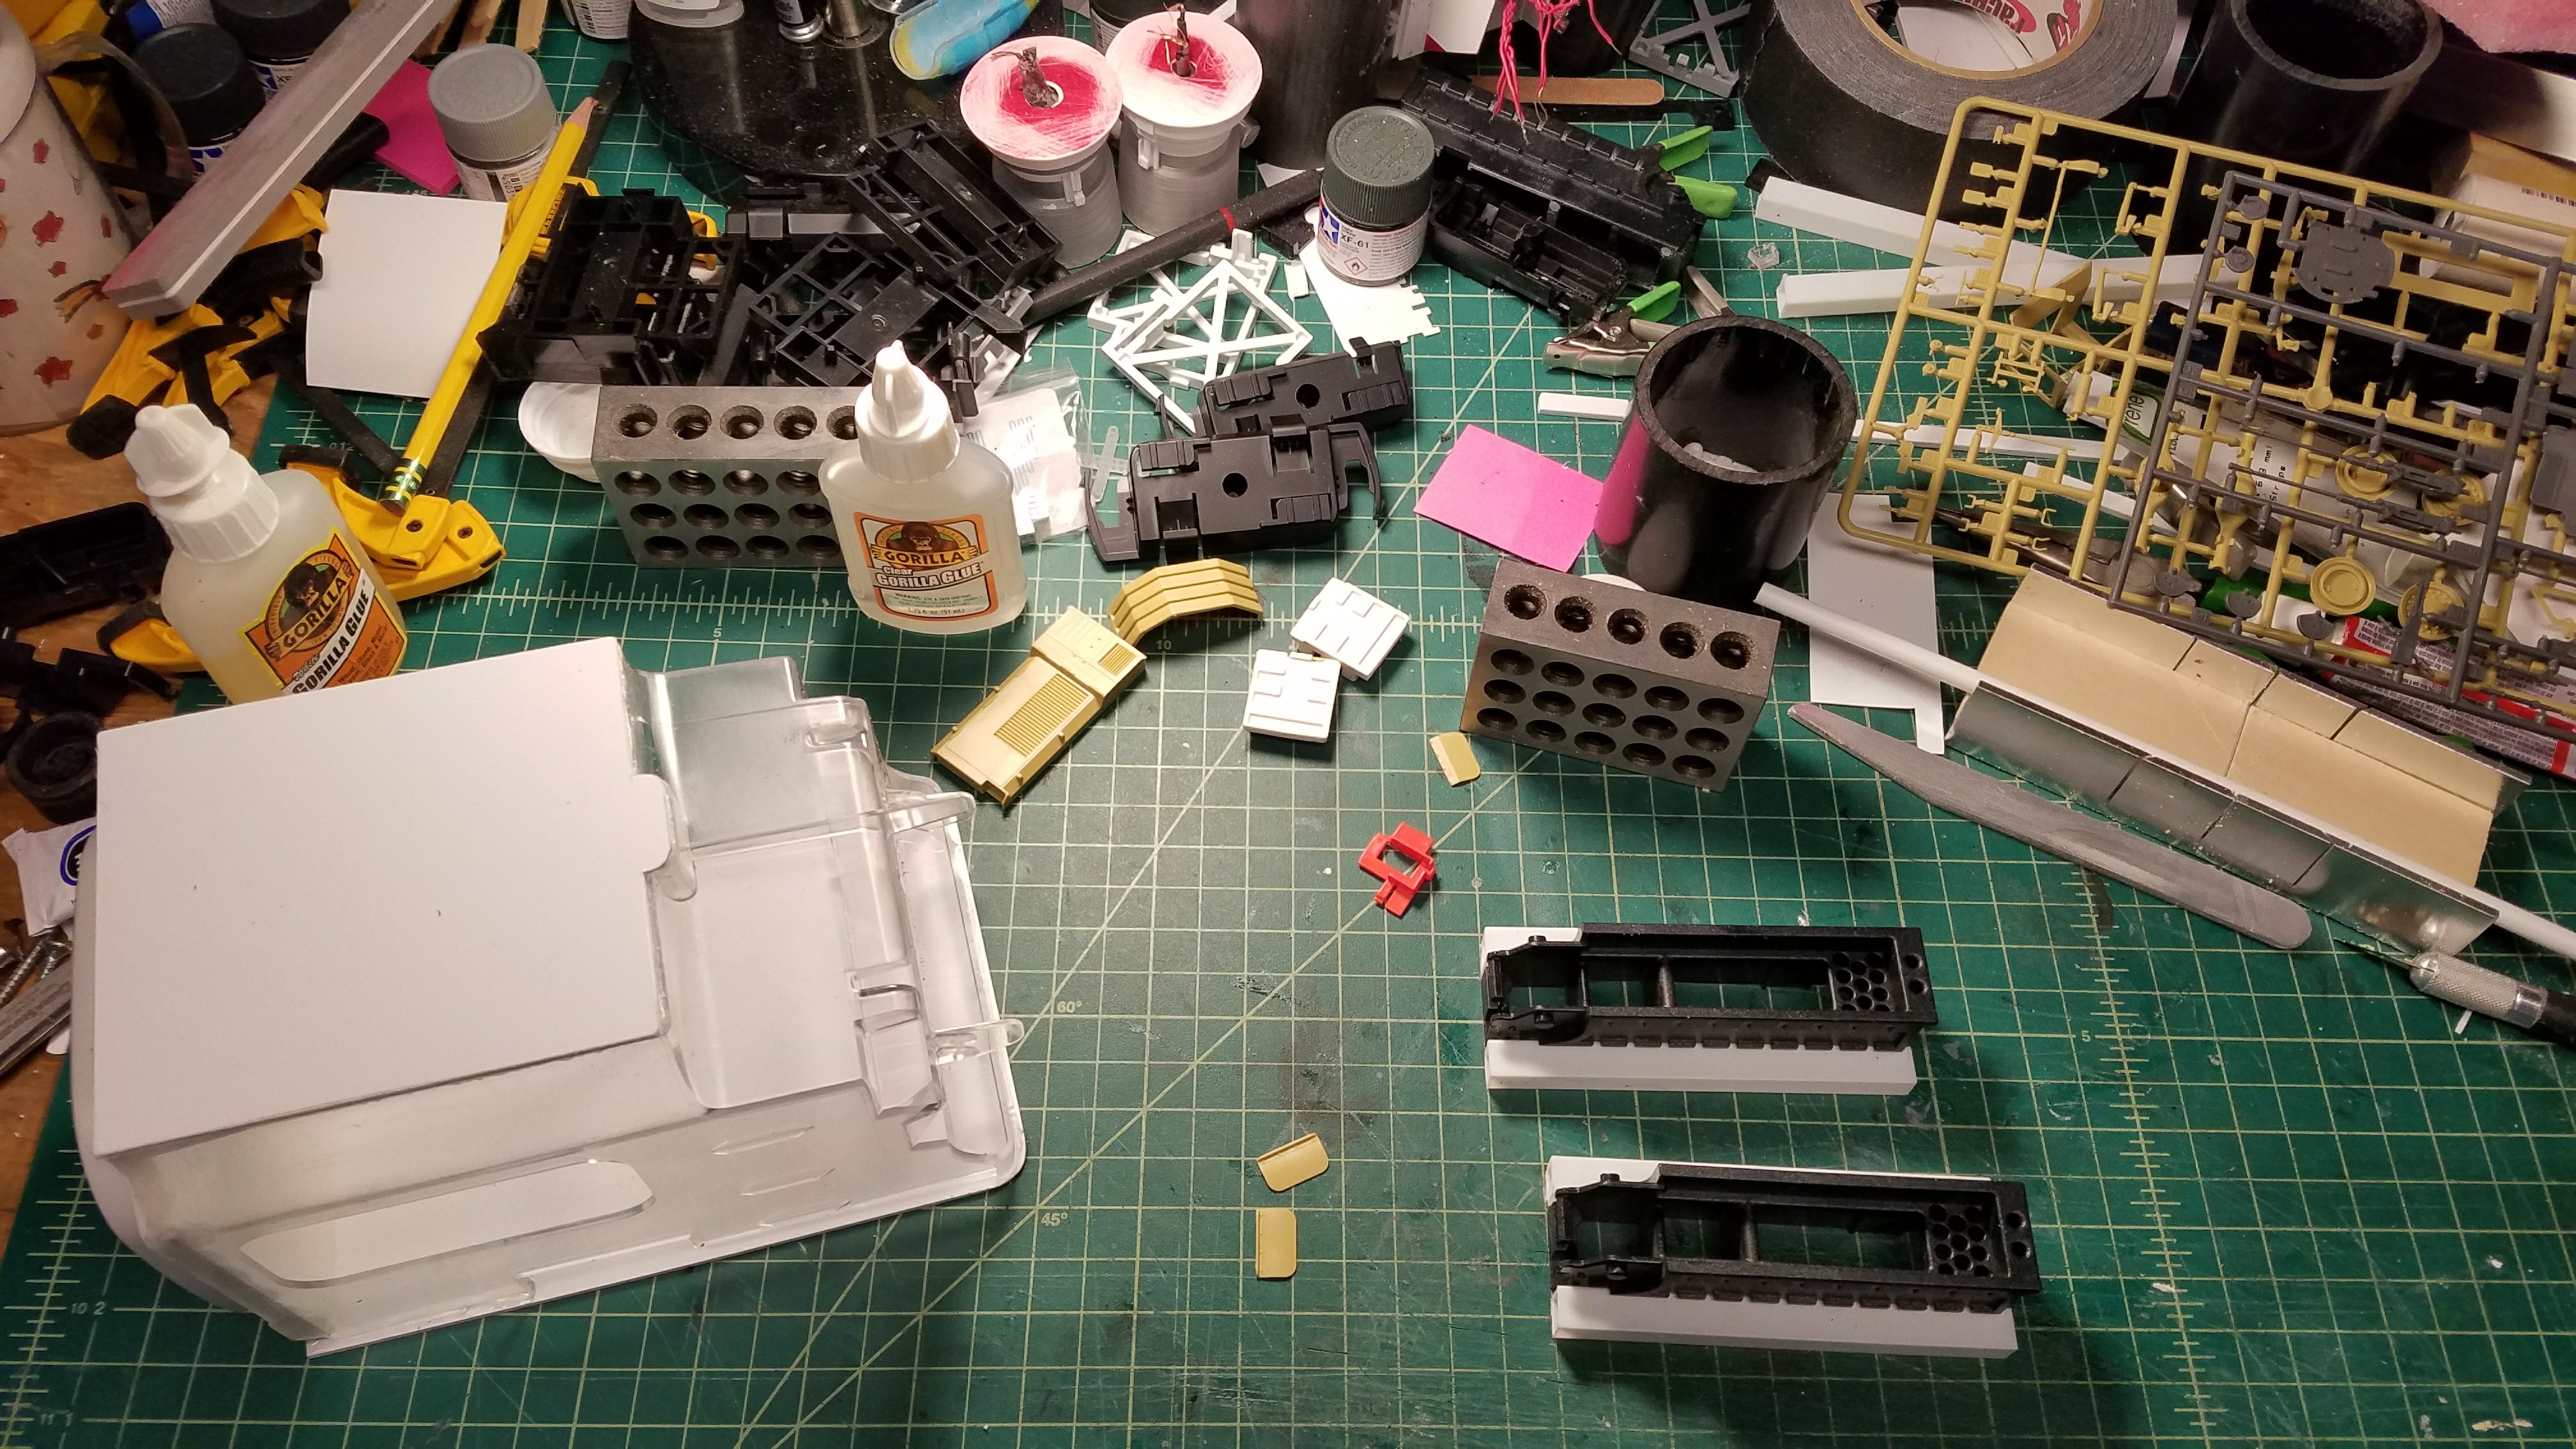
Always laying out the design in a test fit before reaching for the glue. Also in the above shot you can see some plastic bits that I thought would make great container details.

I used PVC pipe for the neck and now the final size of the ship comes together. Can you spot the yogurt cups? Used as spacers between the cargo pods.

Once again, you can see the true scale next to the 1/350 Weippe model. The Black Star was wired for light in the stardrive, but I elected not to use it in the end.
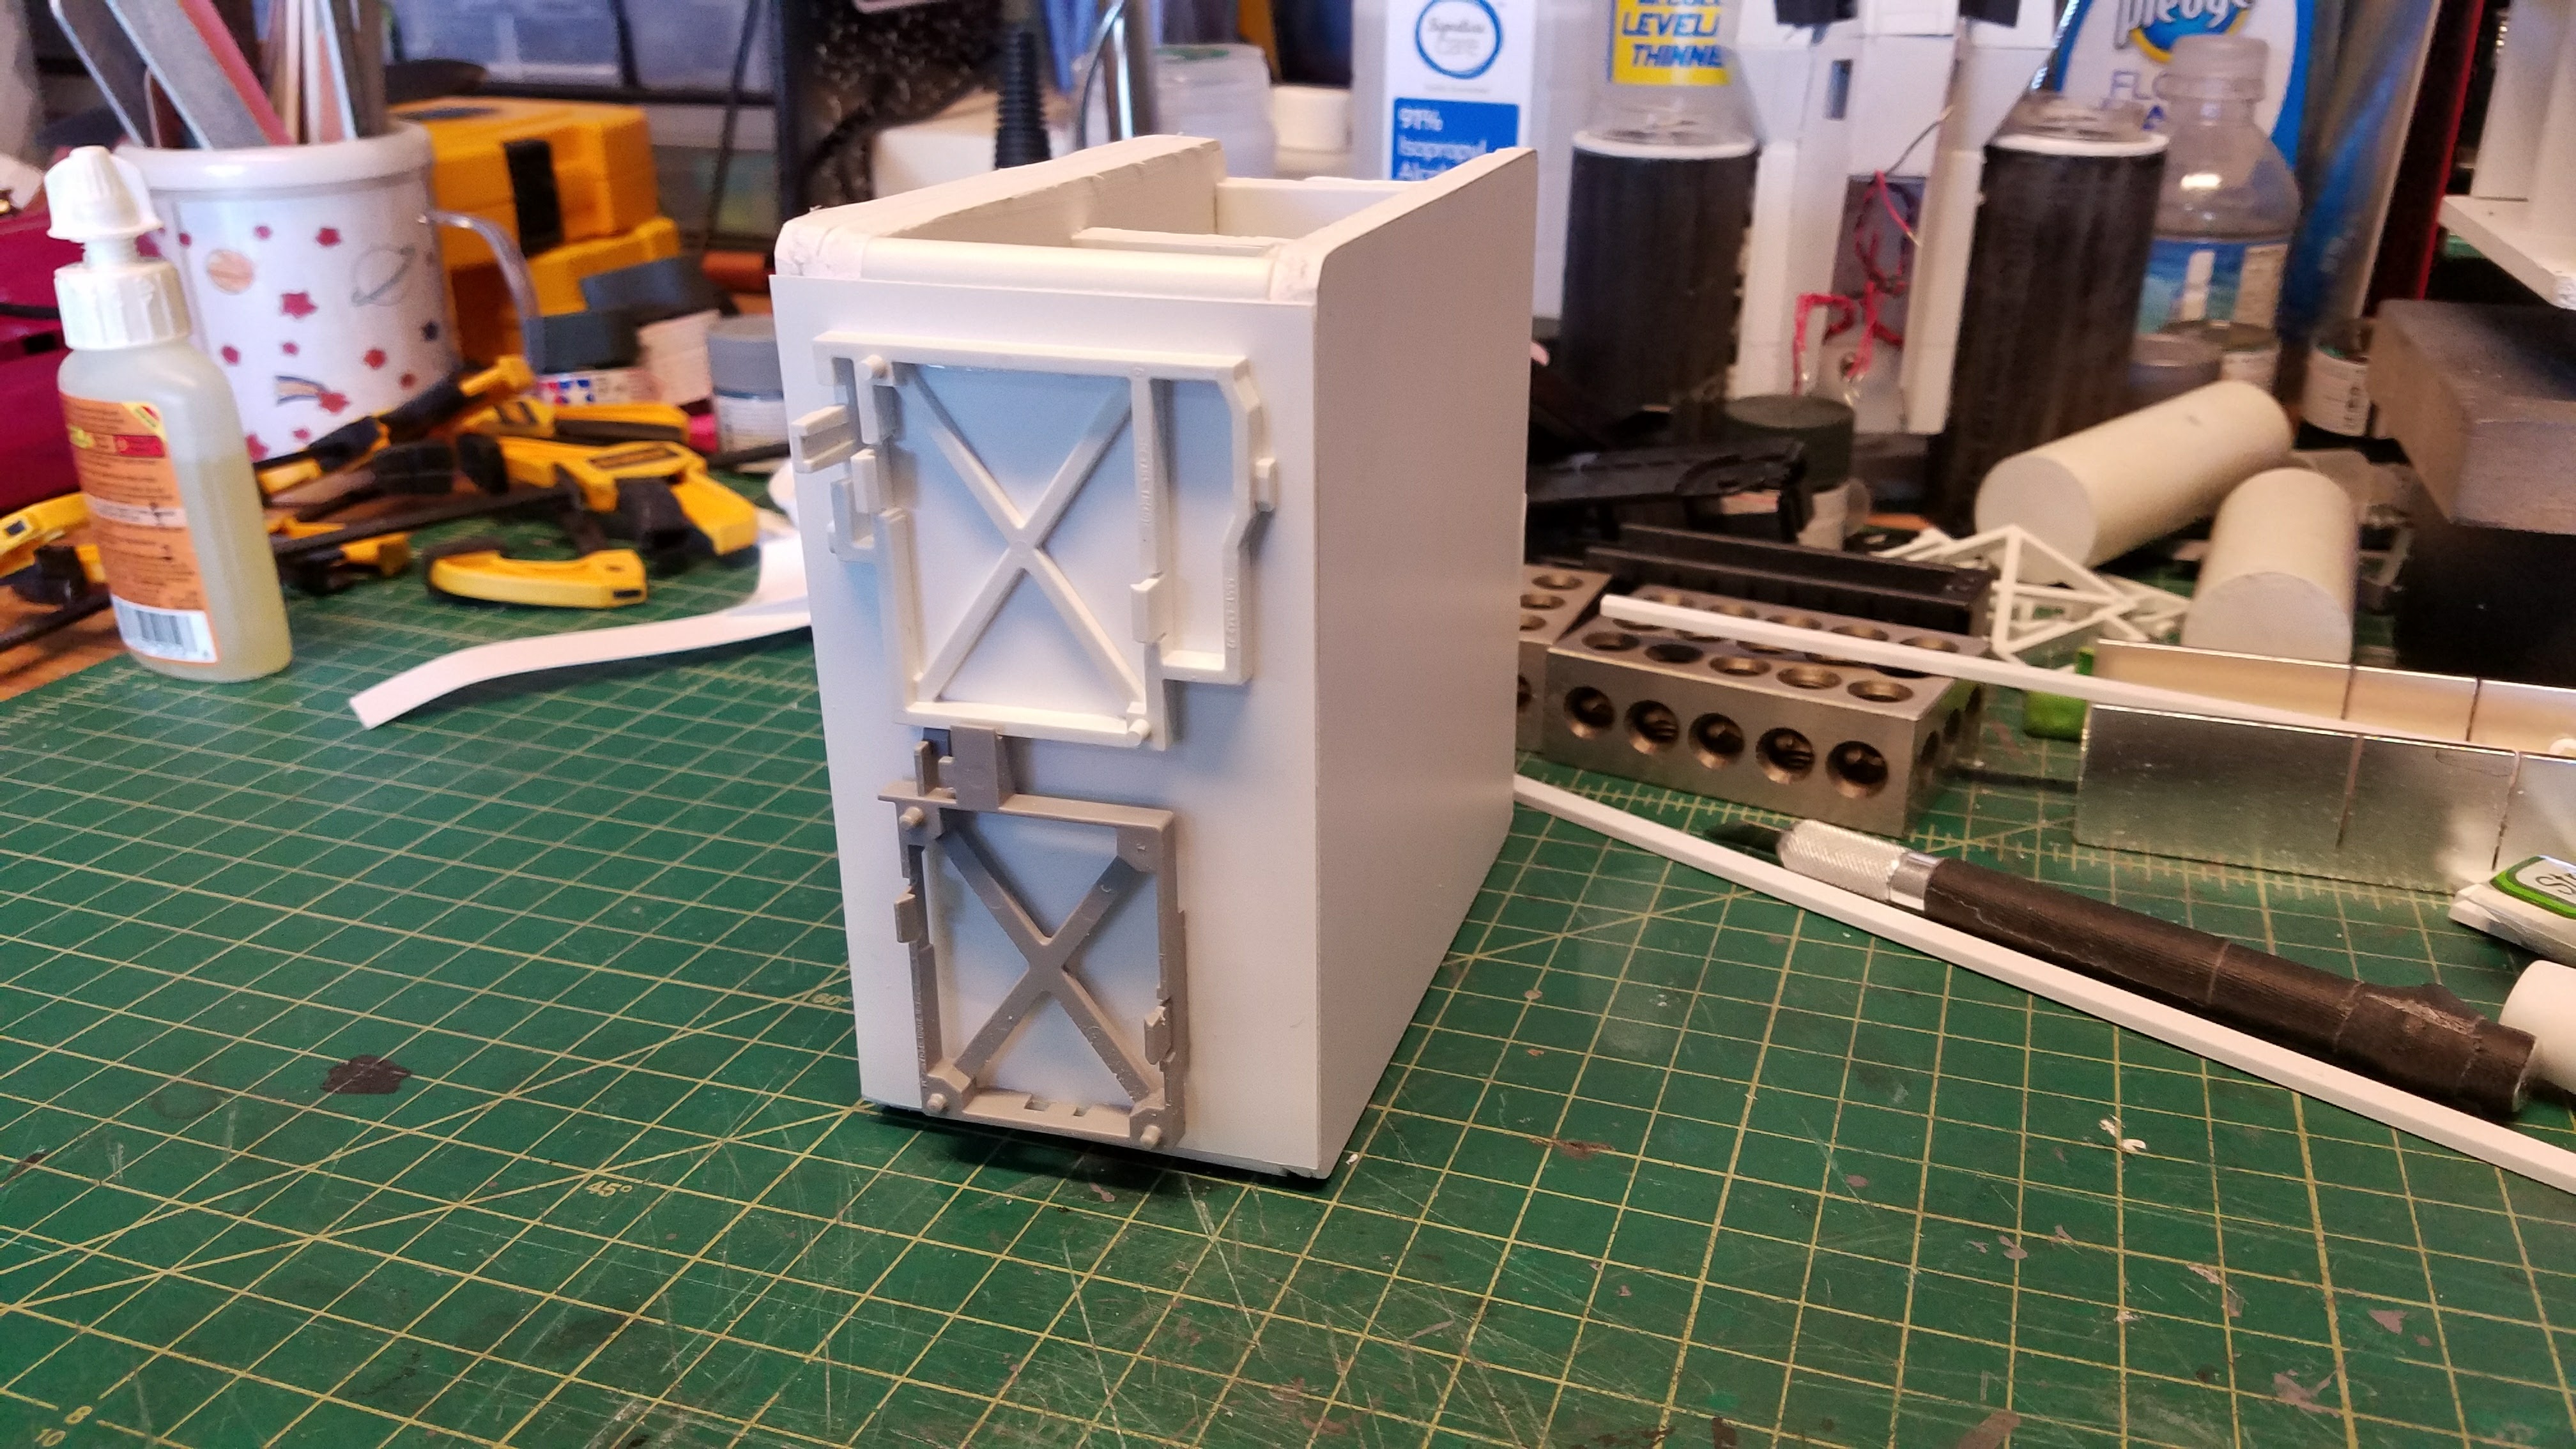
Close up of one of the cargo pods showing the details placed on the sides. I had enough to cover both sides of each pod.

Here is the engine section showing the mount. It’s not a solid as I had thought or hoped for. Bad things were coming…
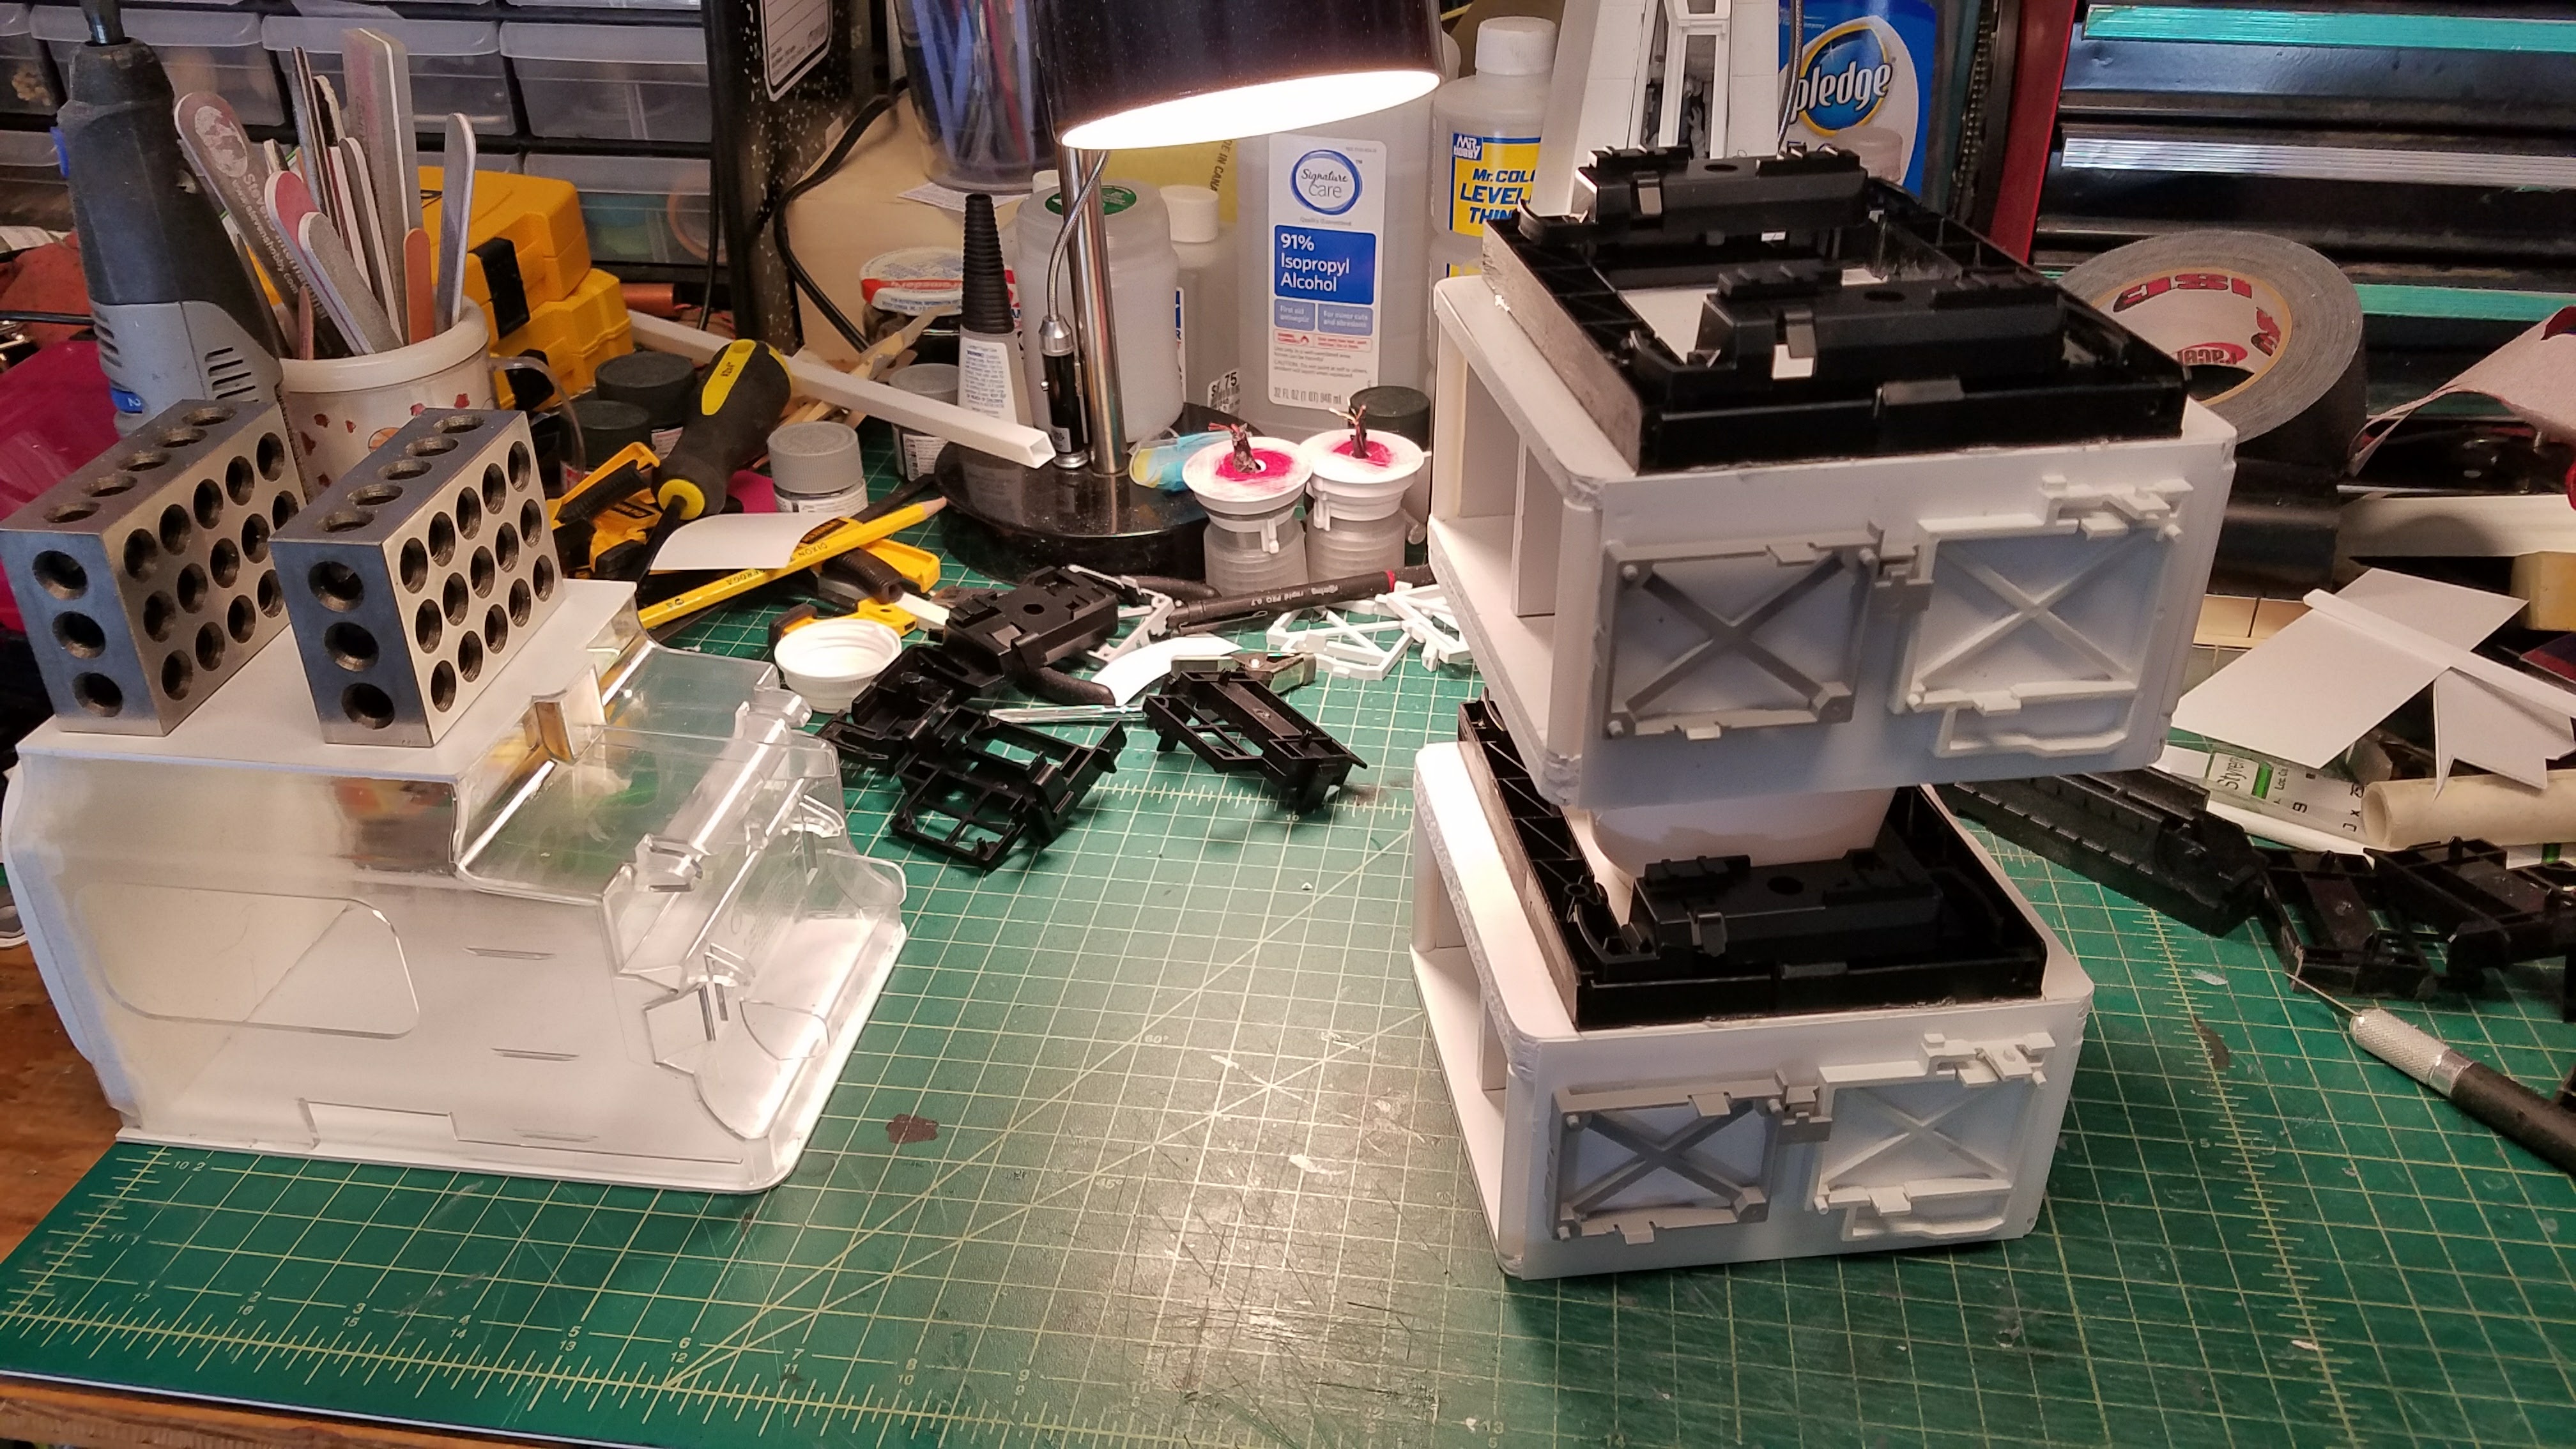
Building up the cargo pods and boxing inn the bridge section.
Boring work that needs to be done.
Some more computer parts are selected for the bridge section. These black pieces will go on each side of the bridge.

Had to have some fun, so I started detailing the bridge with model parts. I love this part of scratch building.The PVC board lets you glue plastic parts on with plastic cement.

More juicy model bits on the bridge section. That’s it for this installment.

