Lots of progress since the last post, so this one will be long and picture heavy.
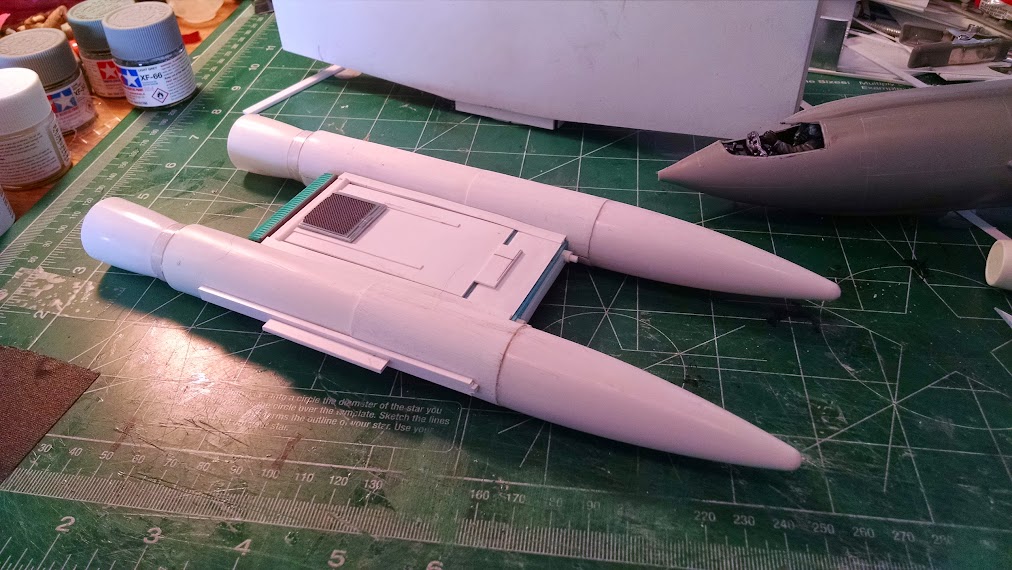
The top of the mid section is covered with sheet plastic and a grill that came from an old TIE fighter model. Later I added some more details using bits from the model bins.
Now we have the top fins and some engine cover plates as well as a bit more stuff on the top of the center wing section. I tried to match the side tube details from the larger KIV-3 model. Although these are two different models, some things would not change.
The wings get some attention next. I created a post on the fuselage that will match a grove in the base of the wing in standard model making fashion.
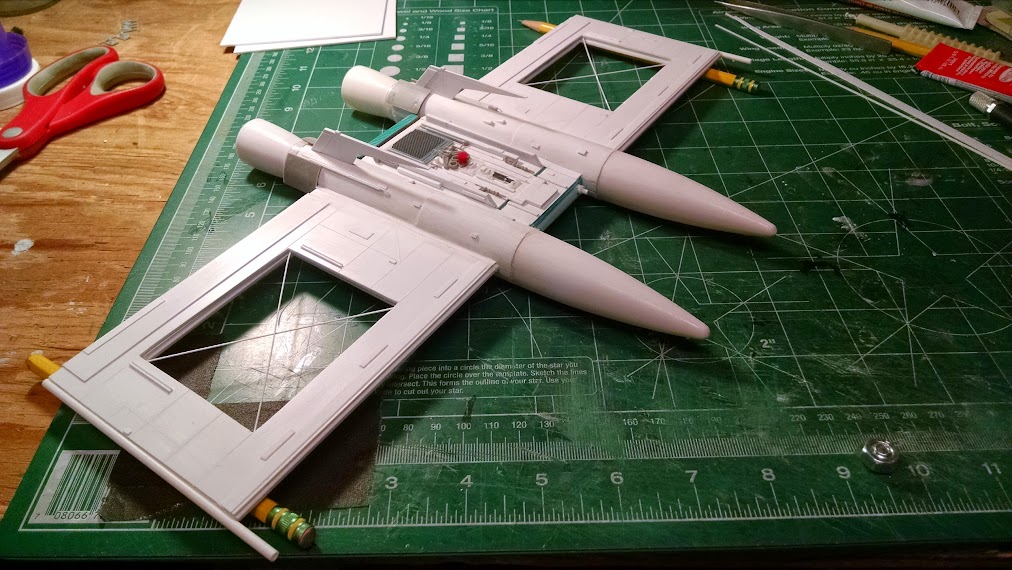
Wings attached! Starting to look like a proper Votainion starfighter now. It even has wing guns.
Wings being glued with the help of some low tech pencils. You can see the panel details in the wings and the added center section wires.
I like this shot because it offers a sense of scale. That’s a 1/48 Japanese Zero, the same scale as the KIV-3 model. You can also see that I’ve started testing the sand color on the center section.
The tail pipes were uneven, so I added a piece to try and even them up. Not sure I accomplished exactly what I set out to, but it looks better than before.
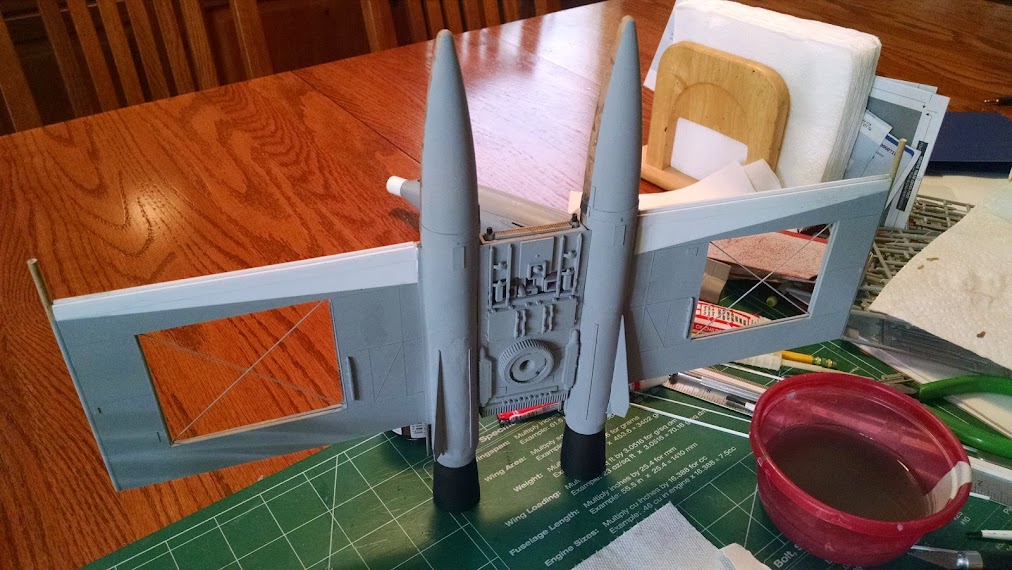
Now the attention turns to the bottom of the center section where I add some details to the open bay. These parts came from a 1/72 ammo kit for jet fighters. Being a former USAF Ammo troop, this is kinda cool for me.
In this angle you can see panel lines added to the bottom of the wings. At this point, it’s just fine tuning the details one last time before painting.
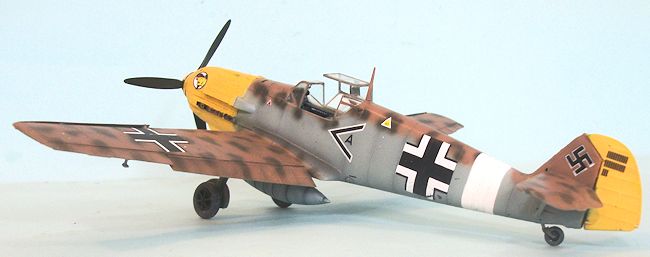
My inspiration for the camo was this BF-109 Messerschmidt from WWII.
The leading edges of the wings are white, where as when the KIV-3 is painted green, they are yellow. Many dessert paint jobs used white instead of yellow in WWII.
This is my garage paint shop after spraying the bottom a light sky gray color.
Clean bottom paint job. Next up, weathering. Also, the engine exhausts are now flat black.
One of my favorite bits of modeling is weathering.
This is the nearly finished model as it sits on my table tonight. The only thing left to do is paint on the glossy black canopies. This will be hard as I can’t mask it off with tape, because tape pulls my paint off. Still pondering how to do the canopies. Might resort to using a paper or decal. Cut a paper pattern and then transfer it to decal paper. This could take me a while to figure out.
UPDATE: I wound up just hand painting the canopies on and I’ll let my brother enhance them in Photoshop when he lays out the final cover art.


