Cockpit Painting
Last time I started adding more details to the cockpit area. This time I finished that off and painted the entire cockpit and dash. The interior is a flat gray and the dash is flat black. I weathered the areas with wet wash of black and a dry wash of silver. It looks well-worn and lived in now.
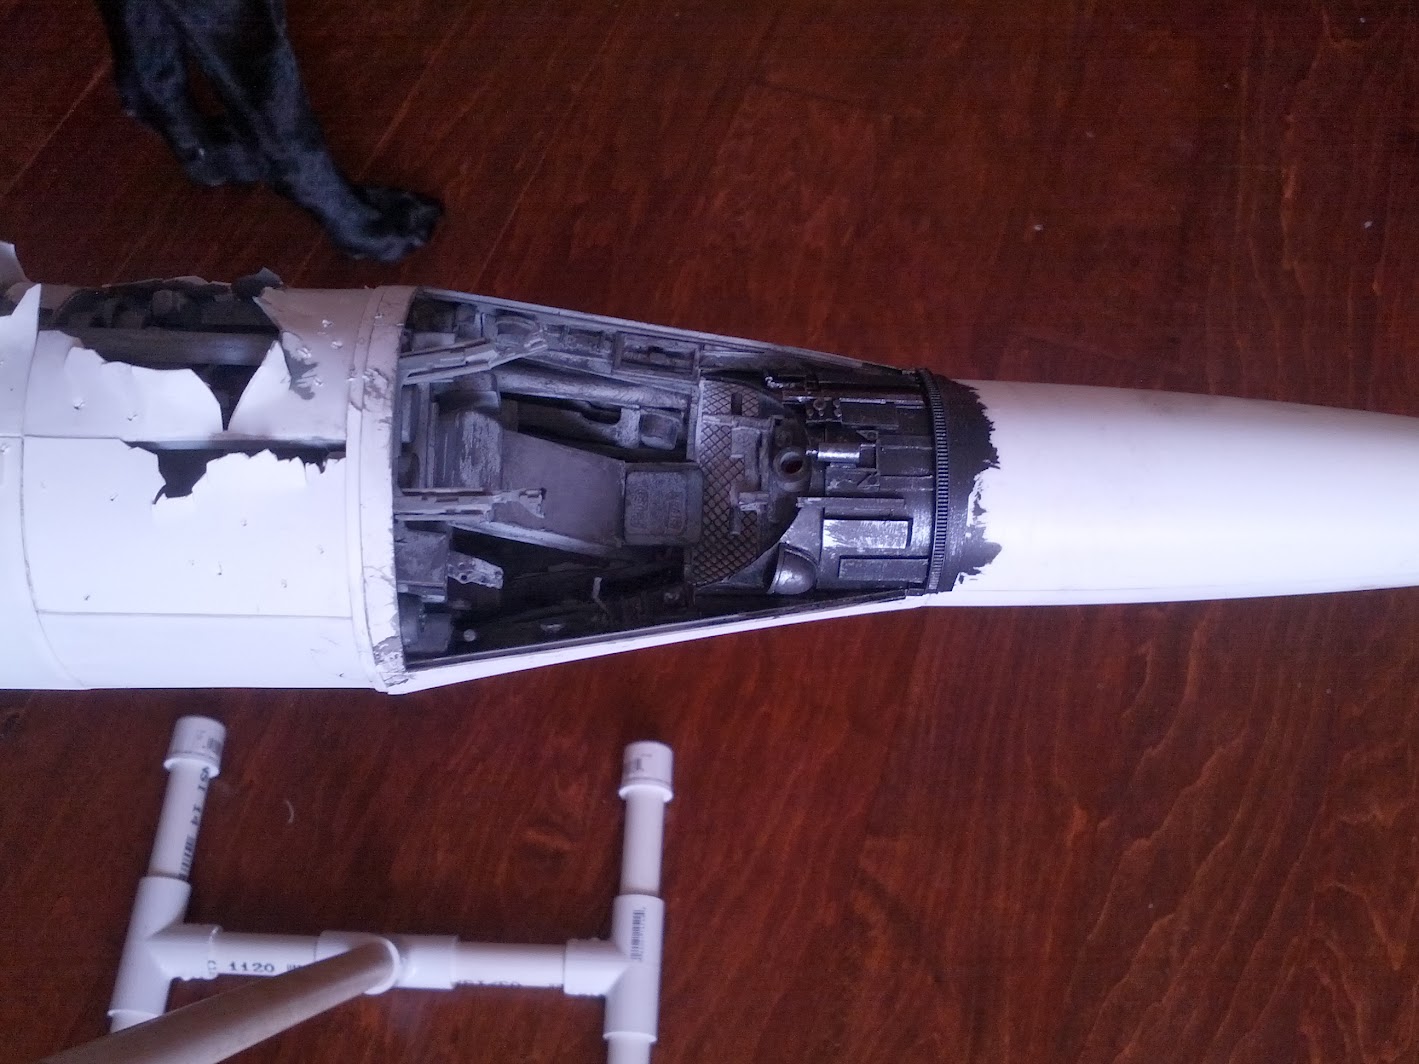
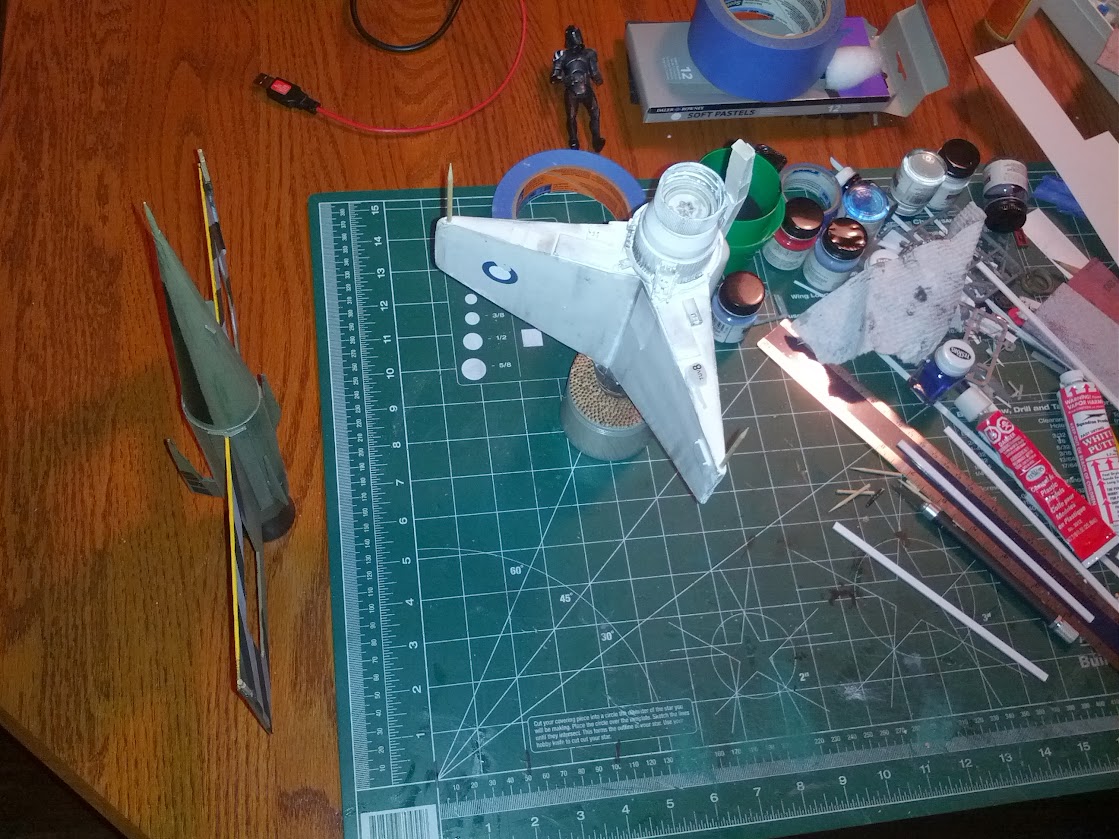
This angle shows the cockpit painting pretty nicely.
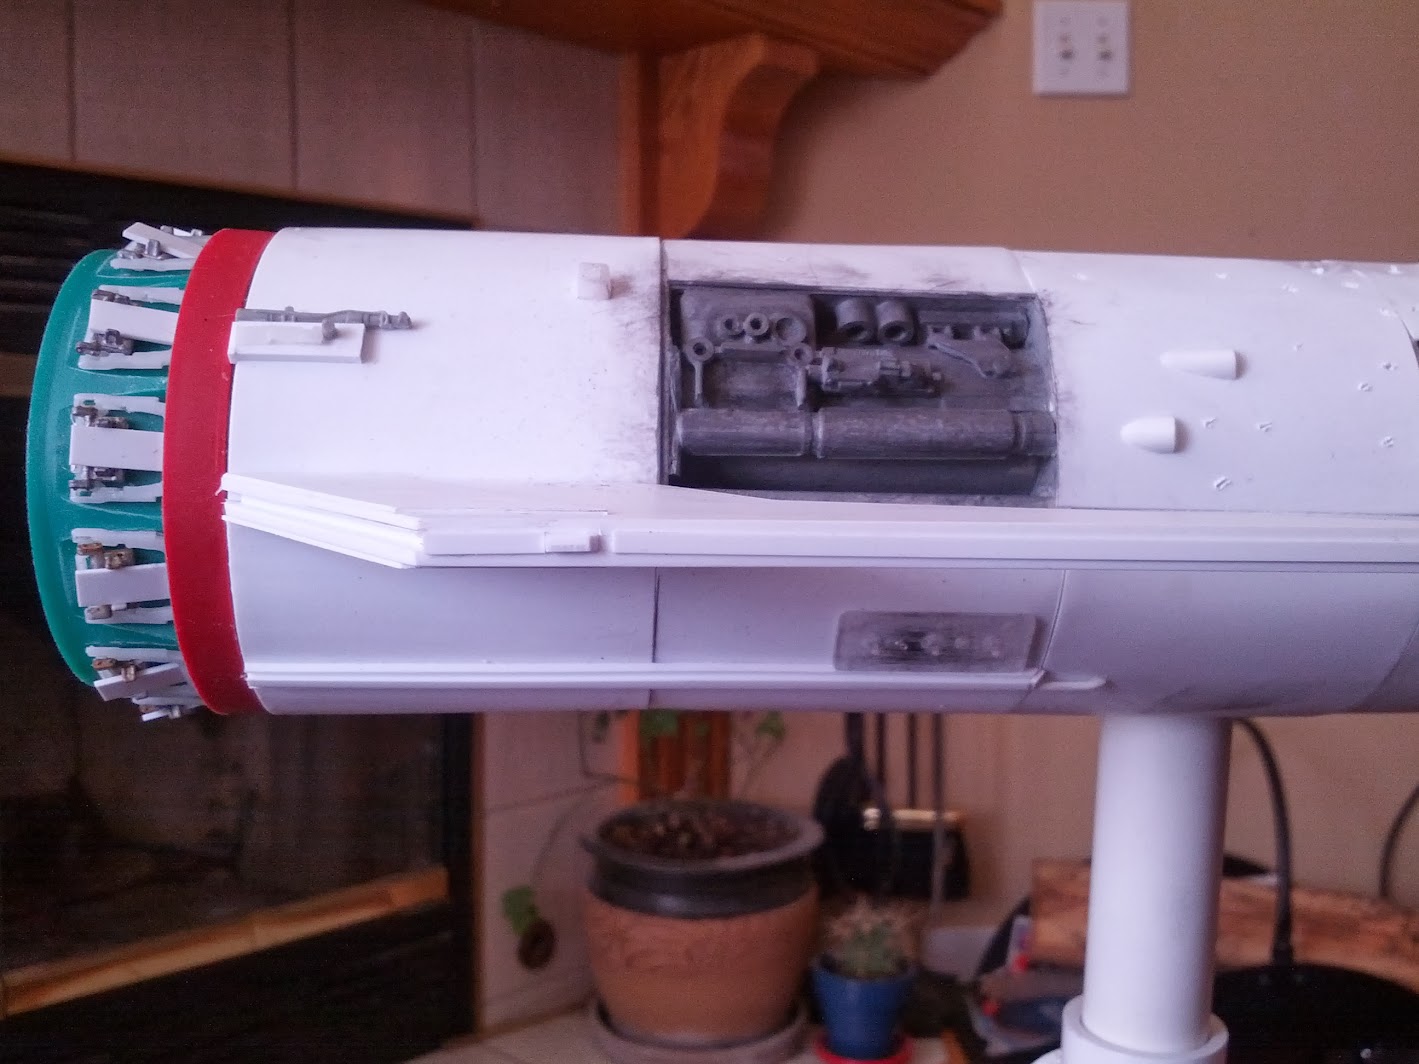
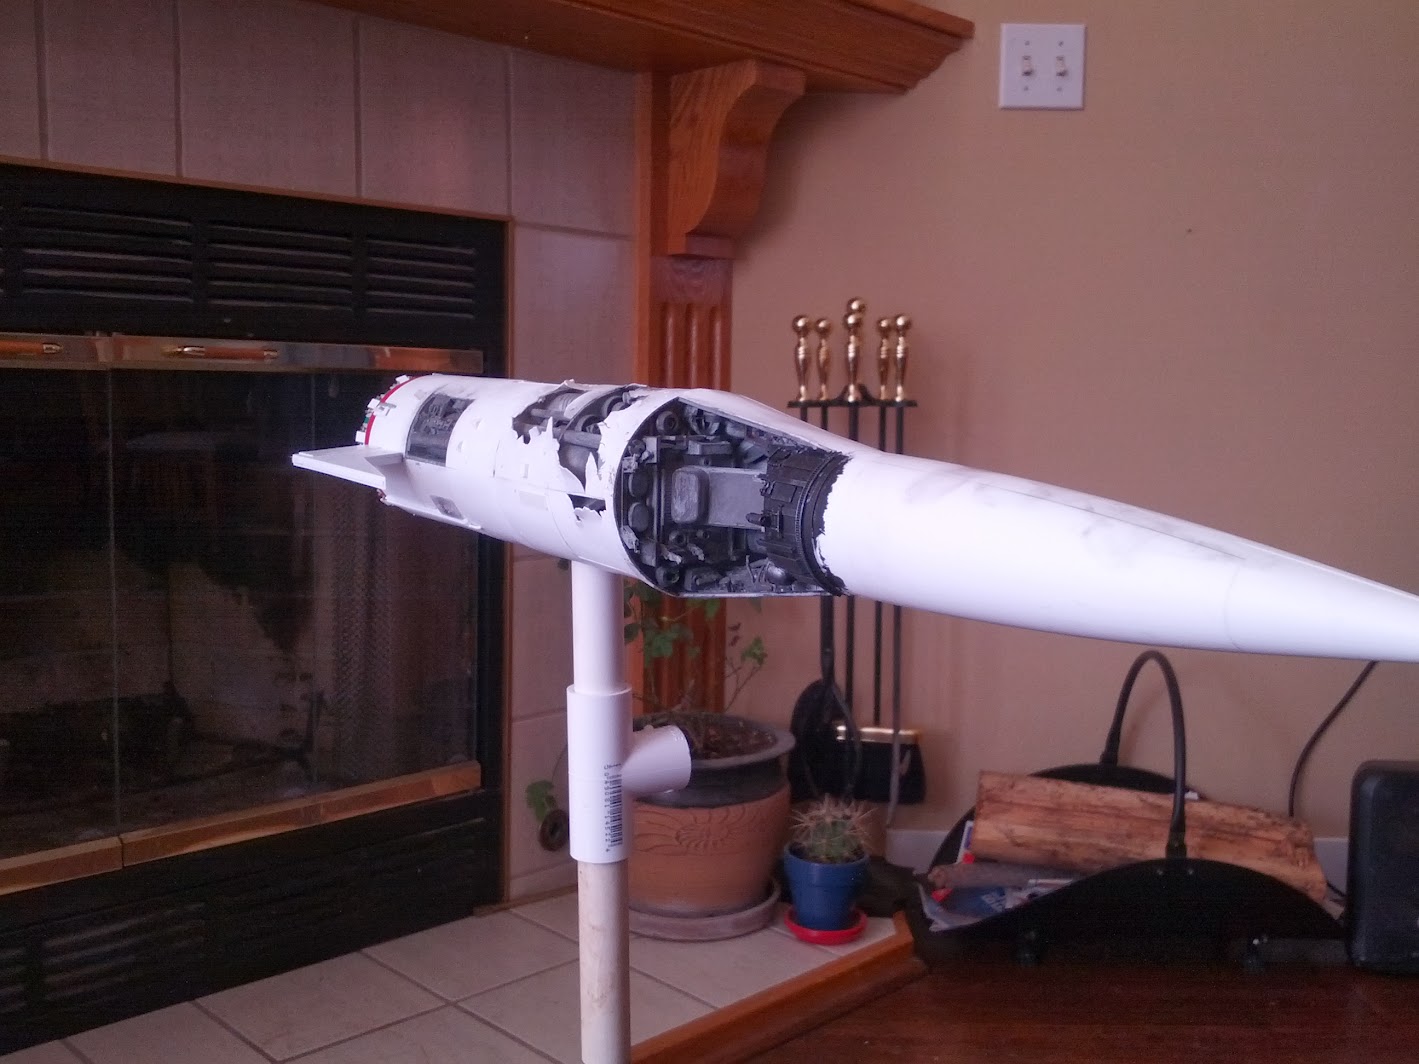
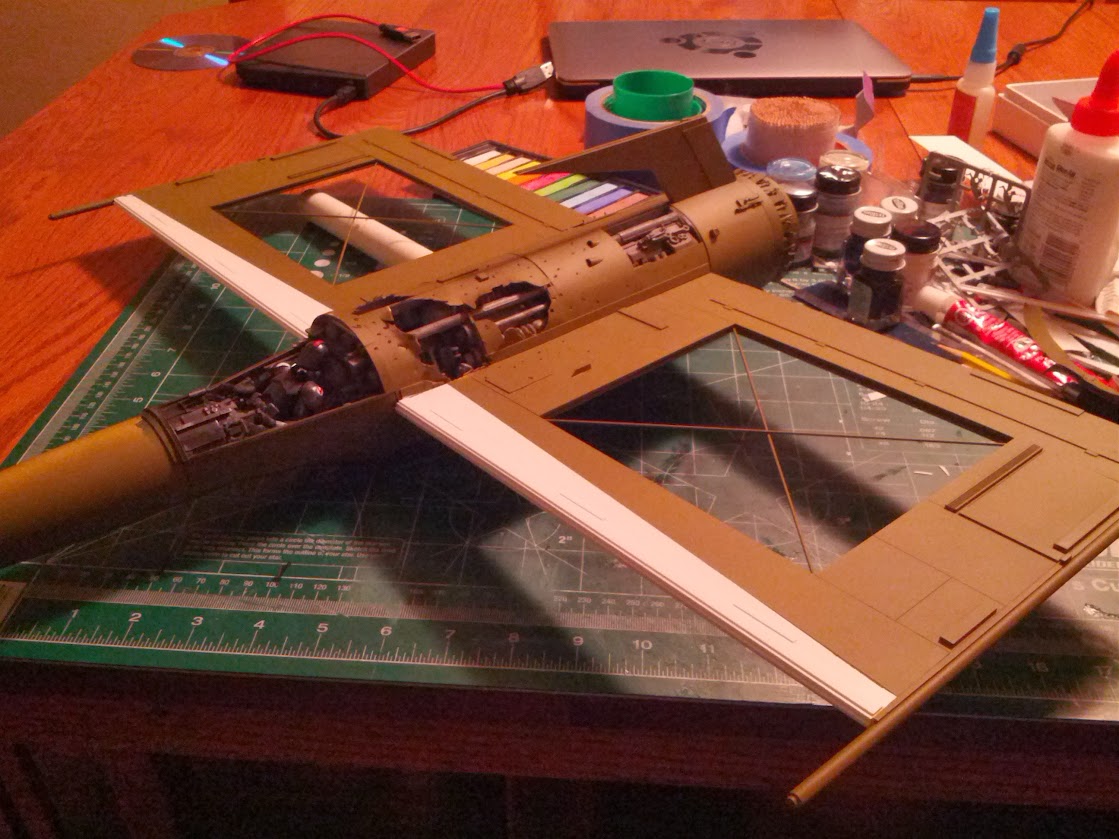
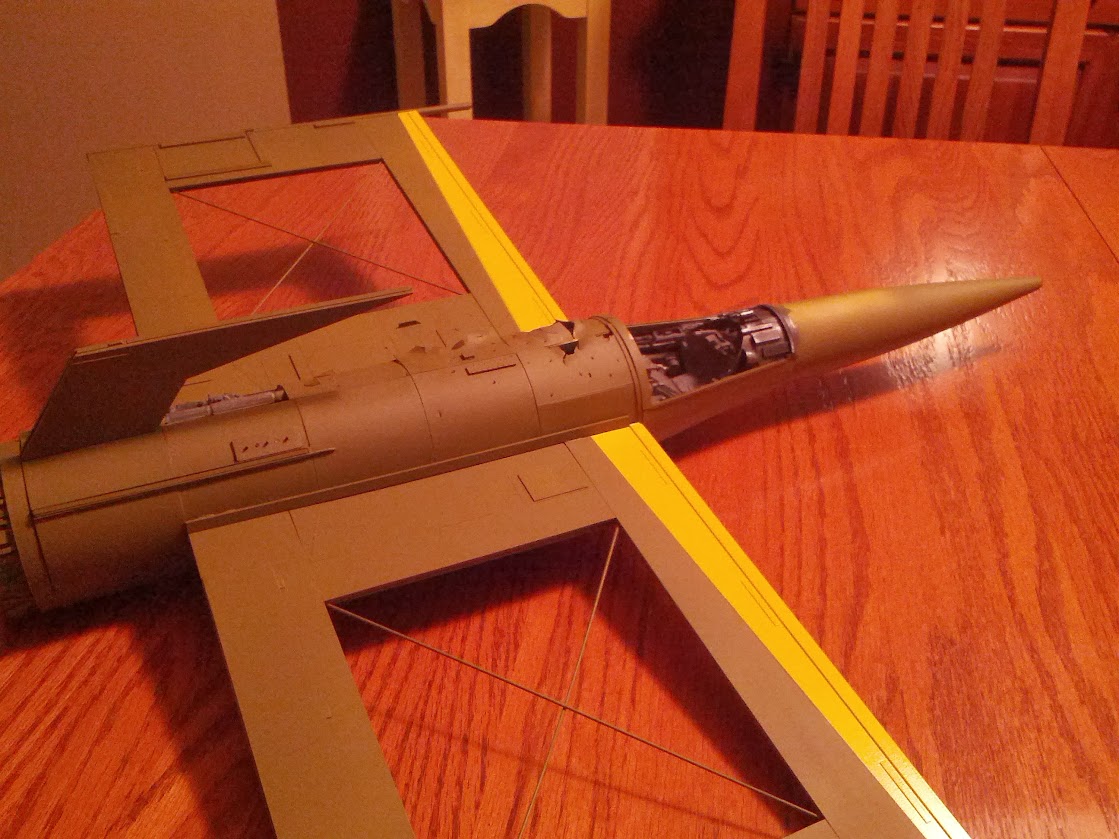
The above image of the stern section shows added details to the engine area and the fuselage.
Figure Painting
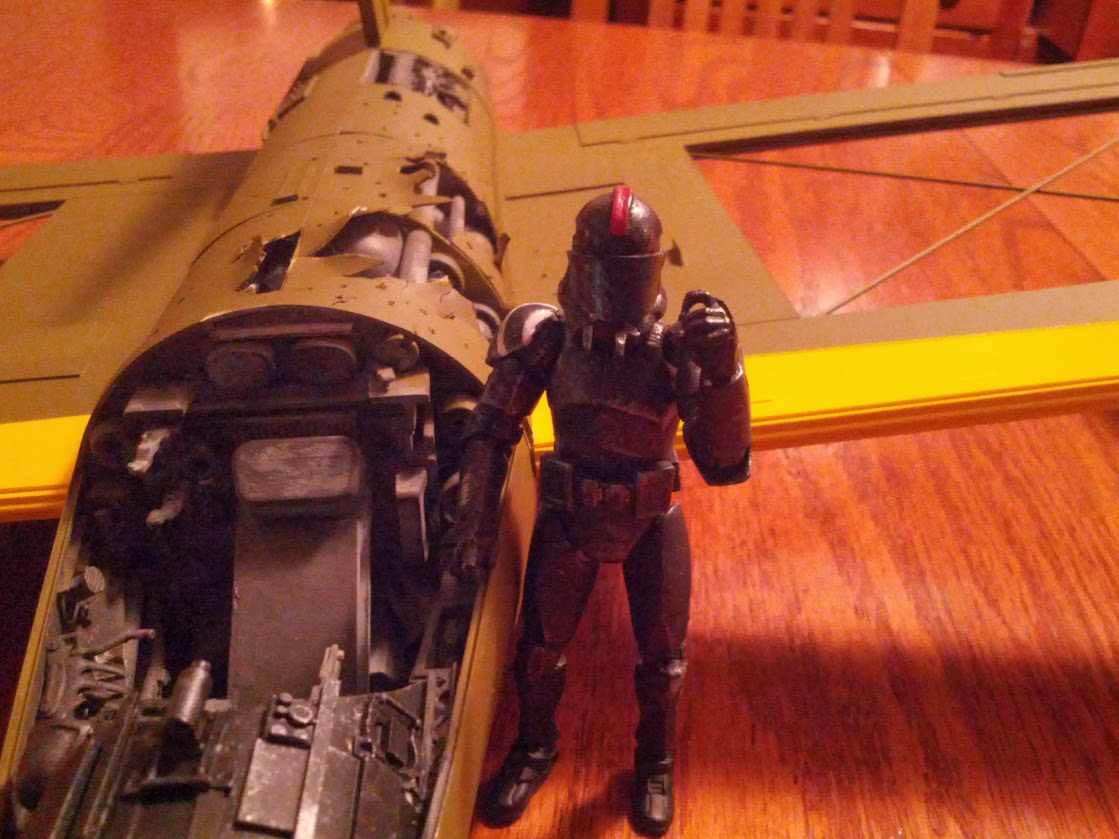
The pilot figure got some attention this week too. I finished painting him all black and then added some silver dry brushing. I followed that up with a shoulder patch and some stripes. He looks ready to fly and die for the Empire now.
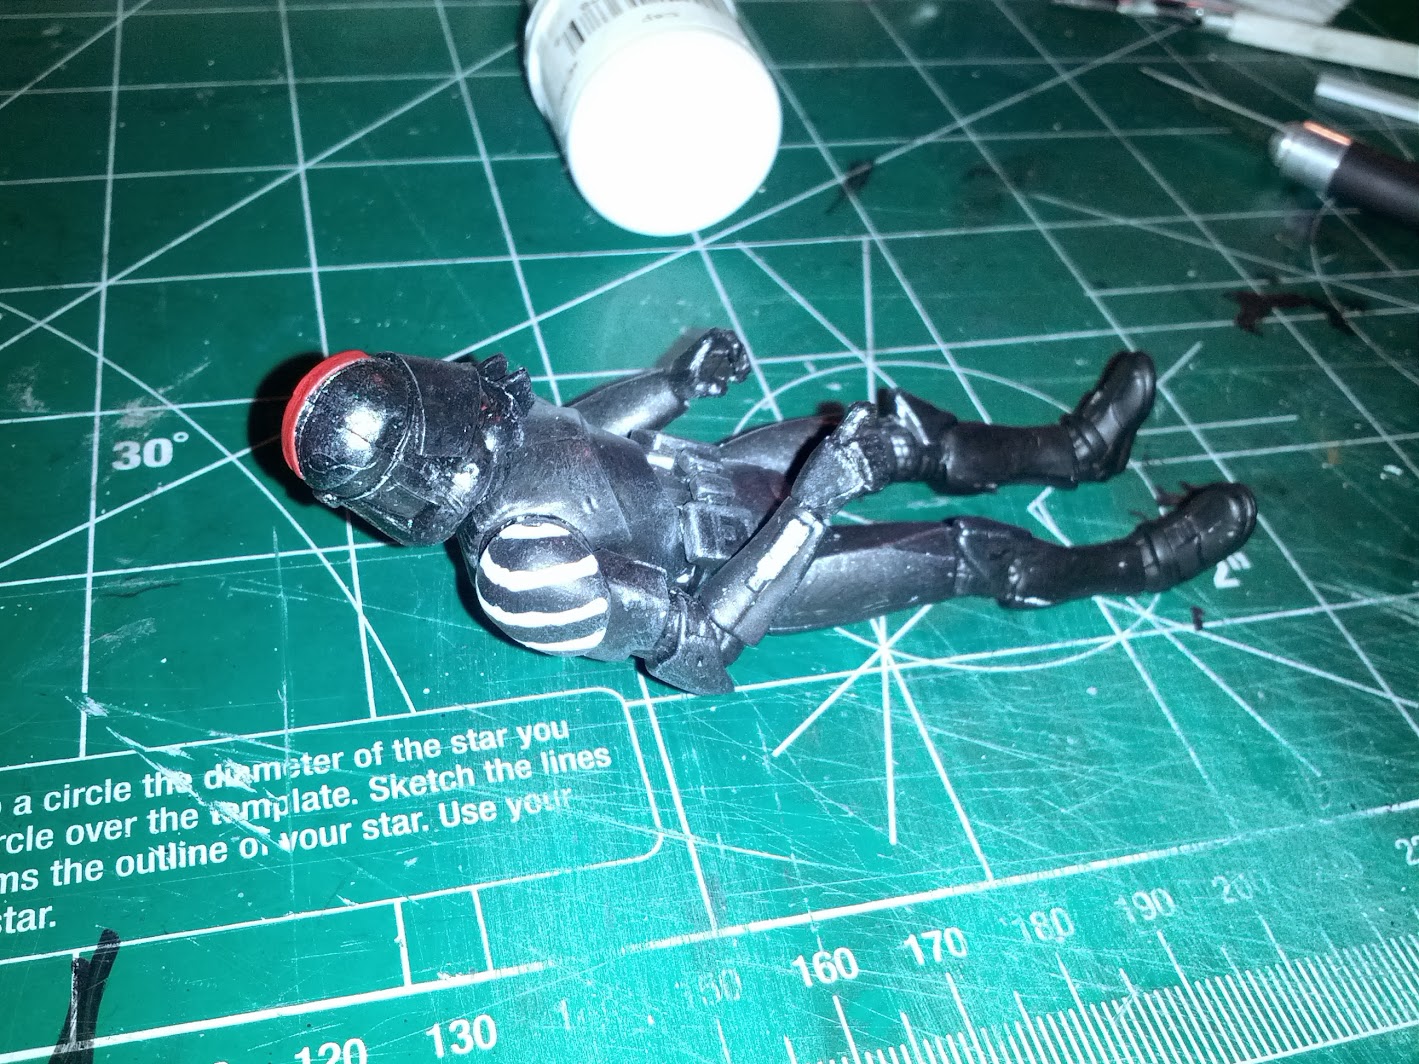
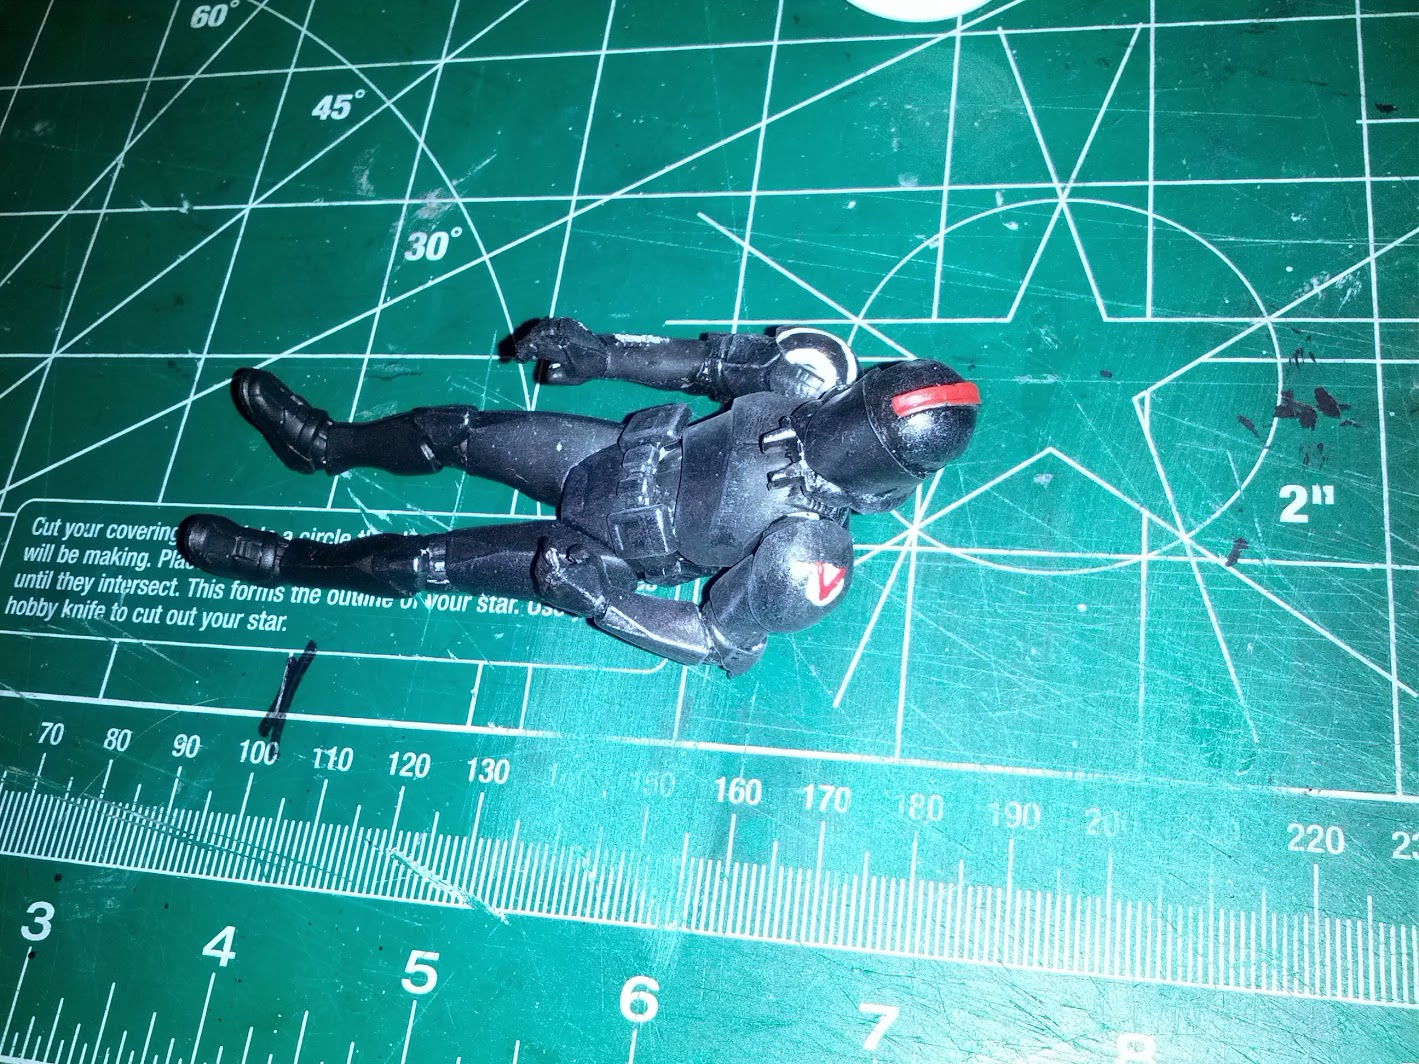
All the colors are hand painted. I’m not an artist, so it’s kind of crude, but I think it’ll do for the cover shot.
Body Painting
Next up was masking all the interior reveals and the leading edge of the wings so that the model could be painted olive drab. I testing a dark green color first, but it dripped and was too dark.
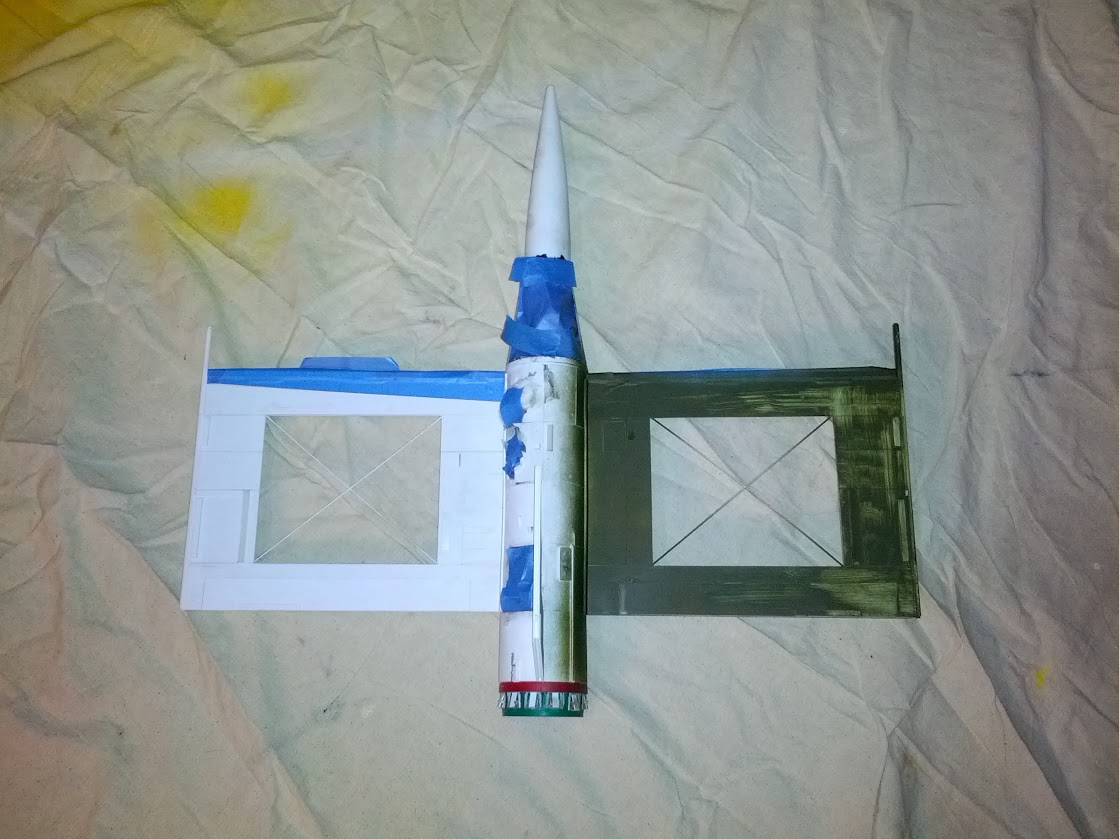
Here is the olive drab going on. The little 1/48 scale KIV-3 is on the stepping latter.
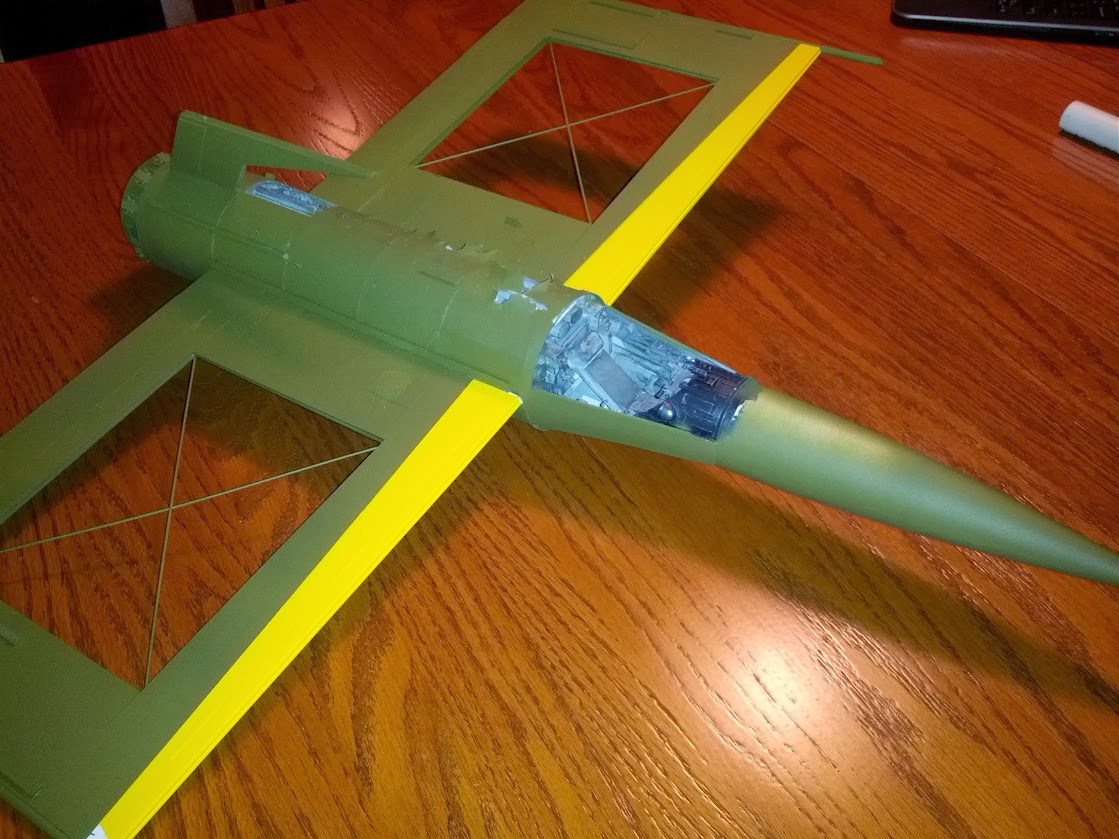
With the masking tape removed, now we have something that looks more like a starfighter.
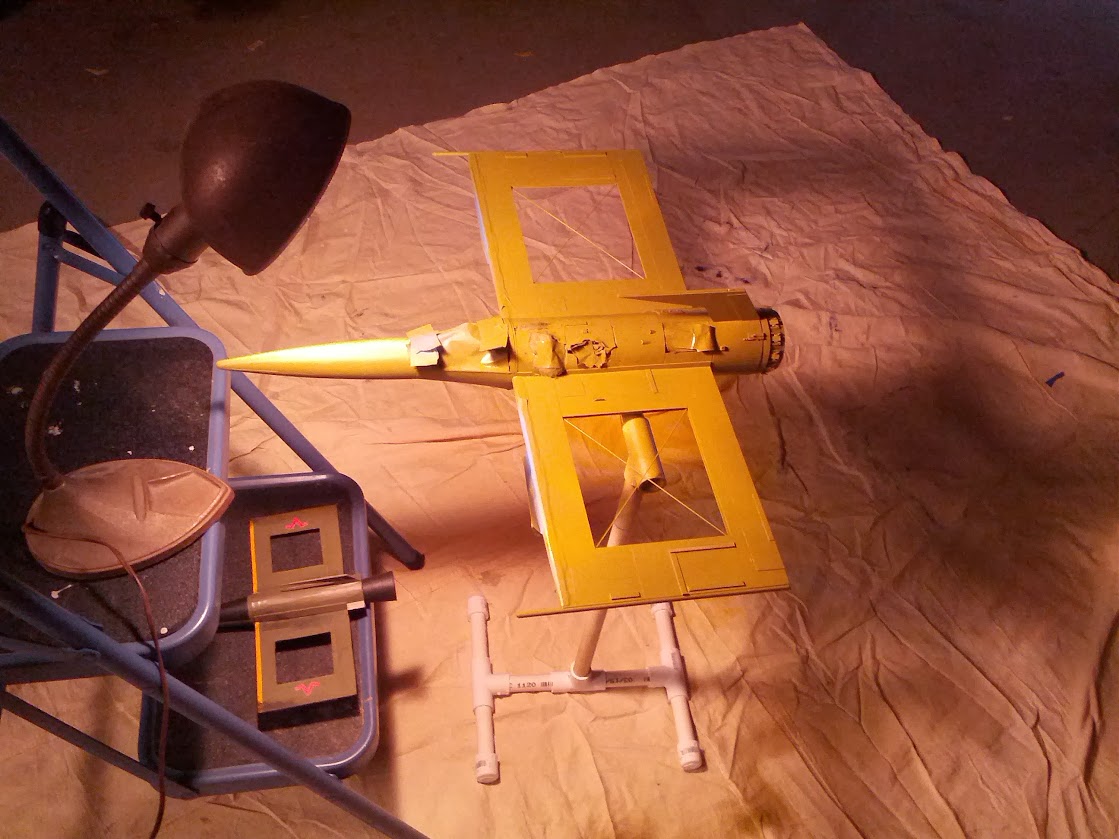
Now for the Yellow leading edges of the wings. This look is of course inspired by WWII Axis fighters. There is little doubt that this bird is a war bird.
Our intrepid pilot is ready to fly!
Details, Details
There are two other models in this cover shoot and they are both 1/48 scale paper and cardboard construction. They needed some repairs and so while I waited for paint to dry, I tended to them.
That crazy olive drab looks totally different under a flash from my camera.
Say goodbye to the clean painted KIV-3. Next time we’ll see her she’ll be all dirtied up and ready for her close up.

