After taking the summer off to write, I’m back to the model bench in the fall. This time I tweak some of the details and take my first stab at a wing.
We’ll start with our unfortunate Votainion pilot. I used a Star Wars Clone trooper as my base and added things and took away things and well, it’s a work in progress at this point.
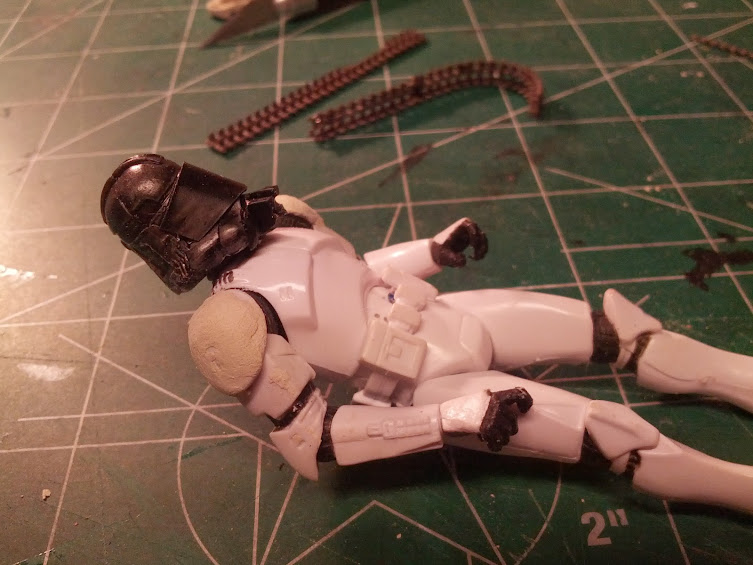
The tank treads in the background are going to be seat belts. The shoulders had to be puttied to eliminate joints. The face shield was added after a quick brush with a hobby grinder and a knife. I’ll probably add some more details as I go to ensure he’s not mistaken for a Stormtrooper.
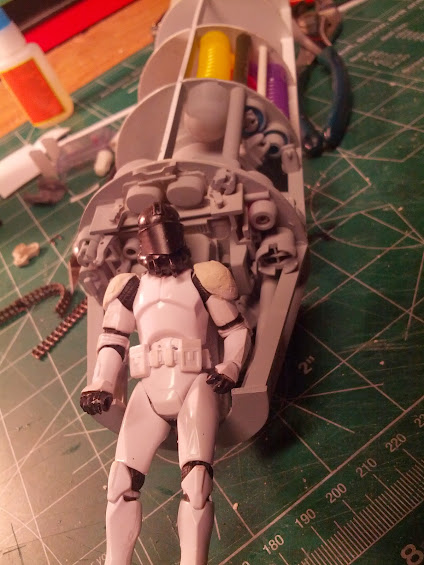
Here he is in his seat. The details have been painted a primer gray but no other painting has been done to the interior pieces.
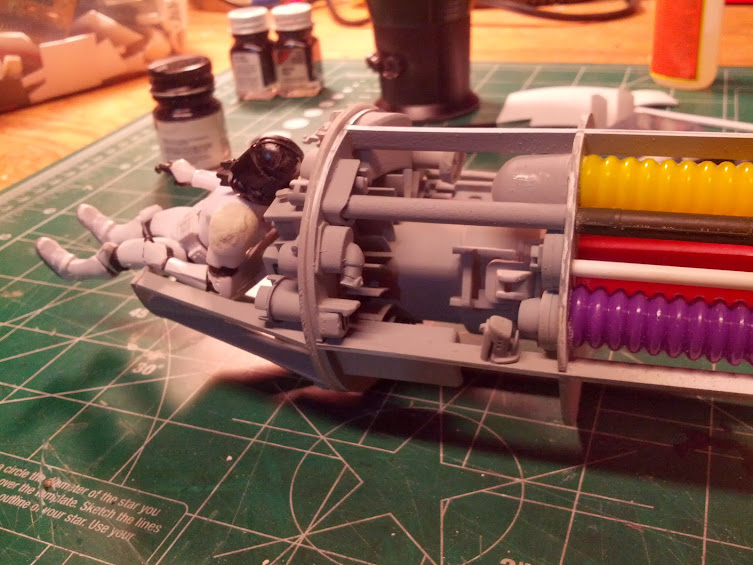
Here’s a view of the other details, some of which are not yet painted gray. I had lots of fun doing these details, I hope they show up in the final image.

Now it’s time to cover the cockpit walls with thin sheets of plastic. Not all the model will be covered like this, only the parts that we can see in the picture. But the ones that will be seen are molded to fit by bending the pliant plastic into curved pieces.
This is pretty much how modern airplanes are built from aluminum panels.
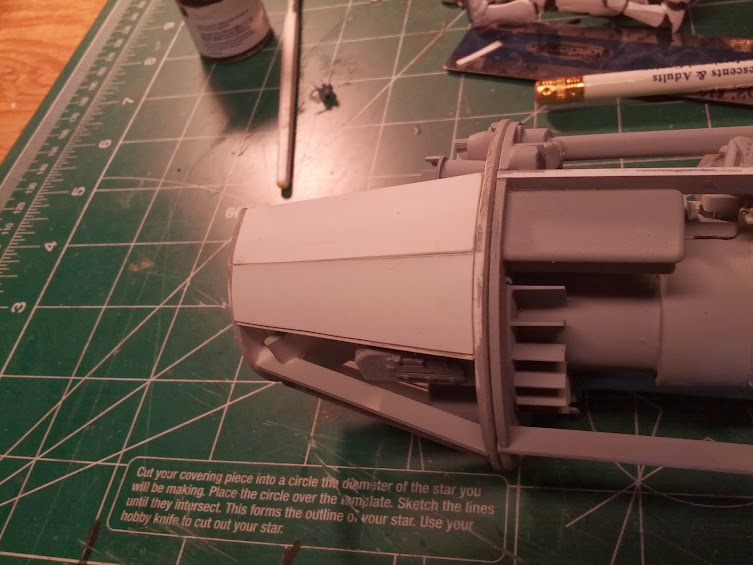
The first panel was not bent to the right shape, but I’m leaving it as is. The second panel is shaped and I don’t think I will bother with any more on this side as they won’t be seen. Now I should turn my attention to the fuselage, but somehow that didn’t sound exciting enough. So I took on the wings.
I measured out the wing as one unit and cut it from a thick sheet of plastic. I figured that I would have to get another sheet and do the bottom side too. But after fumbling around as I went, I decided to use panels on one side of the wing and that meant I only needed one. Turns out to be a good call.
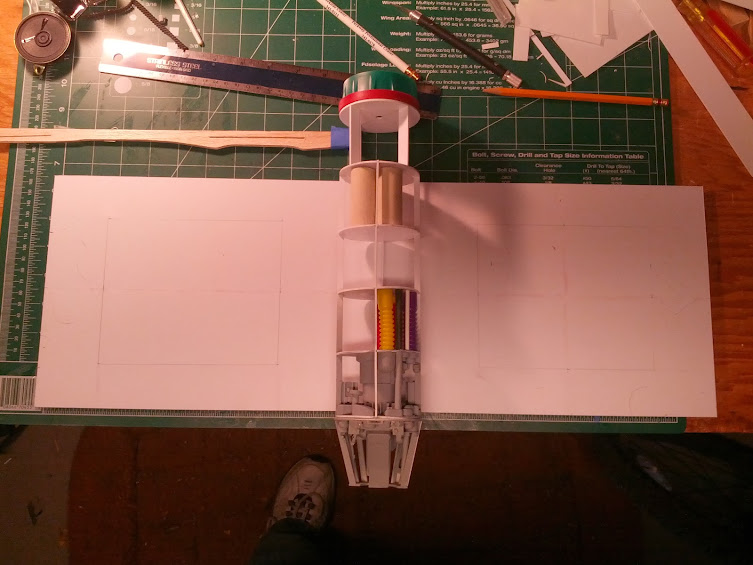
This model is starting to show its size. Eventually I broke the two wings into separate pieces to make them slide into the fuselage just like a kit model.
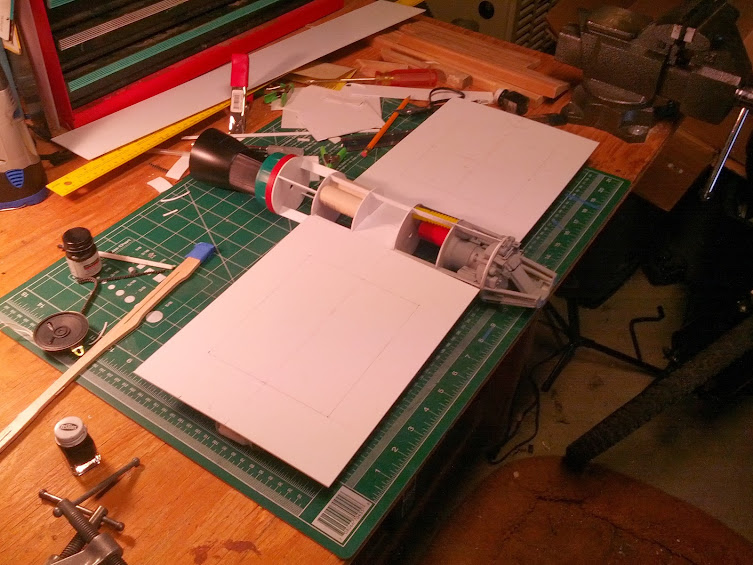
Here they are propped up with the model. This is such an awesome design and you can start to see how cool it will be when finished.
Each wing has a cut out panel with wire’s strung in an X fashion. As I determines the thickness of the wing, I was able to lay out those wires with very thin diameter plastic tubes.

This process actually went pretty fast and the wing started to come together nicely.

The leading edge of the wing has a slight hint of a chamber like a real airplane or jet wing. I did this just for fun as obviously a space fighter doesn’t need a true wing. The effect is done with a tiny H beam struct and a tiny plastic tube.

A modeler uses what’s on hand whenever he can.
This shows the panels being glued into place on the top of the wing. I’m quite happy with how this turned out and should be able to replicate this on the other wing. However, the other wing has to be ripped and bent over, so it will have added interior details exposed. More fun!
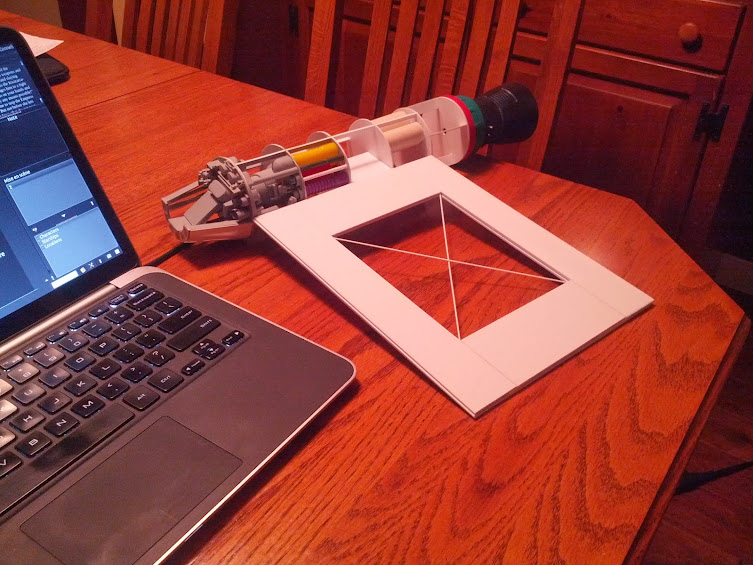
Here’s the model at my dining table with the new wing stuck on temporarily. Not too shabby.
Next time I’ll build the second wing, complete with damage and start adding more panels to the main body. With any luck it will start looking more like a starfighter and less like a cutaway picture.

