Bottom Deck and Keel Details
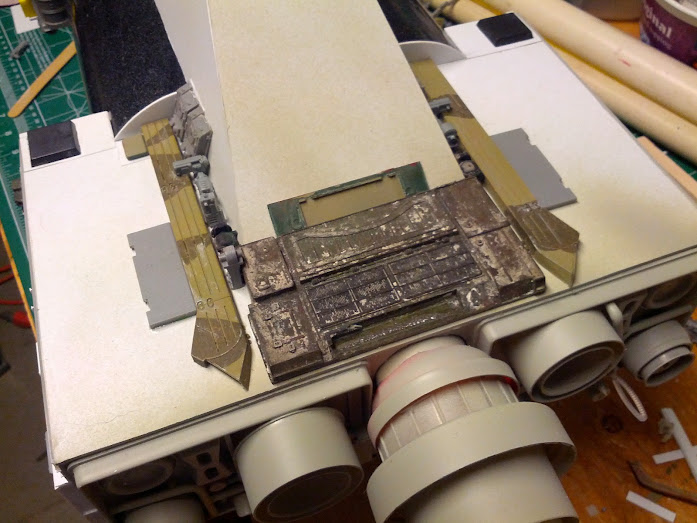
This post will have many pictures. Cool, right? I went on a greeblie hunt and sacrificed a few armor models to get their parts. I parted out my 1/35 scale Hummer and a Russian T-72 tank. Combined with other junk on the parts desk and this is how it all looked when I was done.
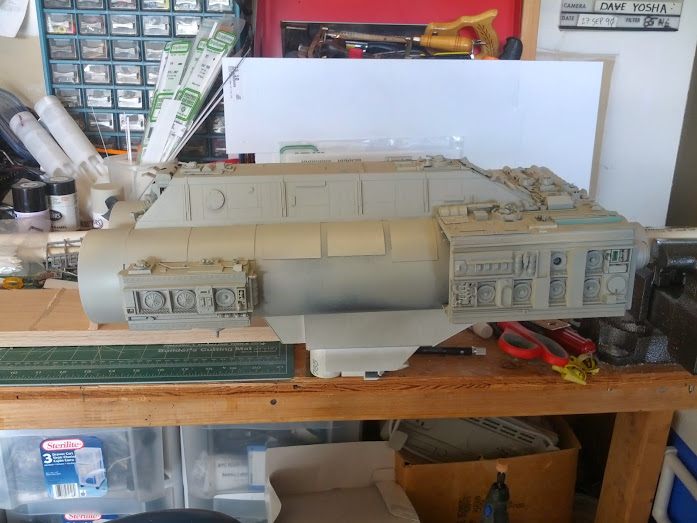
Other things of note are the panel lines on the black PVC engine tubes and the scoring and plates added to the keel. It all looks like a huge mess unpainted, so I finally did a primer coat. Bingo, bango, we now have a starship.
That’s the SS Sokol in the background. Home from my office for the holidays. It all looks more ship-like after a primer coat. I put her in the vise so I could get these beauty shots of the primer.
Here’s a shot looking forward from the stern. Most of the details are washed out in this pic, but you can see how they look much better gray.
The side view all in gray on the bottom and sides. I like this shot. The gray is slightly darker than the SS Sokol, more battle hardened.
One last shot to show off the details. I had the garage door open and it let in sunlight. I’m pretty fond of the underside. For something I was dreading doing, it turned out pretty cool.
Top Side
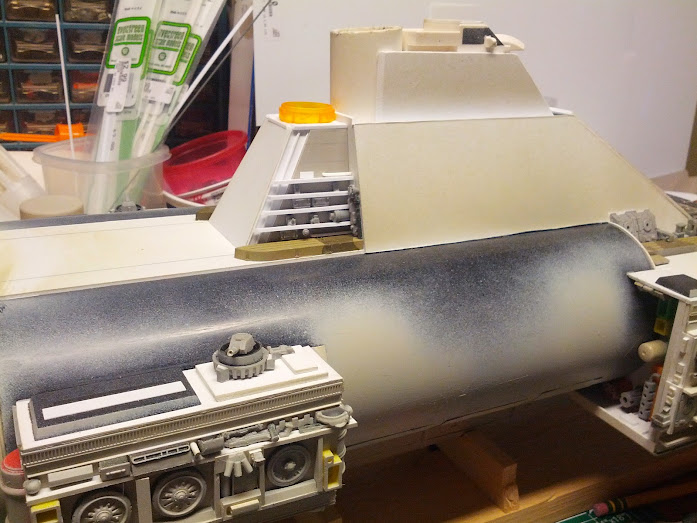
Directly opposite the above shot of the bottom, is the top deck. This is a work in progress still, but you can see where I’m going with it. More tank parts and various smaller greeblies.
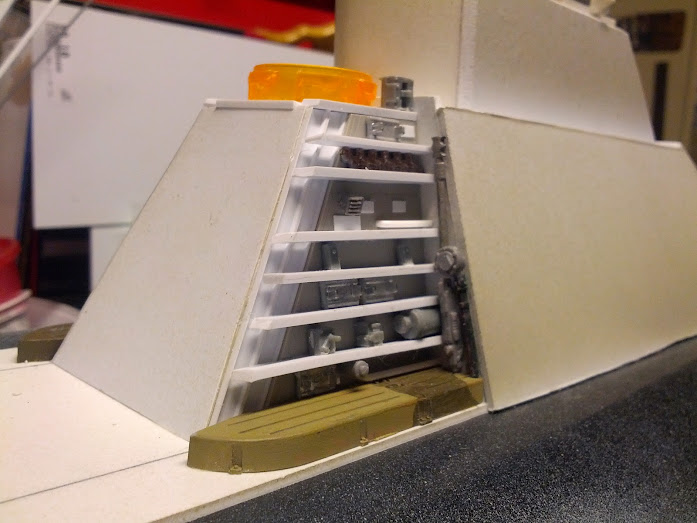
At this point I’m also detailing the poop deck, behind the main decks on top of the star drive tubes. This area is proving to be real fun to create with deck plates and various port holes, escape pods and such.
This side was slightly thinner than the other side, so I needed to make it thicker to match better. Poor boxing skills have I. To thicken it up, I added a wing from a 1/48 scale F-16 model and some U shaped stock. Then I started to add the deck plates and small details. Most of the smaller details are guns from Warhammer models.
Close up of the decks and details. You can see some of my tank tread escape pods packed in there where the people work. The orange pill bottle is of course a laser cannon turret.
Moving on up, to that deluxe apartment, in the sky. Well, maybe not but I do believe that little area is just about done. Well, that’s all for now. I’ll be working on it more this week as I’m off from the day job. I hope to get the upper decks finished this week. The final part to build is the starfighter hanger and that will be built up from scratch.
I’ll slap the head on it and take some pictures next time, so you can see how the finished ship might look.


I used Testers Flat Gull Gray spray paint for the primer. I need to revive my airbrush for these models but so far have spent my time building instead of trying to find the airbrush in my garage.
I took the model outside for some pics and then had to battle glare and washout for details. Oh well, will wait until its finished to worry about further pics.
I think my favorite shot here is either the one with the Sokol in the background or the one with the garage open. I’d love to see a picture like that last one taken in the dark with a harsh light from the garage door area. Get those shadows showing, you know?
It looks like you used Testor model spray paint primer? There’s two cans of spray in the background in one of the shots, but the caps are black. Or did you use a different primer, such as auto body primer, house primer, or…? Just curious what you’re using.
Definitely more like a starship with that grey covering all the different parts colors.