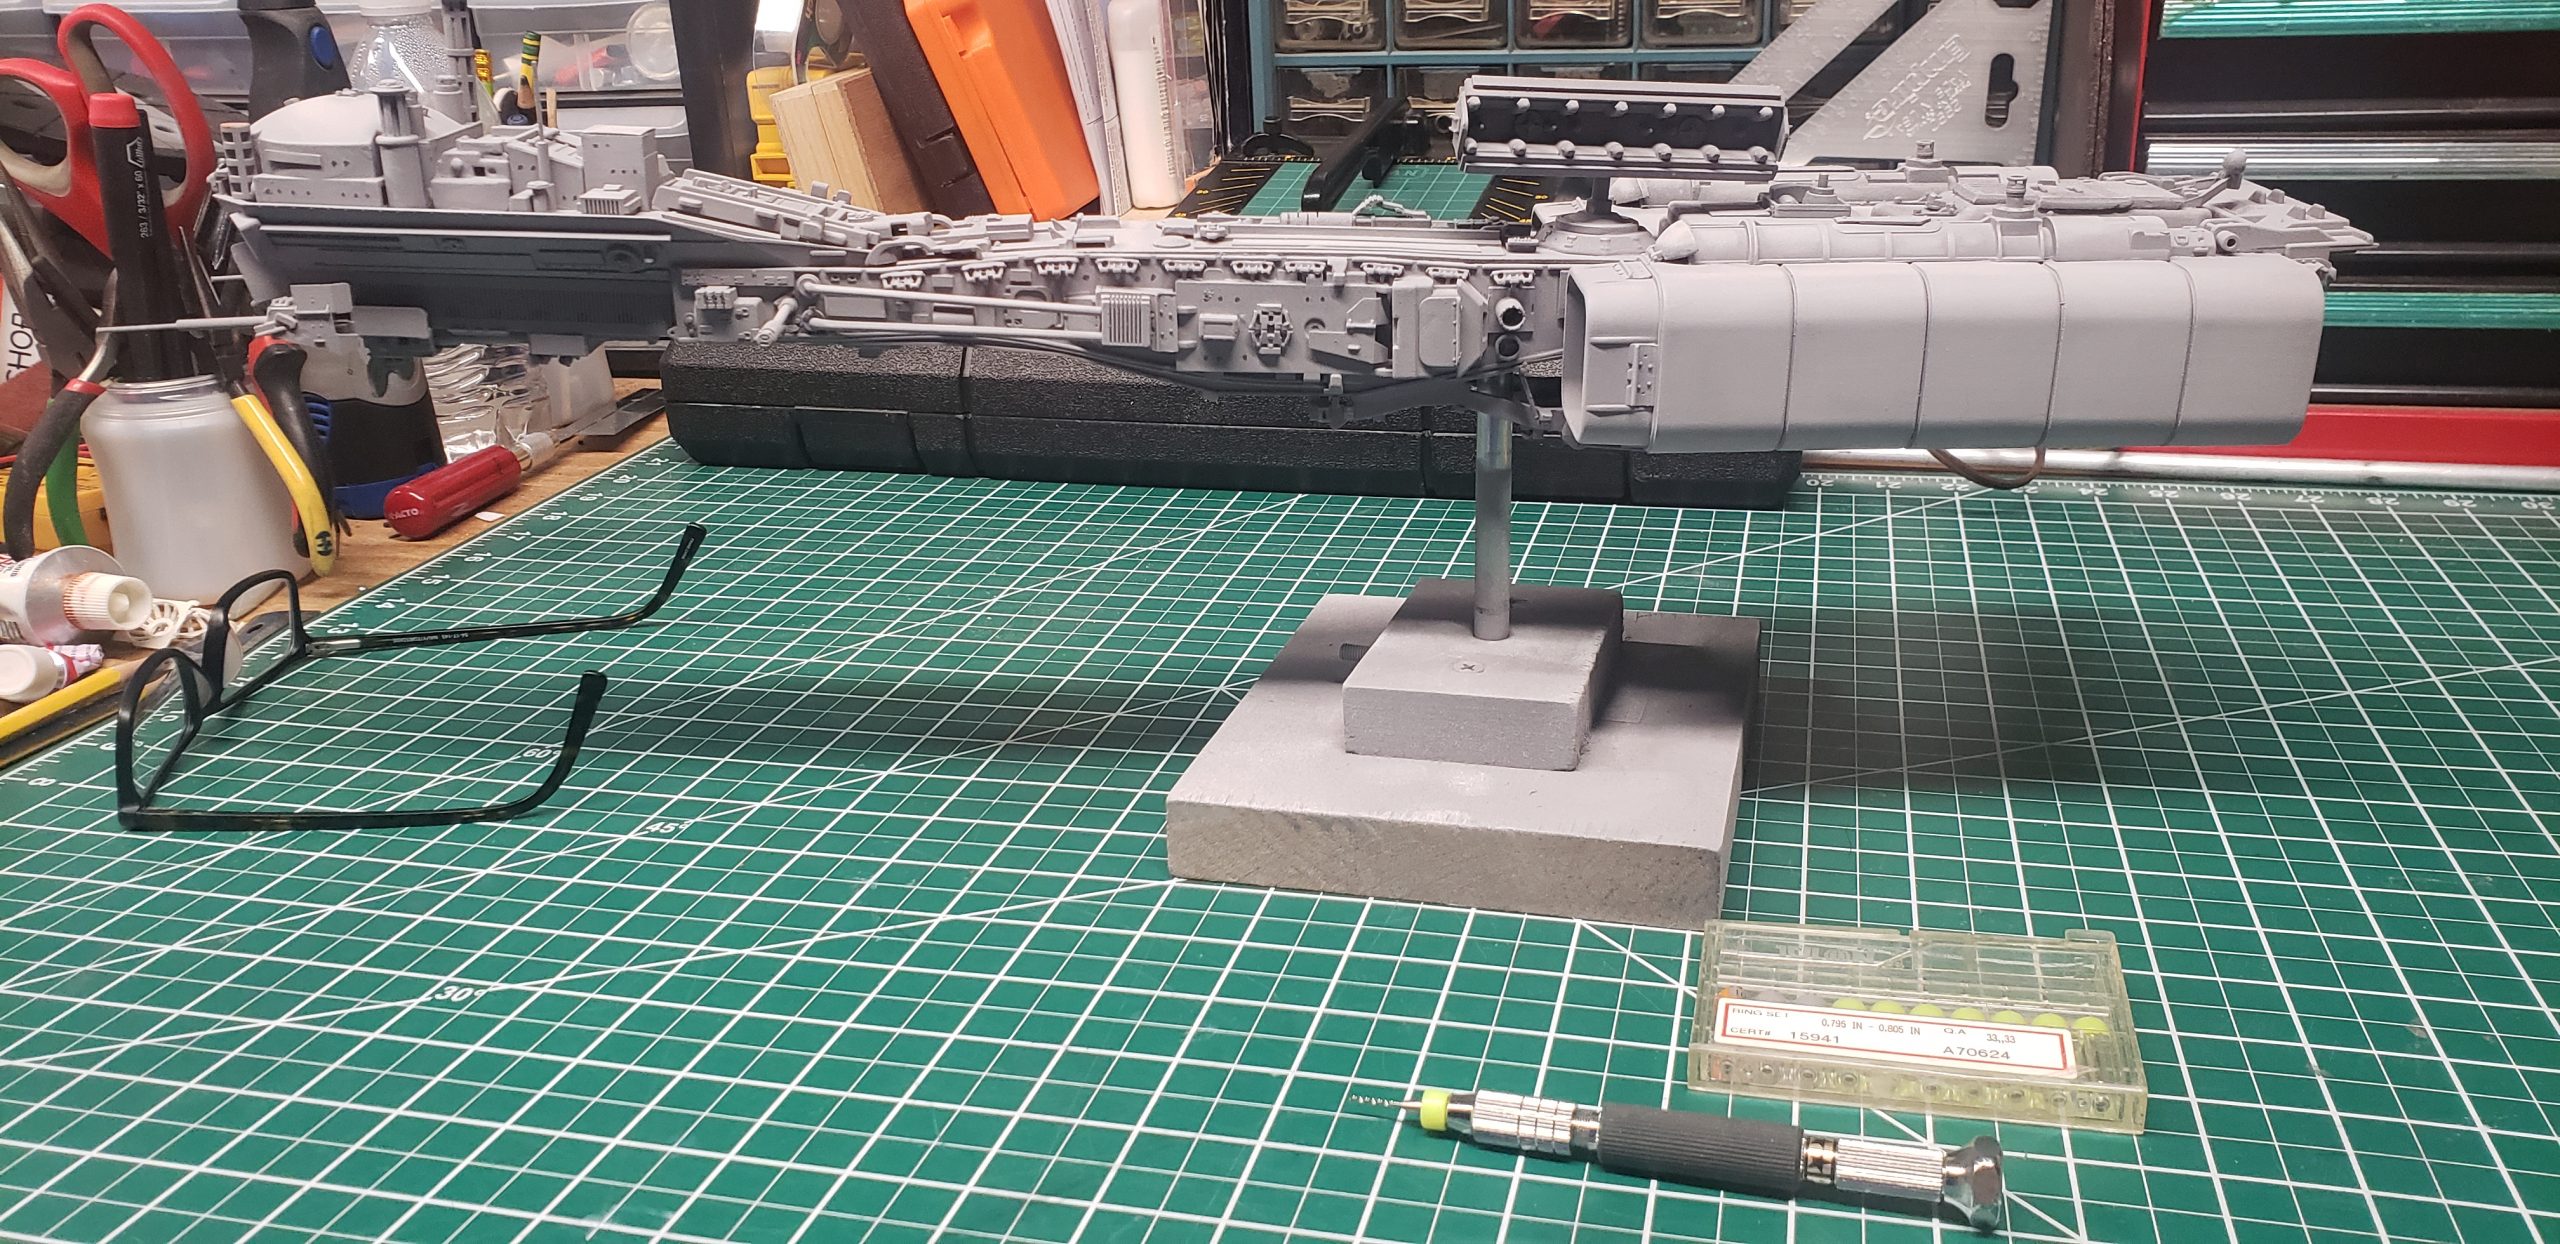
Before heading to the paint booth, I needed to drill out the port holes. This was done by hand using a pin vise and a very small bit. Below you see the pin vise and my glasses which come off for close up work. The model already has a coat of flat white paint. After the first coat, you can see how it will look and if you need to add or change anything.
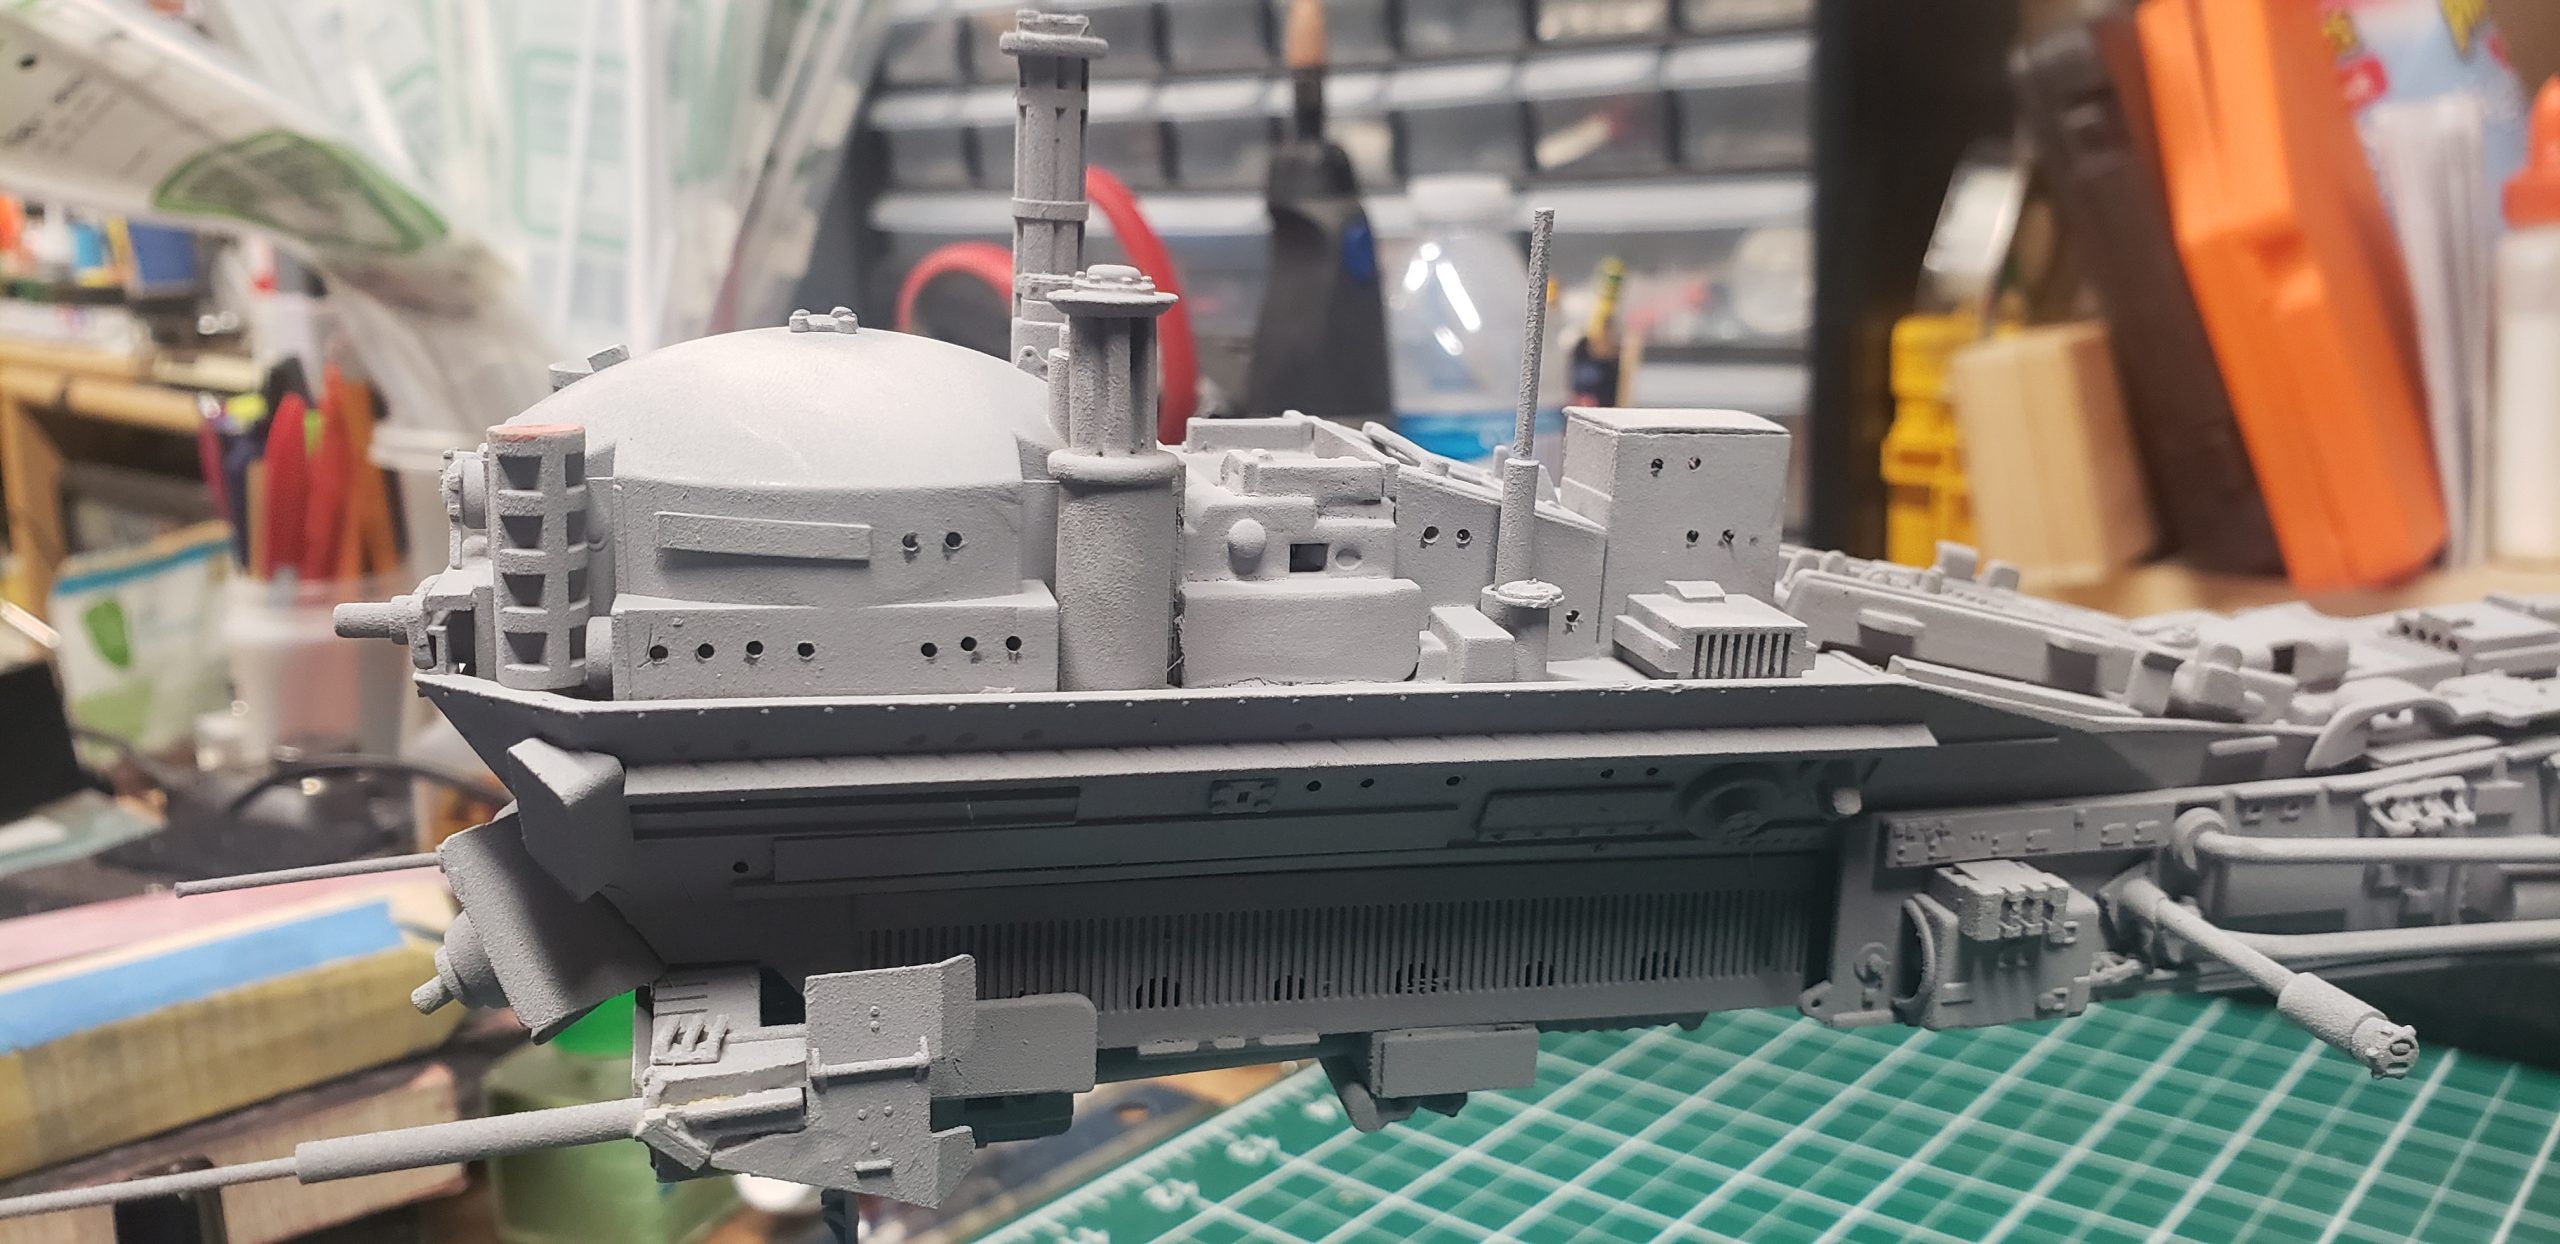
Below you can see the holes along the hull. It helps give the model scale. I don’t need to light the model with fiber optics because that sort of thing is done in post using Photoship.
It helps to have something there to start with.
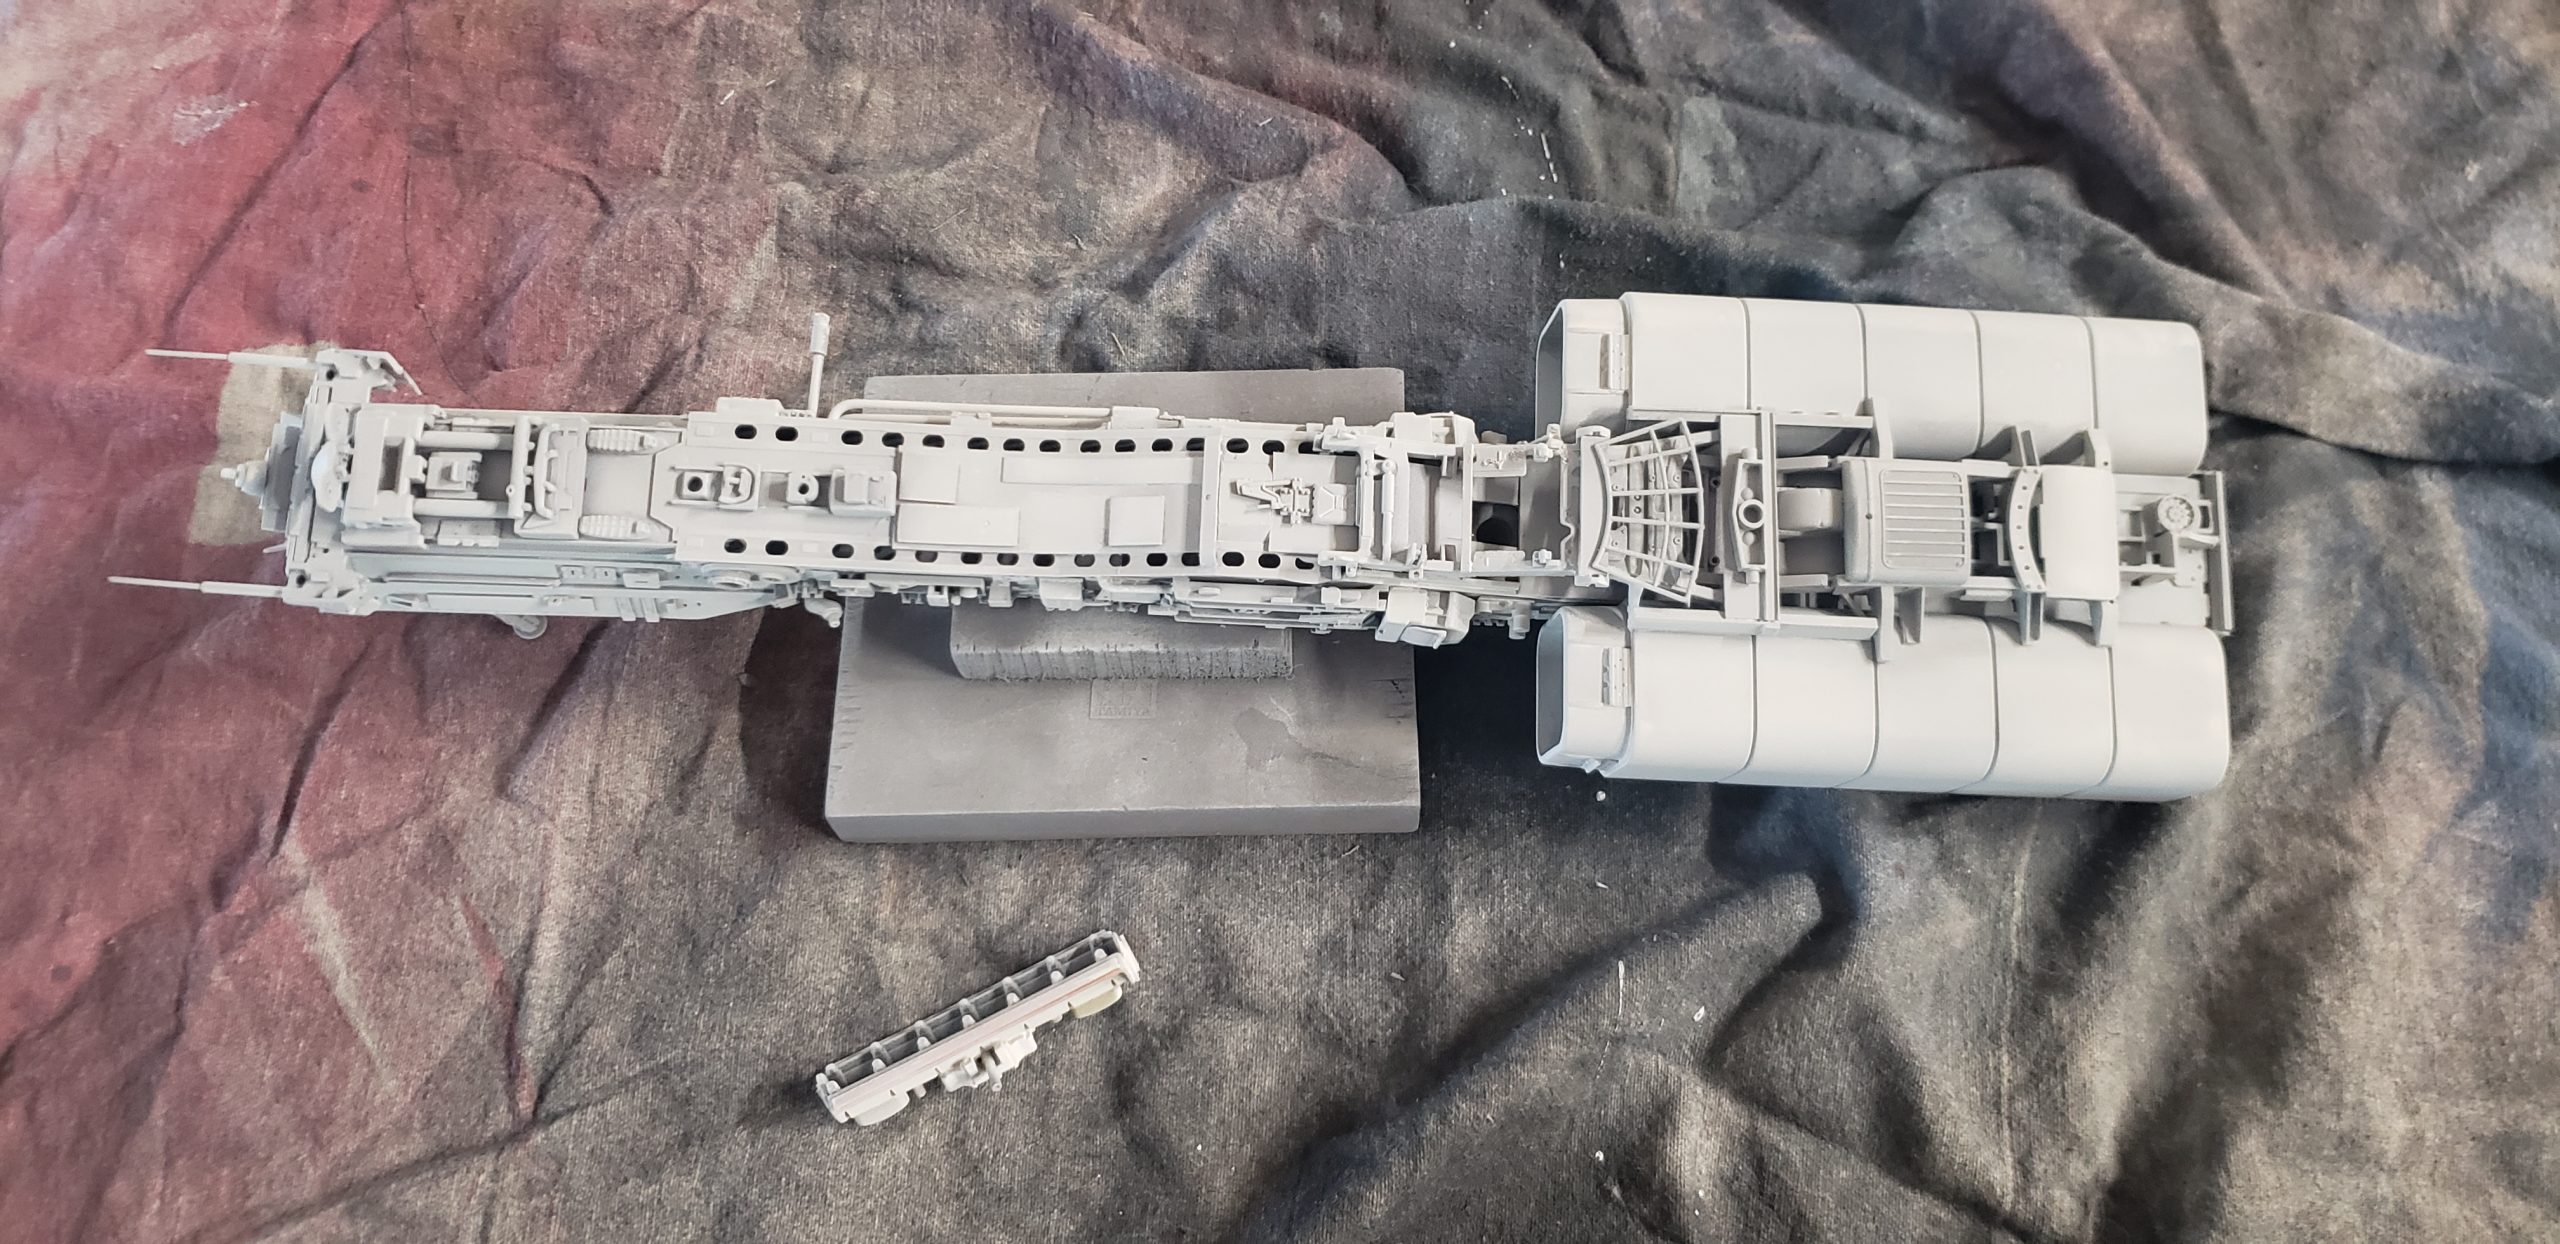
I love this shot of the painting process with the drop cloth behind it. This is the bottom of the model. I left the holes along the hull, because, why bother to cover what will never be seen?
I used an airbrush and Tamiya Flat White for the overall base coat. I added a bit of tan to the white in a nod to ILM and the Falcon.
If you’ve ever painted the Millennium Falcon, you’ll know it has deck tan mixed in with white.
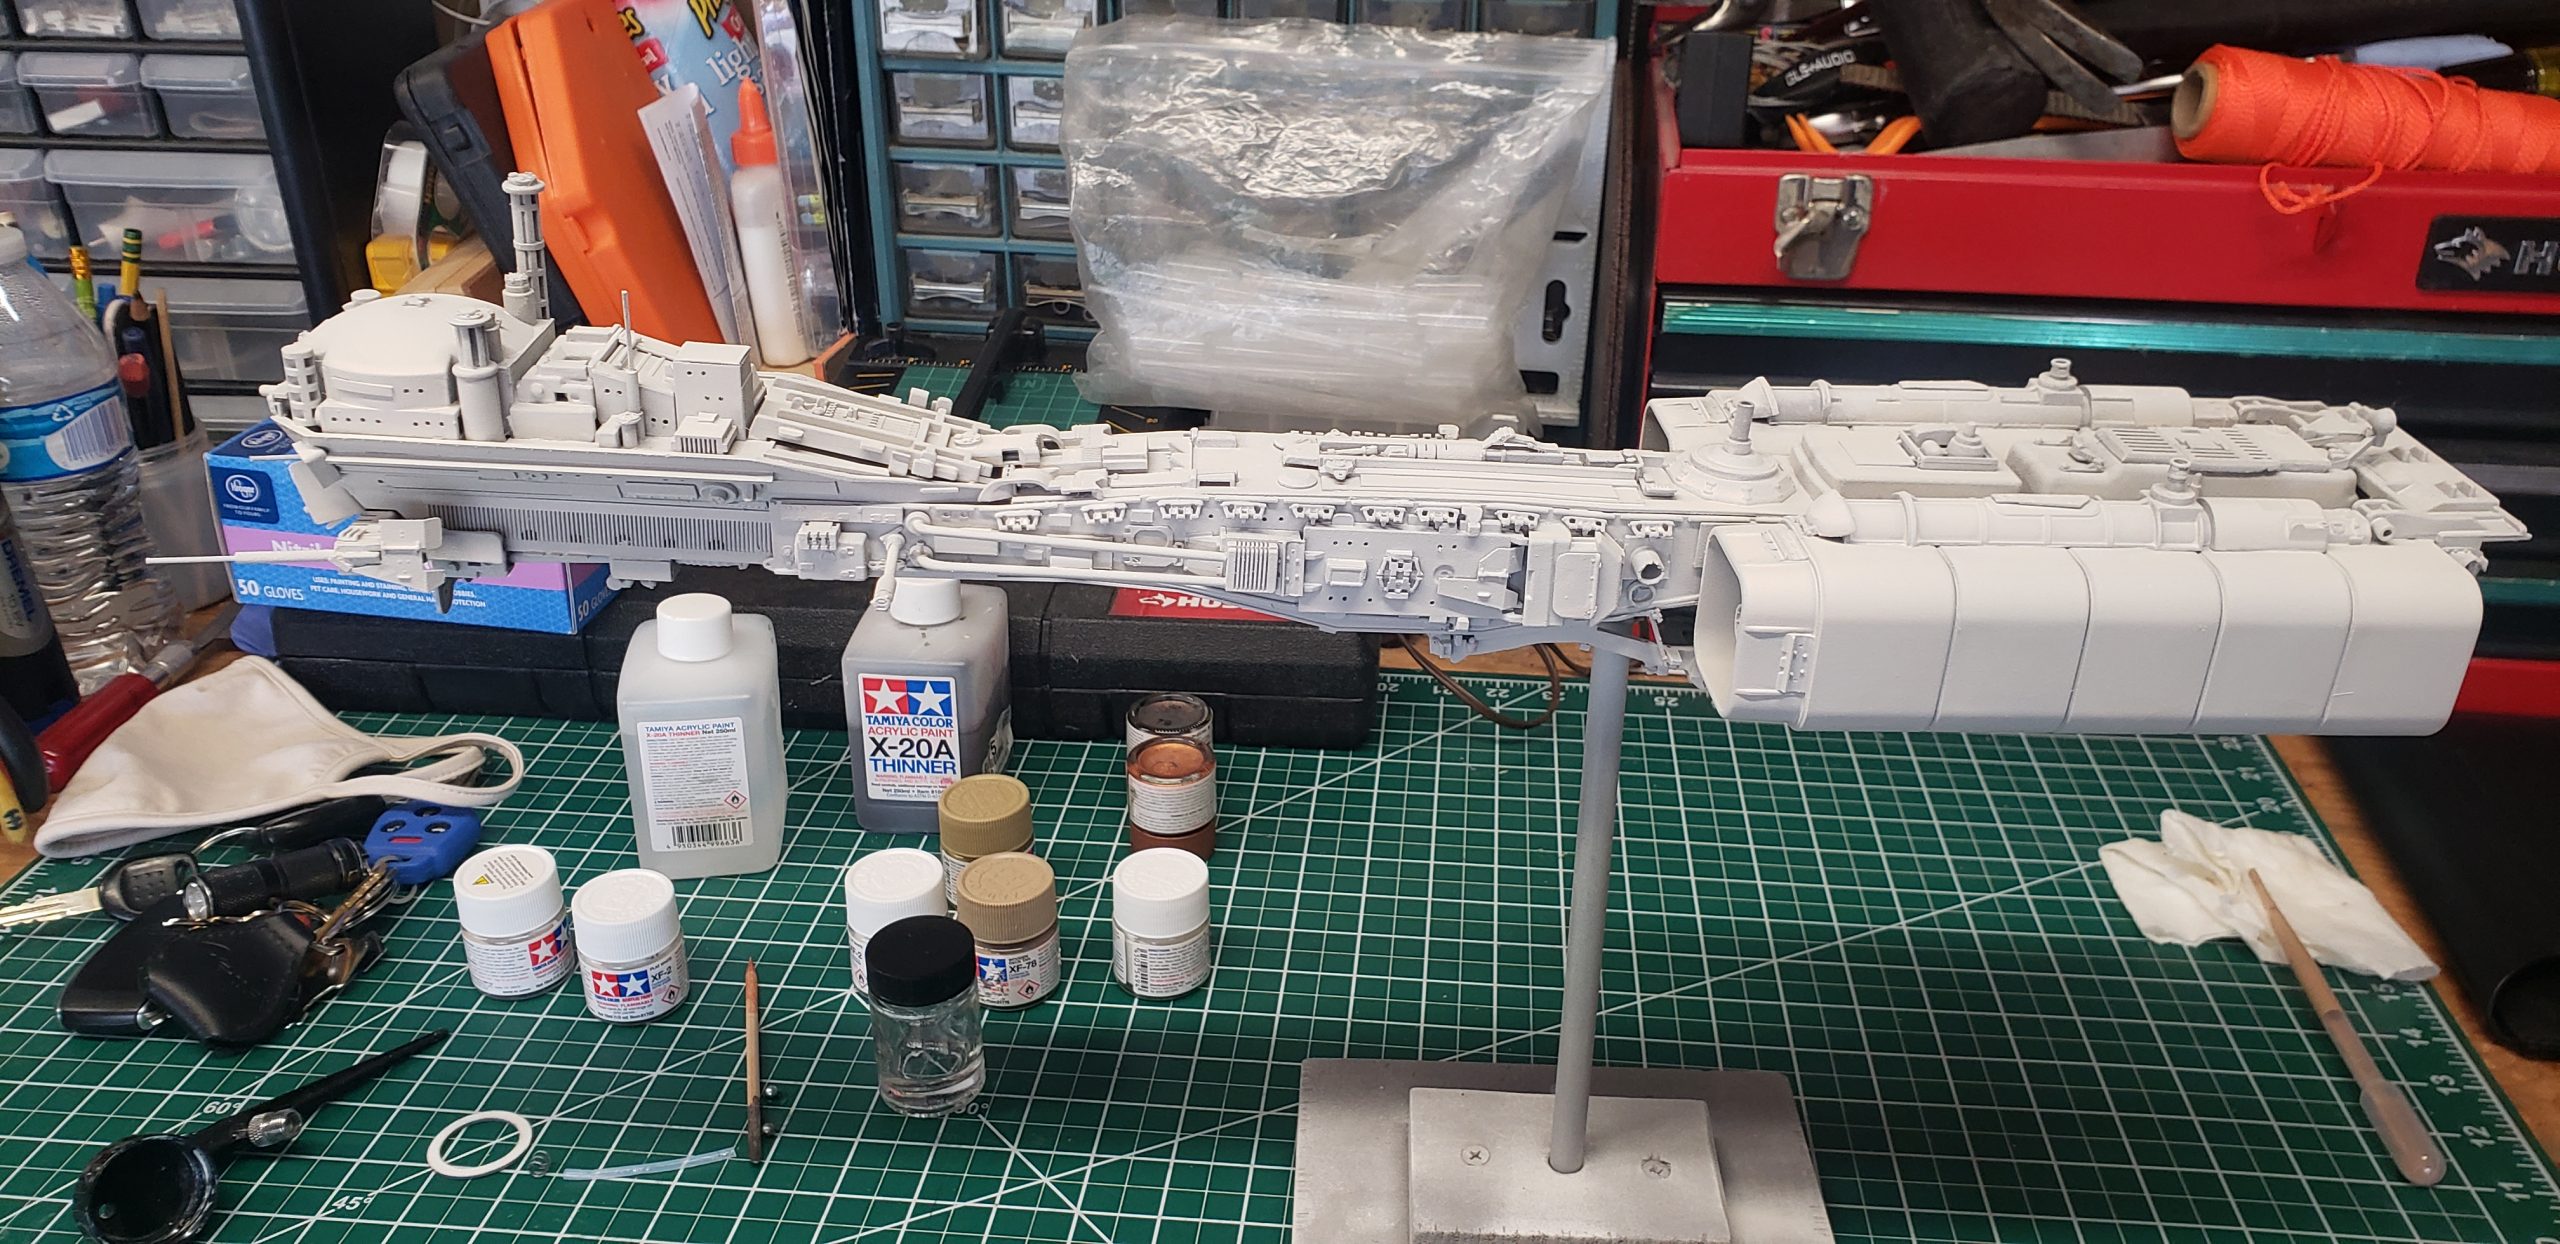
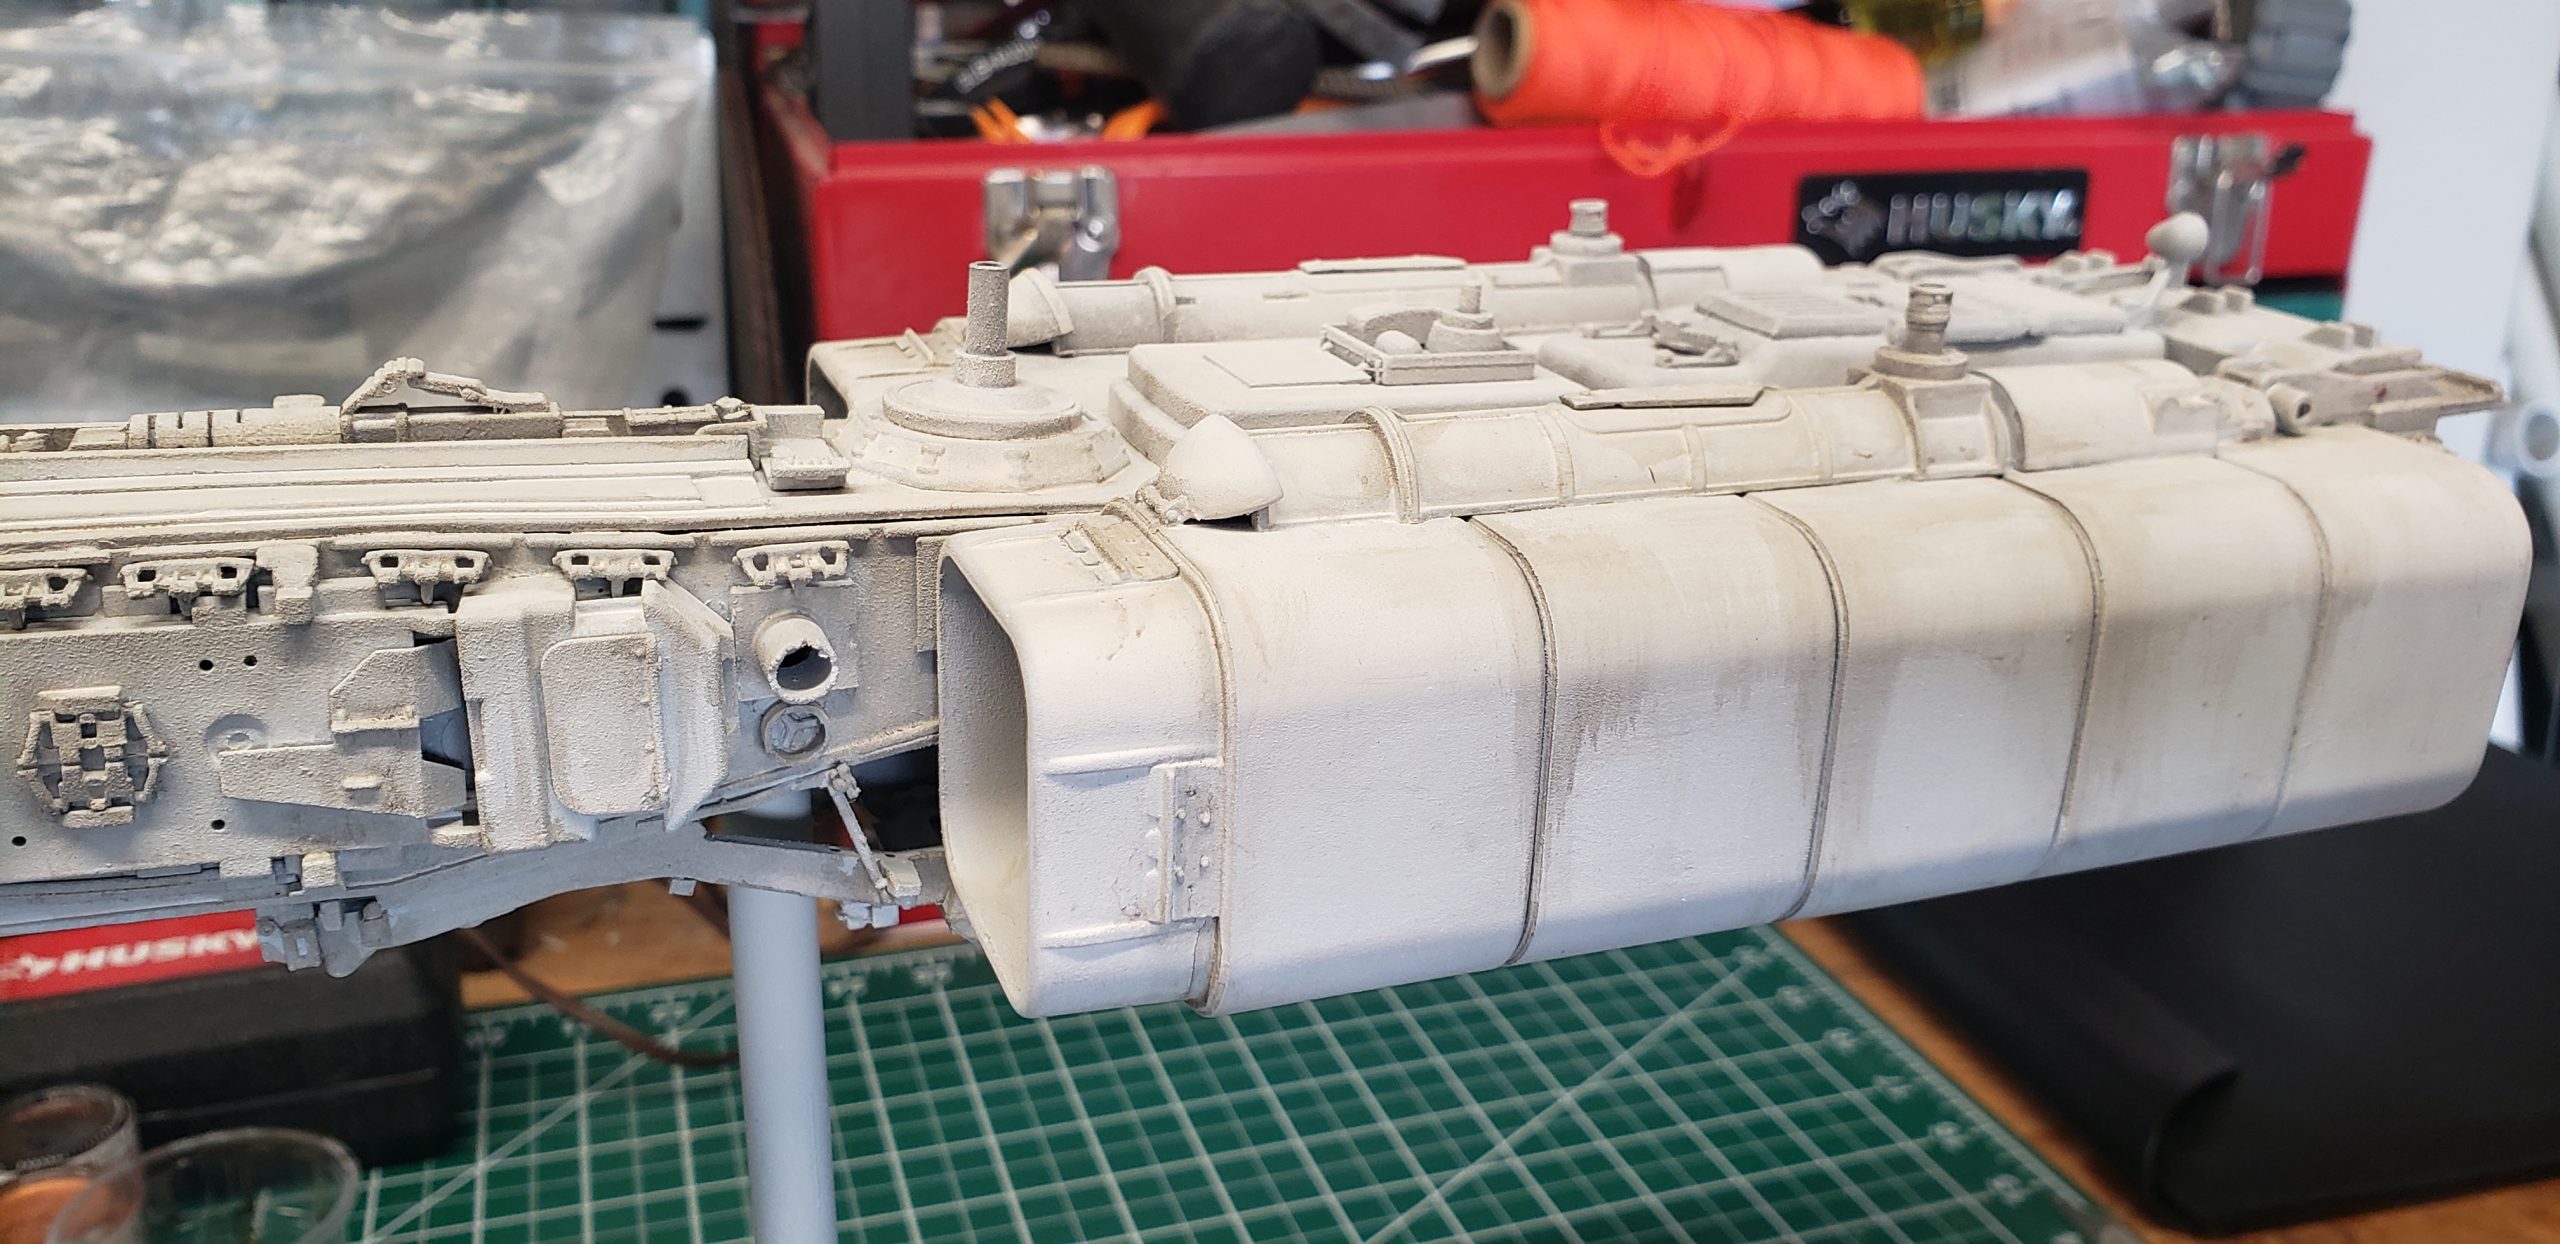
For the weathering stage, I used dirt wash and water with applied with a brush and wiped away with a soft cloth. This is a common modeling technique that I didn’t spend a bunch of time with. A little goes a long way.
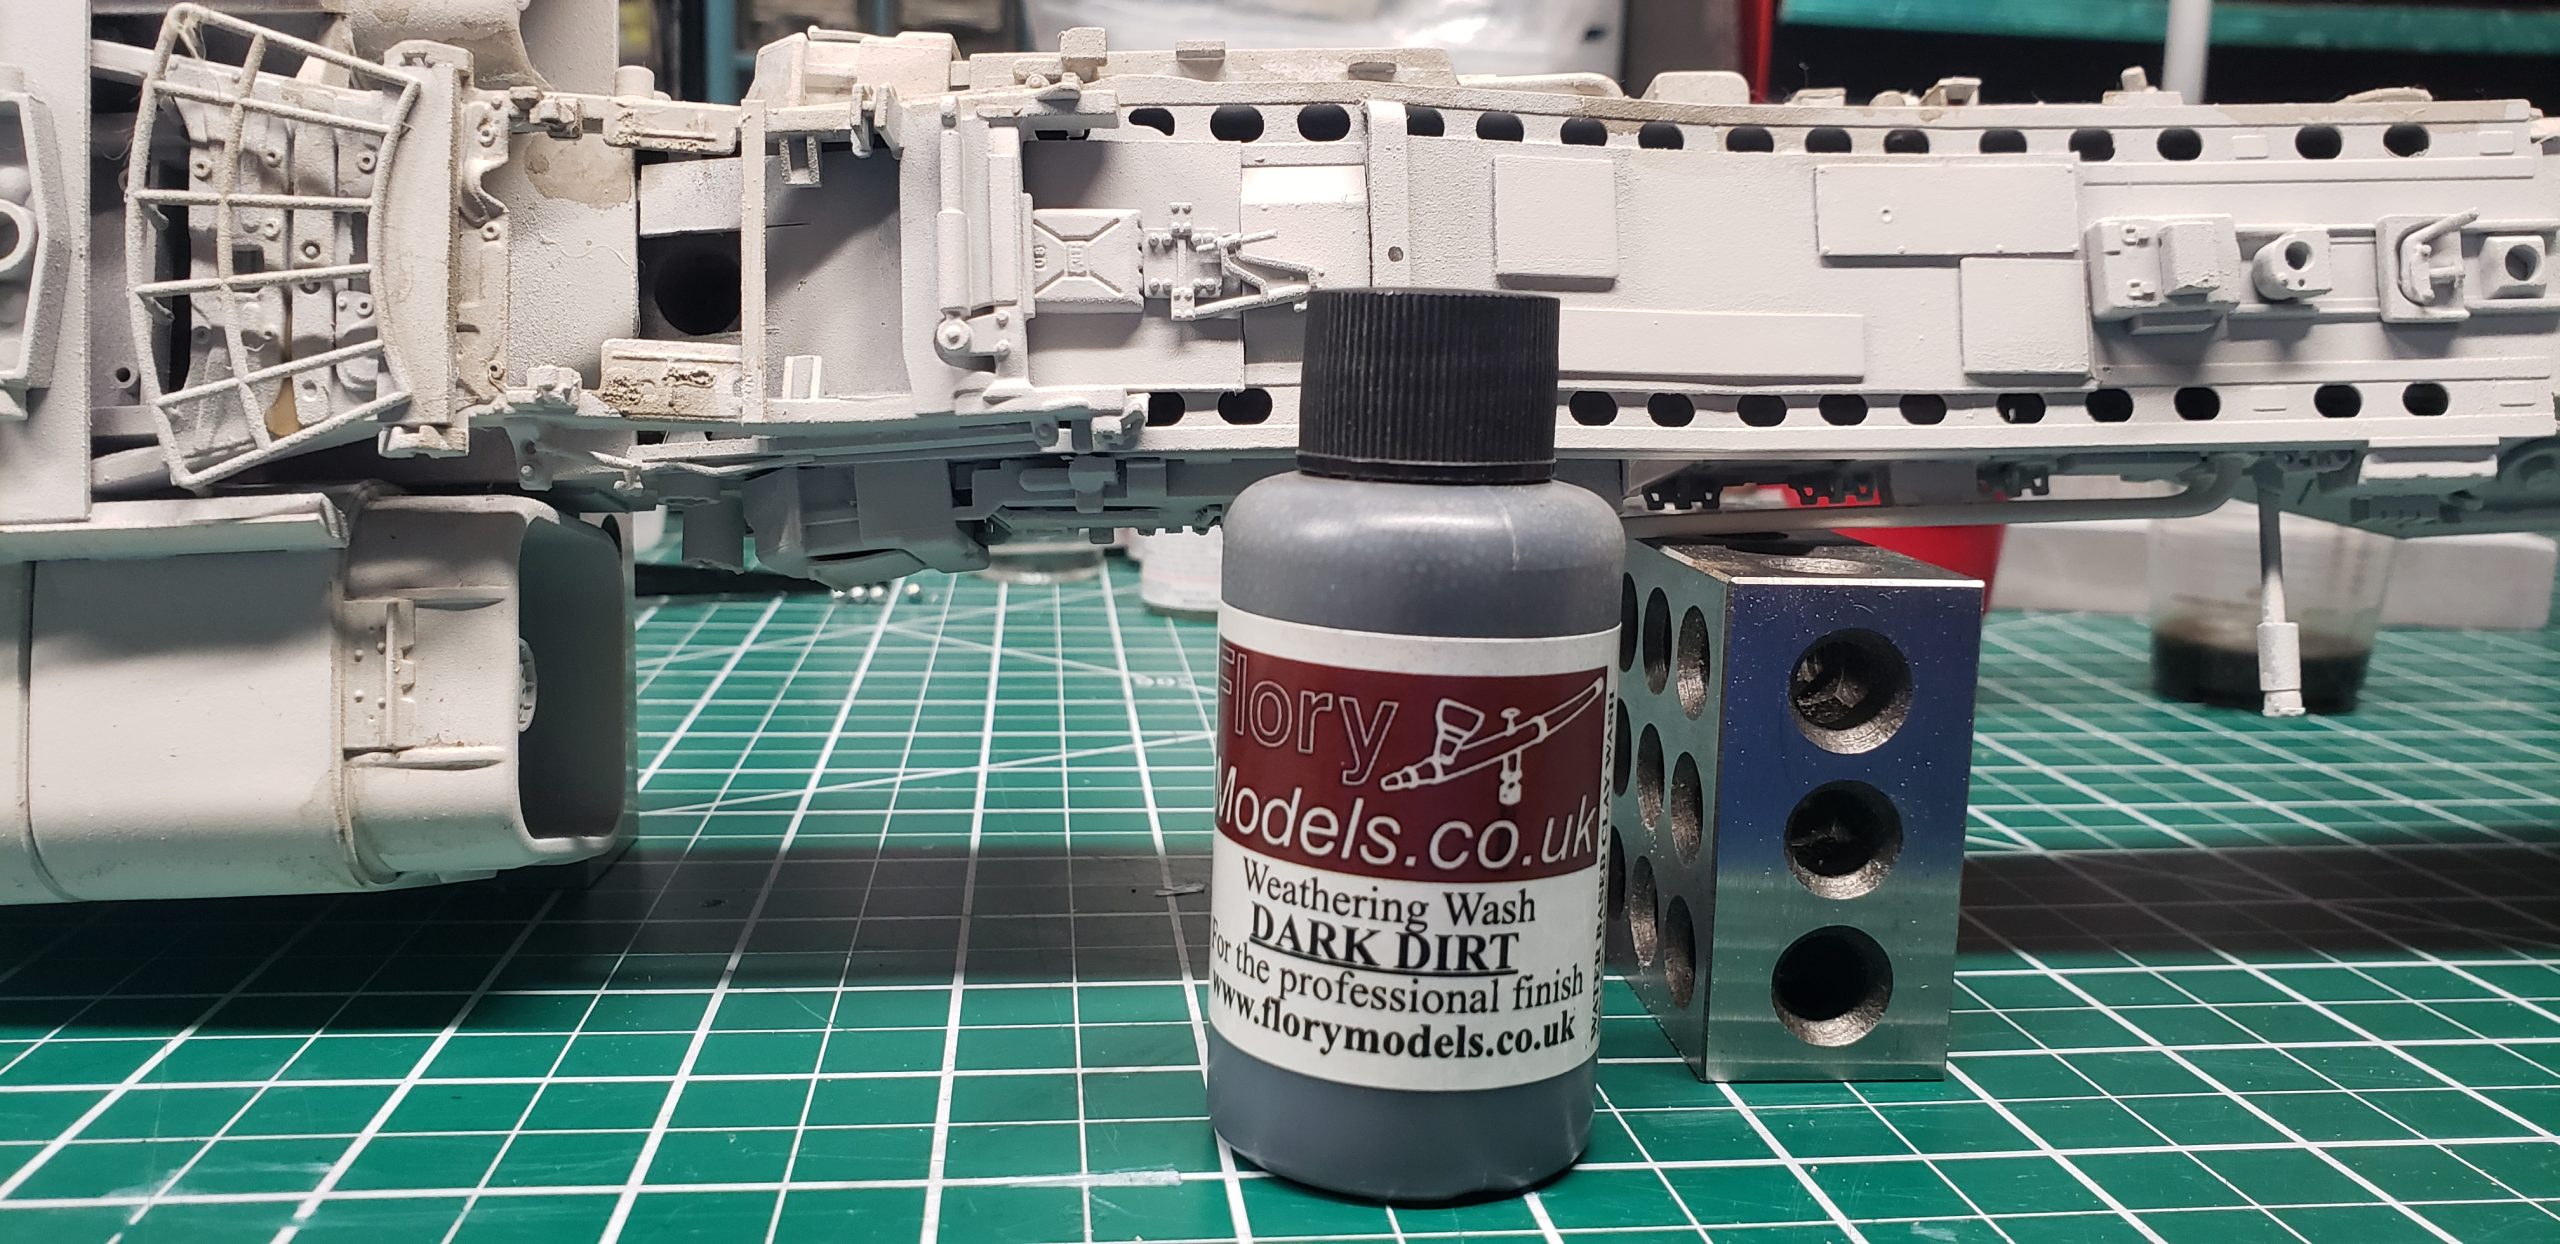
The wash gets into the cracks between the parts and adds just enough contrast to accent them.

The panel lines on the engines are a great spot for some grime.
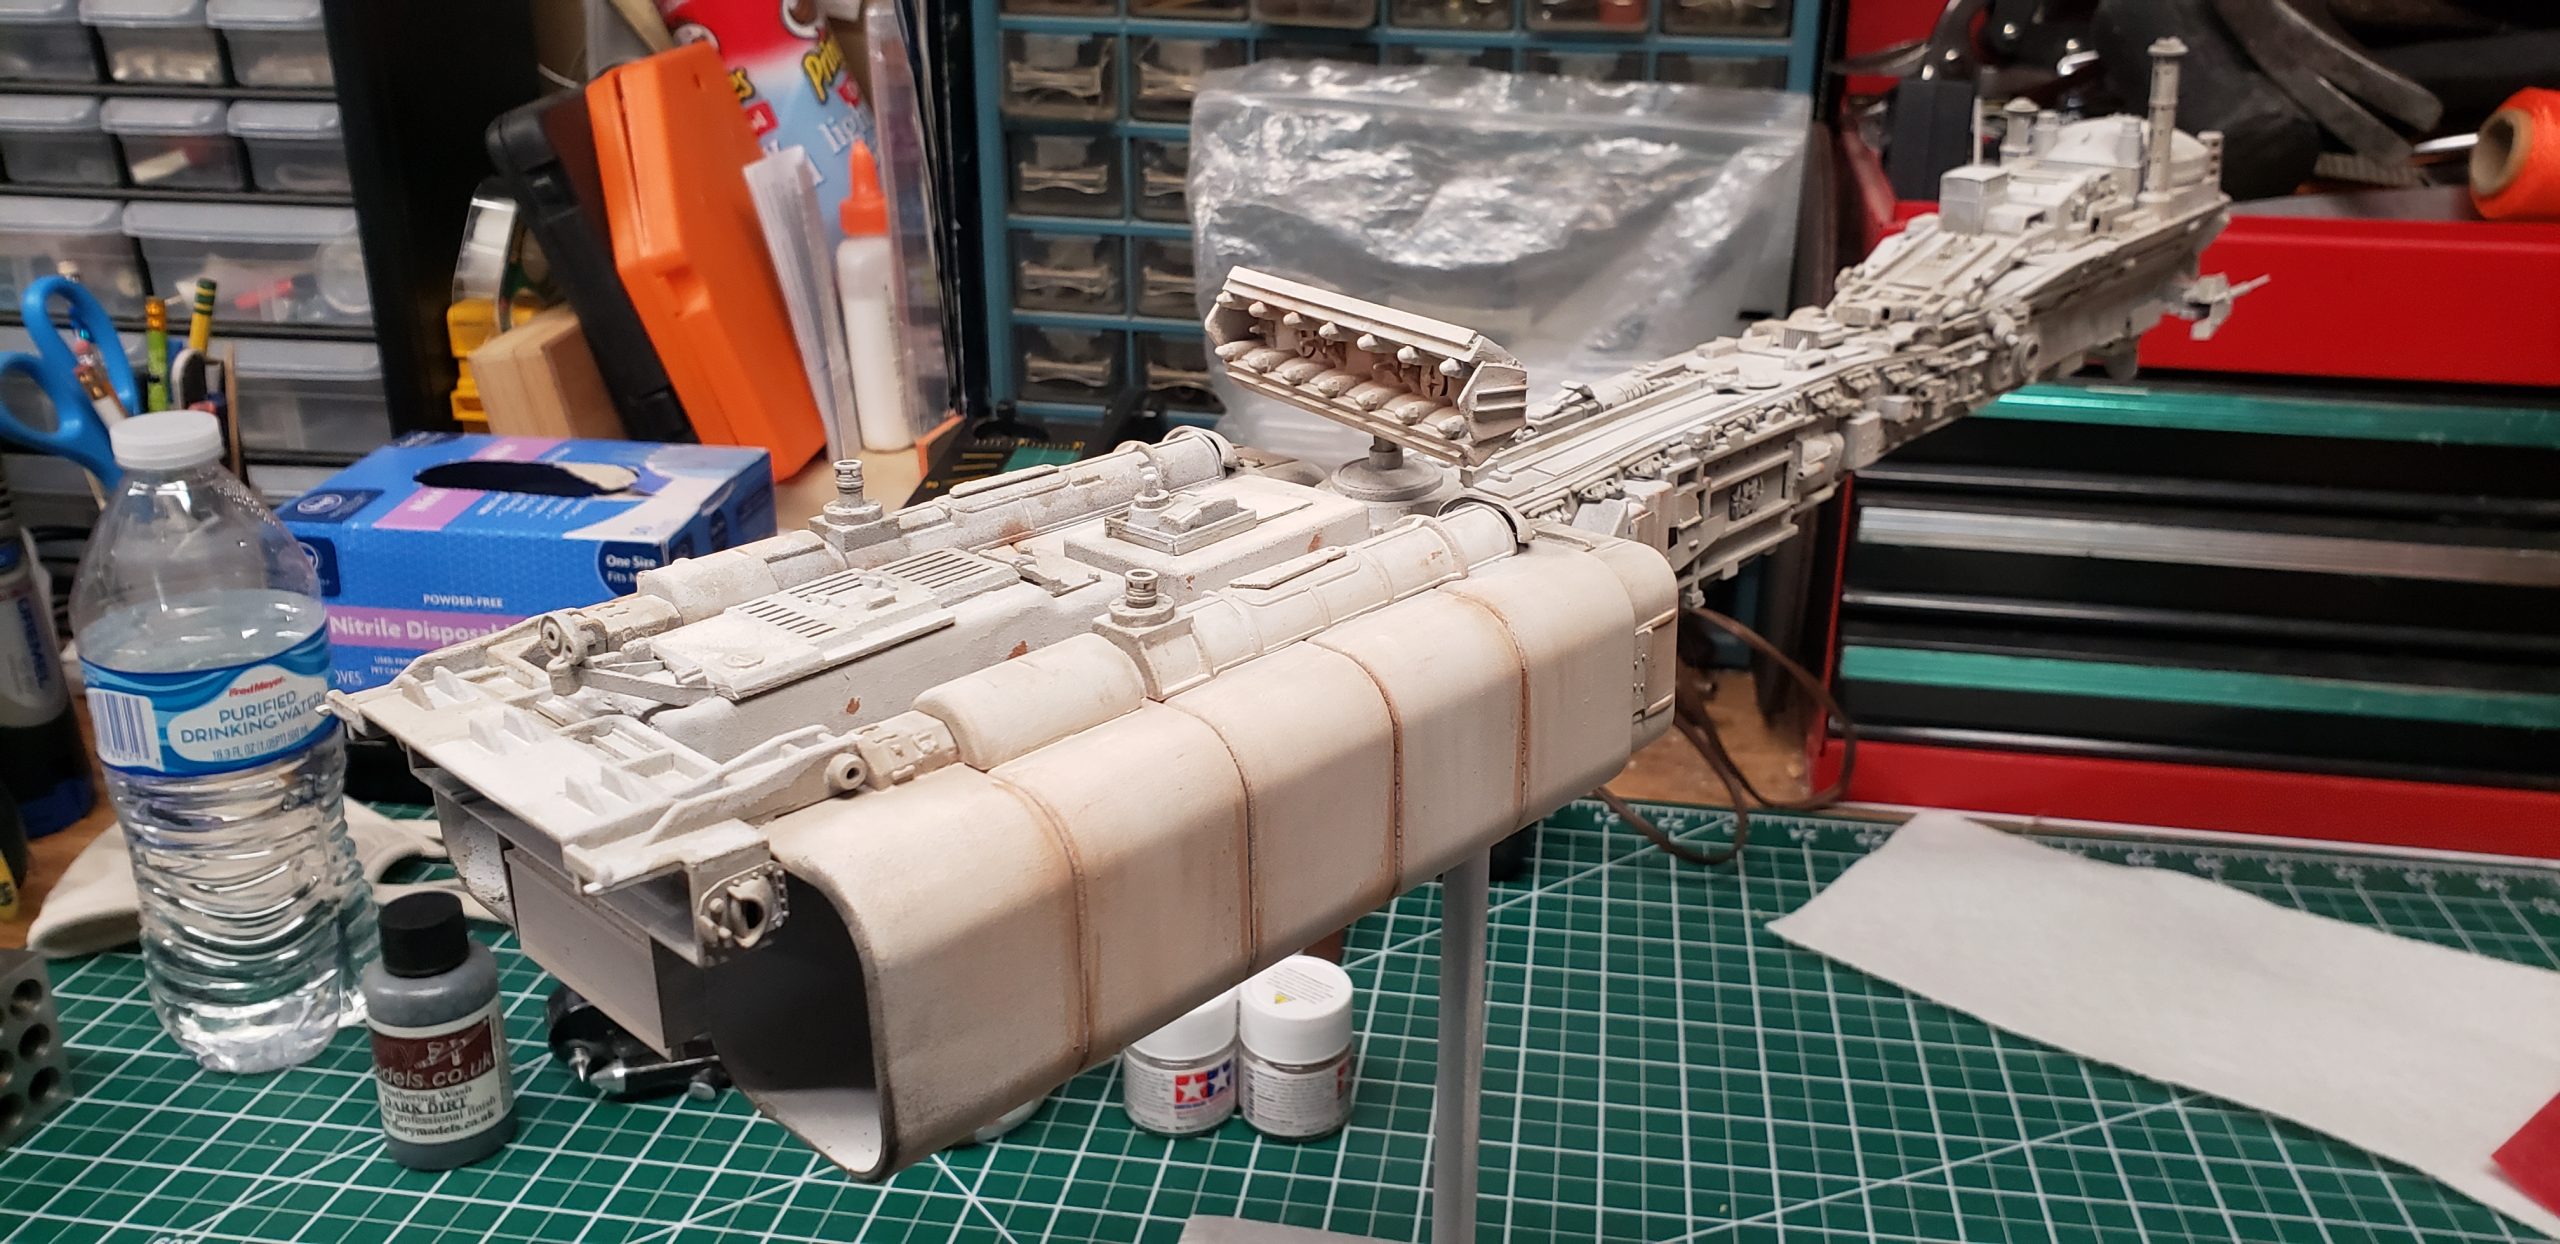
And that’s all she wrote for this model. It will sit on my shelf while I write the next three books featuring it; proving some much needed inspiration.
Then I’ll dust it off and shoot it for the various covers.

