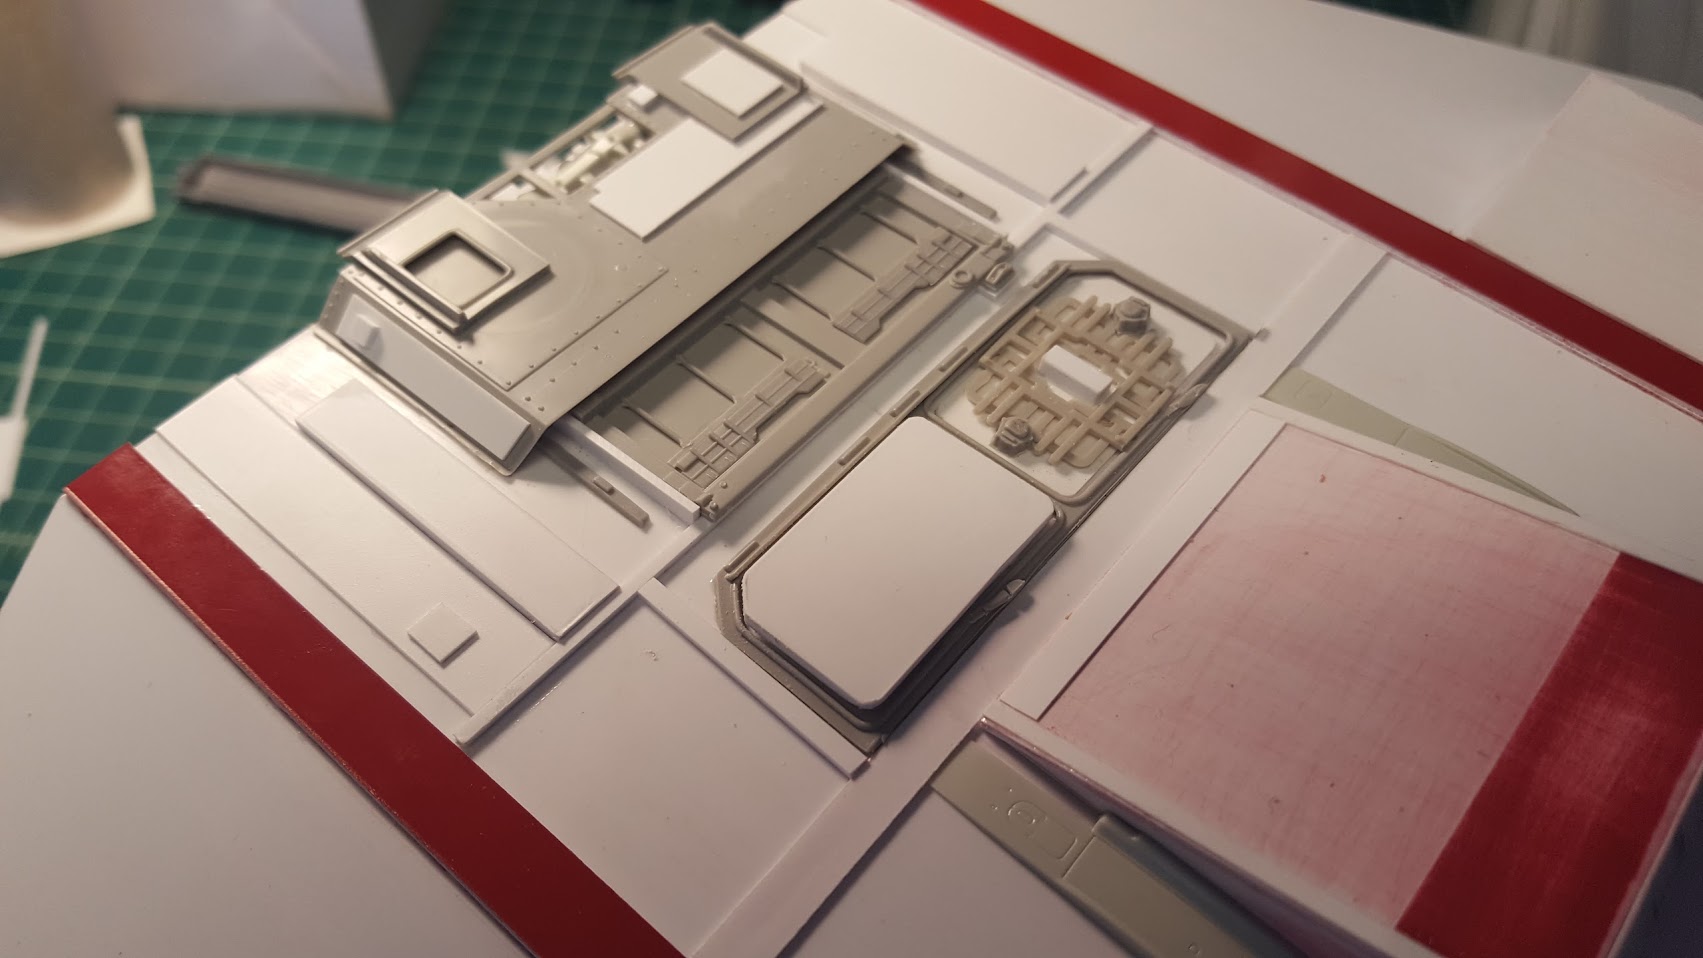
For the top deck detailing on the fighter I wanted a mixture of model parts and styrene. I ended up doing more styrene and less parts. Hopefully it looks good when I’m done. I know the model will be painted a matte black color, so texture will be important on this one.
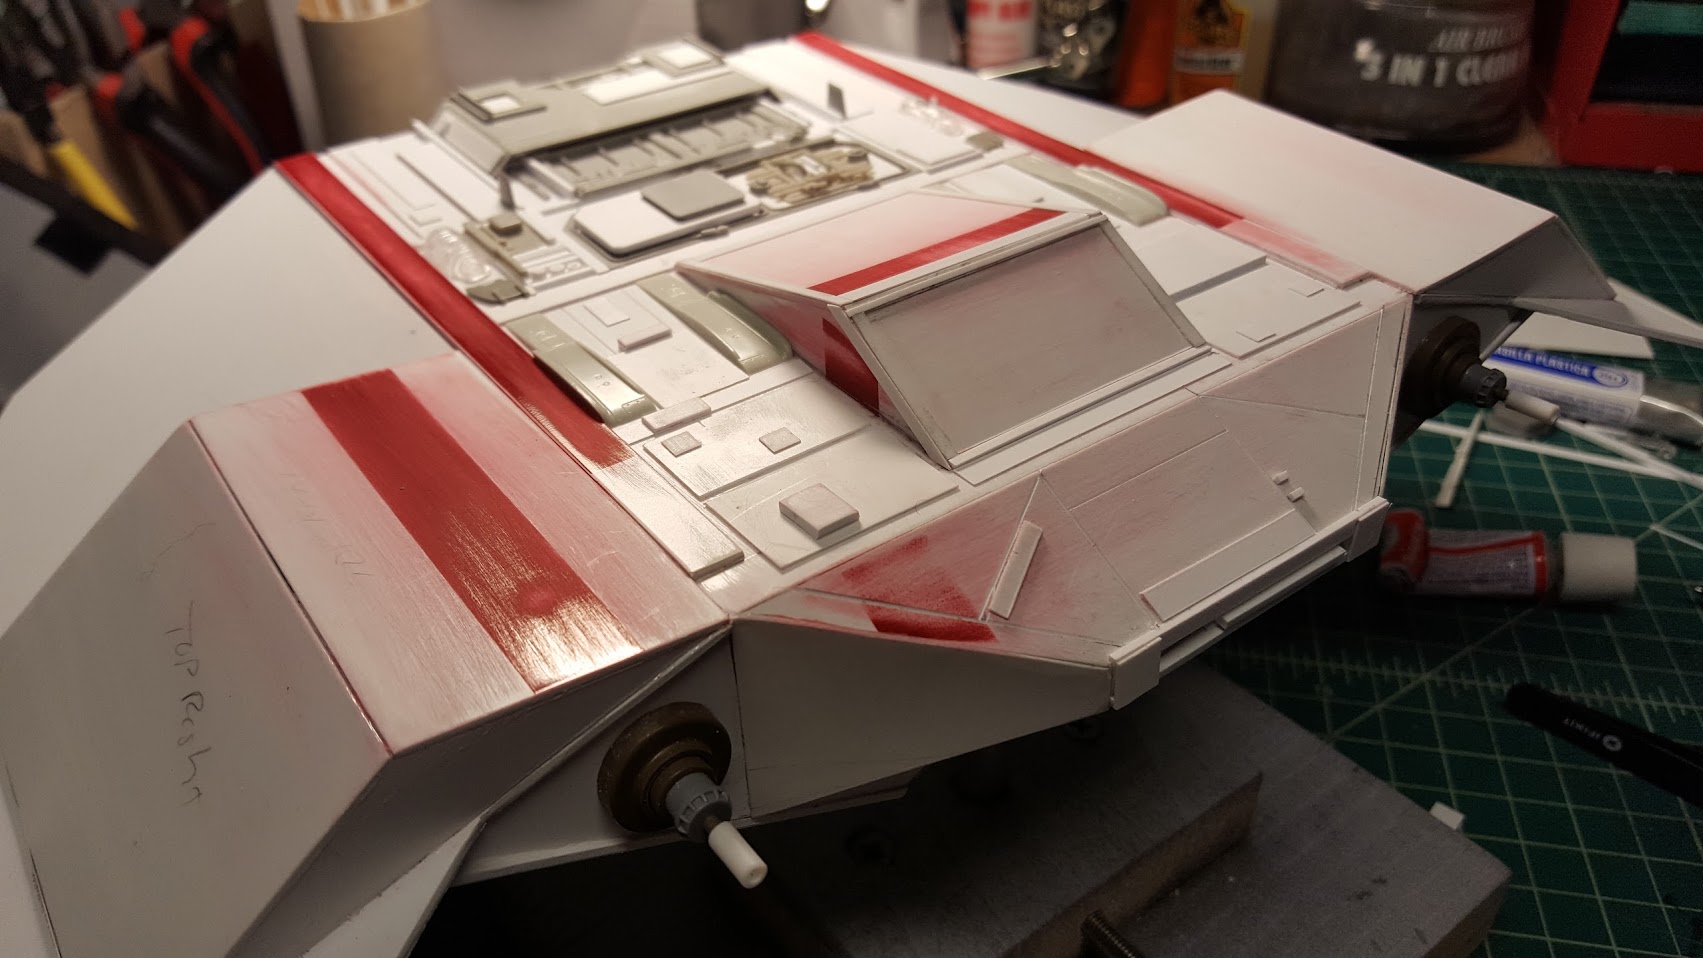
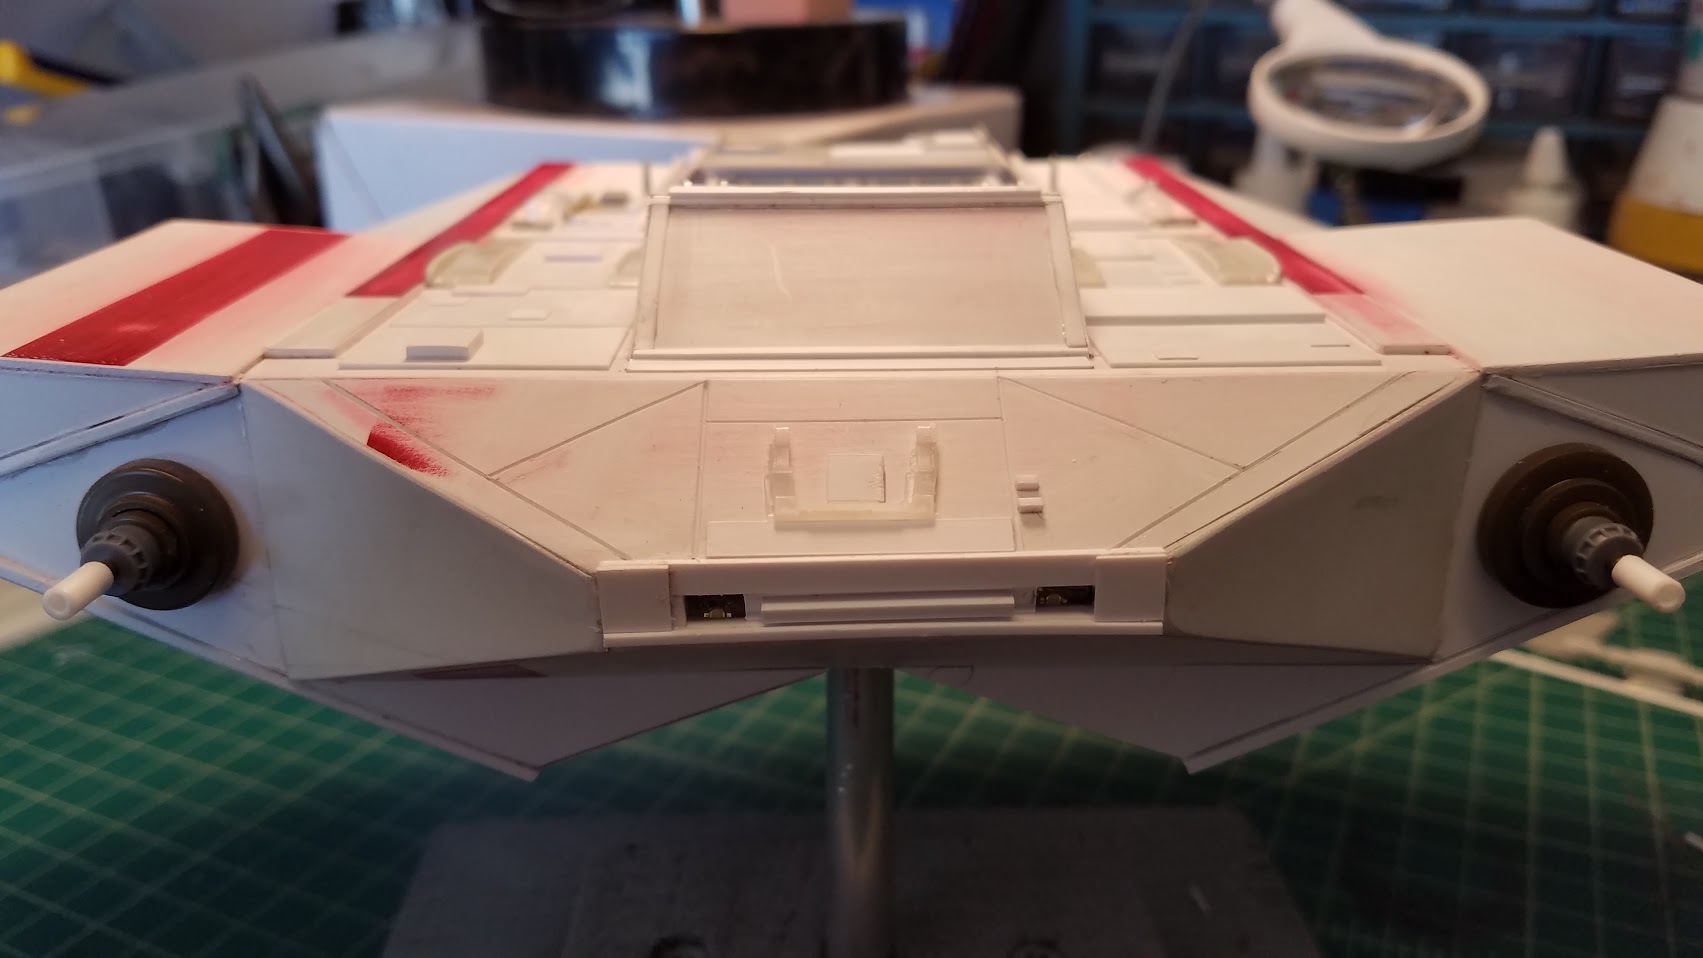
The canopy is frames with plastic and will be painted a shiny black or perhaps I’ll cover it in smoked, clear plastic.
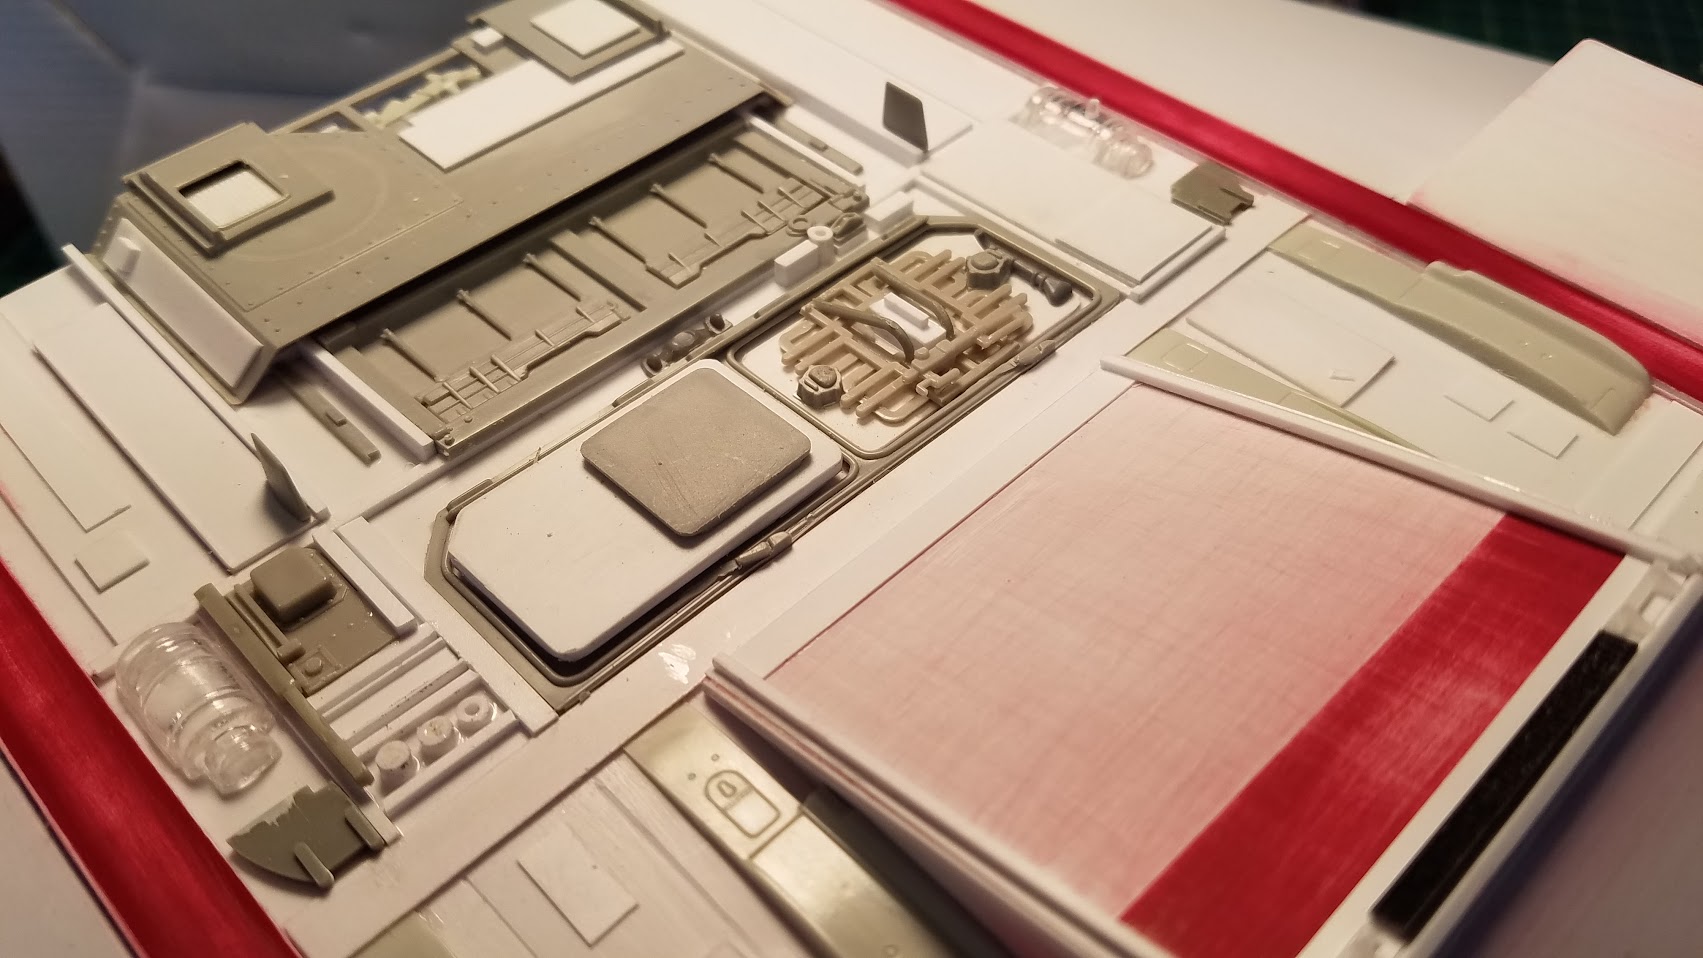
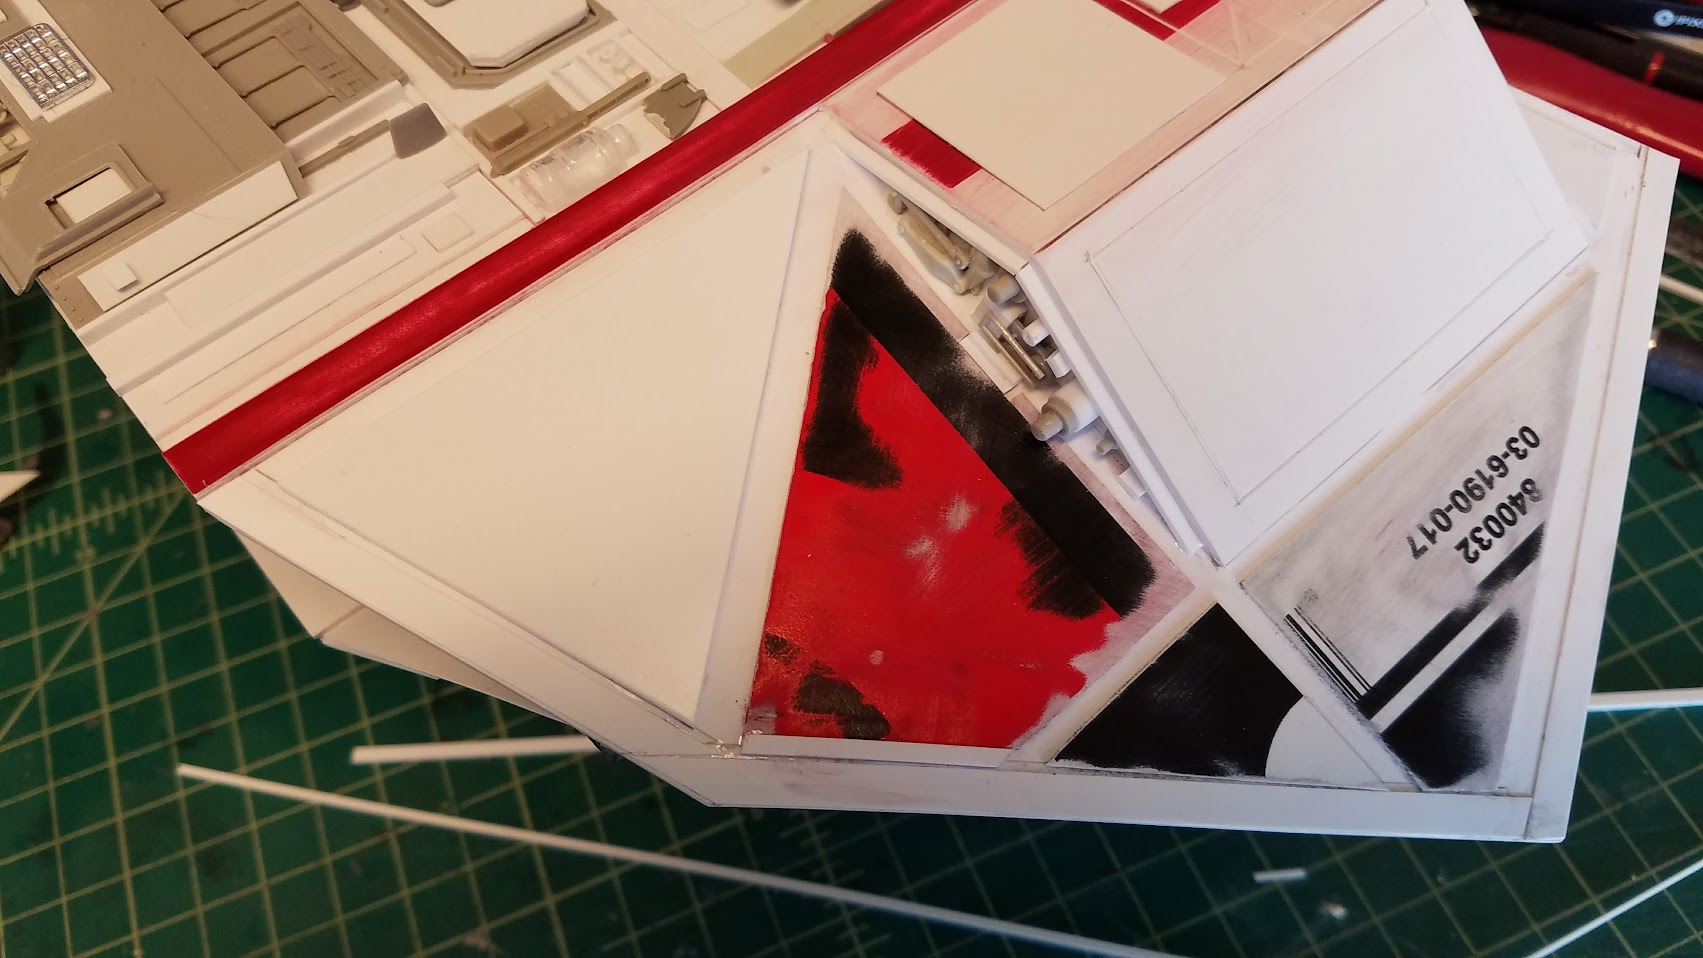
More details from the parts bin. Smaller the better here to make it look like panels have been removed and field modifications made.
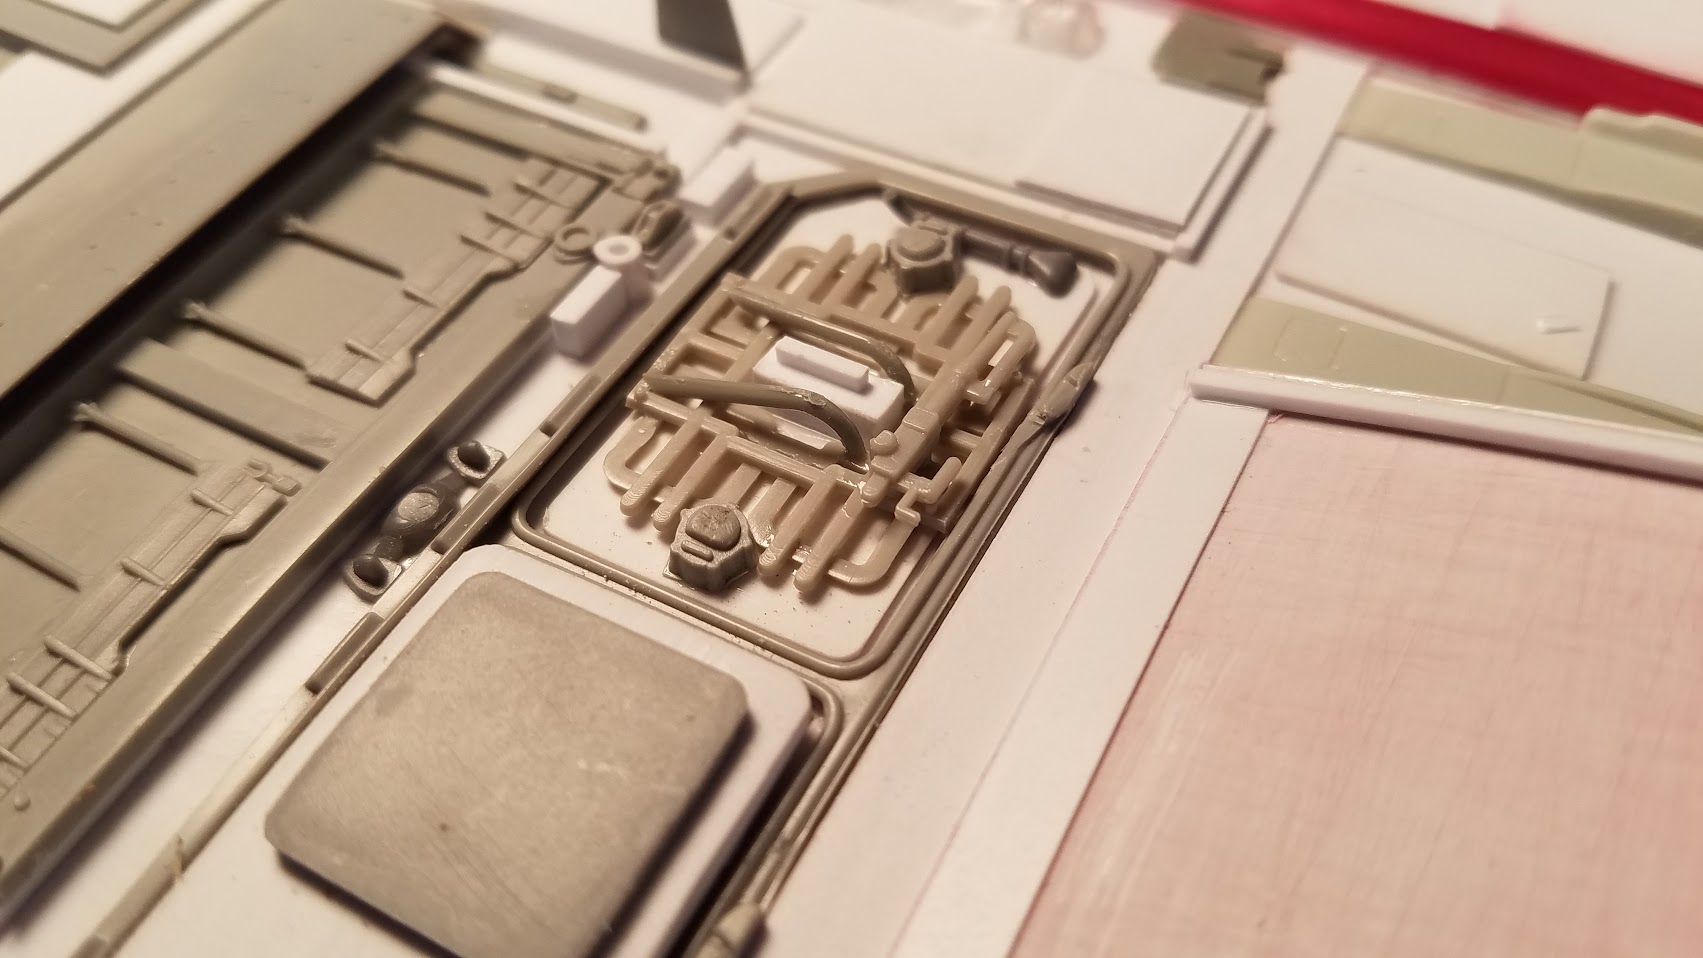
The layers of details add a texture to the model before painting or weathering.
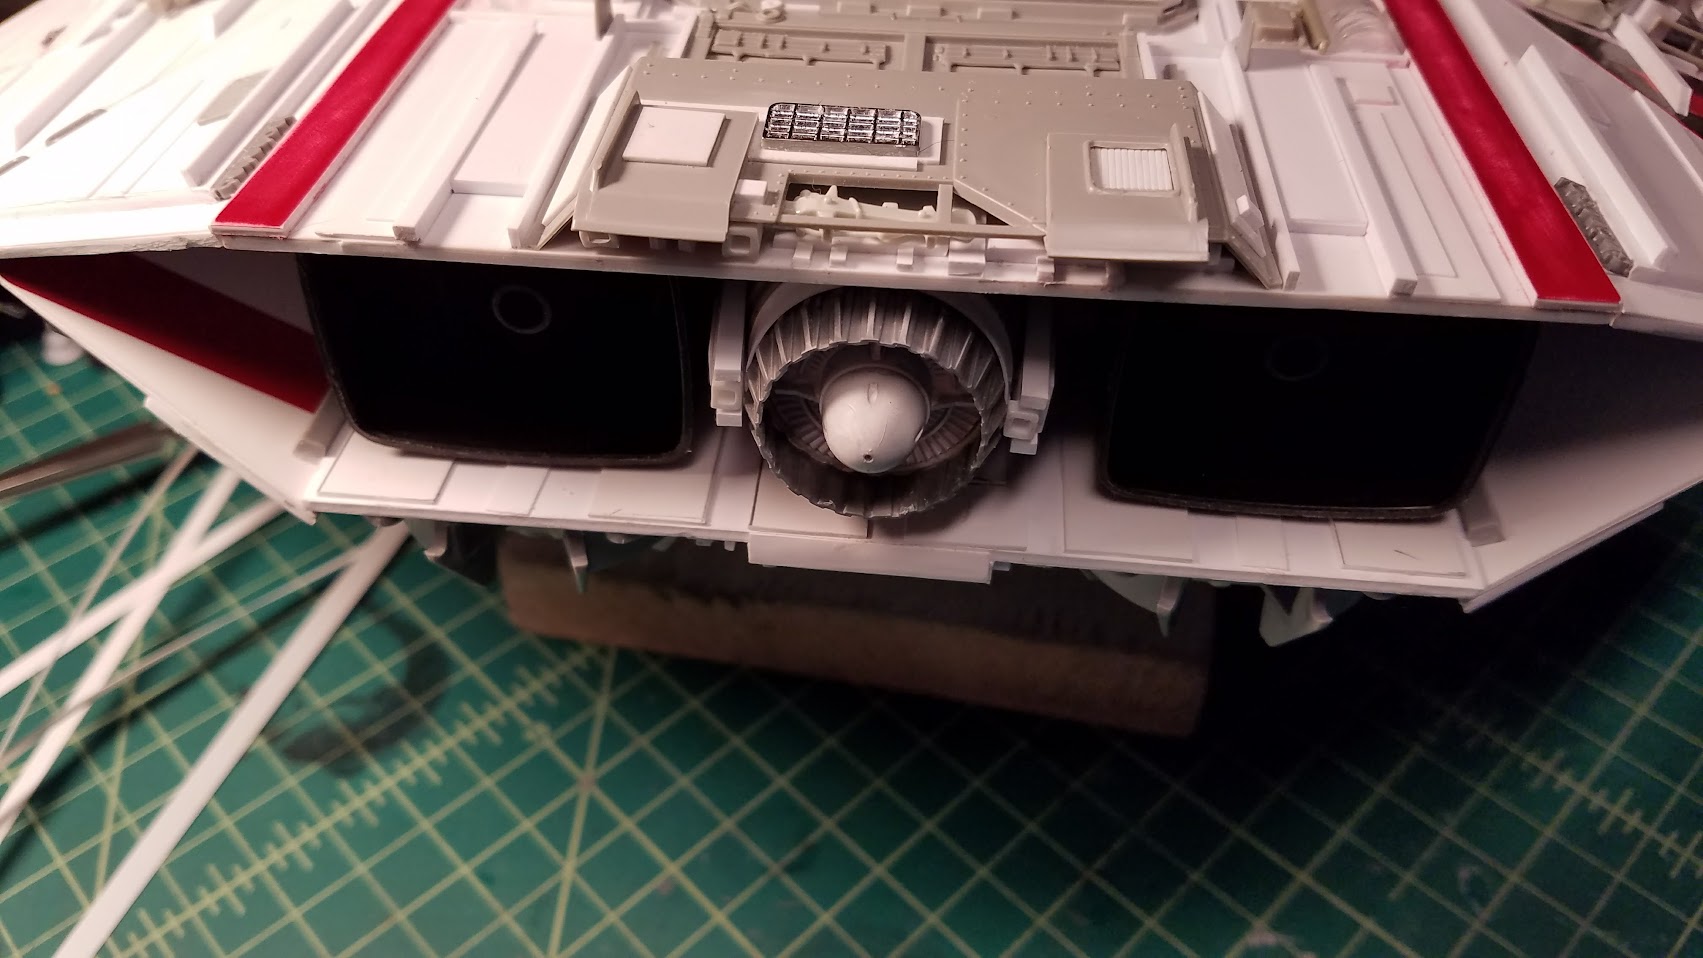
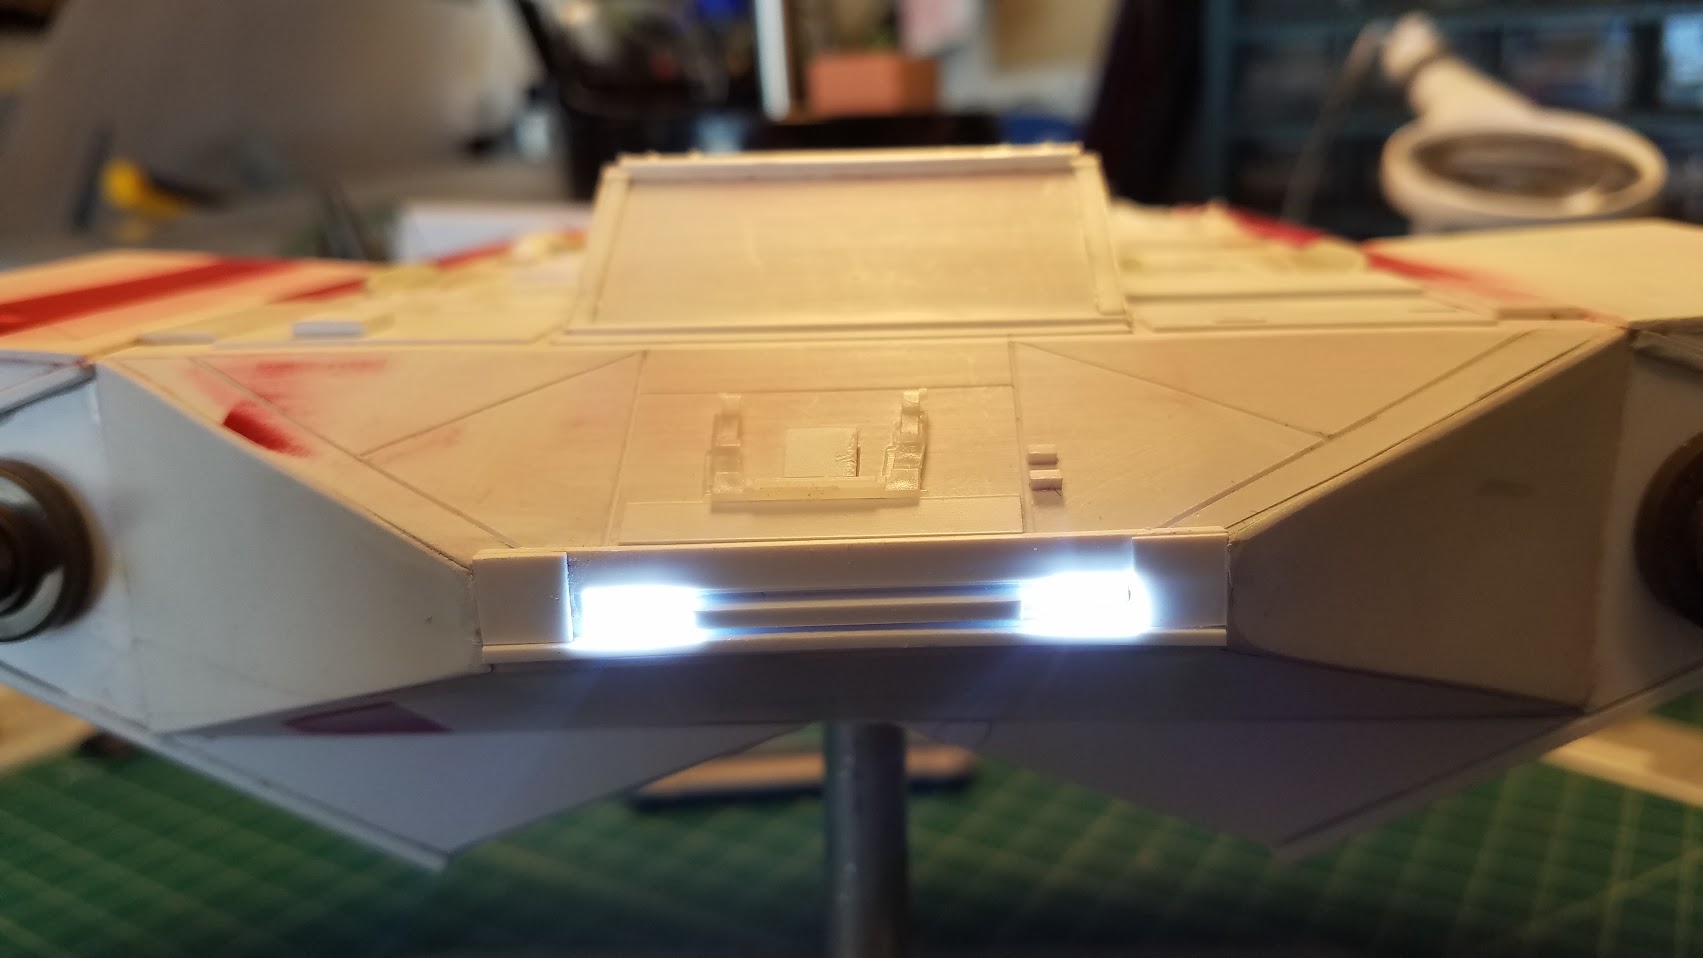
And we have headlights! No idea why I decided to have headlights. It just looks cool.
The bottom reminded me of Alien for some reason.

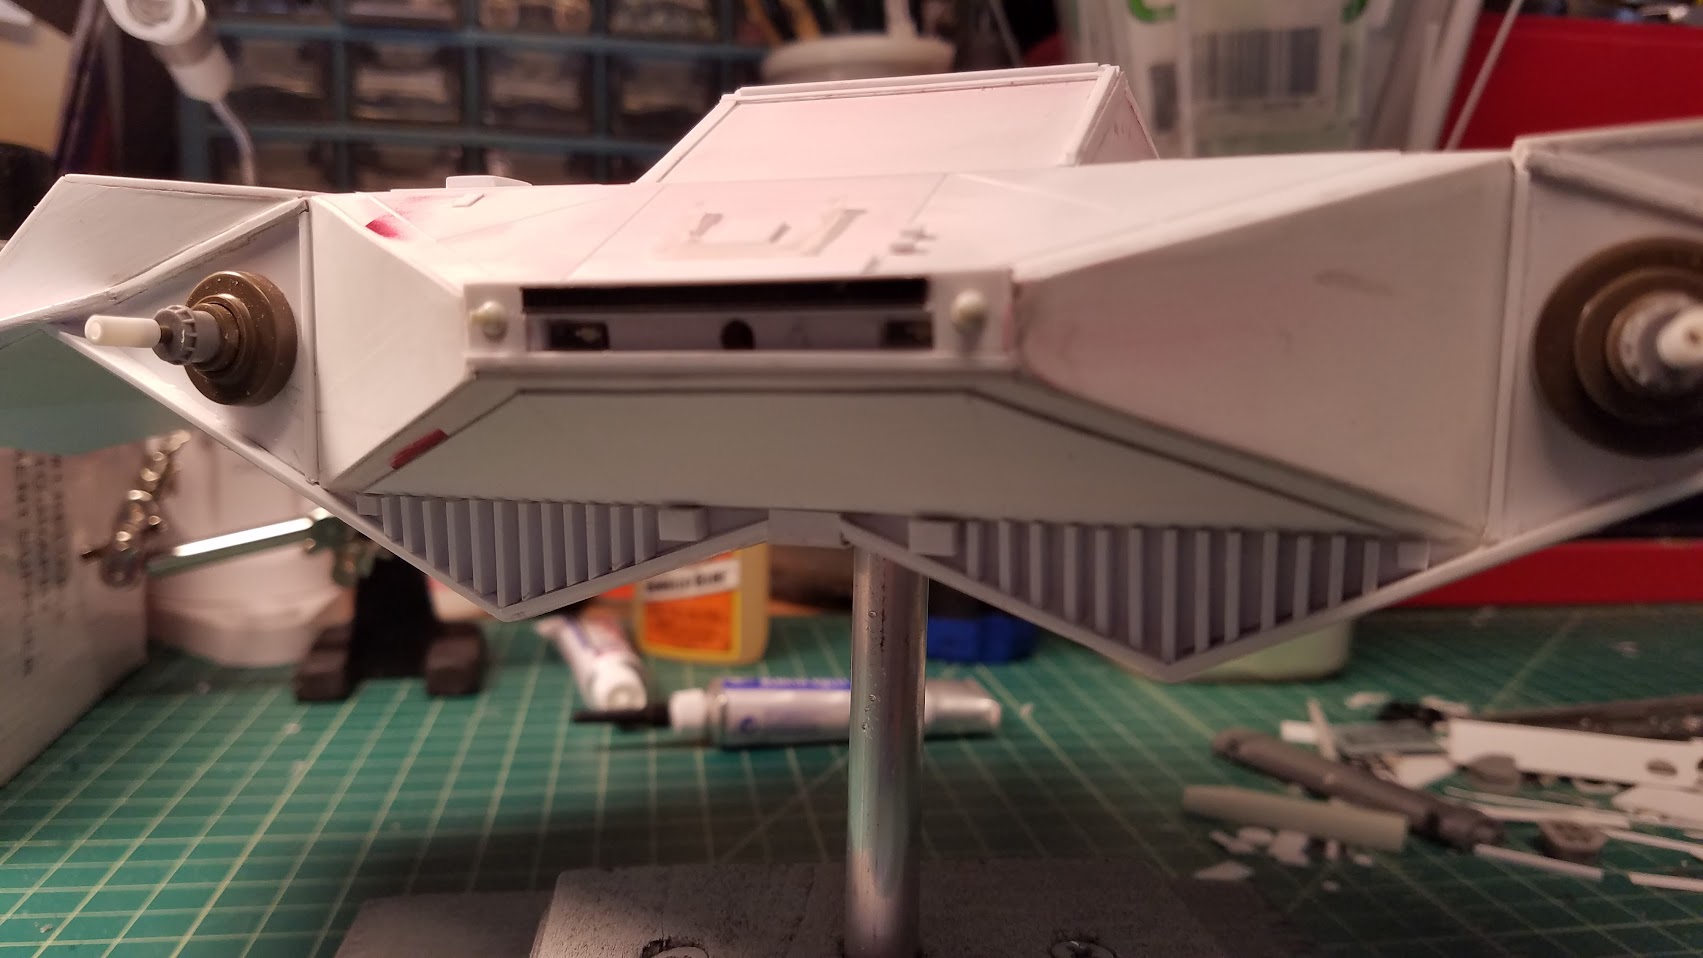
The nose of the ship is where the set screw is for the bottom mount. When you remove a piece of grill, you see the hole for it.

More details for the bottom. The bottom mount hole is covered by a piece of detail with a length of rod glued to it. The hatch for the on off switch also has a removable cover.

An area of detail that took a while, the grill.
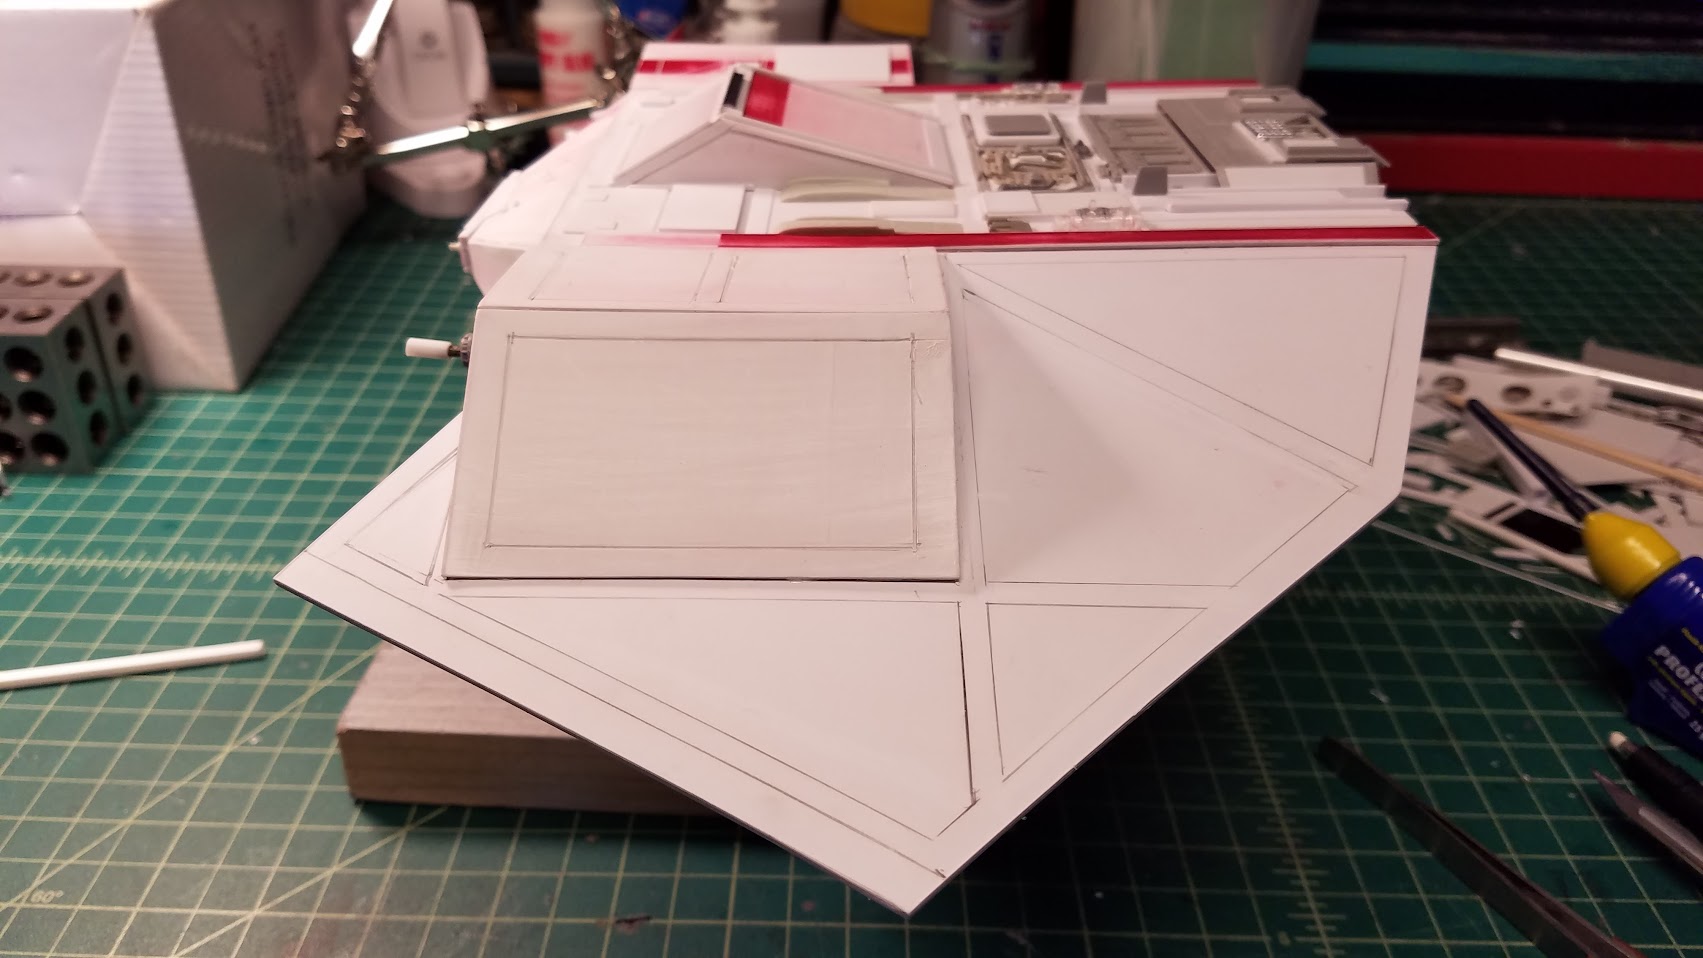
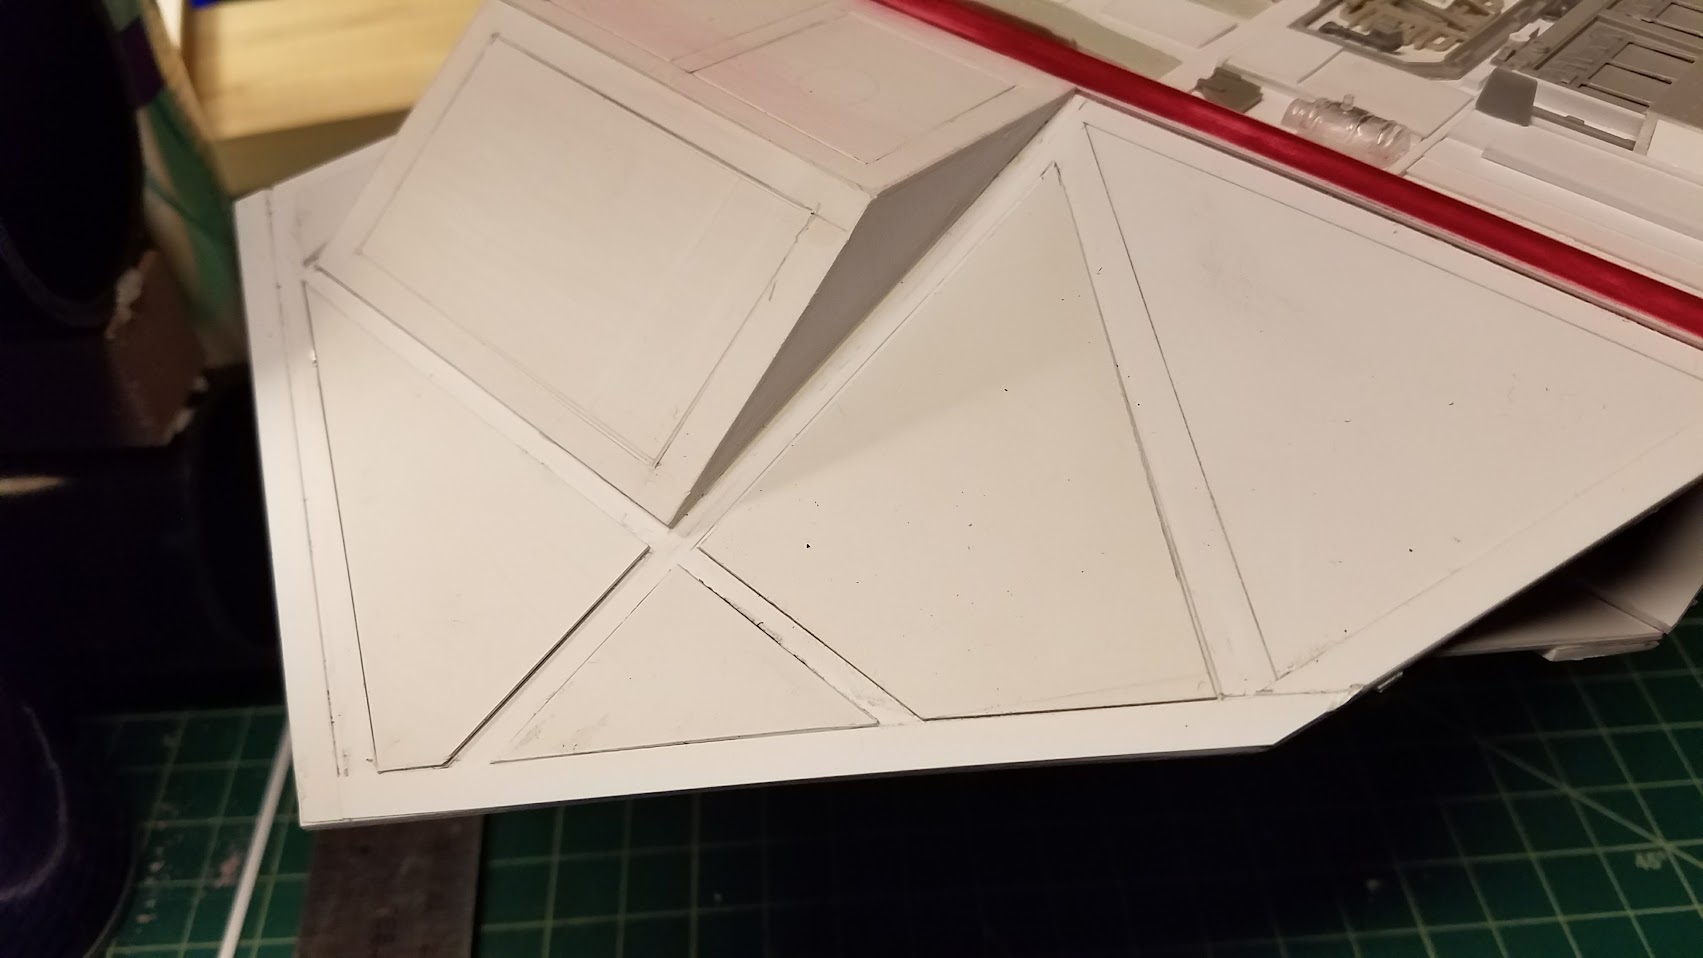
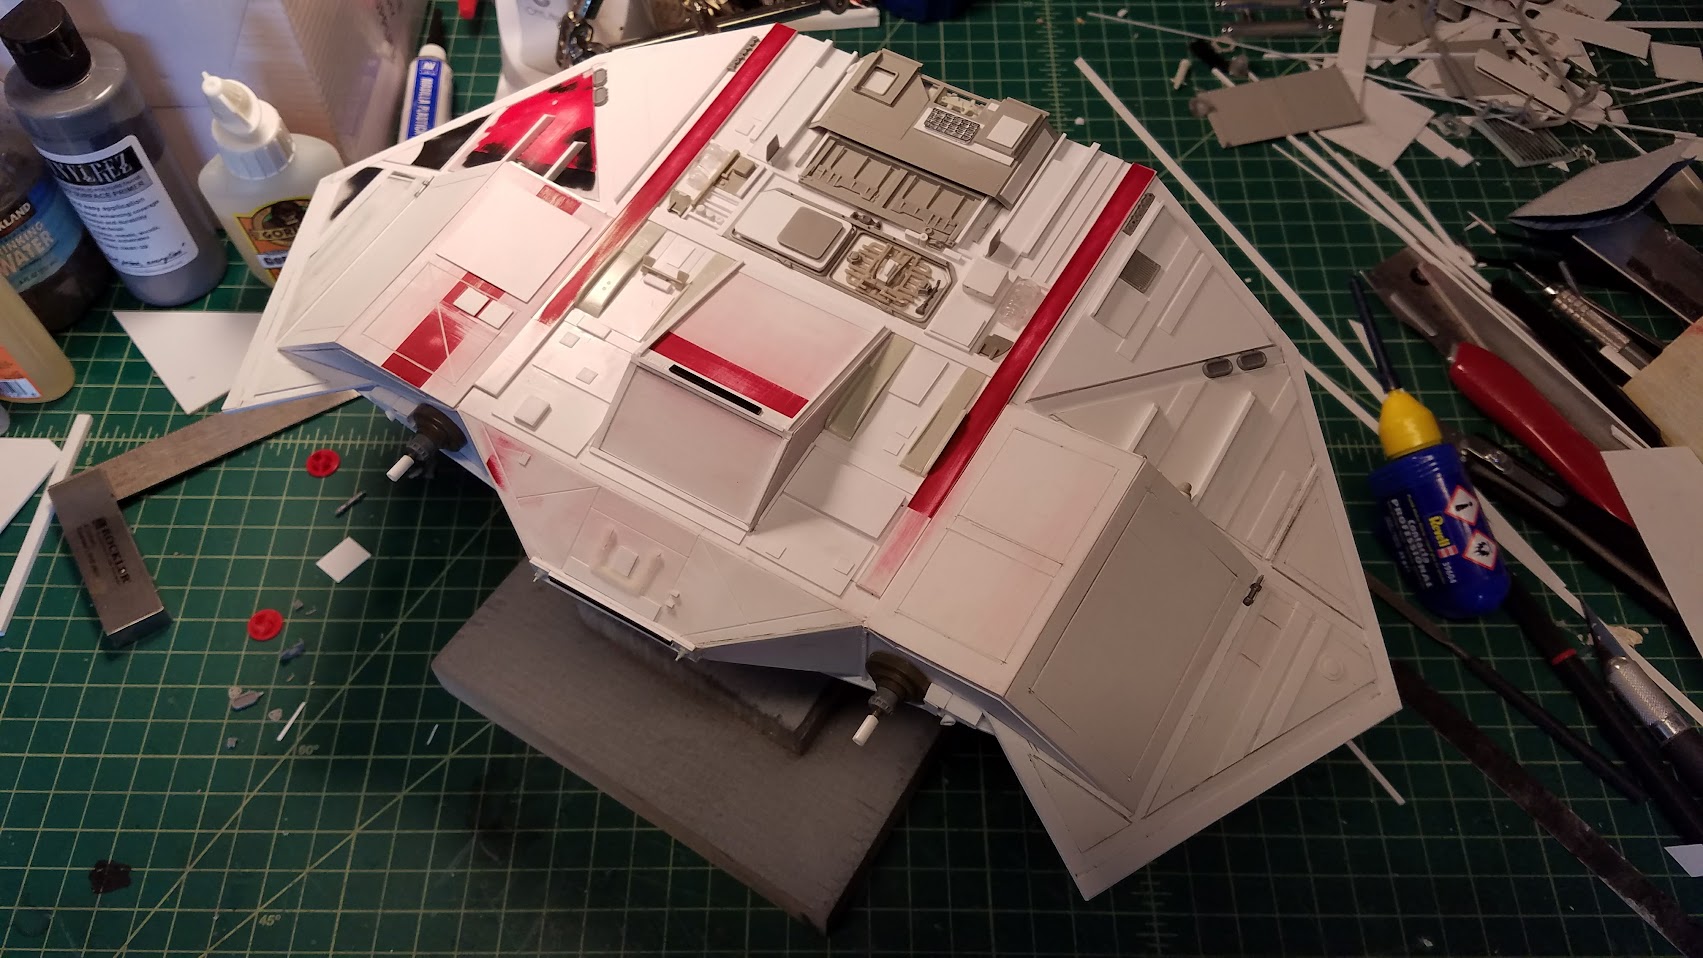
Mapping out the wing panels in pencil.
More details around the gun pods.

Wing panels cut out for both sides and glued down. This creates depth again but we don’t want too many layers because that ruins the scale.
Here’s the selected model greeblies and scratch built parts for the area behind the boxes on the wing.
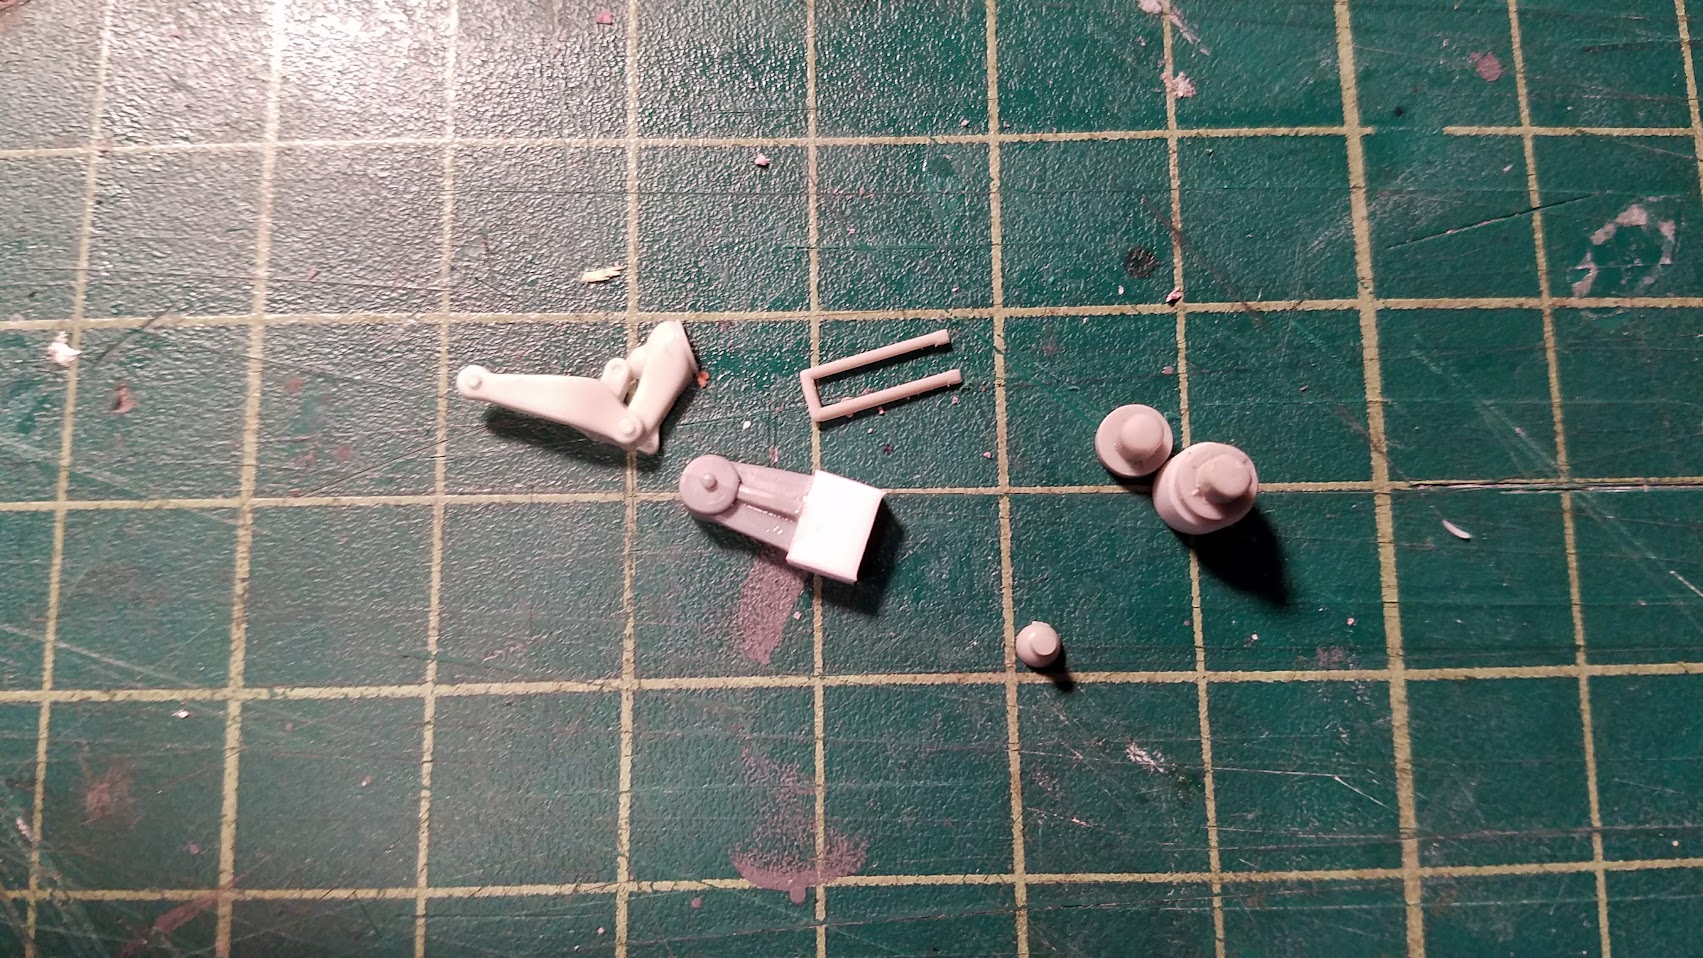
And here they are installed on the model.
Taking a step back to assess the overall detail level.
There was a hole between the engines that needed a plug – it was also a mount point. So I built another, maybe sublight engine and glued it to a mount rod.