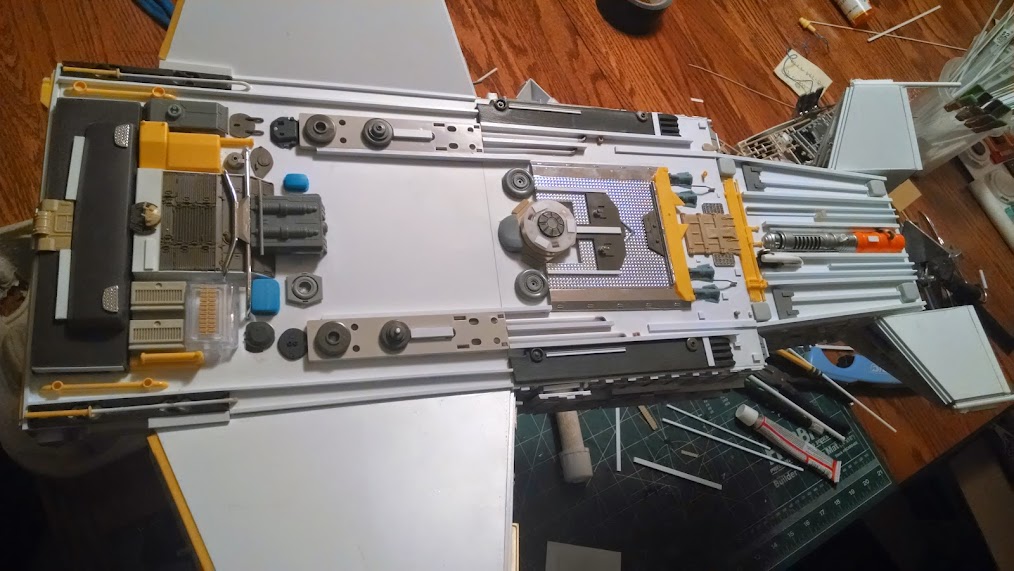
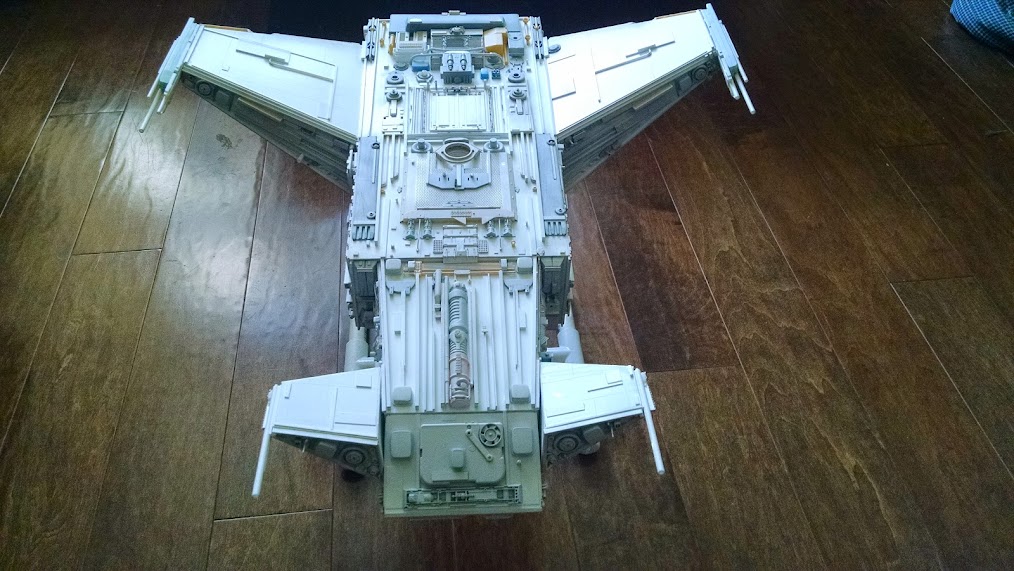
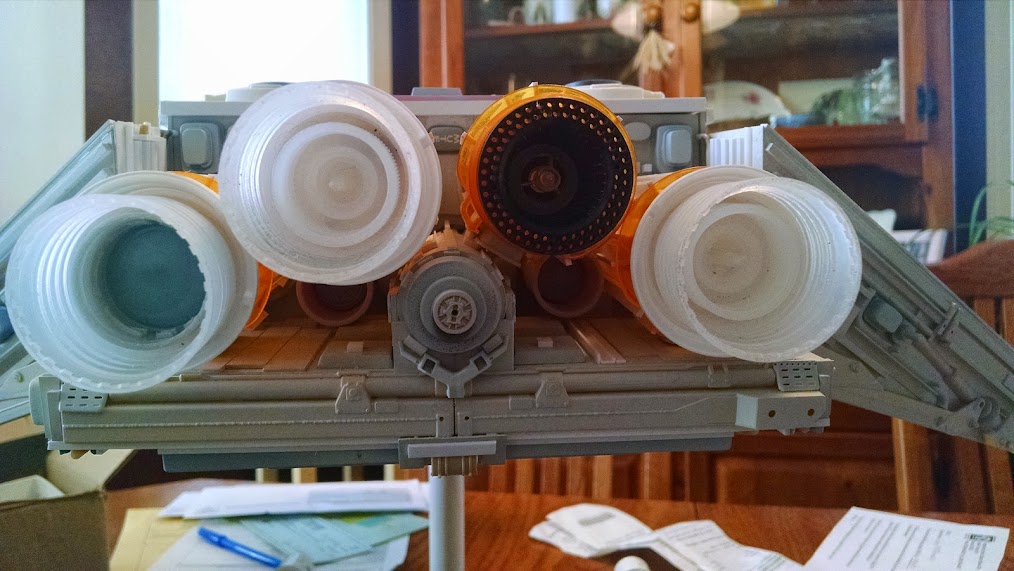
In this post I finish detailing the bottom of the model and begin prepping for painting. Below we see the major detail pieces in place for the main body of the model. The clear area to the right is where the flight deck will go. In this model, I have opted to show the normally open deck in the closed position.

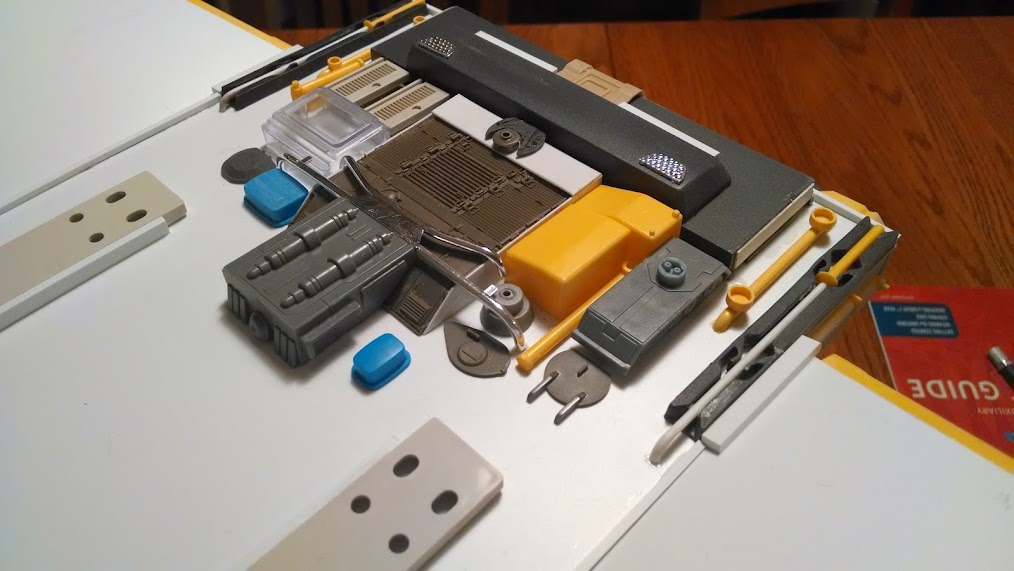
Below we see the larger pieces in place under the engines. Some of the details are from a tank and one of them is space bar from a computer keyboard. There are lots of pieces from computers on this model, especially on the bottom.
The bottom of the neck is mostly straight pieces of plastic

Here is an overall look at the whole bottom of the model. All the details are in place save the launch bay and the bottoms of the wings and canards.
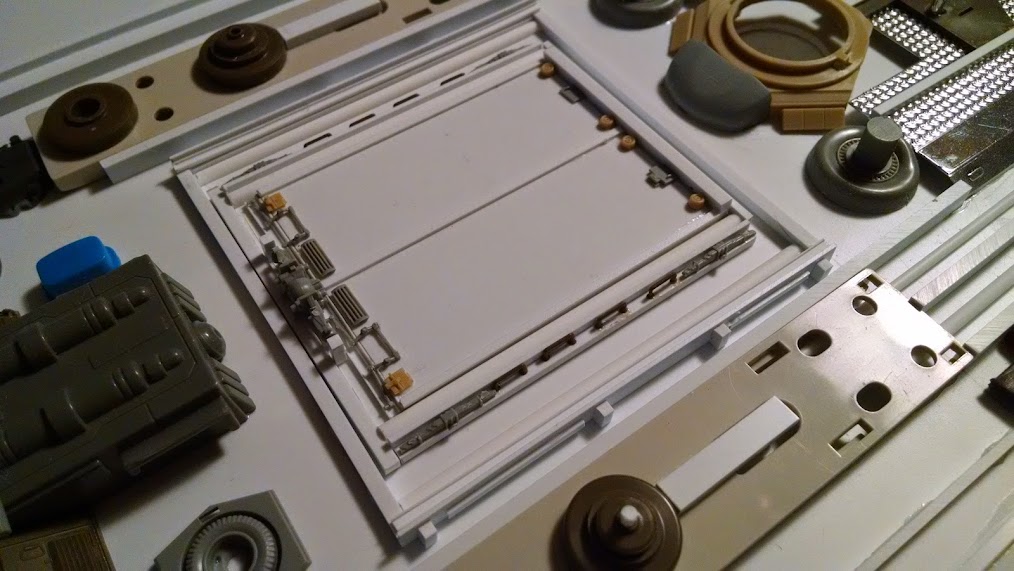
The bay area is now tackled using strips of plastic and lots of tiny details culled from tank models.
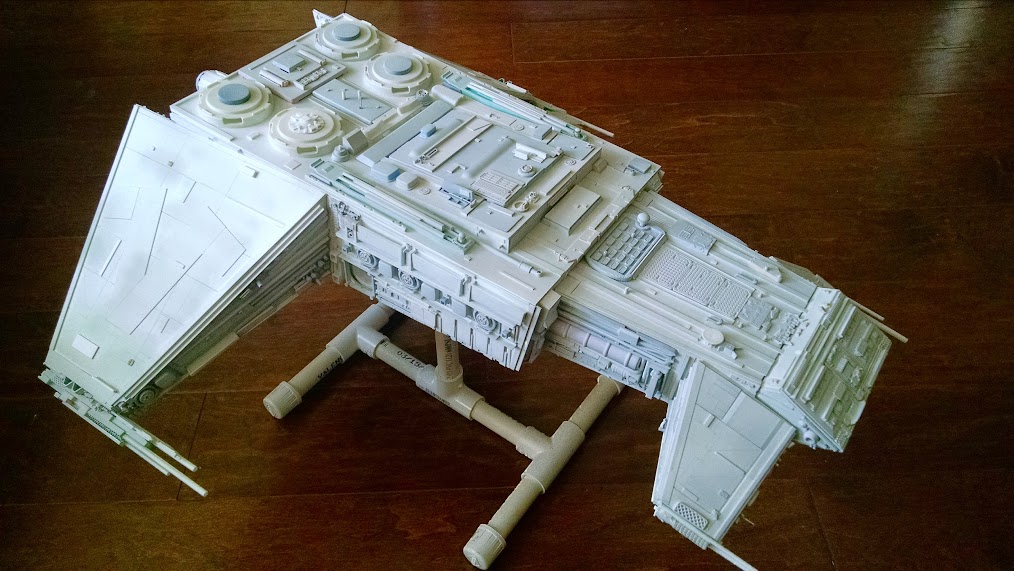
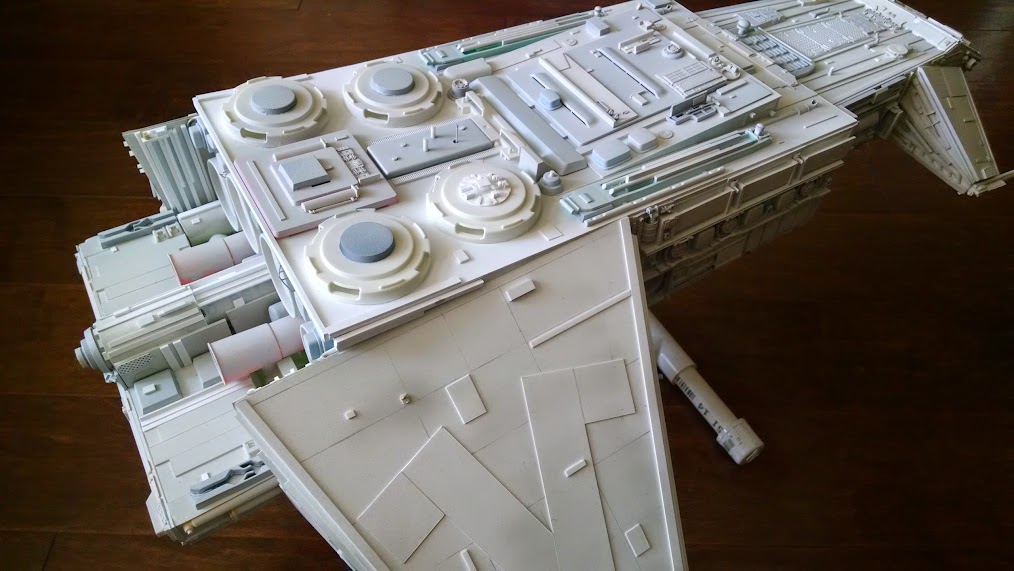
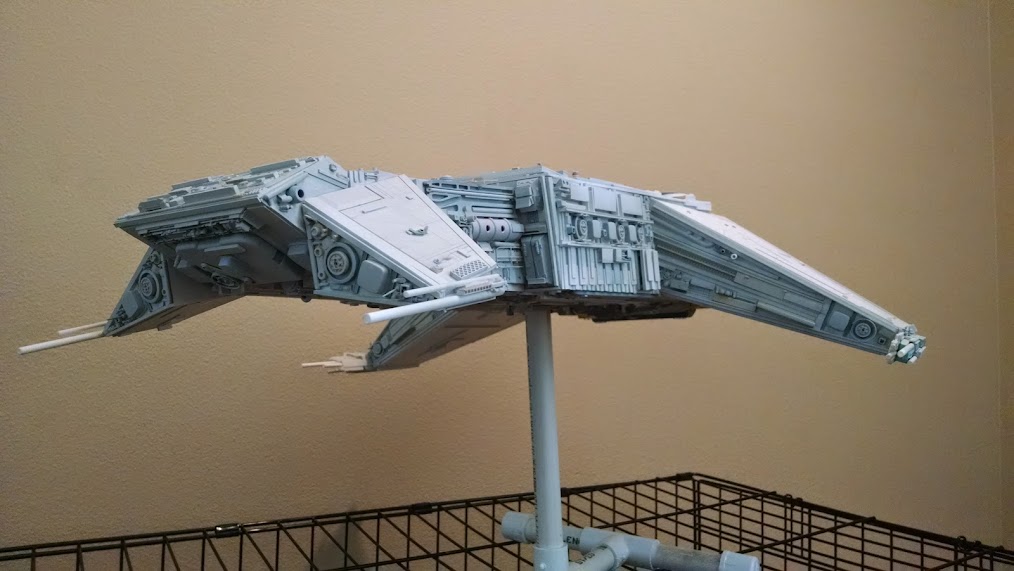
After completing the details on the bottom of the wings and canards, the model is given a light gray coat of paint so I can see if the details are working.
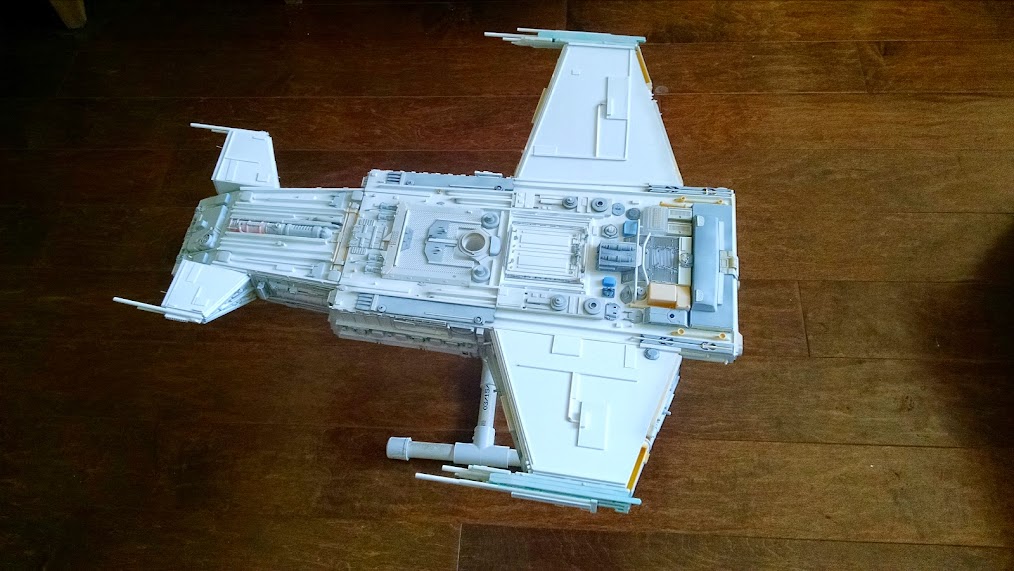
These images were taken against my wooden floors for greater contrast. The next primer coat will be flat black.
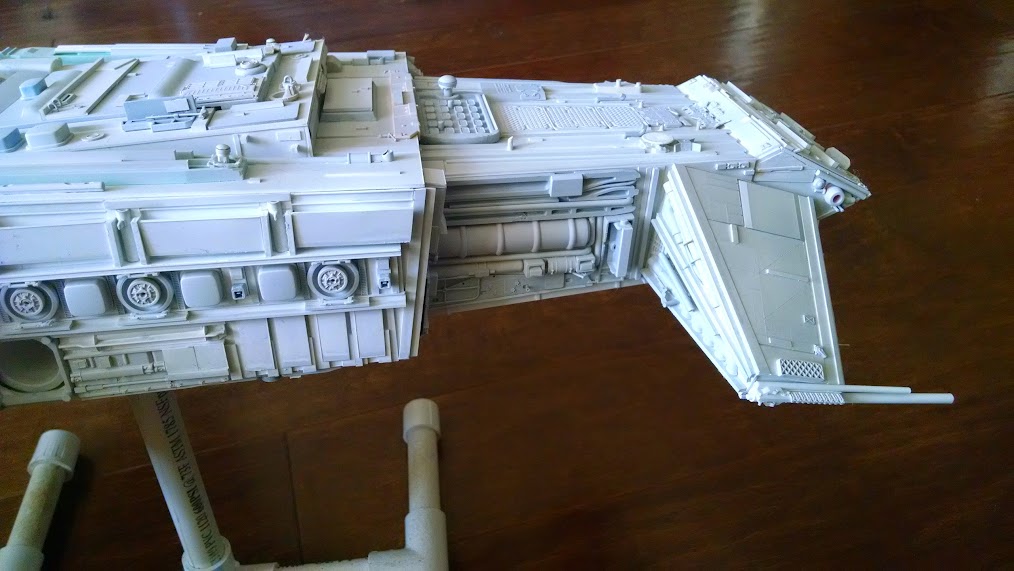
A look at the side of the model after all detailing is over.
More shots of the model with light gray primer.
Another area I took care to detail was the stern where the engines will go. You can see some of the new pieces as they are white.
One final pass in attack mode. I’m liking this angle for the ship.
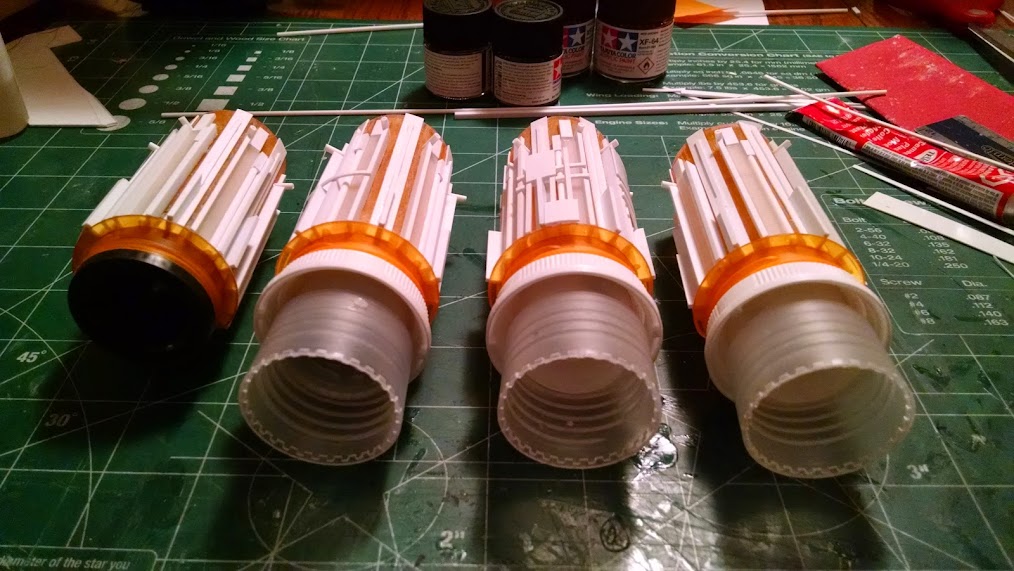
The engine area is airbrushed with flat black Tamiya paint.
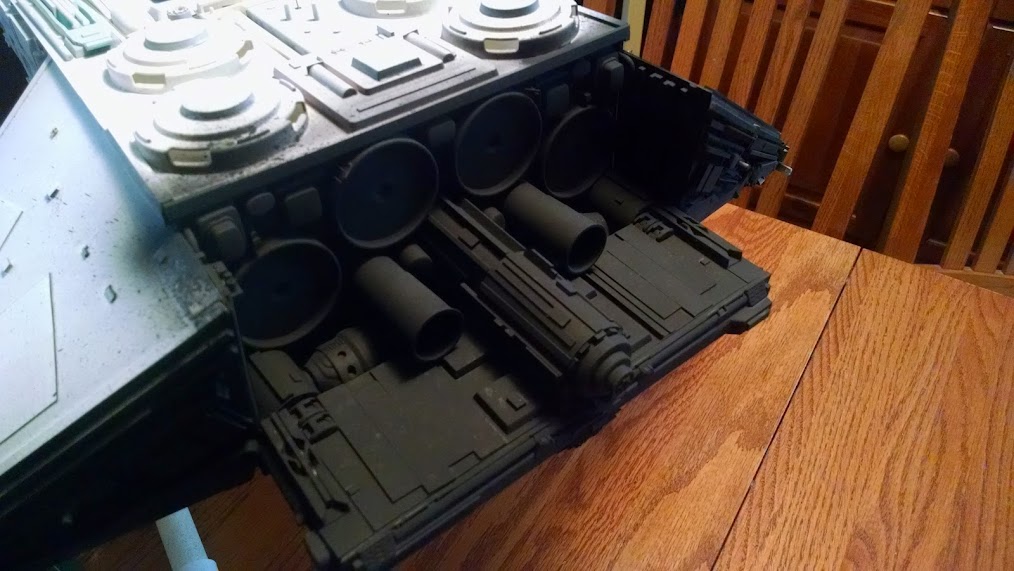
Then the painted engines are put in place to get an idea what they will look like.
The base coat of flat black on the engines really makes them look sinister. I used Tamiya XF-1 Flat Black on the engines.
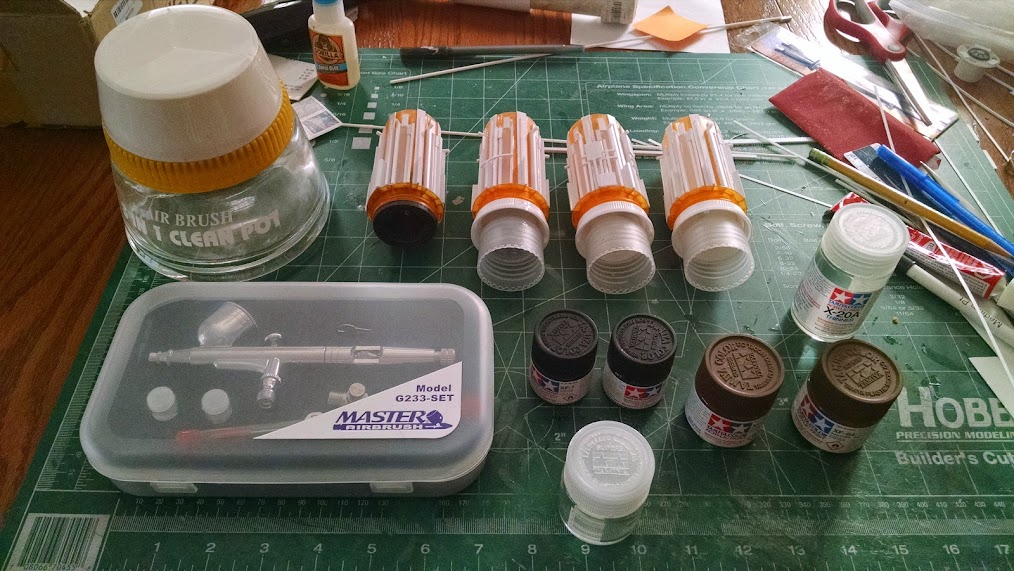
All the tools I need to paint finally arrived this week and this image shows them.
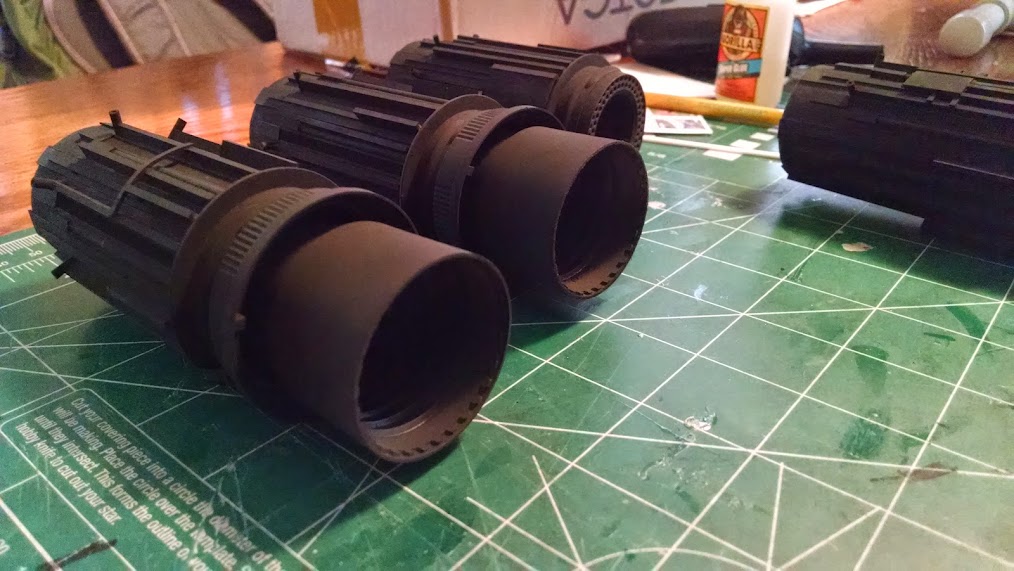
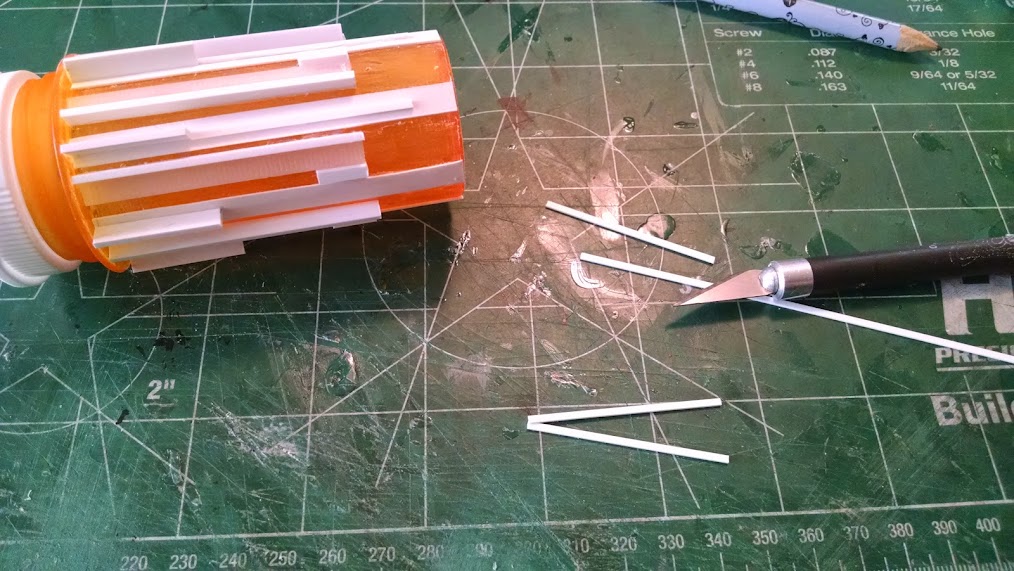
The engines are detailed further with plastic strips. The goal was to make it look like each engine had panels removed for maintenance during a long space voyage. So each engine is slightly different and one has the exhaust funnel removed.
Here is an engine getting some strip plastic detailing. The work is a bit tedious as it has to be done to all four engines.
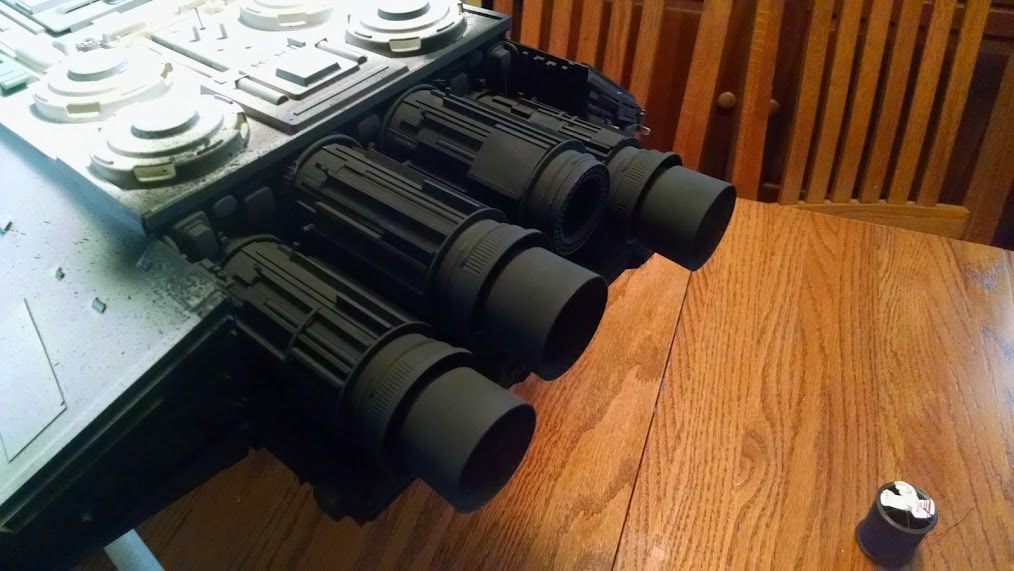
The engines are installed for a quick look to make sure we are on track.
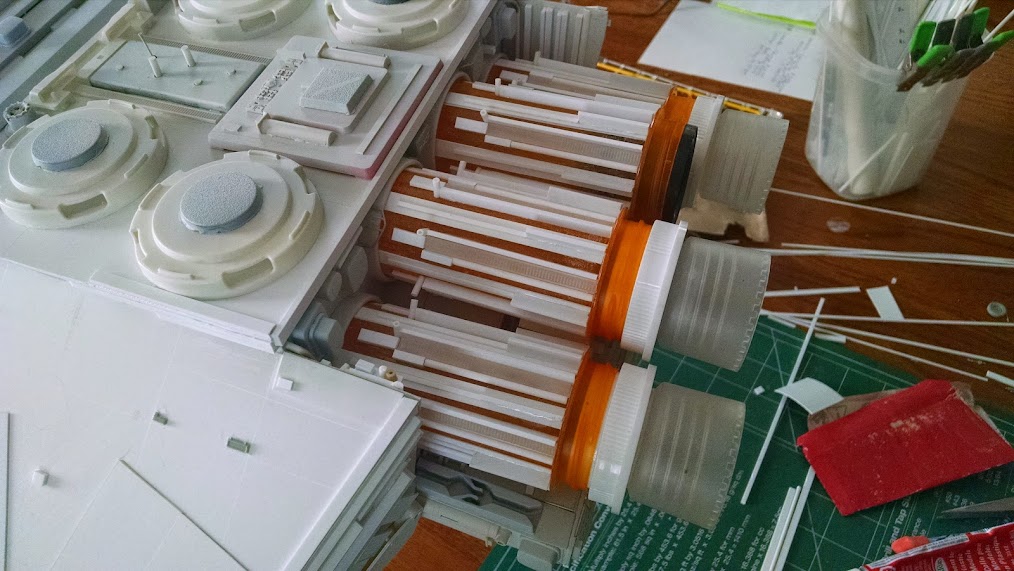
The engines are lined up to see if they still fit after the extra details are added.
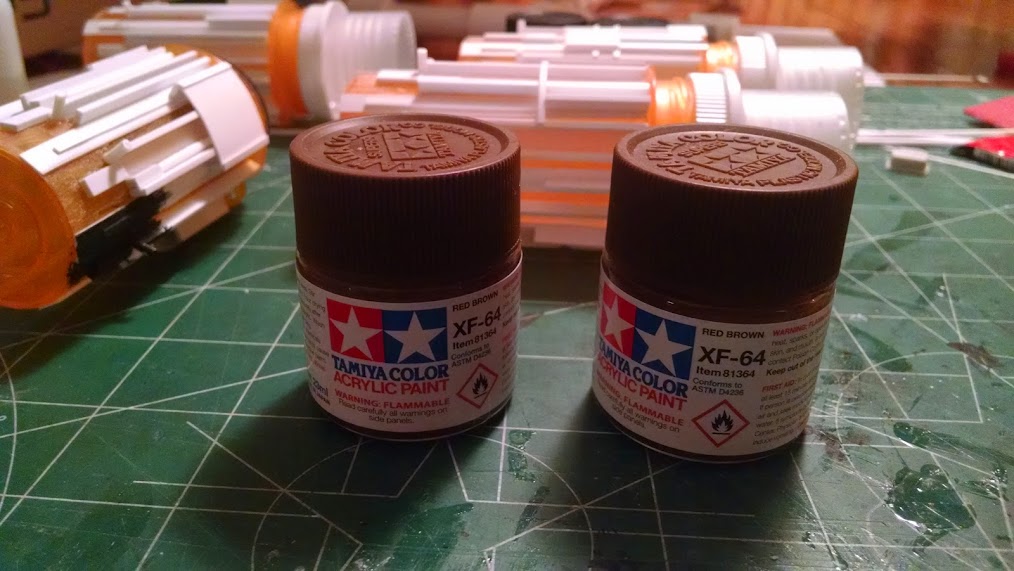
The final base color will be Tamiya XF-64 Red Brown. I may add some flat red to this to ensure more of a barn red color. We’ll have to wait until the final post to see how that went.
Pingback: Cockpit – Fangs Out
Awesome. A master of scratch building!!! Thanks a lot for sharing this teaching WIP
Wow……absolutely incredible! You are every bit as good with your models as you are with your writing. I see movie deals in the works very soon. I want to be a Silicant extra!