I have two older still camera lenses left over from my SLR days. I proudly used Olympus cameras and lenses back then. These days, I use a Canon DSLR principally because it has really awesome video capabilities for the money. But I only have one kit lens for the Canon 60D, an 18-135mm zoom. It’s perfect for taking pics of my son playing baseball or at a band concert but it’s not really set up for using as a film lens.
Never one to let things go to waste, I decided to convert my old Olympus primes into cinema lenses giving them new life and my Canon some great new glass. When it comes to making movies, I’m a really old school film guy. Which means I shot with 8mm, Super-8, 16mm and even 35mm film cameras back in the day. So I know a think or two about filmmaking in general and the camera department in particular.
Cinema lenses are basically the same glass as their still camera friends, they just have modifications that make them easier to use with movie cameras. There are four things that need to be changed or modified on a regular prime lens to make it useful for cinema work. Common mount, follow focus ring, declicked f-stop ring and a common filter adapter and lens cap size.
I first ordered an Olympus OM to Canon mount ring for each lens. You can just get the one adapter but then you have to have OM lens butt caps and Canon ones in your bag. If you make all your lenses have the same caps then you save some space and make things easier to find in a rush. Same thing goes for the talent facing side of the lens but we’ll get to that. So order up some Canon lens butt caps while your at it.
The next thing we need to do is de-click the iris. Most still lenses will make a clicking sound when you change the f-stop setting on them. This is not useful for film work because sometimes you need to change the iris on the fly during a shot. The sound recorder will pick up the clicking noise and it can ruin a take. So we open up the lens and remove the tiny ball, in Olympus lenses and then put it back together again. Now the f-stop ring works smoothly and won’t be heard by anyone. Here is a not so easy to see video describing how to de-click an OM lens.
Cinema camera kits all have a follow focus wheel on them to allow for steady, repeatable shifts in focus during a take. These follow focus devices have common gears on them that mesh with a gear on the lens barrel and allow for smooth focus pulling. Because my primes were so tiny, I decided to go with flexible rubber rings that are attached to the lens barrel with zip ties.
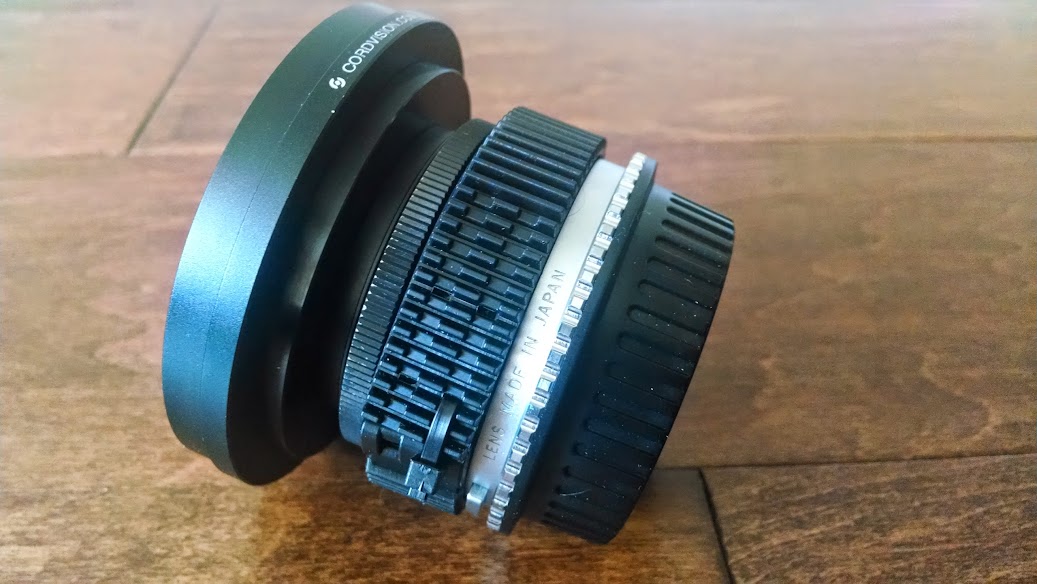
The gear fits over the normal focus knobby area of the lens and keeps the barrel nice and sleek so it can be slid back in your lens bag with ease. The one draw back with this approach is that the distance scale on the lens is covered up. I’ll be looking into ways to adjust the gear so that this scale can be still be read because that is required when you measure out the distance from your lens to the talent. If I didn’t have any prime lenses and was going to have to purchase some older glass, I might choose to go with Nikkor lenses as I think they might be easier to convert.
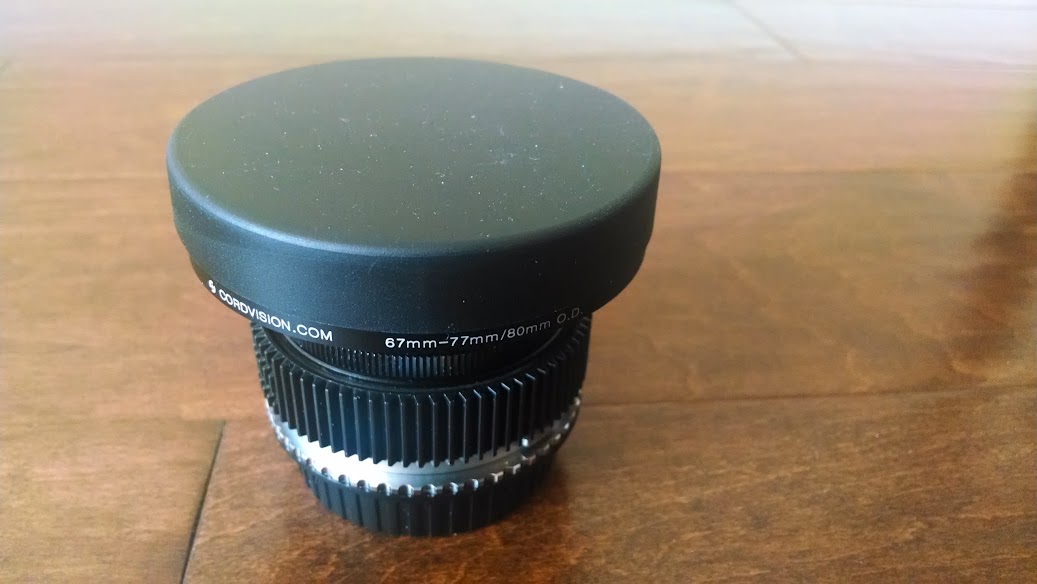
The next think you want to do is look at having a common screw in filter size for all your cine lenses. I went with the biggest diameter lens I had, the Canon zoom and it had a 67mm diameter filter. Later on I realized that what I really needed was perhaps an 80mm common filter adapter. The reason for that is because the matte box that I’m hoping to get has a clamp that works with 80mm instead of using rods. So both of my primes have 67mm filter adapters for my ND filters of that diameter and then another adapter to get them out to 80mm for the Genus Tech Matte Box Lite kit.
I followed Caleb Pike’s lead and went with some cheap binocular covers in the 80mm size. I have five of them, enough for all of my lenses and a spare. Because lens caps grow legs and disappear.
Parts list:
1 Cordvision 67-80mm adapter ring
1 49mm to 67mm adapter ring
1 Canon Rear Lens Cap
1 OM to Canon EOS lens adapter ring
1 Wide Open lens gear with zip ties
1 Cheap rubber slip on lens cap from binoculars.
Do it yourself de-clicking or get someone to do it for you.
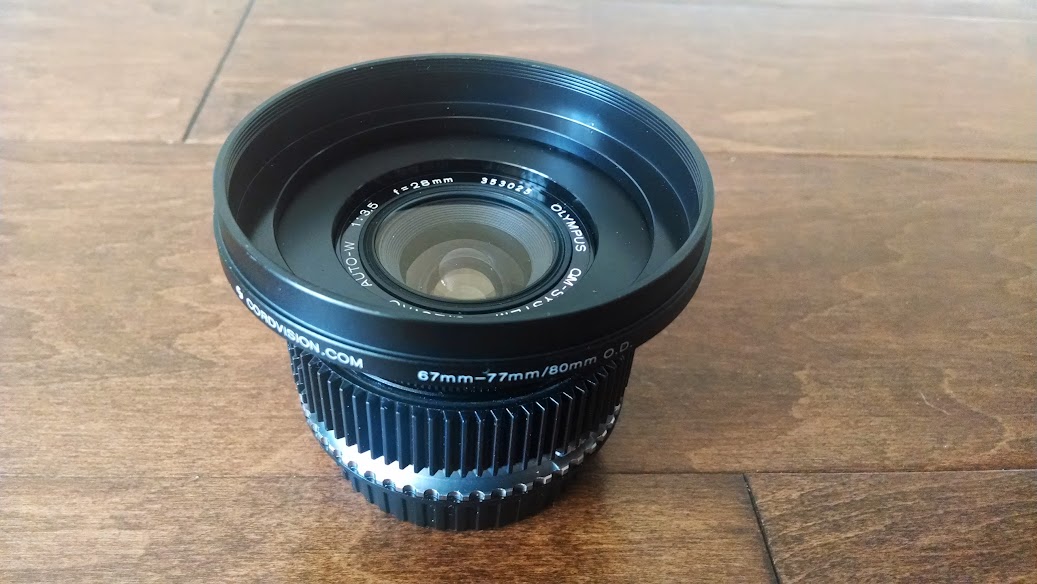
In the future I will get either 80mm filters or just use the matte box filter. I have no UV lens on the 28mm lens seen in the pictures so if you don’t have one, pick one of those up because accidents happen.


Good suggestion, Bill.
Nice write-up on prepping your lenses. One suggestion I’d make is not to get the UV filter at the larger size, but rather at the size necessary for that particular lens, for example for the 28mm lens. The reason being that, as you say, they are pretty much sacrificial in nature, intended to protect the more expensive glass of the lens proper. The larger the UV filter, the higher the cost. Also, most UV filters, at least the ones I use, are threaded as well so you can still mount your adapters even with the UV filter in place.
Just something to think about.