Sometimes when you build a really cool model in one scale, you start to look around at your collection of junk and realize that you could probably make this model in another scale. You only need this or that greebly to make it happen.
This is what happened to me on the large scale KIV-3. I realized that I could make a dual fuselage version of the KIV-3 pretty easily. So I did. It was only later on that I realized that I might have a use for it on a book cover. Halfway through this build I began to add the mount that I would need to photograph the model with.
The scale of this particular model is about 1/48th inches.
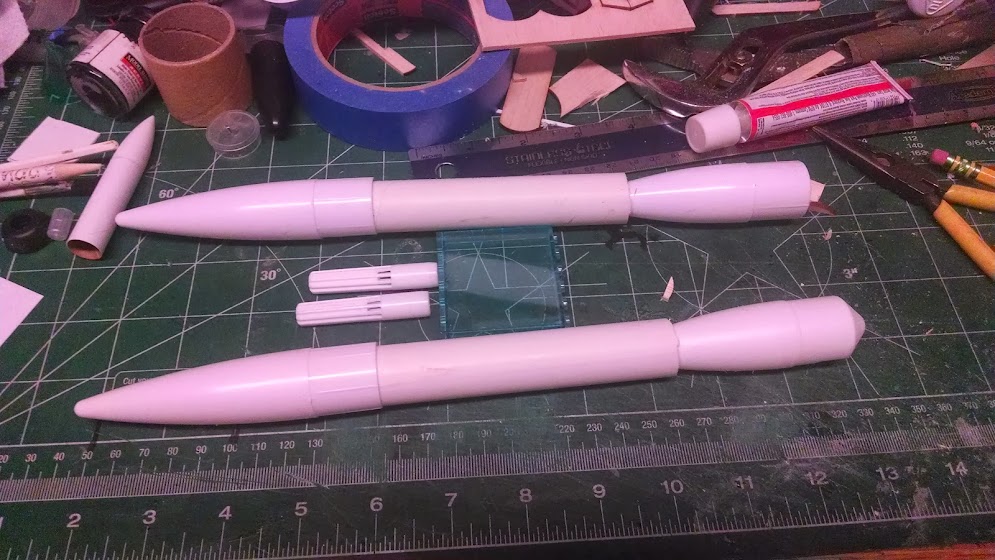
I started with two nose cones from model rockets. Actually four nose cones. Two were later modified into the exhaust funnels. Above we have the fuselages mocked up using PVC pipe.
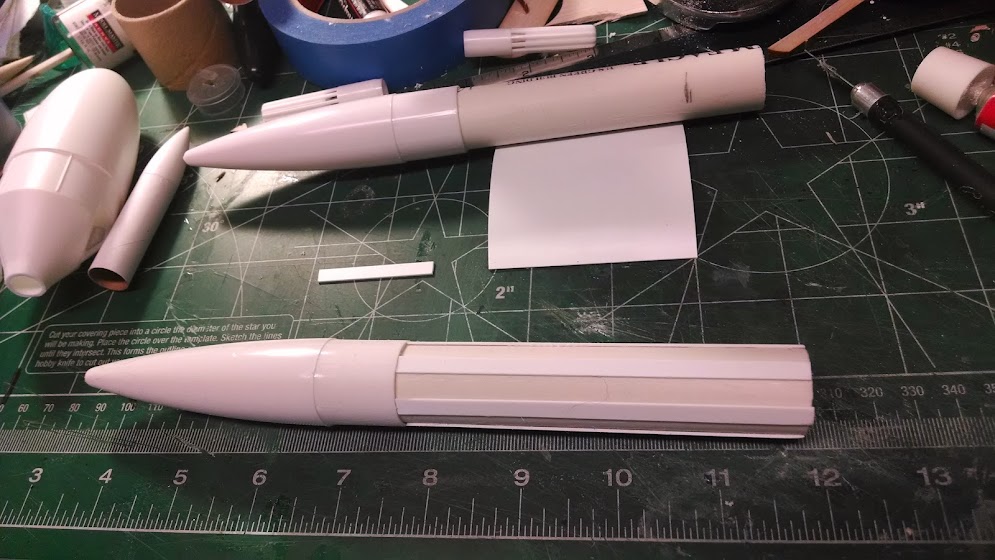
I needed to make the fuselages thicker so I decided to use strips of plastic and then wrap them in thin sheets of plastic. In retrospect, that was probably not such a good idea.
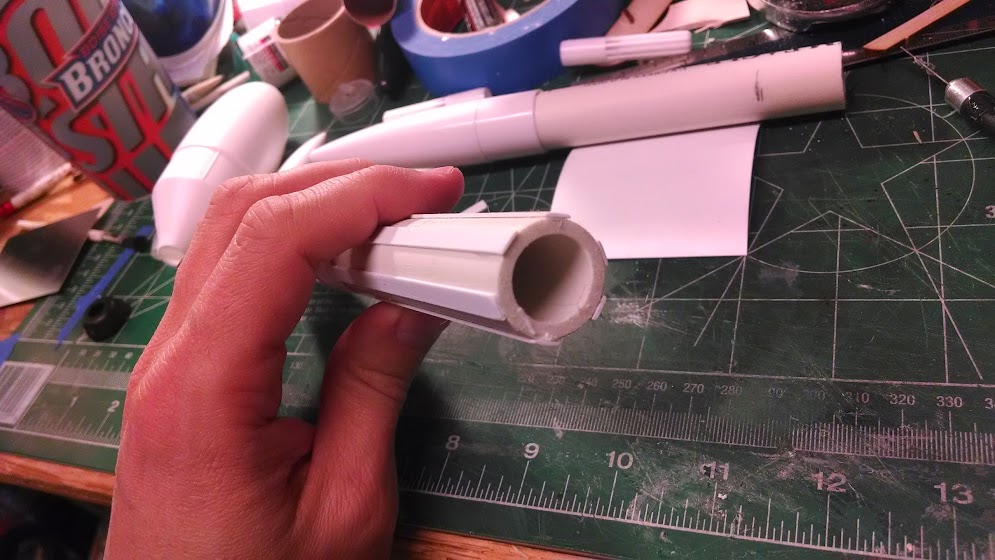
Here’s a close up of the PVC covered in strips of plastic.
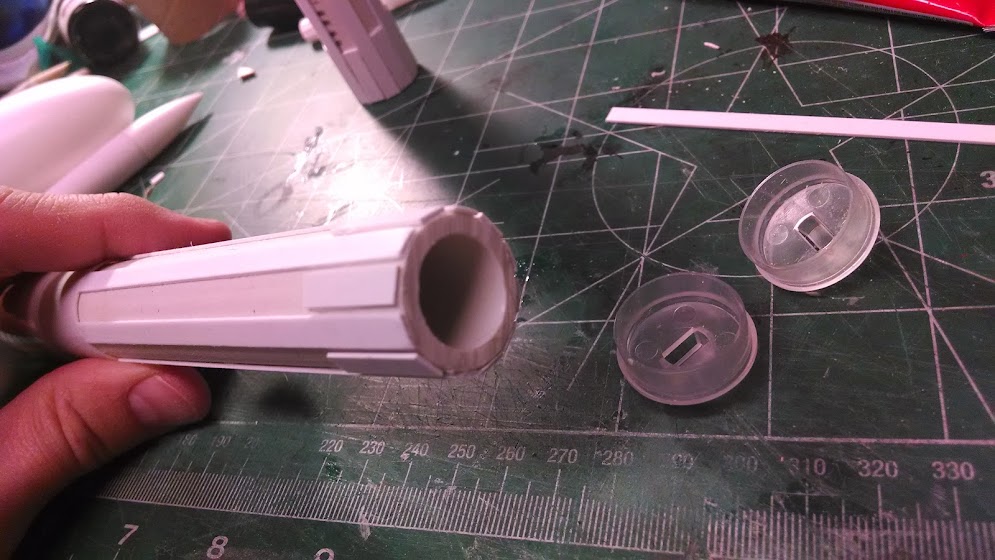
I used the rocket nose cone caps as adapter pieces from the fuselage to the engine funnels. They are the clear pieces you see in this image.

With the funnels cut and installed behind the adapter rings, we are starting to look like a real KIV-3.
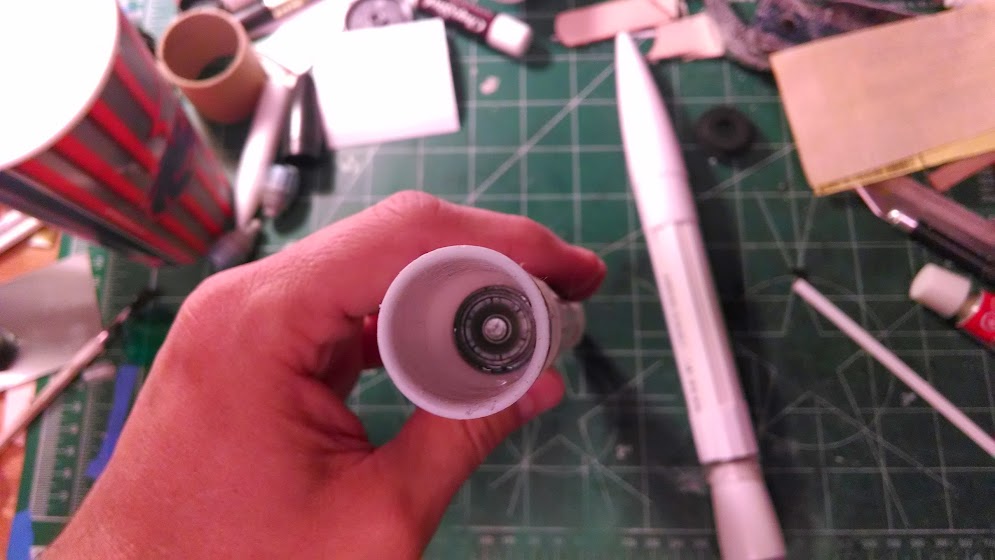
I used tank wheels inside the funnel to simulate engine exhaust.
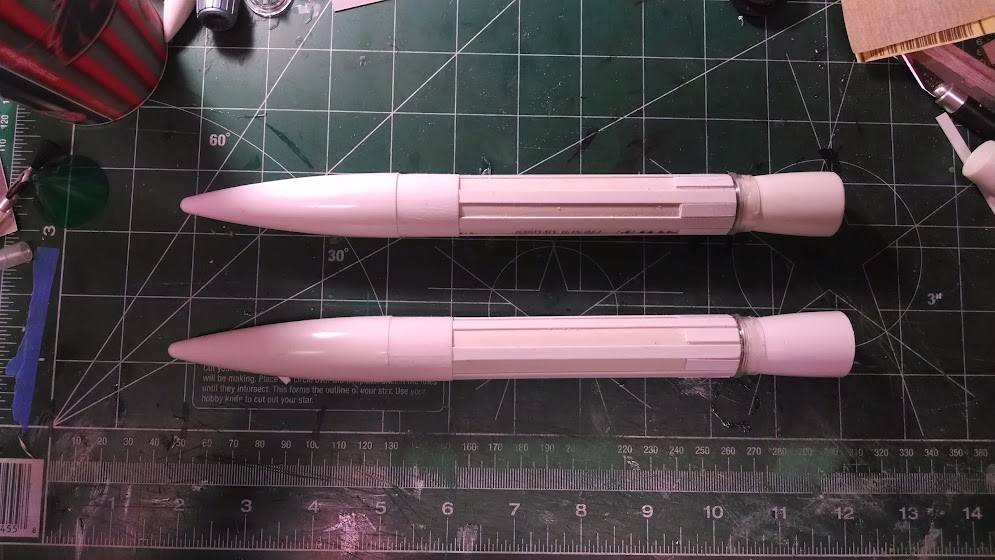
Here are my two fuselages with strips applied.
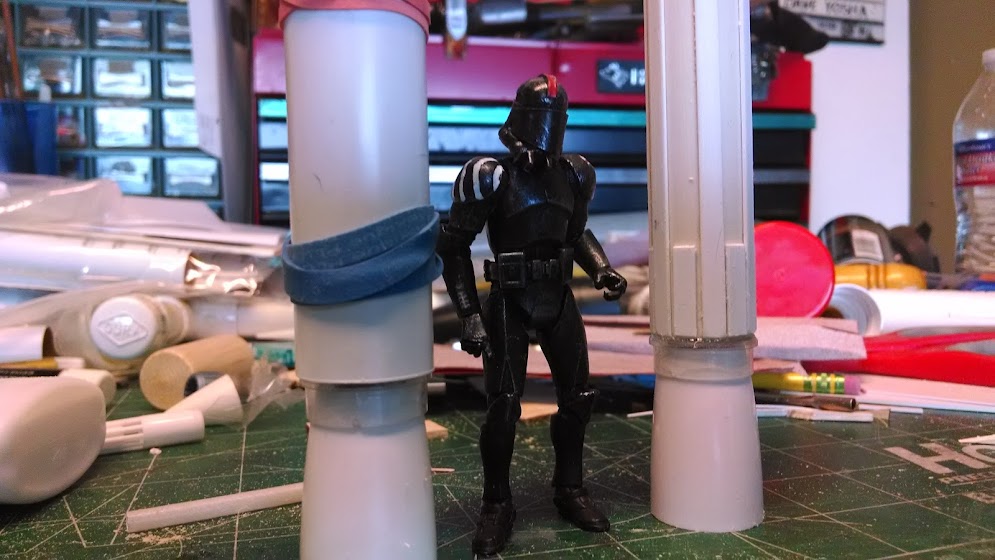
This is Kron my KIV-3 pilot, helping with construction. I have wrapped plastic around the first fuselage.
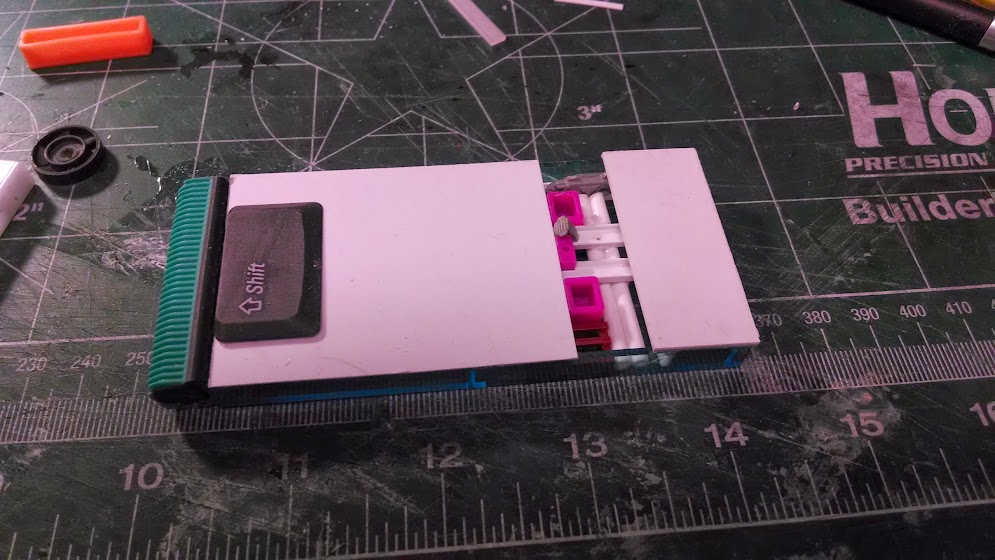
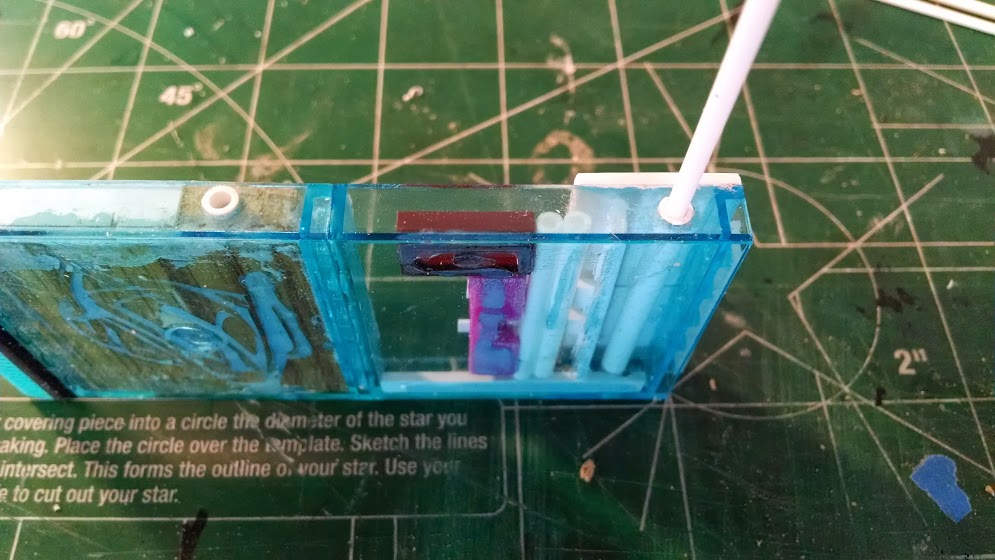
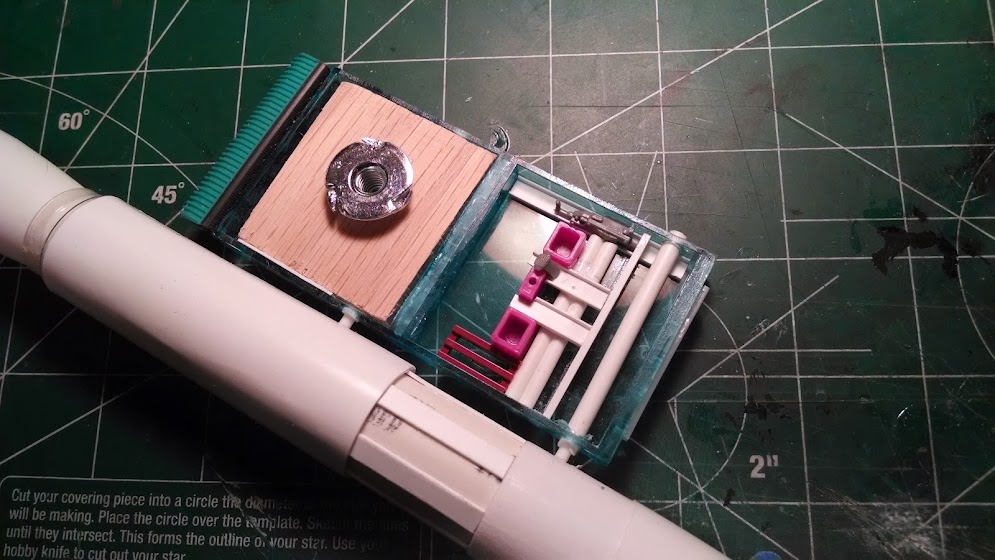
The center section of the KIV-3 dual is made from a piece of scrap plastic. here is the bottom of it already covered in greeblys and plastic.

Then I decided this is where a mount point would go. So I cut some wood to fit and inserted a 1/4 20 inch threaded hole.
Now on to drilling holes for the fuselage mounts. I had to buy some new drill bits for this, not a bad thing as drill bits are always needed in the garage for other projects.
This image shows one of the fuselage’s with pins on it for inserting into the center section. This pin and hole construct is common for model builders everywhere.
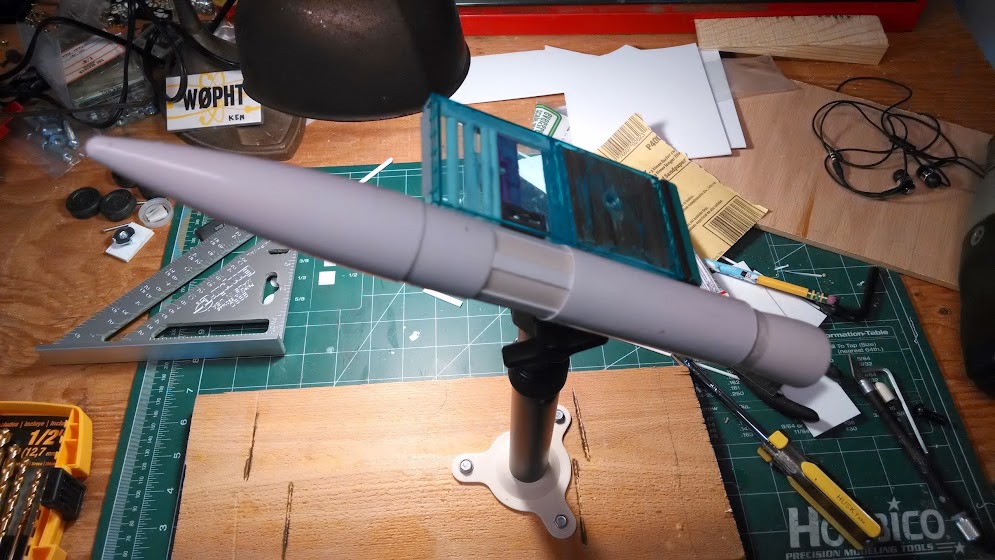
Here’s the model up on the new mount system that arrived in the mail. I use a PanaVise 883-T camera mount for this scale of model. I just screw it to a board and now I have a great, adjustable mount.
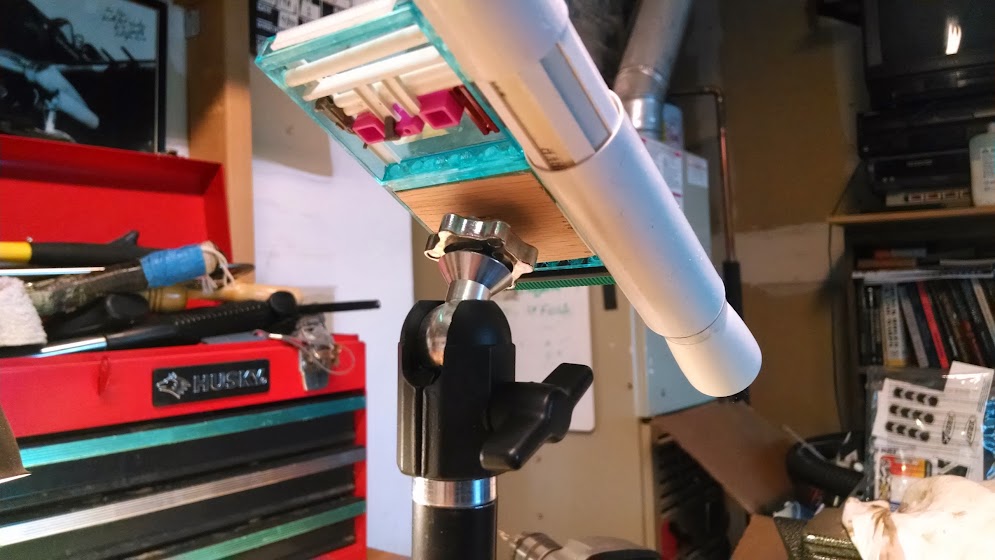
Here is a view underneath. The camera head is adjustable so I can move the model around as needed. That’s all for part one, stay tuned to this site for part 2 as it happens.
If you look closely at that first image, you’ll note that the nose cone is actually thicker than the PVC. So I was trying to make the whole fuselage the same even thickness. Yes, the PanaVise head can be unscrewed and used on a tripod. Very useful.
I’ll bite. Why did you have to make the fuselages thicker?
At first I thought it had something to do with the thickness, but that PVC is plenty thick, so I’m guessing it’s a scale issue and you want them larger diameter?
That PanaVise looks pretty nice. It also looks as if the head could be removed and mounted on a tripod? If so, that could be really useful.