The build continues, this time focusing on the engine intake areas. Lots of putty, and sanding occurred.
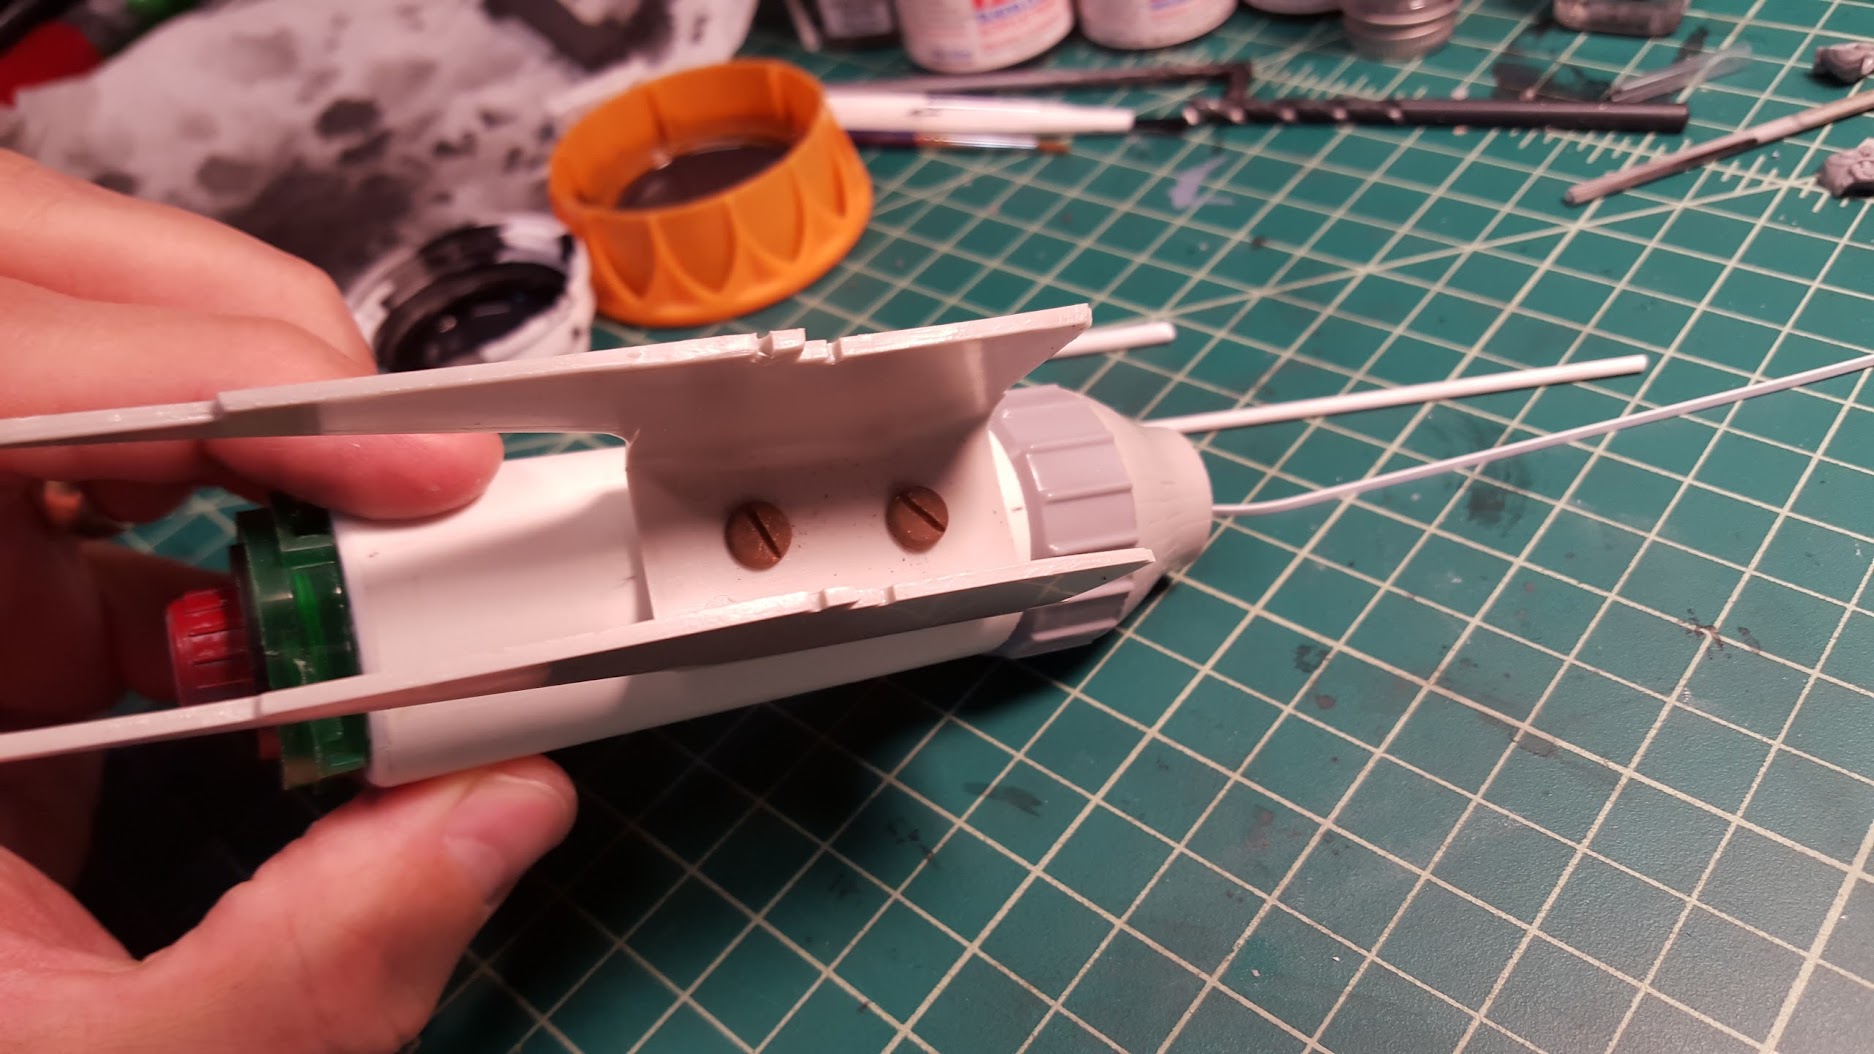
Sometimes you go old school and just screw it together.
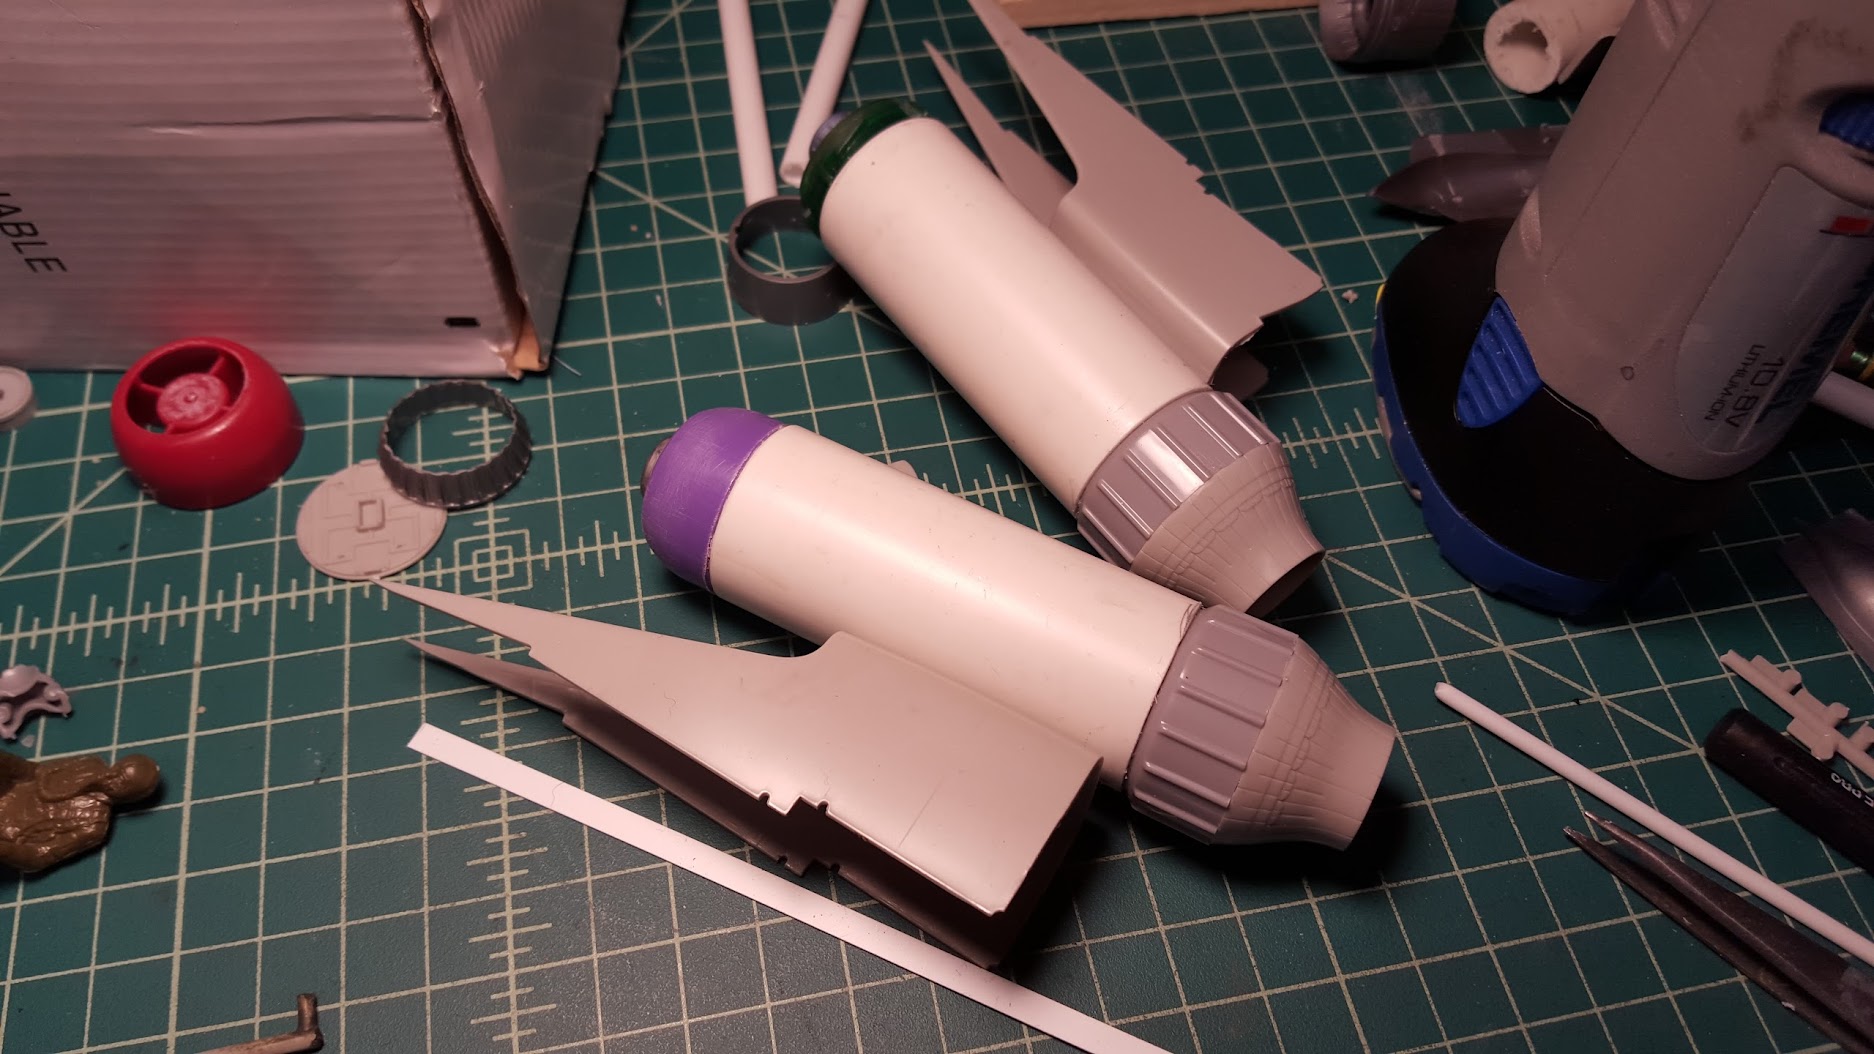
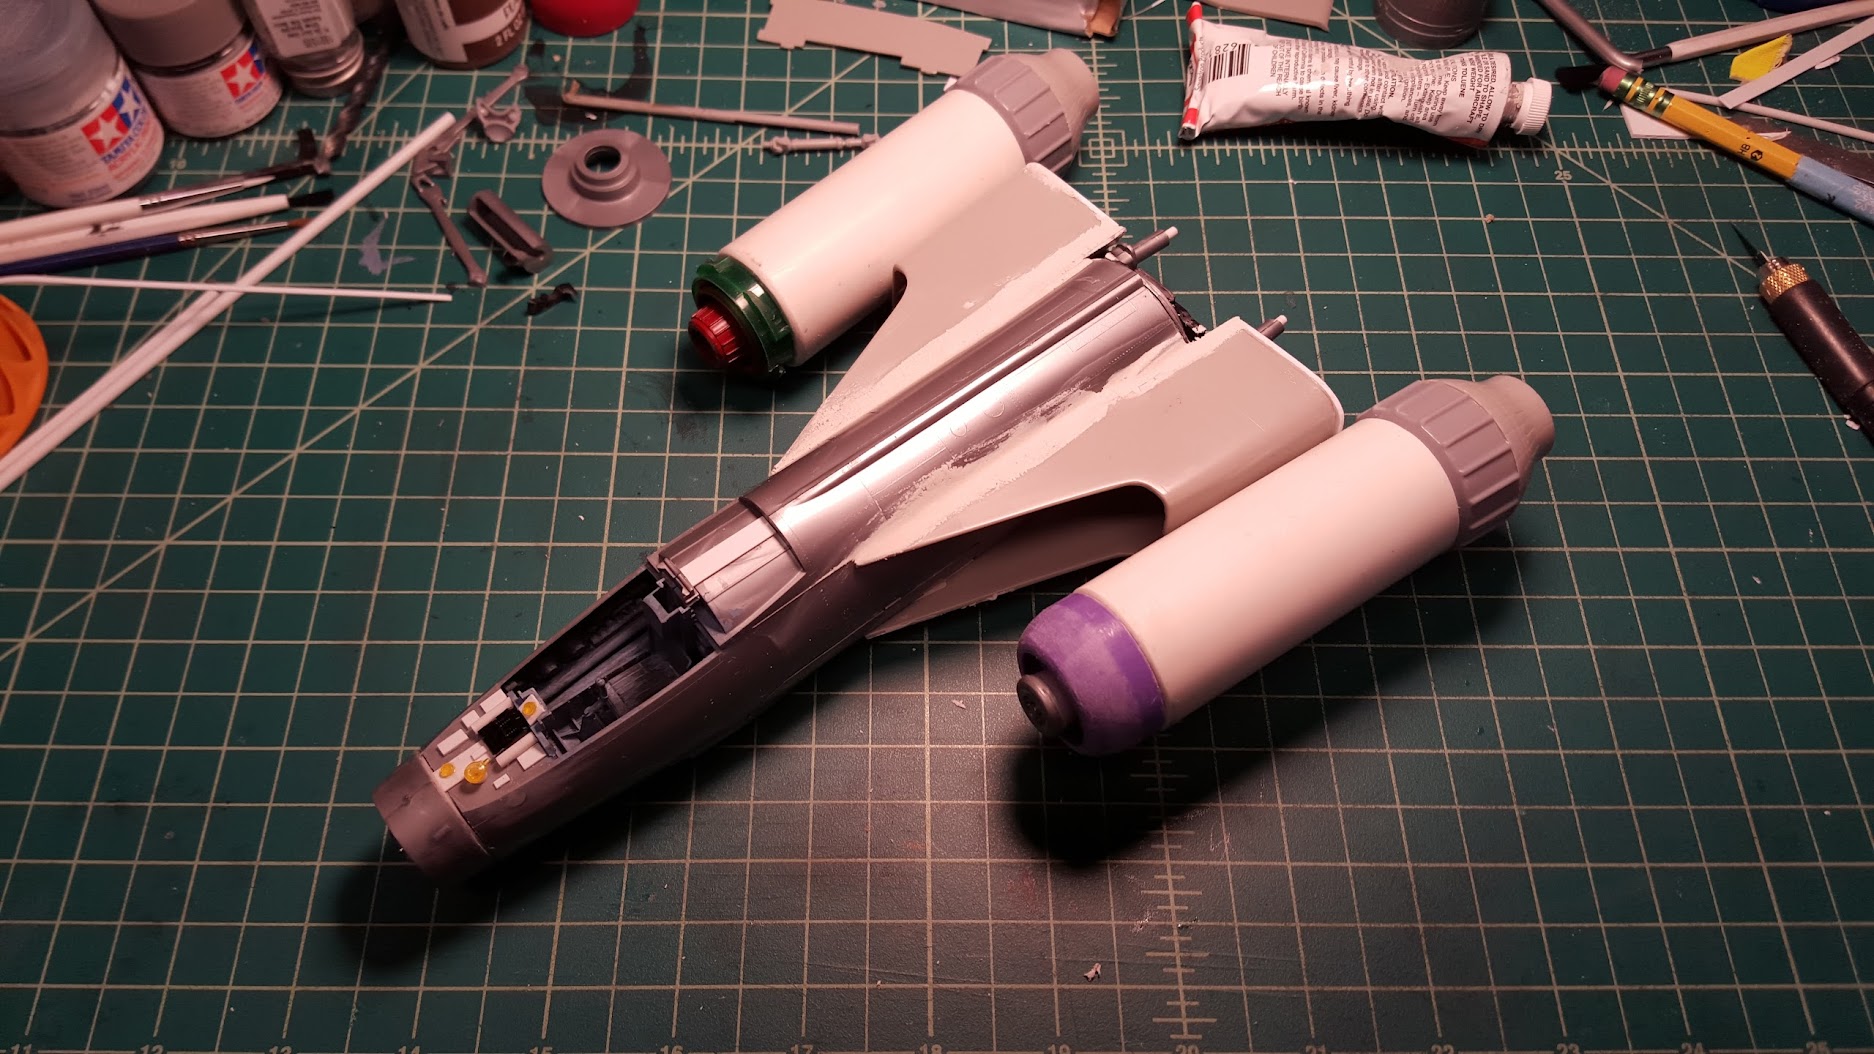
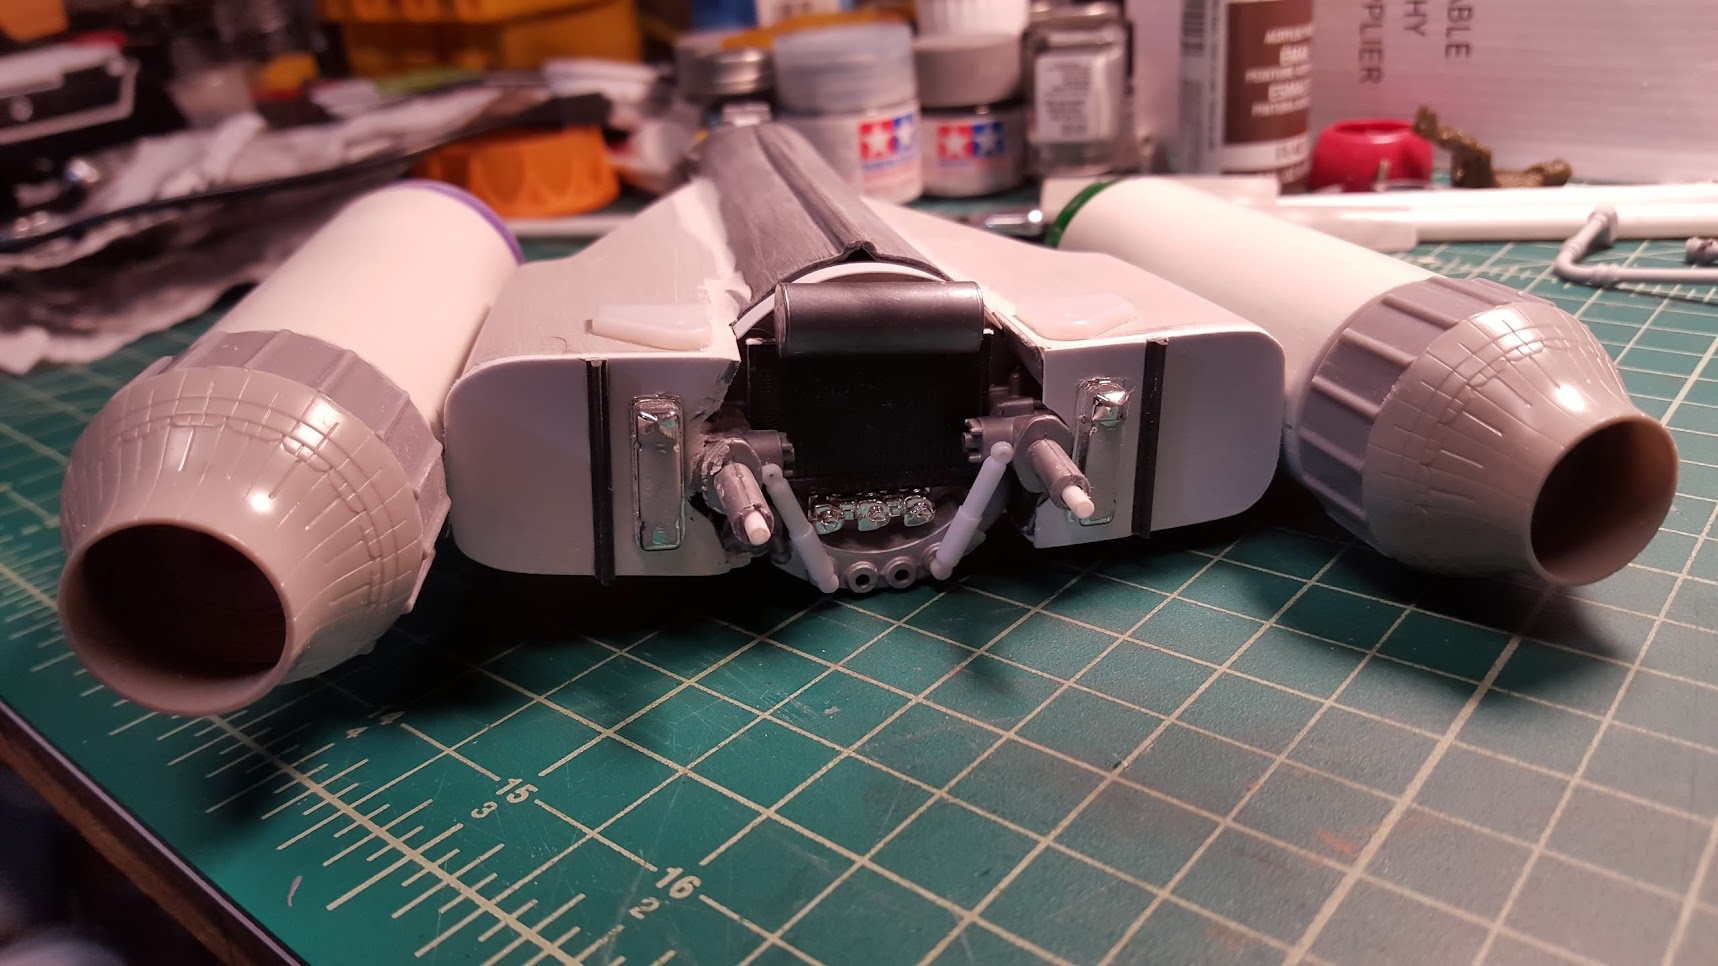
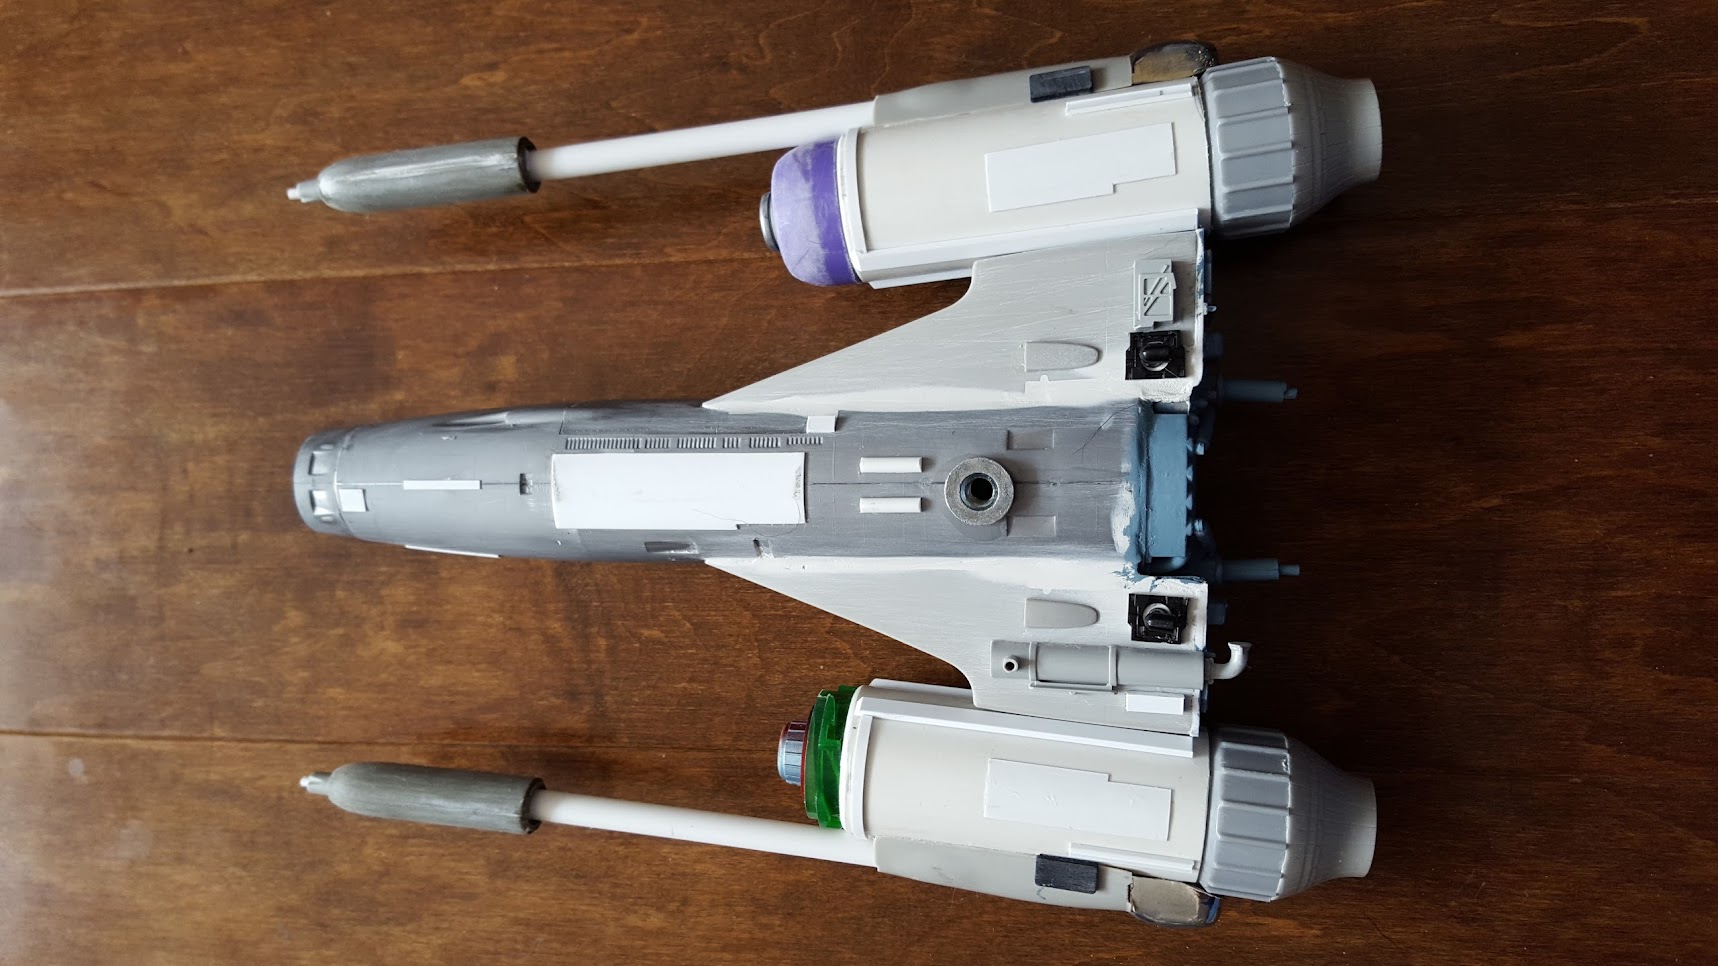
Test fitting the engine nacelles and intakes to the fuselage.
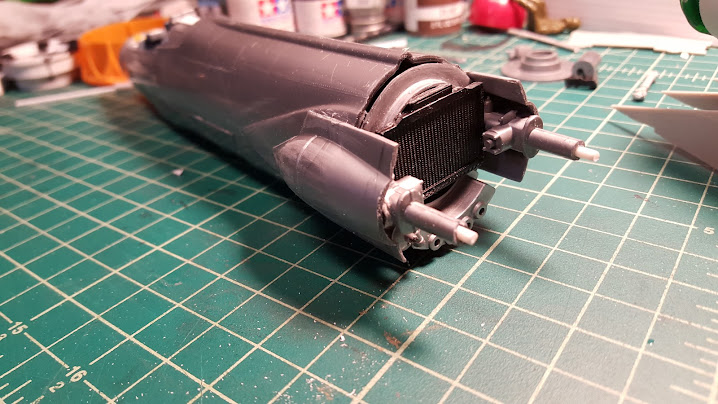
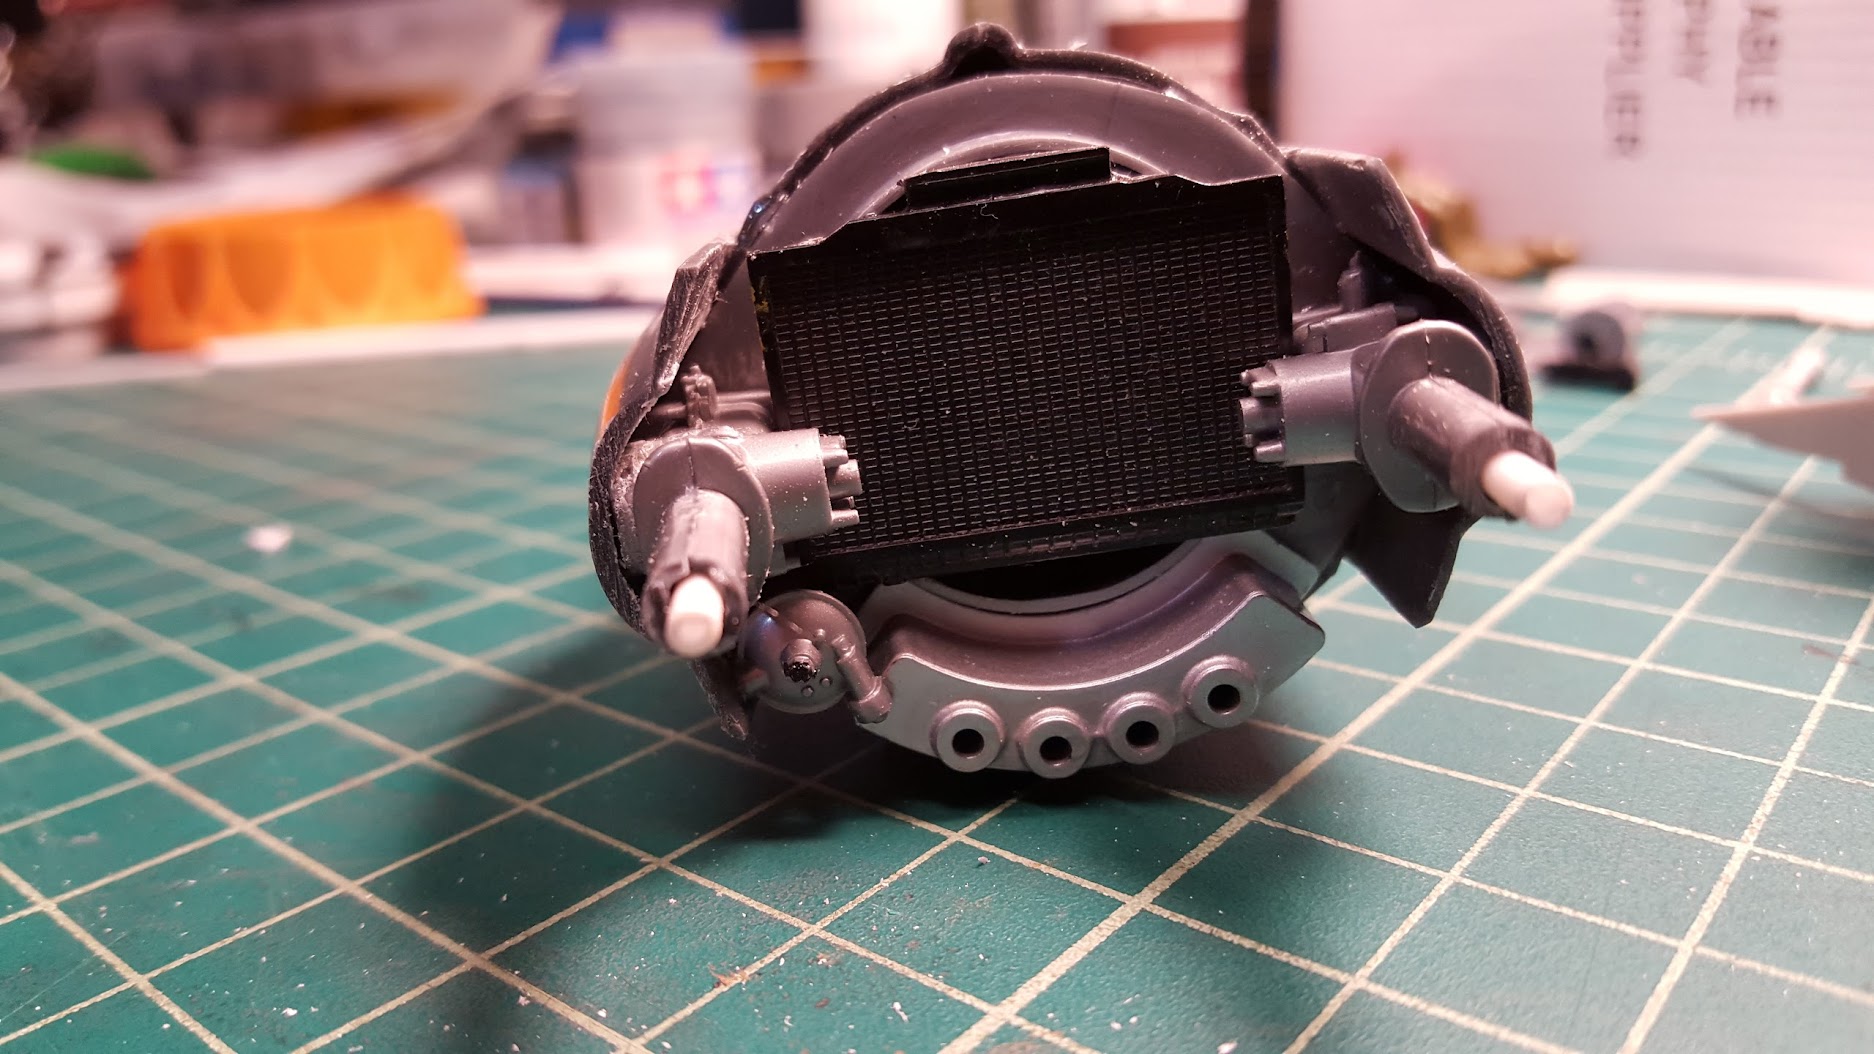
The inside area gets some detail attention. She even has a radiator!
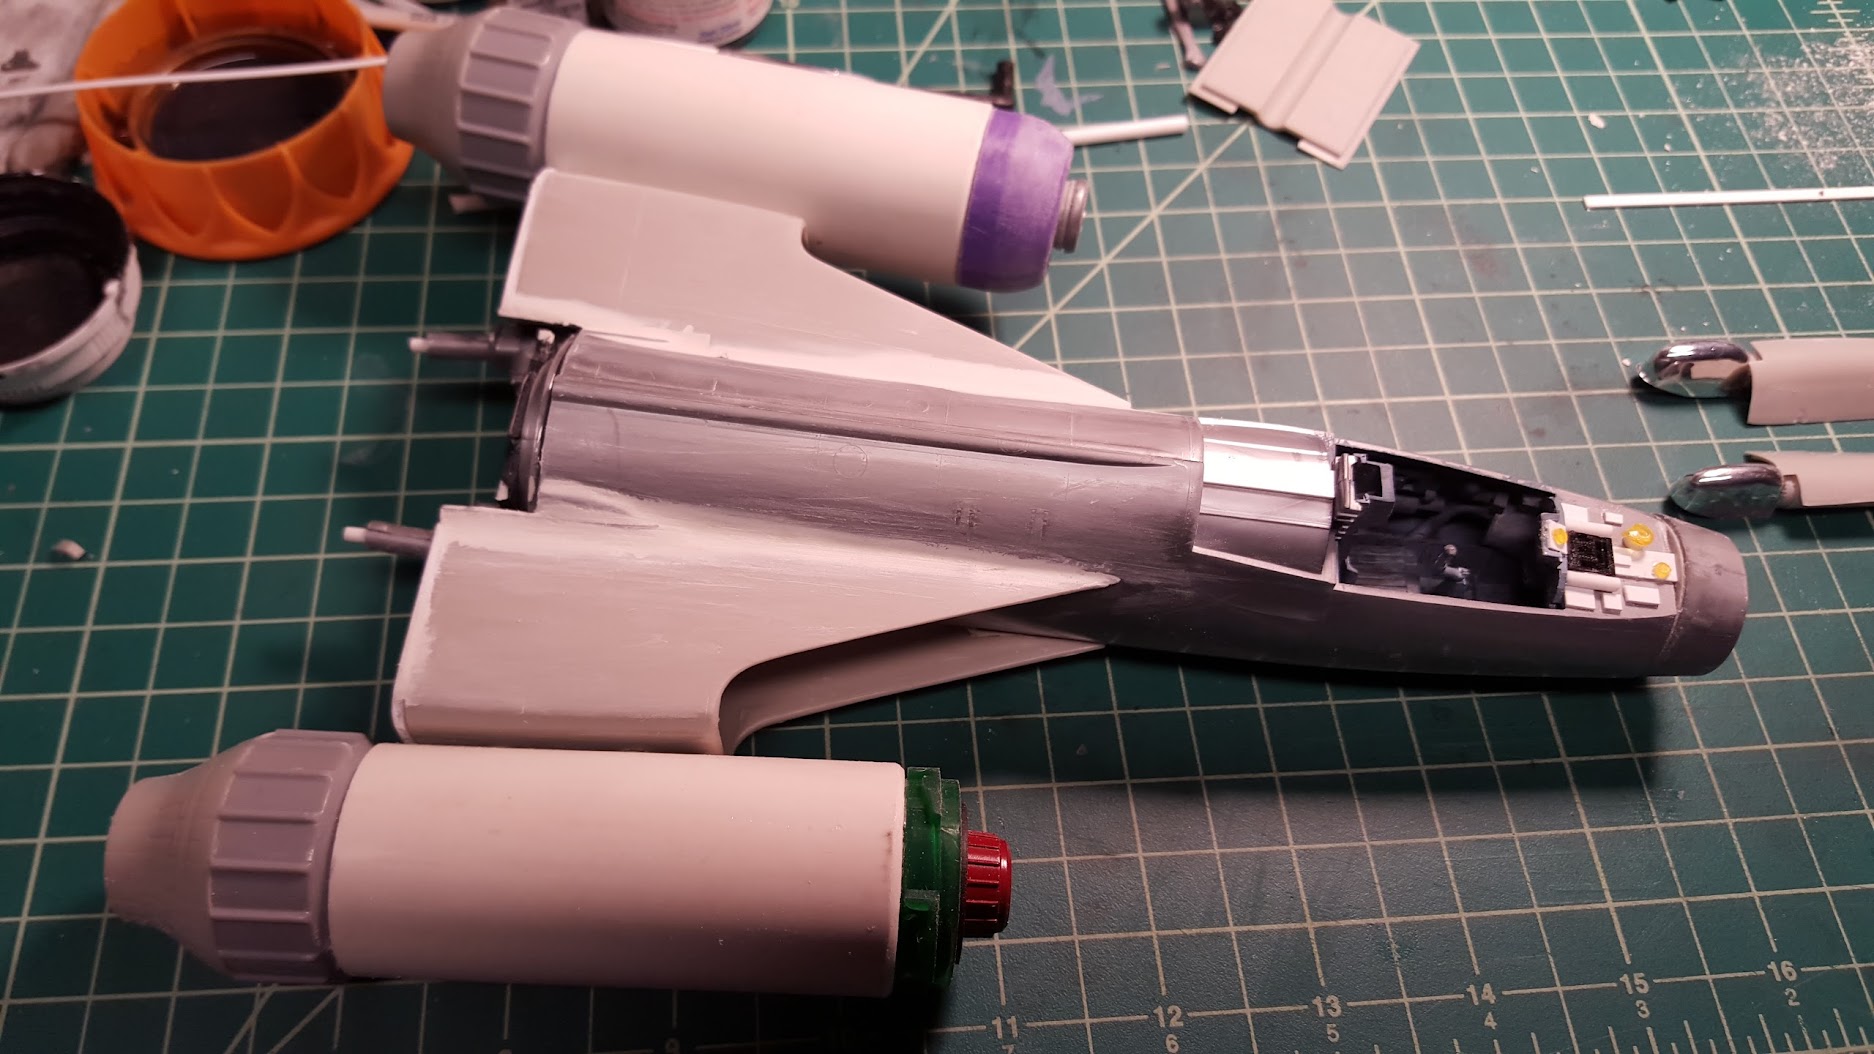
The engines glued on and some putty applied to even out the gaps.
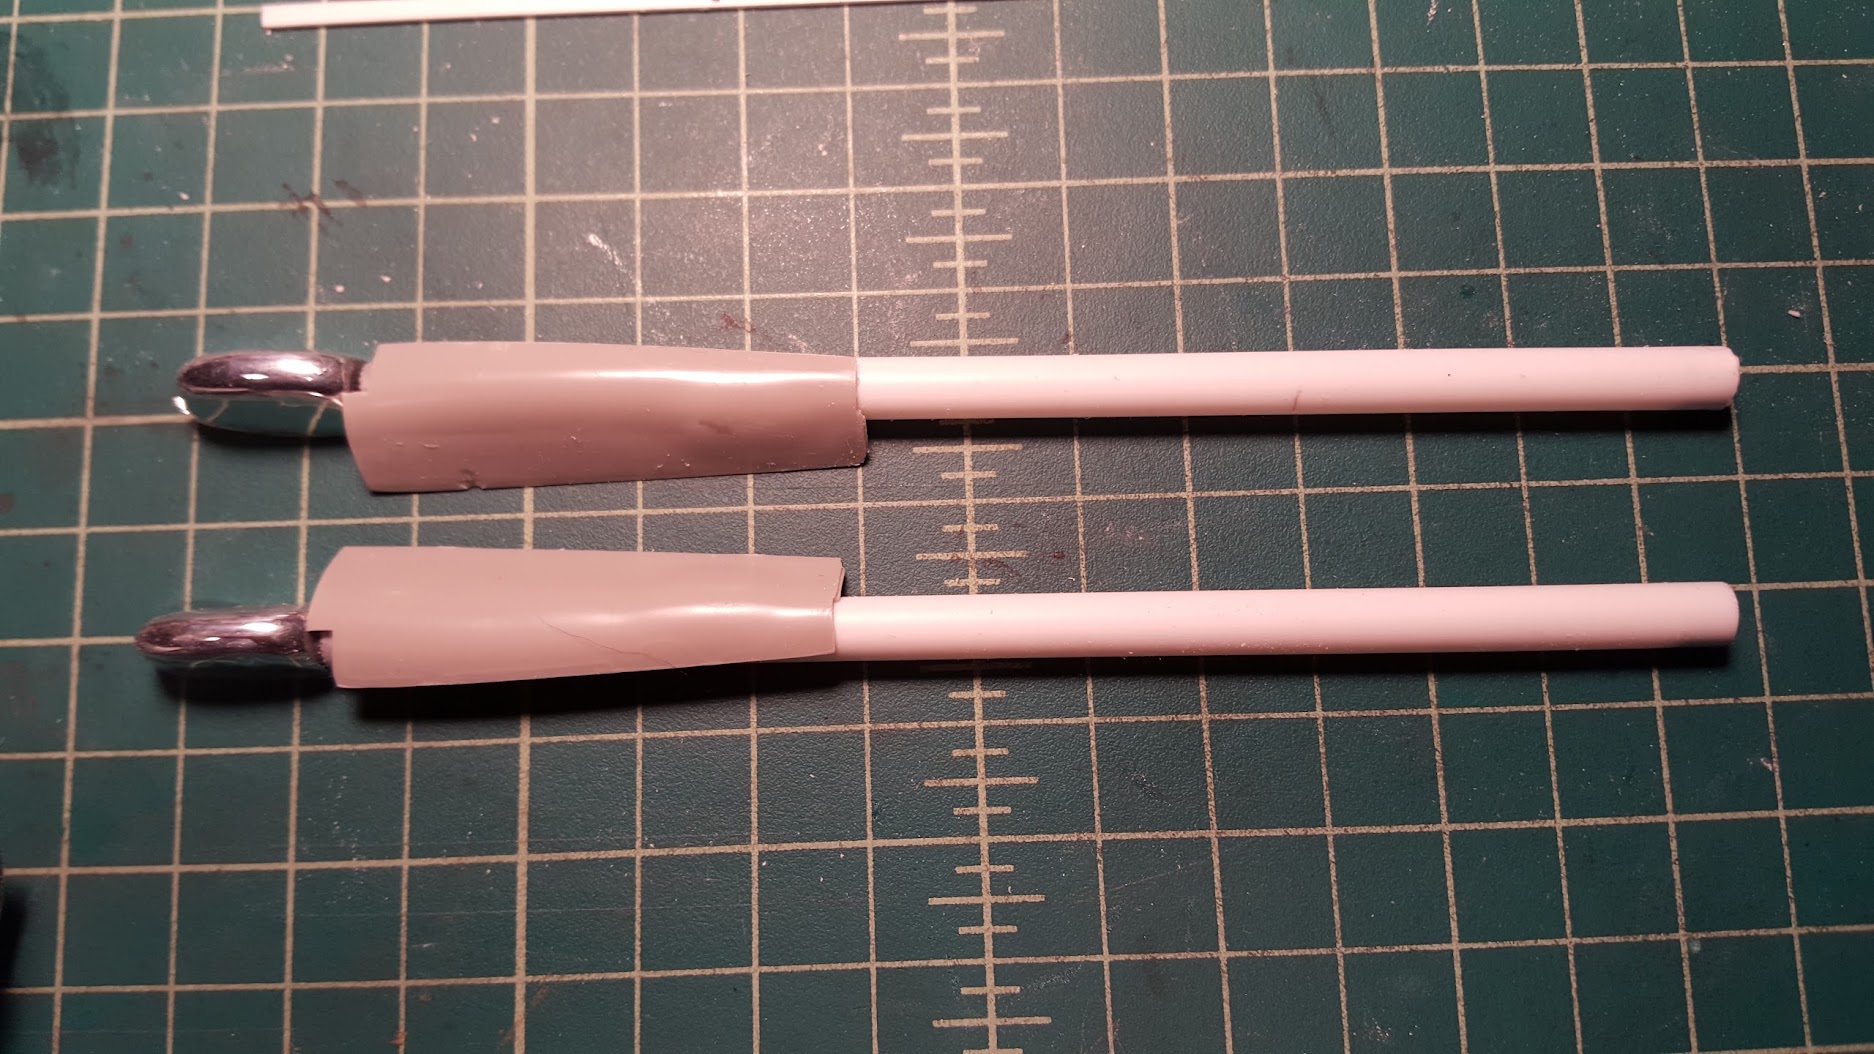
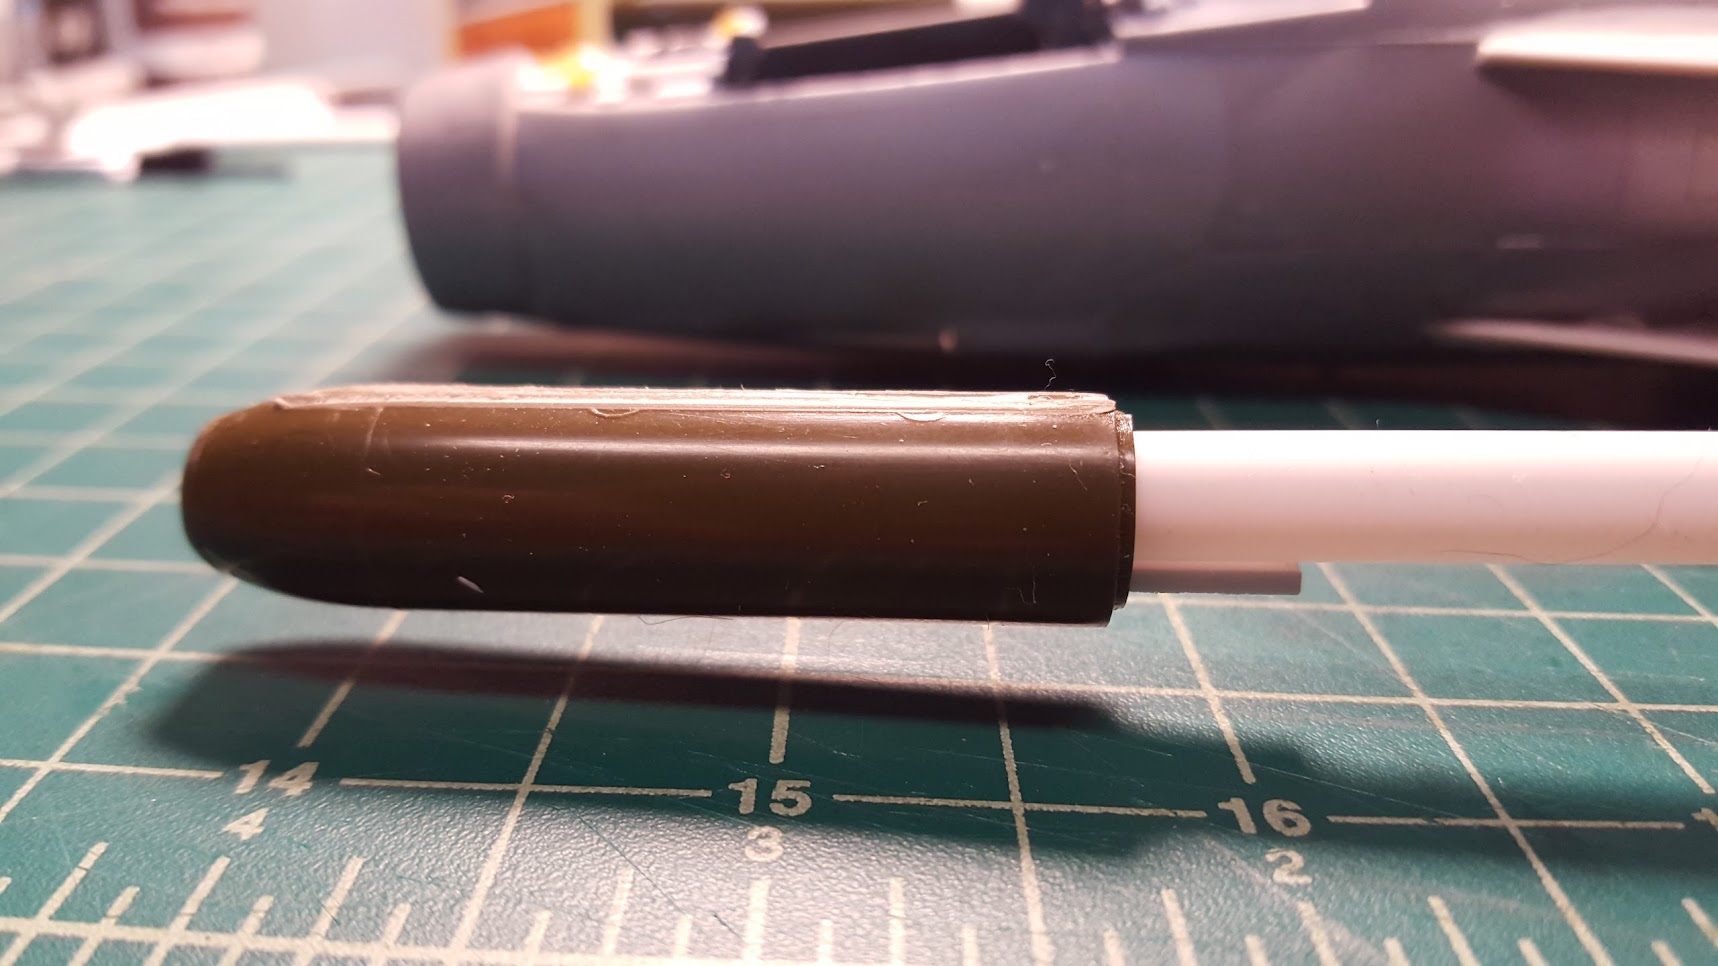
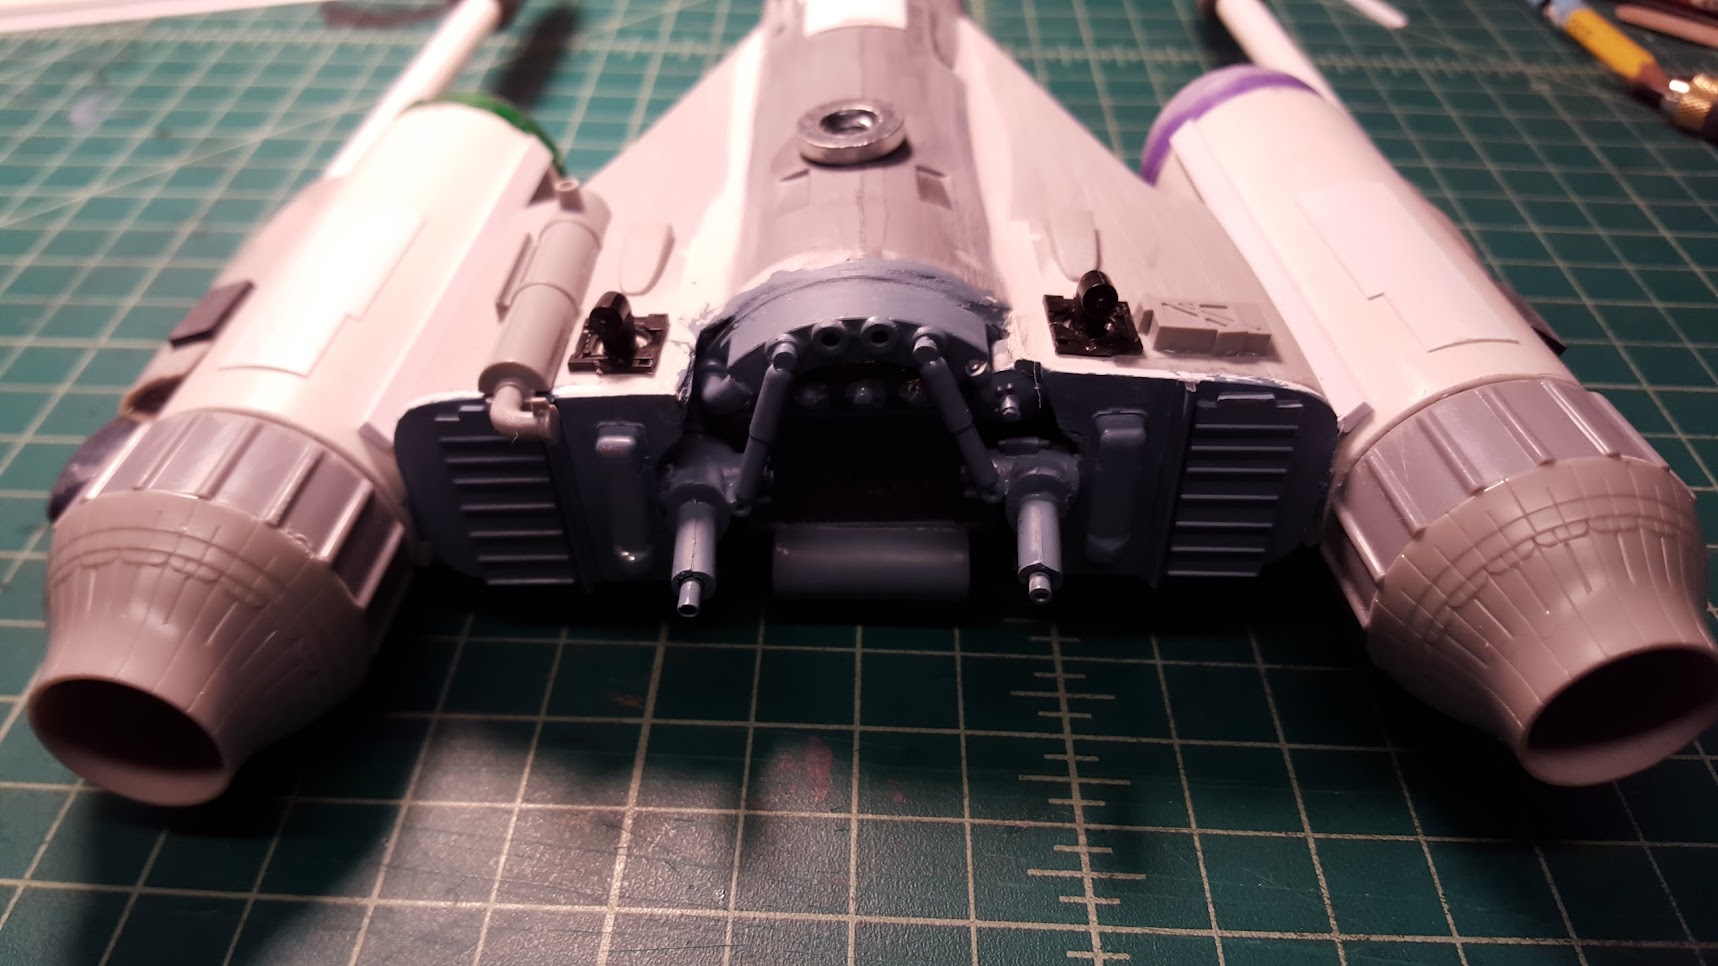
The gun tubes get some attention next.
The stern details start forming over scratch built styrene back covers. I used more car parts than I have for any other starfighter. Sometimes you just use what you have on time and make do.
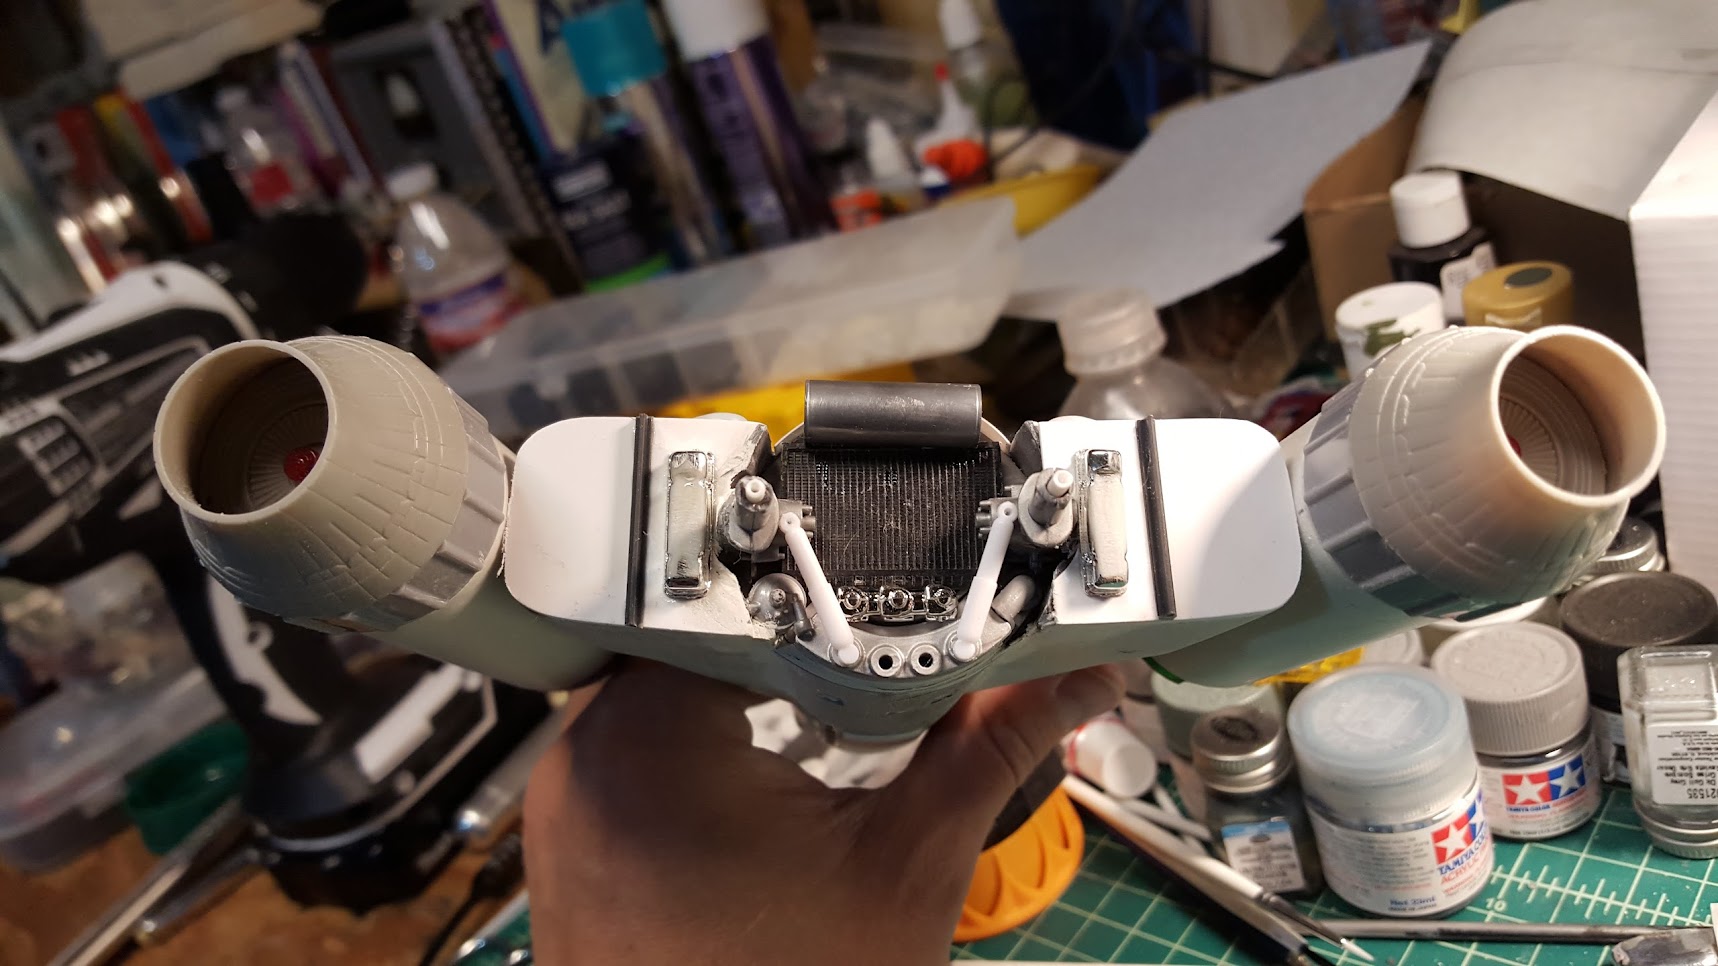
Shocks? Yup.

I was concerned how the forward blaster ports would come together but I was able to find some parts in my bins that fit perfectly.

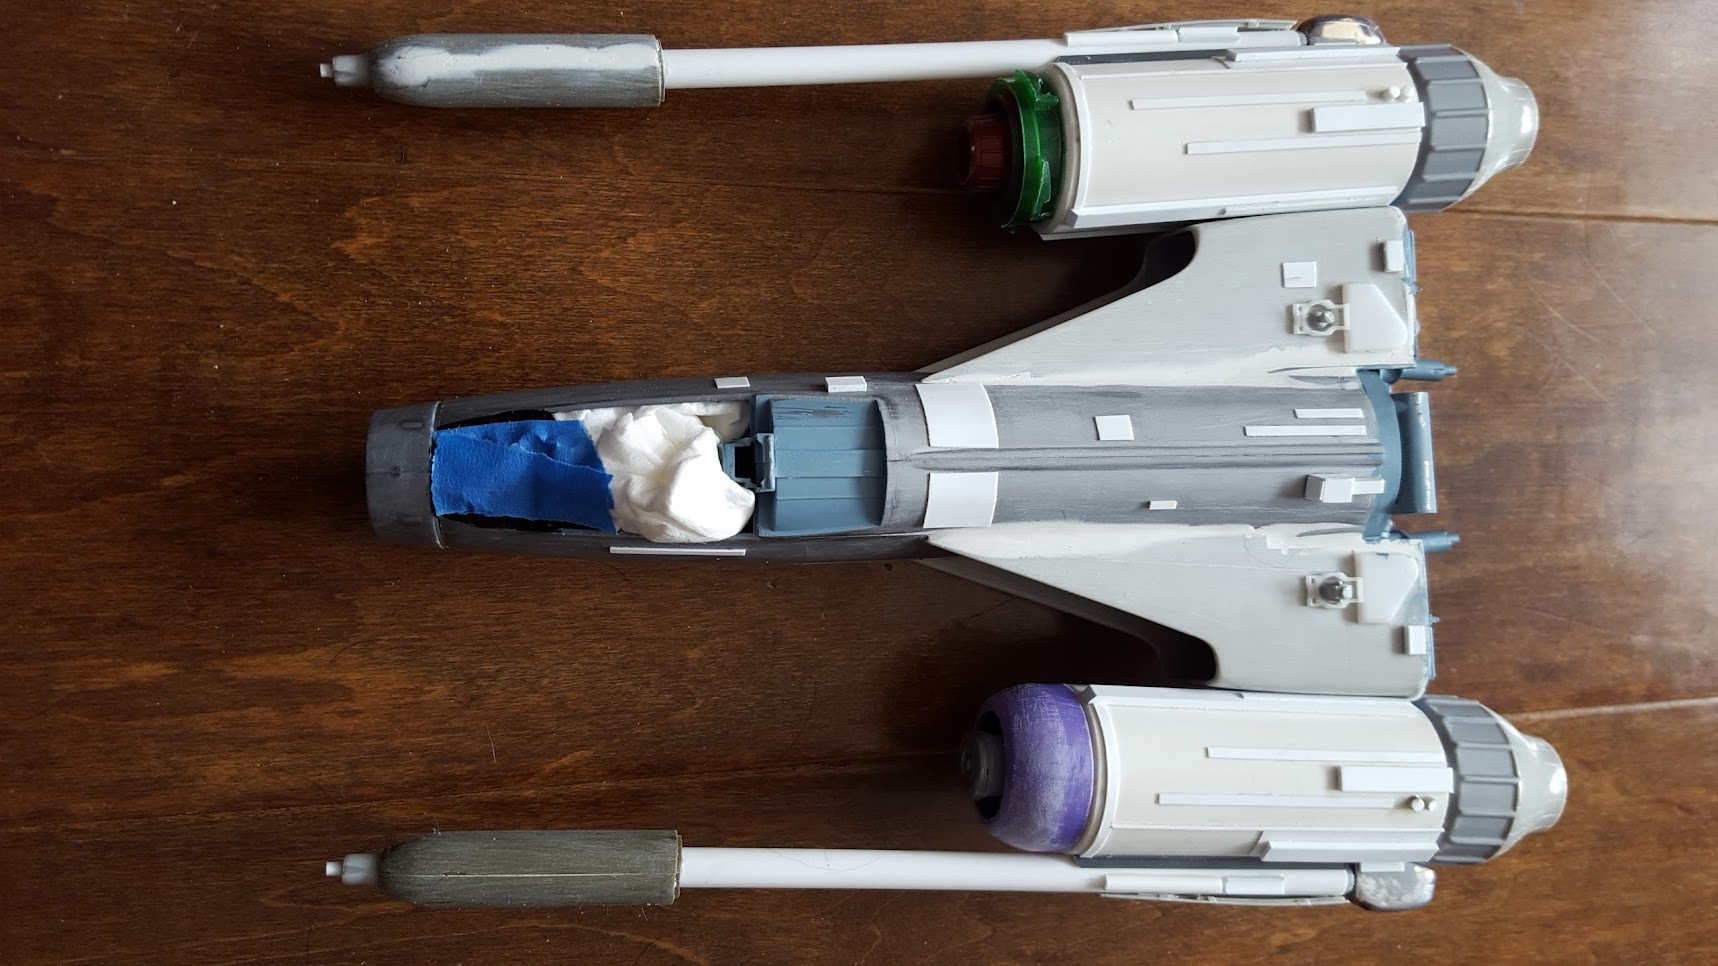
Above you can see the landing gear doors covered. You can also see the tripod mount screw.
Bottom and stern details getting some paint.

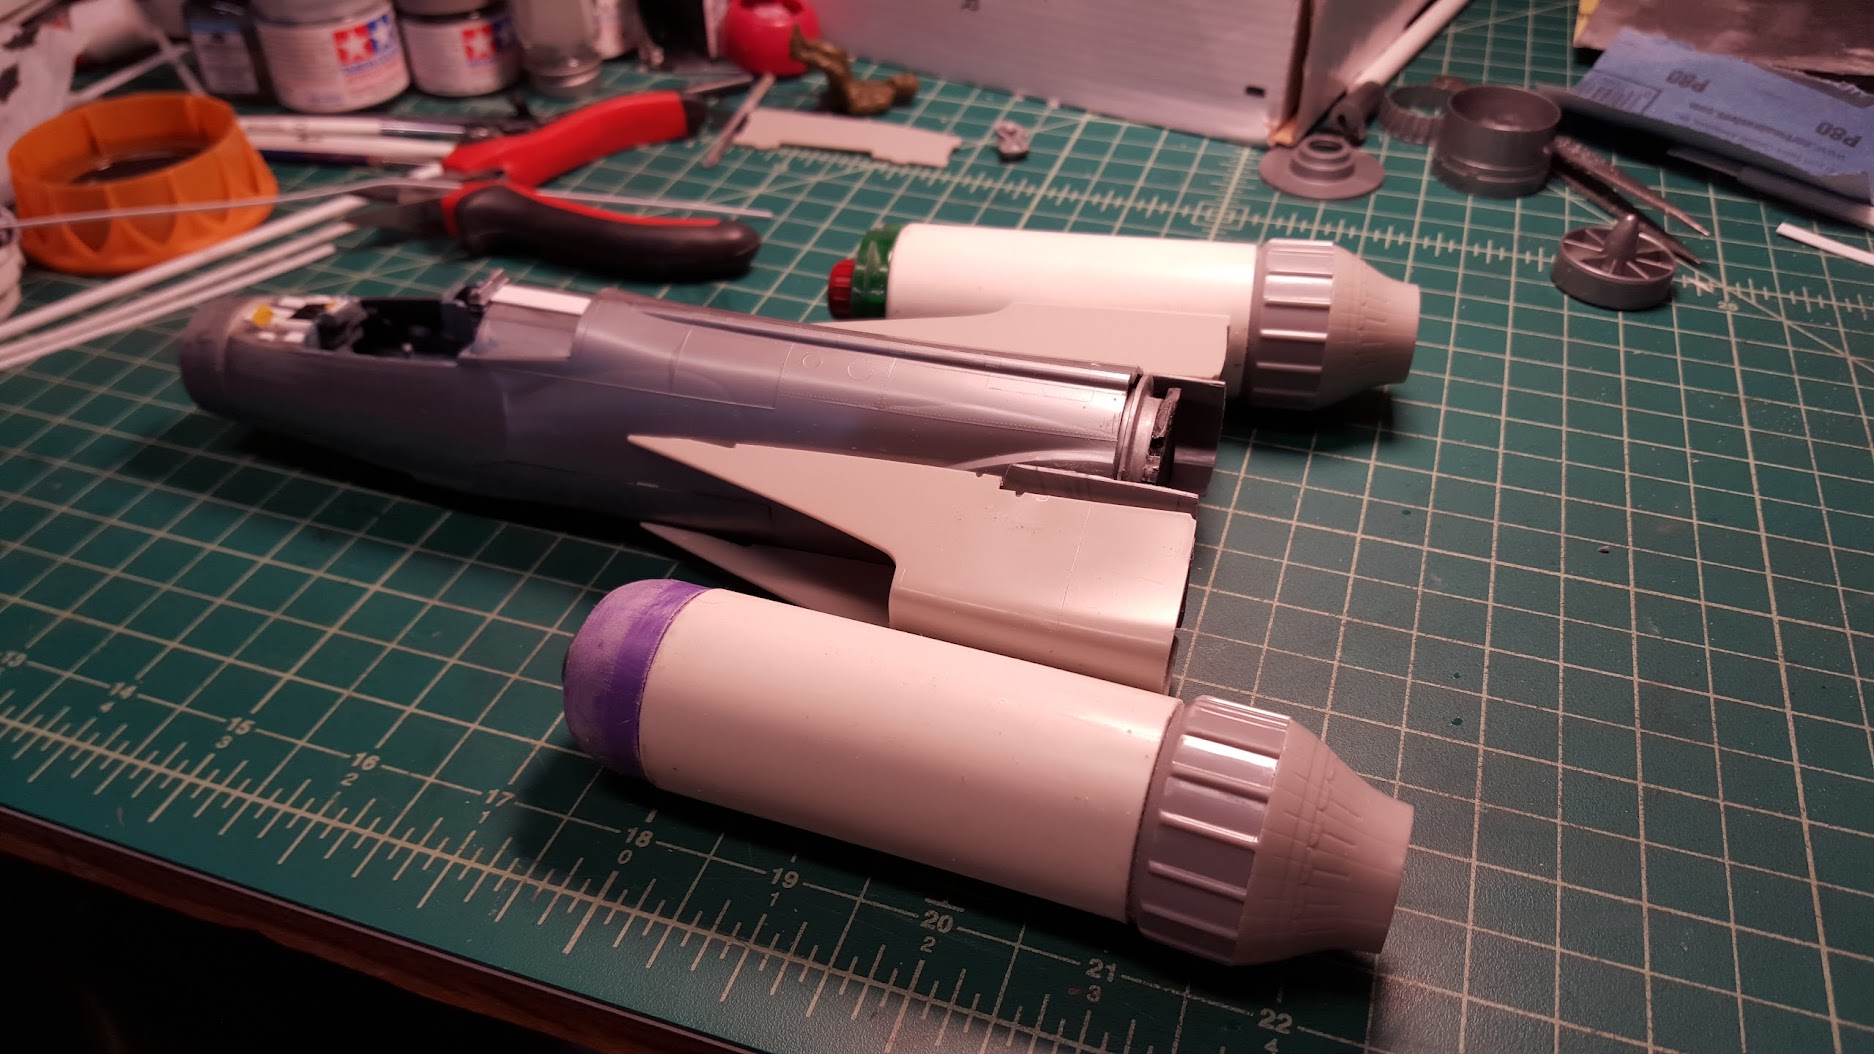
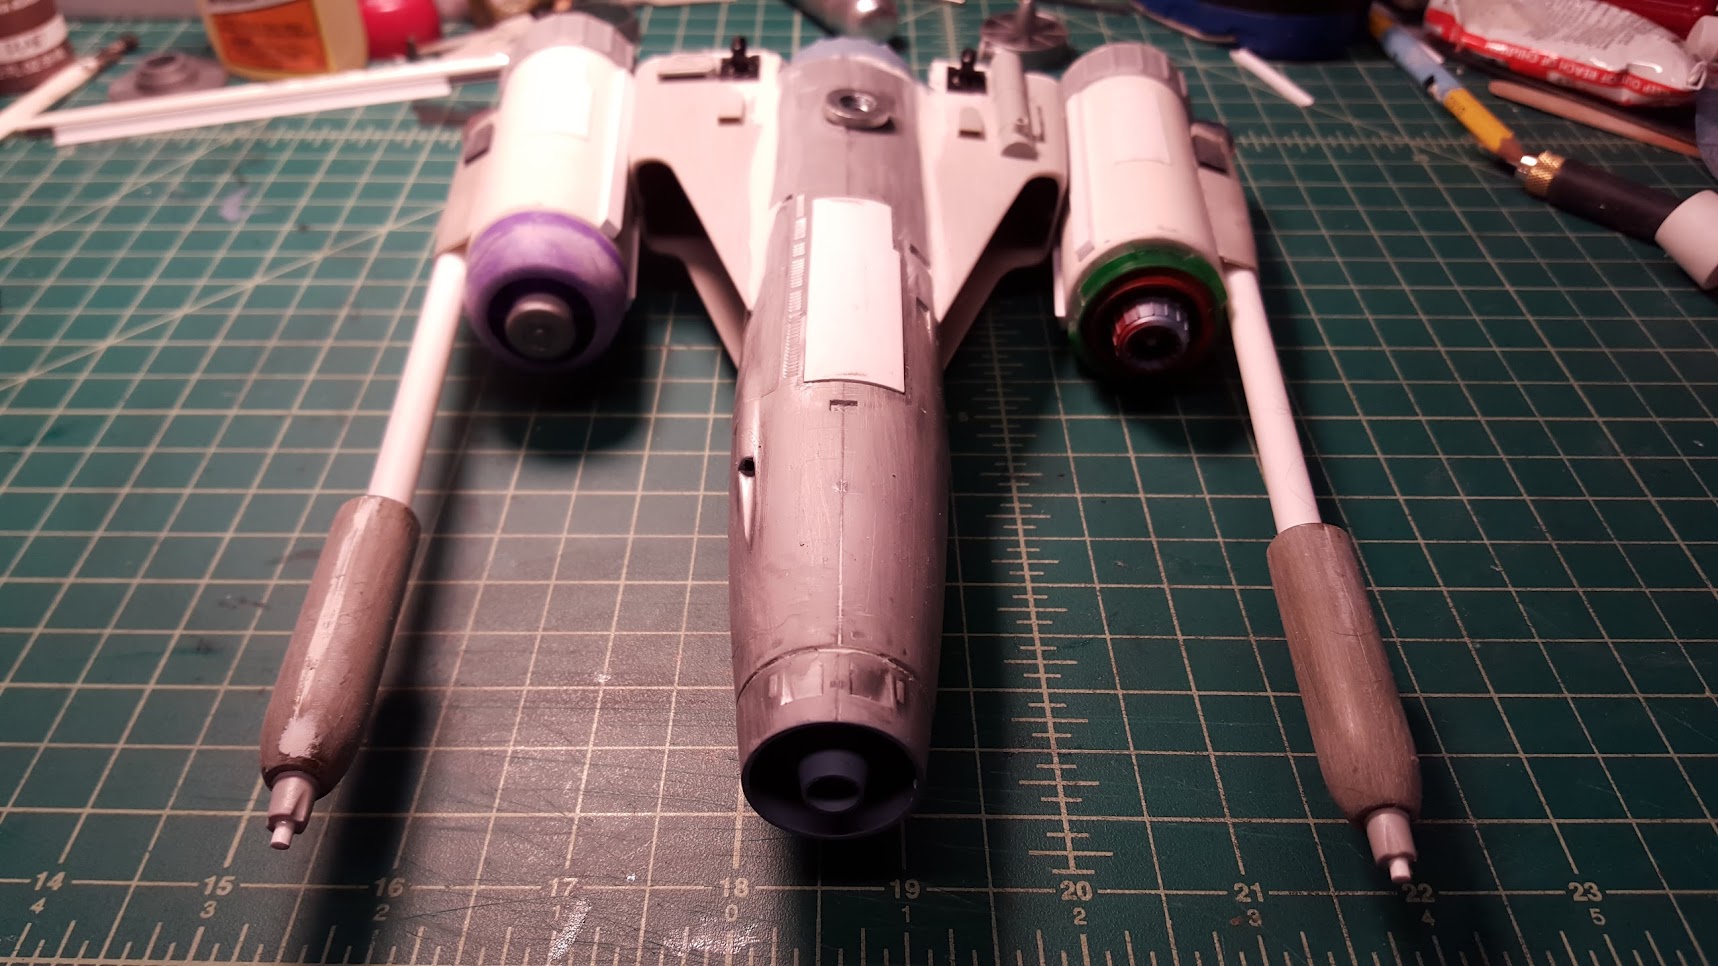
This is a good shot of the gun tubes and the painted cockpit.

A nice comparison with the other front line starfighter. Notice the same engine intakes as they are made by the same company. The one on the right is faster and the Terrox is more maneuverable.
This shot shows the final details getting ready for primer.
That’s all for this installment. Up next is paint and then weathering.

