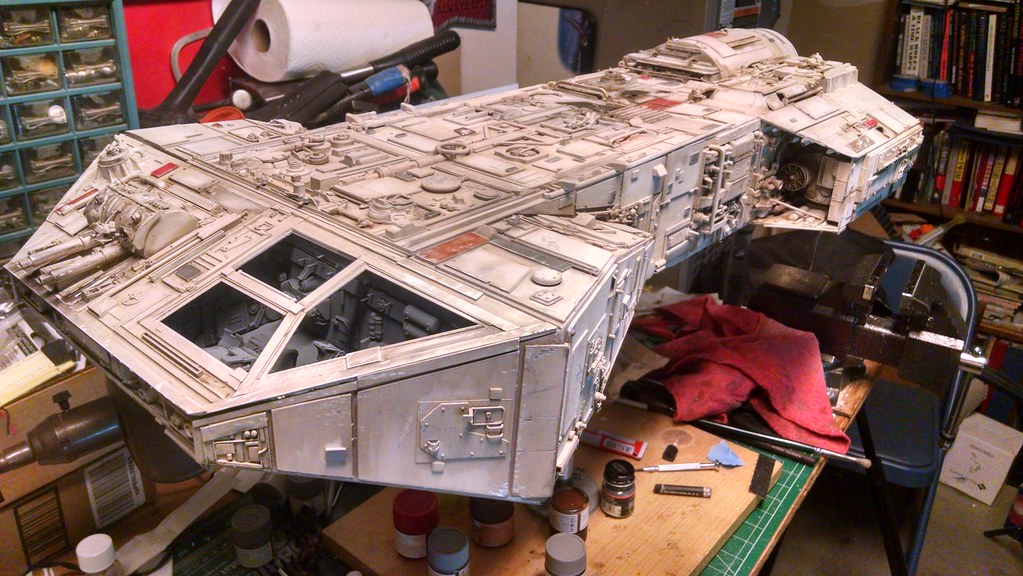
The final stage of building a model is always the weathering. Star Wars pioneered the “Used Car” look of starships back in the seventies and since then it’s become standard for movie models. Since this model could be used for film but is primarily used for cover art, it will be properly weathered. Running around in space is probably not going to do that much to a starship, but the Renoke has visited many different planets with varied environments and has been through all kinds of crazy situations in which it’s been chased and shot at and ran into things. So the surface of the model will need to reflect that history.
When you weather a model you are telling a story about the history of the vehicle. Remember that time when I hit that thing or flew through that messy stuff? Yeah, I can point to my ship as proof of that. See that smear right there? That’s when my oil inducer blew and leaked all down the side. I had to fix it and move on, no time to clean it up.
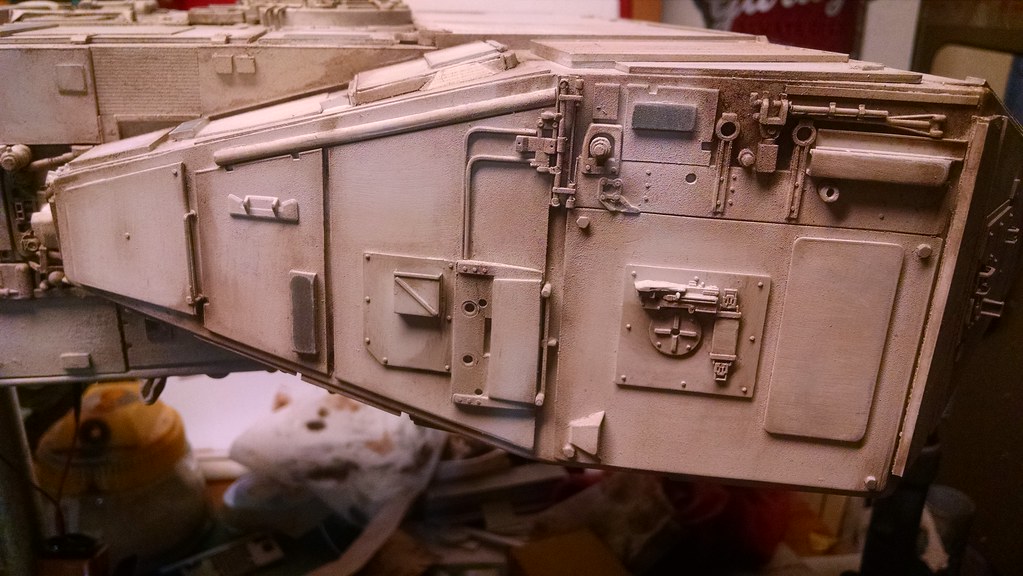
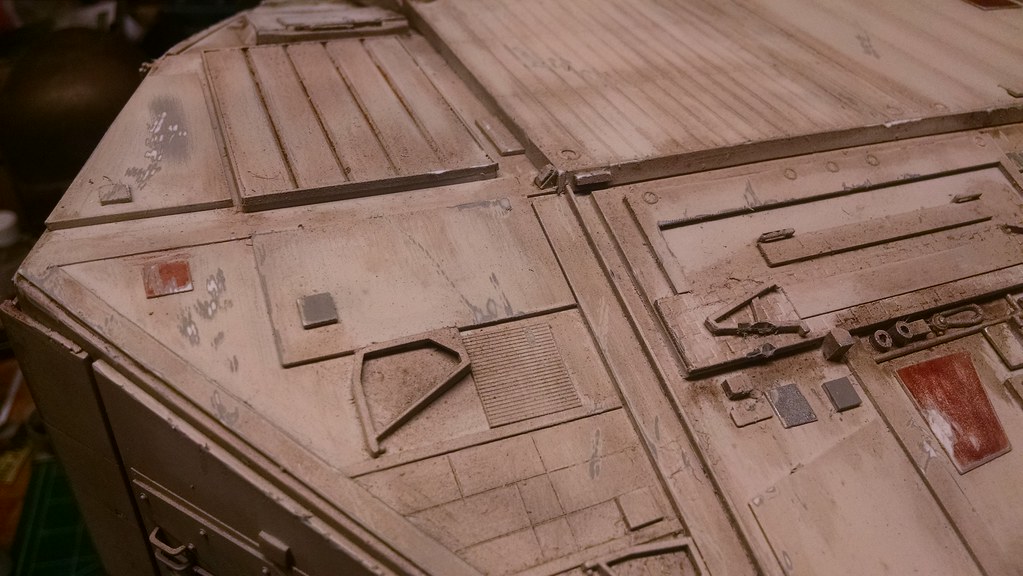
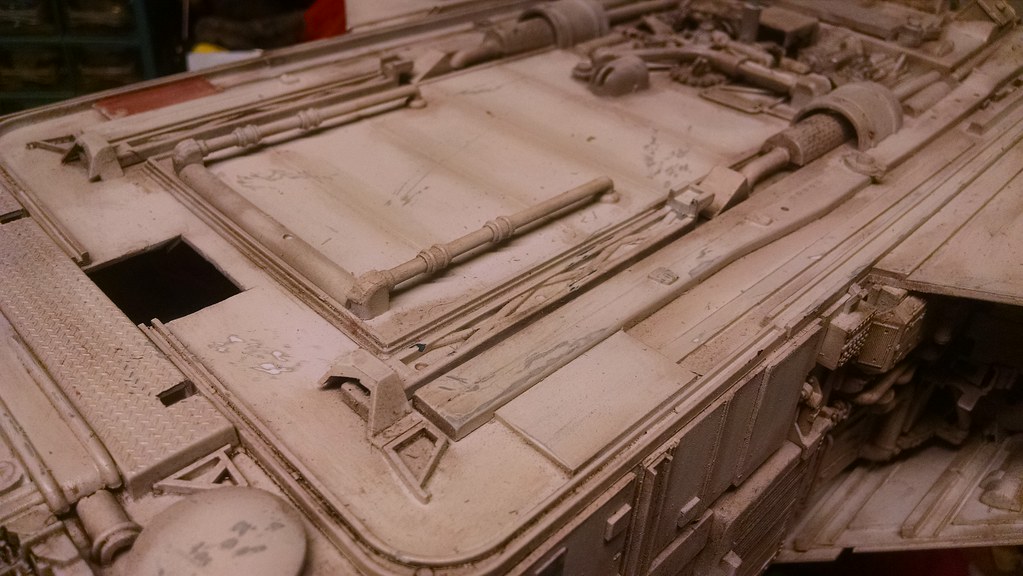
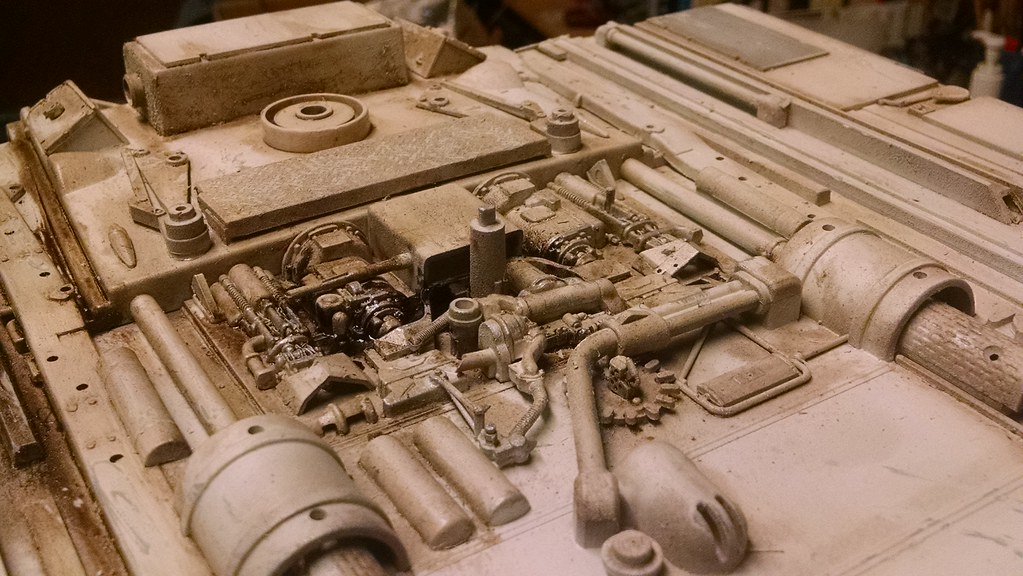
So with that in mind, I used a number of techniques to build the history of this freighter. I started with an oil based wash consisting of Burnt Sepia and Black mixed with thinner. I applied in a gloppy manner with a stiff brush and then wiped it away, leaving it in the cracks and crannies of the model. This gives the surface detail a more three dimensional appearance and it did something interesting to the surface paint. It gave it a brown tint that I probably could not have replicated with paint alone.
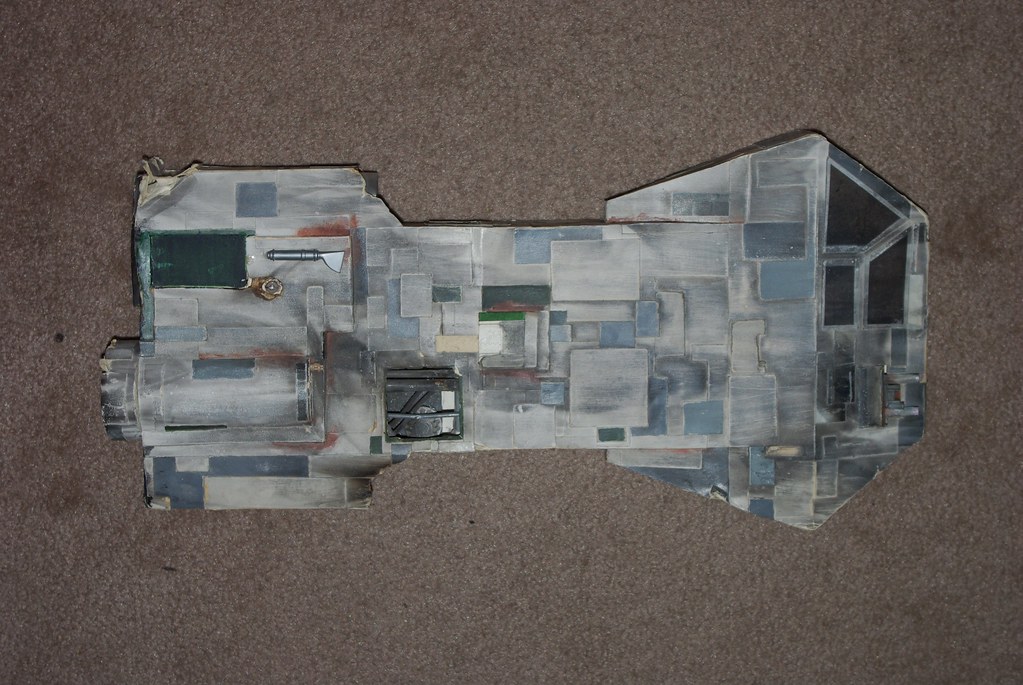
The original Renoke model was made from card board and had lots of colored panels all over it. In order to weather it, I lit a candle and used the black smoke from just past the flame to carbon score the model. I then sanded the model with fine grit sand paper. The resulting finish was unique to say the least. Looking at the image below of that original model you can see that the overall color is an off white with a slight tan tint. That’s what I was trying to replicate with the new model, at least as far as I could.
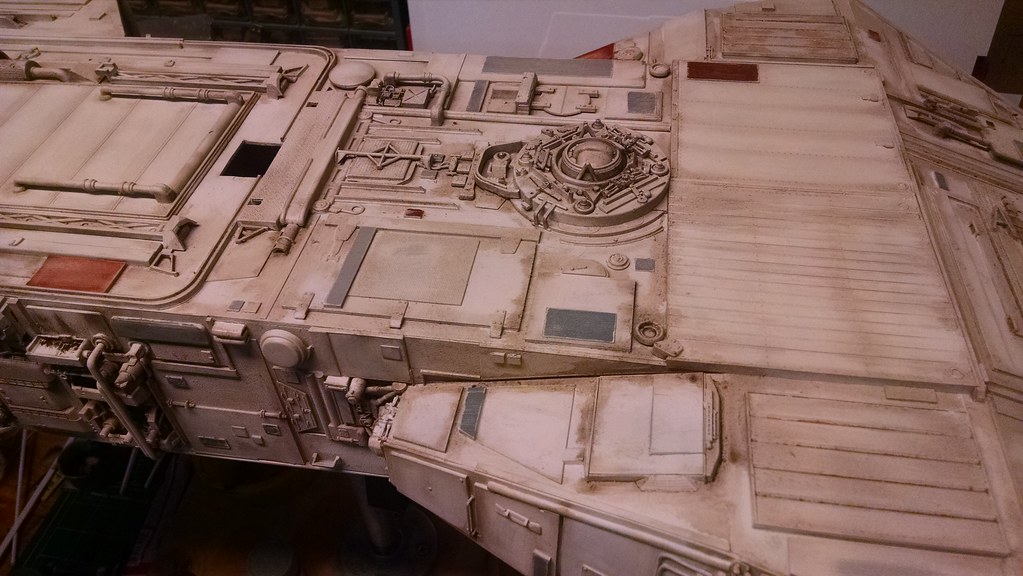
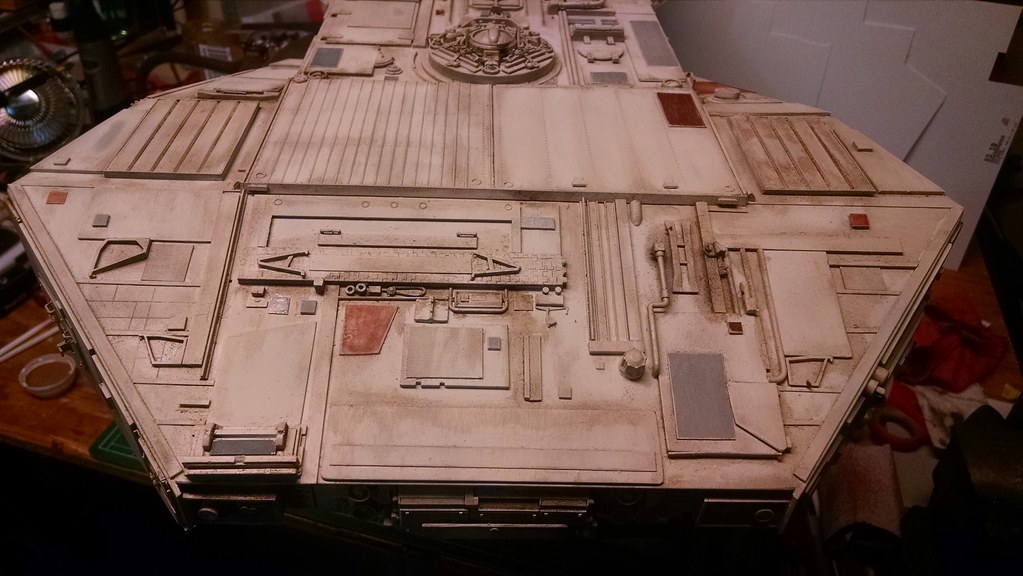
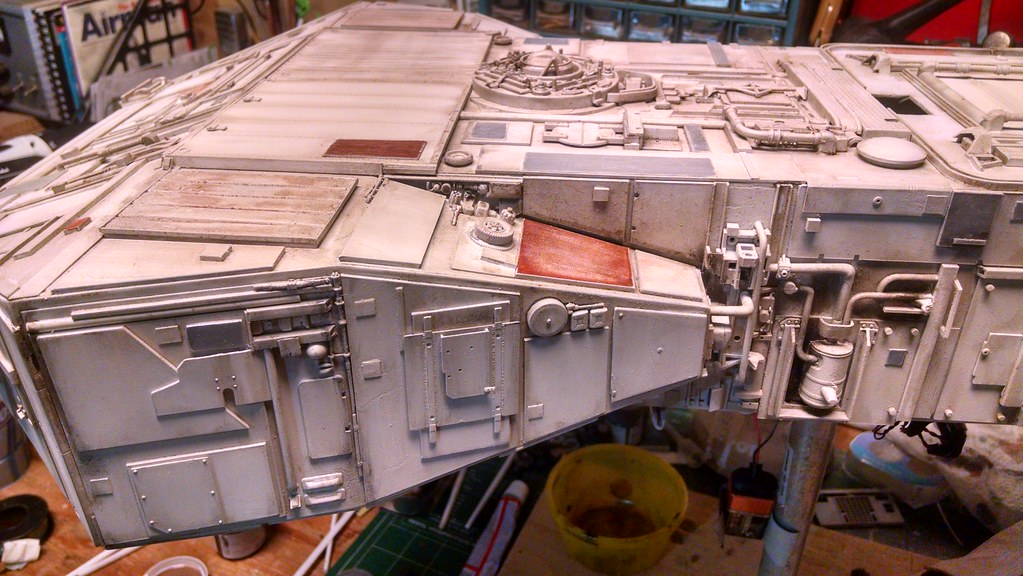
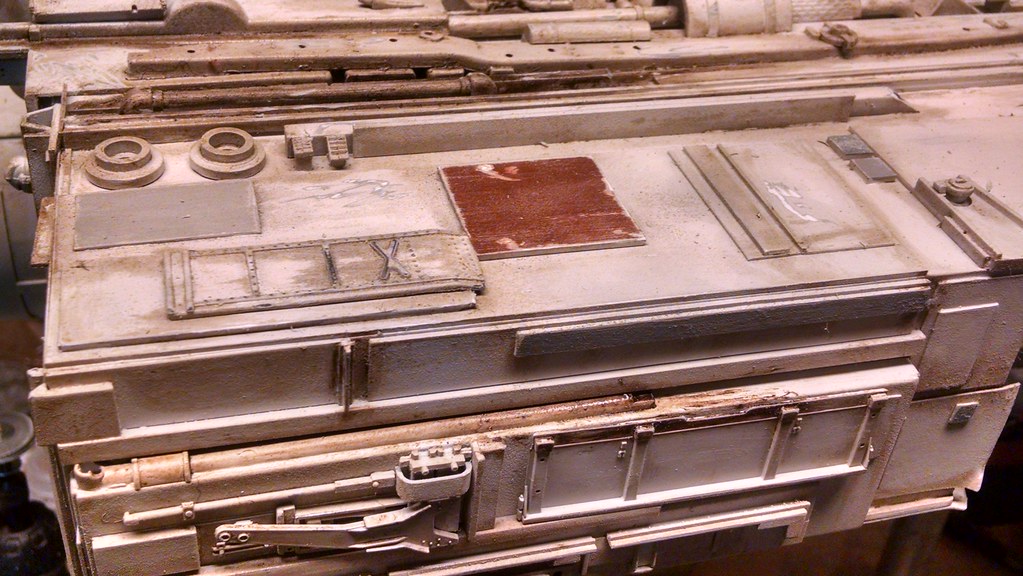
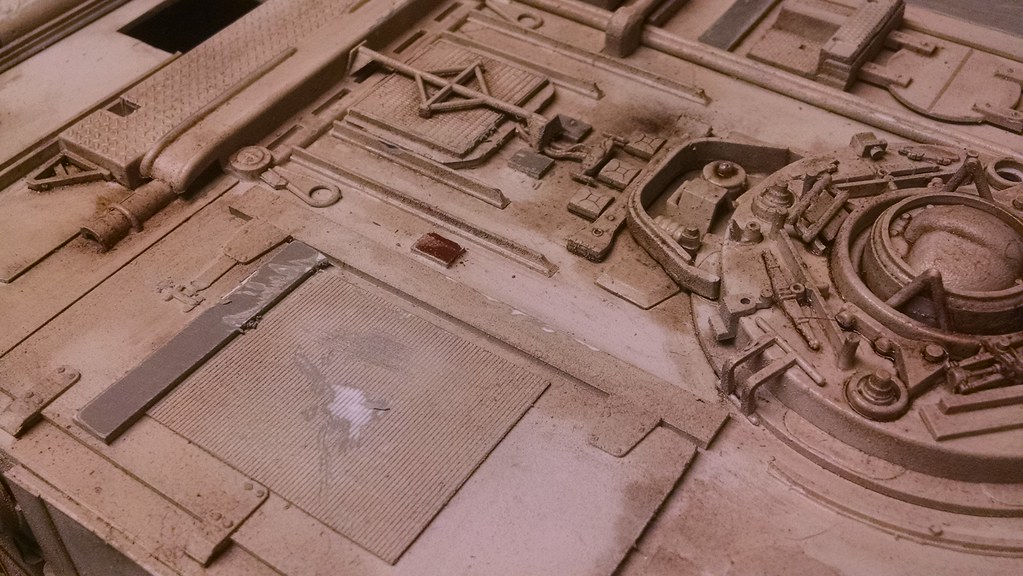
After completing the oil wash I was left with a similar tone on the new model. So I began to color some of the panels to add interest and history to them. I used earth tones as much as possible, so dark reds, dark greens and grays. Below is the forward bottom of the Renoke.
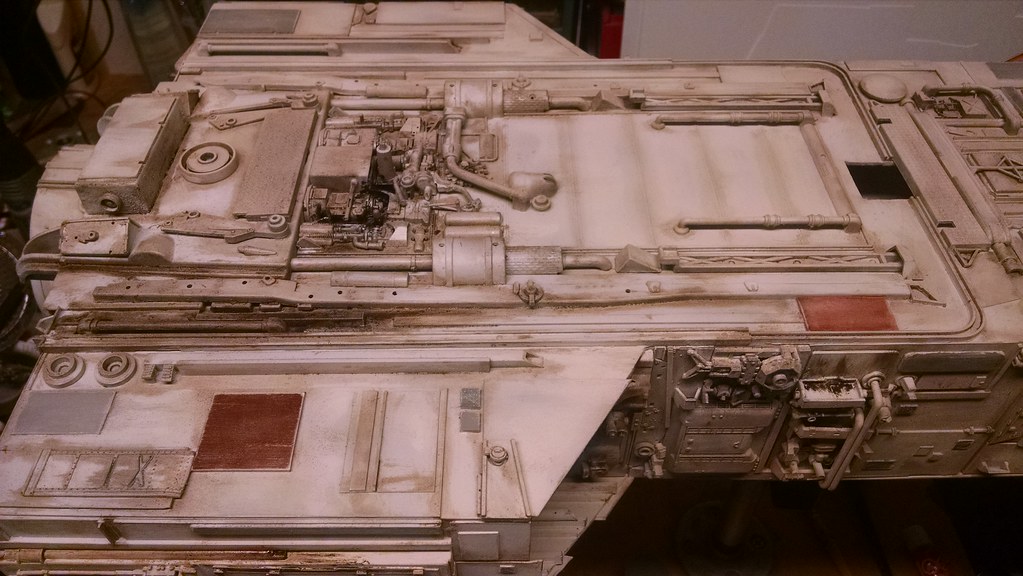
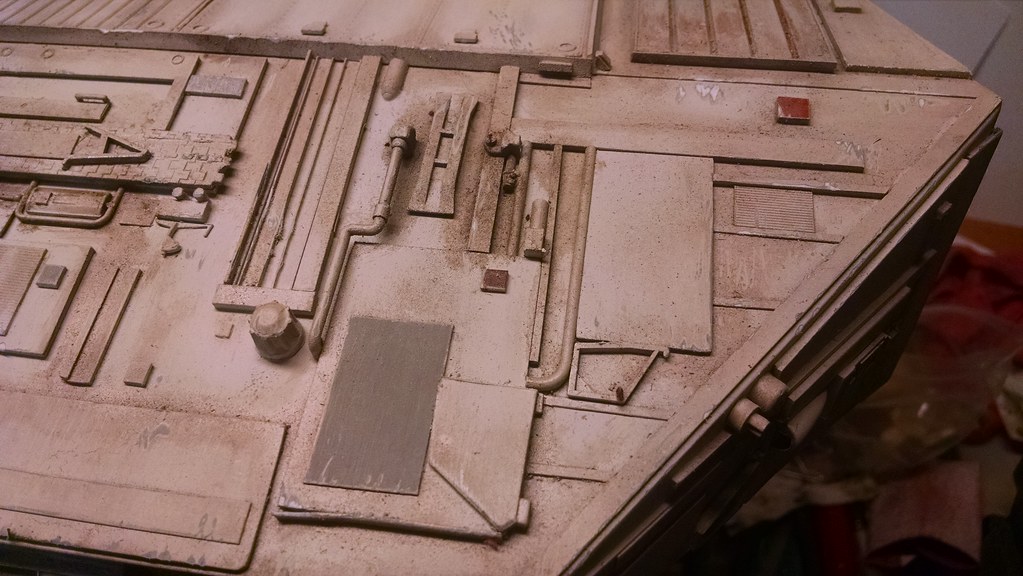
Below is the stern bottom. I added lots of oil leaks and stains here to simulate the engine compartment of an old car. After the paint for the panels dried, I brushed them with sand paper to knock off the paint on the edges and to give the surface added texture.
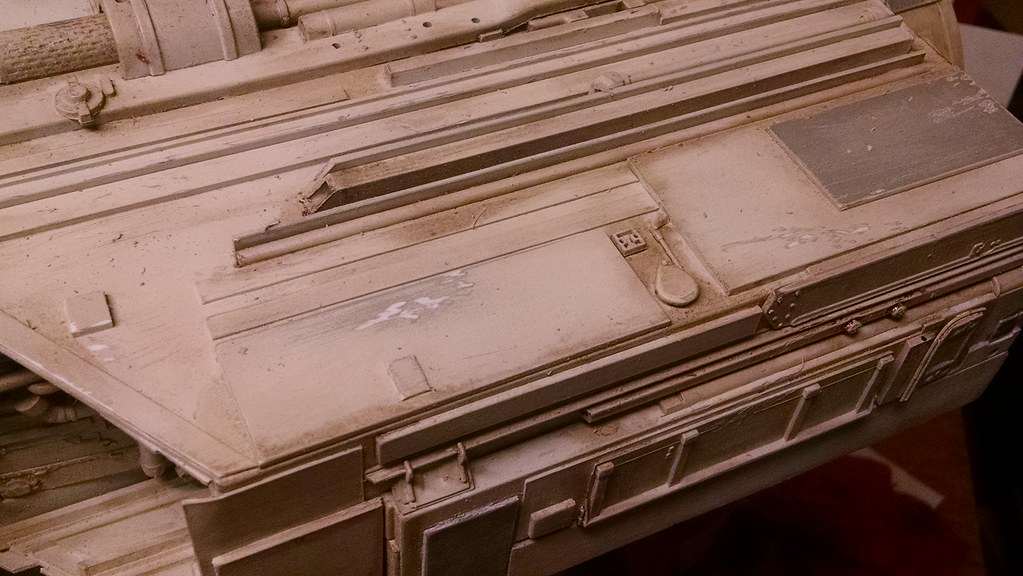
For some flat areas of the models I sanded a bit more to give it a worn smooth look and to try and bring out some of the off white base color.
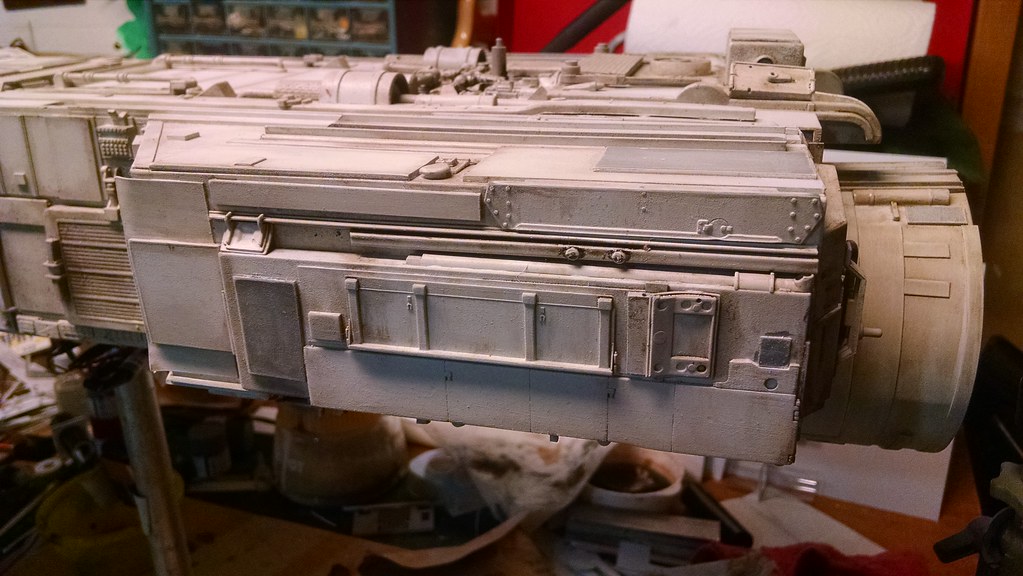
The final stage of weathering is hitting the model with a hobby grinder. This can be very effective at replicating impacts but you have to be careful with it. If you over do it, you can easily ruin the model. I used a rounded grinder head and let it bounce off the model while spinning to get multiple dings and scratches. You have to come at it from many directions to add the randomness required. Again, a little bit of this goes a long way. The grinder will take off the surface color, the gray primer and get right down to the original white of the plastic. Which is okay for this model. It also reminds me of some of the damage to the Falcon from Star Wars.
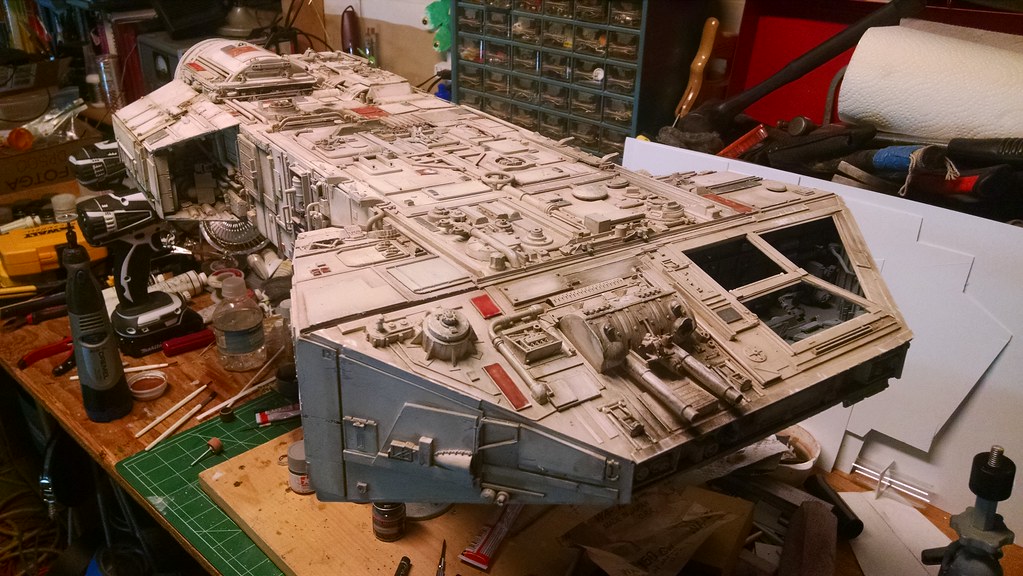
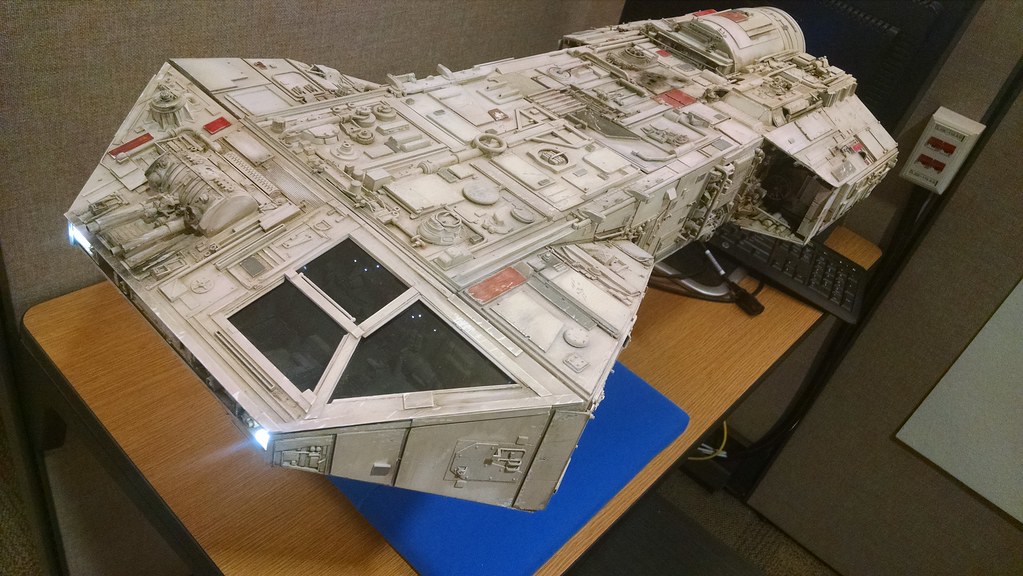
The overall effect of all this weathering makes the model more interesting to the eye and more realistic at the same time.
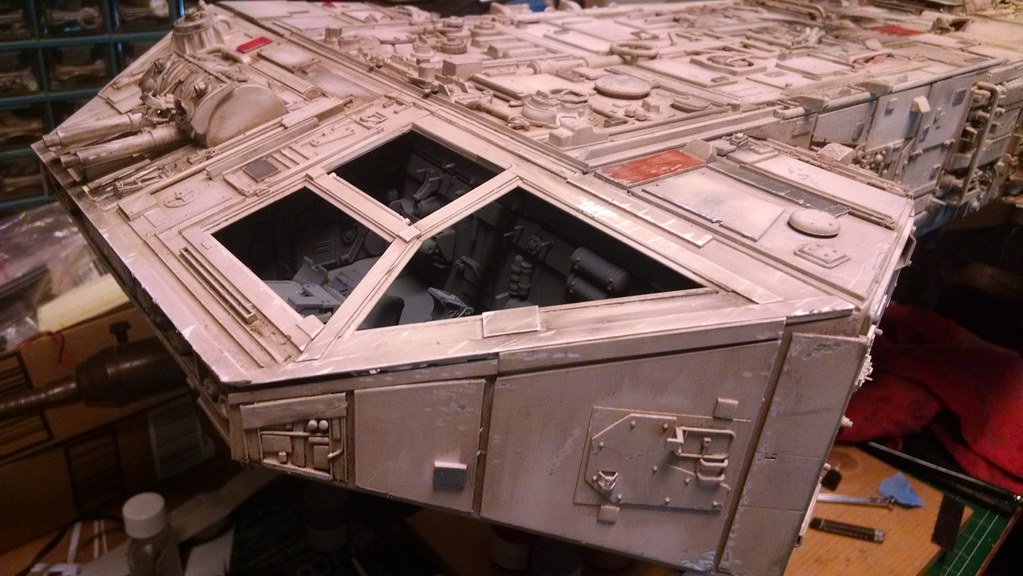
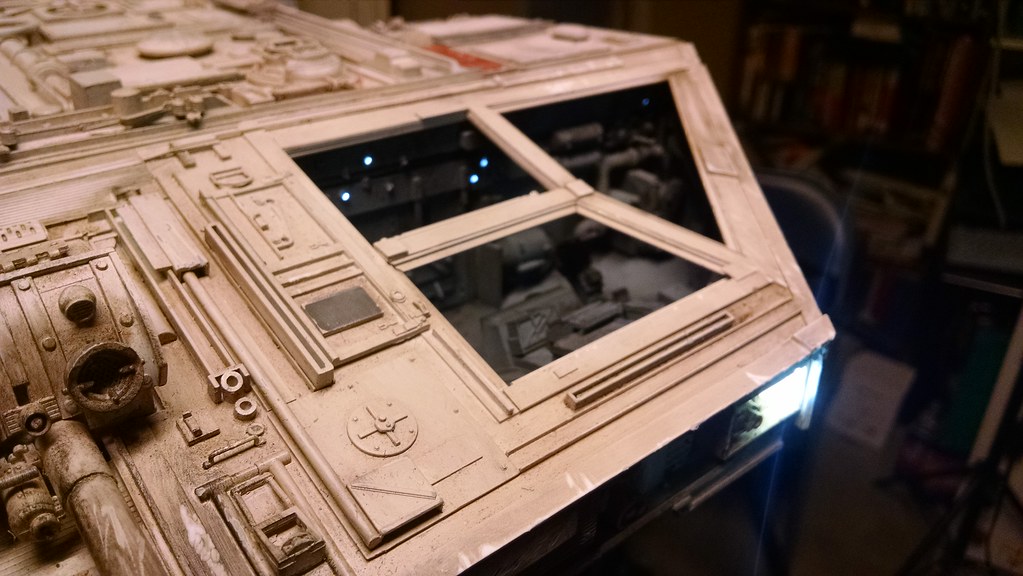
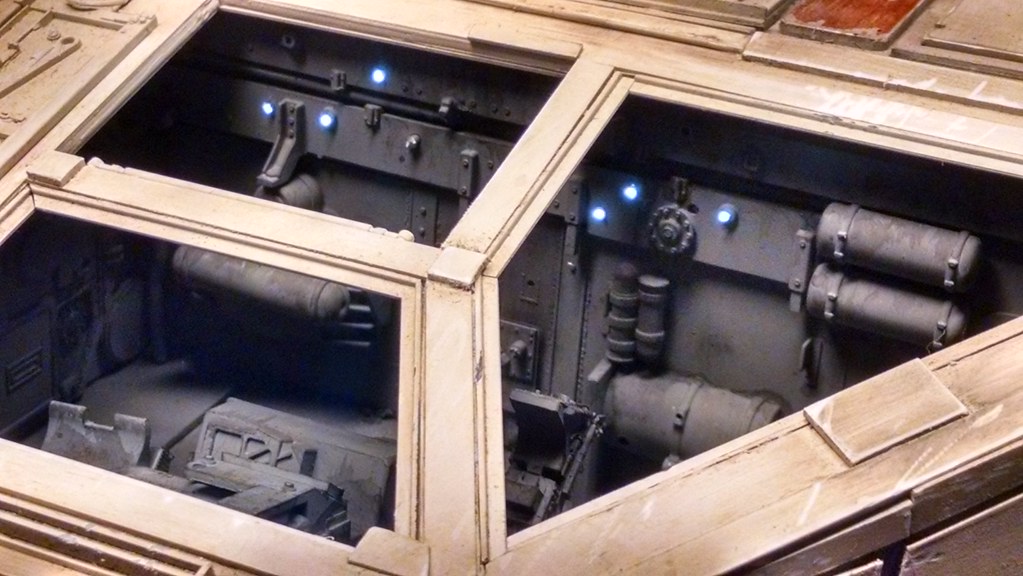
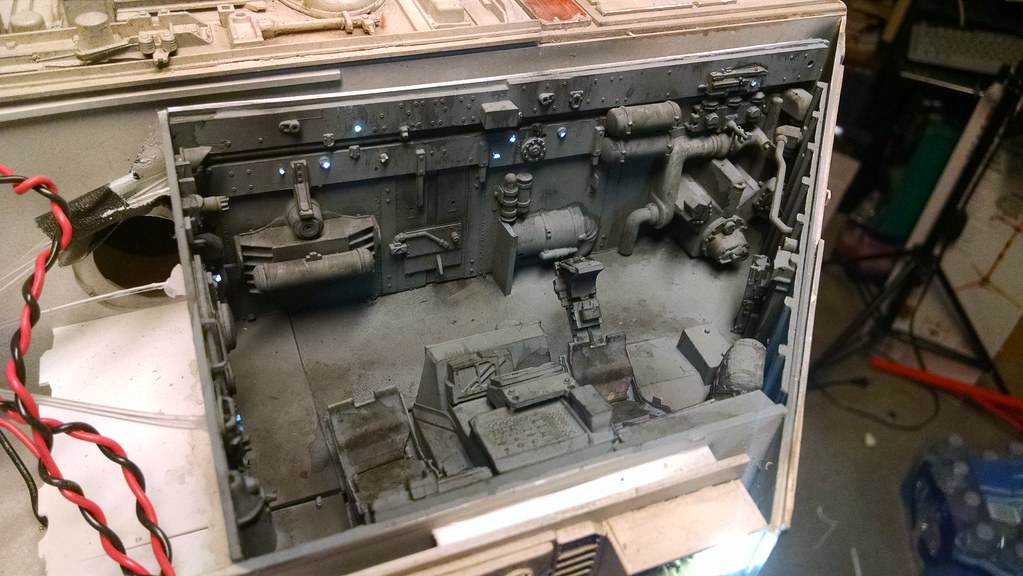
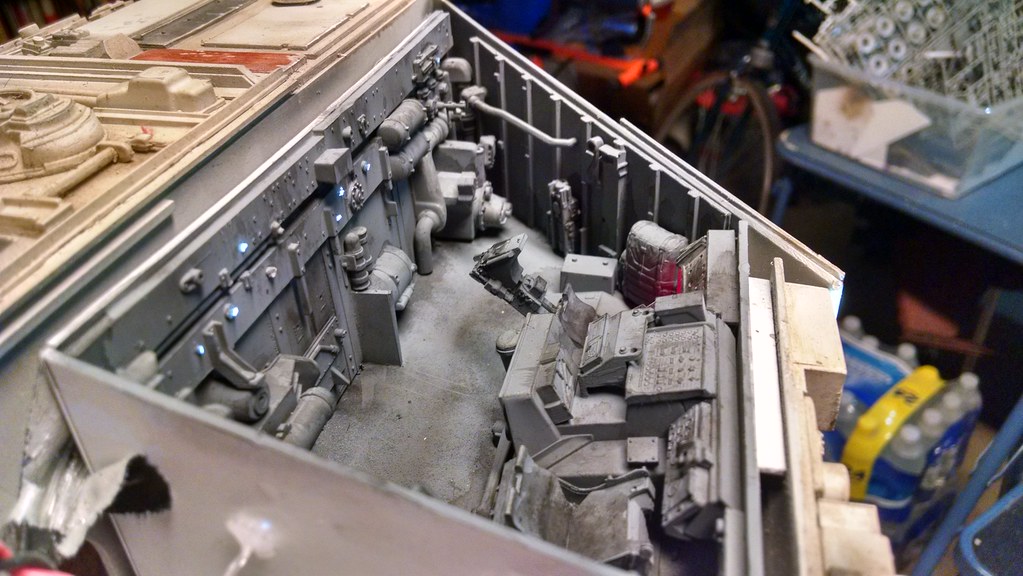
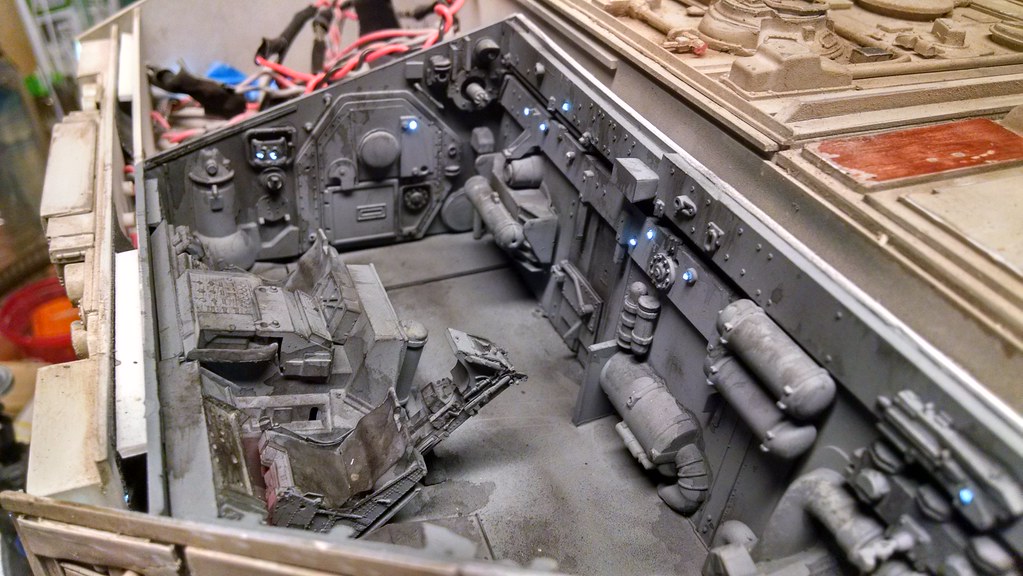
The final area that needed weathering was the bridge. Again, about the only thing I needed here was leaking machinery and general wear and tear. I maybe overdid it a bit but this is an old ship.
And that is all she wrote. The model is complete. The bridge windows were added late in the game using tinted clear plastic sheeting. This model will be featured on the cover of XiniX, Book 5 of the Star Saga and probably used for short story covers and elsewhere as needed. The captain of this ship is a character named Joules Rouse and I’ve written many short stories about him over the years. You can read one over at SpaceWesterns.com.
Pingback: Tuto : Le détaillage des montages en scratch (3ème partie) ; par Ken Mc Connell | Cyber-Mecha
Comments are closed.