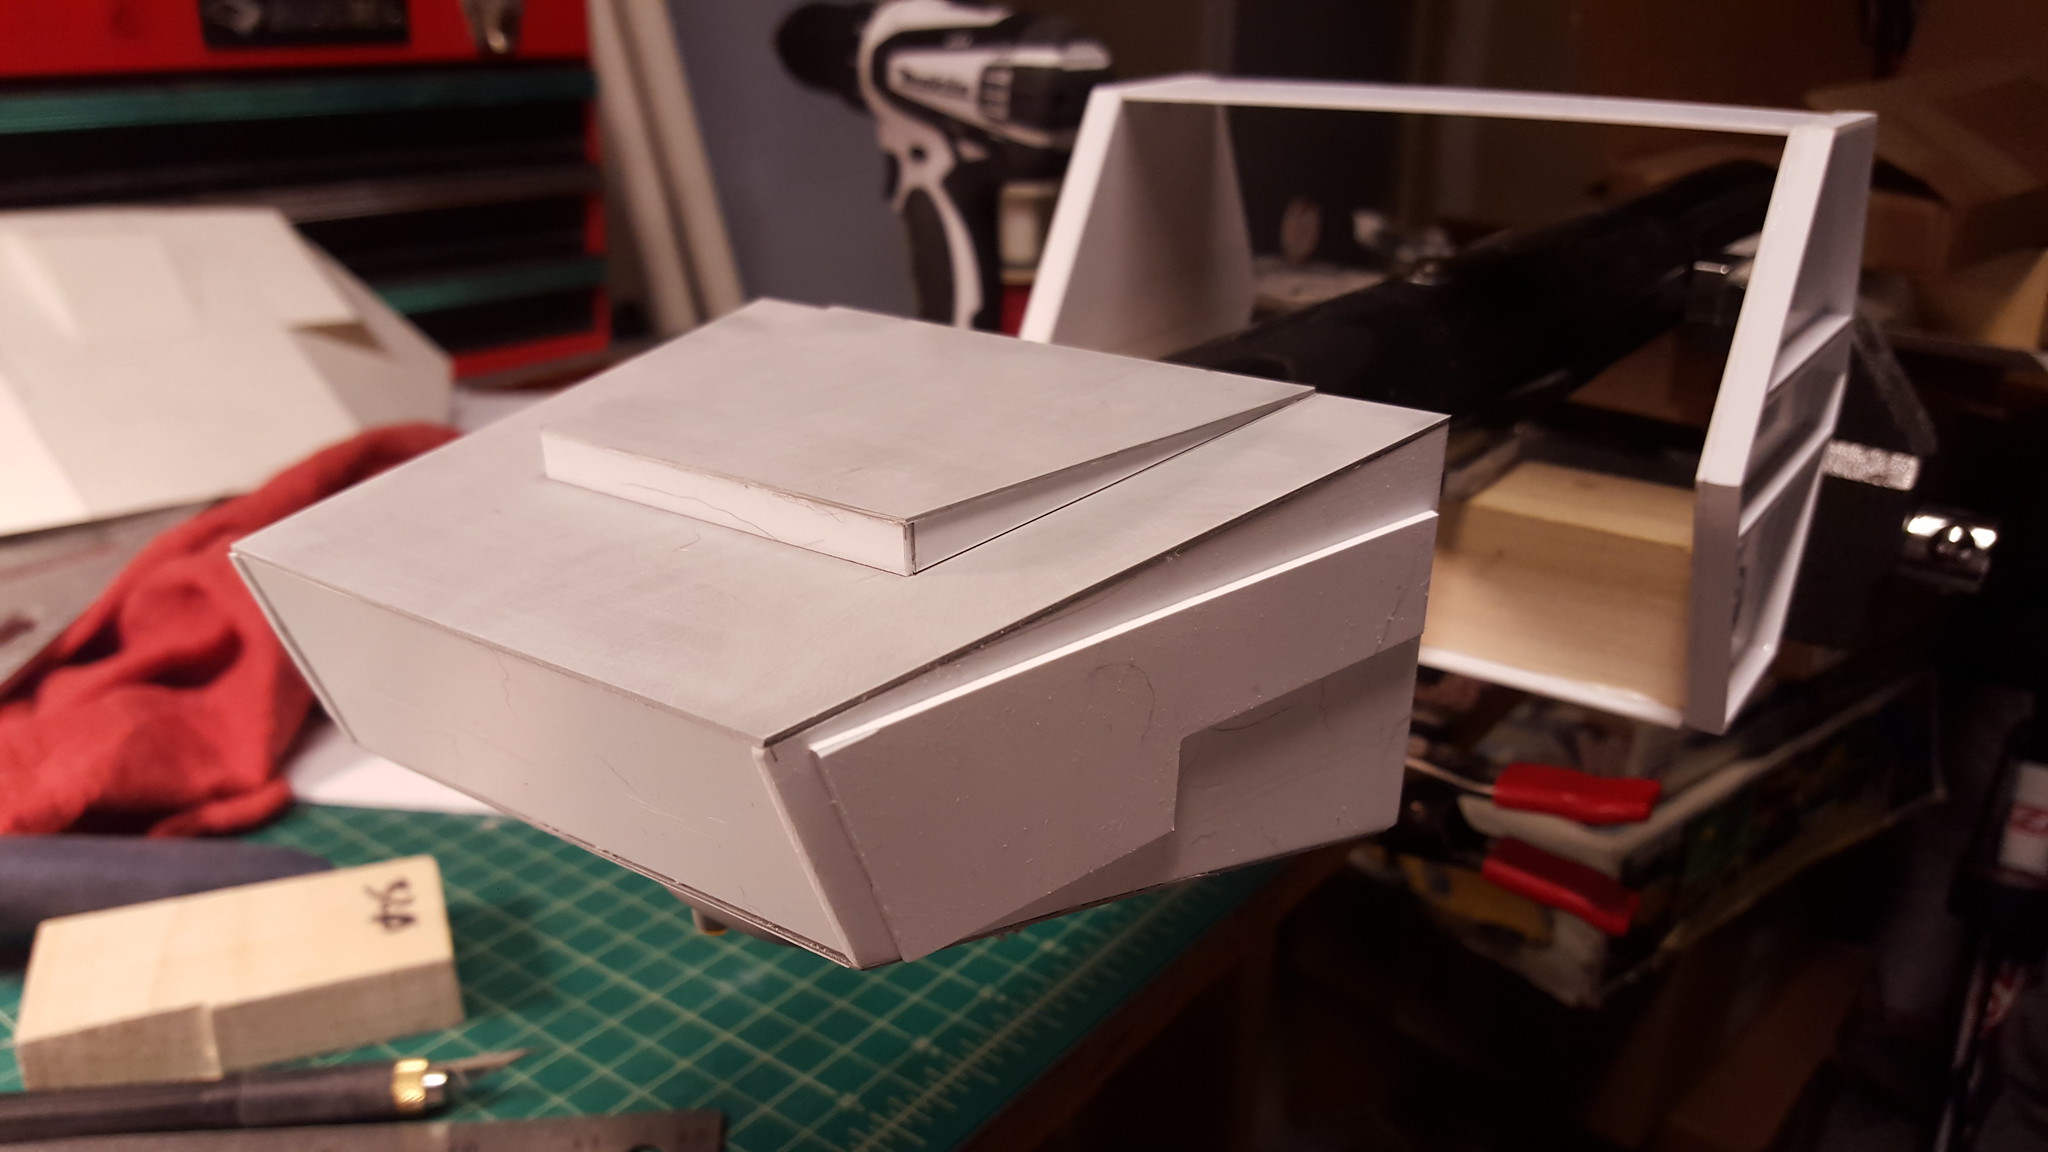
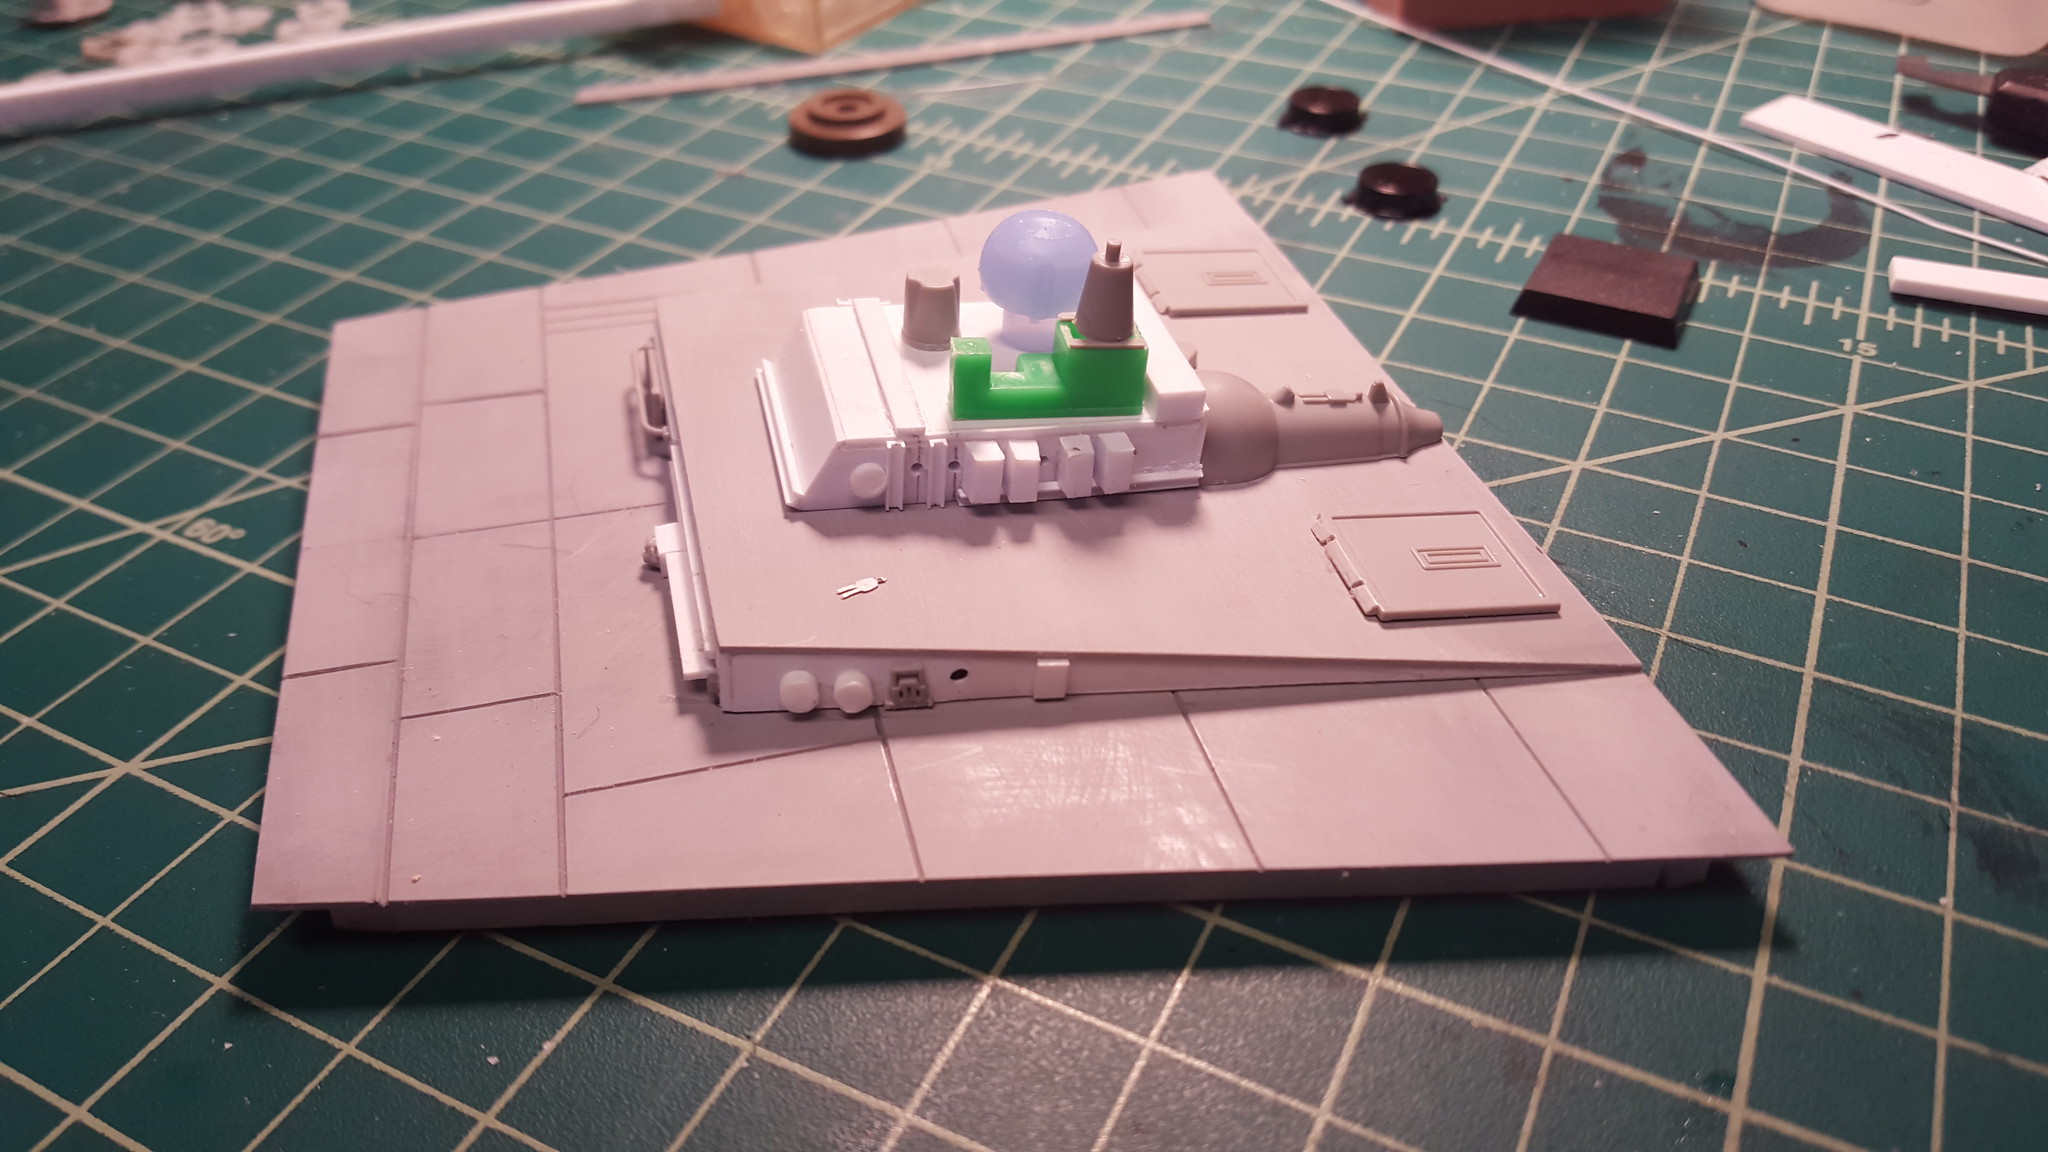
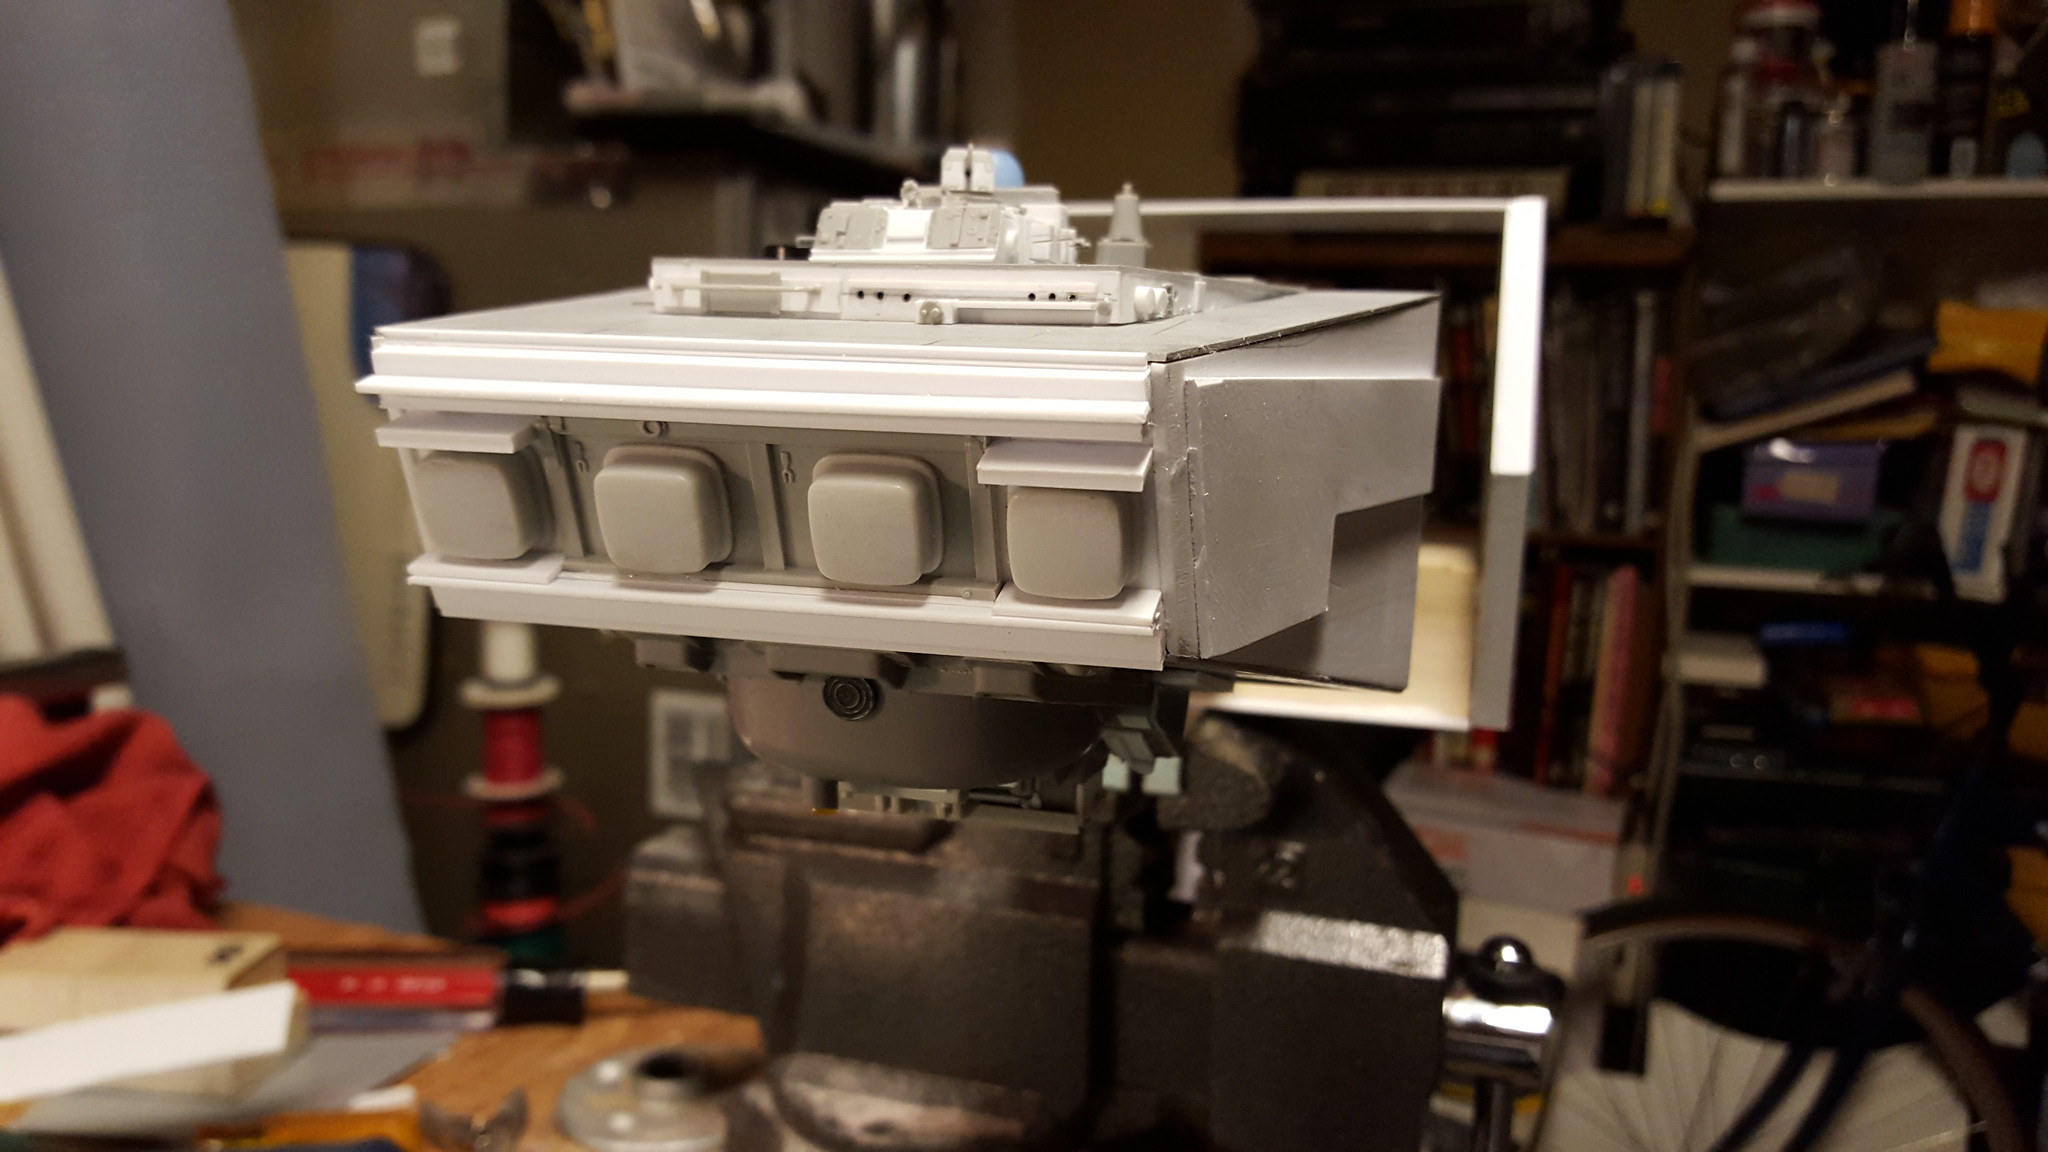
First up is boxing in the scanner body ends. This area will have lots of greeblies and strips of styrene when finished. It will be recessed inside the main body. It was important that I get the shape straight and level so the rest of the model didn’t look warped. I like to listen to podcasts about writing while I work. Sometimes I listen to everything I have and move on to music. Long hours in the garage sniffing glue and cutting plastic go quicker with great tunes.
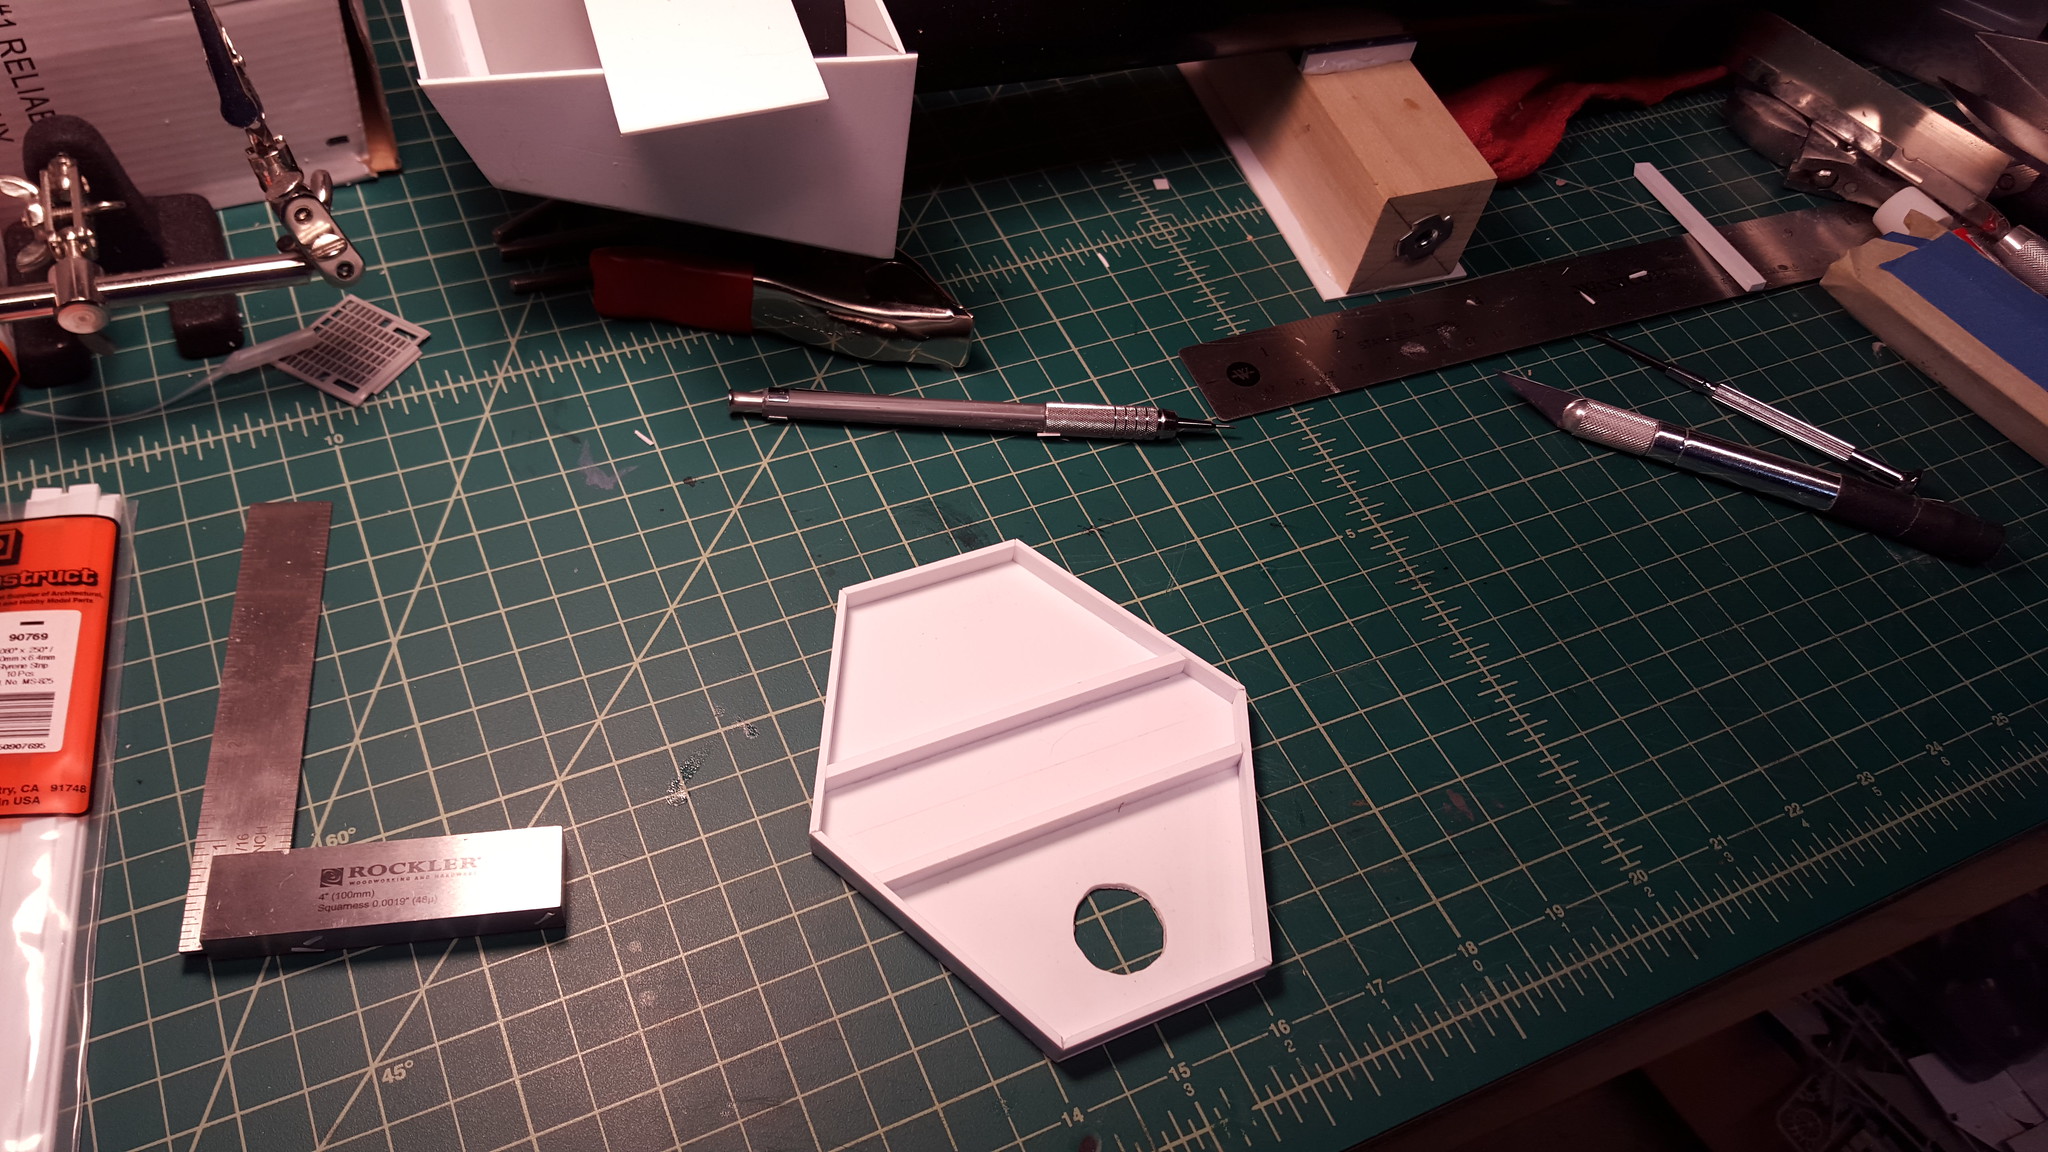
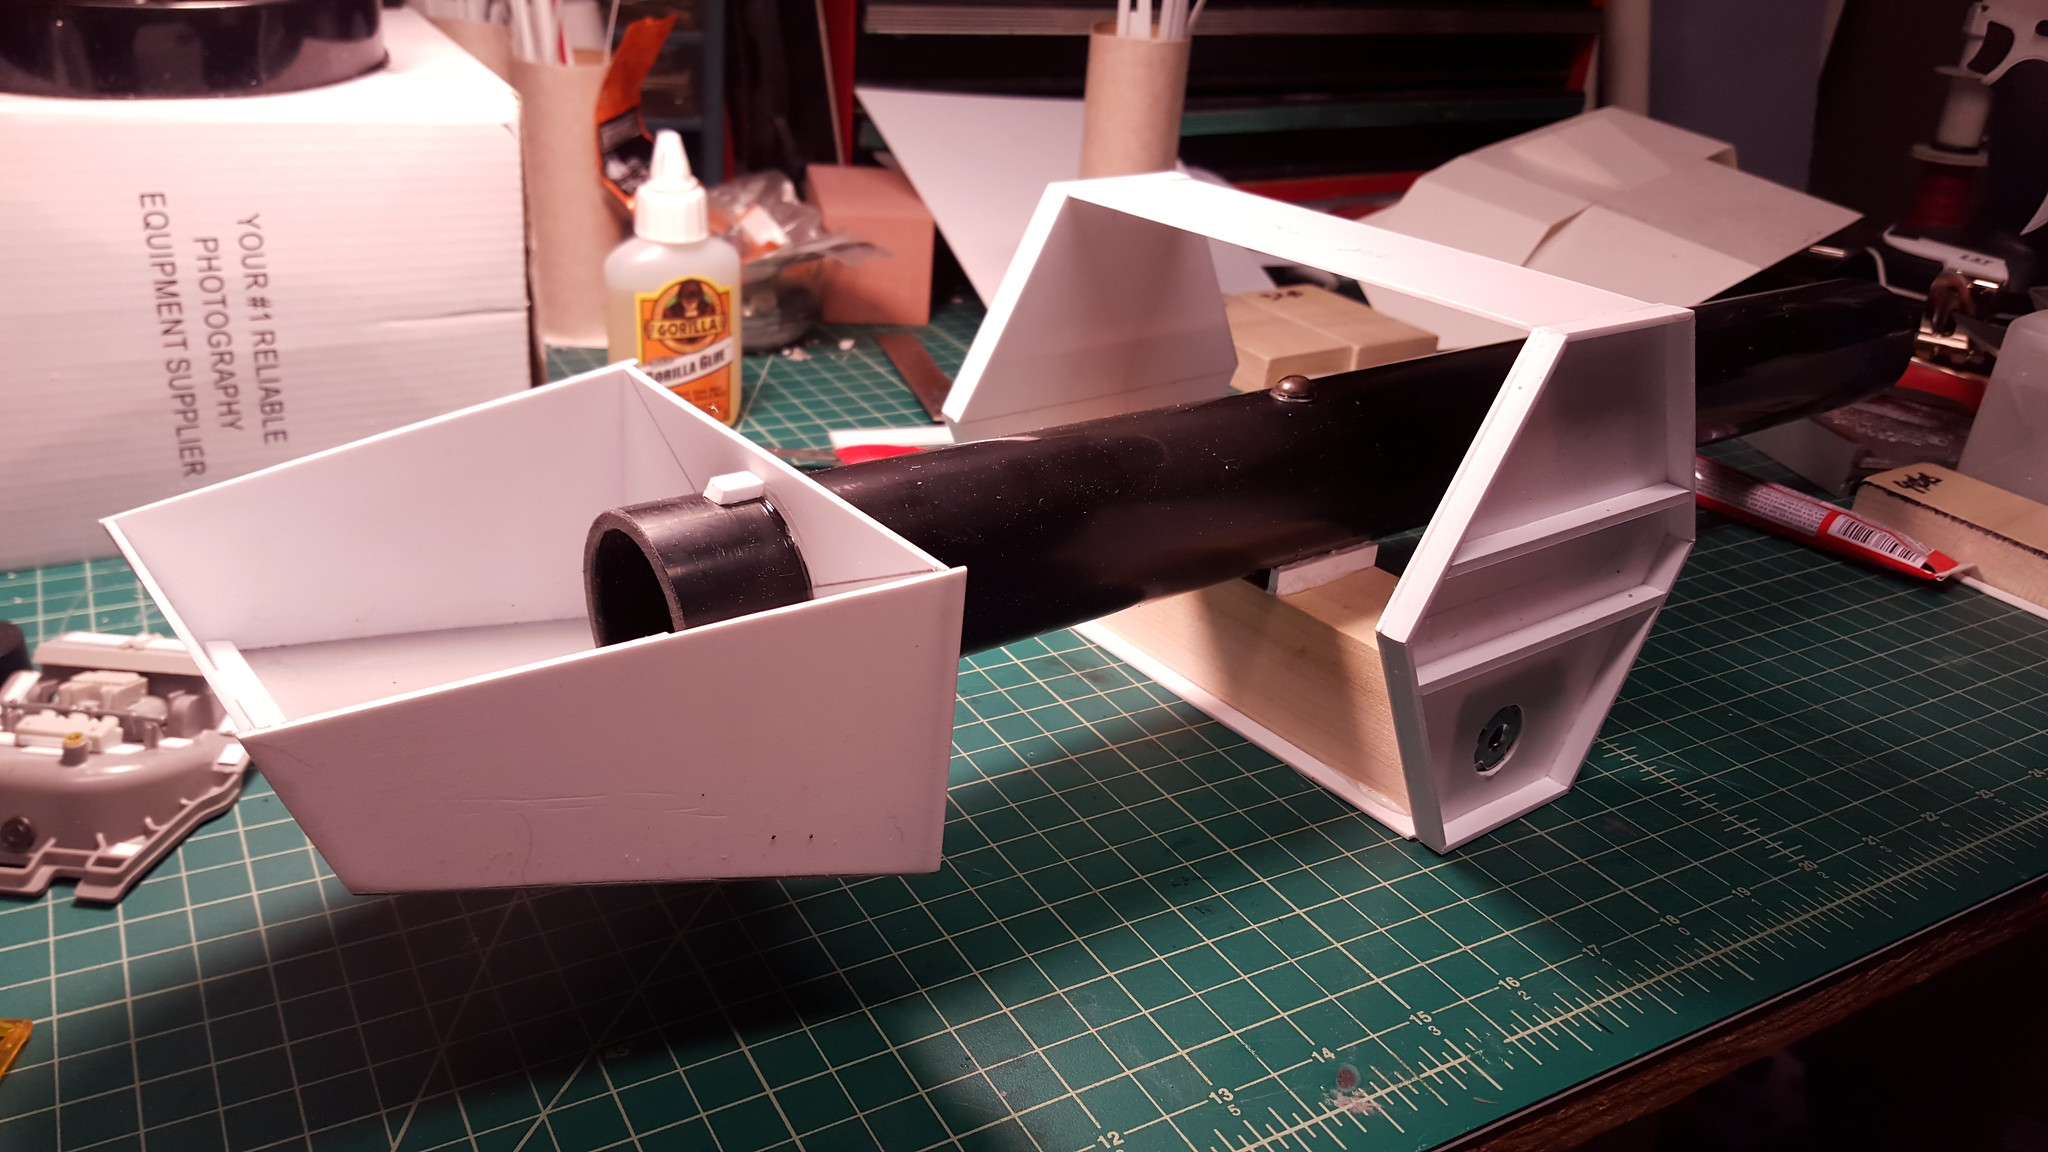
Once the sides were done, I had to secure them to the top and bottom pieces. Now you can start to see the shape I’m going for with this scanner pod body.
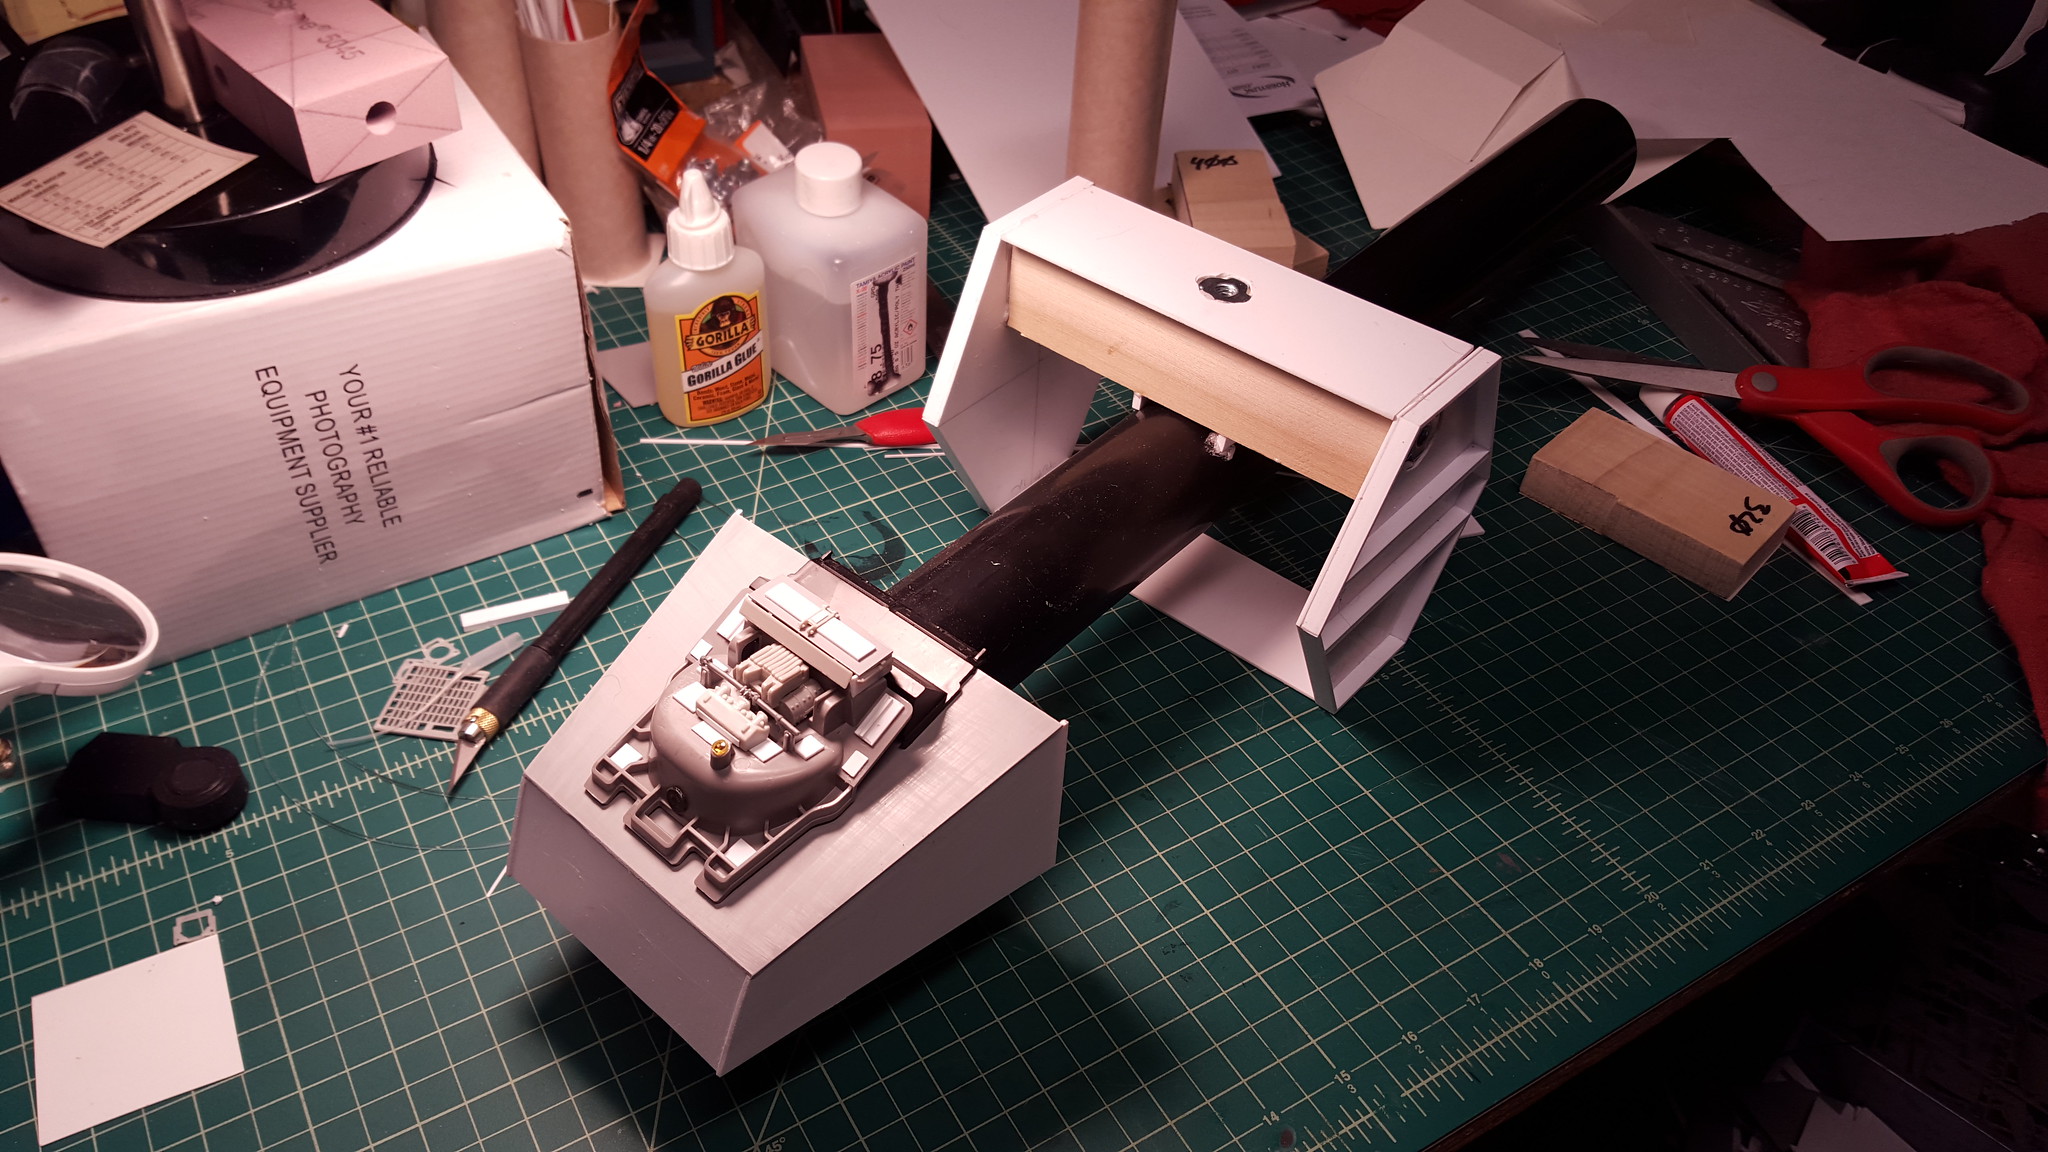
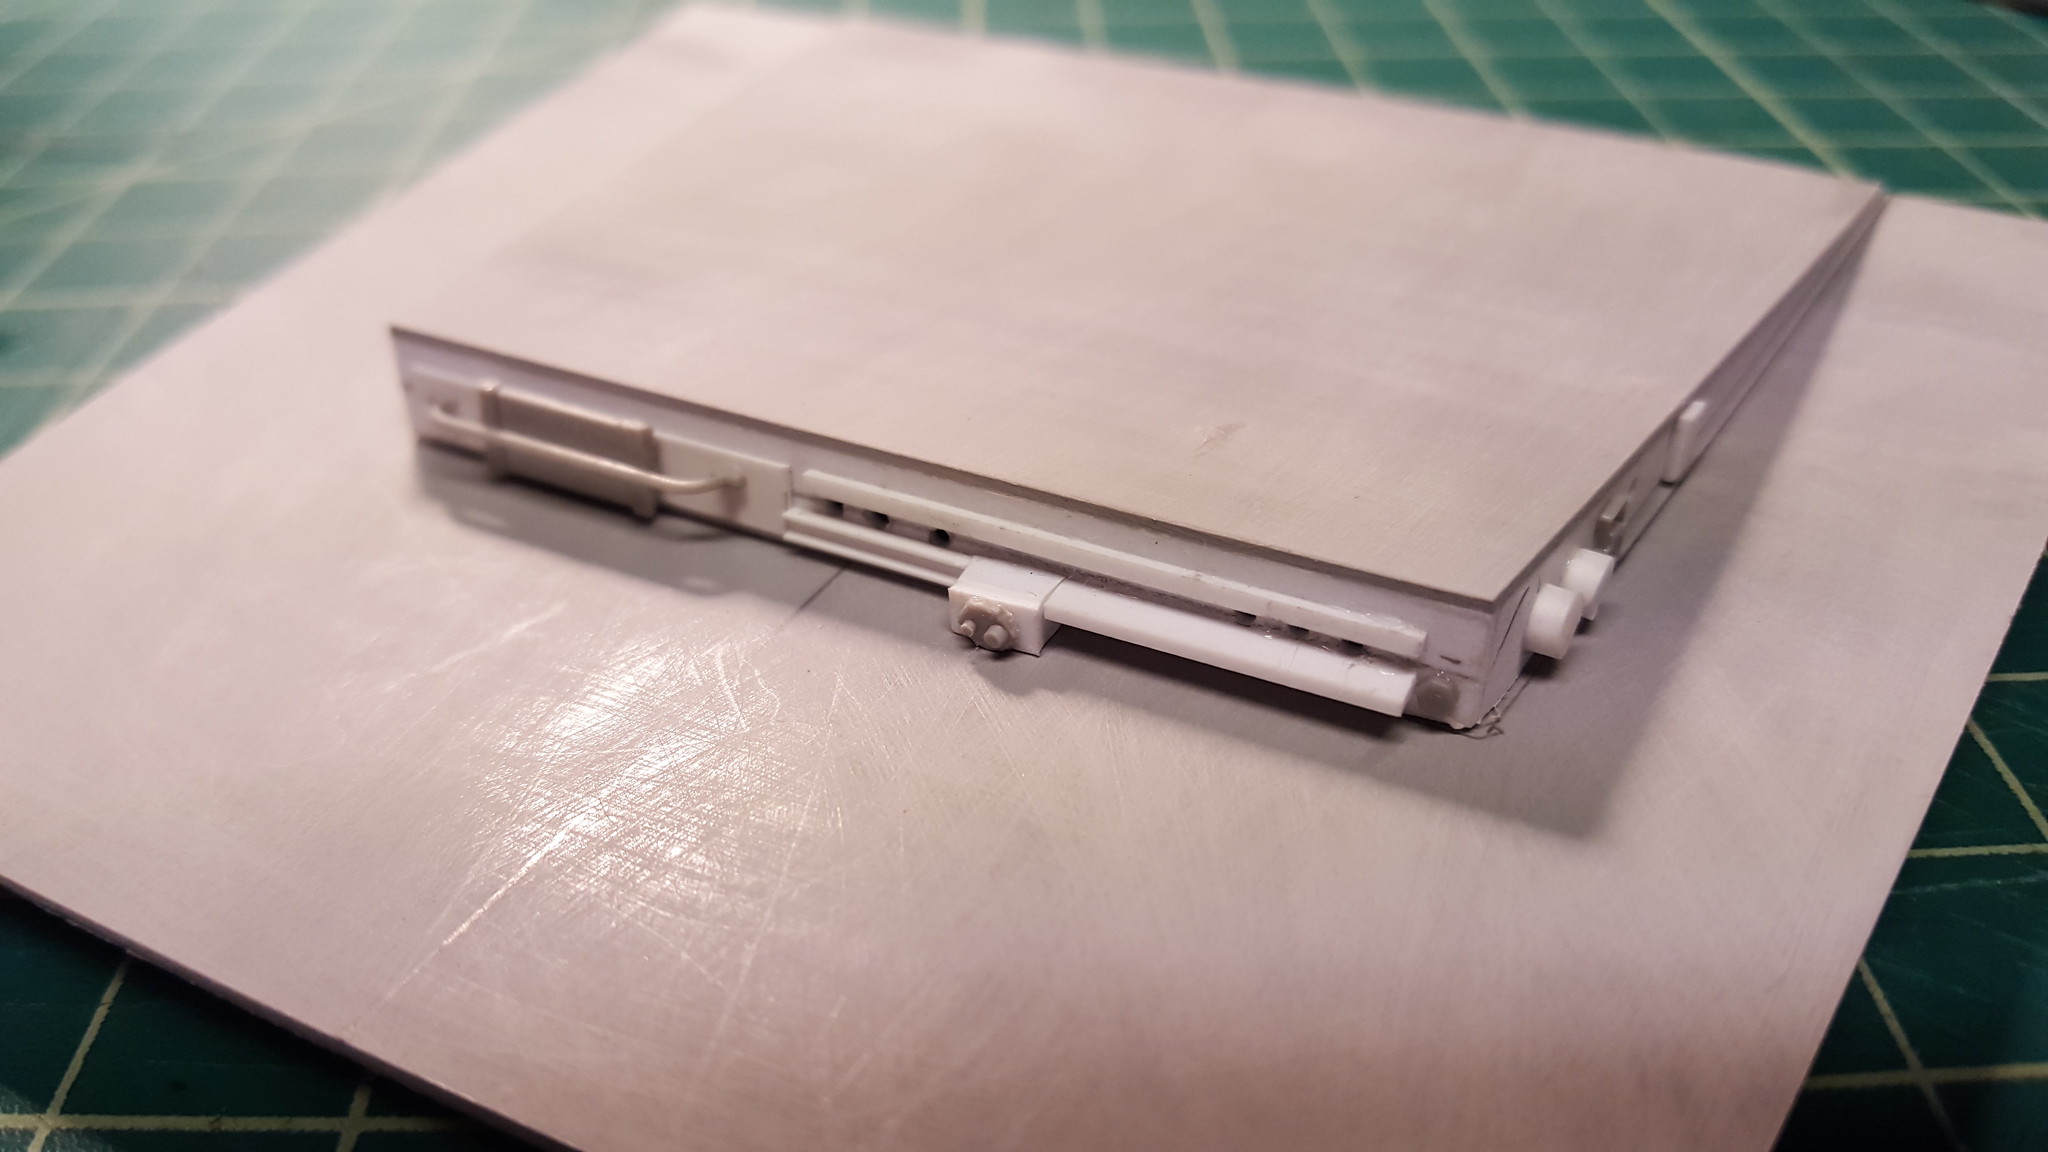
Got a bit carried away with the bottom of the head detailing and decided to attach it to the head. Big mistake. While wrestling with the model later on, I smacked it down and knocked off the detailing. Lesson learned. Do all your manhandling before you put on the details.
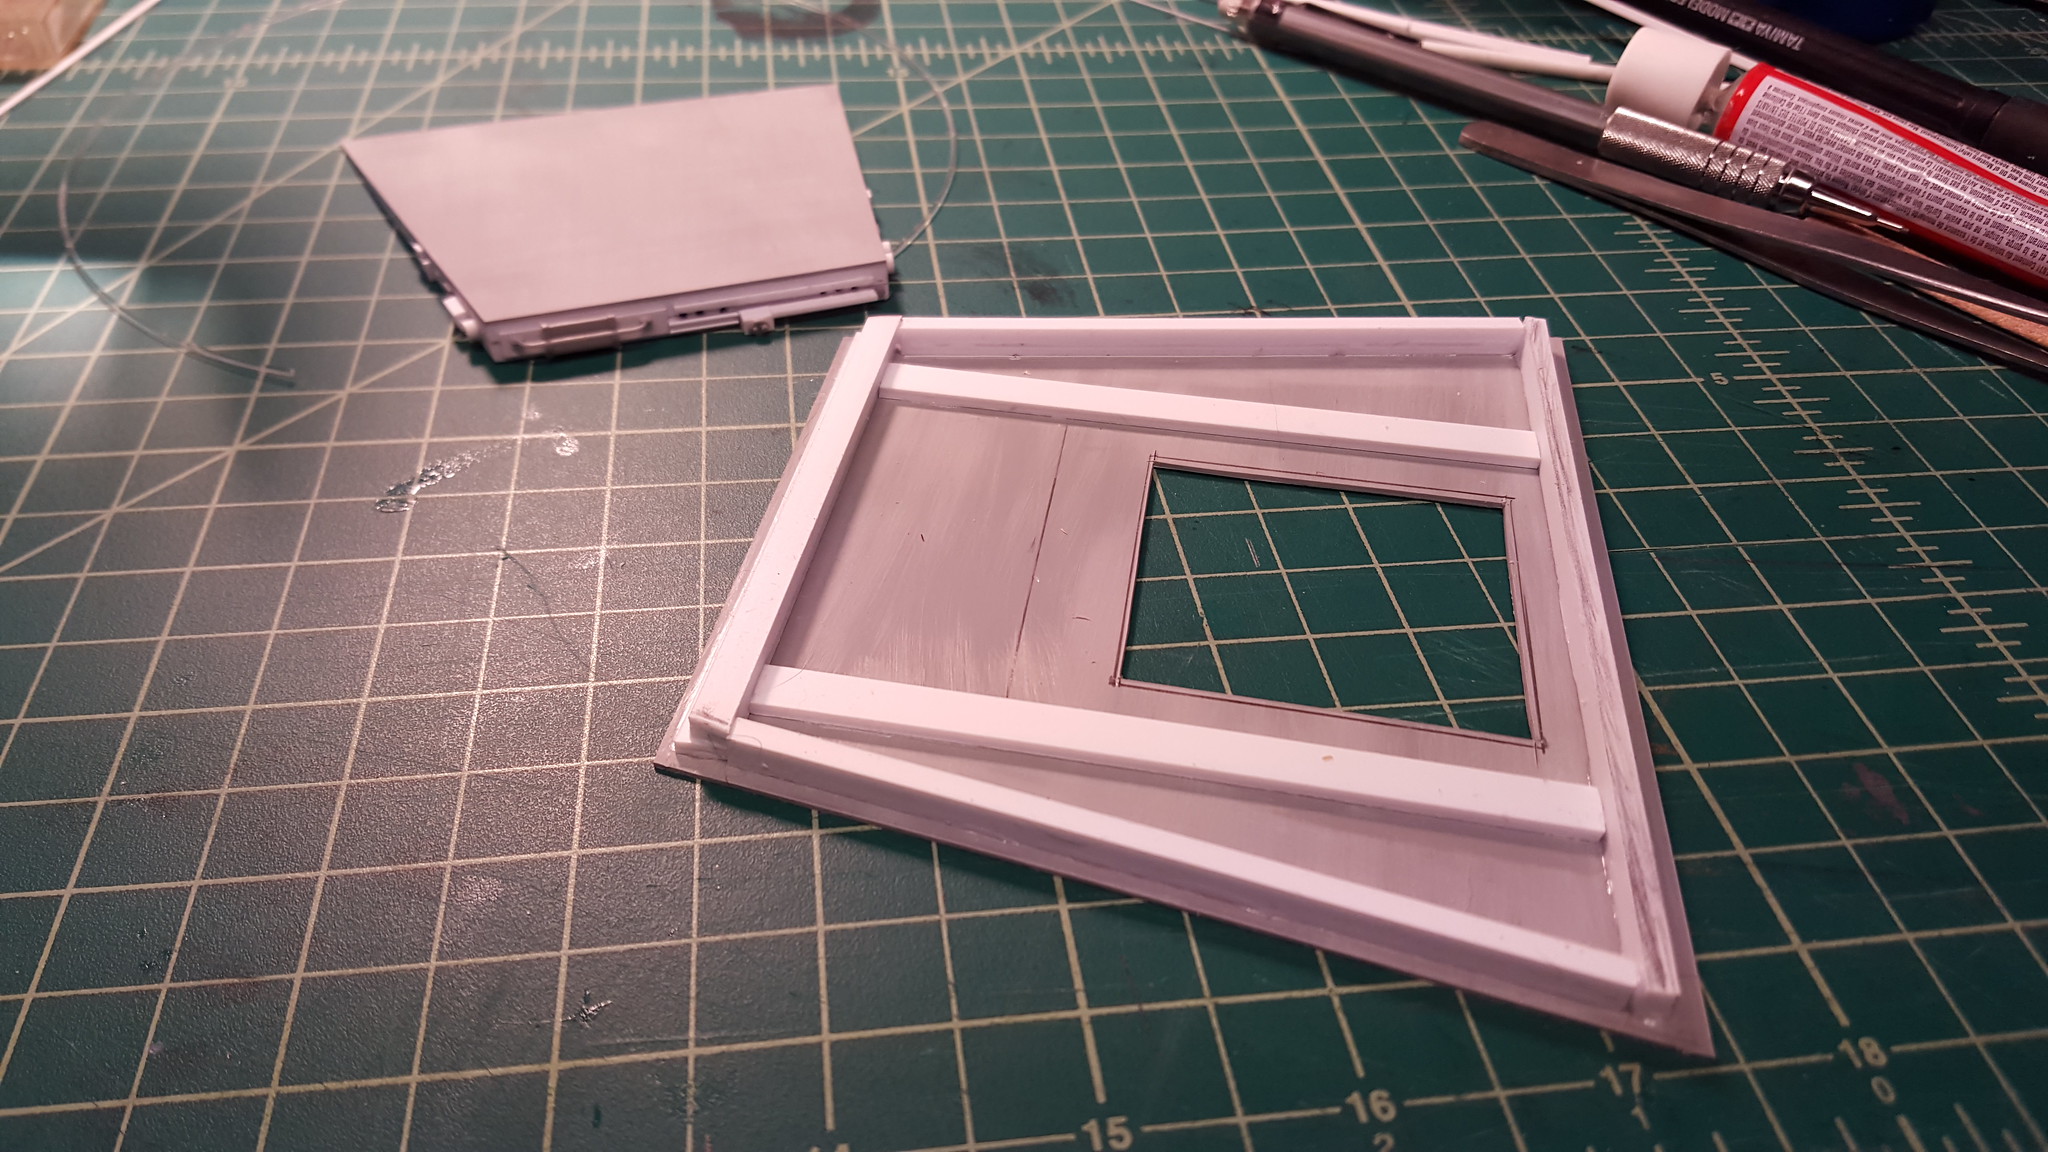
Top of the head gets some shape. I made the top of the head removable so I could access the fiber optics.
Started detailing early again. What is wrong with me?
Regarding using gray styrene. Don’t. Just don’t use it. Testers modeling cement does not do well with it. I won’t be using it anymore. You have to sand it to get anything to stick to it.
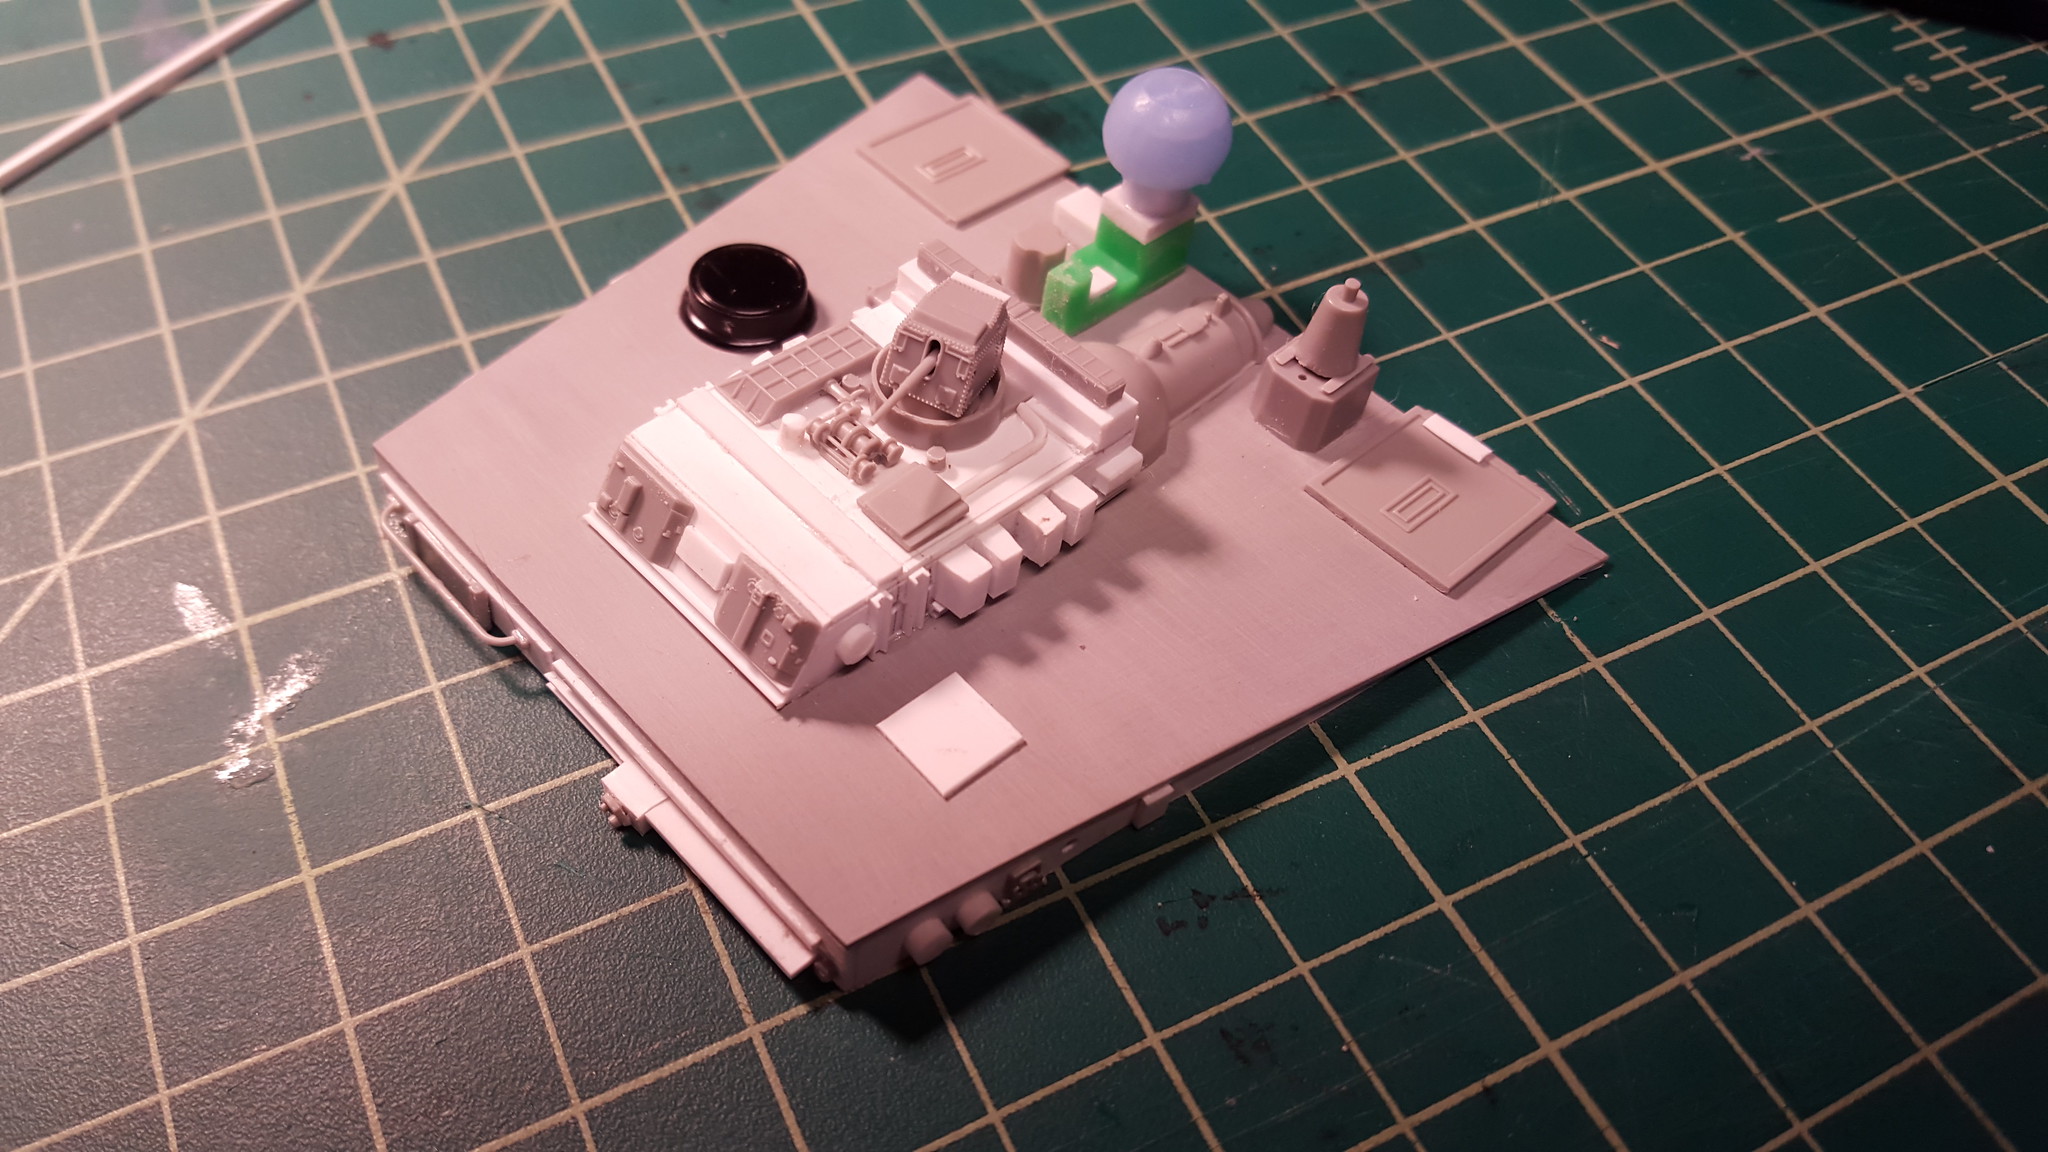
Dinking around with bridge details. I knew I needed an anti-starfighter gun on the top to get the greatest field of fire, but my boat kit had not come in yet so I played around with scanner details. The bridge was built with styrene sheet and strips.
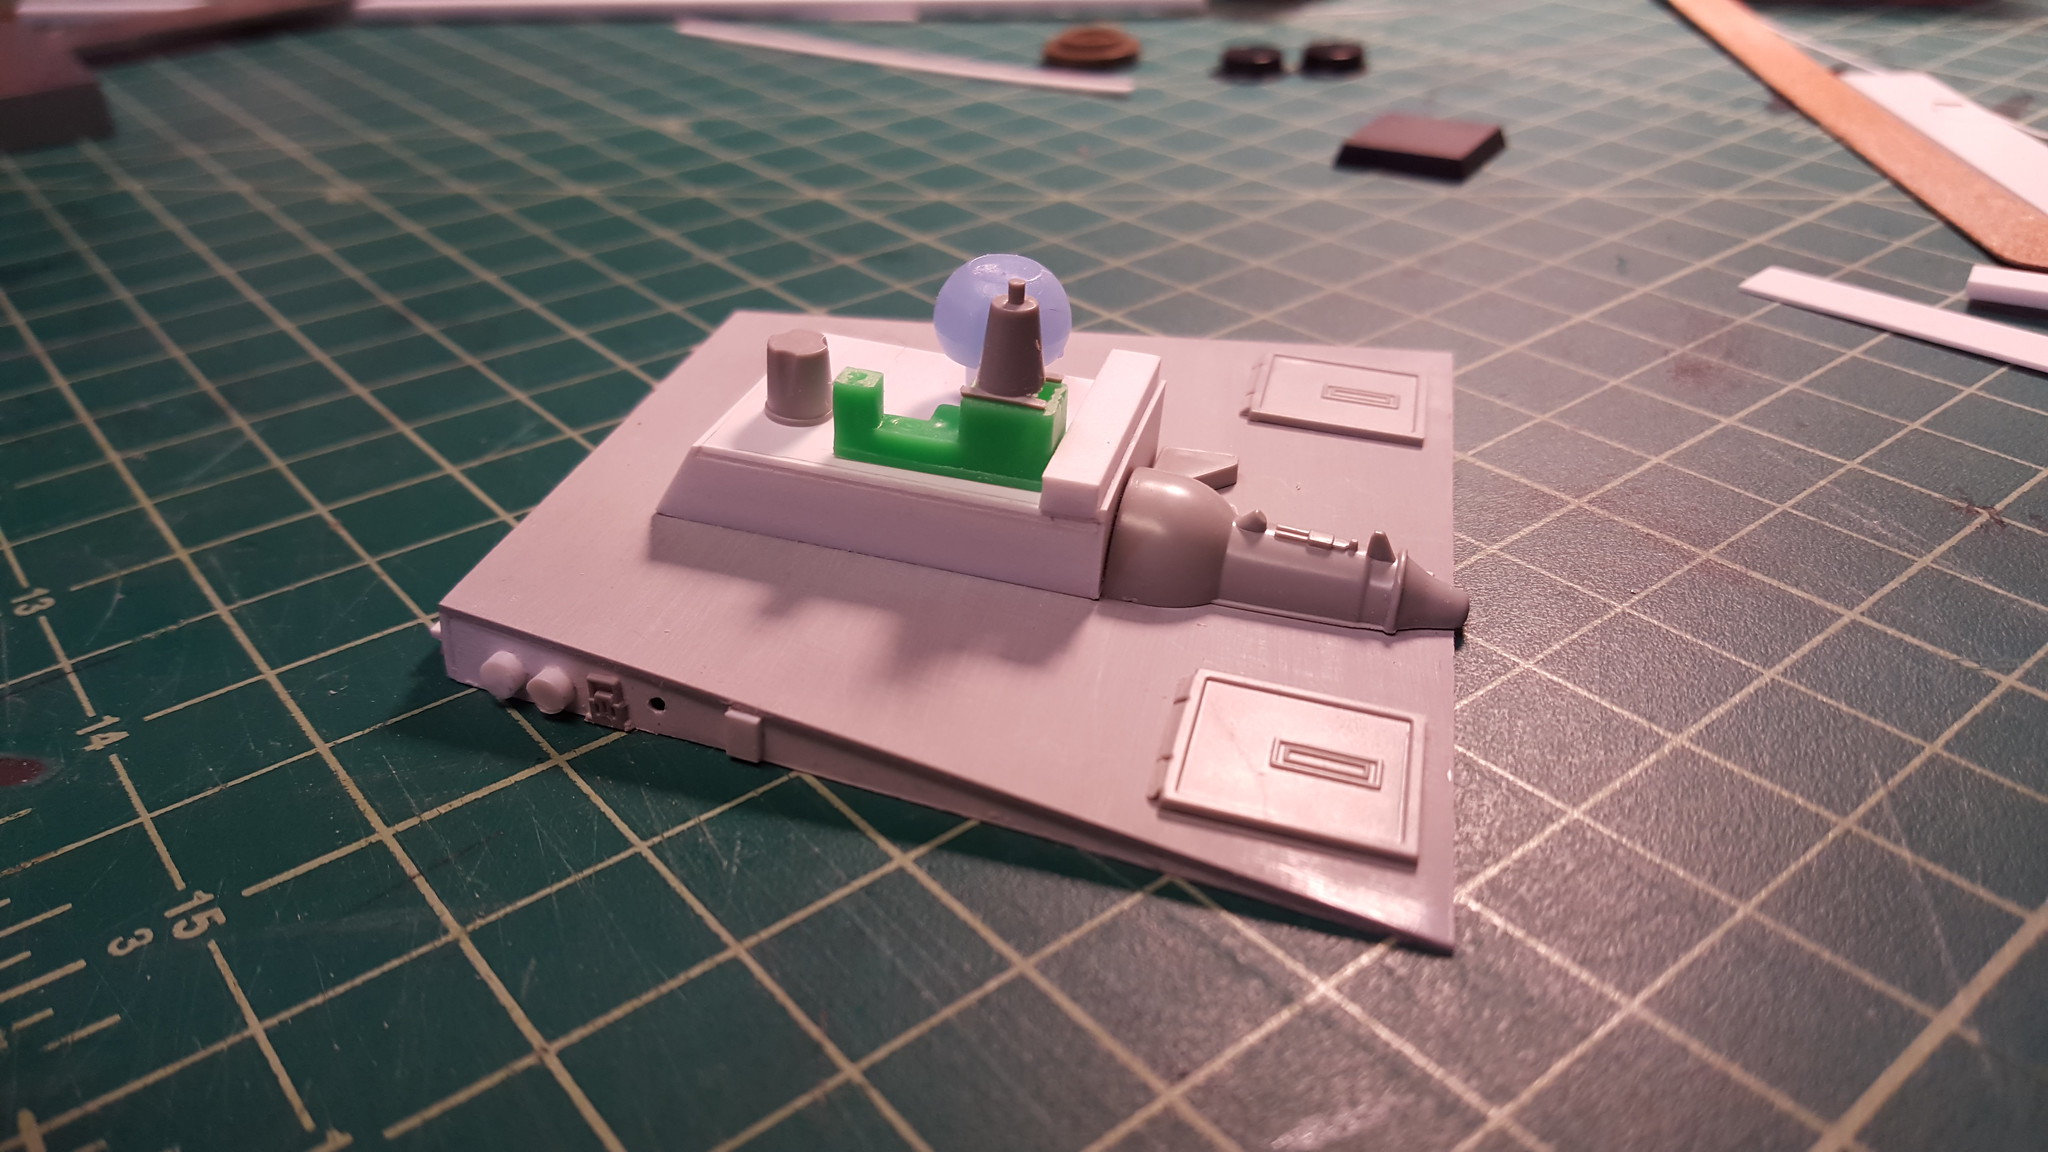
Bridge details continued. I started using thick strips like reactive armor on tanks. Looks cool anyway.
A sense of scale. Sometimes it’s good to keep your scale in mind. Here is a 1/350 scale Japanese sailor.

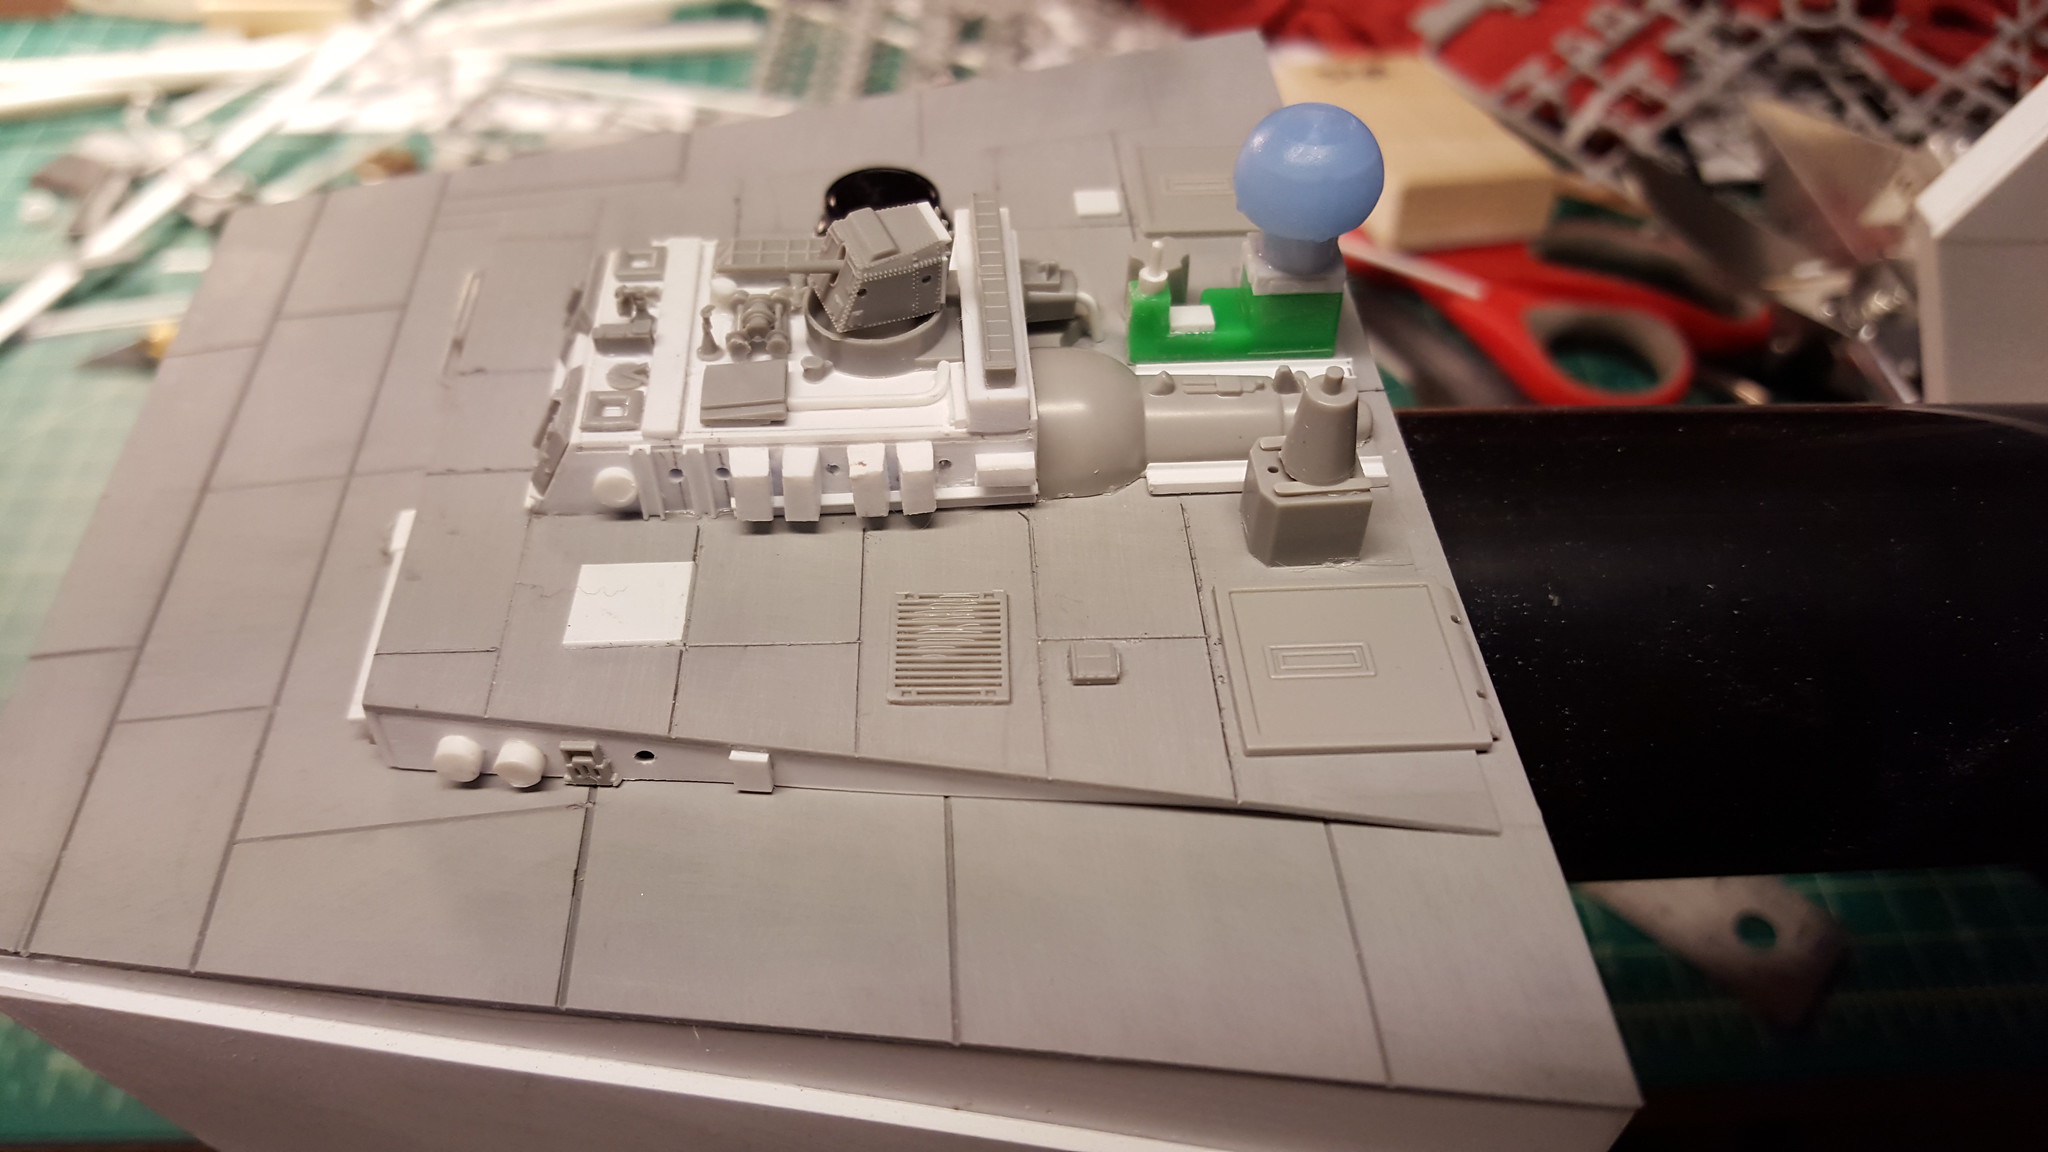
Bridge details augmented by 1/350 scale Dragon German Destroyer kit parts. I’m constantly pleased by the amount of detail that comes from Dragon model kits. From tanks to ships the details are always crisp and clean. Below are more details added and cemented into place. Including the gun on top of the bridge.
Deck plates scored. I forgot to scribe the panel lines so had to use a dental pick after the bridge details had been added.
Another view shows asymmetrical detailing.
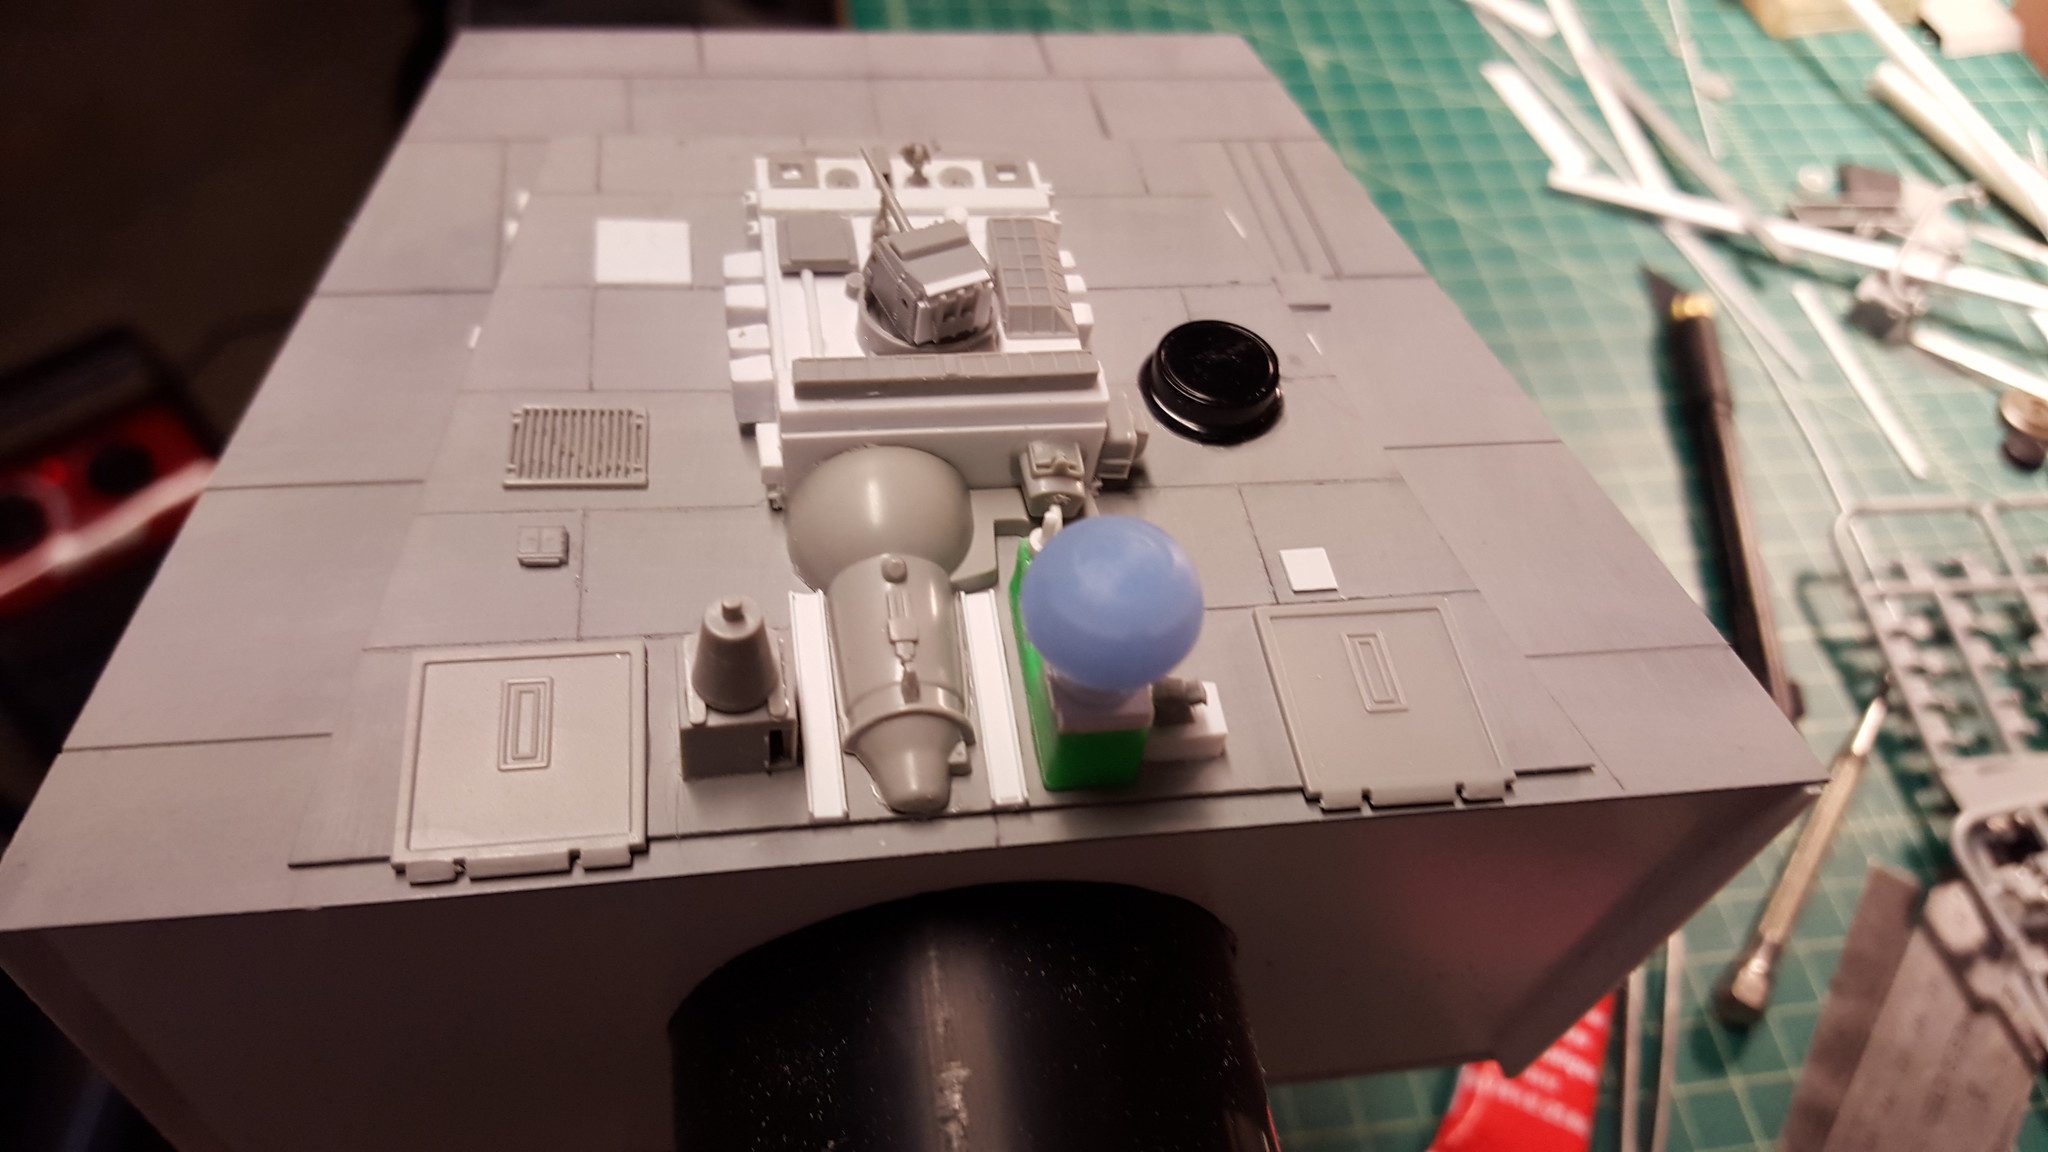
Bow of the ship. The details for the bow were mostly keys from a kid’s computer toy. I just sanded off the letters and glued them on. Lots of strip styrene used for effect.
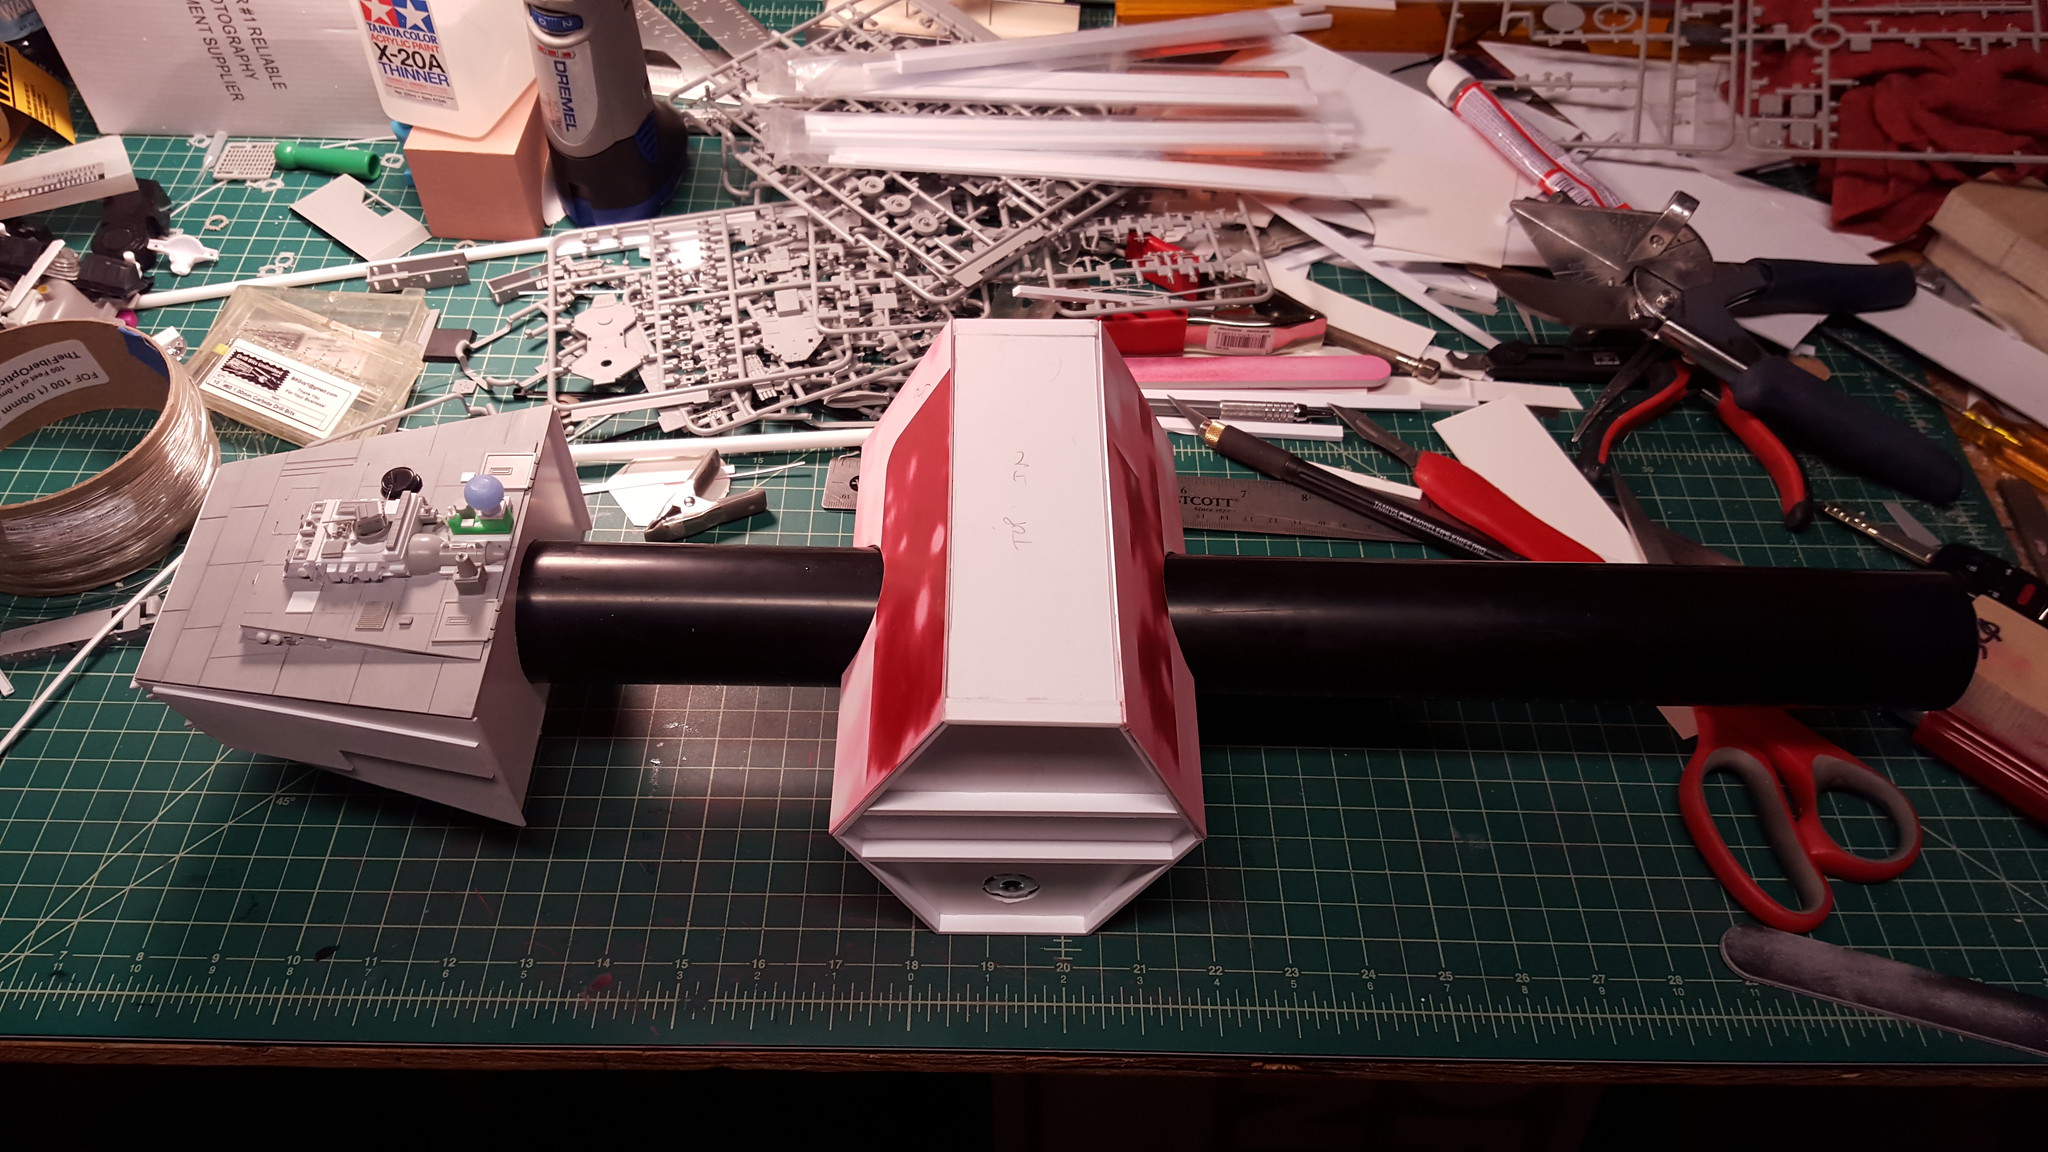
Top sides of the main scanner pod. The red color comes from the fact that I’m using a plastic For Sale sign for my body. Cheaper than buying it from a hobby store and just as good. Below you see the shape of the ship as it now stands. Next comes threading the fiber optics and running the wires for the lights.
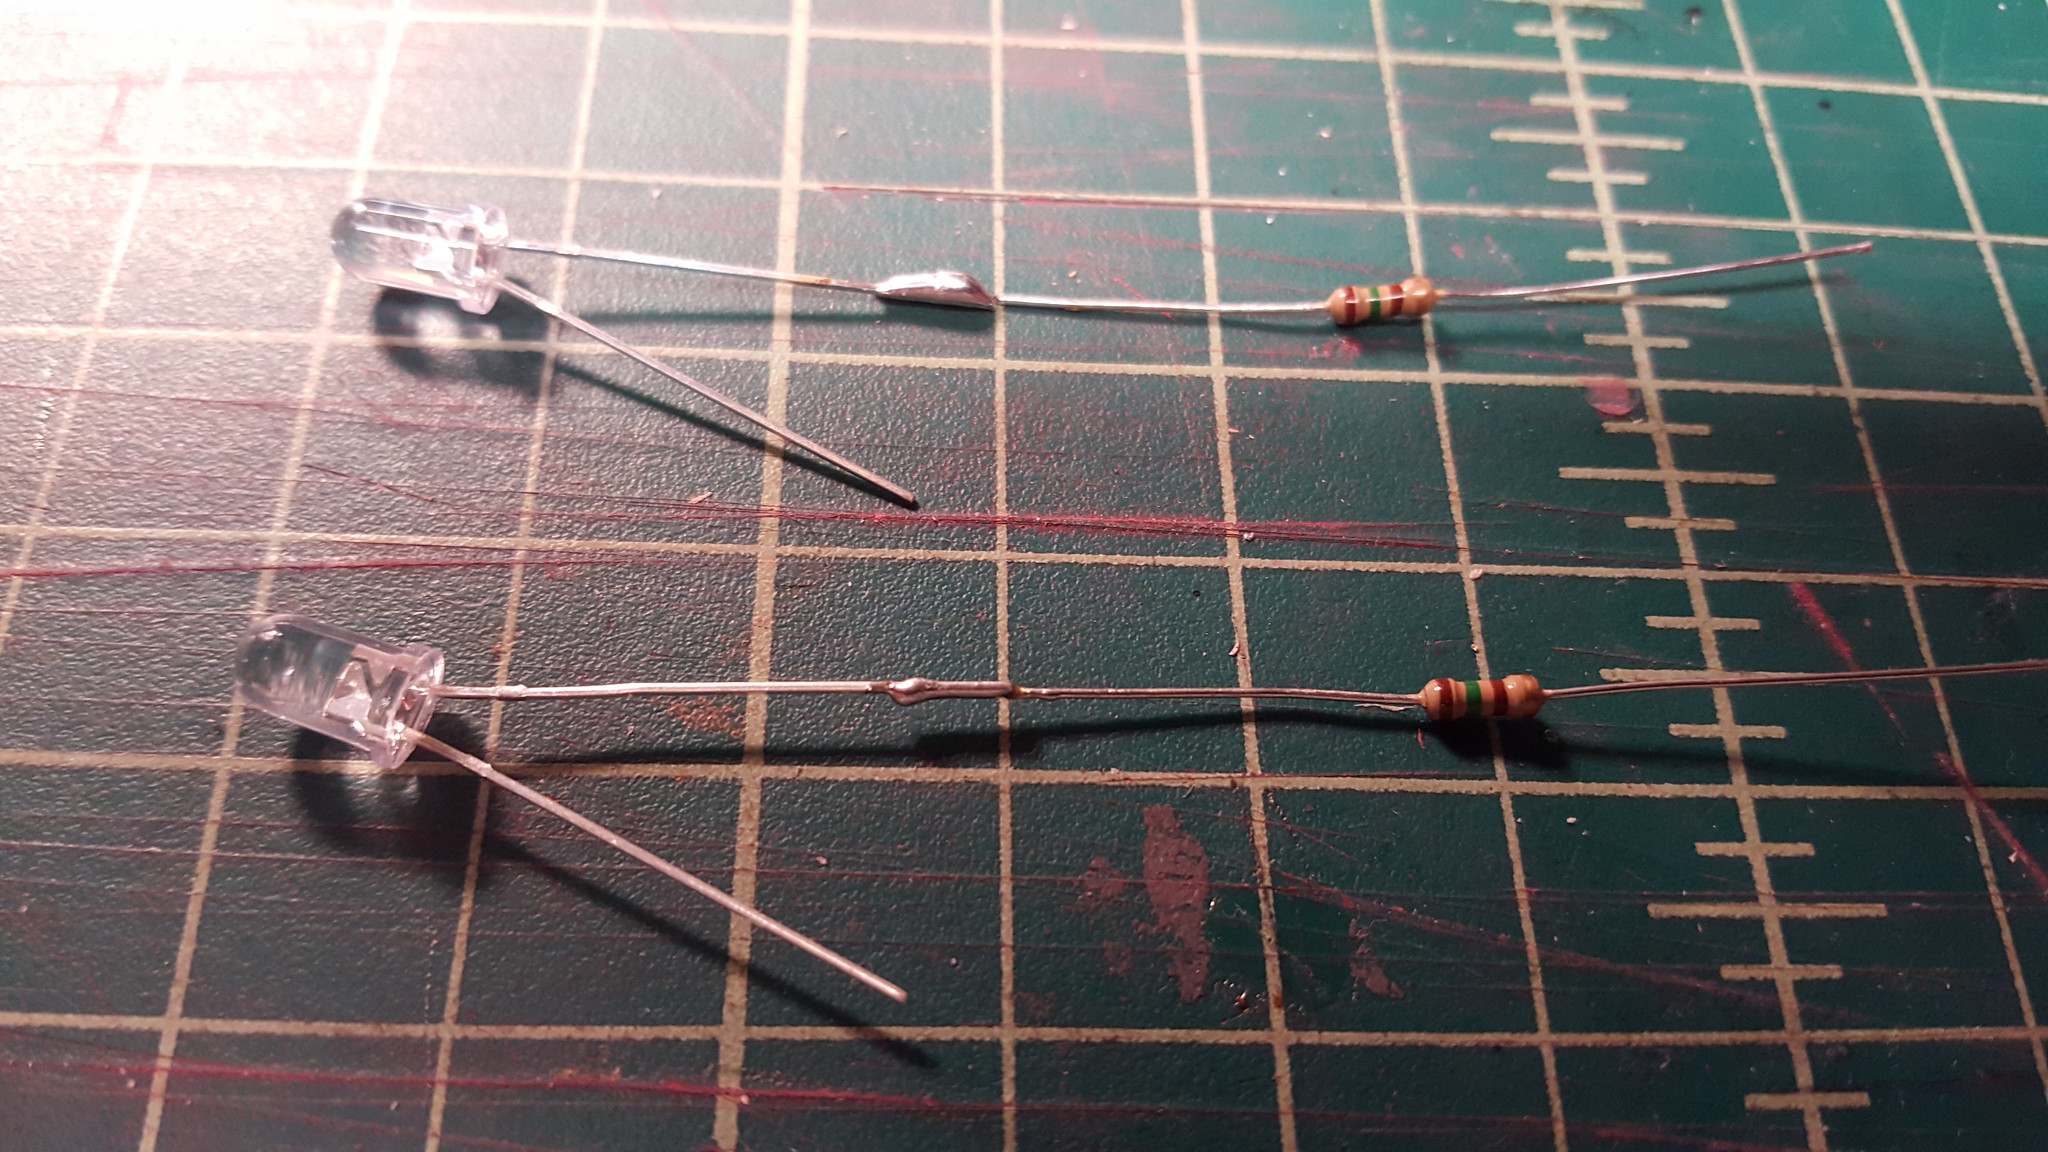
Coming next: lighting.