And then there was the canopy. I wanted it to have good visibility for the pilot and let people look inside to see all that detail I included. I later would put smoked clear plastic for the glass. The canopy was carved from plastic sheet and glued together. Lots of sanding was necessary to make the seams fade away.
Modern fighters usually have the insides painted white. In WWII they used to be zinc chromate a rust inhibitor. In Russia they use a teal blue color for their insides. I wanted to make this like Russian fighters, so I mixed up a blue and white and gray bottle of paint and this is the resulting color. I like it.
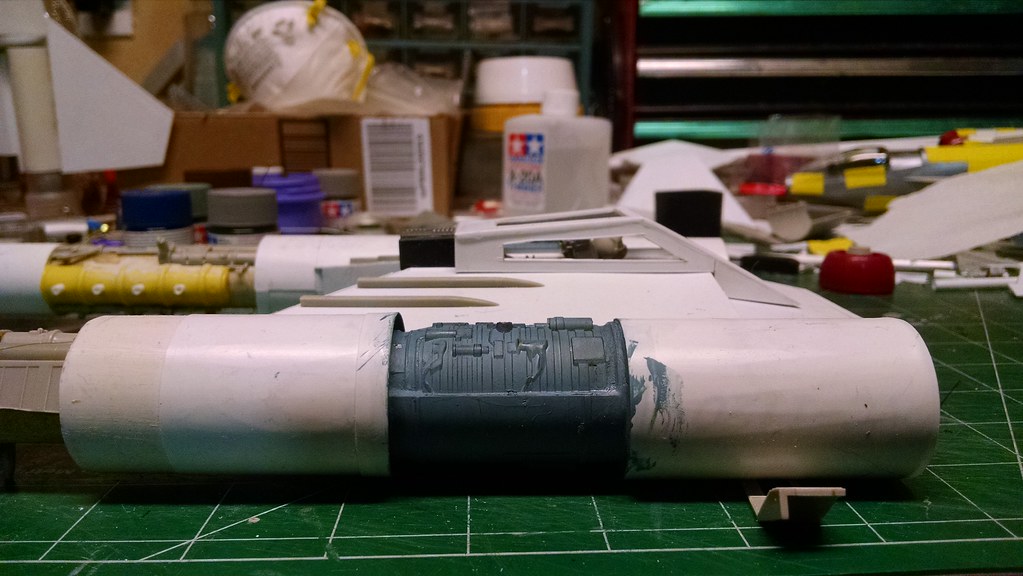
More fuselage details, the white pieces are from a WWI airplane model. No idea which one. The engines now have intake cowls made from kid toys. The colors will go away after primer.
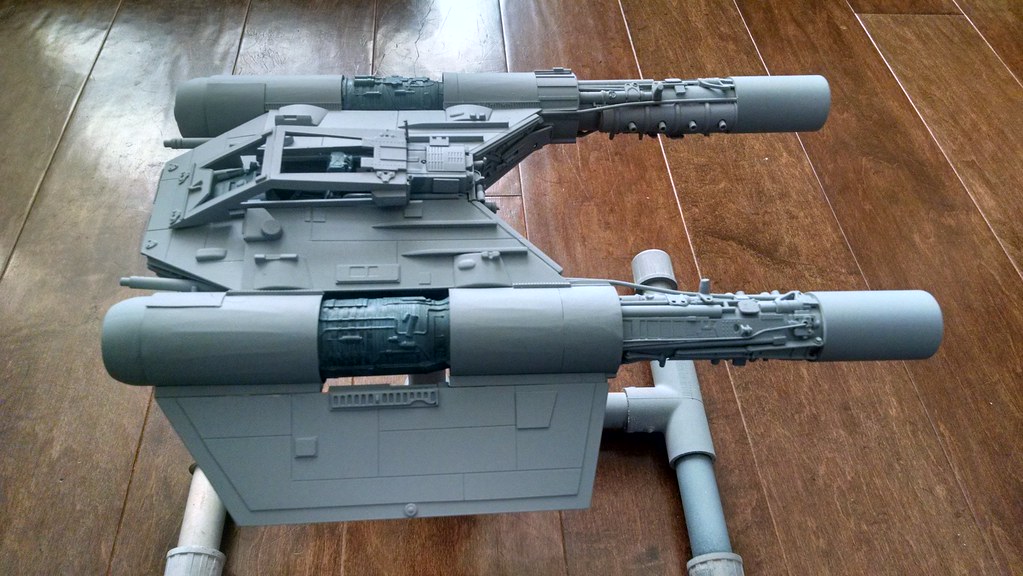
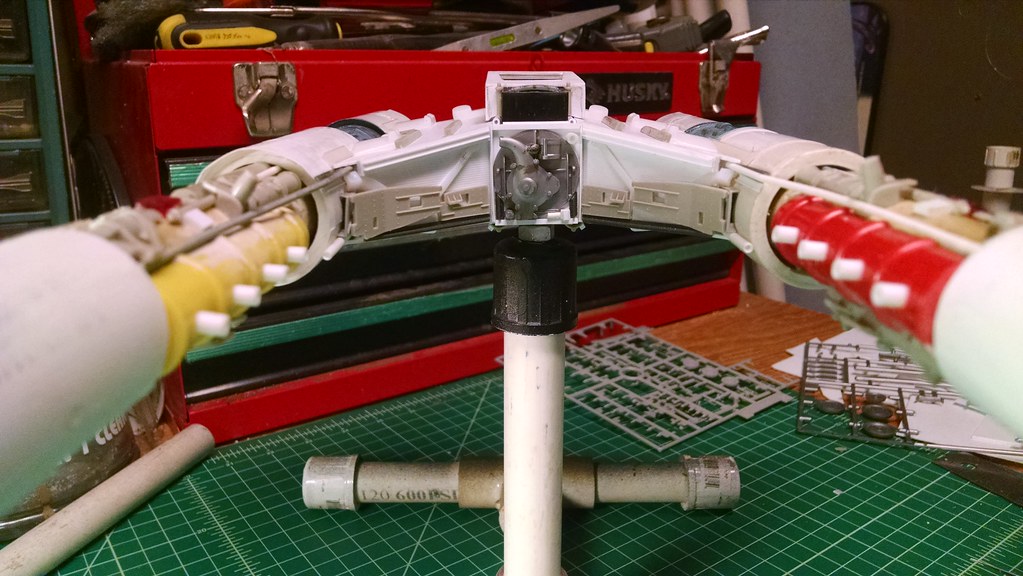
Got her up on the mount while I add more greeblies. I like when I can get the model to this point. Makes working on it easier.
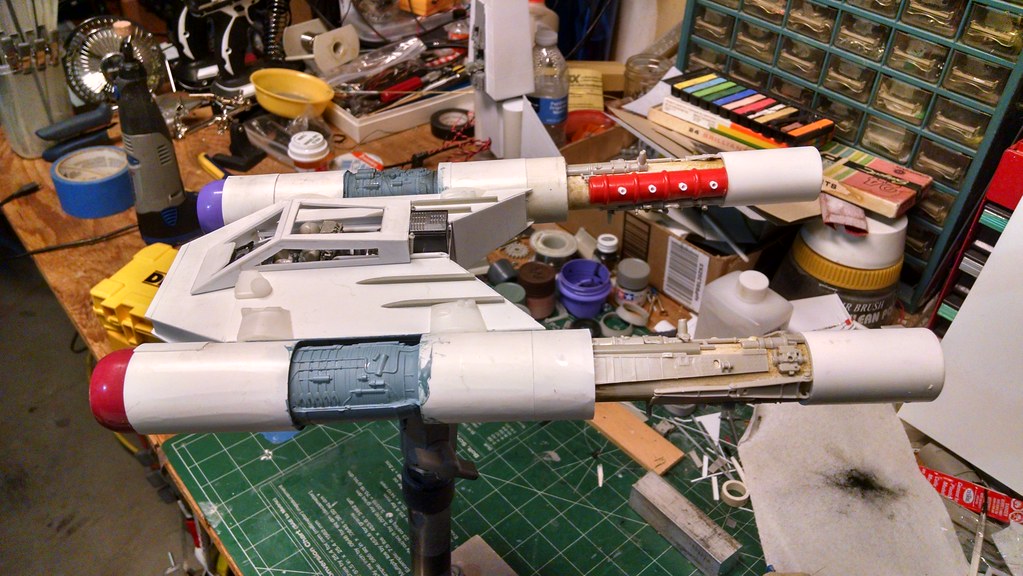
Plus you can tilt it over and work on the bottom. Which is way too clean right now.
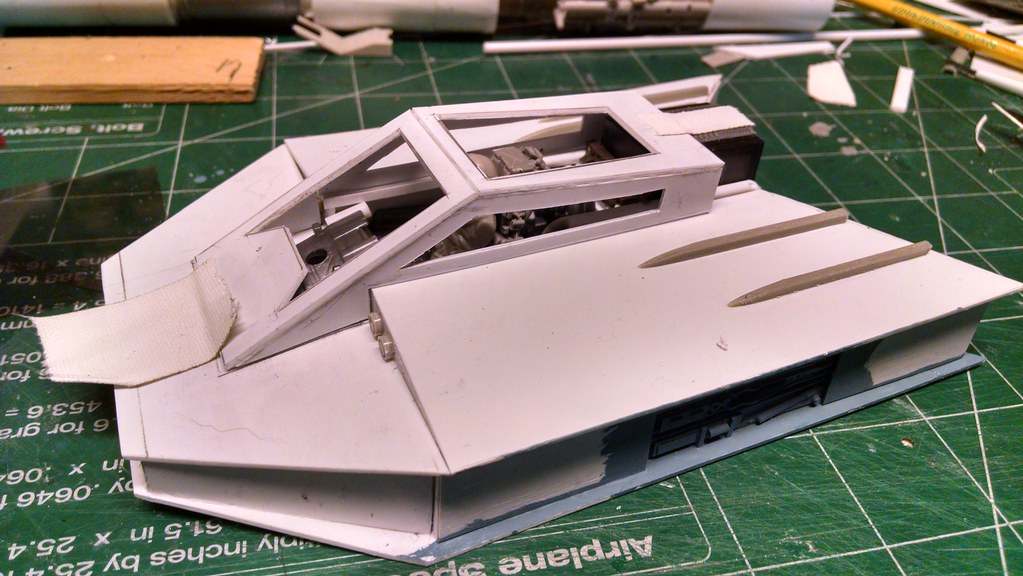
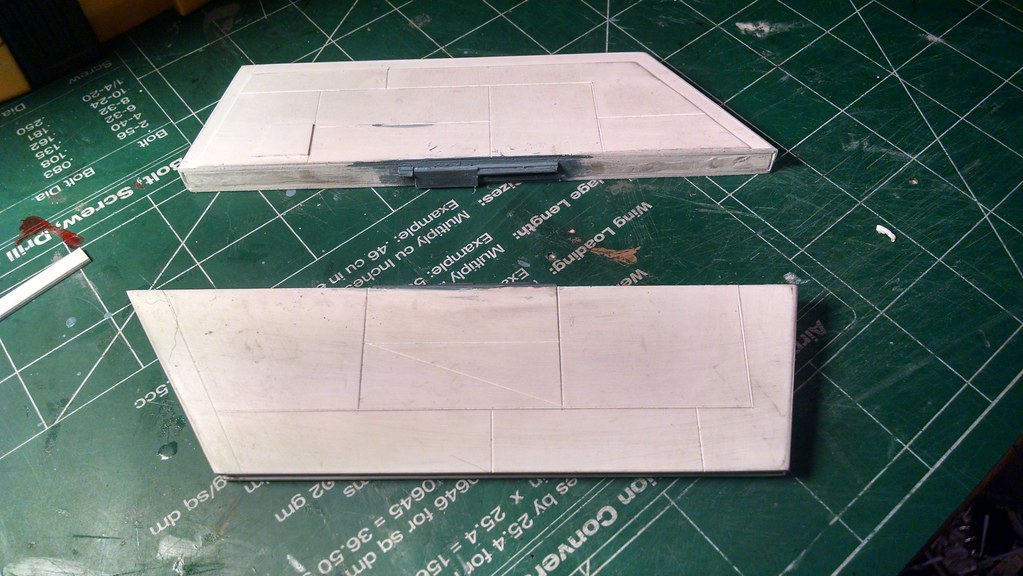
Next up are the wings. I built them up like little boxes. The inside area is detailed and painted. Panel lines are scored with my scoring knife and some raised panels added. Done.
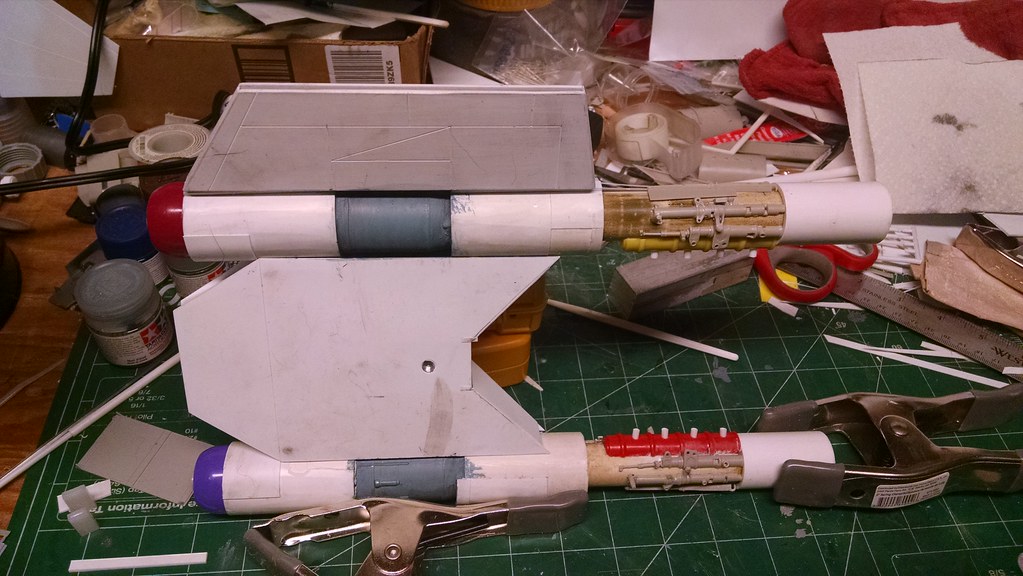
Here we are cementing the wings onto the engine nacelles. It took some fiddling to get the wing to stand off the side a bit the way I wanted.
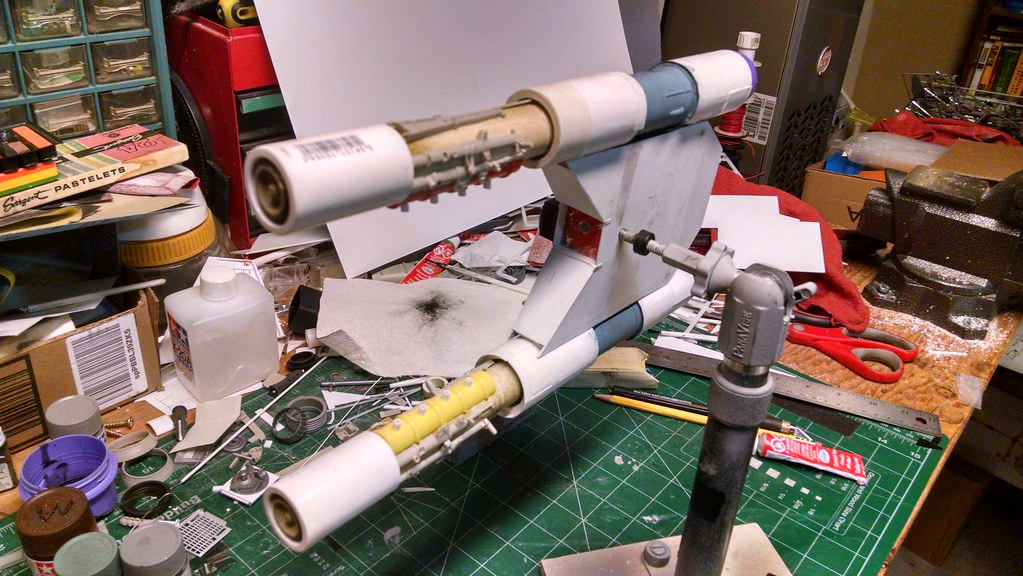
Here is the fish, ready for boning, er I mean detailing the bottom.
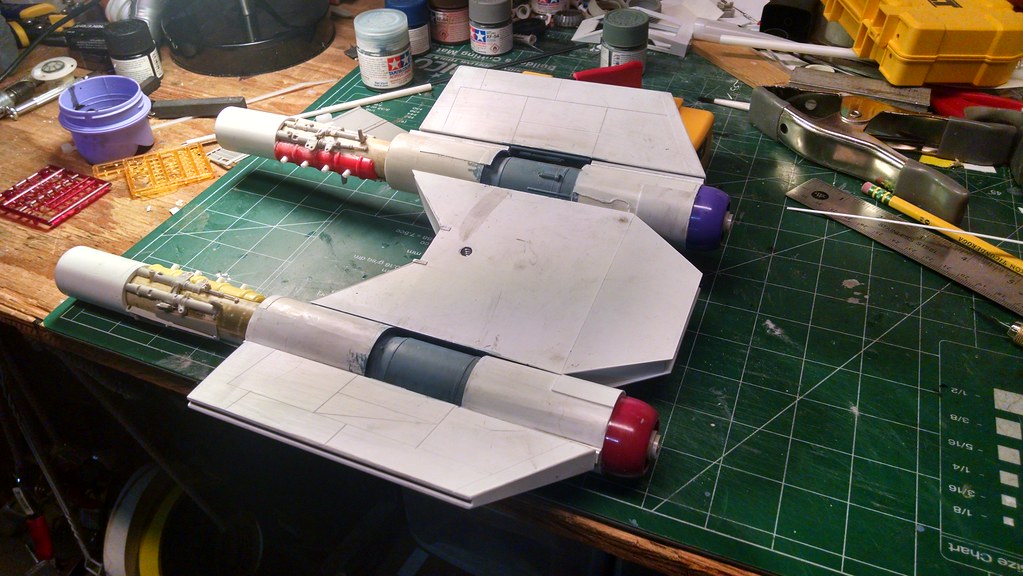
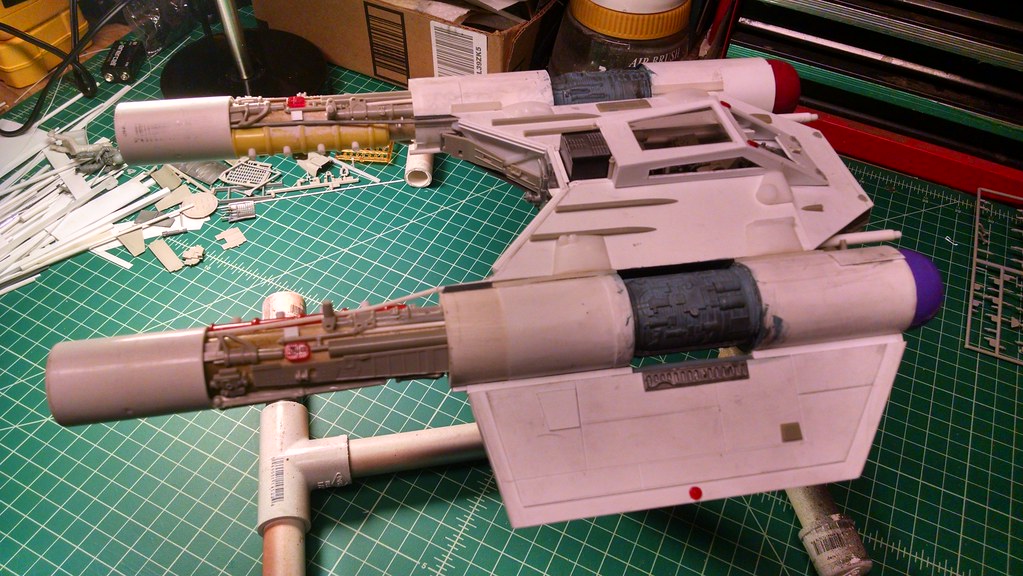
This is a good shot of the engine intakes. I’m loving the shape of the whole fighter.

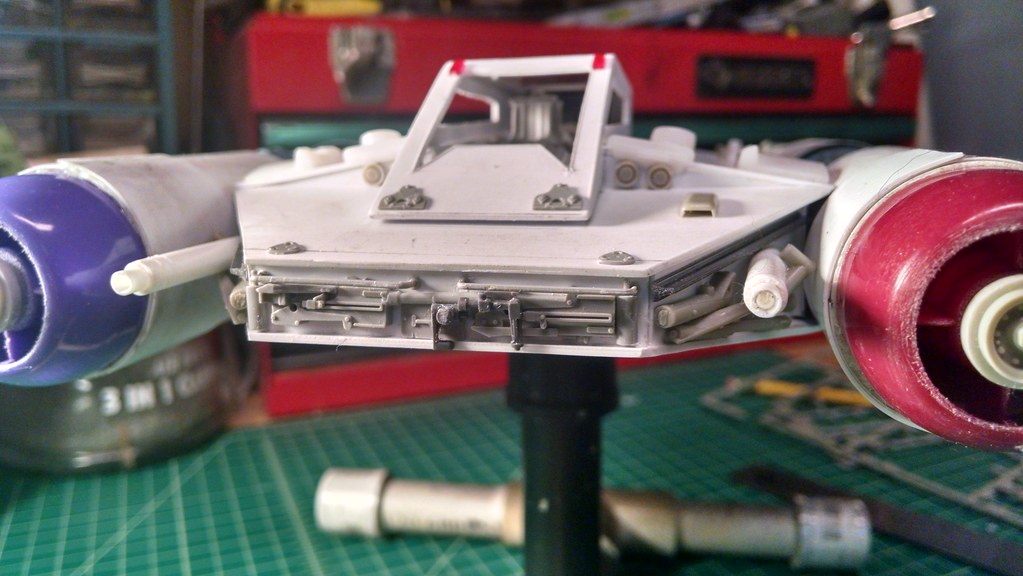
Coming at you, ready for detailing on the nose and some guns.

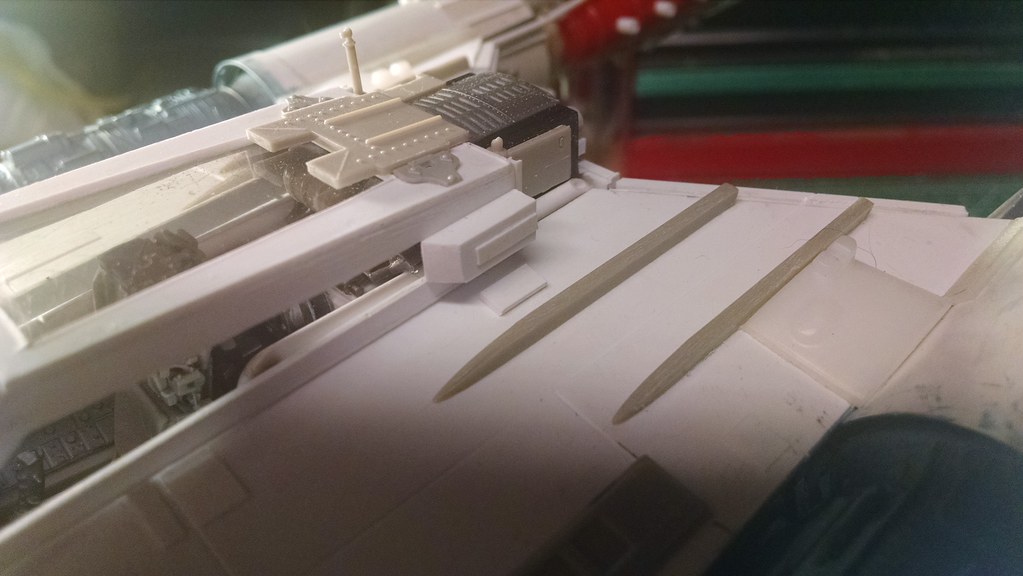
This is about to be awesome. I usually try and find greeblies that fit the area in which they are placed. It’s more art than science, although it helps to imagine what engineering purpose the detail might have.

More landing gear parts seemed to fit around the guns.
The bottom area has a mount point. It must be covered when I’m photographing the bottom. So I slid a panel all secretly. Can you see what changed?
This is the oldest trick in the book and when you’re making up the ship from thin air, you can do whatever you want to hide your mounts.
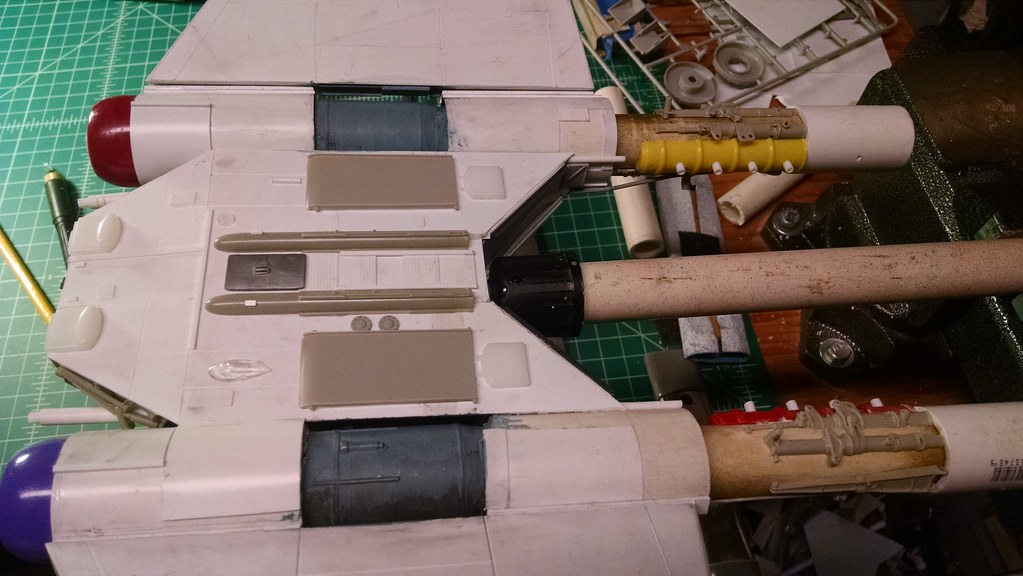
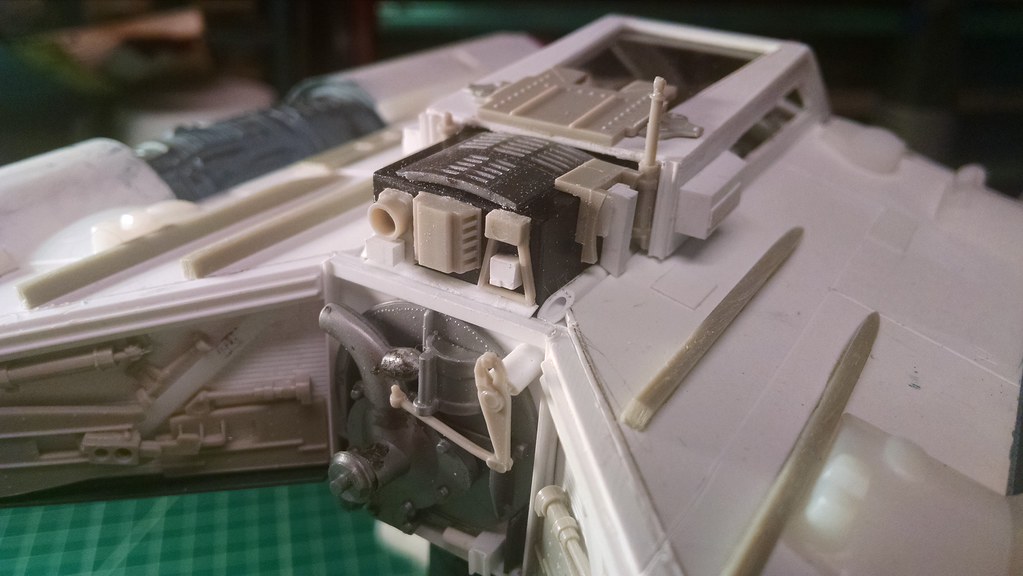
Next up are the details for the back side. Again, form follows function. This area is highly functional.
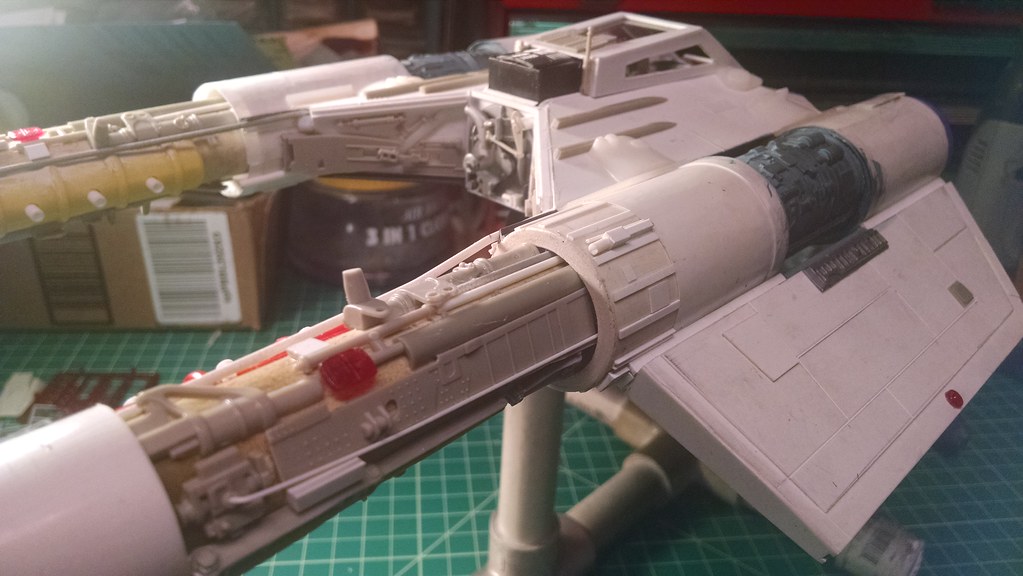
One last look at the top and bottom as I focus on smaller details.
The bottom reminds me of a ME-109.
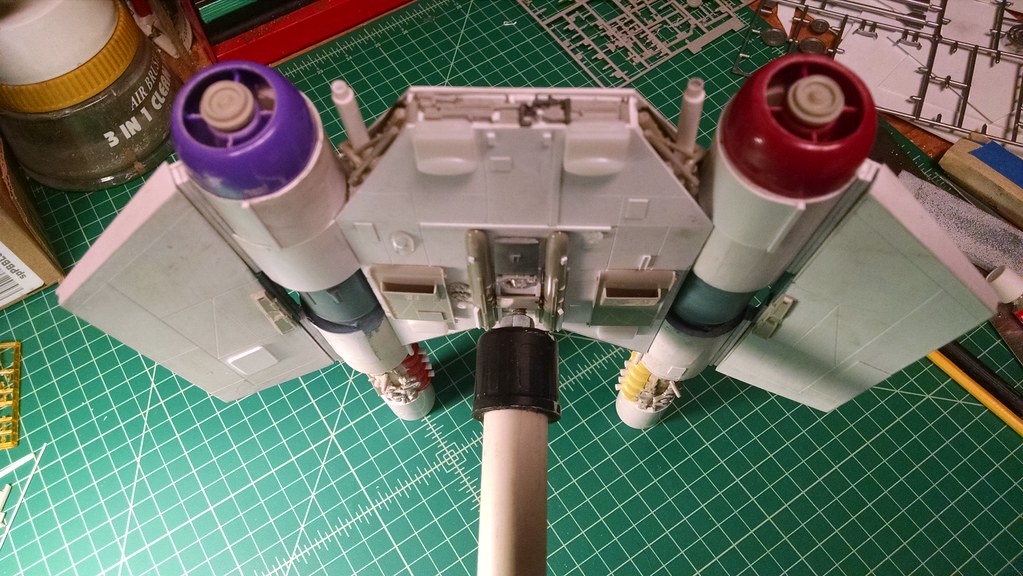
Here are some engine details including an area not covered with a panel on the left.

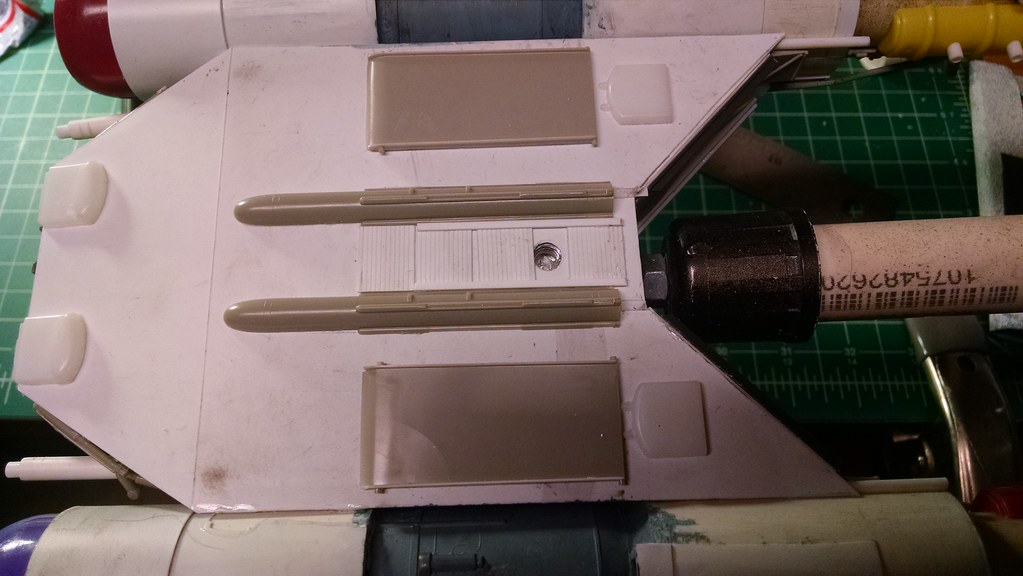
Back side beauty pass.
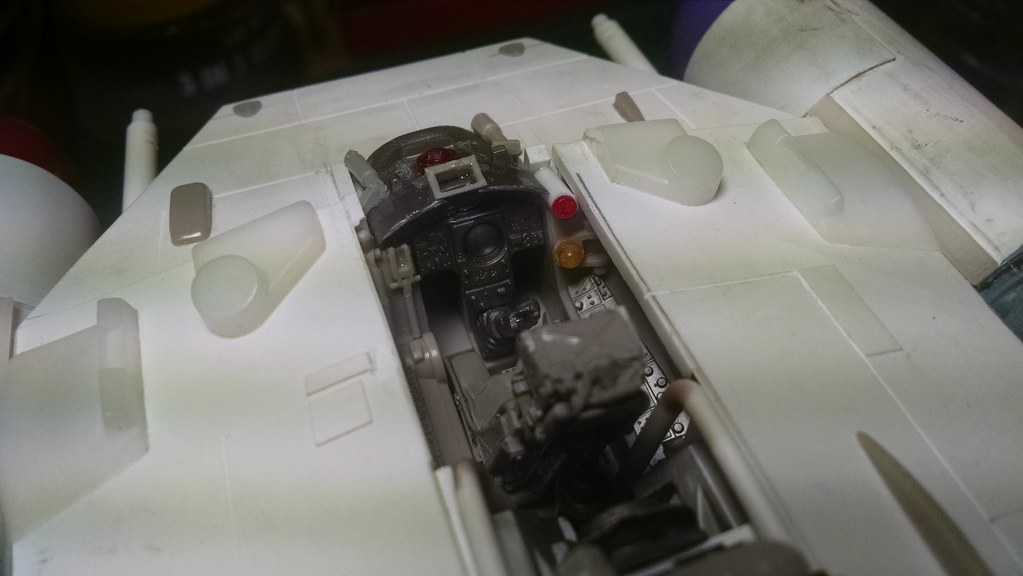
Some shielding on the back of the canopy.
It took a while to settle on the details for the area behind the canopy but I think it came out pretty good.
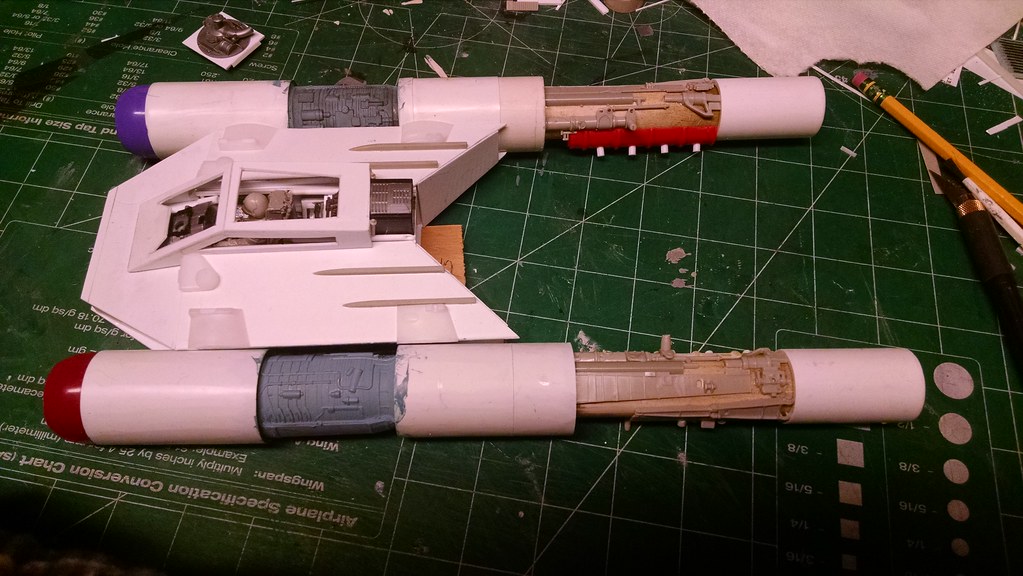
Here’s the finished cockpit before painting.
This is the finished model with primer. Looking sharp. Up next – weathering.