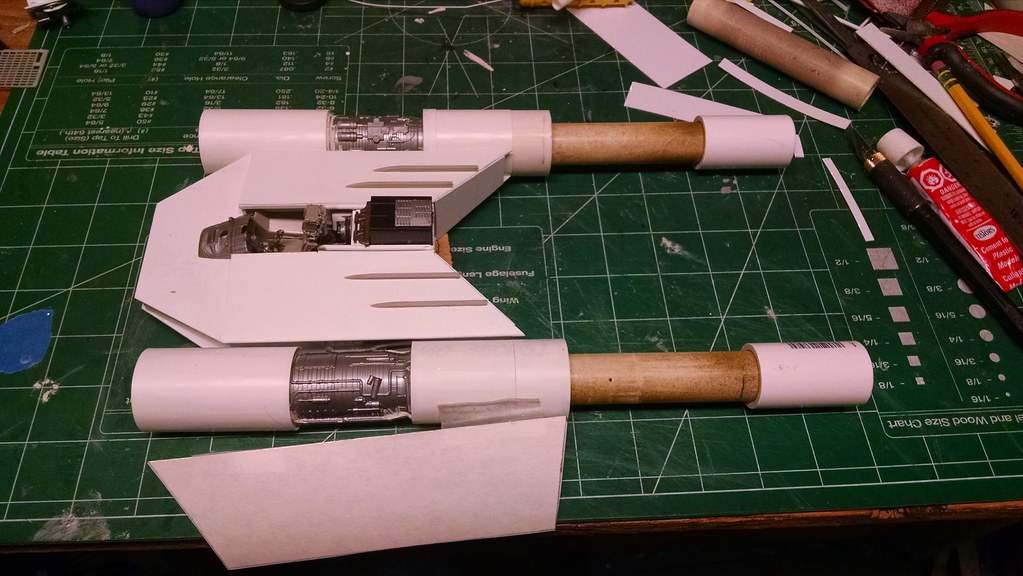
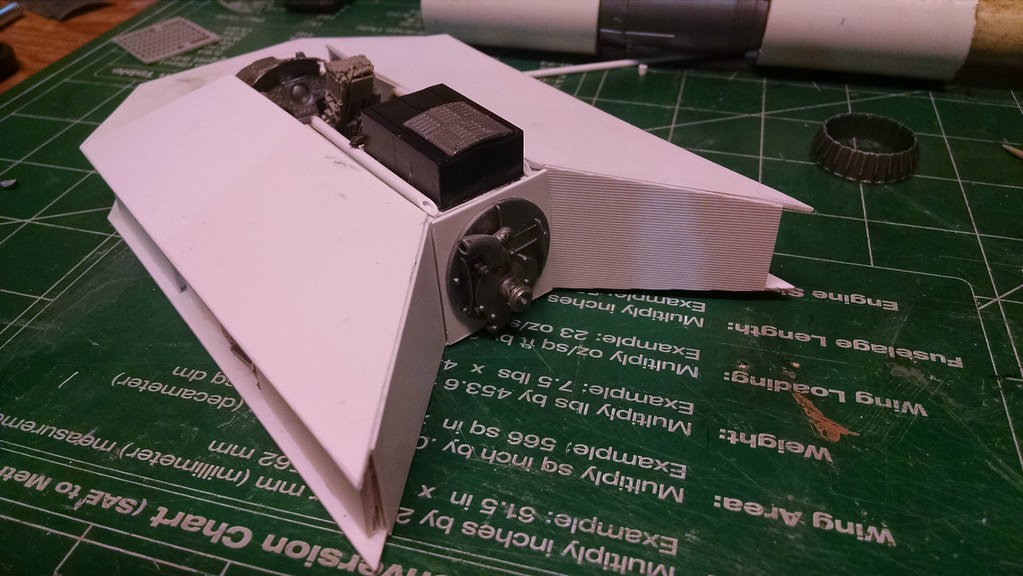
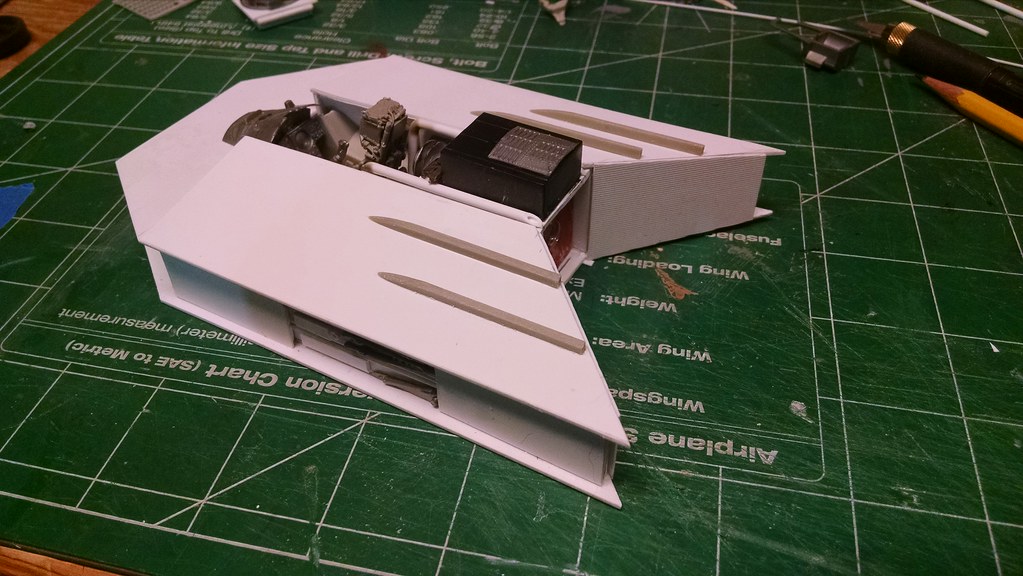
Continuing with the Terrox build, we start to focus on detailing. I started with the hidden area between the missing engine covers and the fuselage. I used some F-104 bits in silver and various bits of scratch plastic to add some interest. You know, for when someone shines a flashlight in there to make sure I’m honest. ;-)
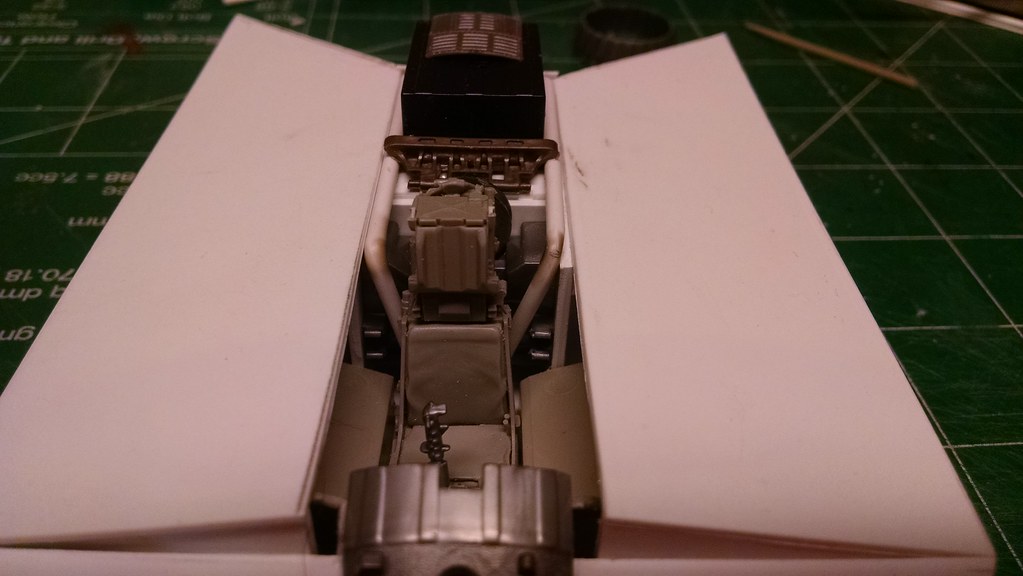
Some strakes are added to the top of the fuselage because it looks cool and it’s a bit of a call out to the old MiG-15. I’ve also added some interest behind the pilot with some plastic greeblies.
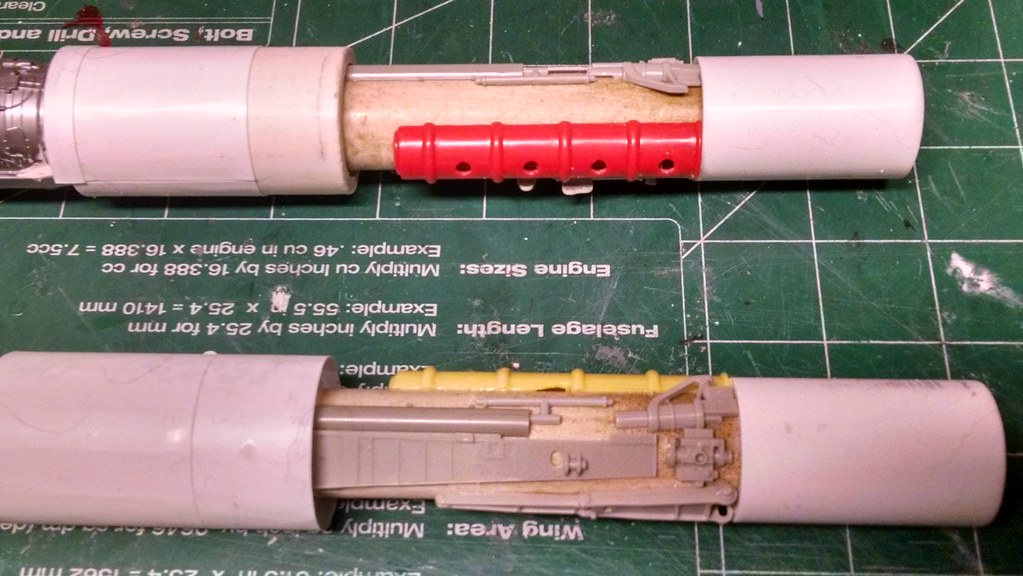
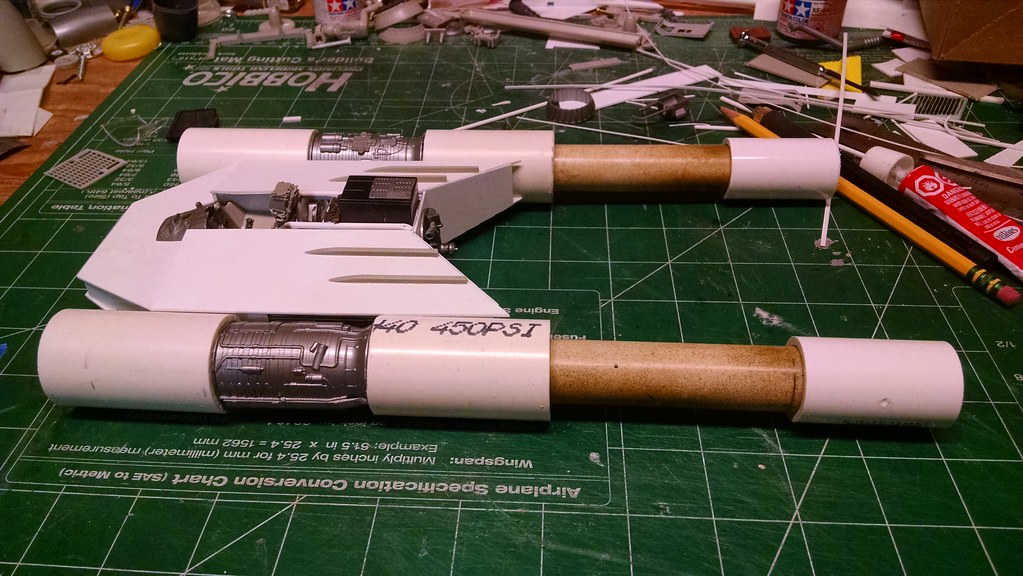
The engine details started with this child’s whistle from a dollar store and continued with landing gear bits from the Tomcat model. Lots of them. Oh, and some scratch tubing.
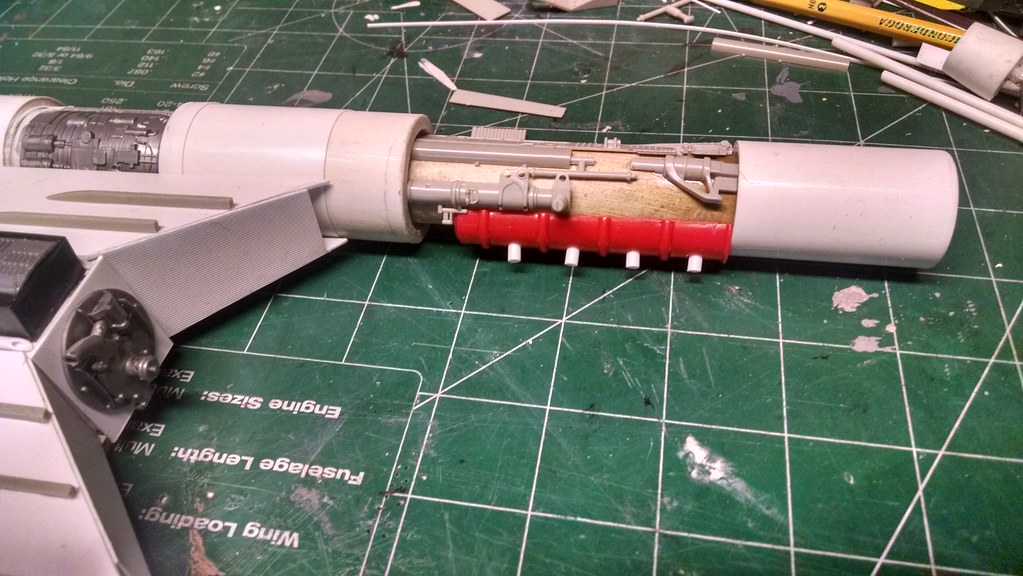
Added some pipes to the whistle and suddenly the engines are beginning to look interesting. I used more Starfighter parts for the cover plate on the left in the shot below. I knew the open area where the fuselage meets the engine nacelles was going to be a greeblie pile. So I started with some grooved plastic.
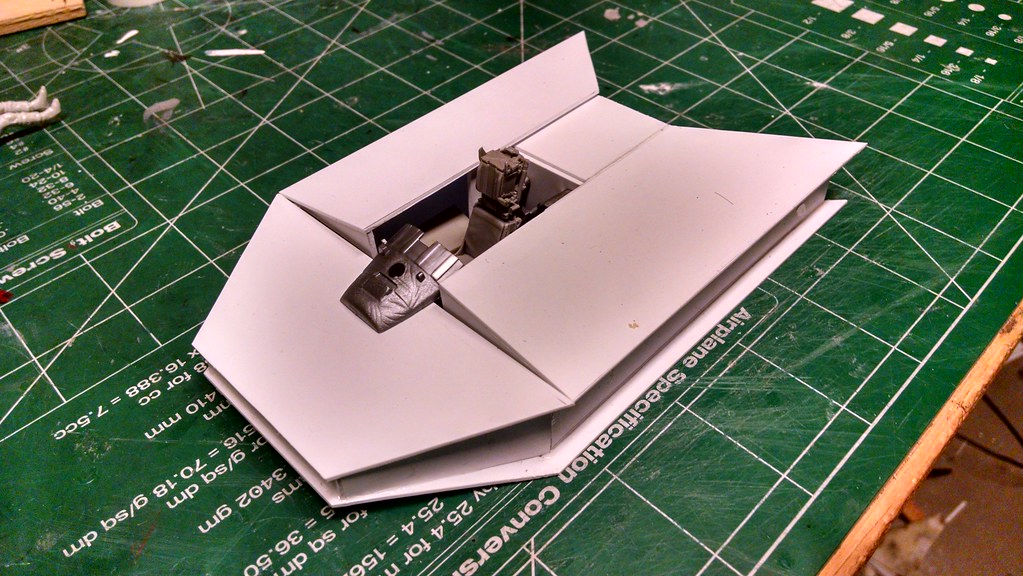
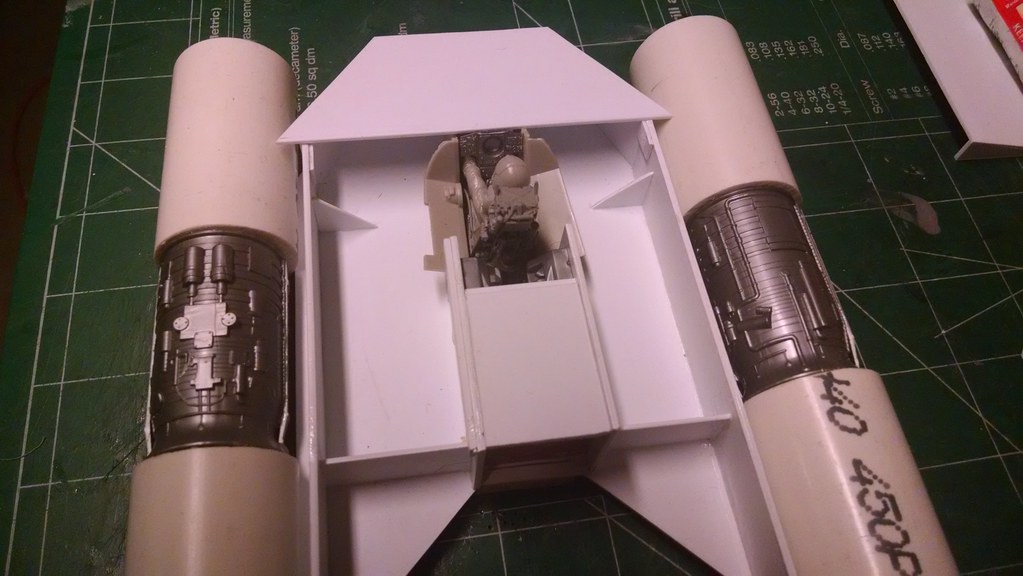
Backing up a bit we look at the boxing in of the fuselage.
I used some braces inside. I was going to put some LED’s and a nine volt batter in there, but opted for a static build to save time.
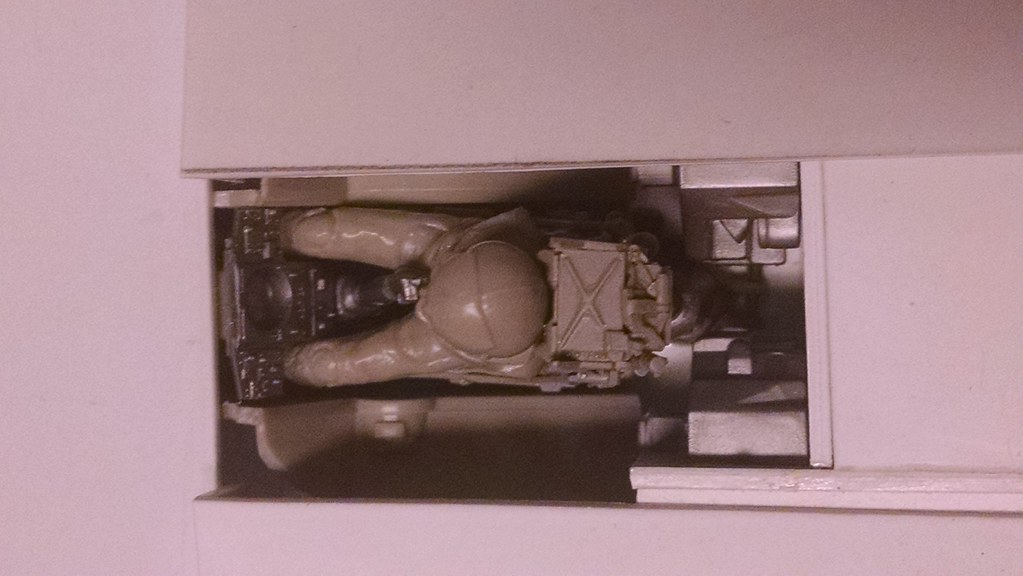
Here’s the Tomcat cockpit with some F-104 instruments and various other greeblies.
I needed to fill some gaps behind the cockpit so I used pipes. I like the look.
I like that silver piece from the back of the F-104 on top of that block behind the pilot.
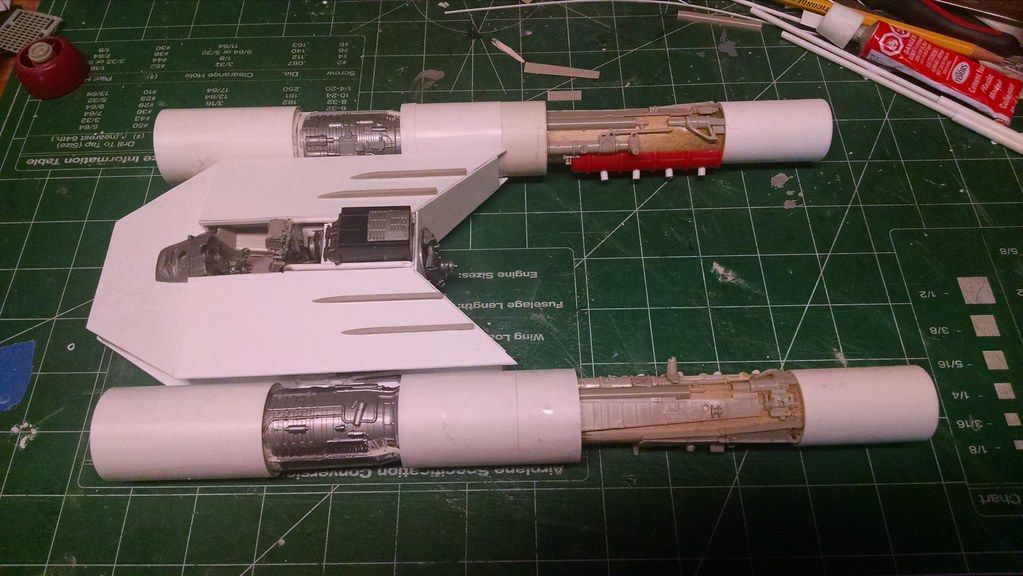
Now we have the engines glued on and you can start to see what this puppy will begin to look like.
Here we are with some more engine details. I covered the one inch PVC engine parts with thin, .010 plastic but not everywhere. Some thicker areas too for interest.
Next time we’ll focus on fuselage details and get some primer on it,

