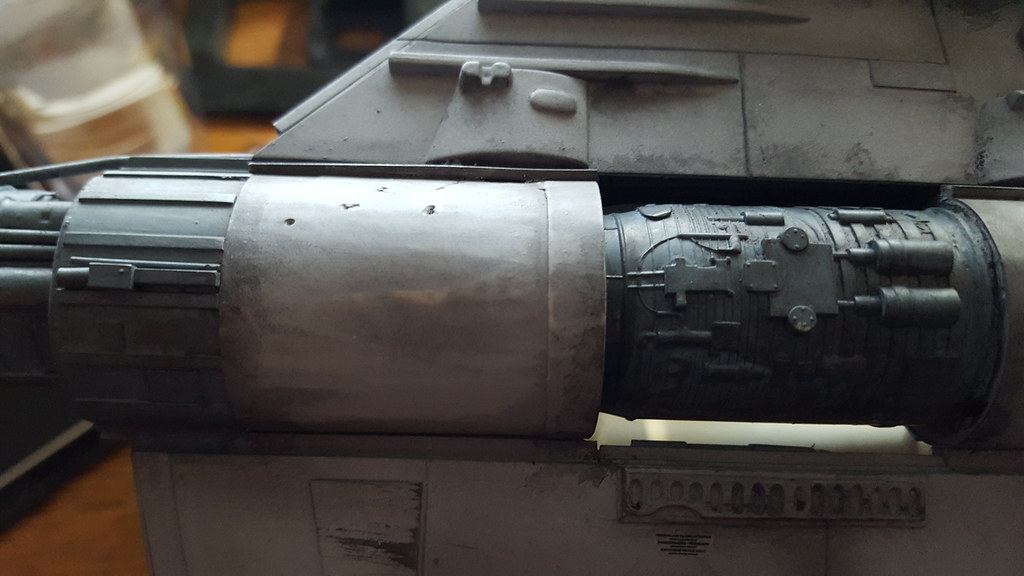
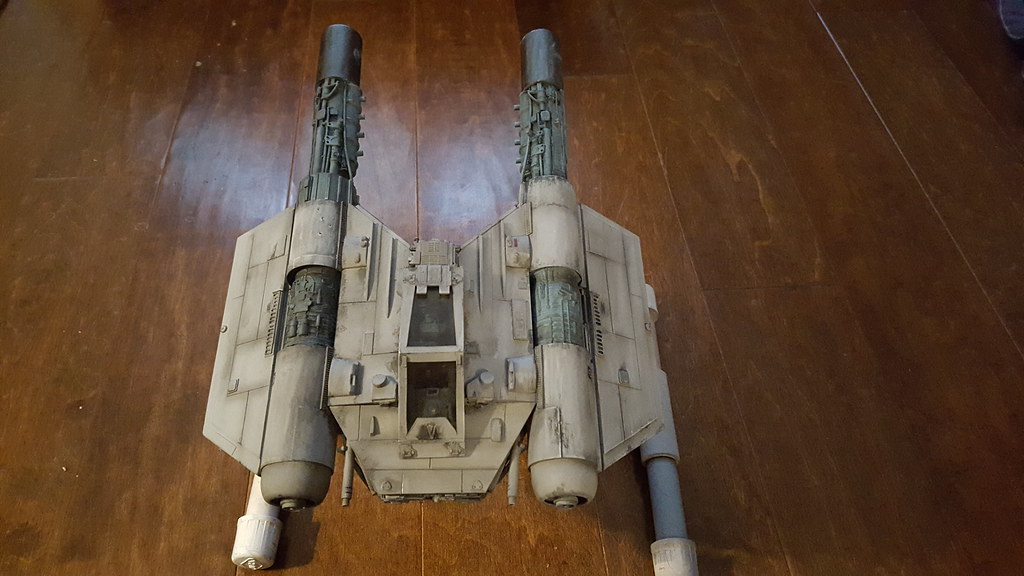
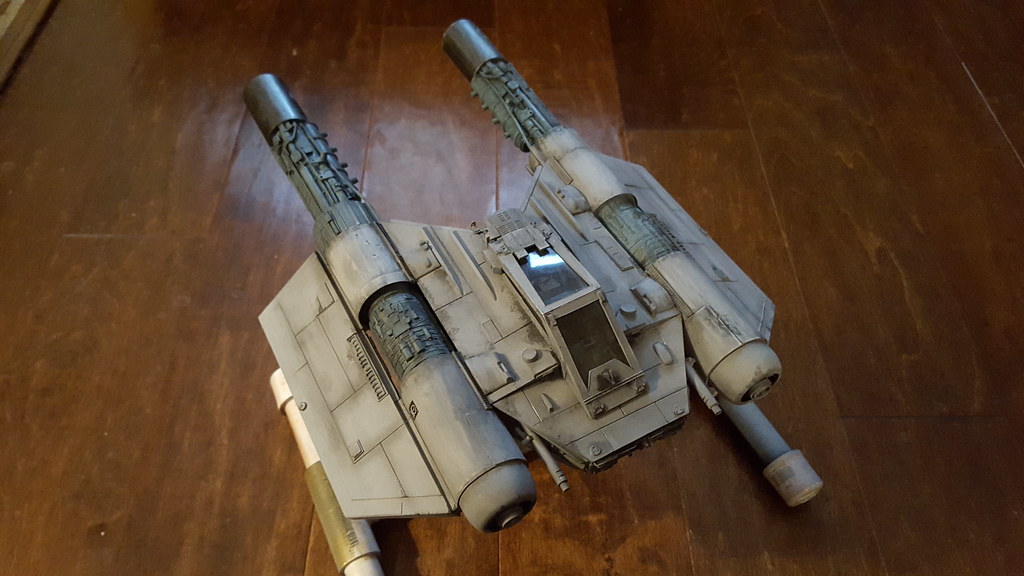
There’s not much to add about my weathering techniques. I just go slow and make multiple passes, each with a different layer of gunk or scratches or in some cases, battle damage. To this point I’ve mostly done none invasive stuff like painting, rubbing pastels or a bit of light sanding. But I have also done some pits and tiny holes around the port nacelle where some panels have been removed. Presumably due to battle damage. But not everything was removed and I may even put on some patch squares in different shades of gray or perhaps the blue-gray interior color. Which I imagine is some kind of rust protector coating.
For small nicks and pock holes I use a hobby knife or my hobby grinder. I lightly sand over the burs and nicks. The battle damage from fighting would require forethought and internal detailing, so I’m keeping it light. Surface damage only.
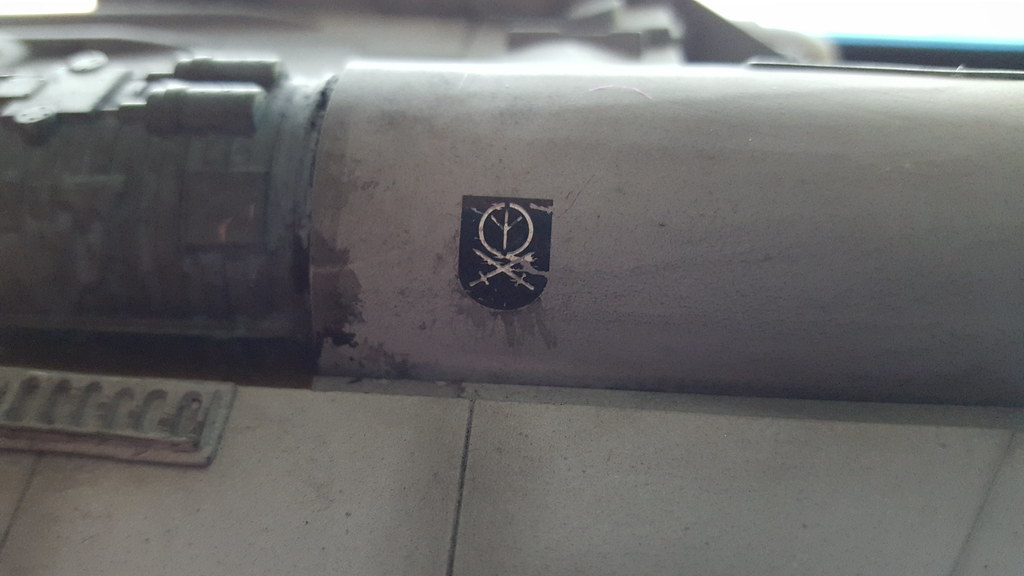
I also sprinkled some on hand decals around the model. I’m usually dissappointed with decals and avoid them as much as possible. I like this German unit decal and used the pre-weathered version.
Here is the other side along with a decal placard, too small to read.
On the shot above you can also see some nicks and bumps on the leading edge. This was done with my variable speed hobby grinder on low.
I had a triangle decal next to the canopy but it came off. The underlying lighter shade of gray is fantastic, so I’m leaving it off. I may use this technique again on the bottom for panels. Just cut squares of random decals and then pull them off after I weather.
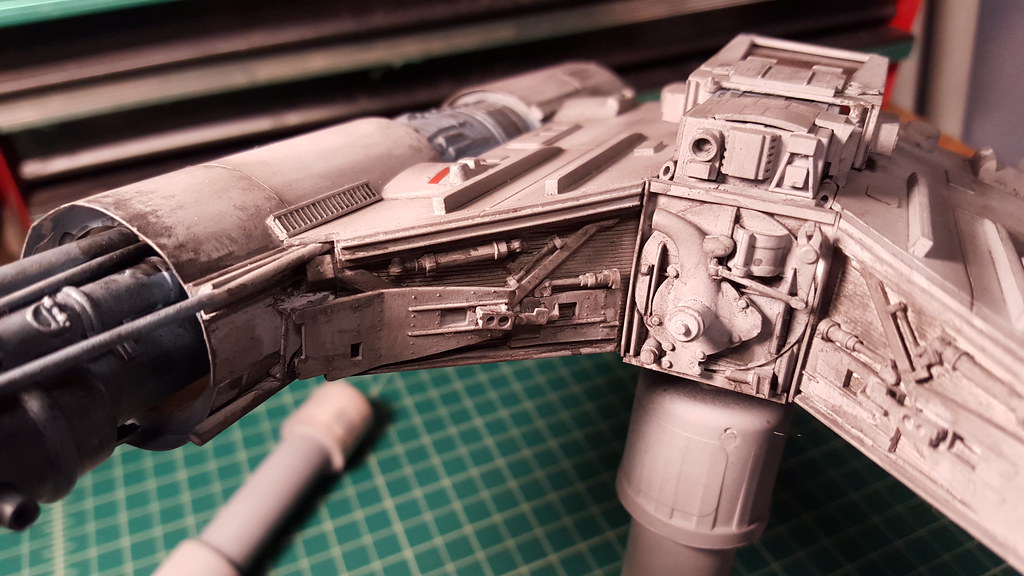
The back side of the model is full of nice details and all I did was a black wash and some black pastel dusting.
I do like the contrast between the gray details and the blue-gray. I’m thinking the blue-gray areas are usually covered, but the covering was removed for ease of maintenance or perhaps as a weight savings field modification.
I like the nose and canopy weathering. I might like more fingerprints and such from ground crew. My inspiration for this is modern Navy fighters on carriers.
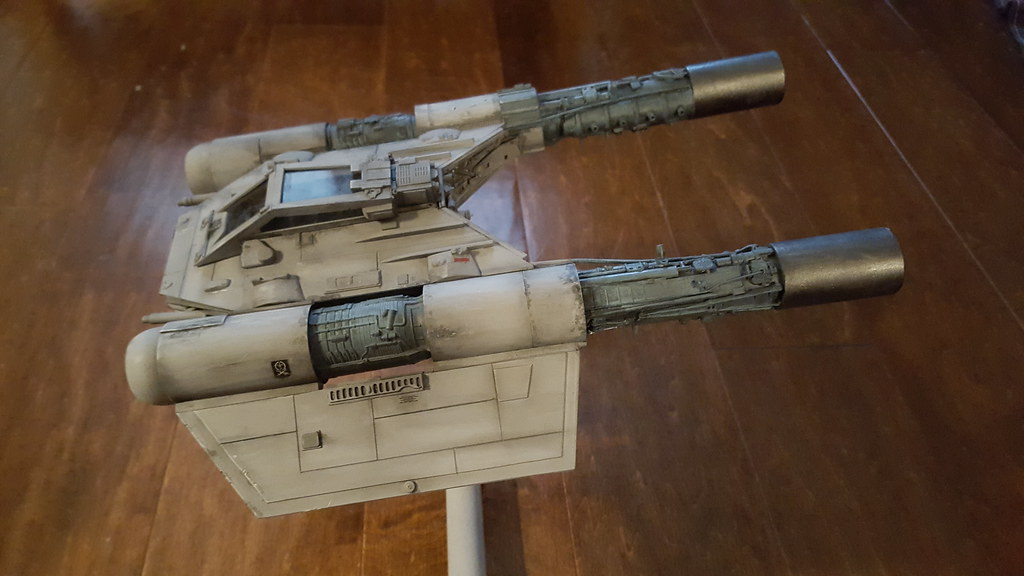
Okay, below are the beauty passes. Part three will show the bottom and whatever else I add in terms of damage.
