My second favorite part of modelling is weathering. After the details have been finalized and the base coat of primer and paint applied the final step is giving the model a history. That’s what I think of when I weather a model. No machine stays looking factory fresh over its lifetime. Dents happen, weather happens, maintenance happens. Sometimes battles happen and damage occurs. This is the secret history of a vehicle over time.
For the Terrox model I decided to just go with the base gray primer color and instead of adding unit markings and exotic camouflage patterns I’d just concentrate on heavy weathering. This is a front line starfighter in a war that has raged for hundreds of years. Field maintenance, battle damage and modifications are the norm. All of which can be simulated in weathering.
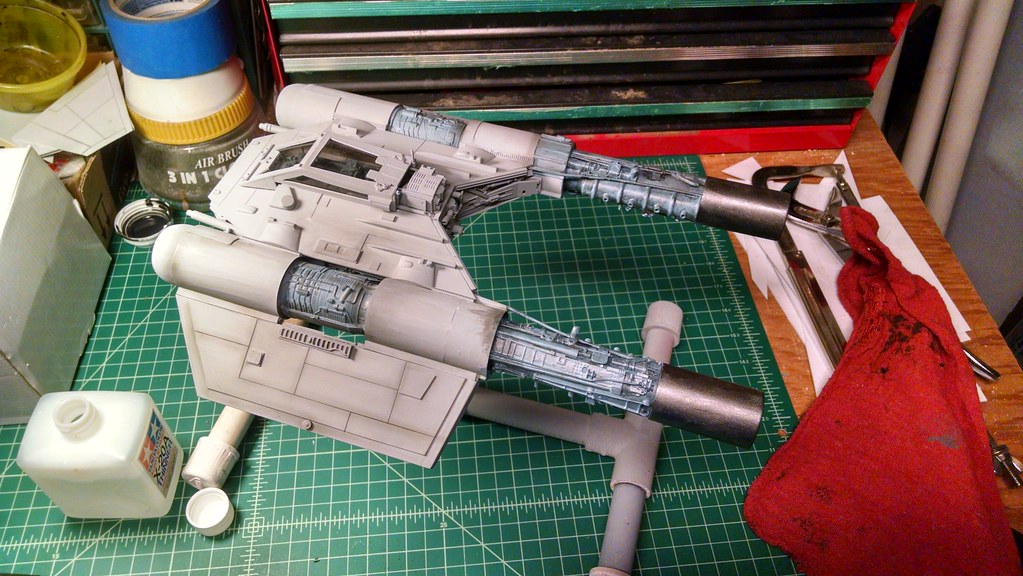
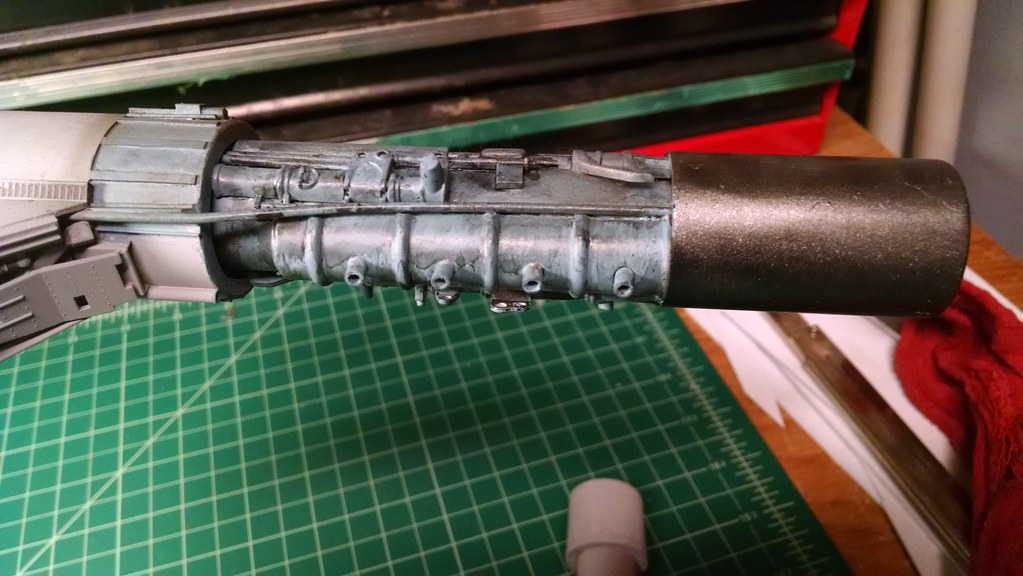
I started with the port wing and the engine nacelles. All skin after the wings has been removed for easy access. The Votianion starforce used a blue-gray color for interior paint. I mixed several Tamiya grays and blue and white to get the color I was after. This color was inspired by the teal blue color inside Russian fighter planes. It contrasts nicely with the flat gray primer base. For the exhaust pipes I went with a burnt brass color. This was to mimic the exhaust pipes of modern fighter planes.
The area along the engine tubes was detailed heavily with mechanical looking model parts. I wanted this to be oily and dirty to add interest for the eye mostly. In this shot of the starboard engine you can see where a panel has been removed on the body of the nacelle exposing some ribs. This was done to suggest a field modification.
The technique I used on this part of the model was mostly a black acrylic wash. I touched it up with a bit of dry brushing of the original blue-gray paint. I then dusted it with black pastel dust and a soft brush.
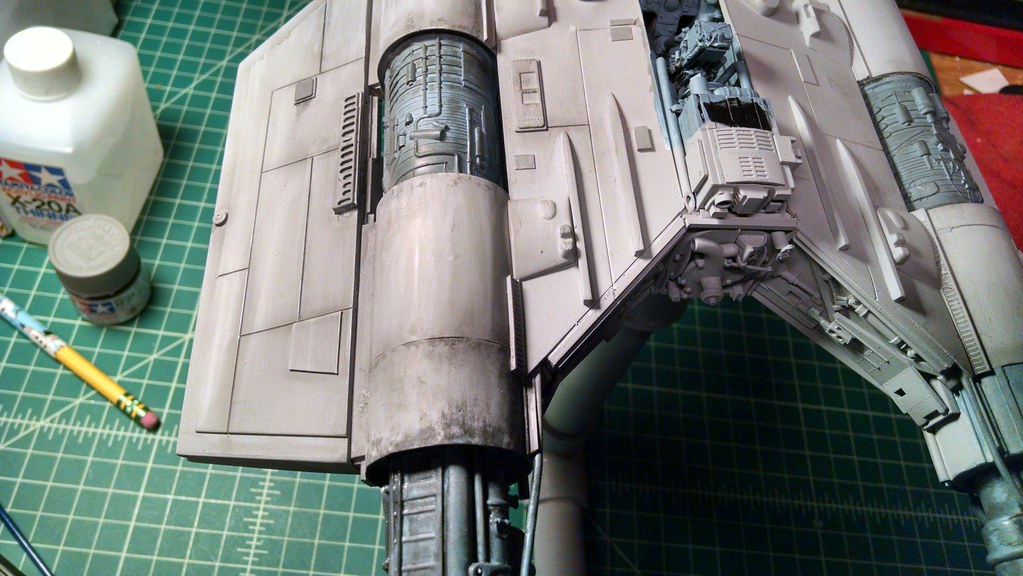
The panel lines on this wing were done with a Tamiya scribe. I love that tool. Then I accented them with a #2 pencil that was carved with a hobby knife to have a sedge shape to get into the panel. I got this technique from Fine Scale Modeler magazine. Then I went to work on the panels themselves to make them pop. Most aircraft modelers use a technique of filling panel lines with black and then lightly spraying over that with the base coat of paint. This leaves a shadow area around the lines.
I don’t do that with these starfighter models. For this one I used my own process of dusting the panel lines with black pastel dust and then hitting the middle of the panels with white pastel dust and rubbing it all in with my fingers. It’s a tad bit messy but the results can be pretty good.
This image above shows my pastel brushes and chalk dust covered paper towel. Someday I’ll have to do a video showing me dusting panel lines.
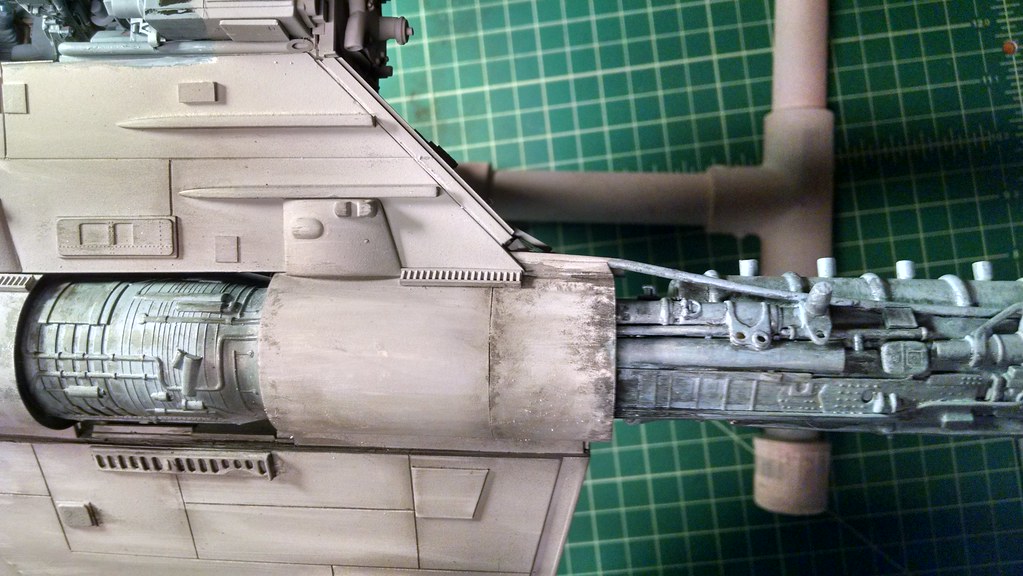
The next area of focus was the port nacelle. The blotches were done with a dry and wet brush of gray and black dabbled on with a brush. Then I hit the area with a fine sand paper and repeated the blotching. I was quite pleased with how it came out and hope to emulate that all over the model.
I just had time to continue the blotching a bit on the front of the nacelle intake.
I’ll do another post as I get further along in the weathering process. Since I’ve taken these pictures I’ve begun adding a few smaller decals. That process will be explored in the next post.


