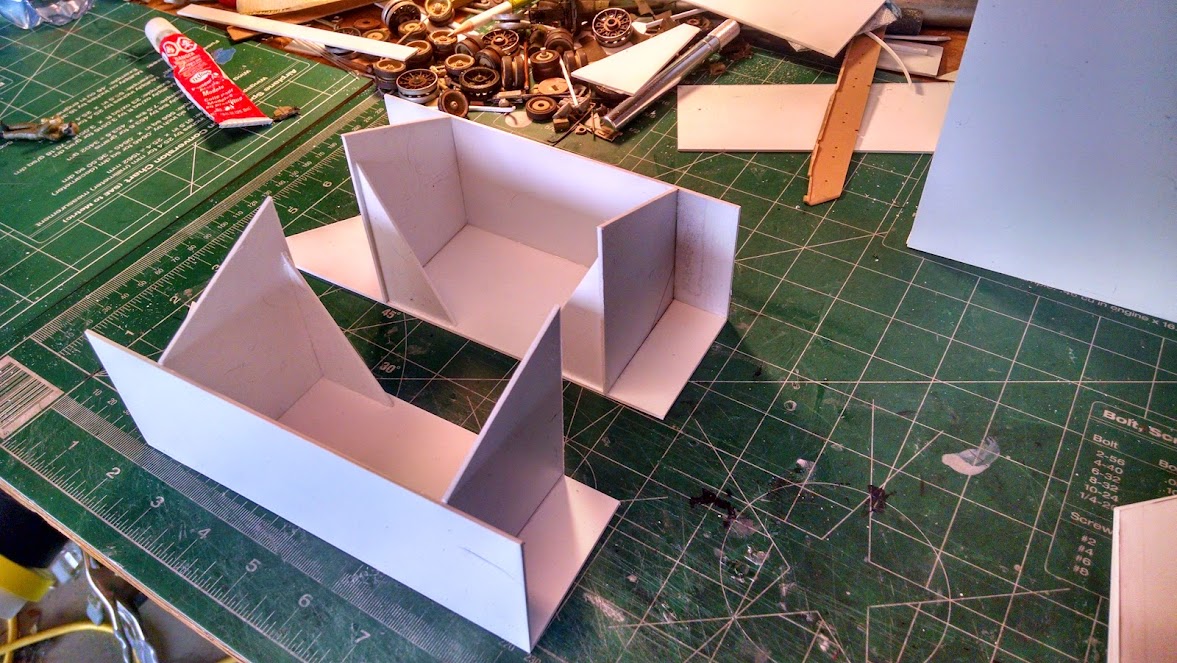
I continued laminating the wooden frame with styrene sheets and then started to box in the shape of the model as per the original and my paper blueprint. This is my least favorite part of modeling, but it’s got to be done before I can start the detailing. It took me some fumbling around with dimensions, but I eventually got it right. The only concession is the width because I didn’t have a table saw to cut the planks shorter. This will be my one big regret about this model. Should have waited and found someone willing to cut my planks.


Above shows the two models and some 1/35 and 1/32 scale figures for size comparison. After I cut out the sides to be boxed, I test fit them with tape.
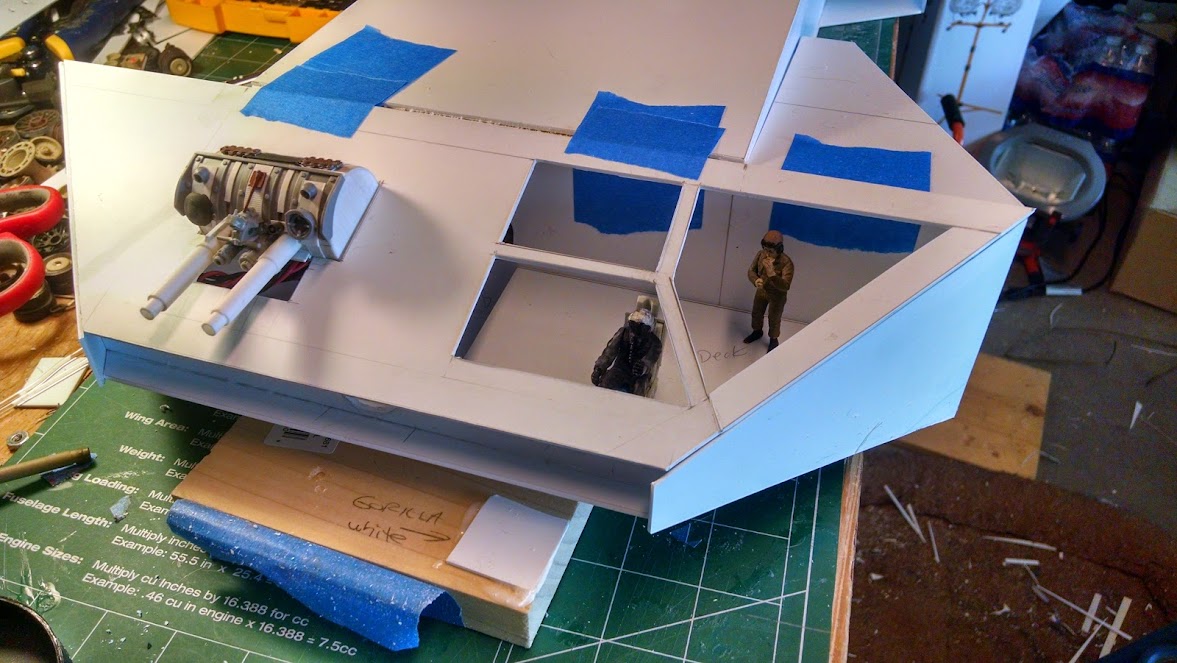
Close shot of the bridge and you can really get a feel for how big she is. The forward mount hole is between the gun and the canopy.
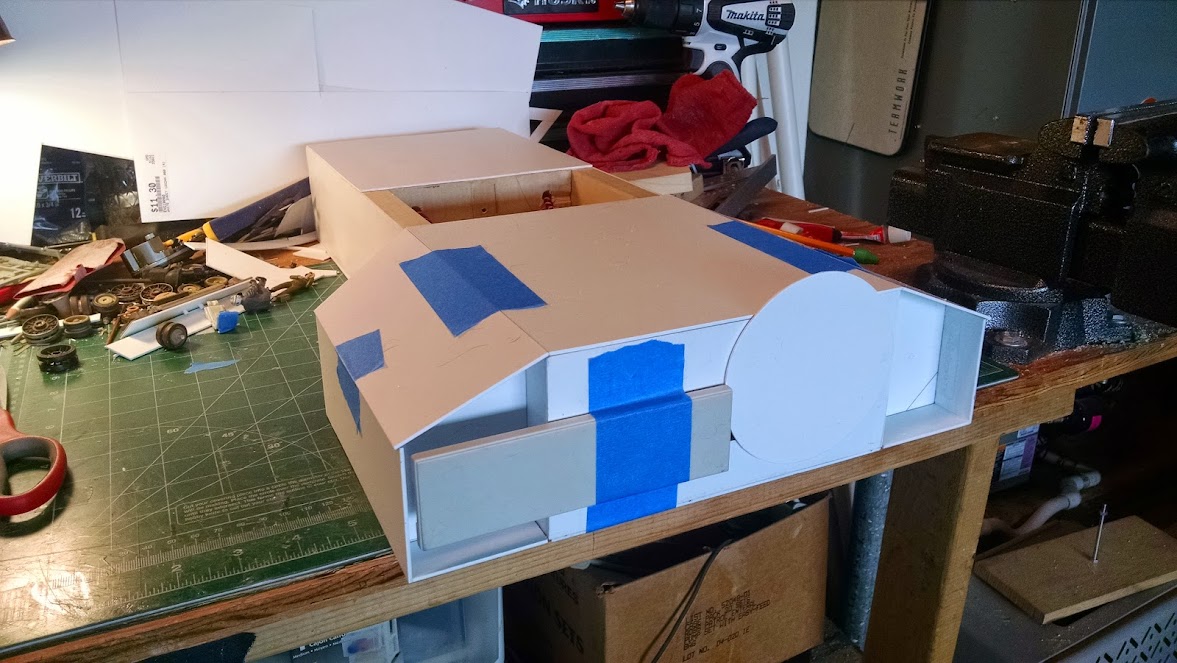
Possible stern configuration. The round piece is the single stardrive.
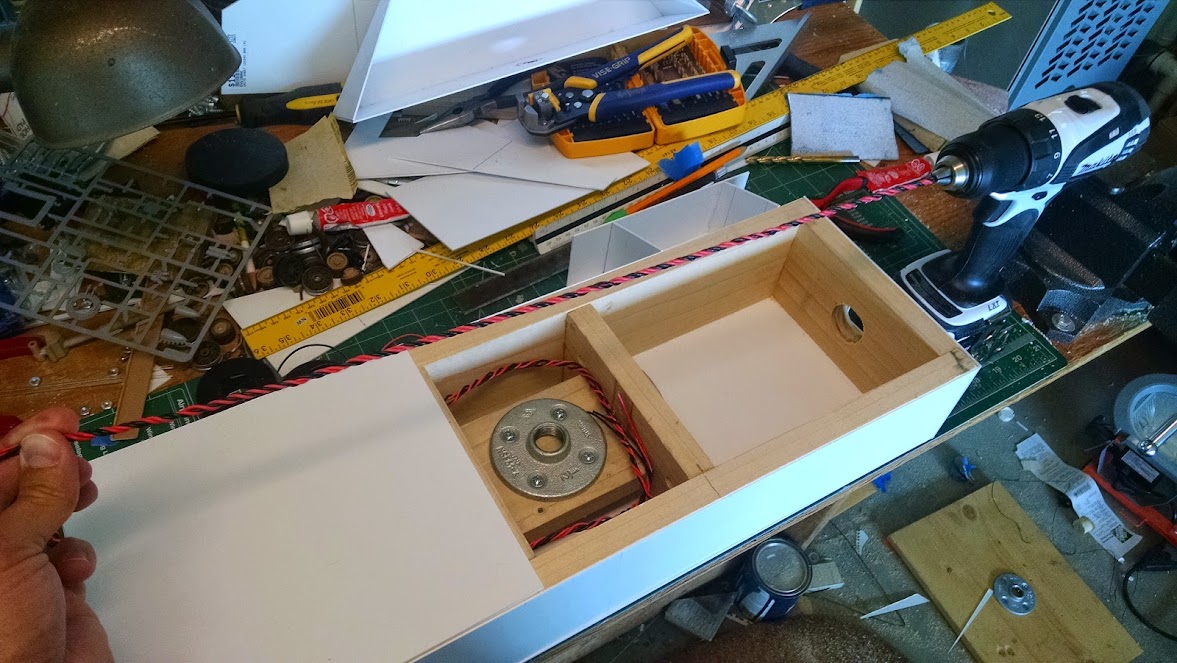
Before sealing it up, I installed lots of wires all terminating in the central mount area. The wire is 20 gauge and ready for installing LEDs for the cockpit and engines.
The side nacelles ready to mount up on the fuselage.
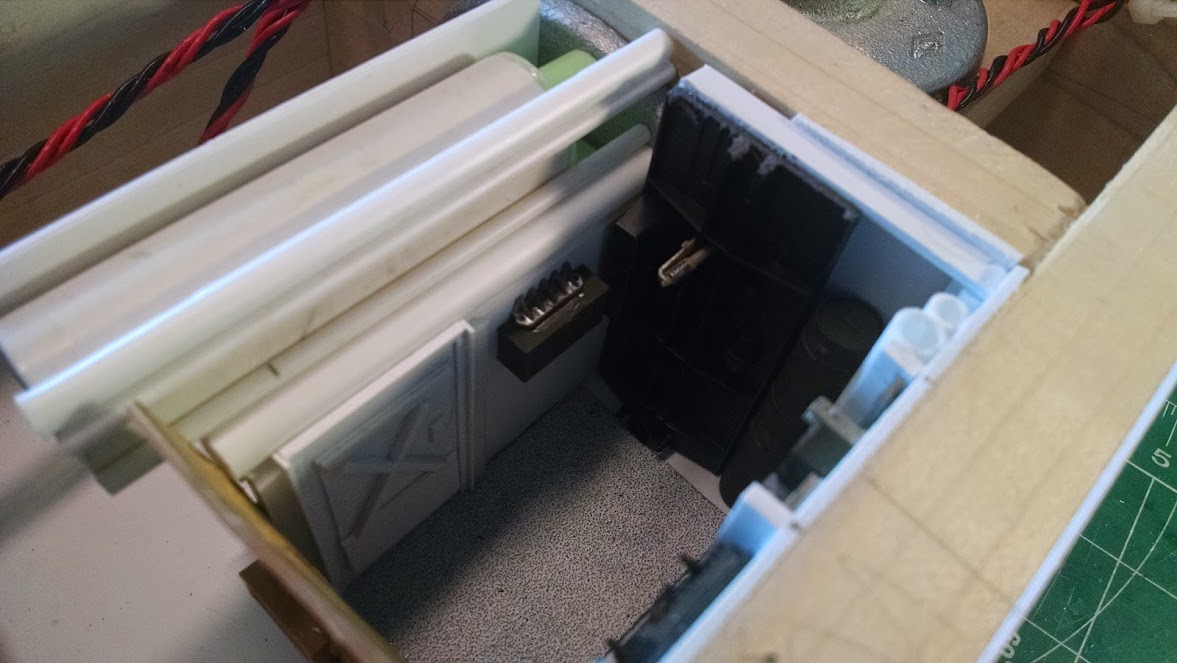
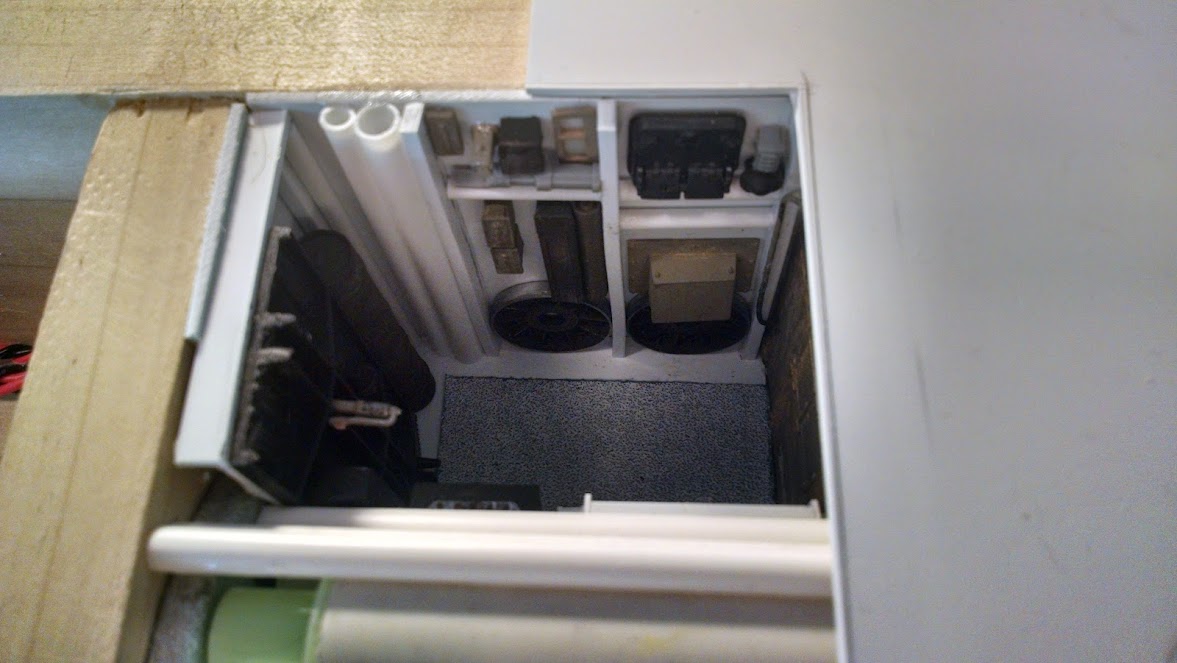
In a nod to the original model, I built a small storage room that will be visible when the top hatch is blown away. If you’ve read the short story, “The Renoke”, you will recall that this is where Nightmare is taken care of.
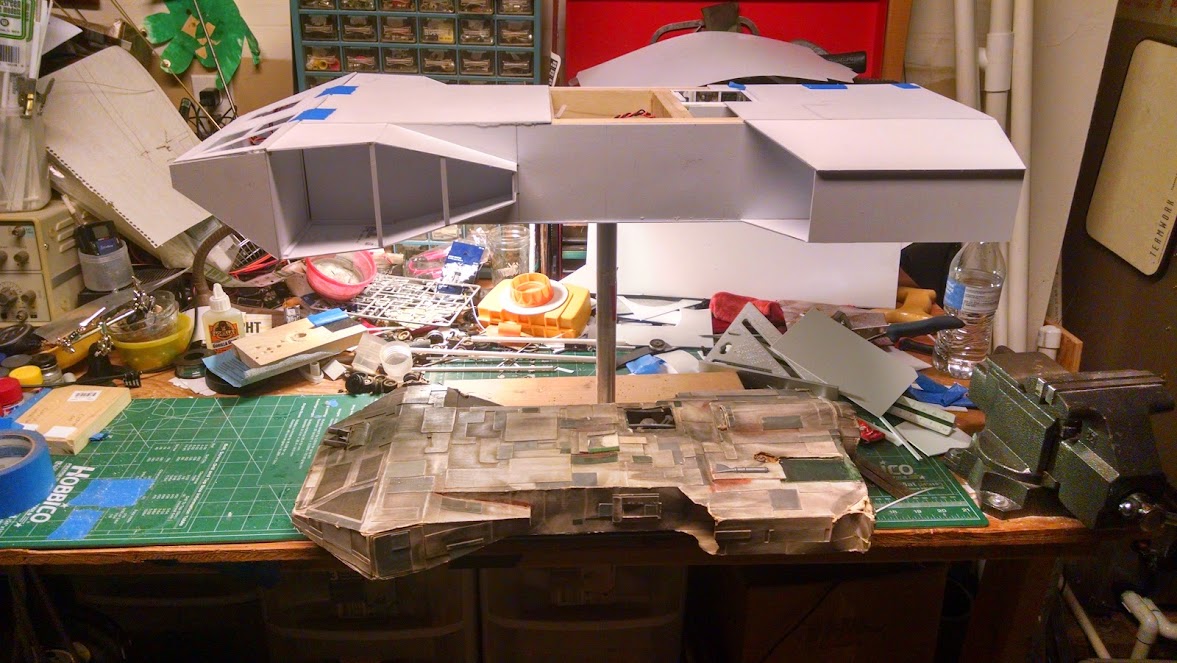
Looking ship-shape! Except for being a bit squat. Oh, well. I’ll compensate by detailing the crap out of it.
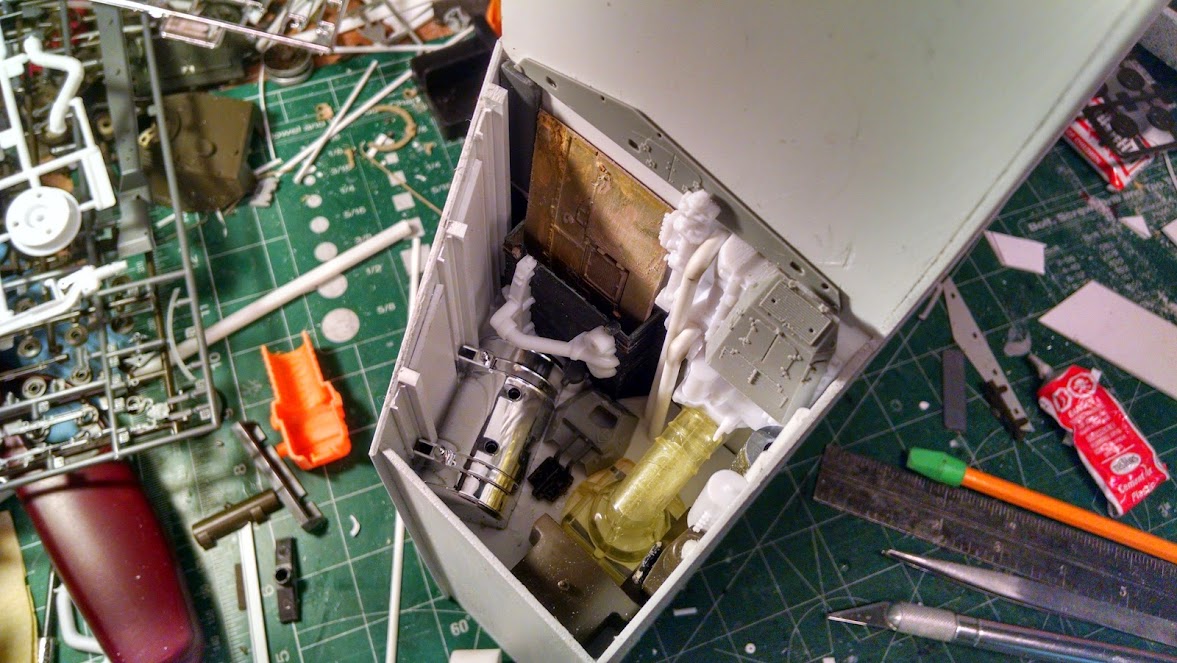
Did someone say detail? This is the starboard nacelle forward. I have only purchased two tanks and a truck model for parts so far. I expect that list will grow.

