For the Destroyer Trilogy of novellas, I needed to create a new starship model. With the crew of the Truxtun stranded in the Ostrov System, one of their chief antagonists are the Sultran warships. My plan was to build one and bascially use it to create as many of them as possible. I struggles with a design for them and finally settled on a drawing done in my youth by my friend Ed Halbig. I wouldn’t be following it verbatim though, I would be using scraps of plastic from my day job in a kit-less version of Kit Bashing.
I work for a tech giant and I have friends who like to dig through the company garbage bins for old equipment to salvage. I’ve trained them to find interesting plastic bits of junk for me to use on my models. I now have several plastic storage bins filled with such greeblie goodness. So I thought I’d use them to build this model in a piece mill sort of fashion.

Heres the original drawing. I’ve long forgotten the circumstances that led to these ships being pelted with asteroids, but I like their look. It’s important for the warship to not look like anything in the Federation or the Votainion armada. Both of these ships fit that bill.
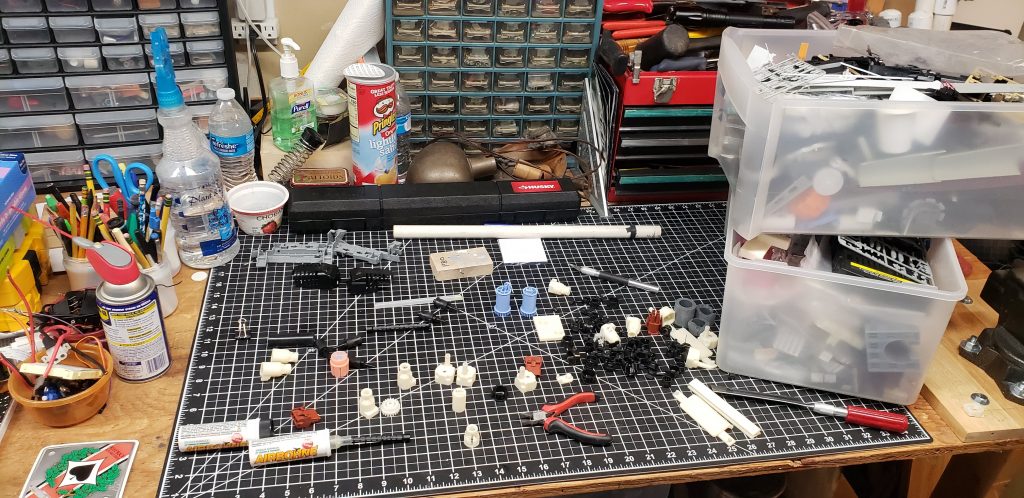
One of the first things I do for a build like this is try and find parts taht match what I want for engines or the main body. In this case I started with the engine which in part are Airborne medicine bottles.
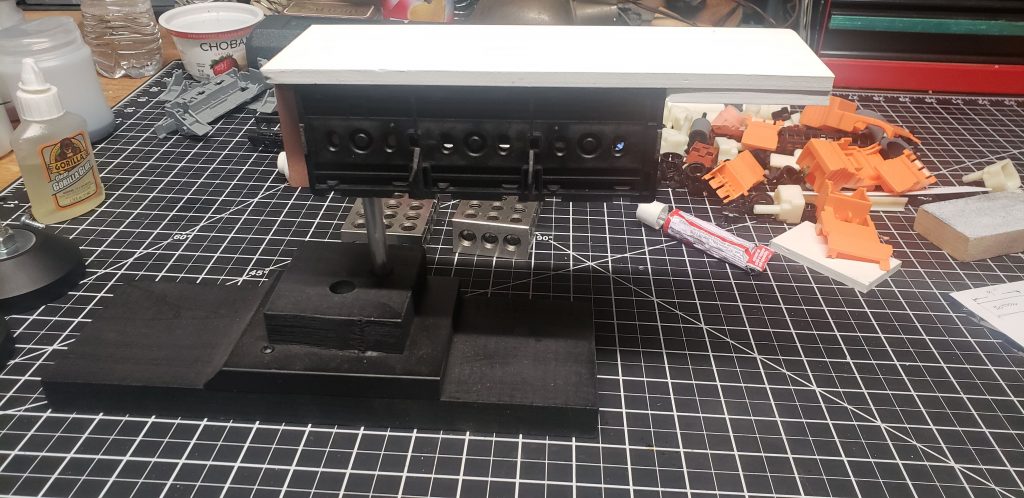
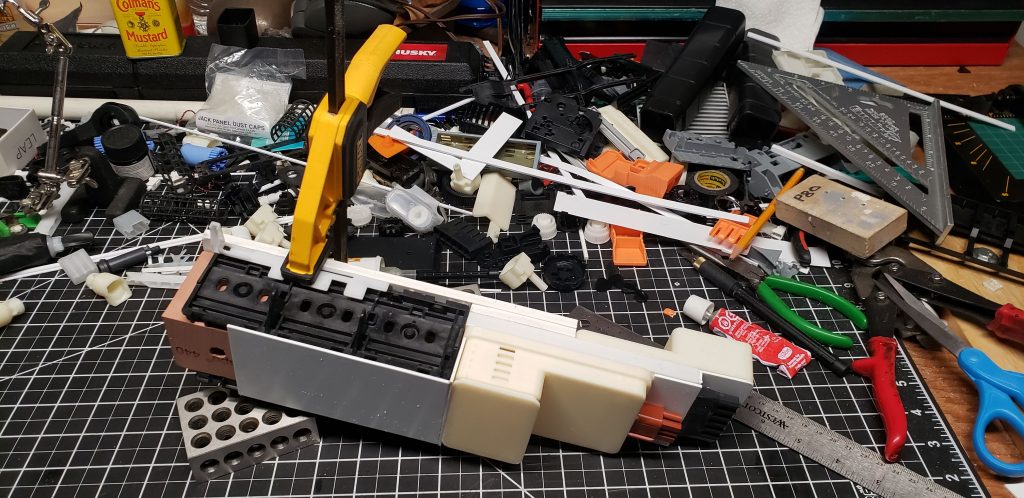
For the main body, I started with a block of RenShape for the mount, then built up two black plastic pieces for sides and some plastic core board for the top. At this point, I still don’t know how I will shape the body from the parts I have. But I do know that the engines will attach to those brackets on the black pieces.
The above picture shows the RenShape with mount inserted and the set screw protruding from the side.
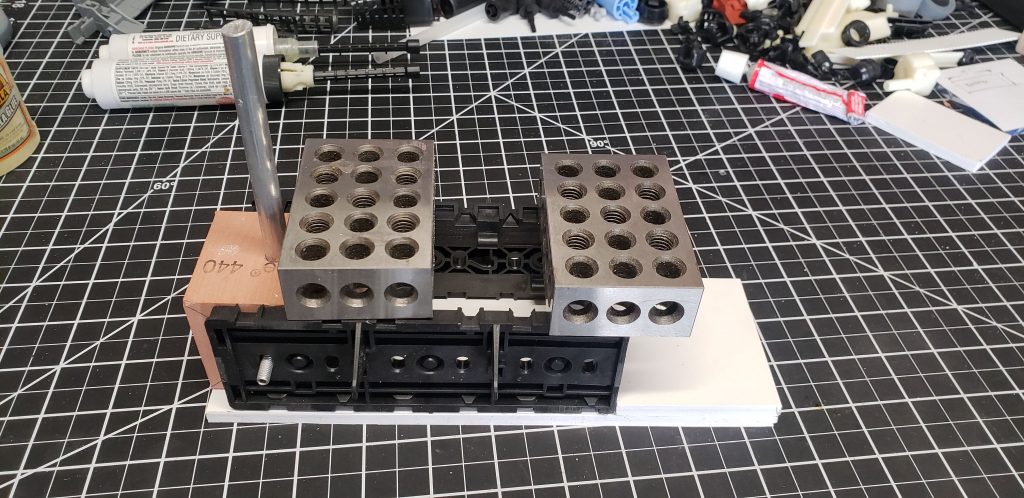
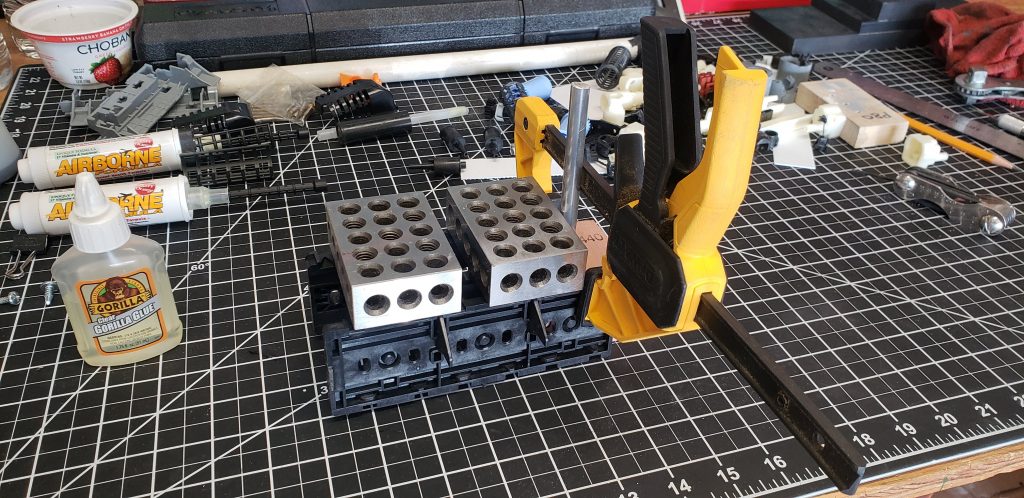
The metal blocks are being used to hold things down when they glue. Those blocks and various clamps are a scratch modeler’s best friend.
Also – Gorilla Glue and Testers tube glue are my cements of choice when scratch buidling. I also use Super Glue, but less than the other two.
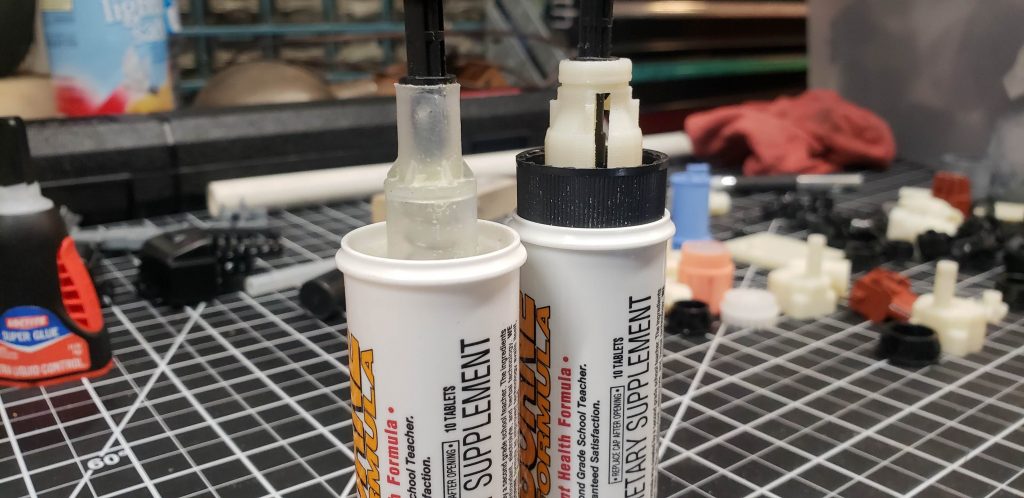
Here’s a close up of the engine parts made from varous parts found in my boxes.The white parts are 3D printed in the model shop at work and the clear part shown here is a soap dispenser pump.

Above you can see the 3D printed boxes that I settled on for the bridge and lower front body of the starship. They were light weight and simple shapes that sort of look like the drawing.
This angle shows the sheet styrene used to fill in the boxes and shape the main body of the ship. I expect detailing to commence shortly after this initial boxing in of the main shape.
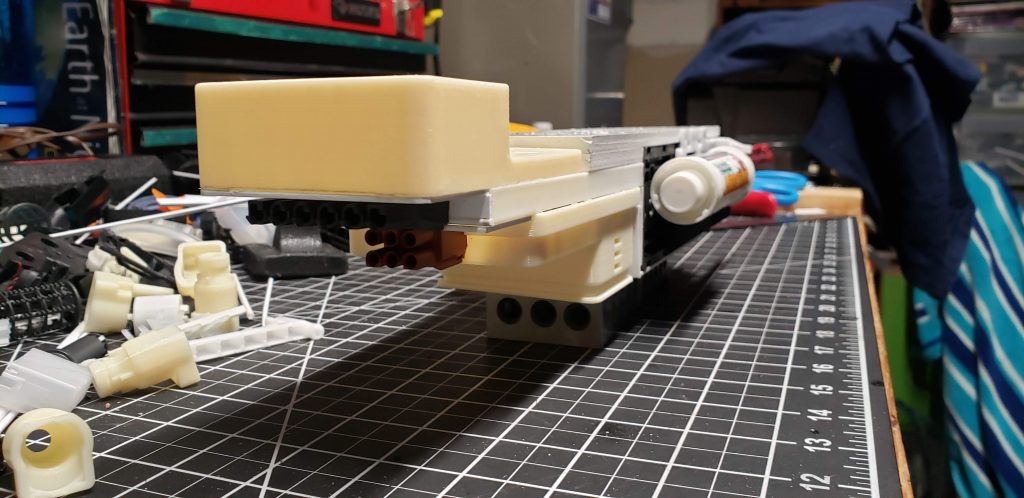
This angle shows how the engine nacelles will sit on the mount racks. She’s beginning to take shape. Next time we’ll have plenty of greebly detailing to show off.

