This is the primary starfighter during the Starstrikers Trilogy or middle time period of my Star Saga series. It was first sketched on paper by myself probably twenty years ago. I built a cardboard model of it about a decade ago and was not completely satisfied with it, so now is the time to do it in styrene and up the scale to 1/32.
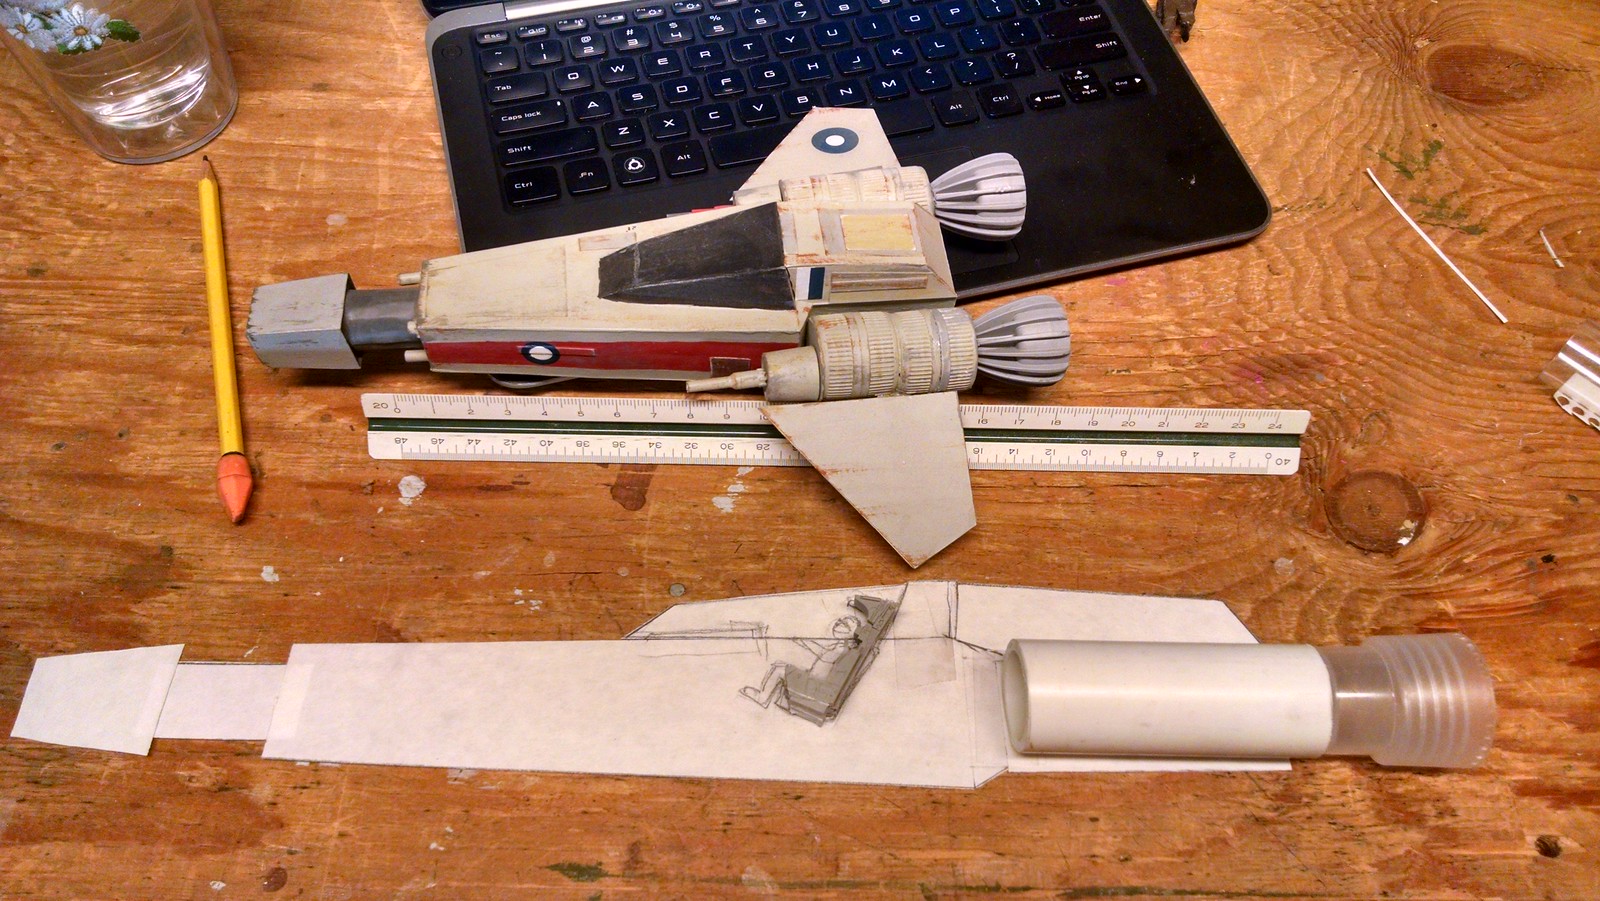
Scaling up the 1/48 card board model using PVC for the engine and a fabric stain remover cap for the engine exhaust. The seat is from the Renoke model and is just to help suss out the scale. I make a paper model blueprint to start with and then use it as a pattern to cut the more expensive styrene.
Above we see the paper model with a four sides to the fuselage. The gun will be a push-pump soap dispenser.
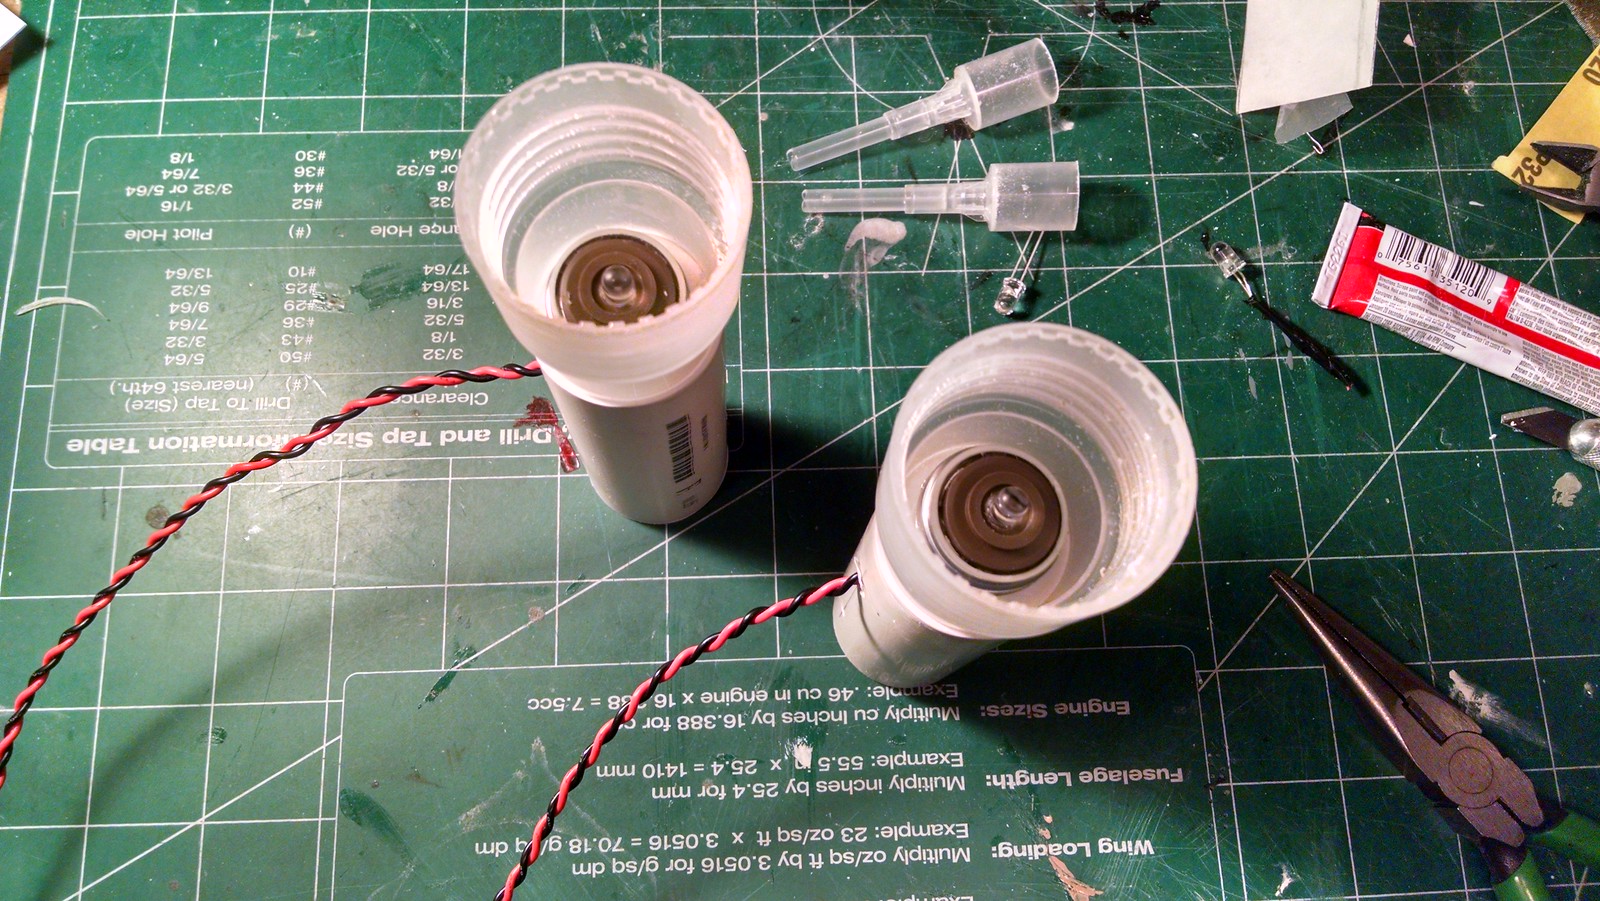
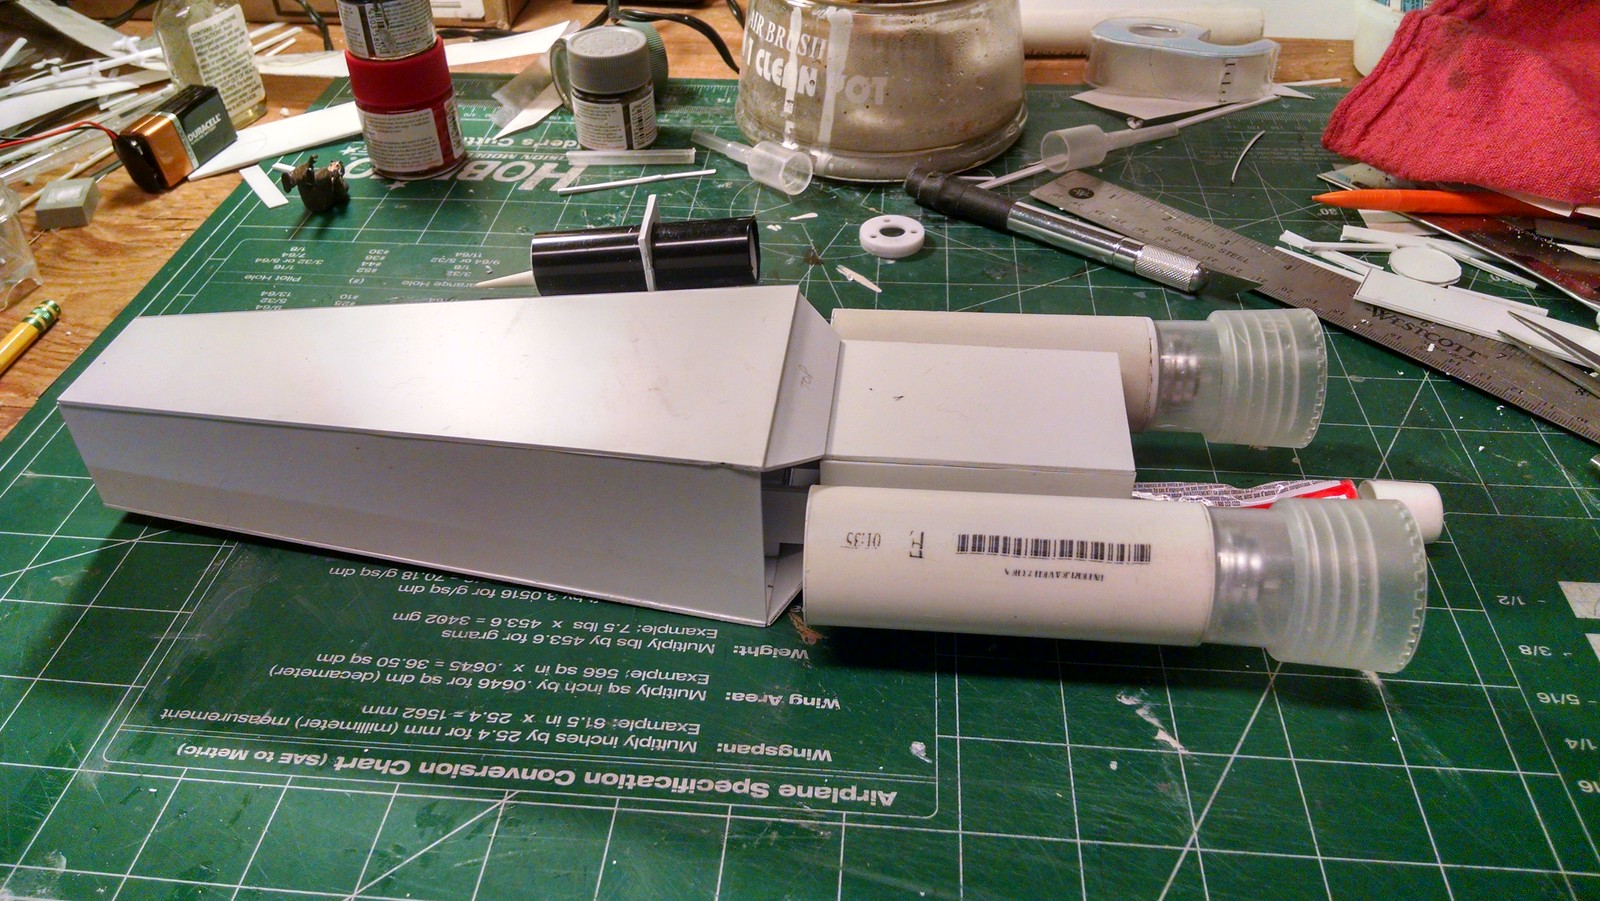
The engines get LED lights. I used a car wheel and a tank wheel to mount the LEDs inside the bottle cap funnels and PVC engine tube.
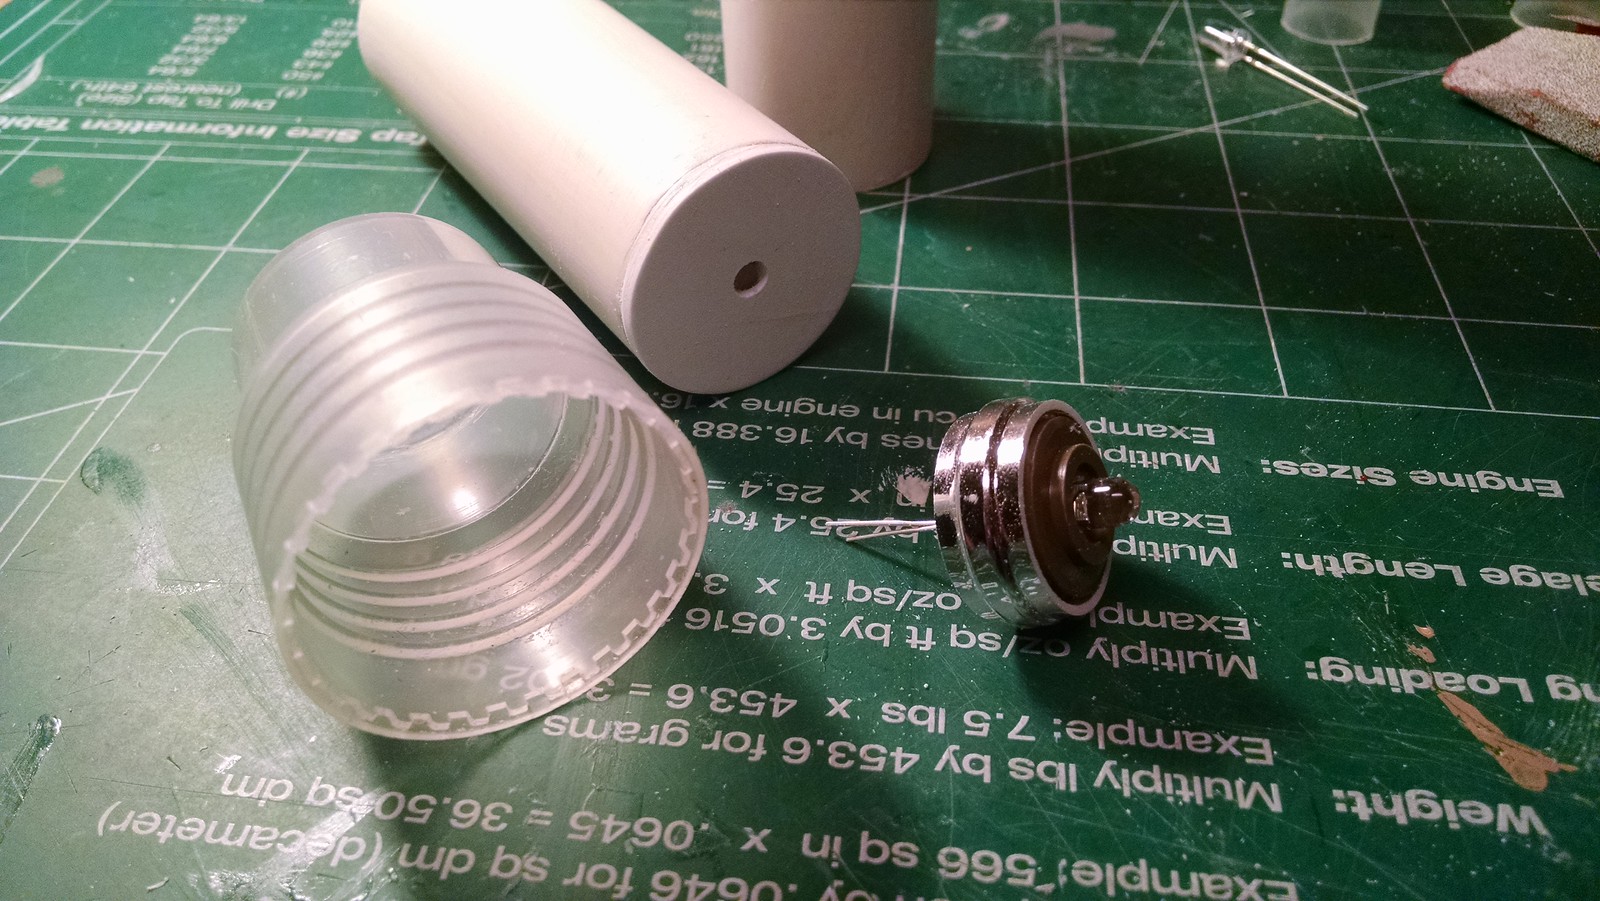
Above you can see the parts before gluing them together.
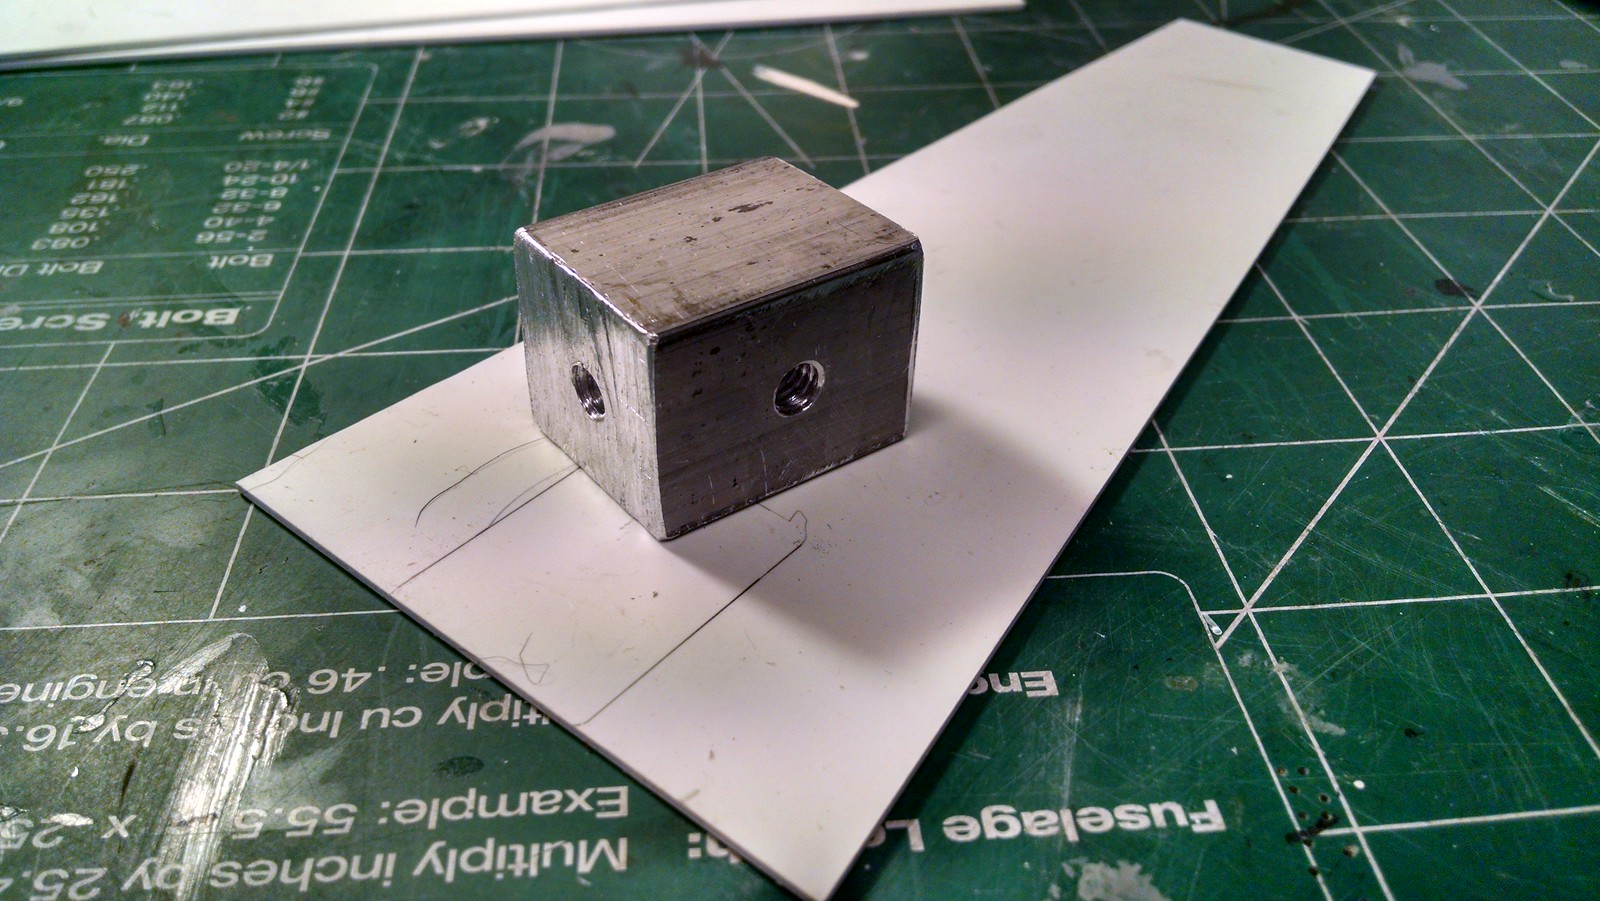
Next I started with the bottom of the fuselage to anchor the mount. I still had a tapped block of aluminum with two mount points on it so I didn’t have to do that part again.
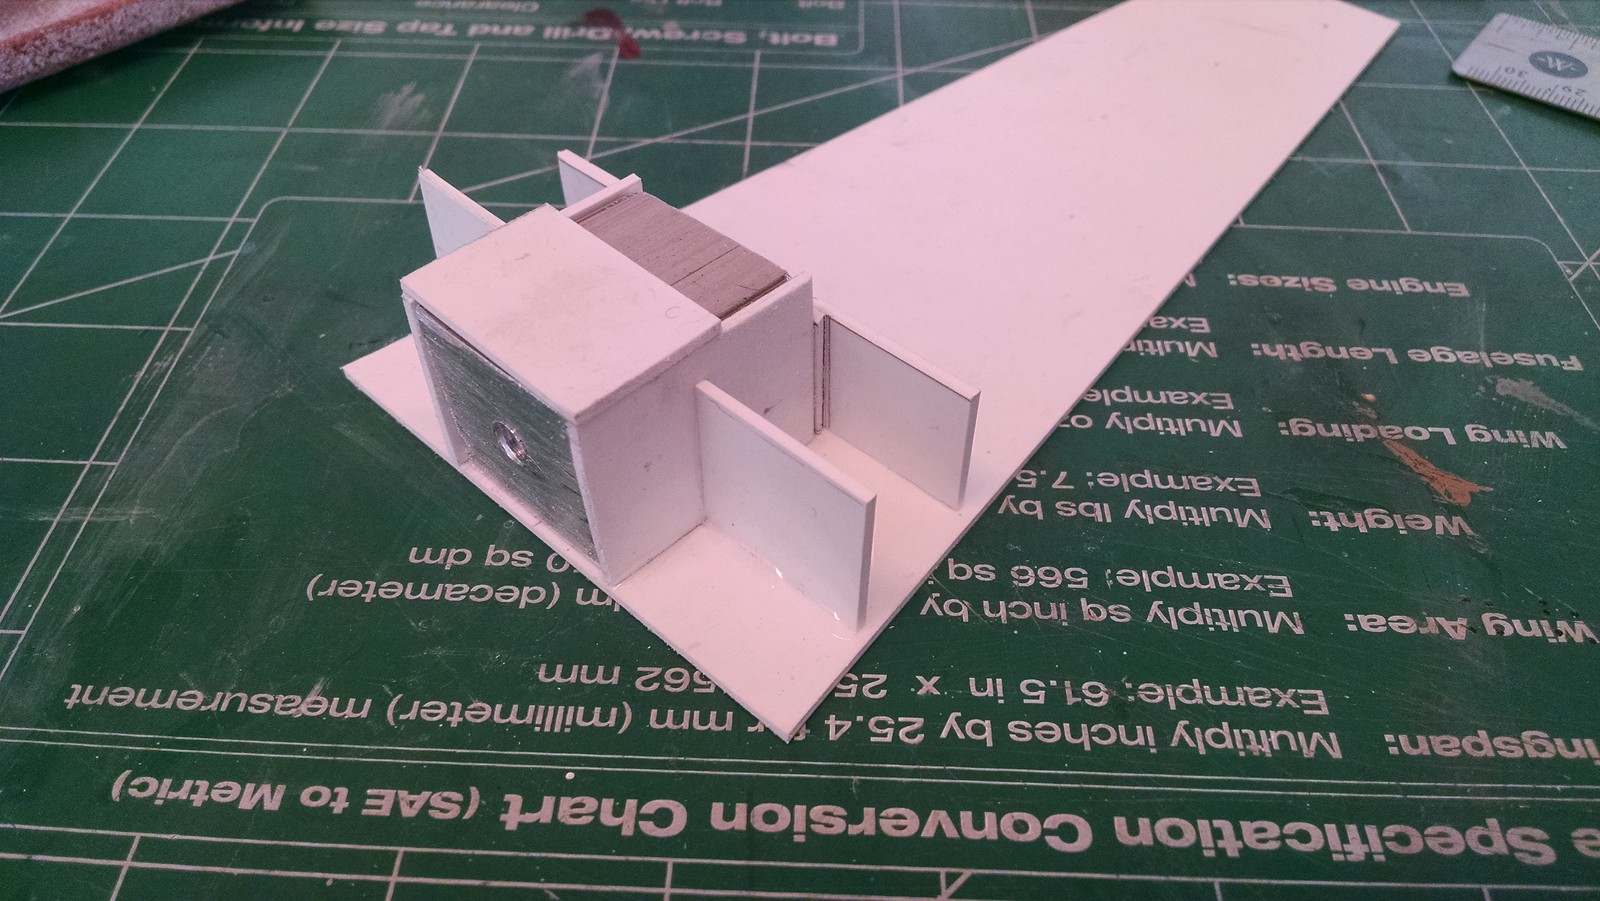
The bracing for the mount is basically a bunch of plastic.
The fuselage sides when up pretty fast. The area behind the pilot is raised a bit and so is braces accordingly.
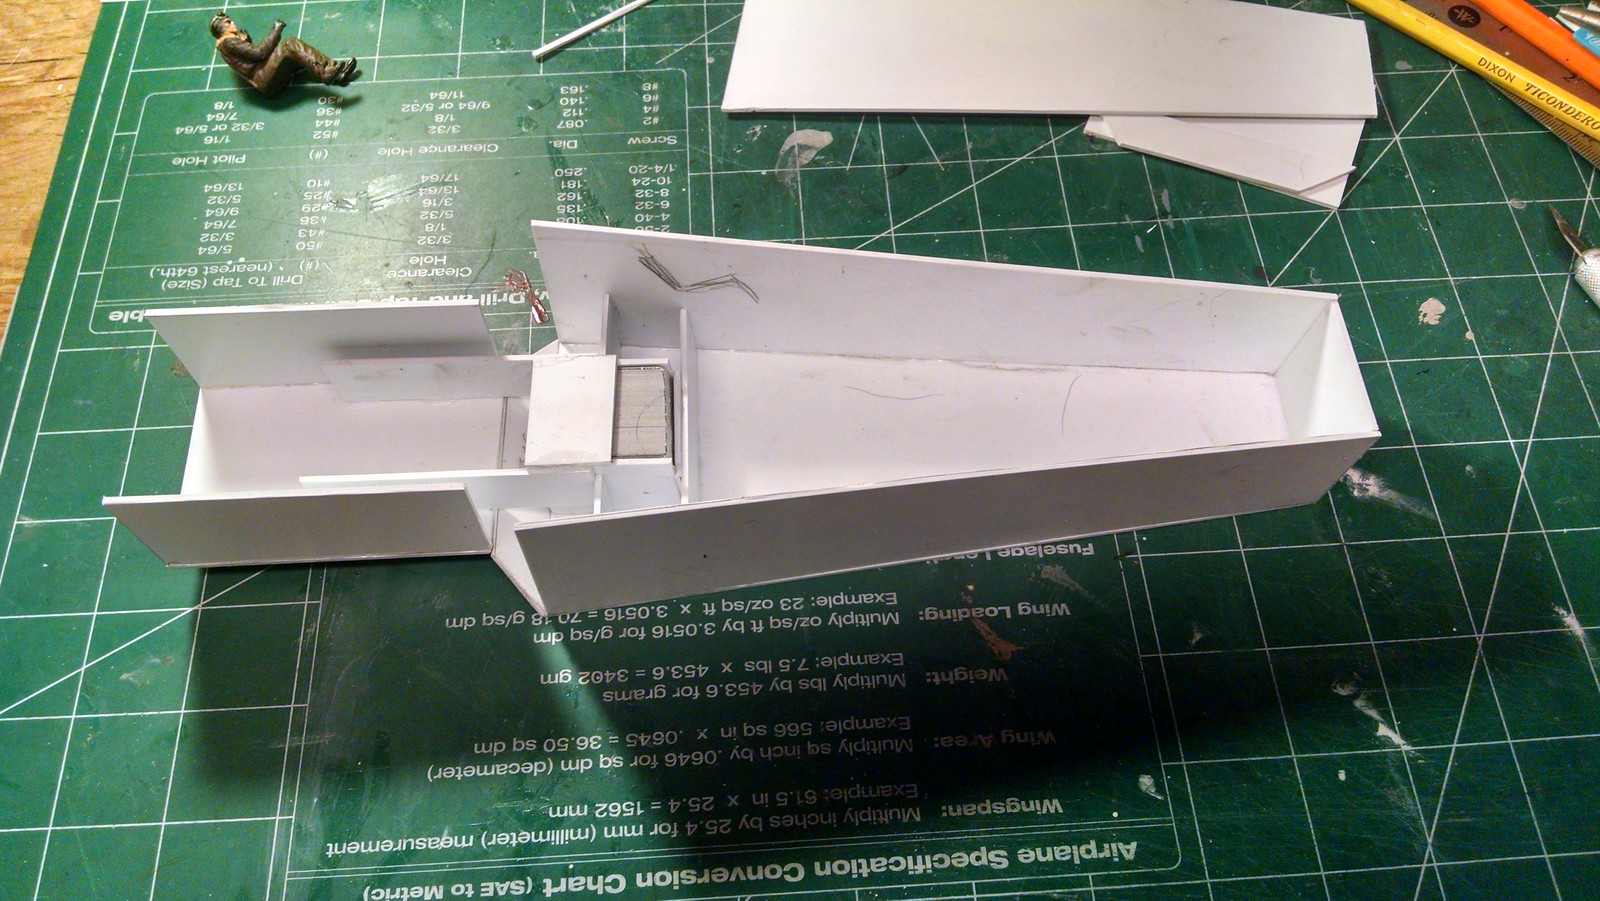
The top area is cut out, but not glued in place yet. I have to cut out the cockpit area and detail and light it before I close it up. The battery and circuit board will go in the area between and above the engines.
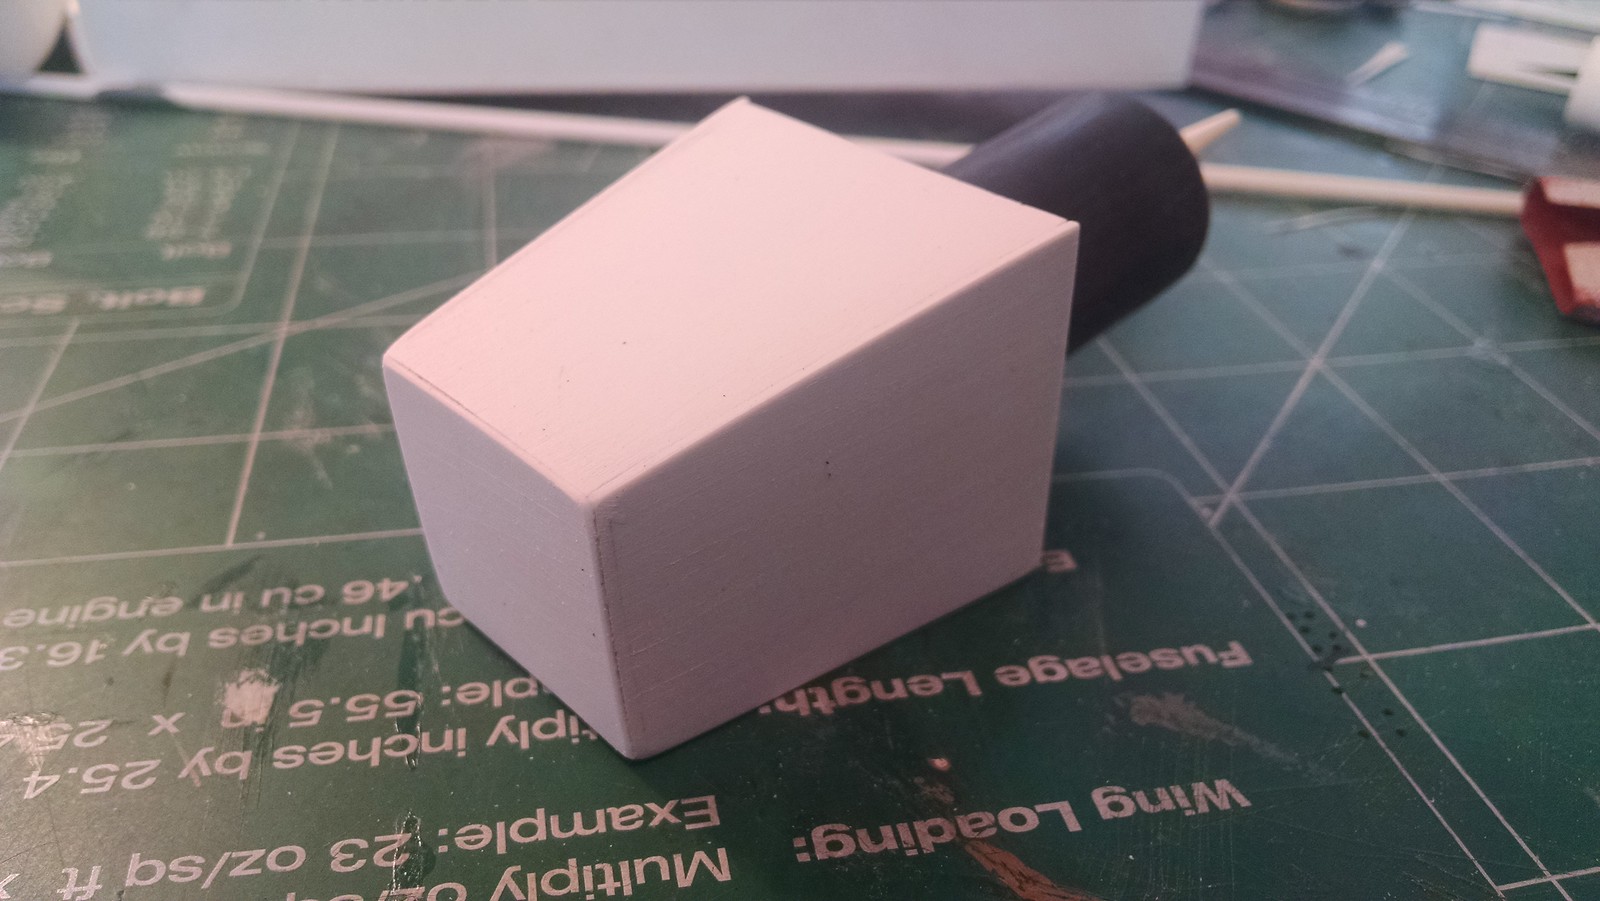
The nose cone for lack of a better name, was walled off at the last minute and the cone inside the tube was left inside. Not so smart. I know the nose is flat, but the original design is that way and I figured that a space fighter didn’t need a pointy nose.
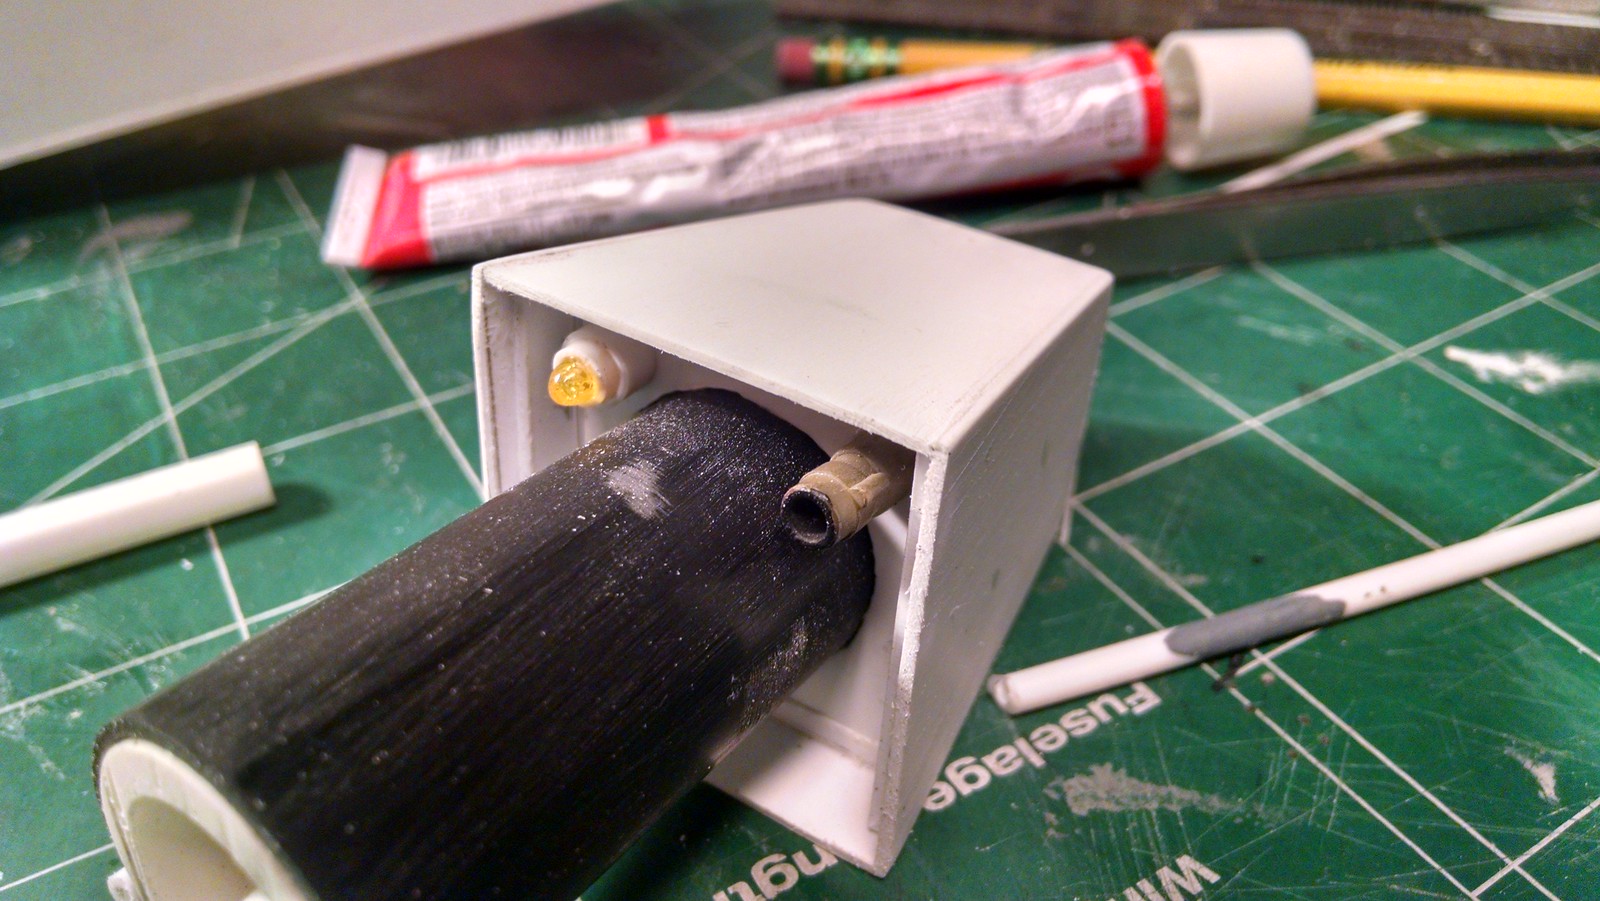
Detailing inside the nose before attaching it to the main body.
Also took the time to detail the nose extension piece. This is probably an area that has had the covers removed on a regular basis, so I’m making it look like you could have it covered if needed.
You can still see the cone coming through the cylinder. Ugh. Good thing that will be covered.
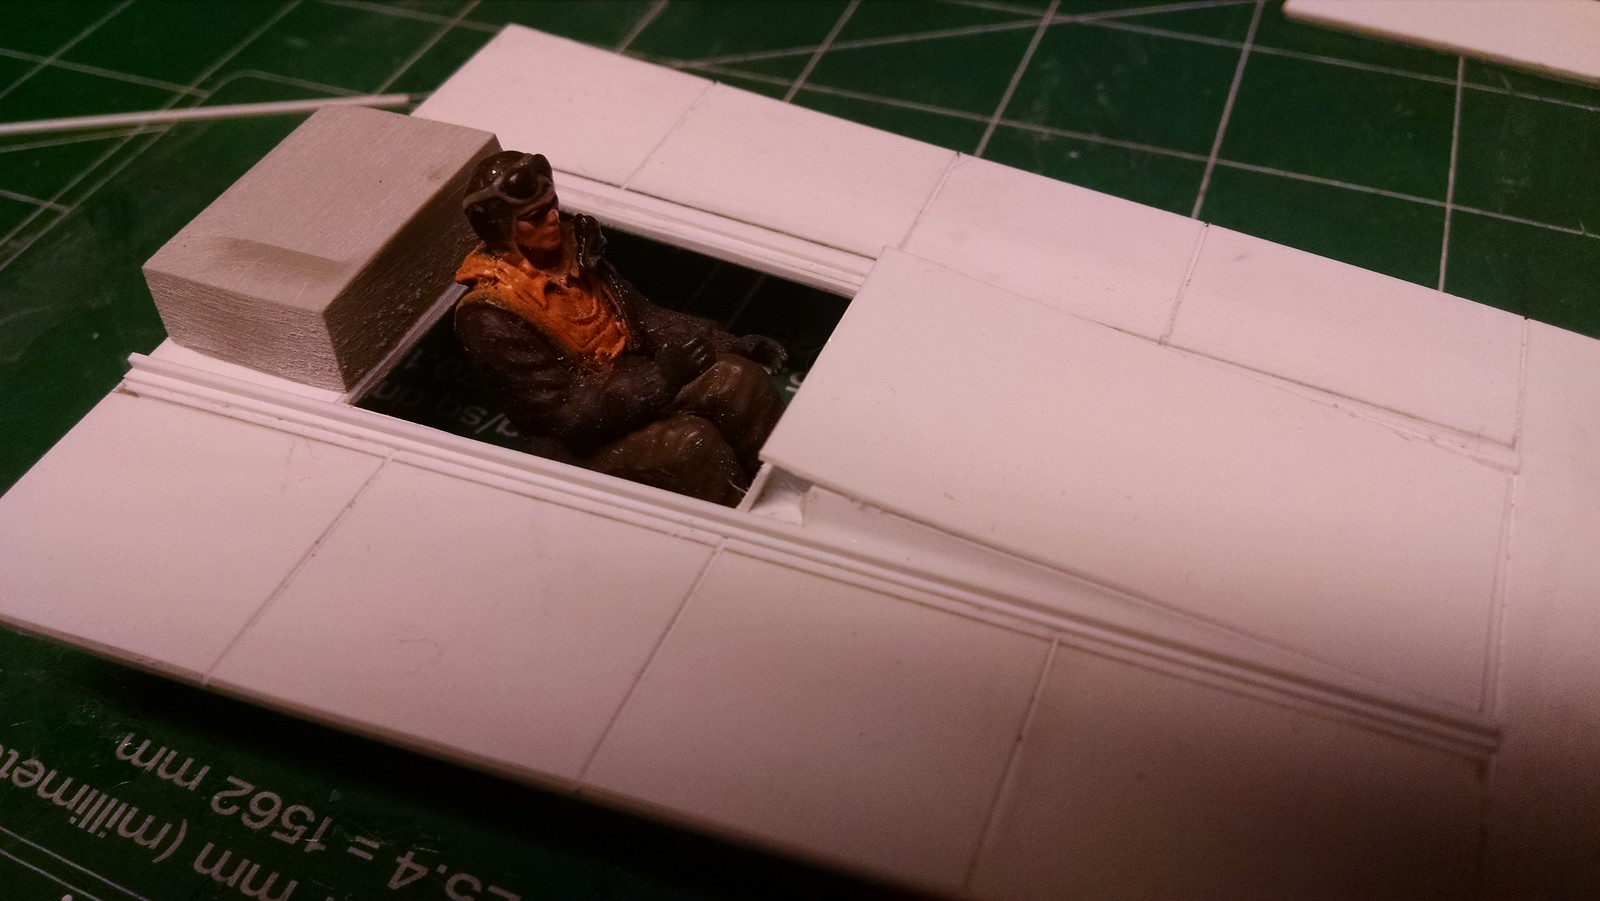
My stand in 1/32 scale pilot as the cockpit comes together. Actually using the base from a resin seat behind him.
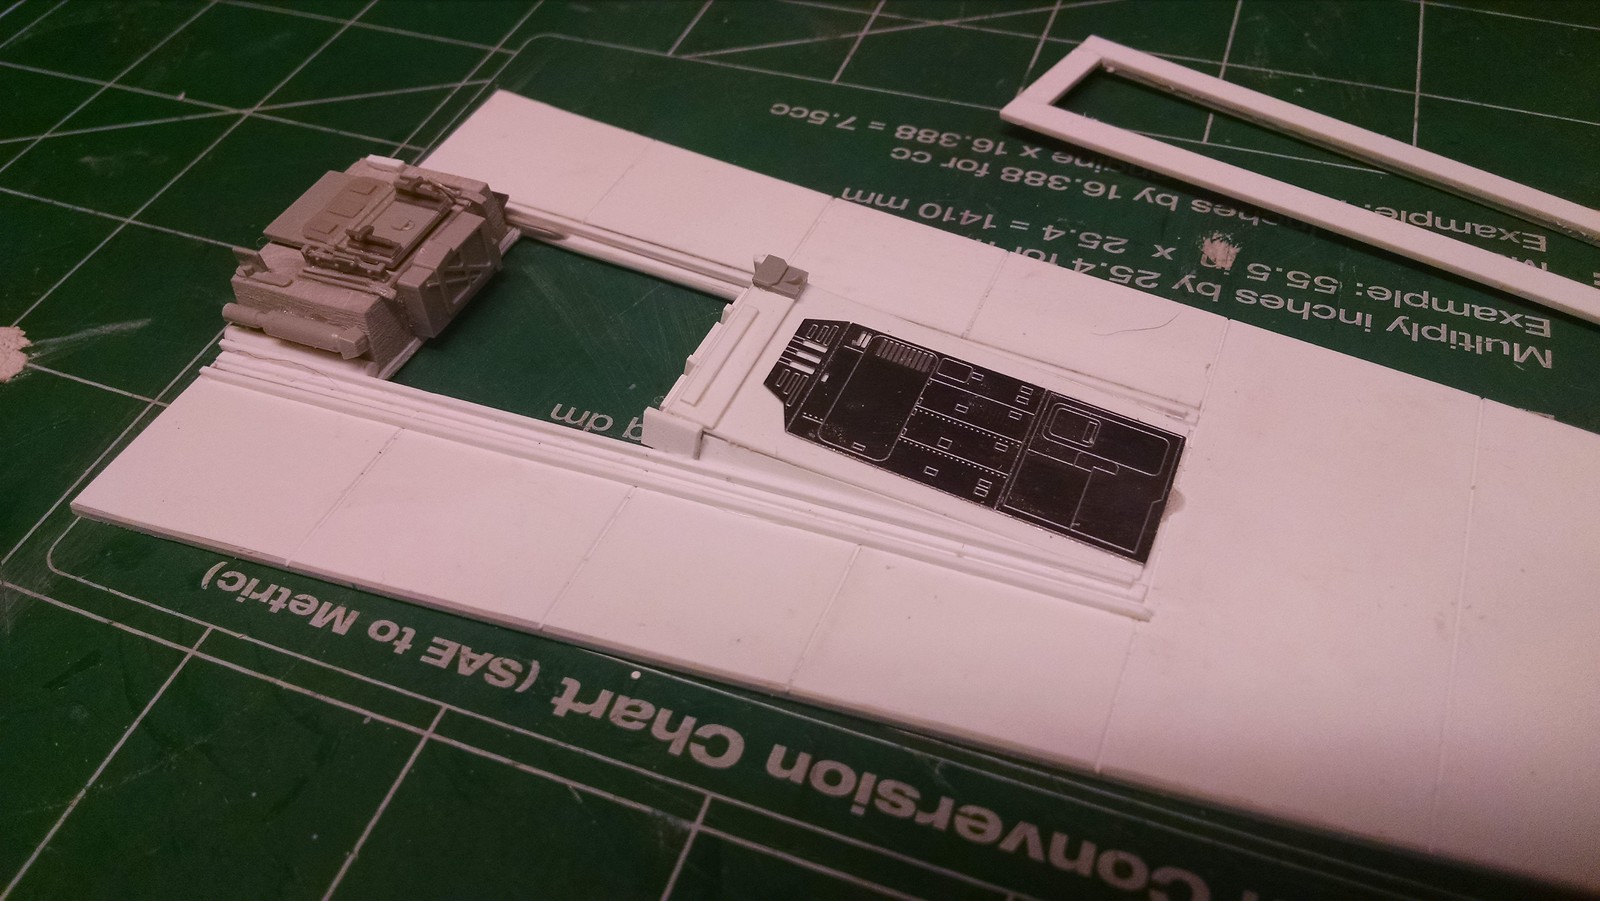
Some cockpit details coming along, including the metal Imperial Walker model that a friend donated.
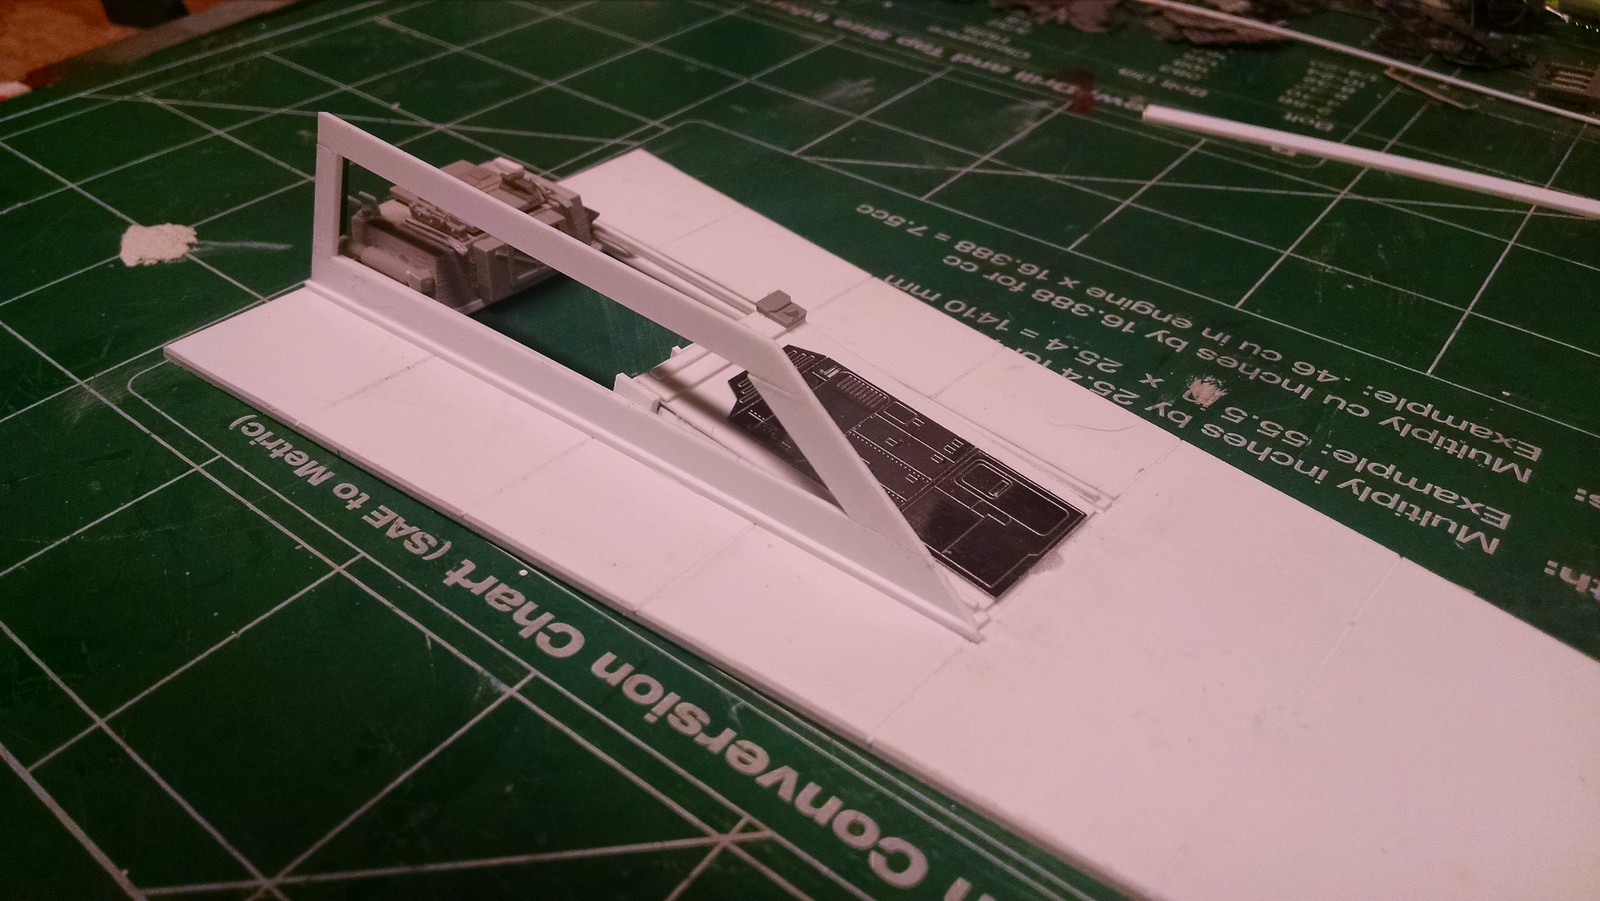
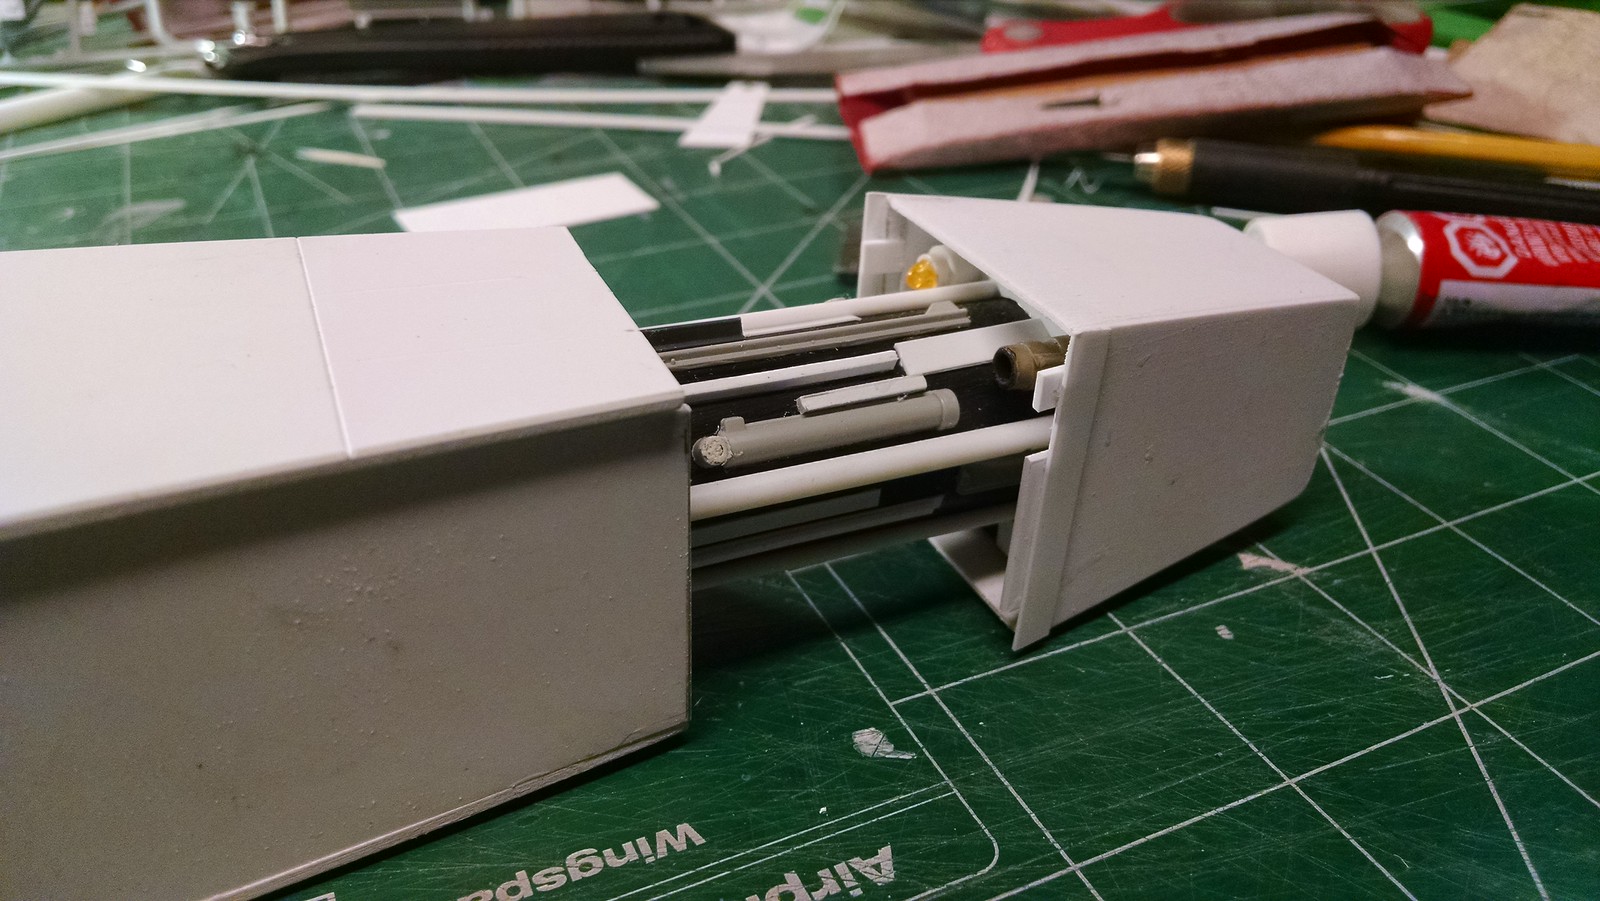
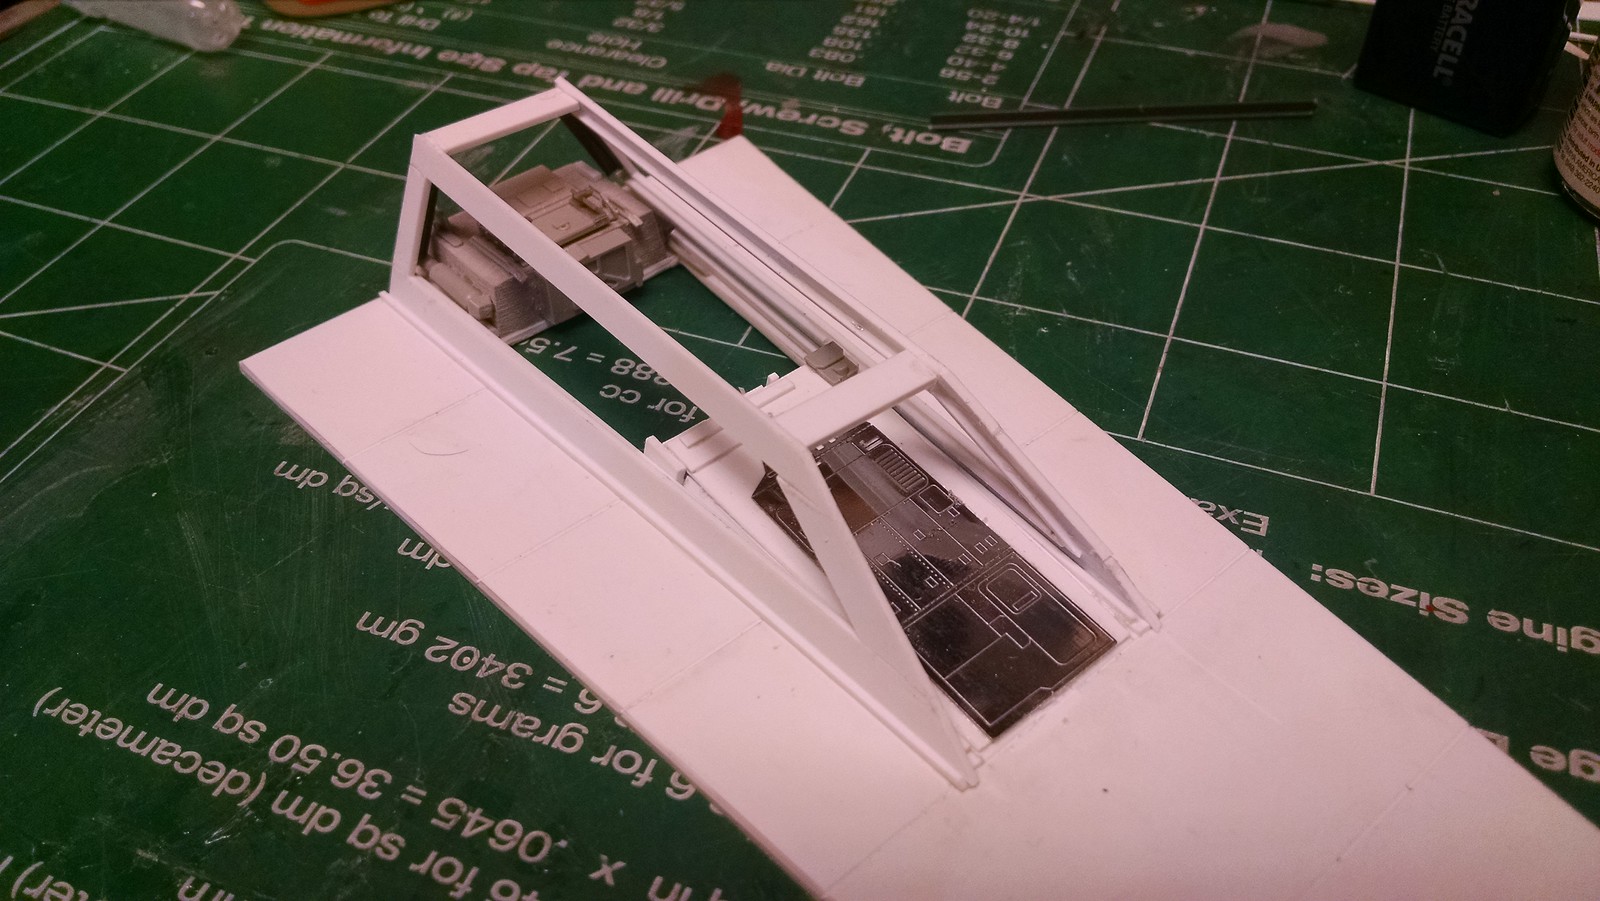
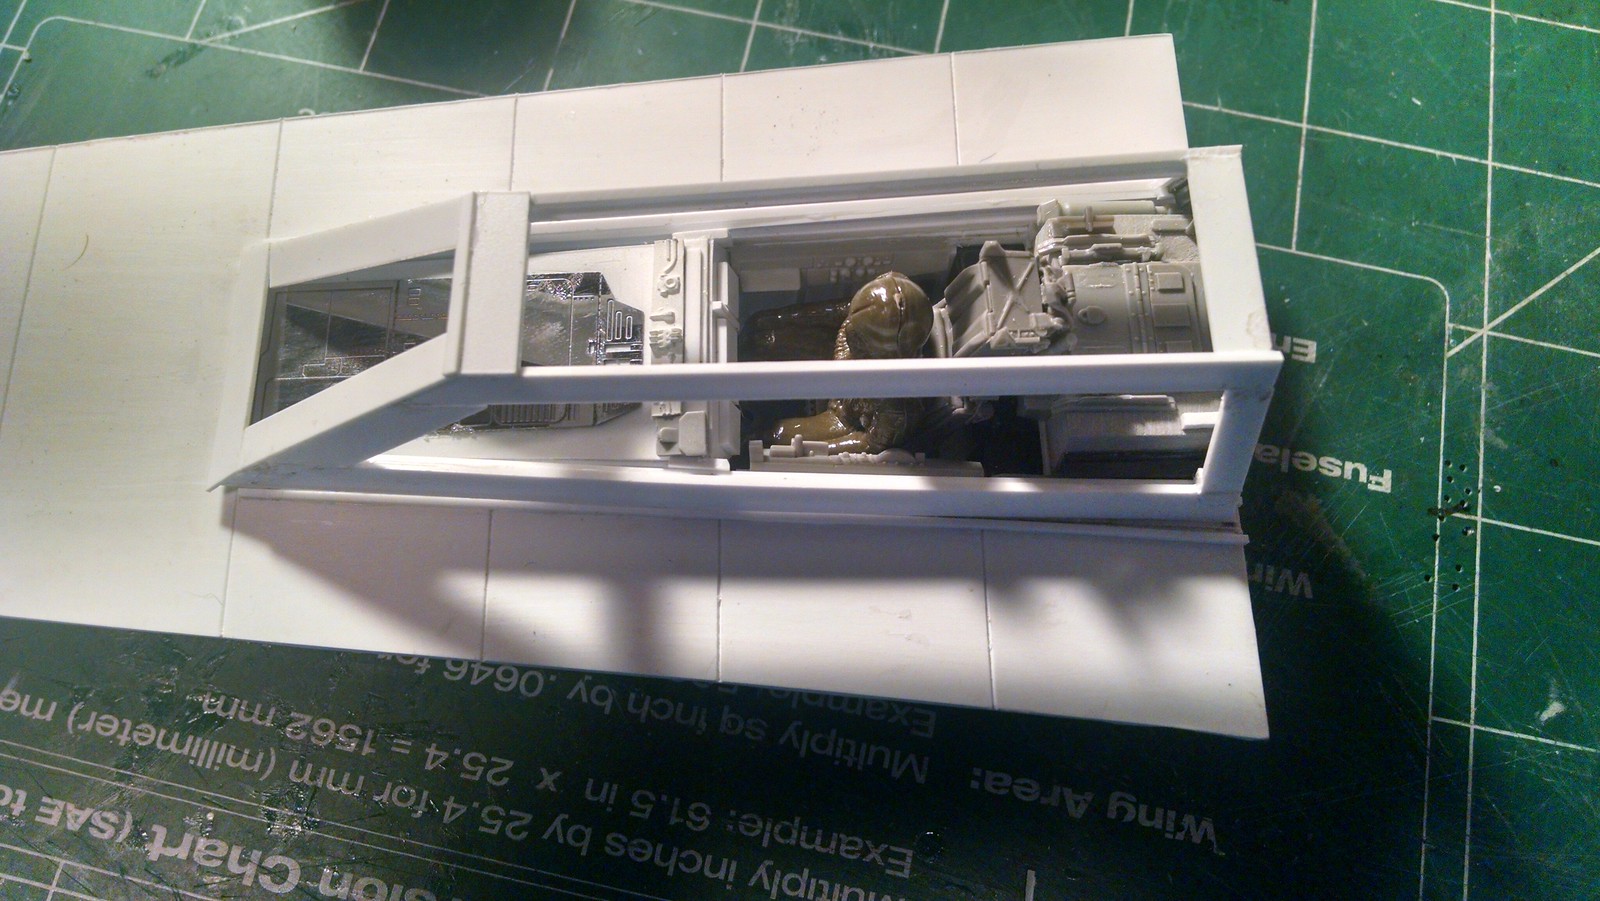
The canopy frame is coming together next.
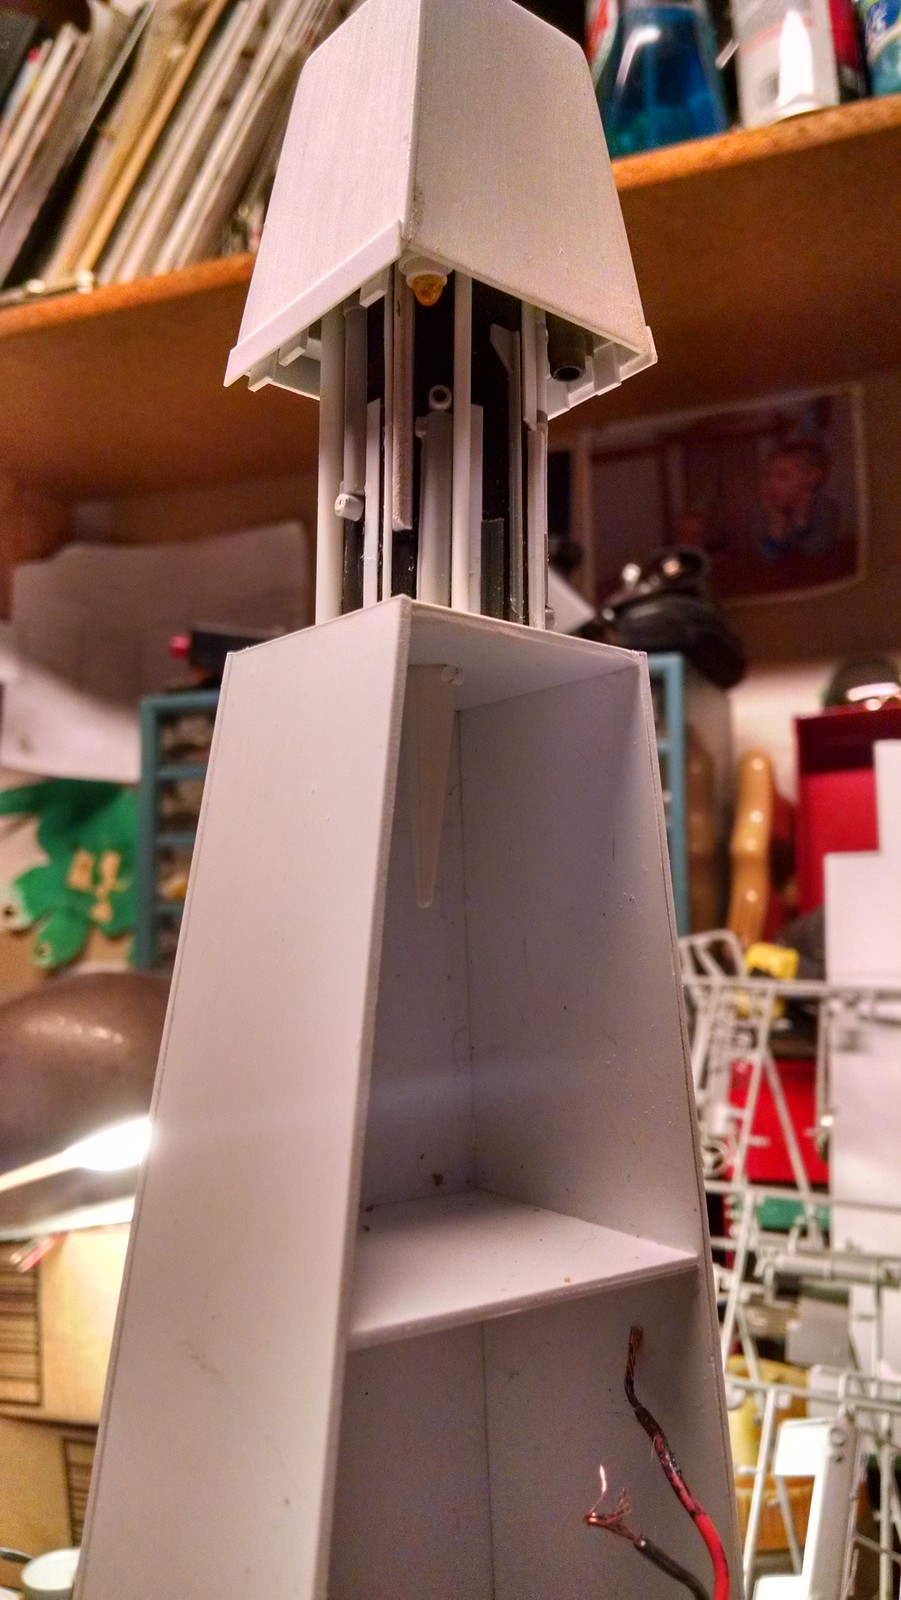
Starting to look like a Y-wing or a Snow Speeder now.
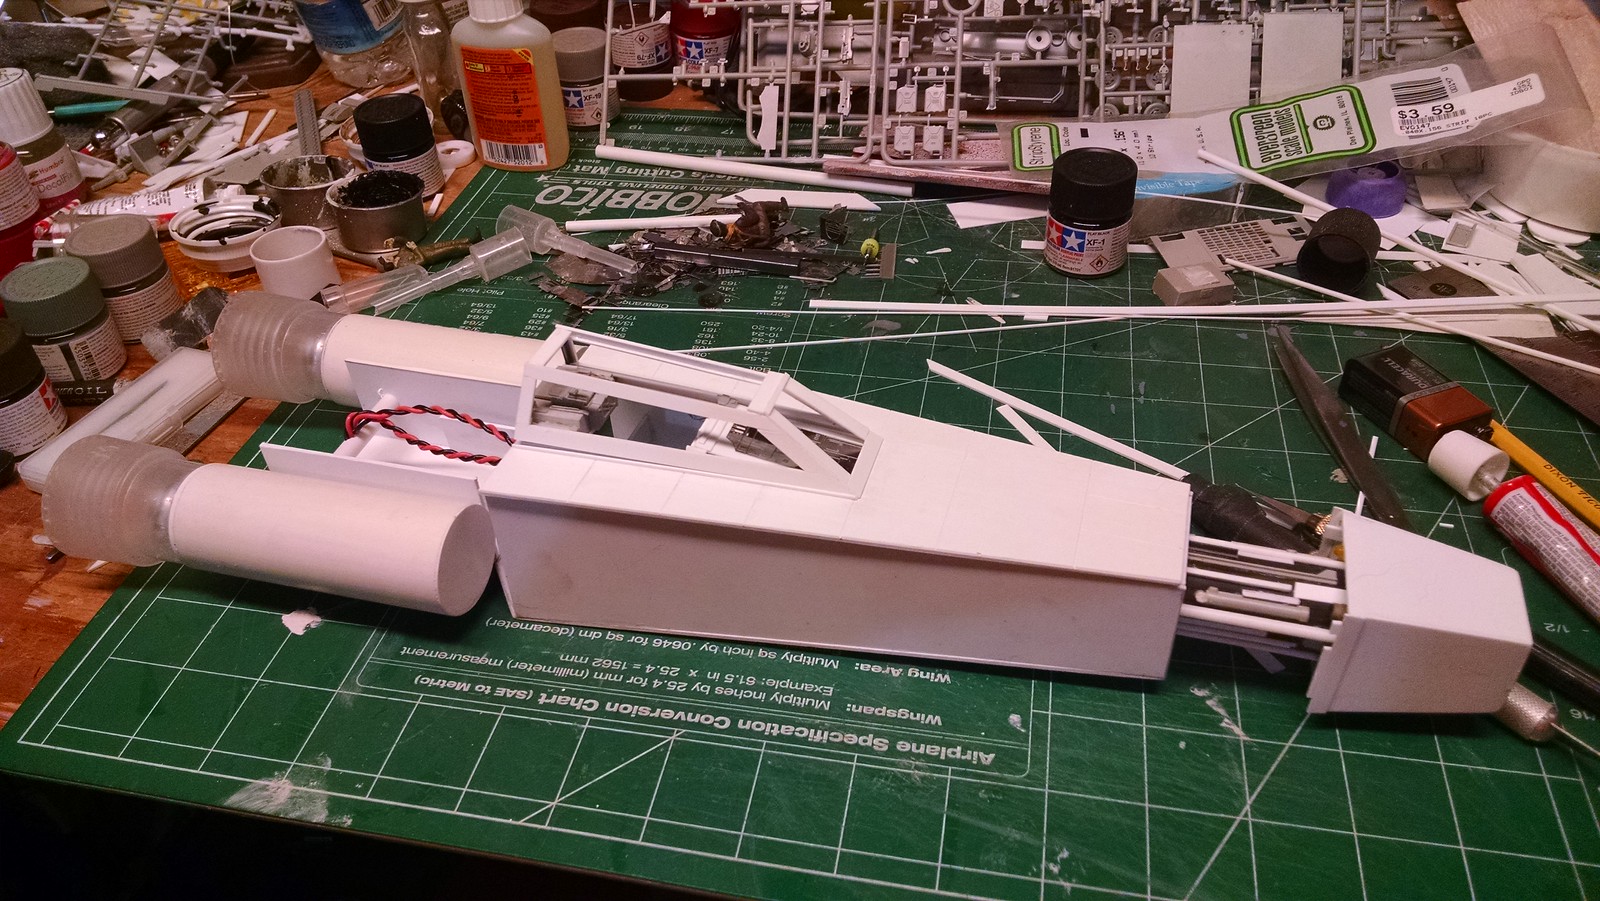
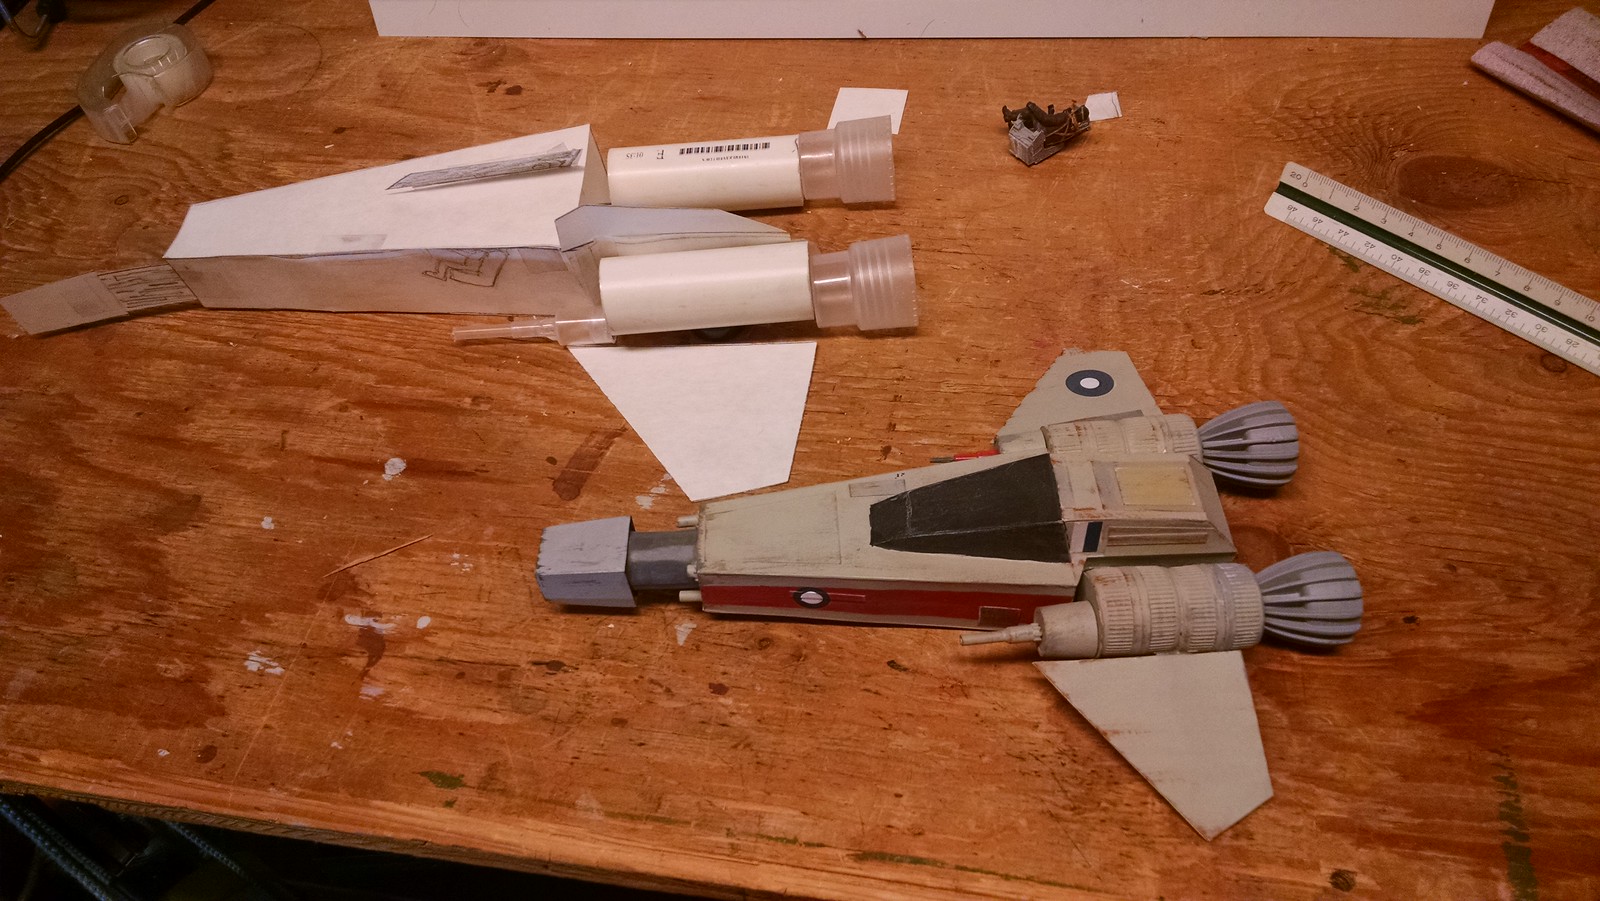
Here’s everything sitting together on the bench. She’s big!
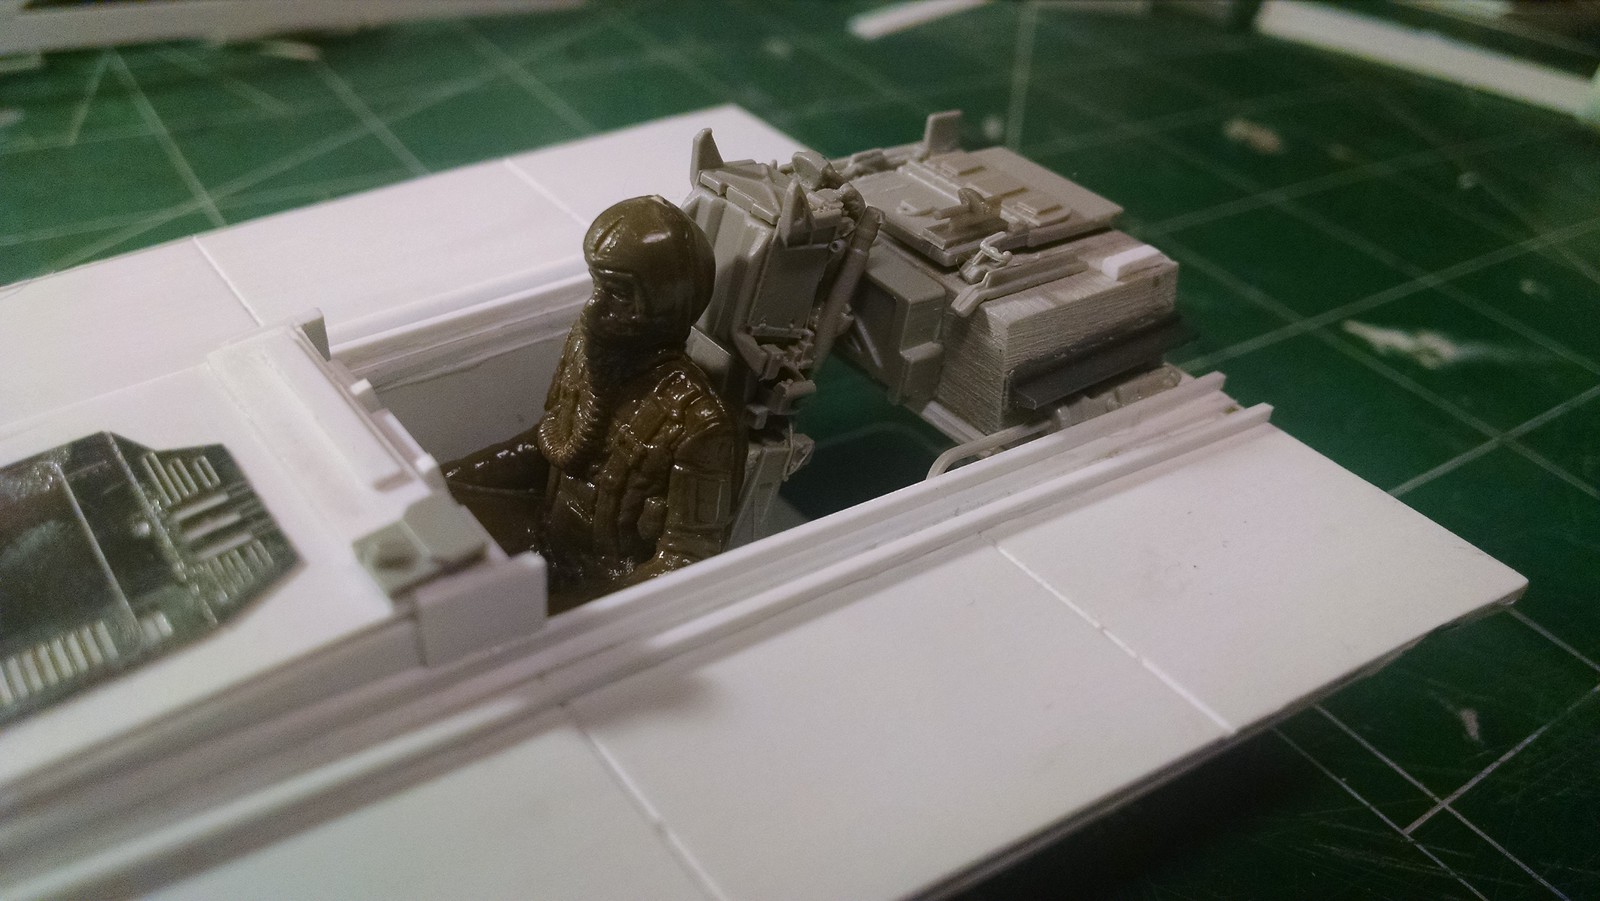
The Martin Baker ejection seat is from an F-4 Phantom resin mold. Very detailed.
This is looking pretty cool about now. Next up: lights!