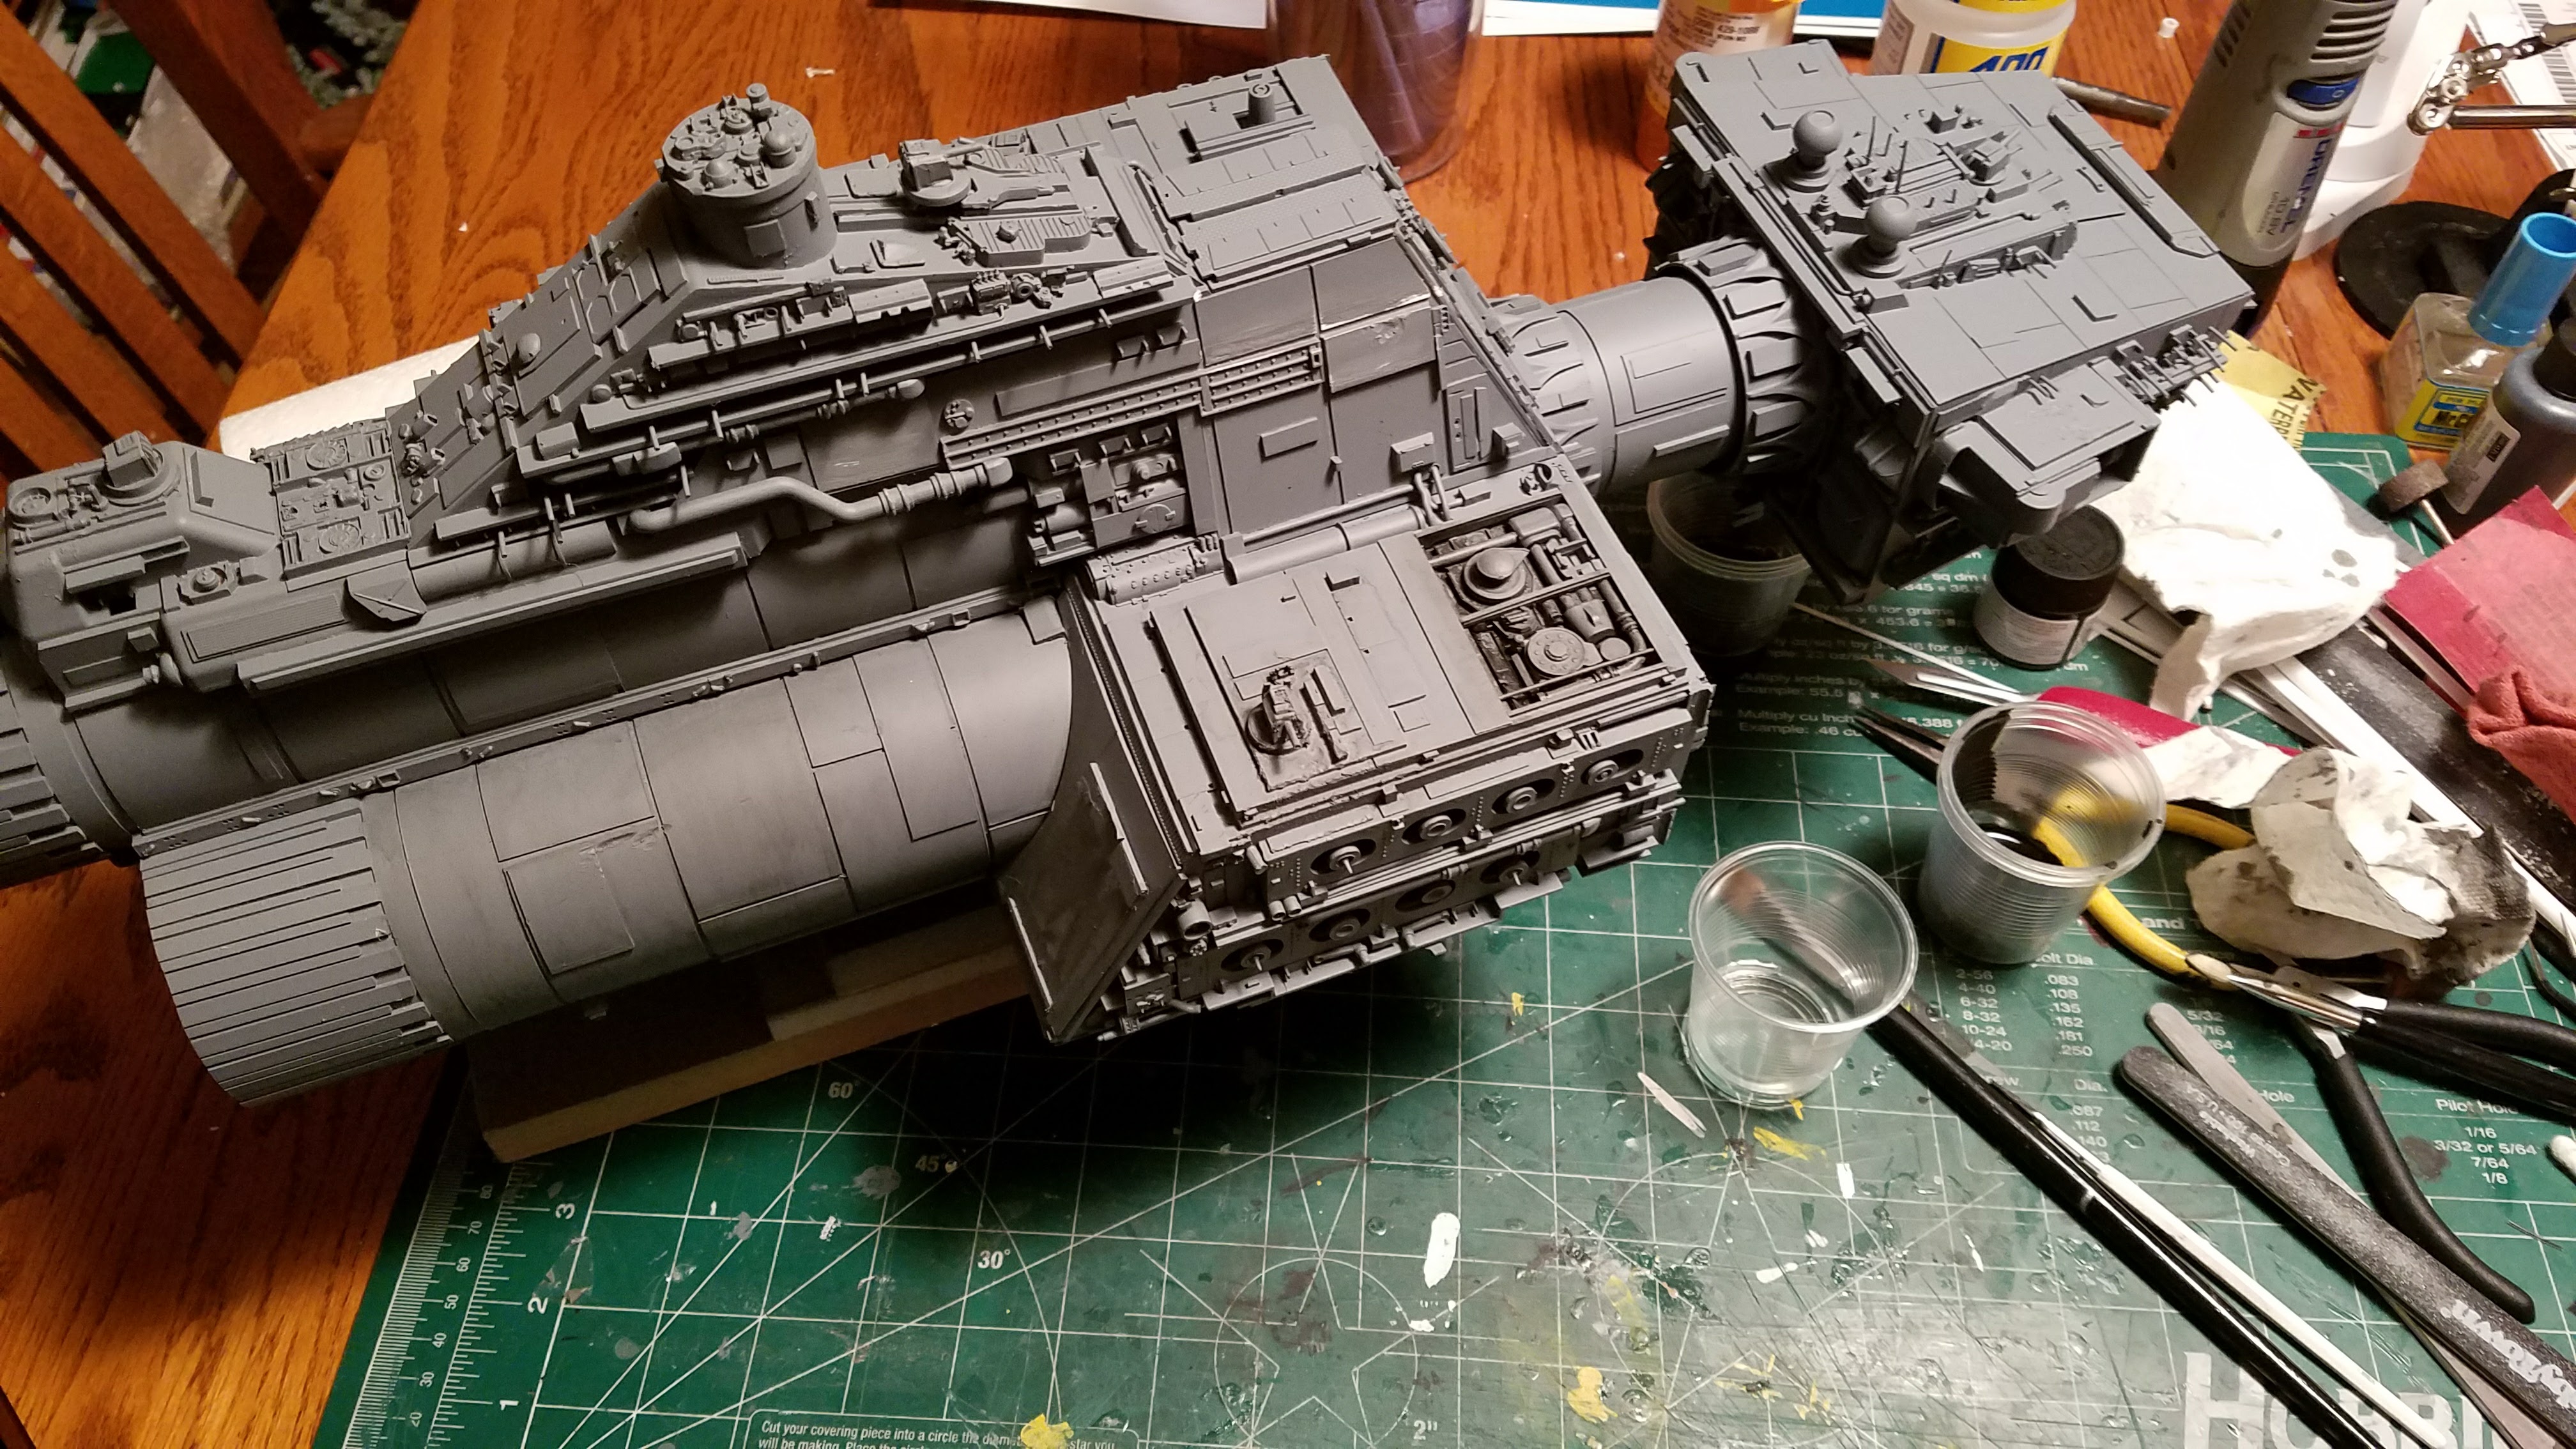
I used Stynylrez gray for the primer coat. I like how it goes on wet and dries perfectly smooth even in tiny detailed areas. Take a good hard look at her now, because she’s about to get dirtied up for good. This will be one of the grimiest starships in the current fleet so let’s get started with the weathering.
I use a big brush and a wash of black India ink or a flat acrylic black wash. Sometimes both, sometimes I add in rust colors. The idea is to get the black color in the cracks and crevices of the model and then wipe it off the outer areas. The small panel behind the launch bay is already done in the photo below.
Weathering is a slow process on a model of this size. Sure it’s rather easy and fast to do the wash, but that’s just the start. I also go back when it’s dry and do a rub with artist’s charcoal and sometimes lighten areas with chalk of various colors, mostly white and gray. Weathering is a way to tell a story about the ship without using words.
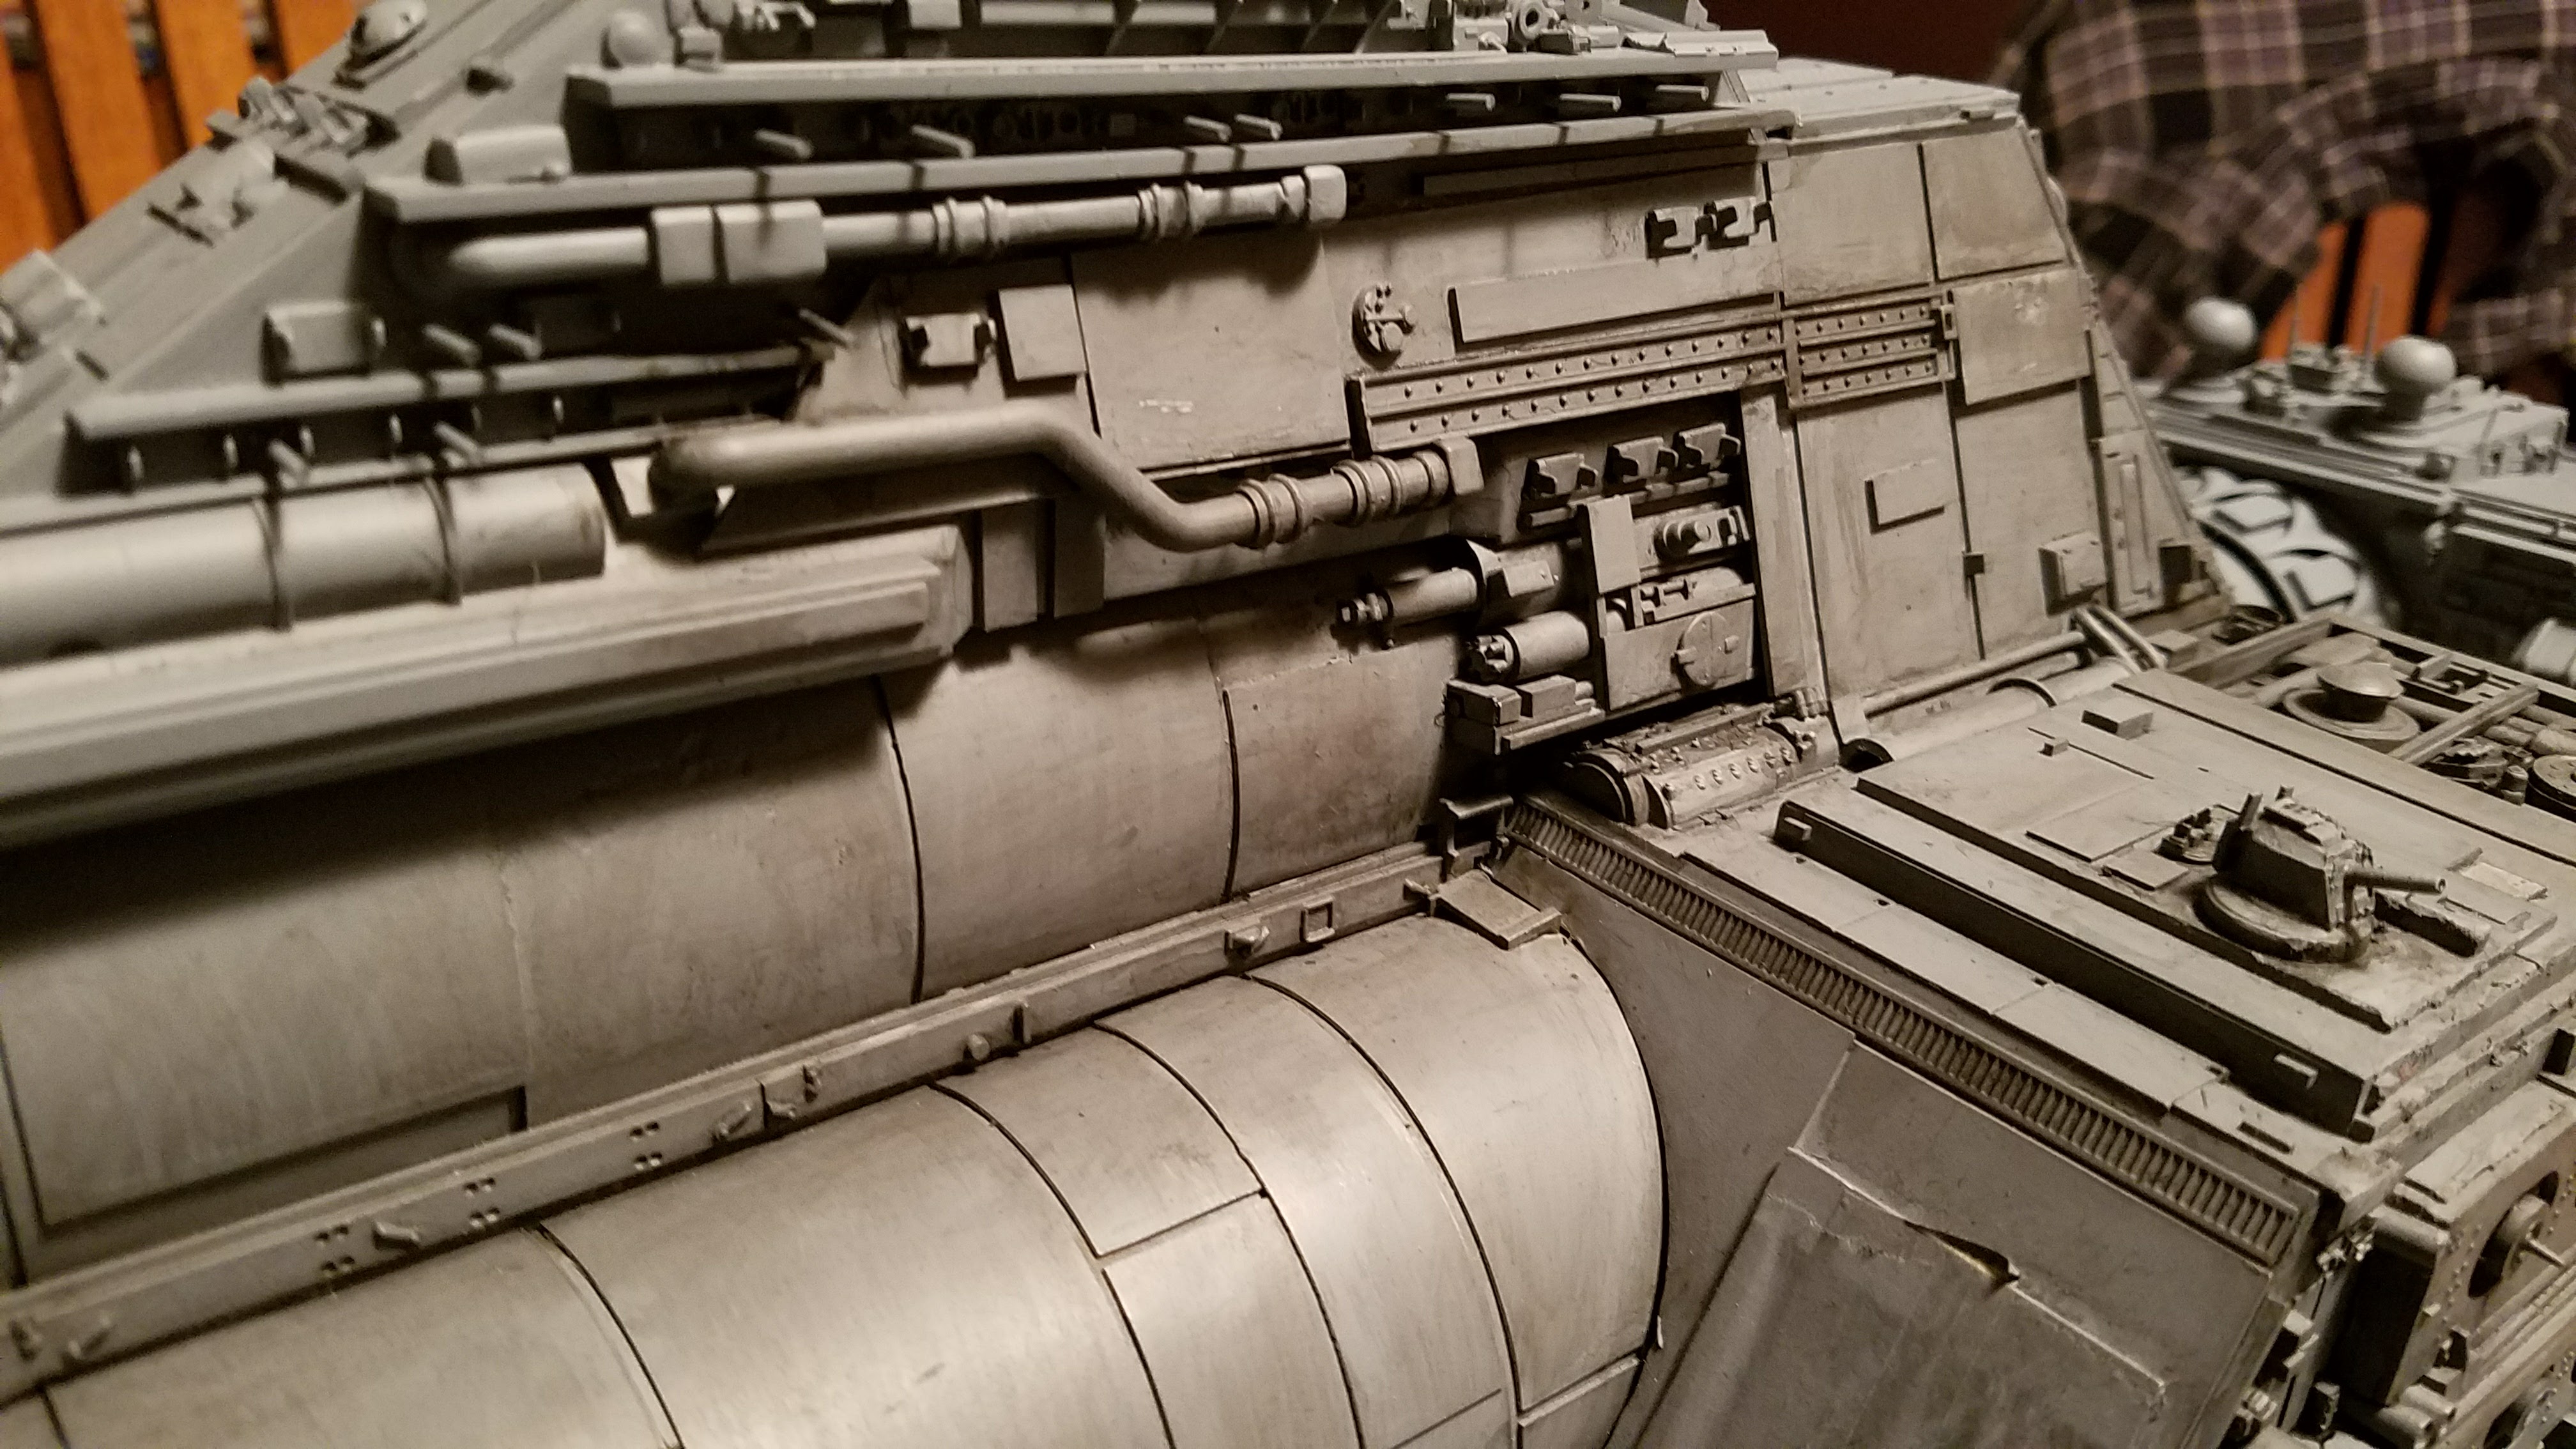
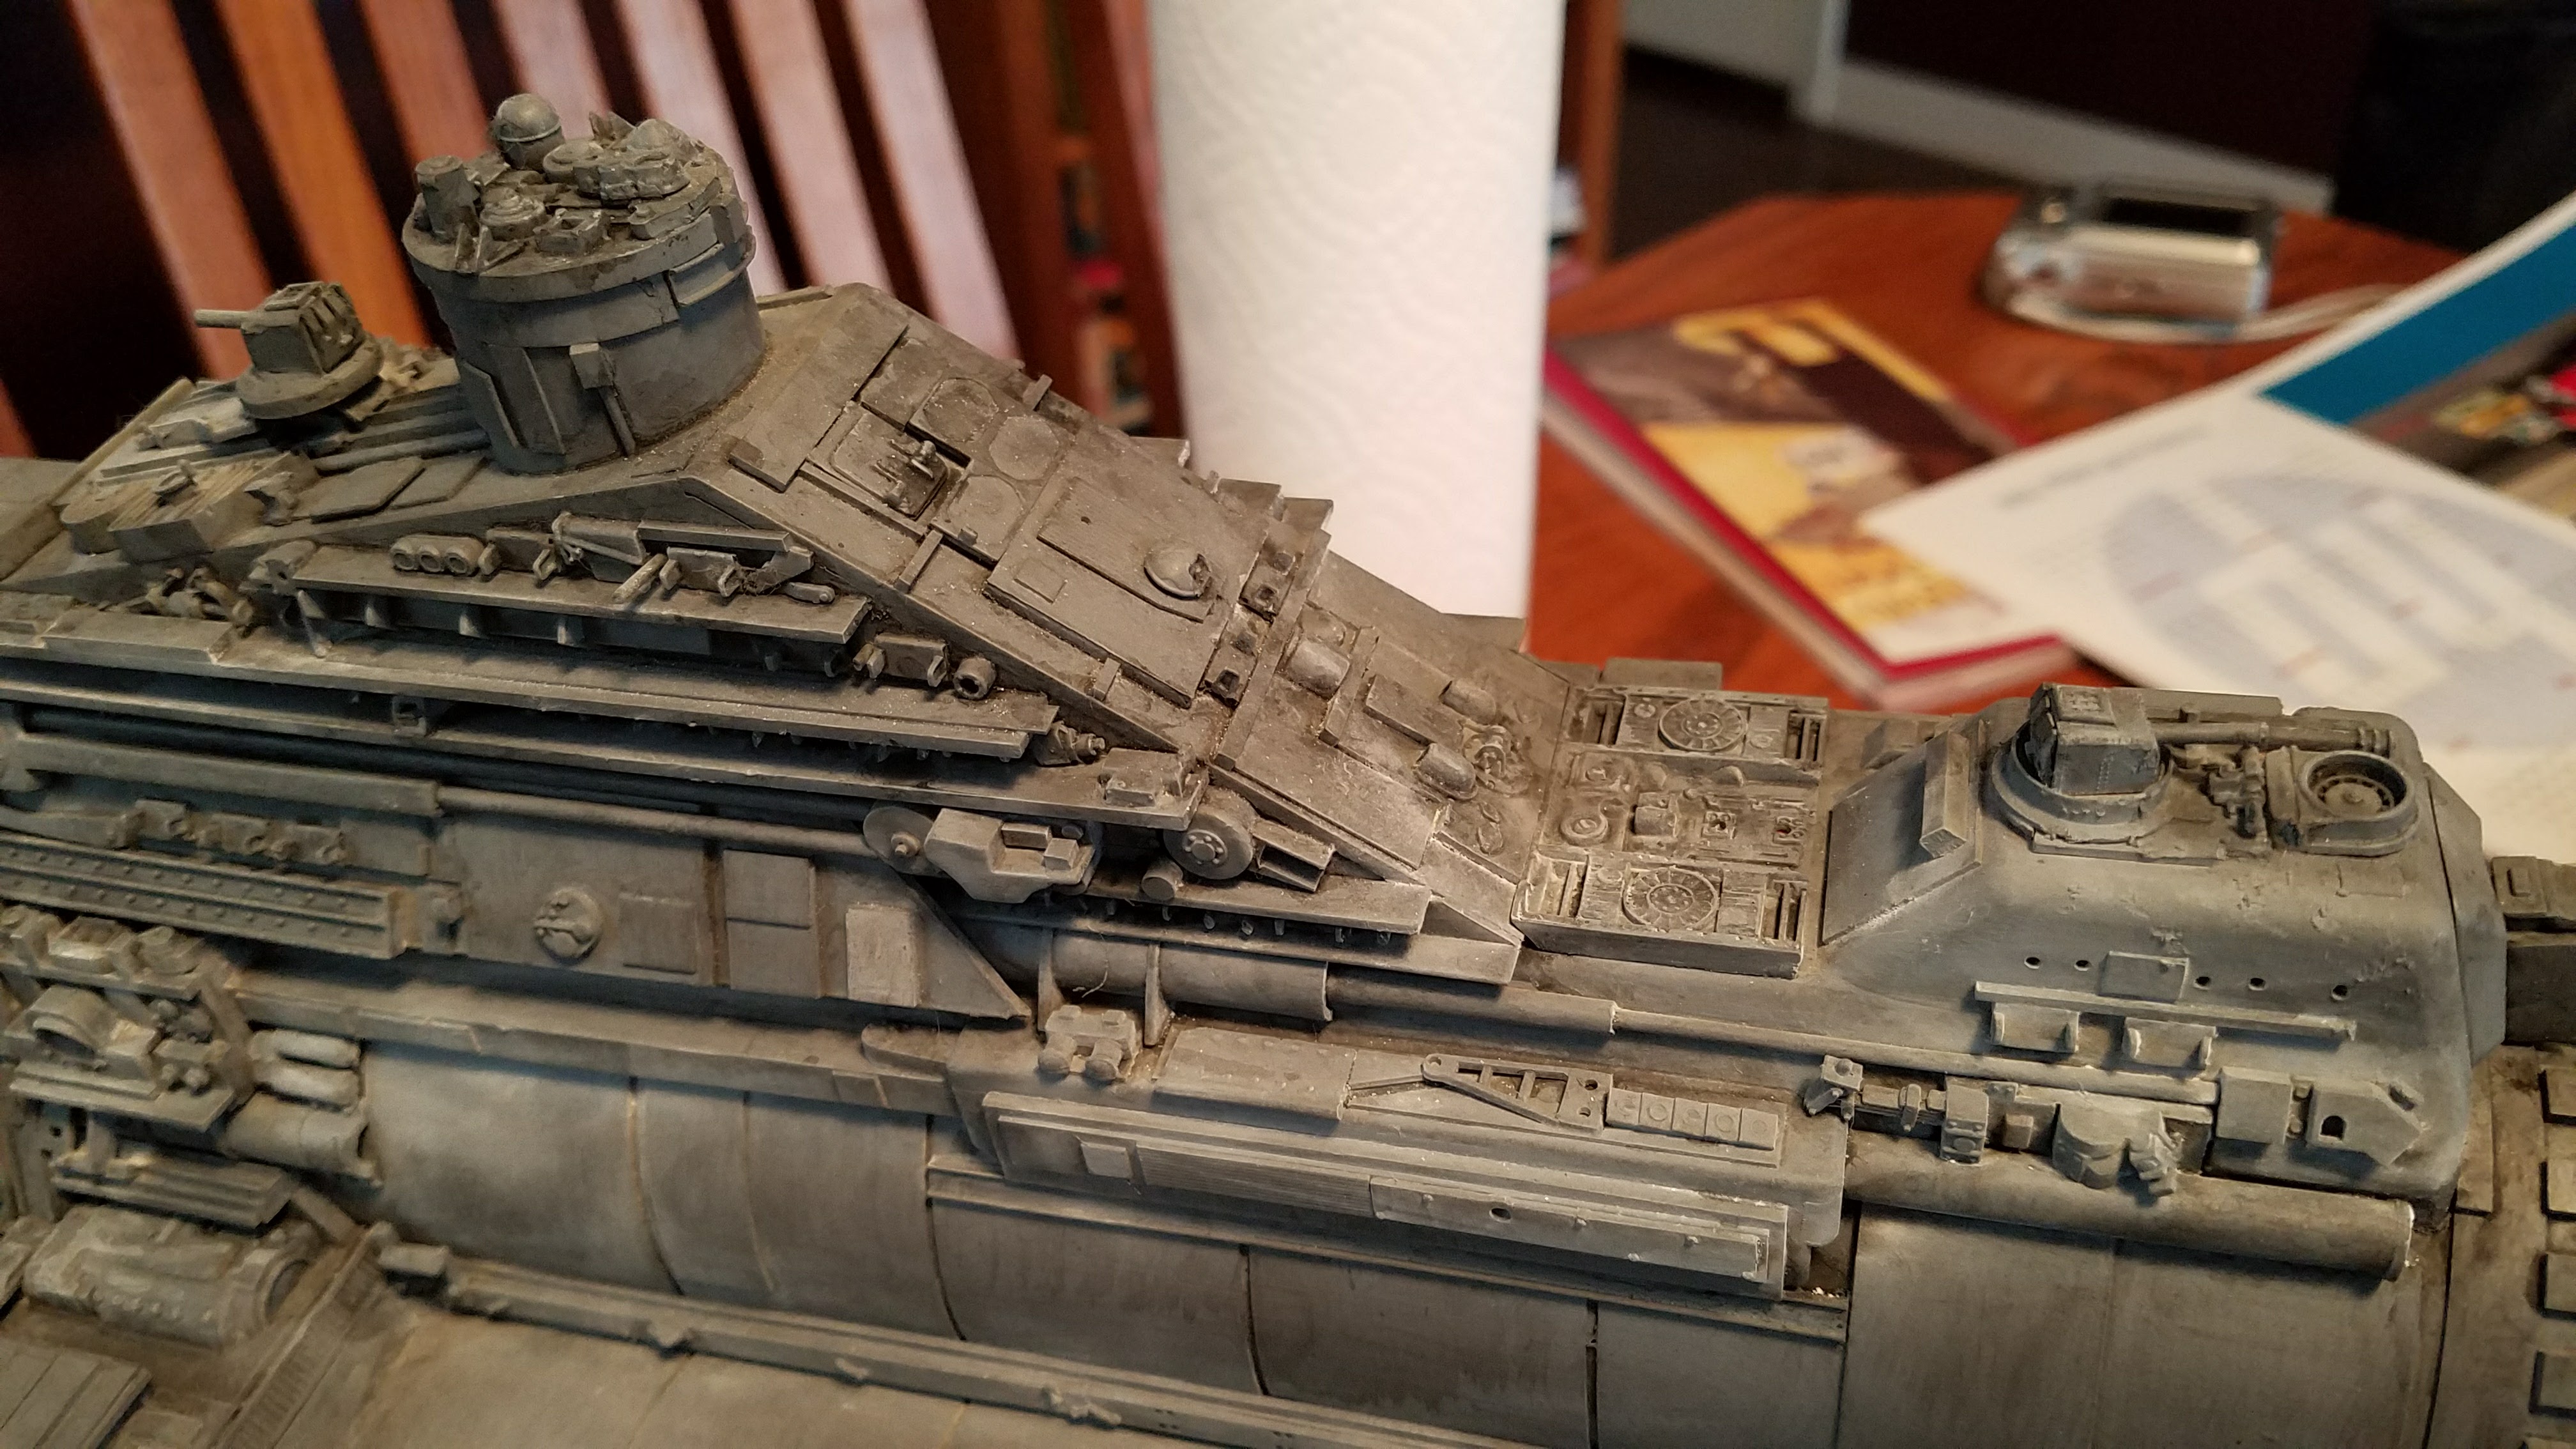
The engine pipes are streaked with grim and the battle damage highlighted.
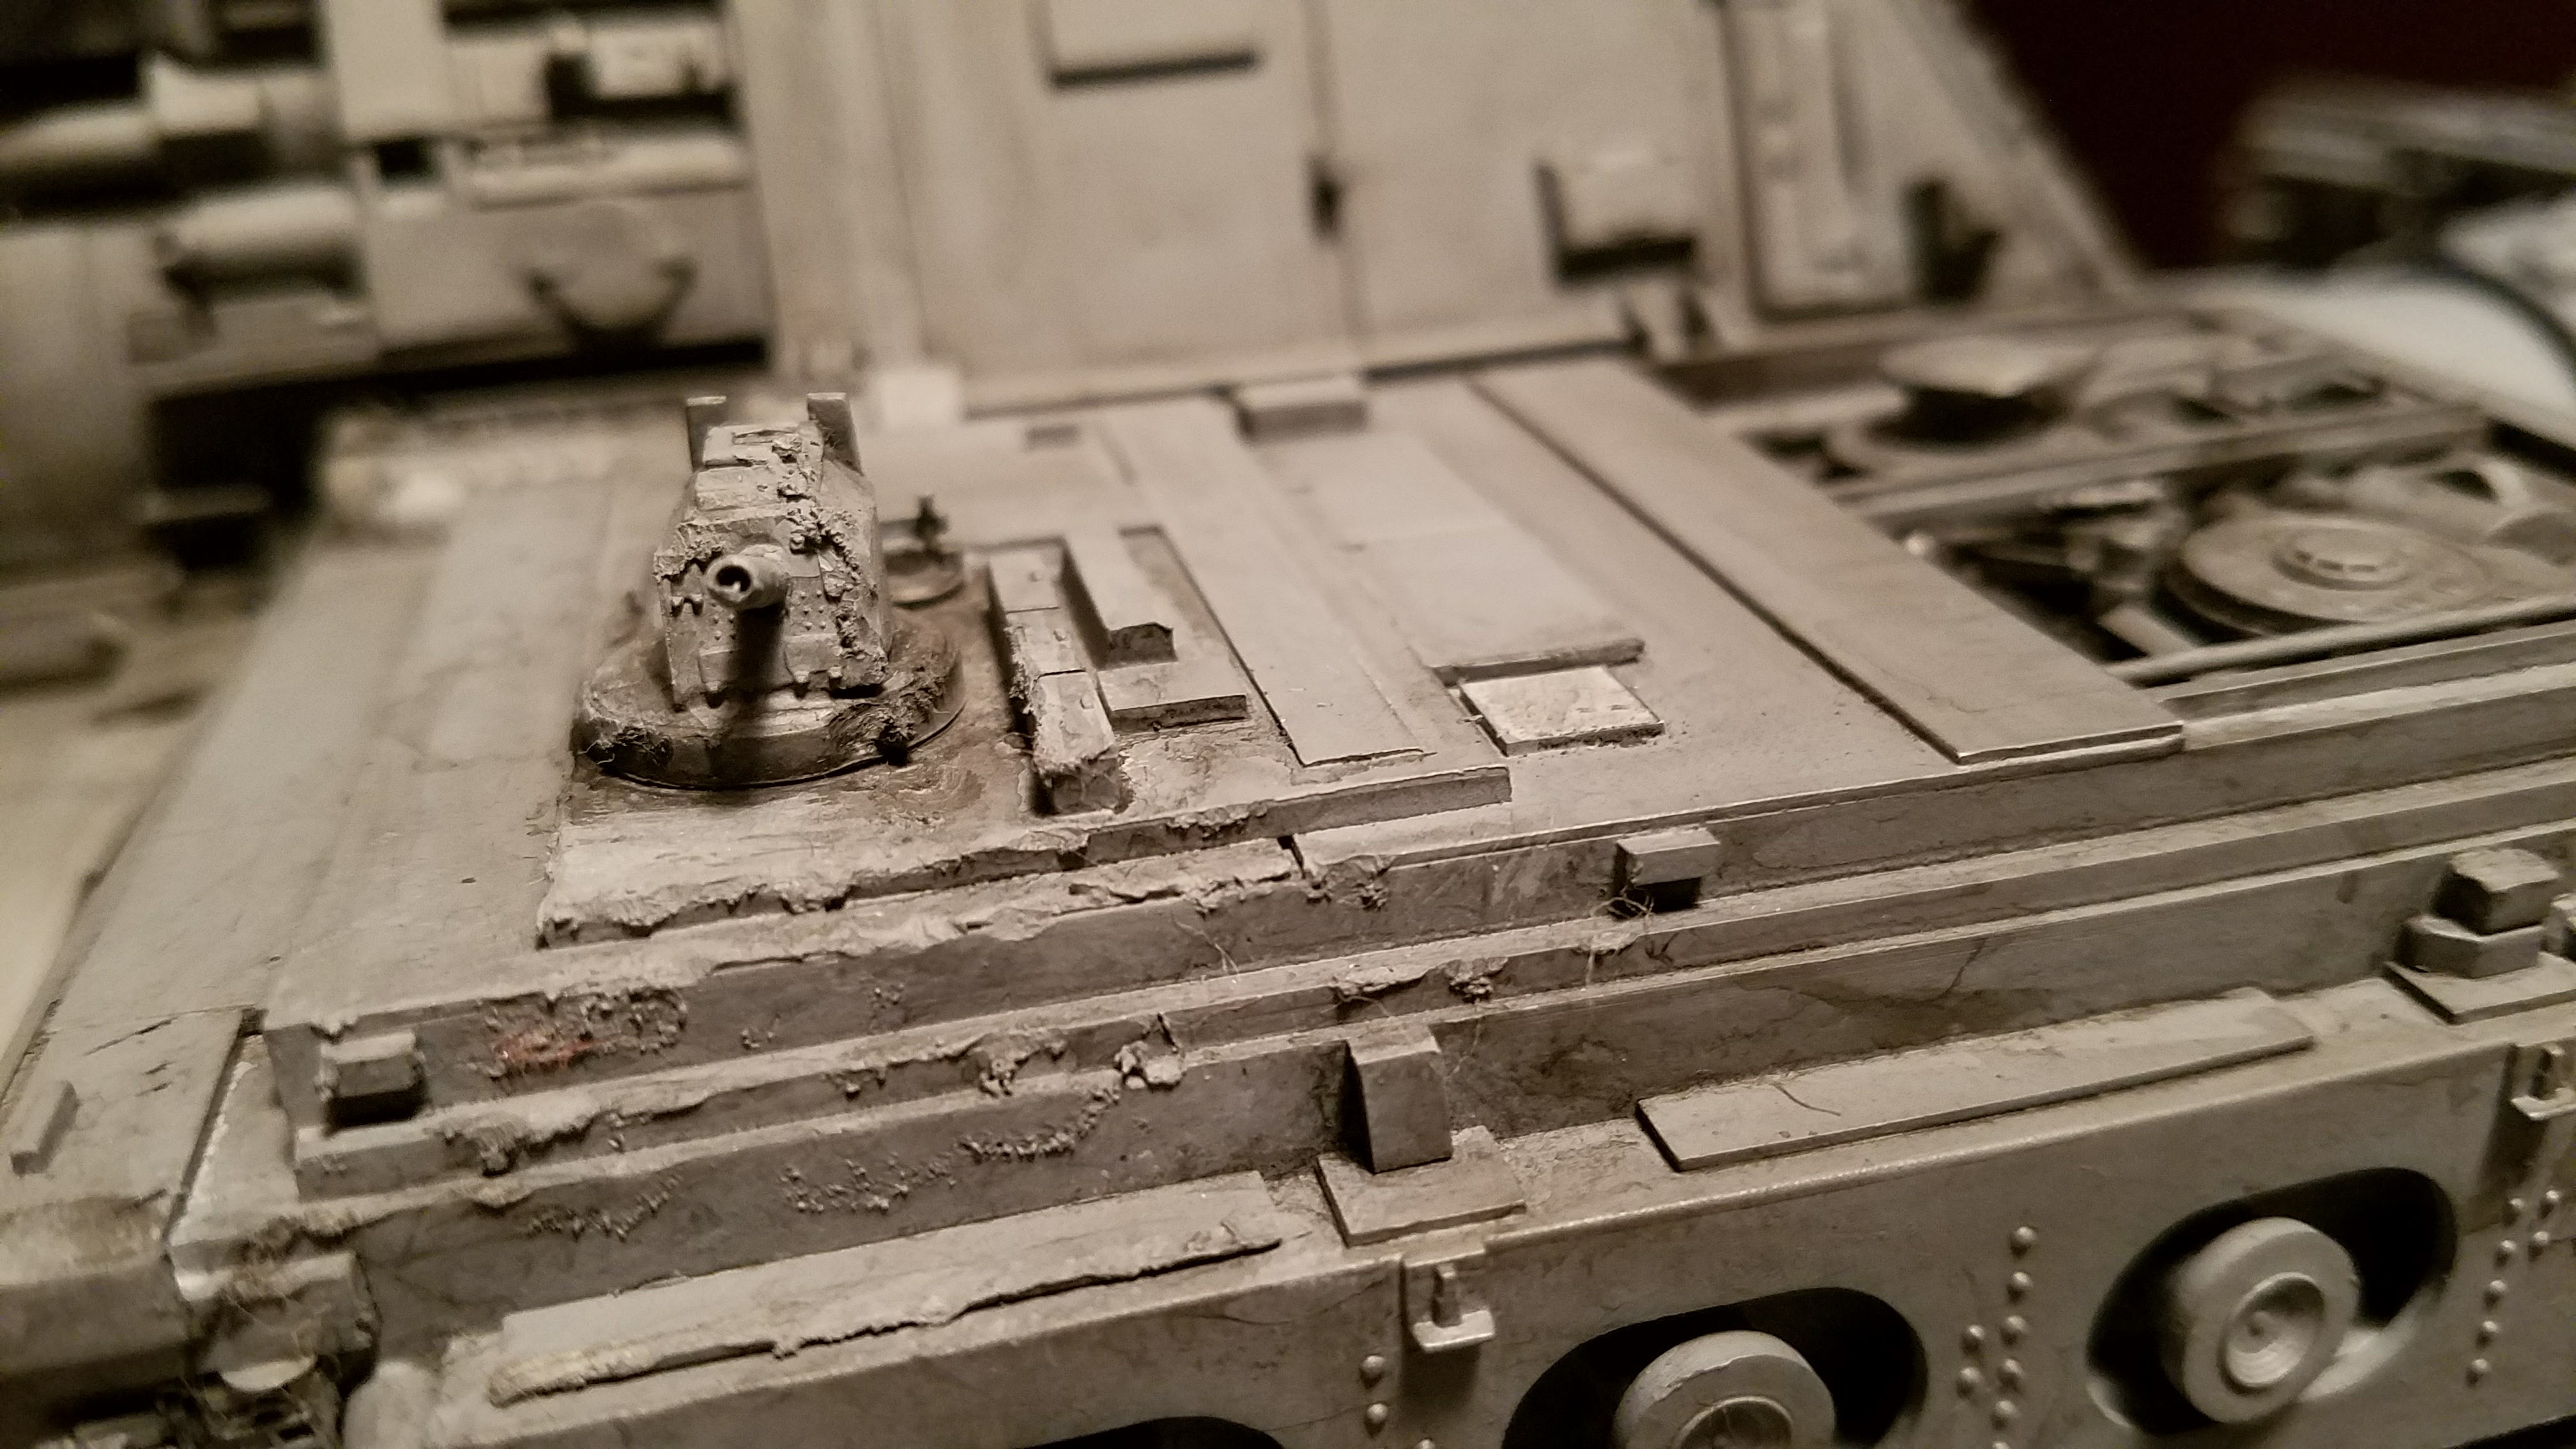
This gun has taken a beating and most of the metal around it has been melted.
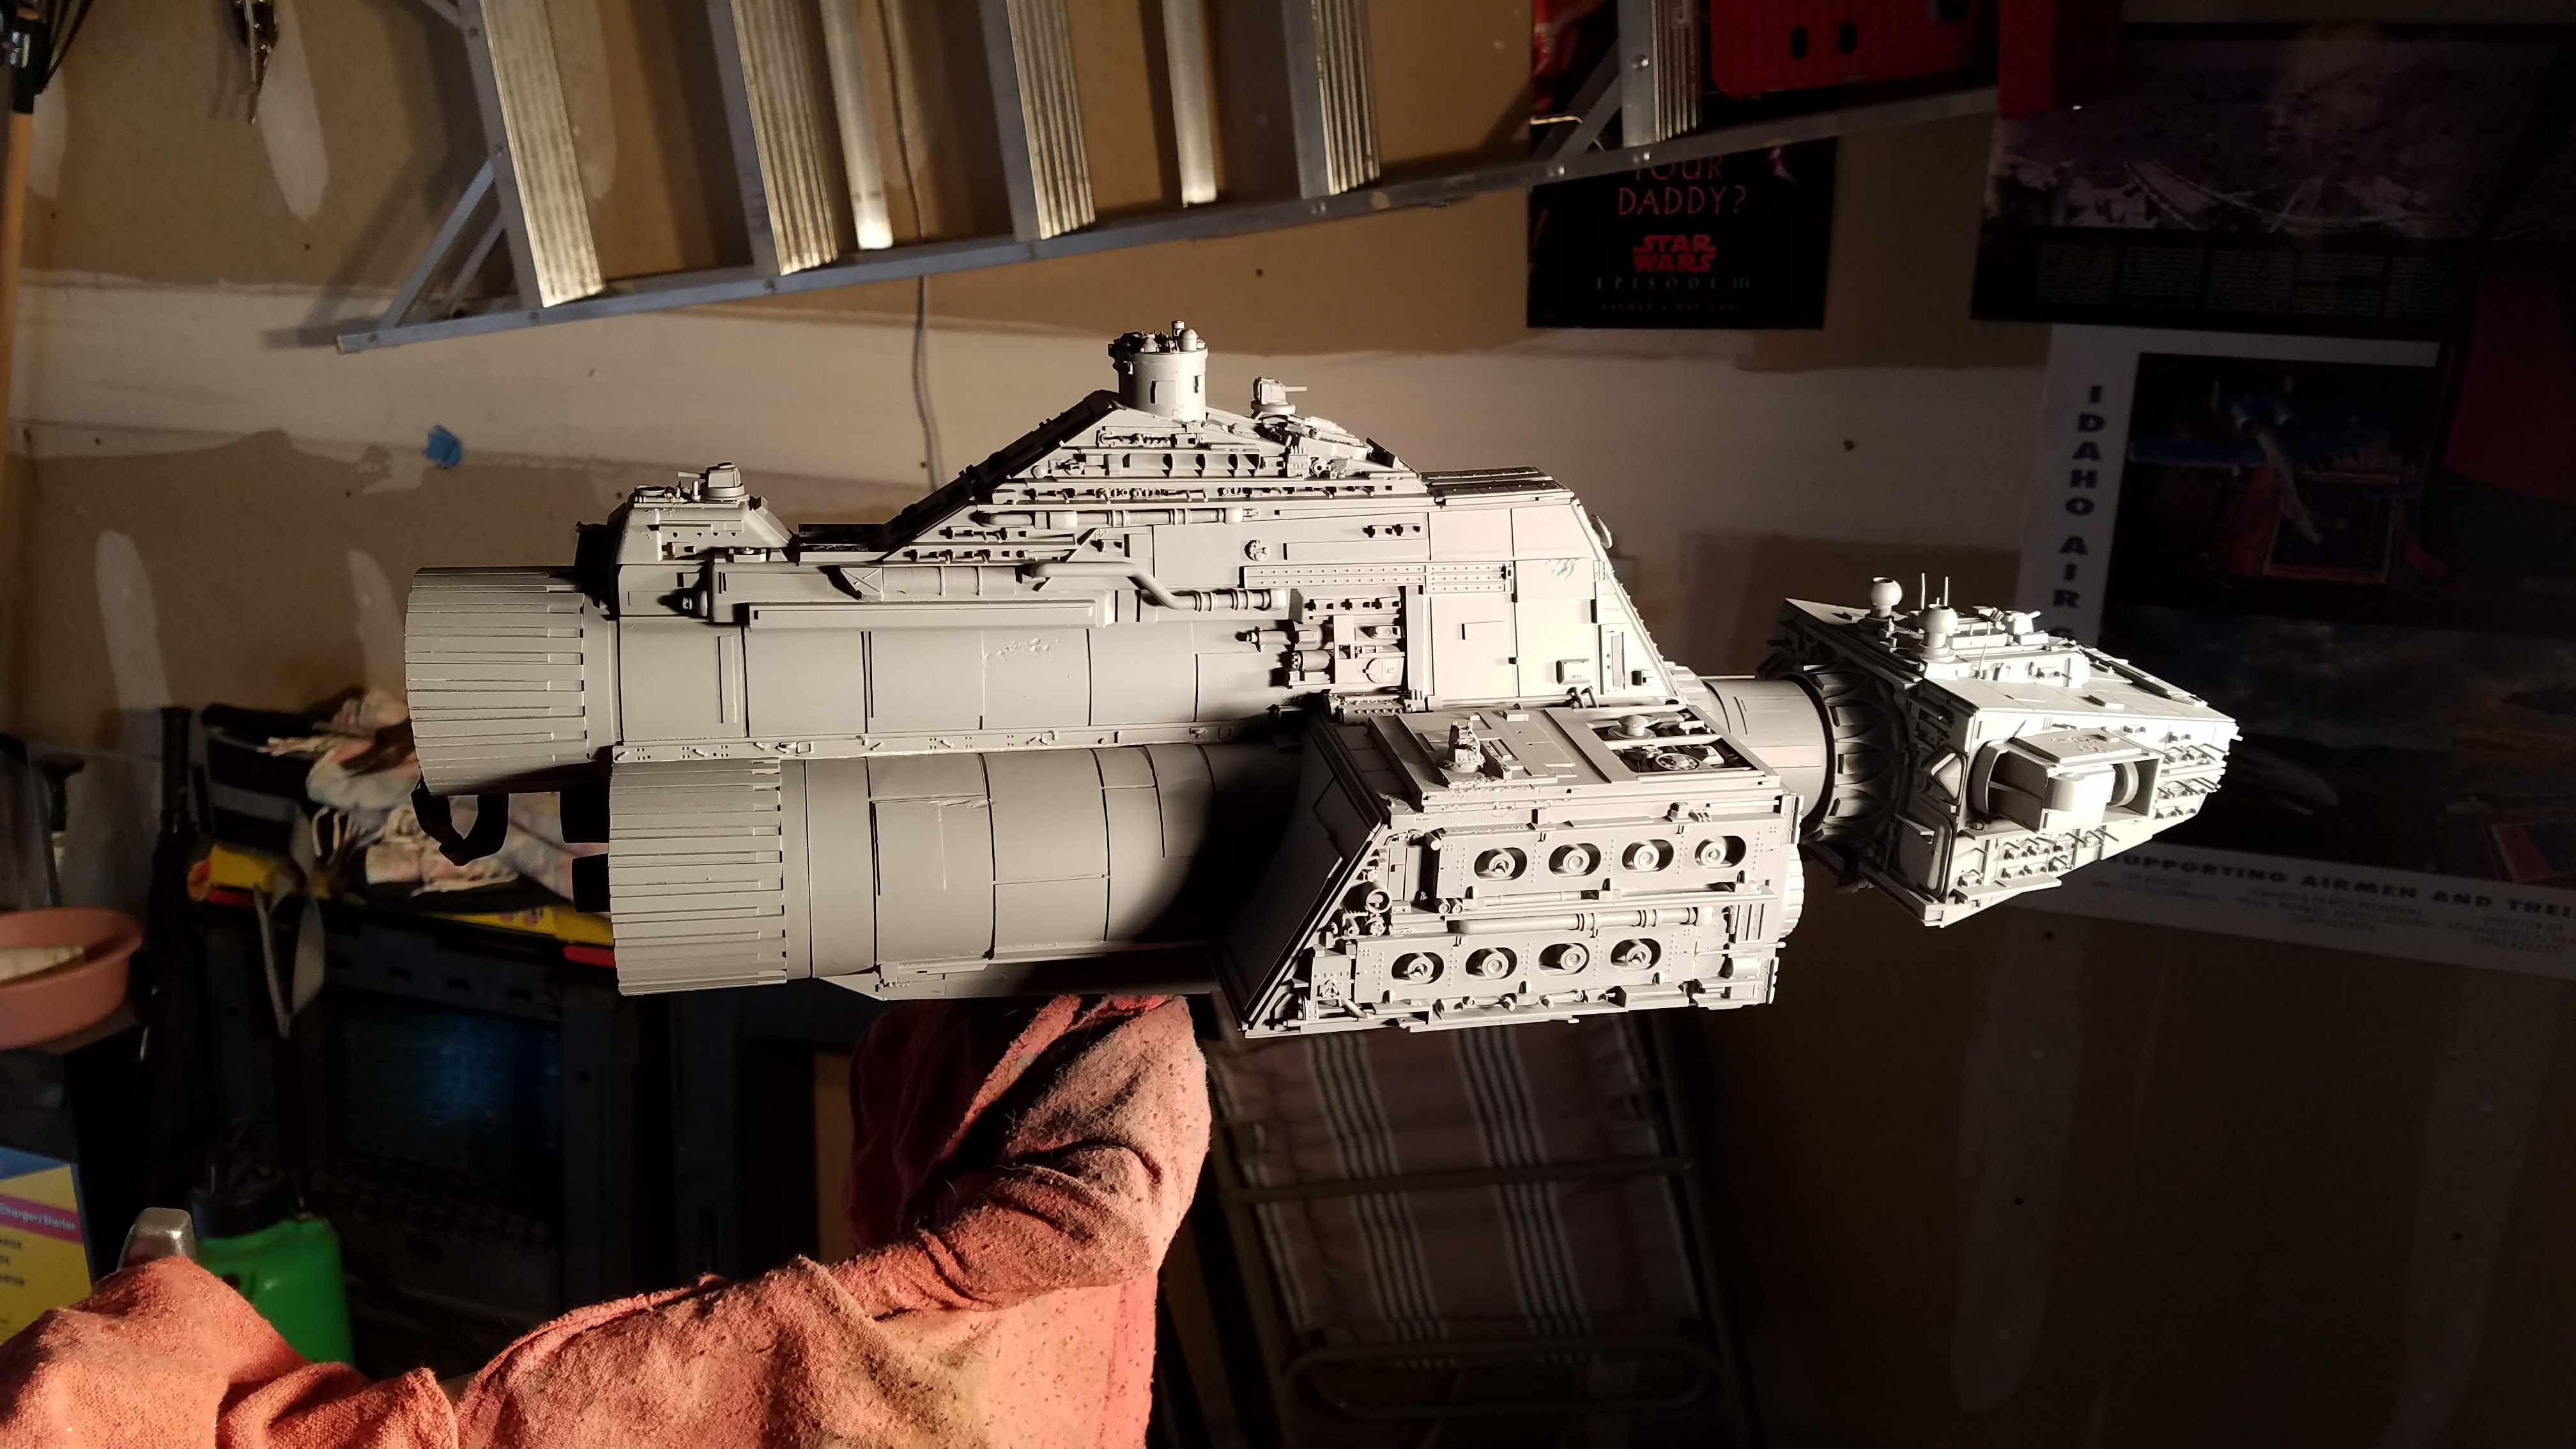
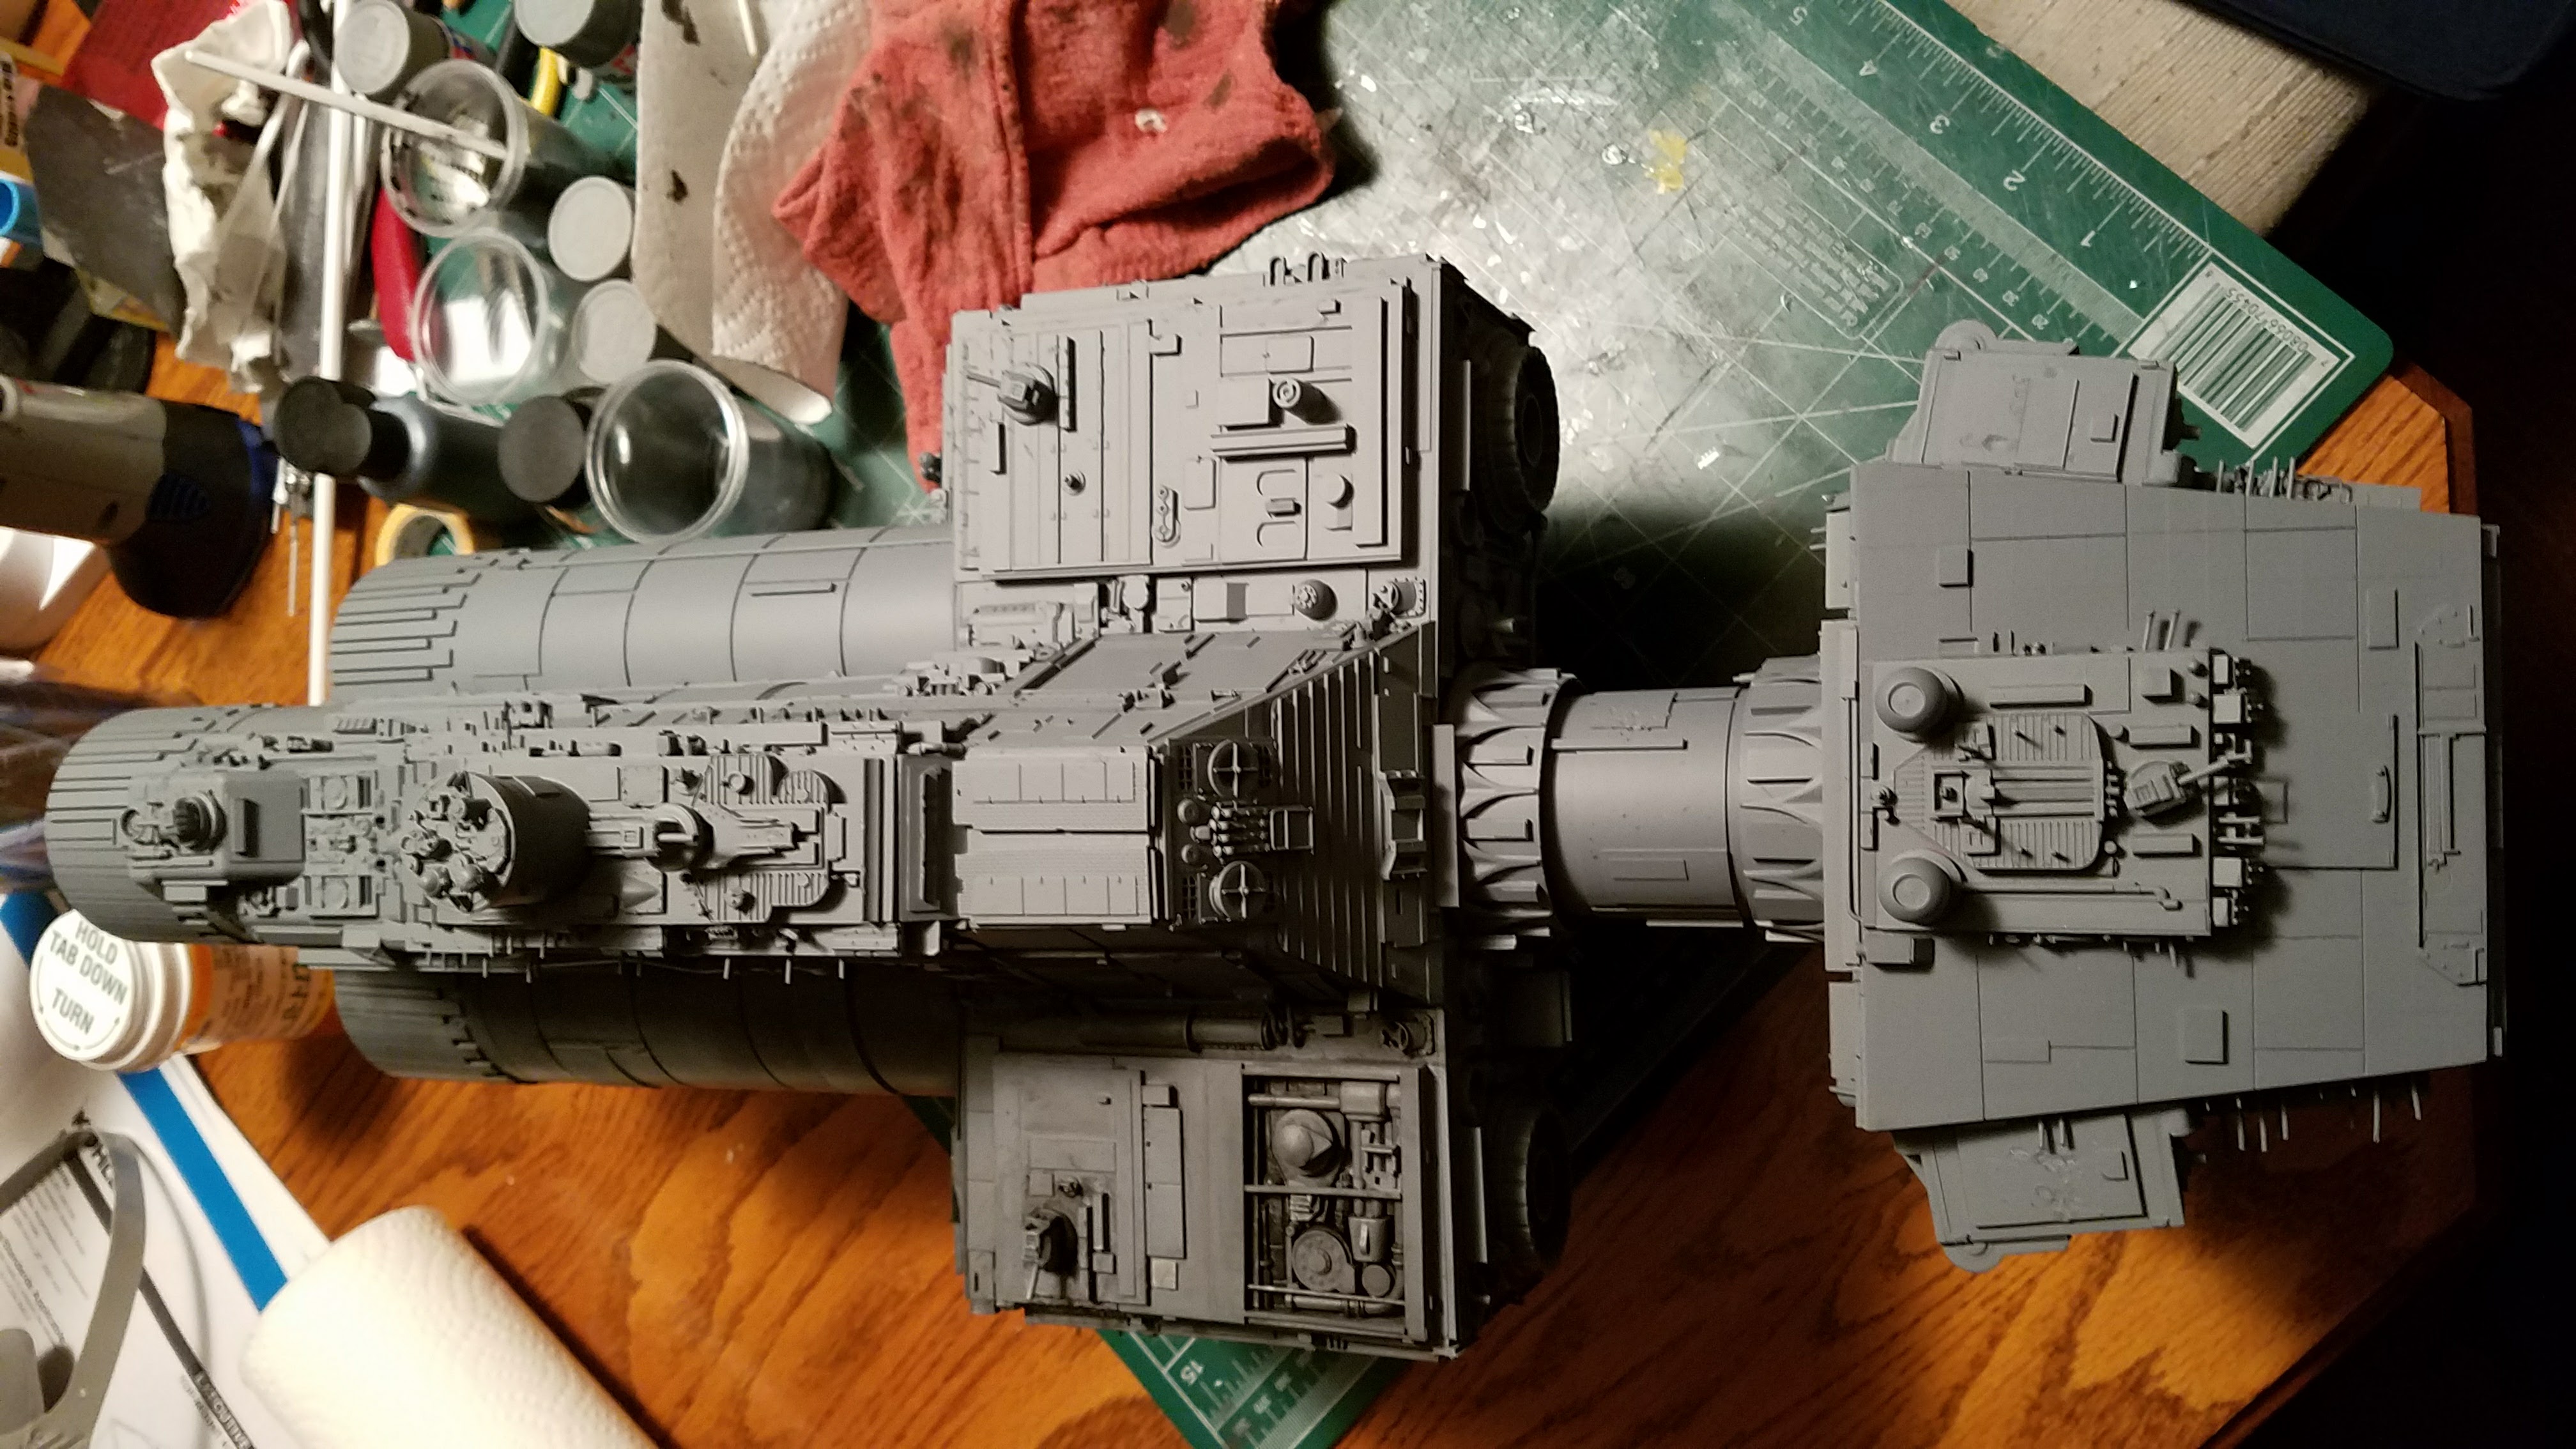
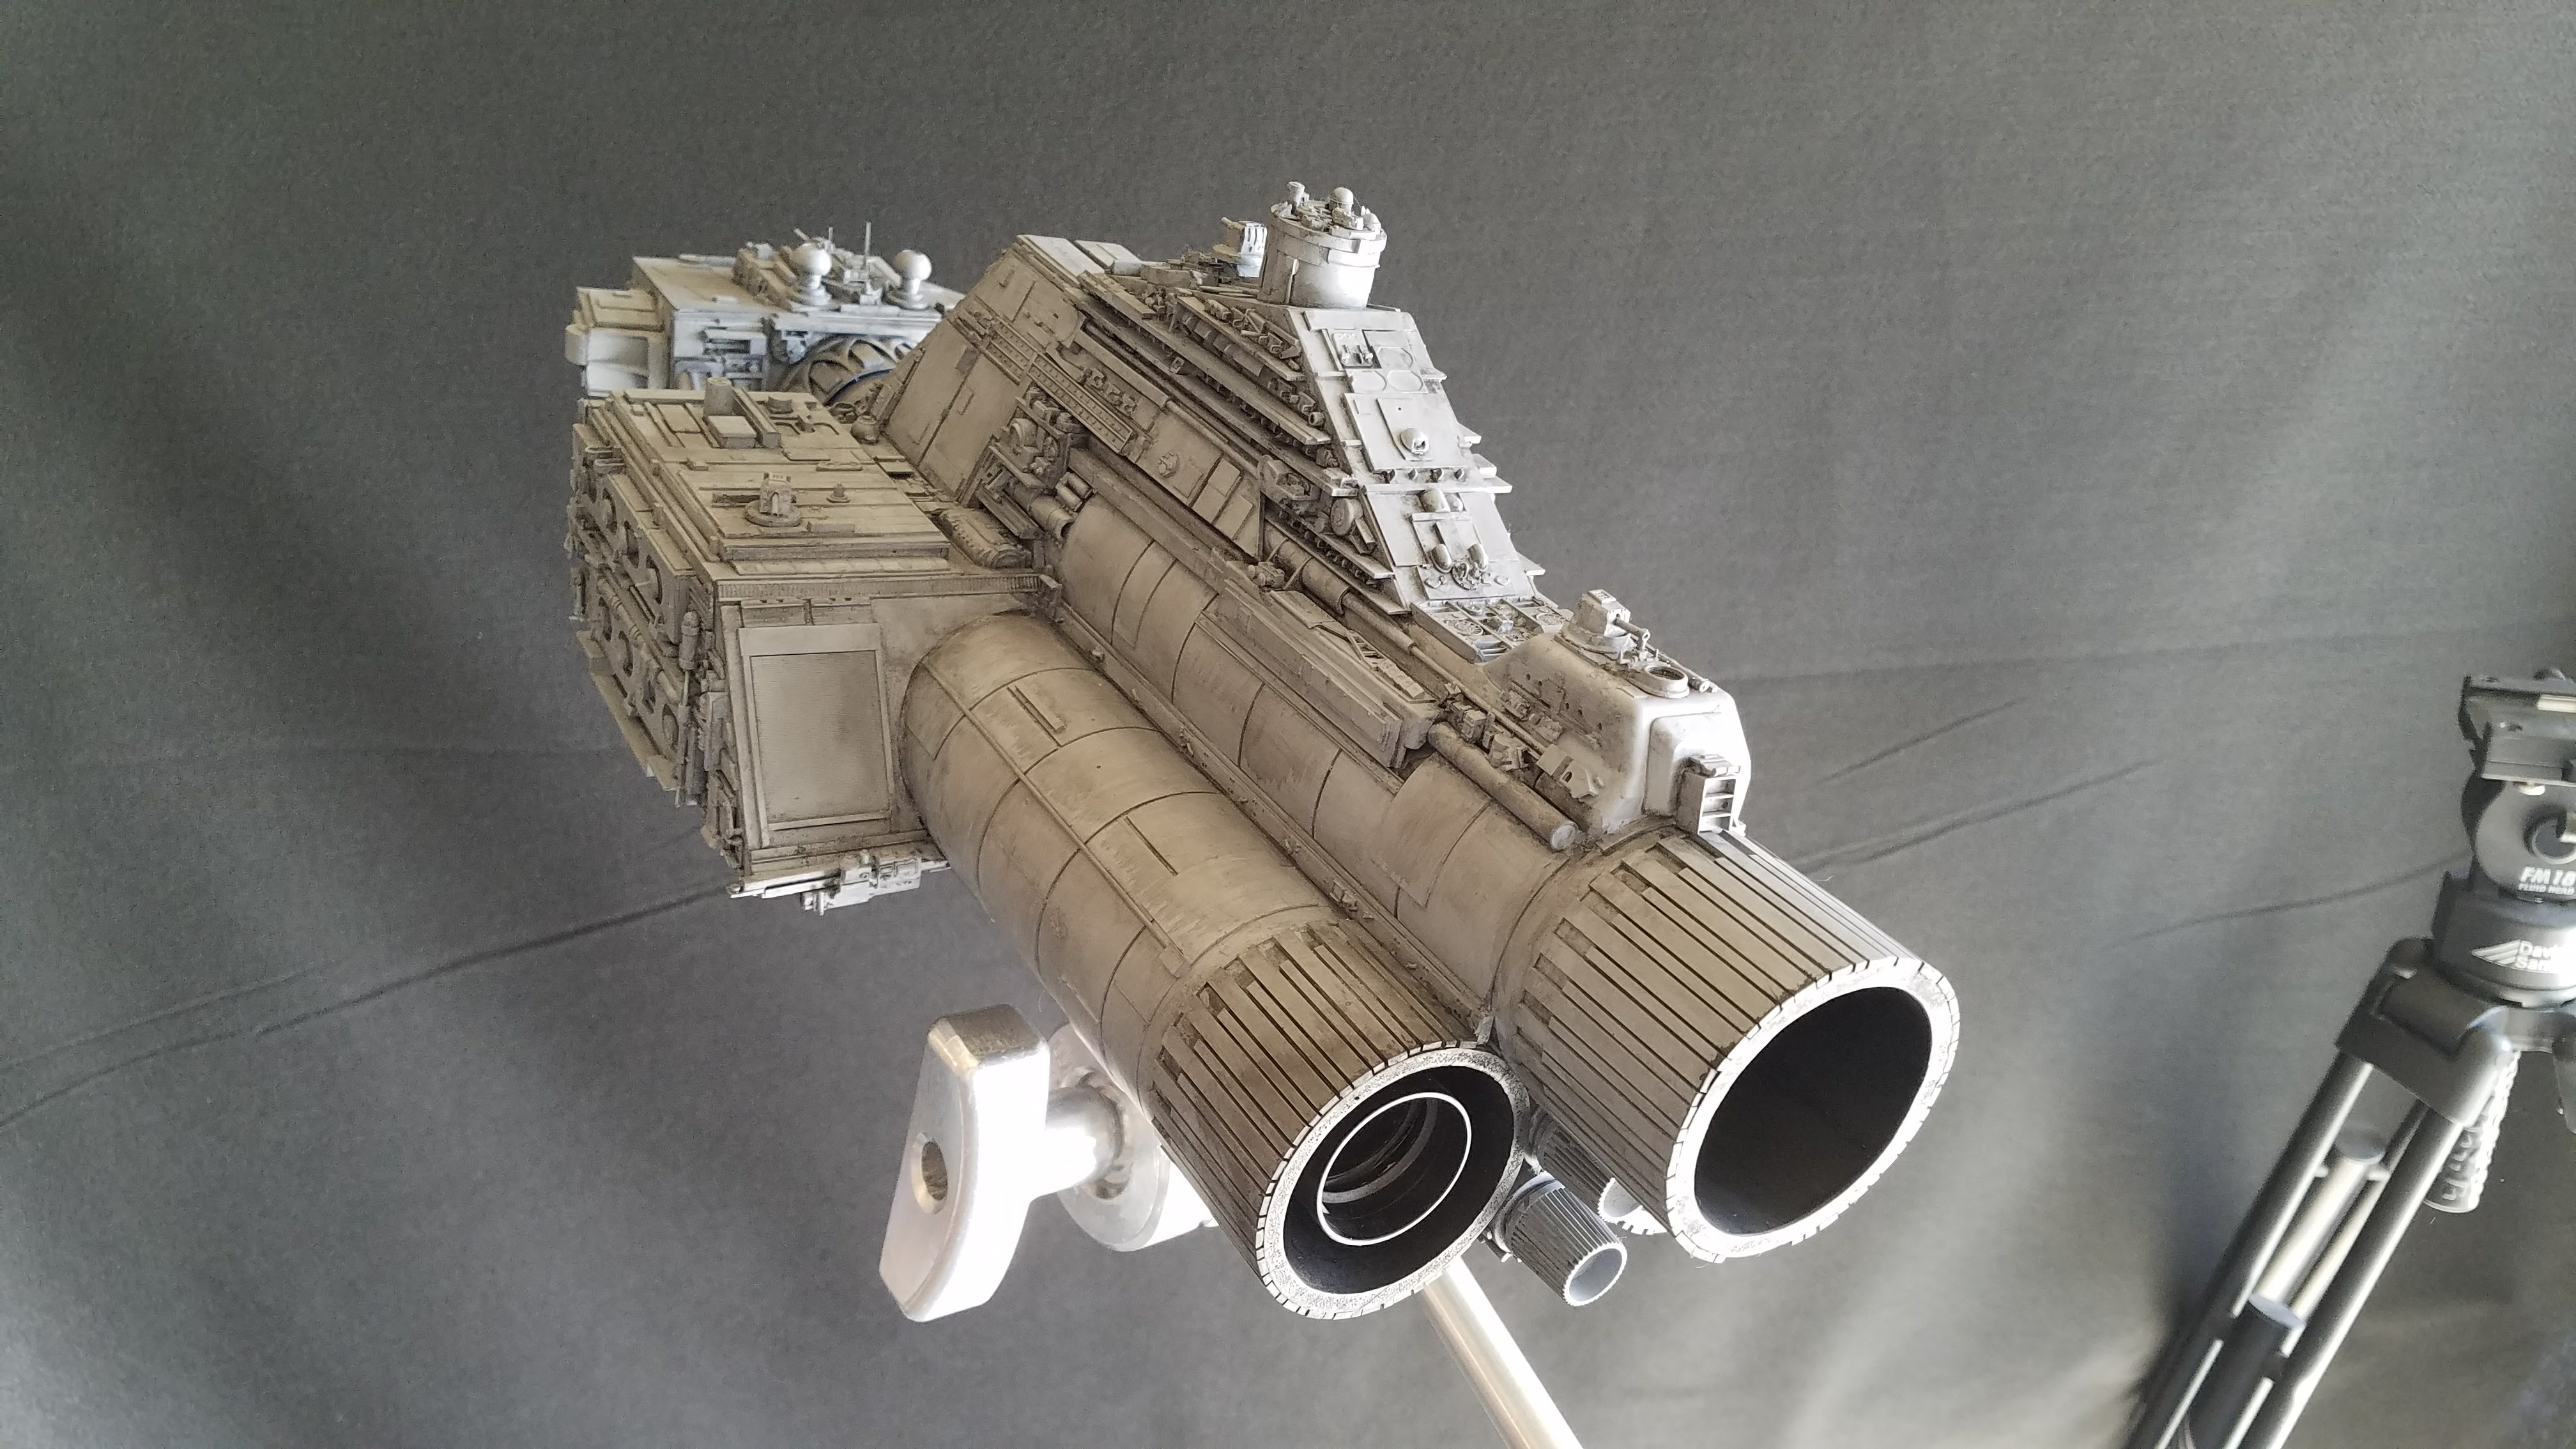
A shot of the other side before weathering so you can see the details all gray now.

Same with the top side. It looks boring all gray.
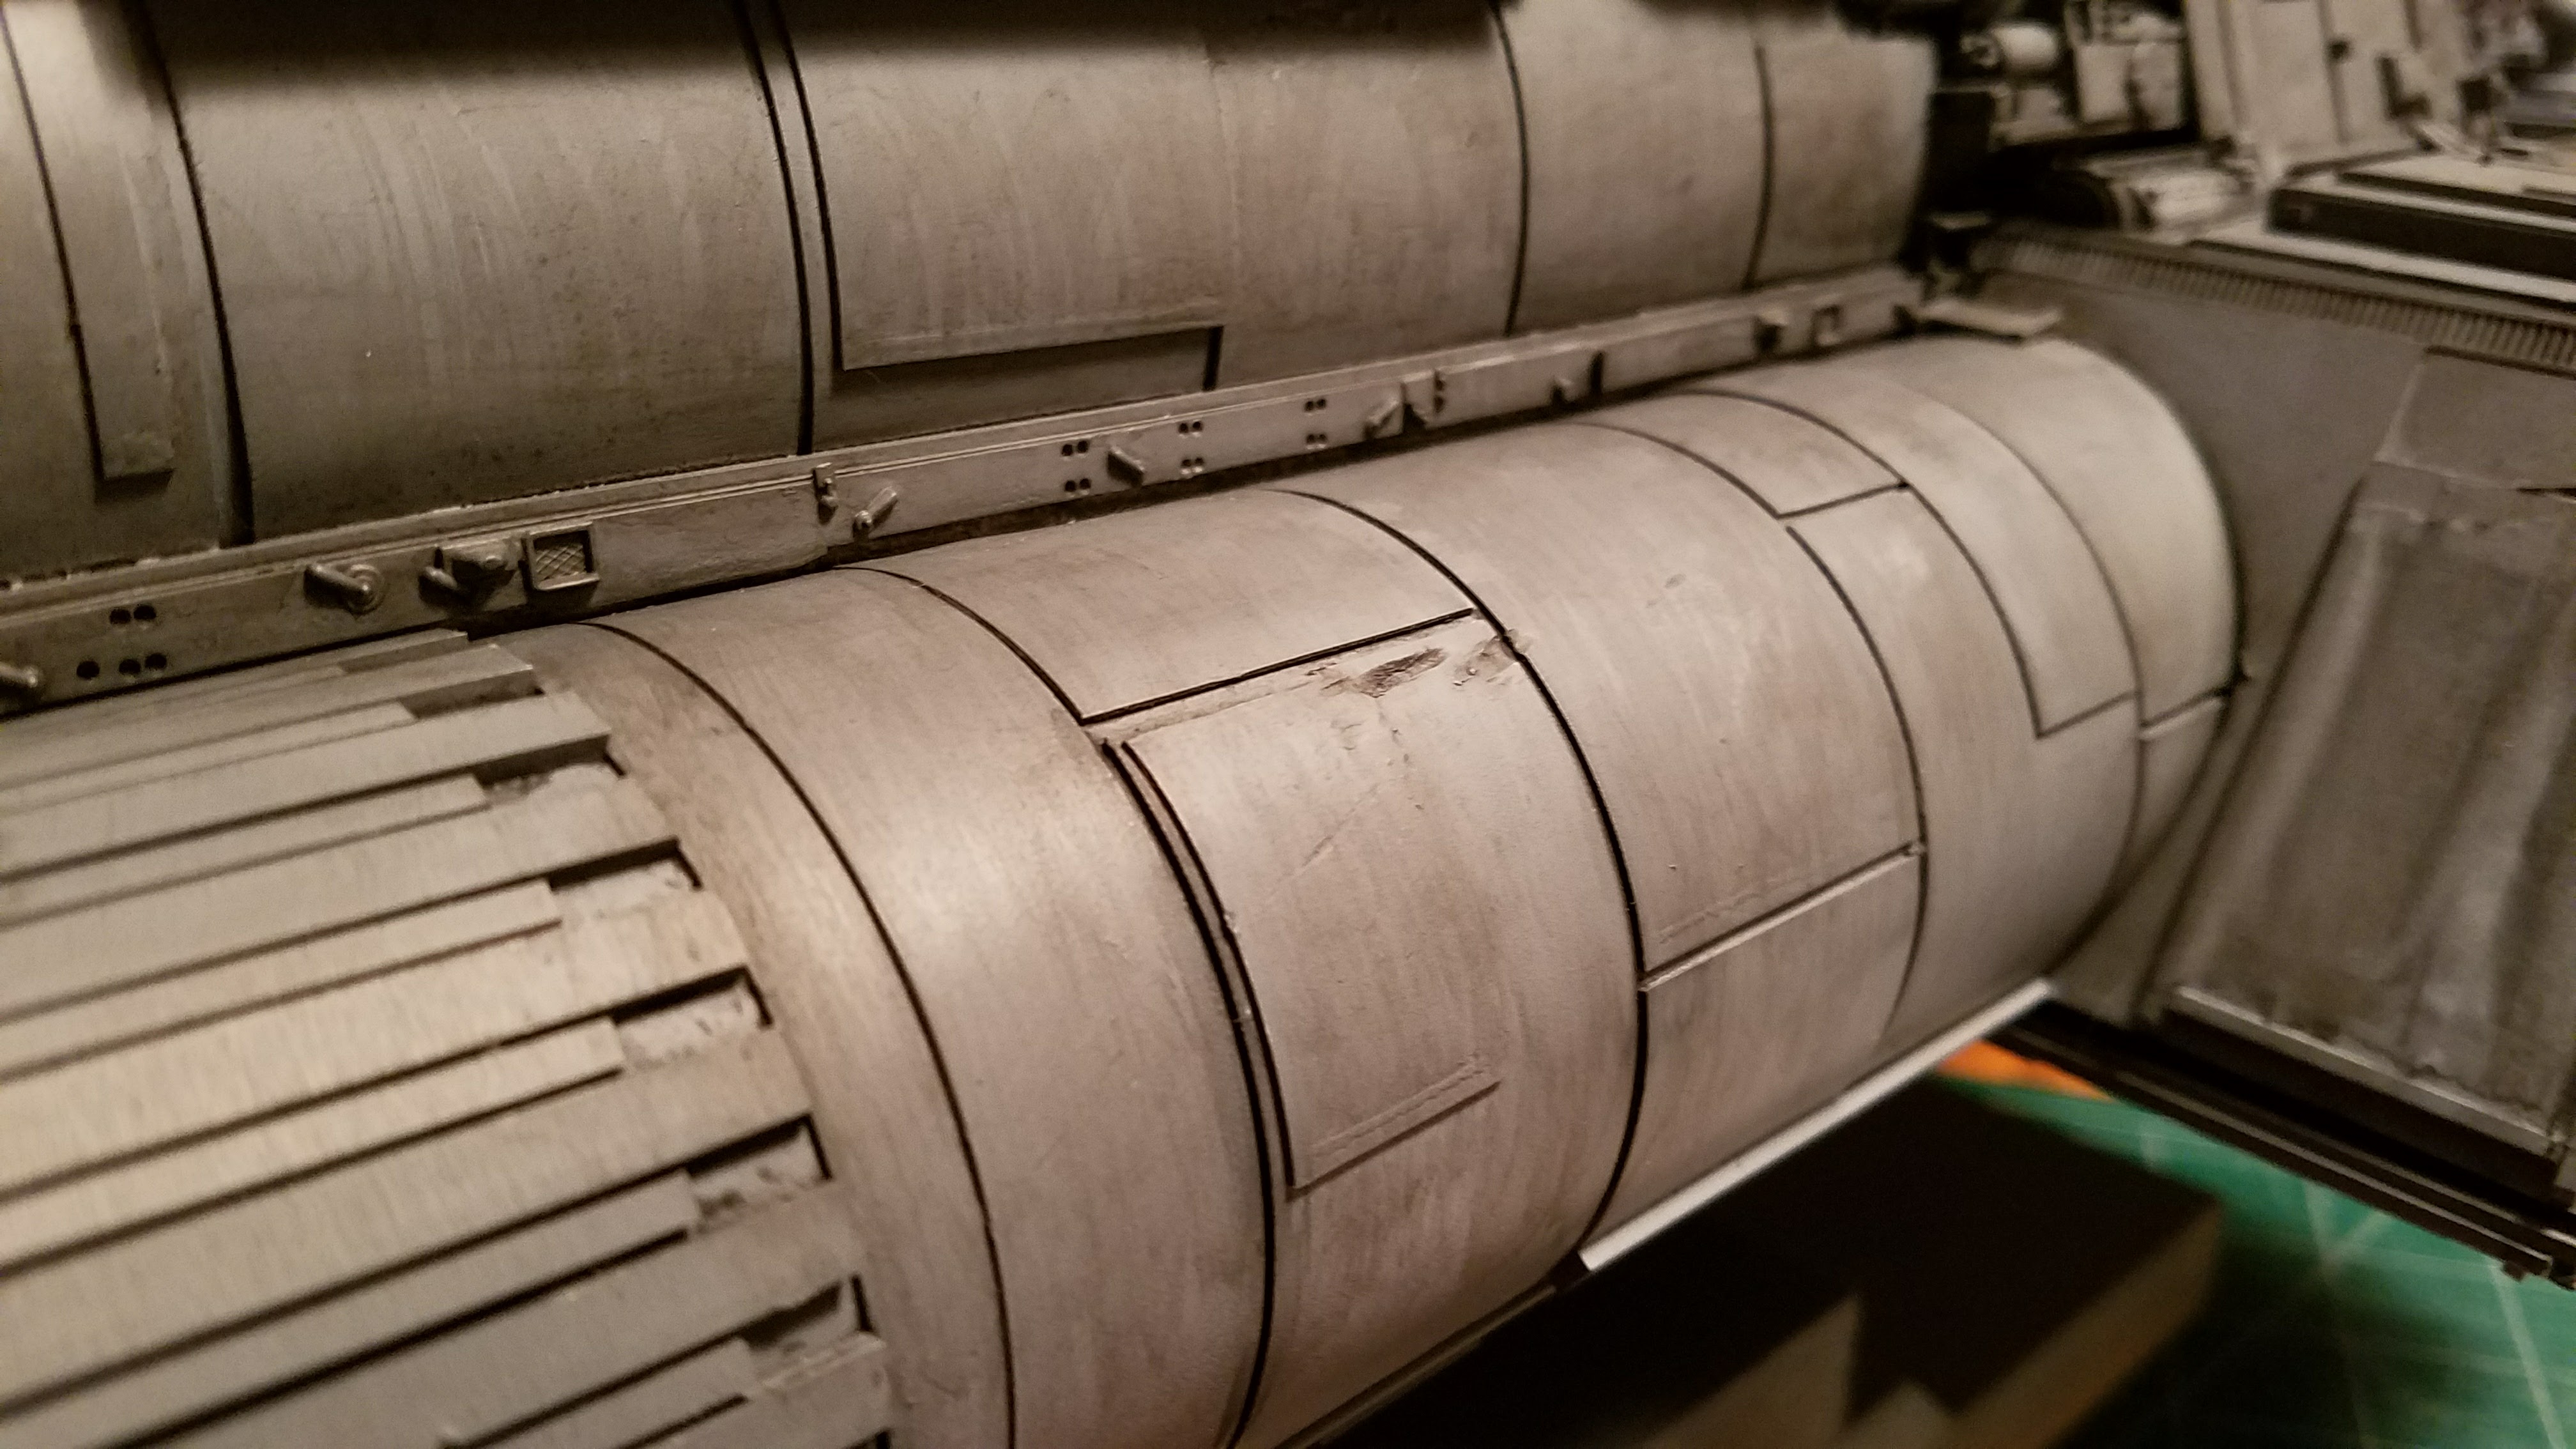
Below is what she looks like after a wash.
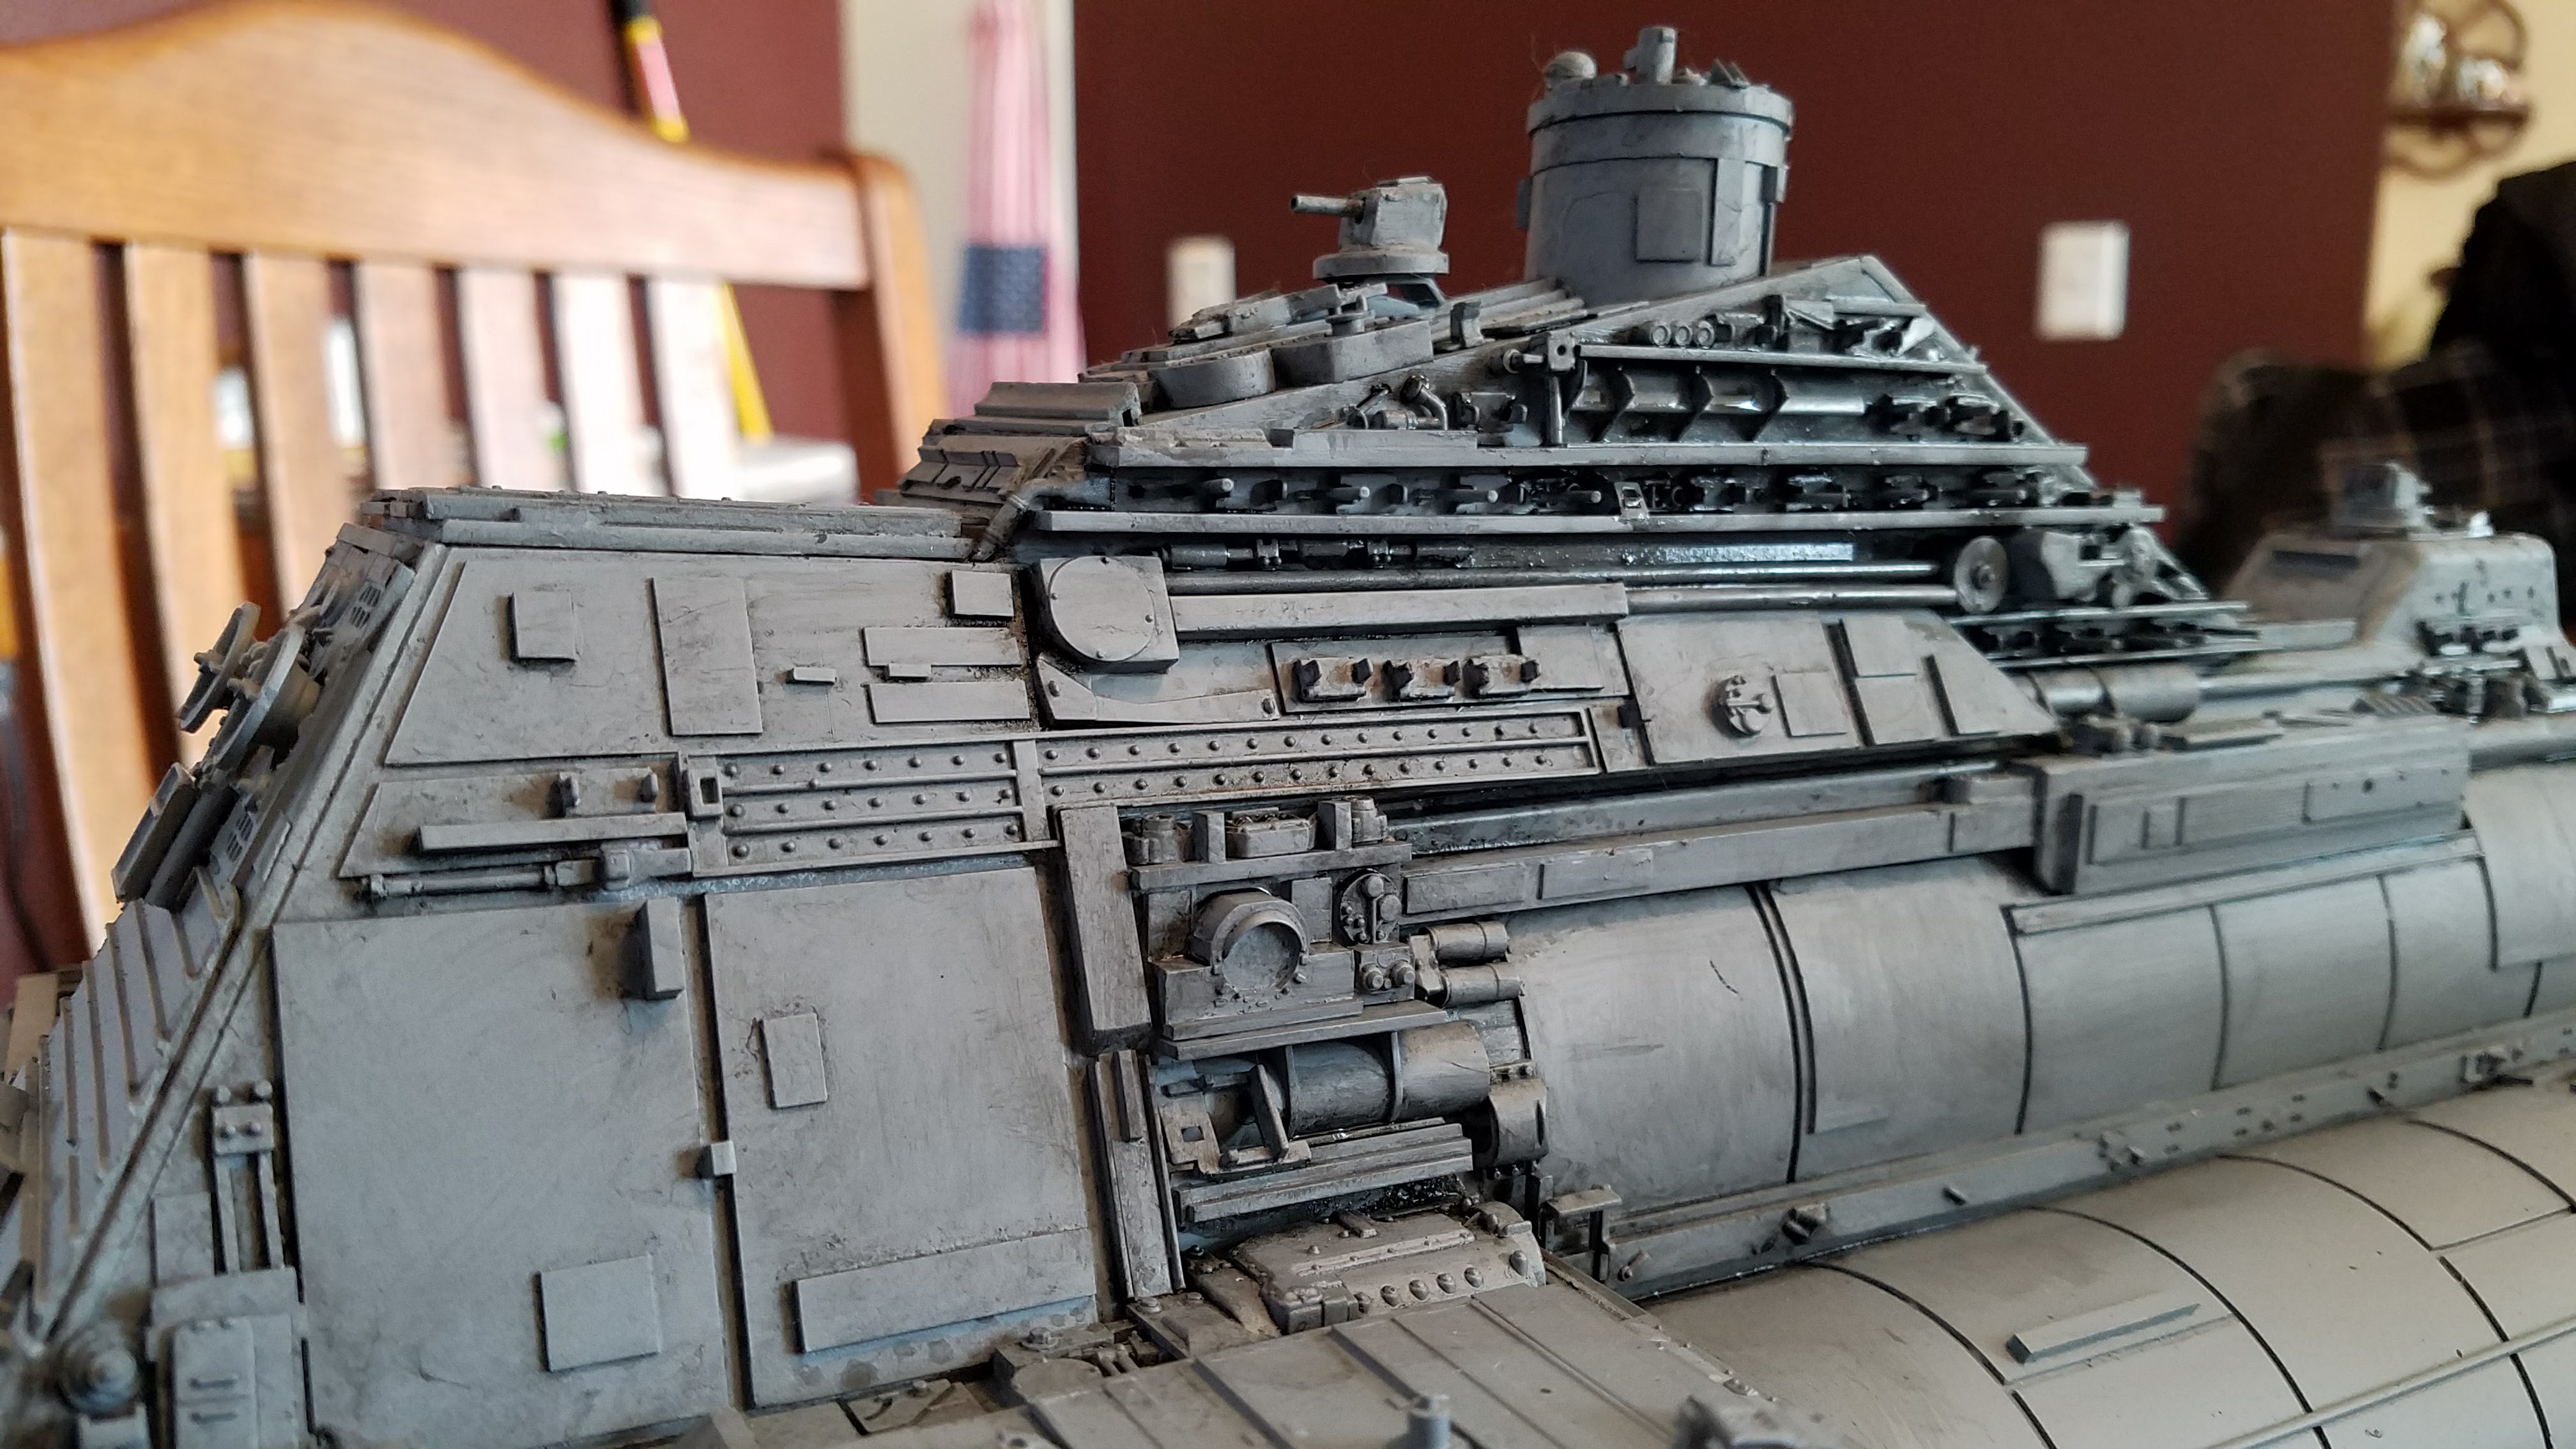
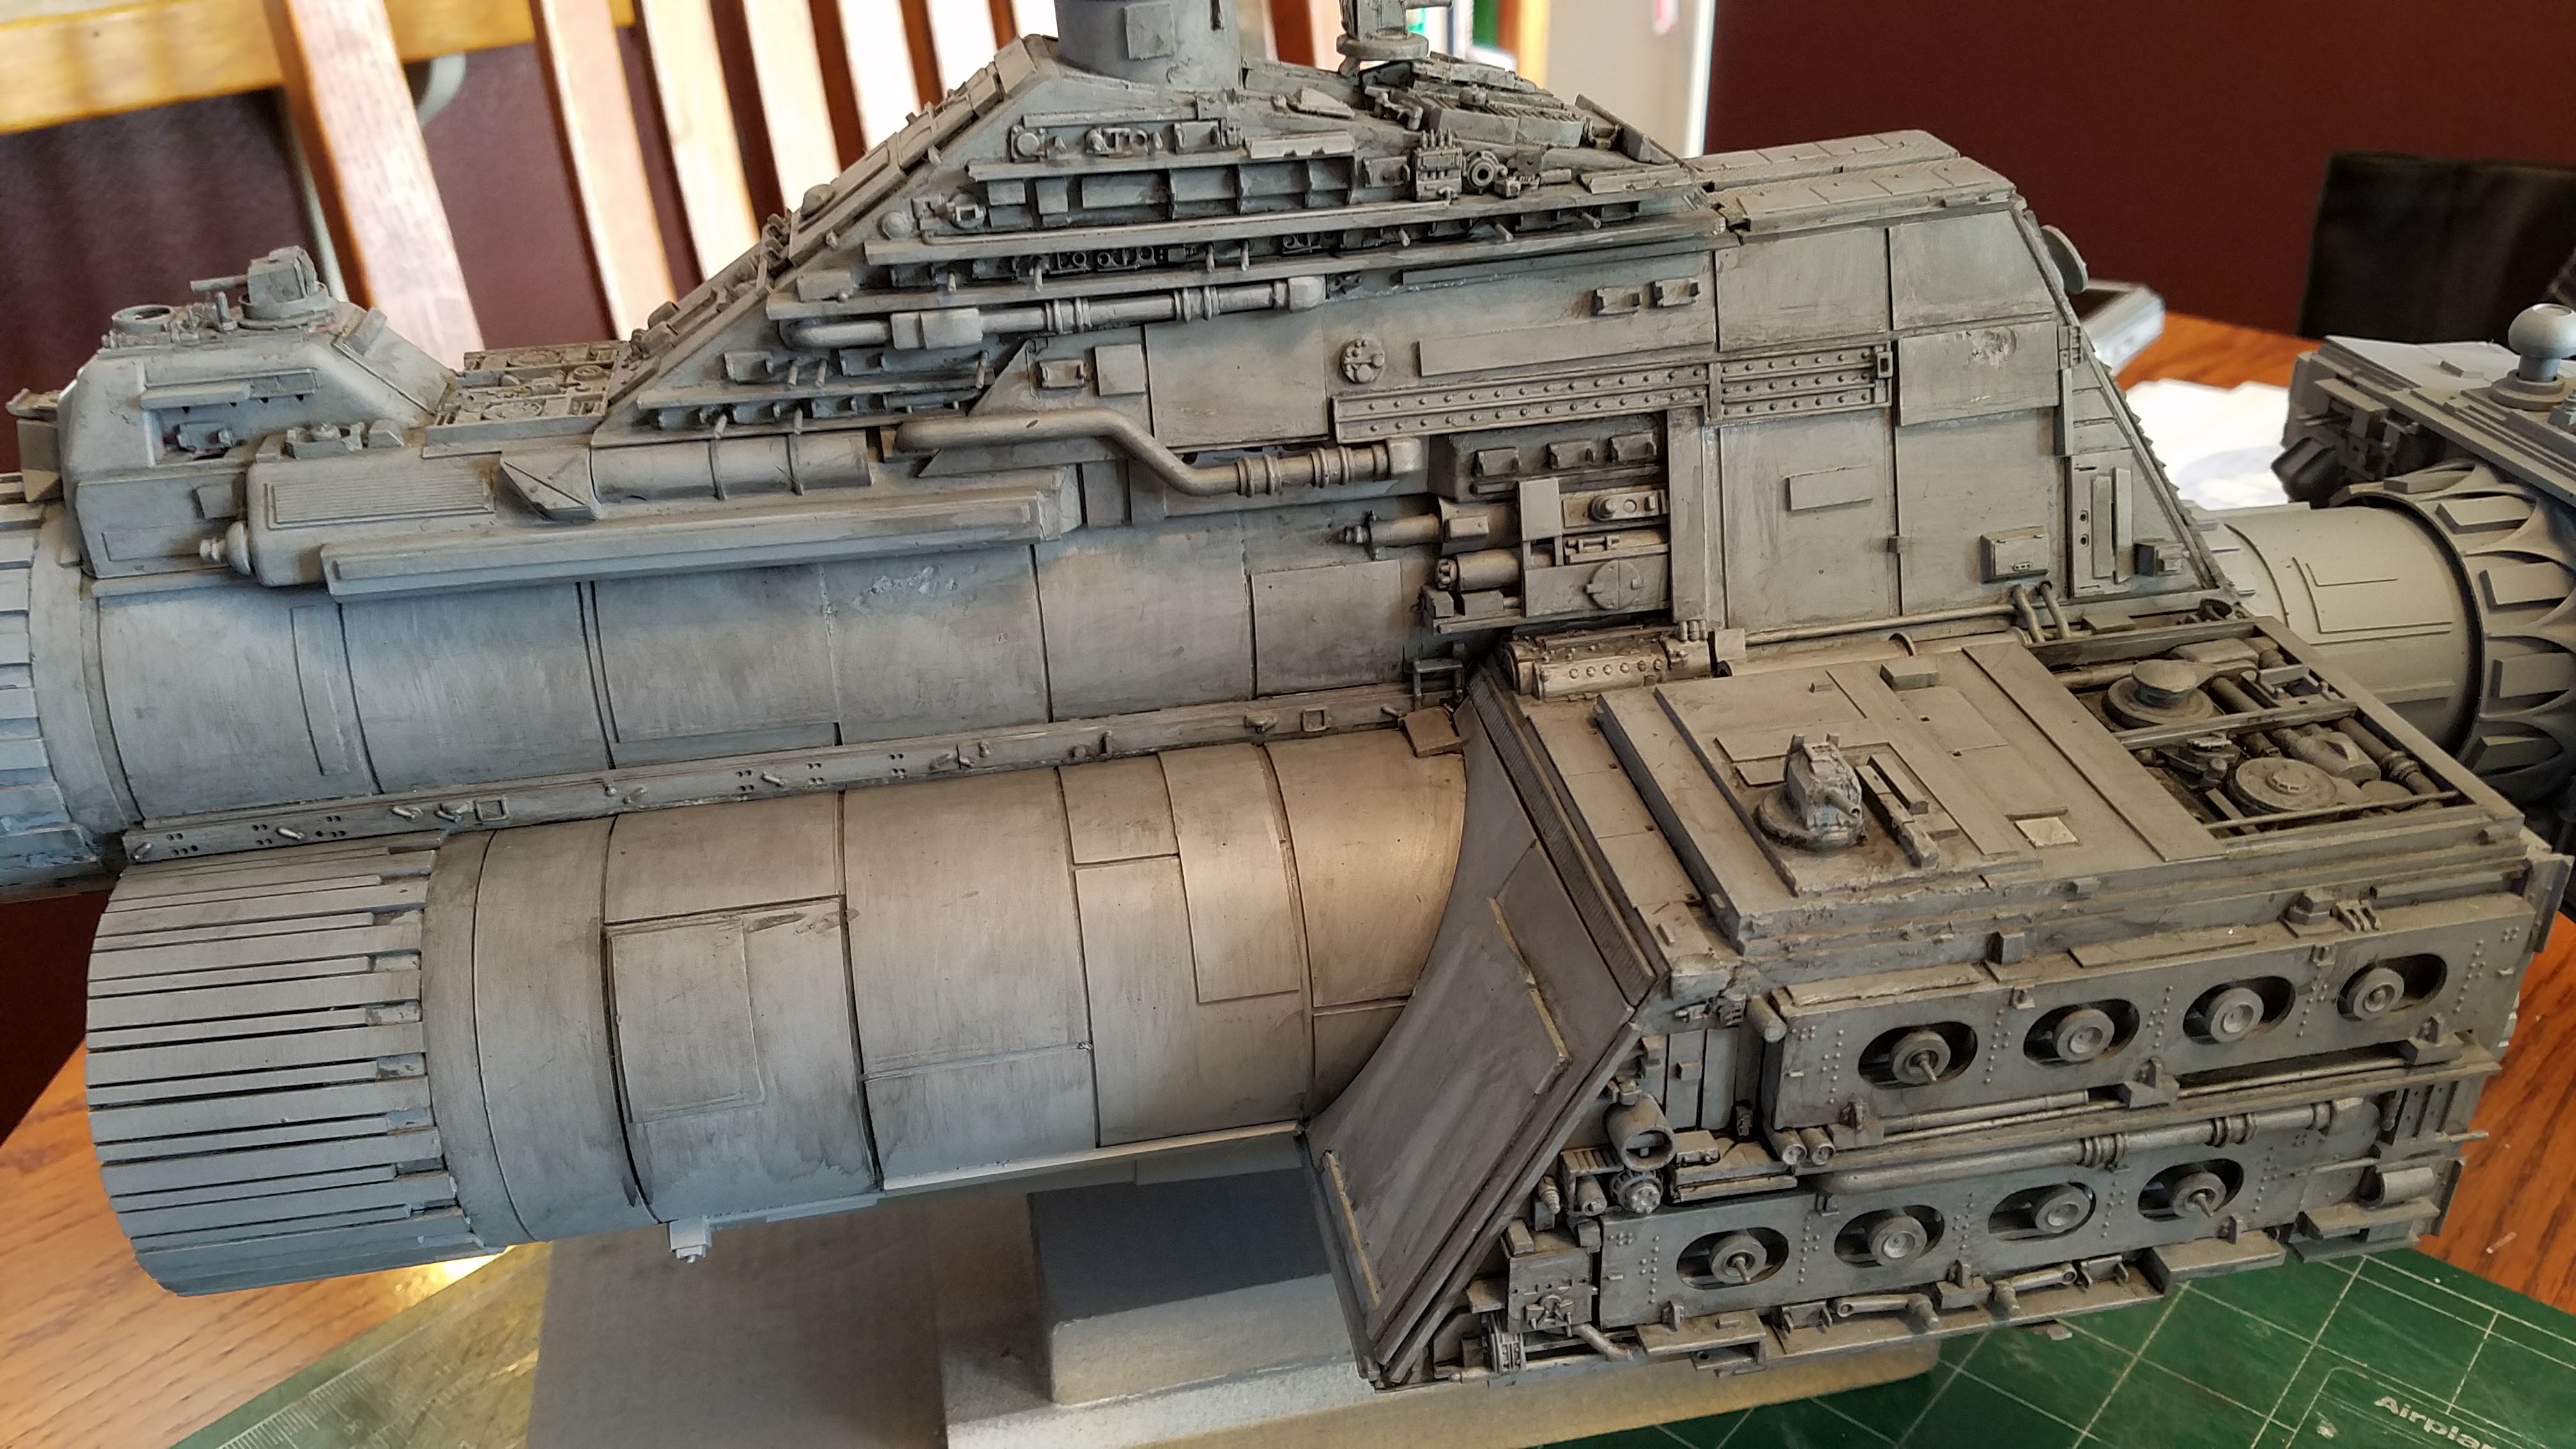
This is after several washes.
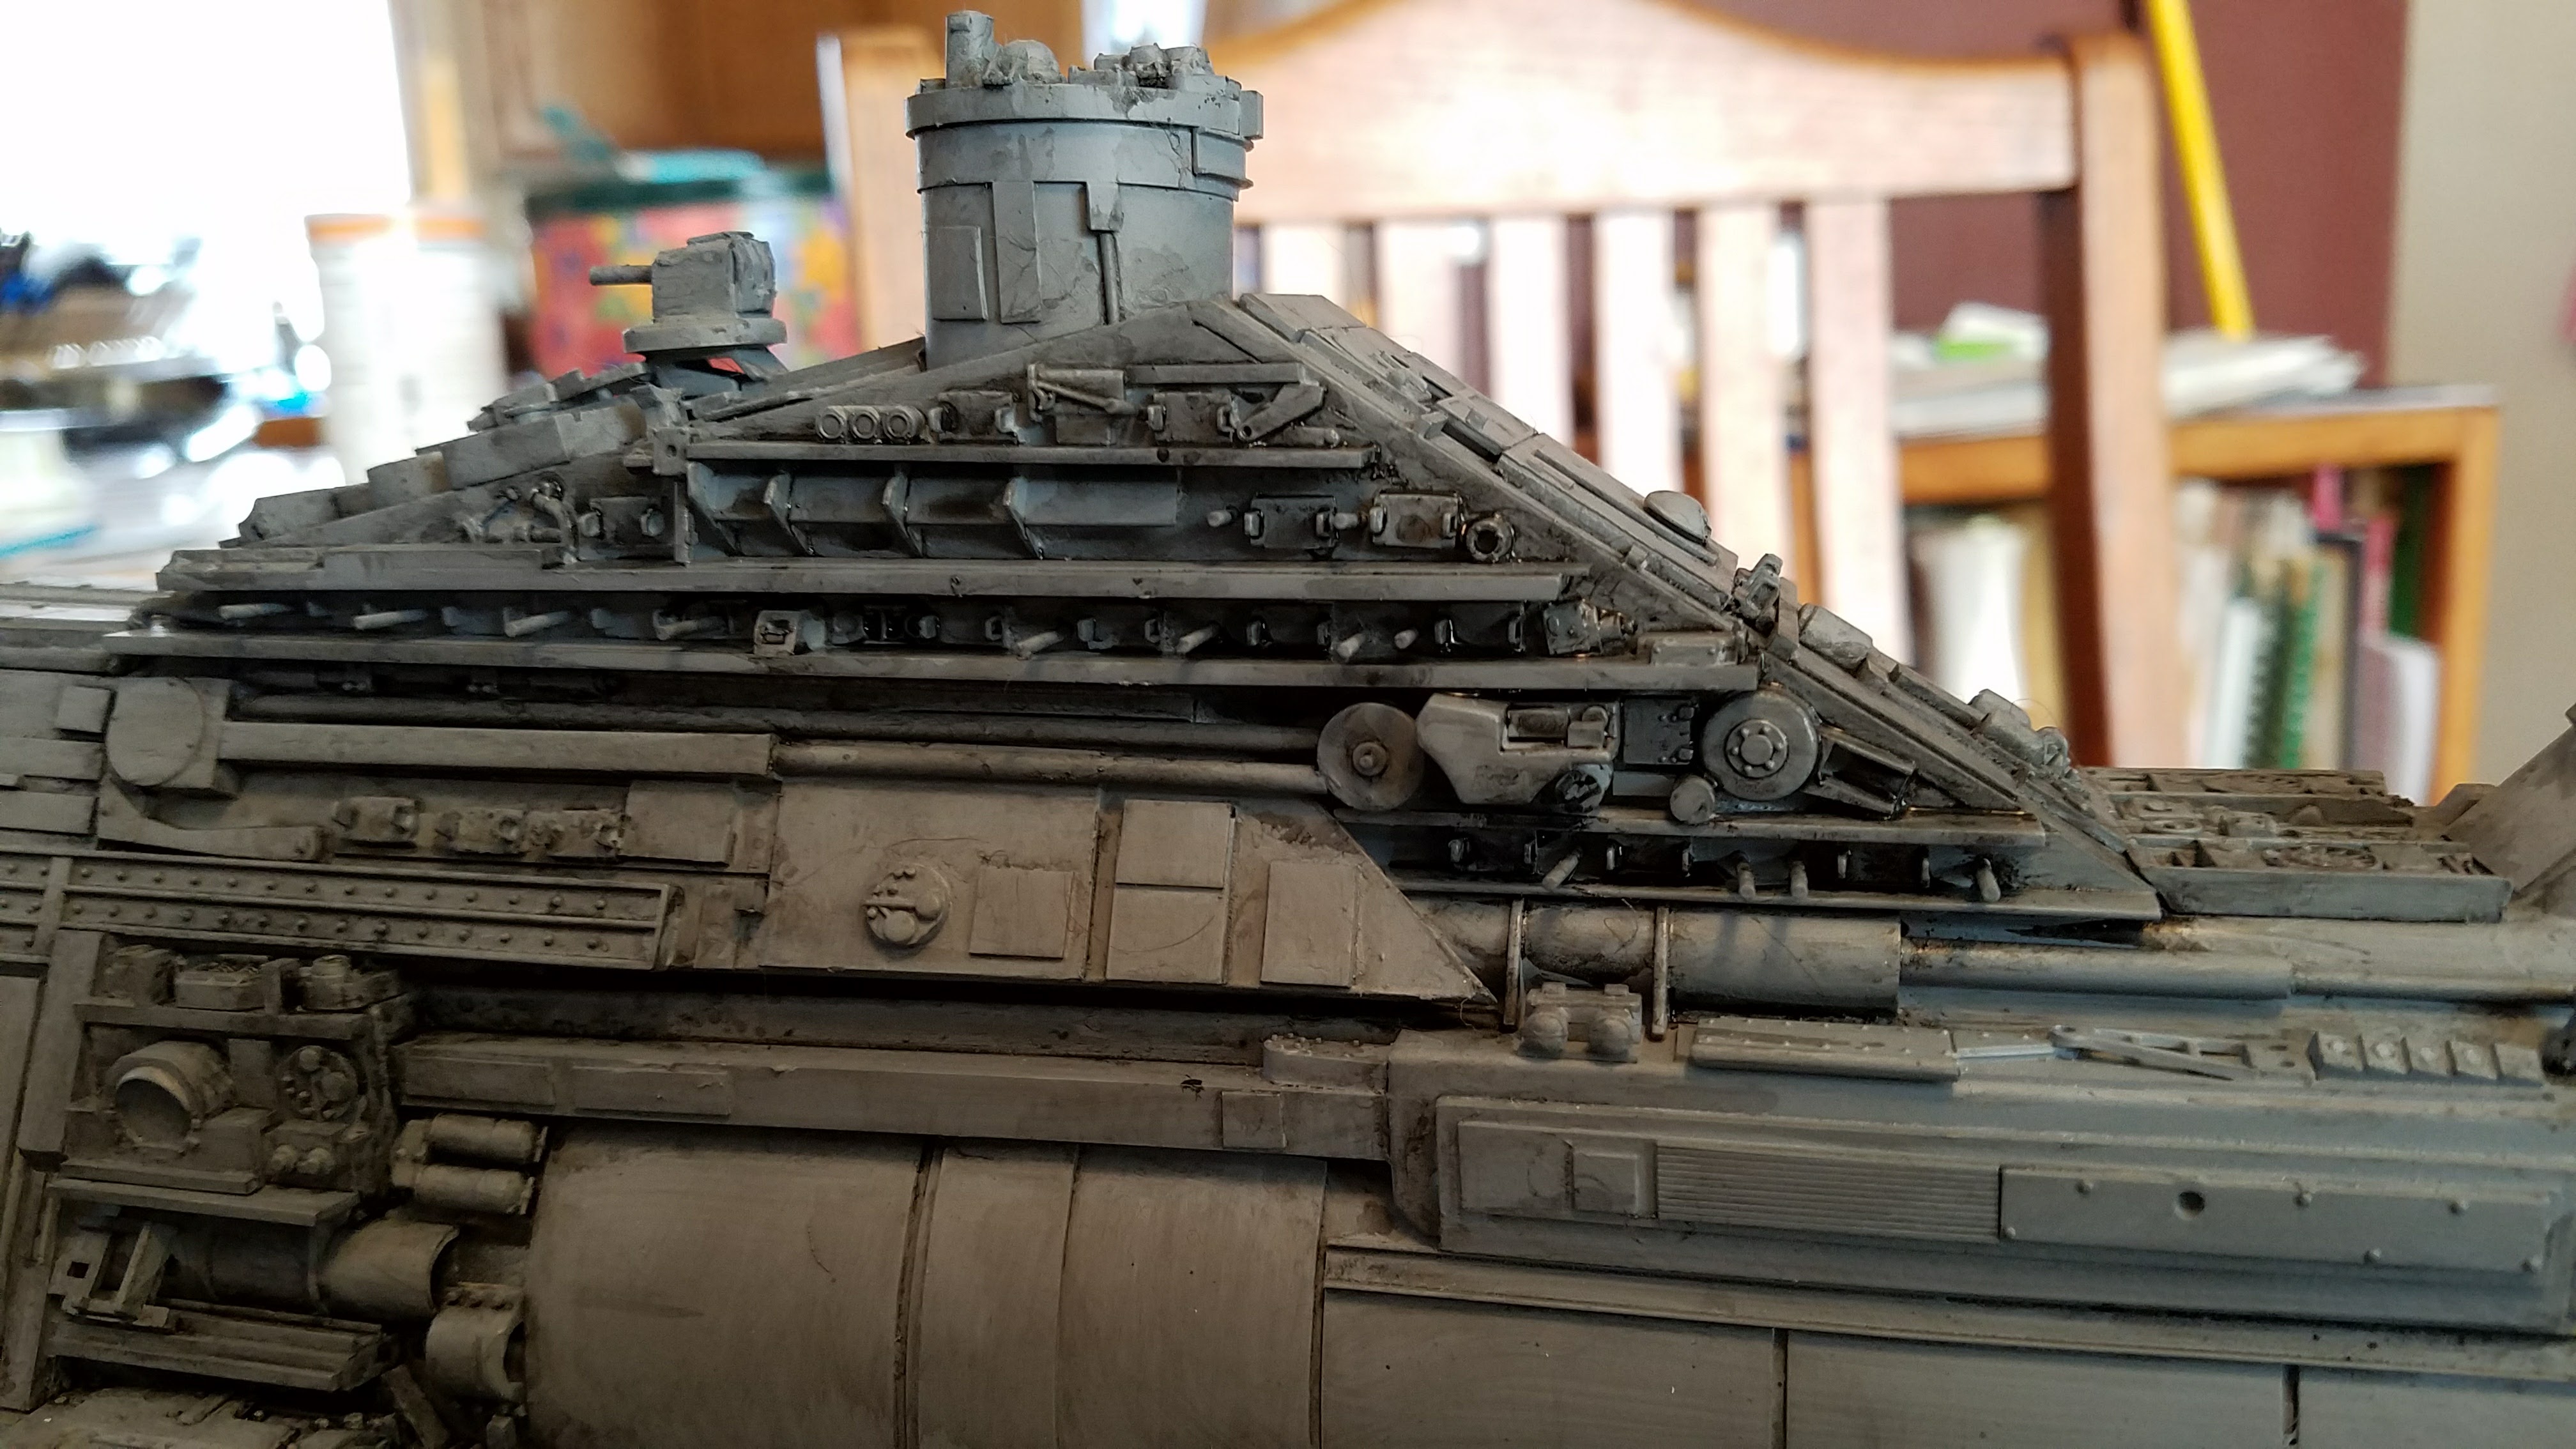
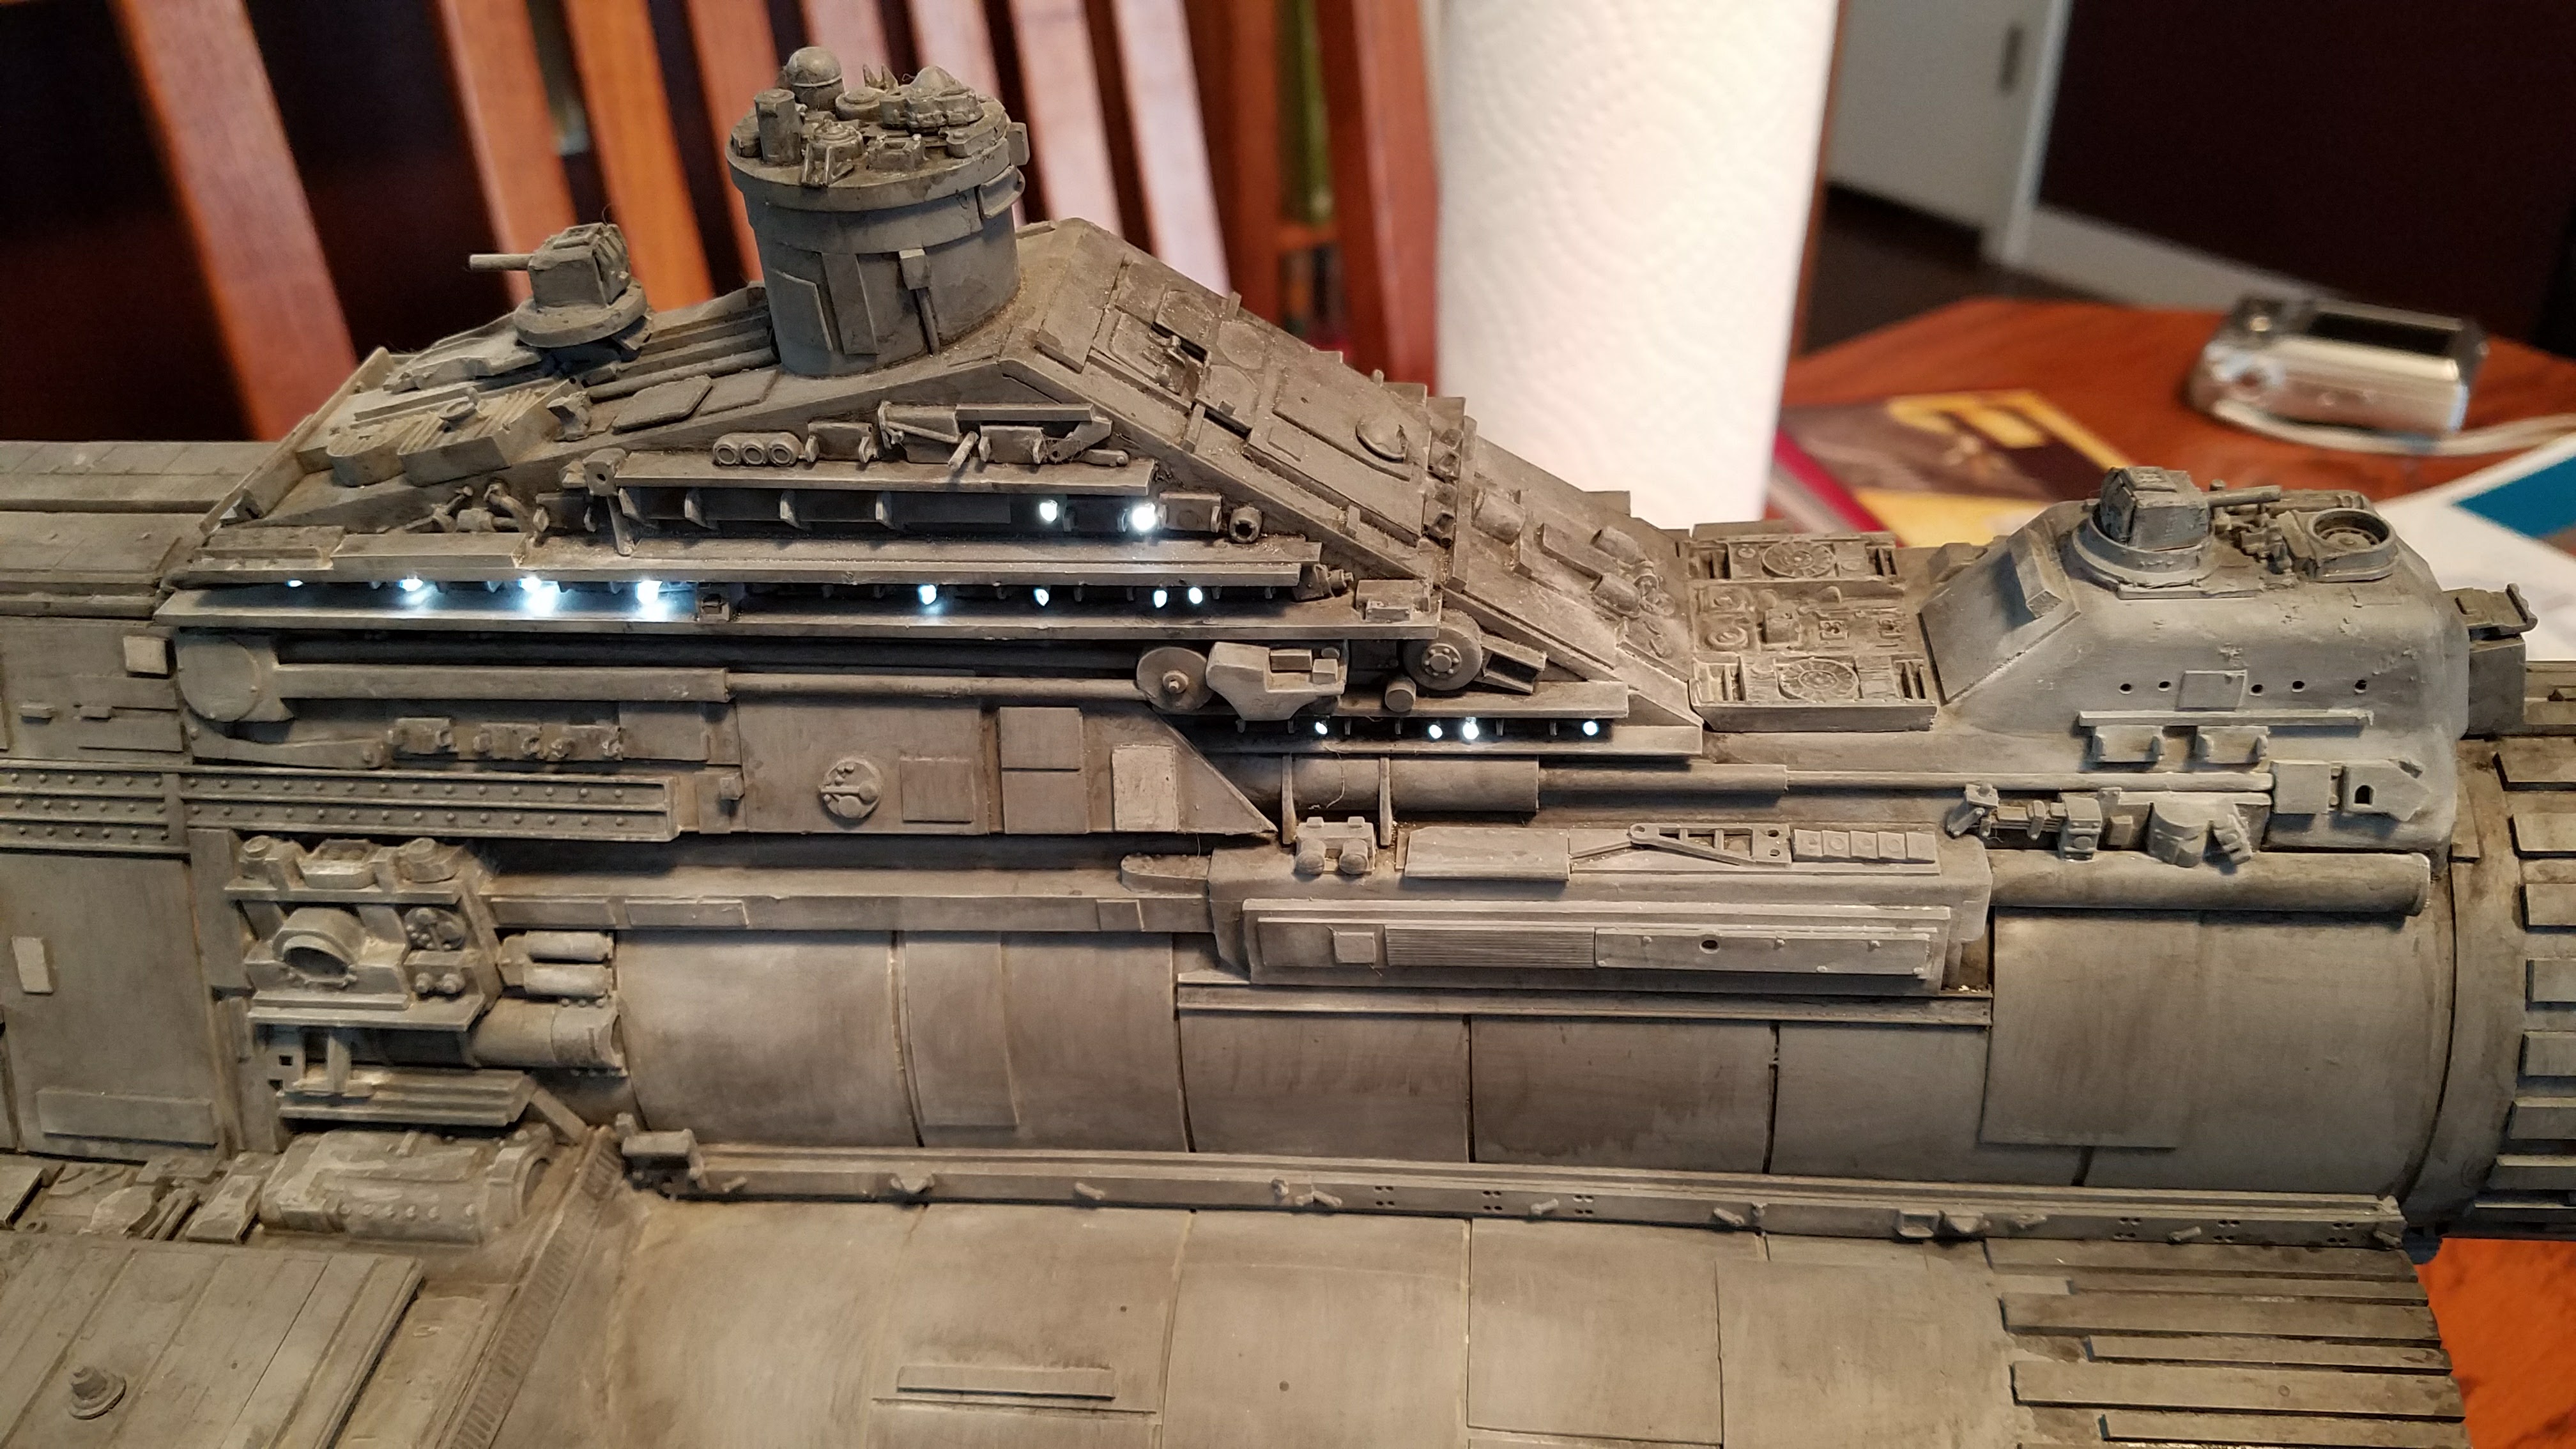
This is after washes and some charcoal.
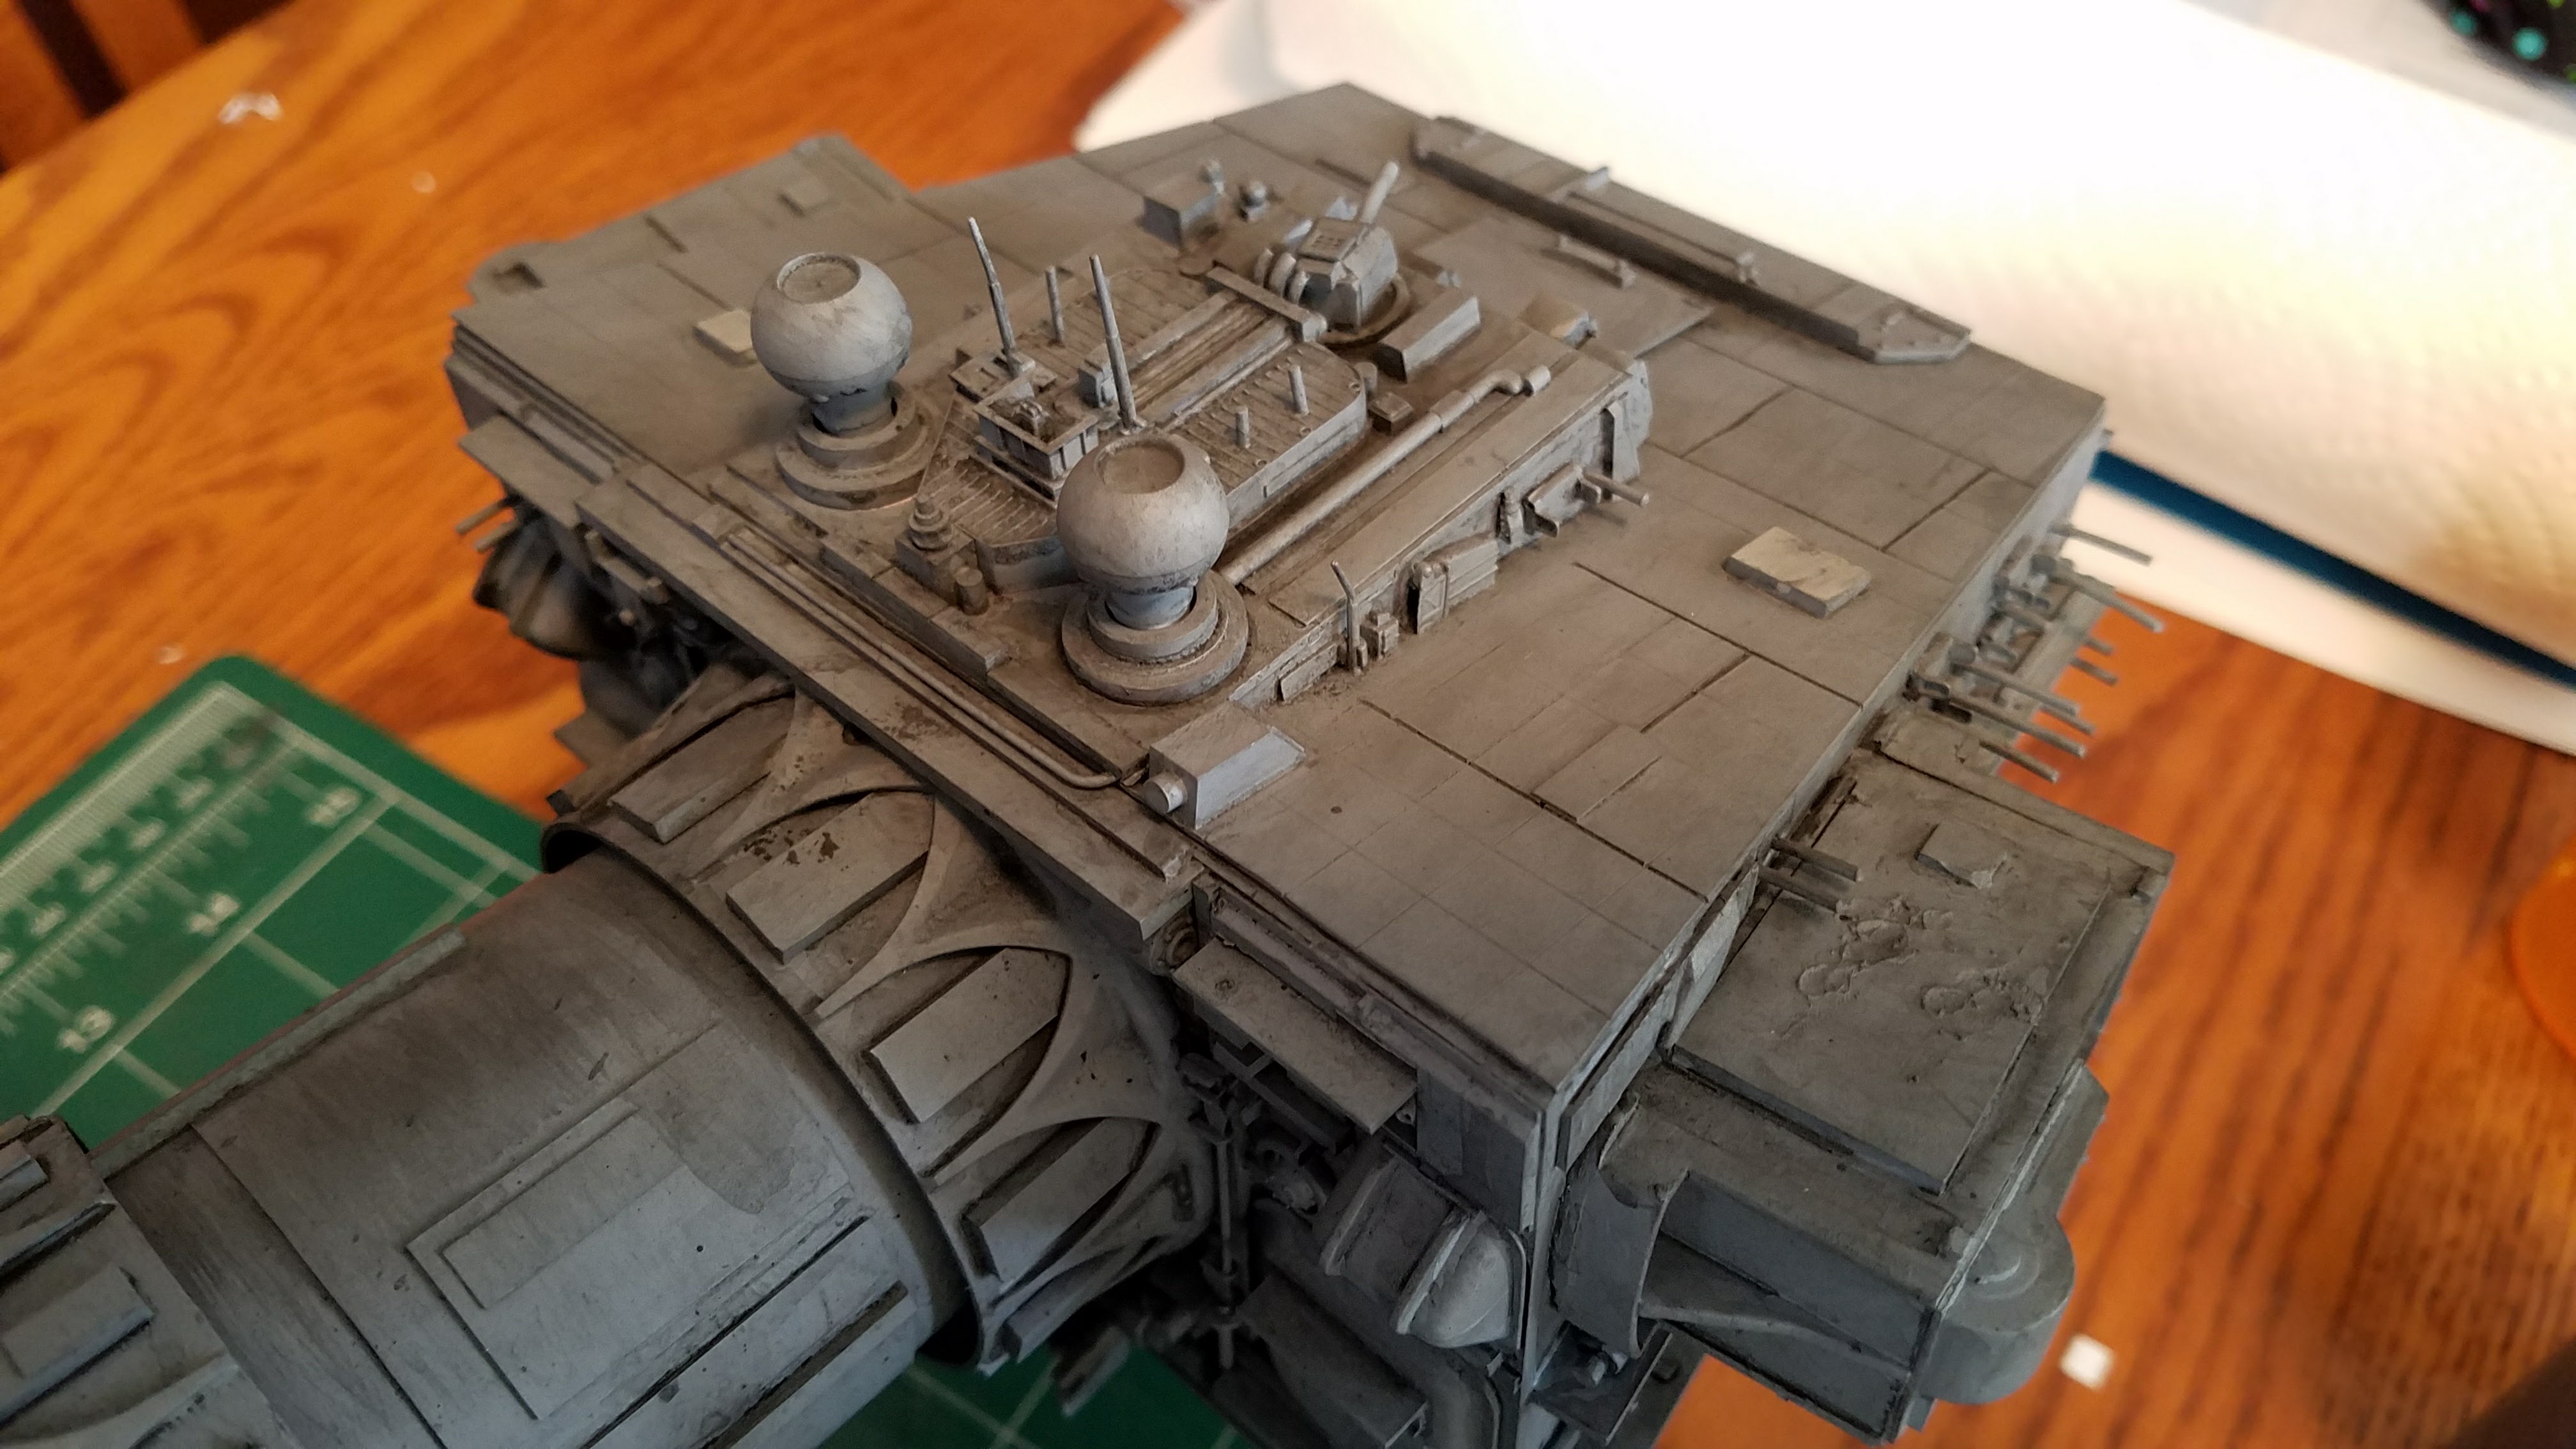
Close shot of the head details.
Below is the finished model. Lots of grime and a few miss-colored panels.
Here we have the Fiber Optics on for effect.

The finished and weathered hangar bay.

Hey, what’s the enemy doing in there?
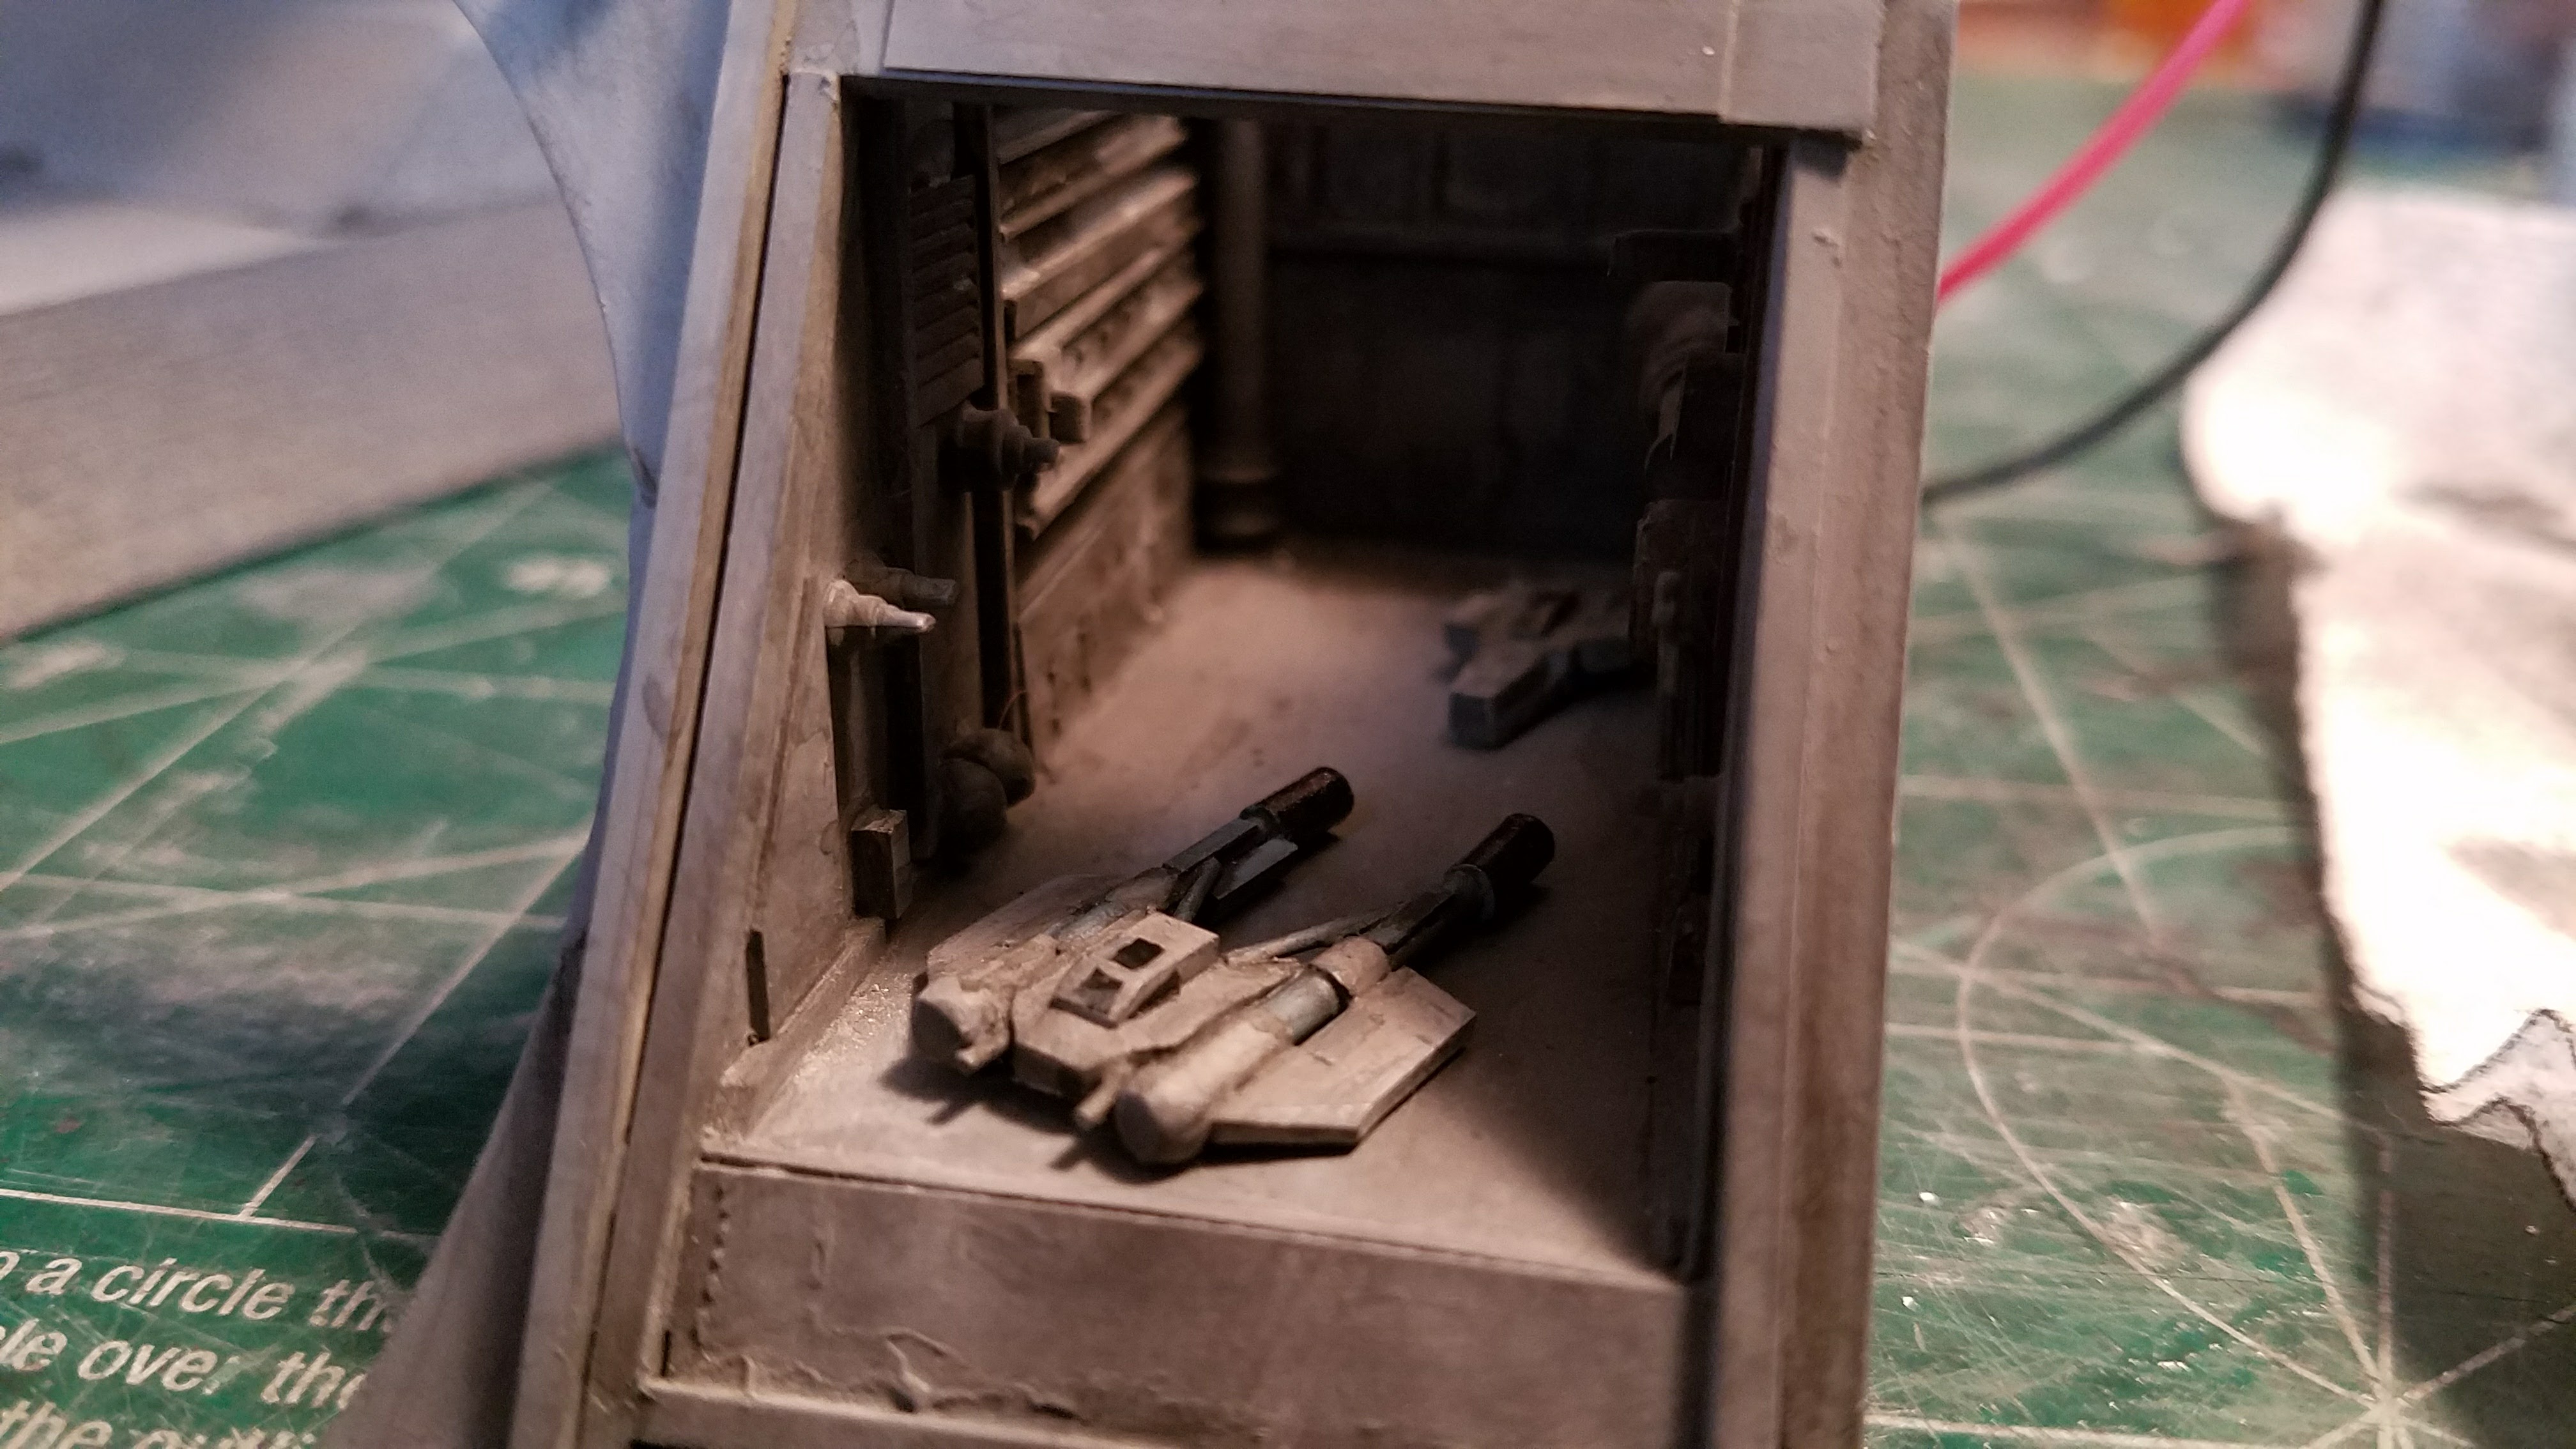
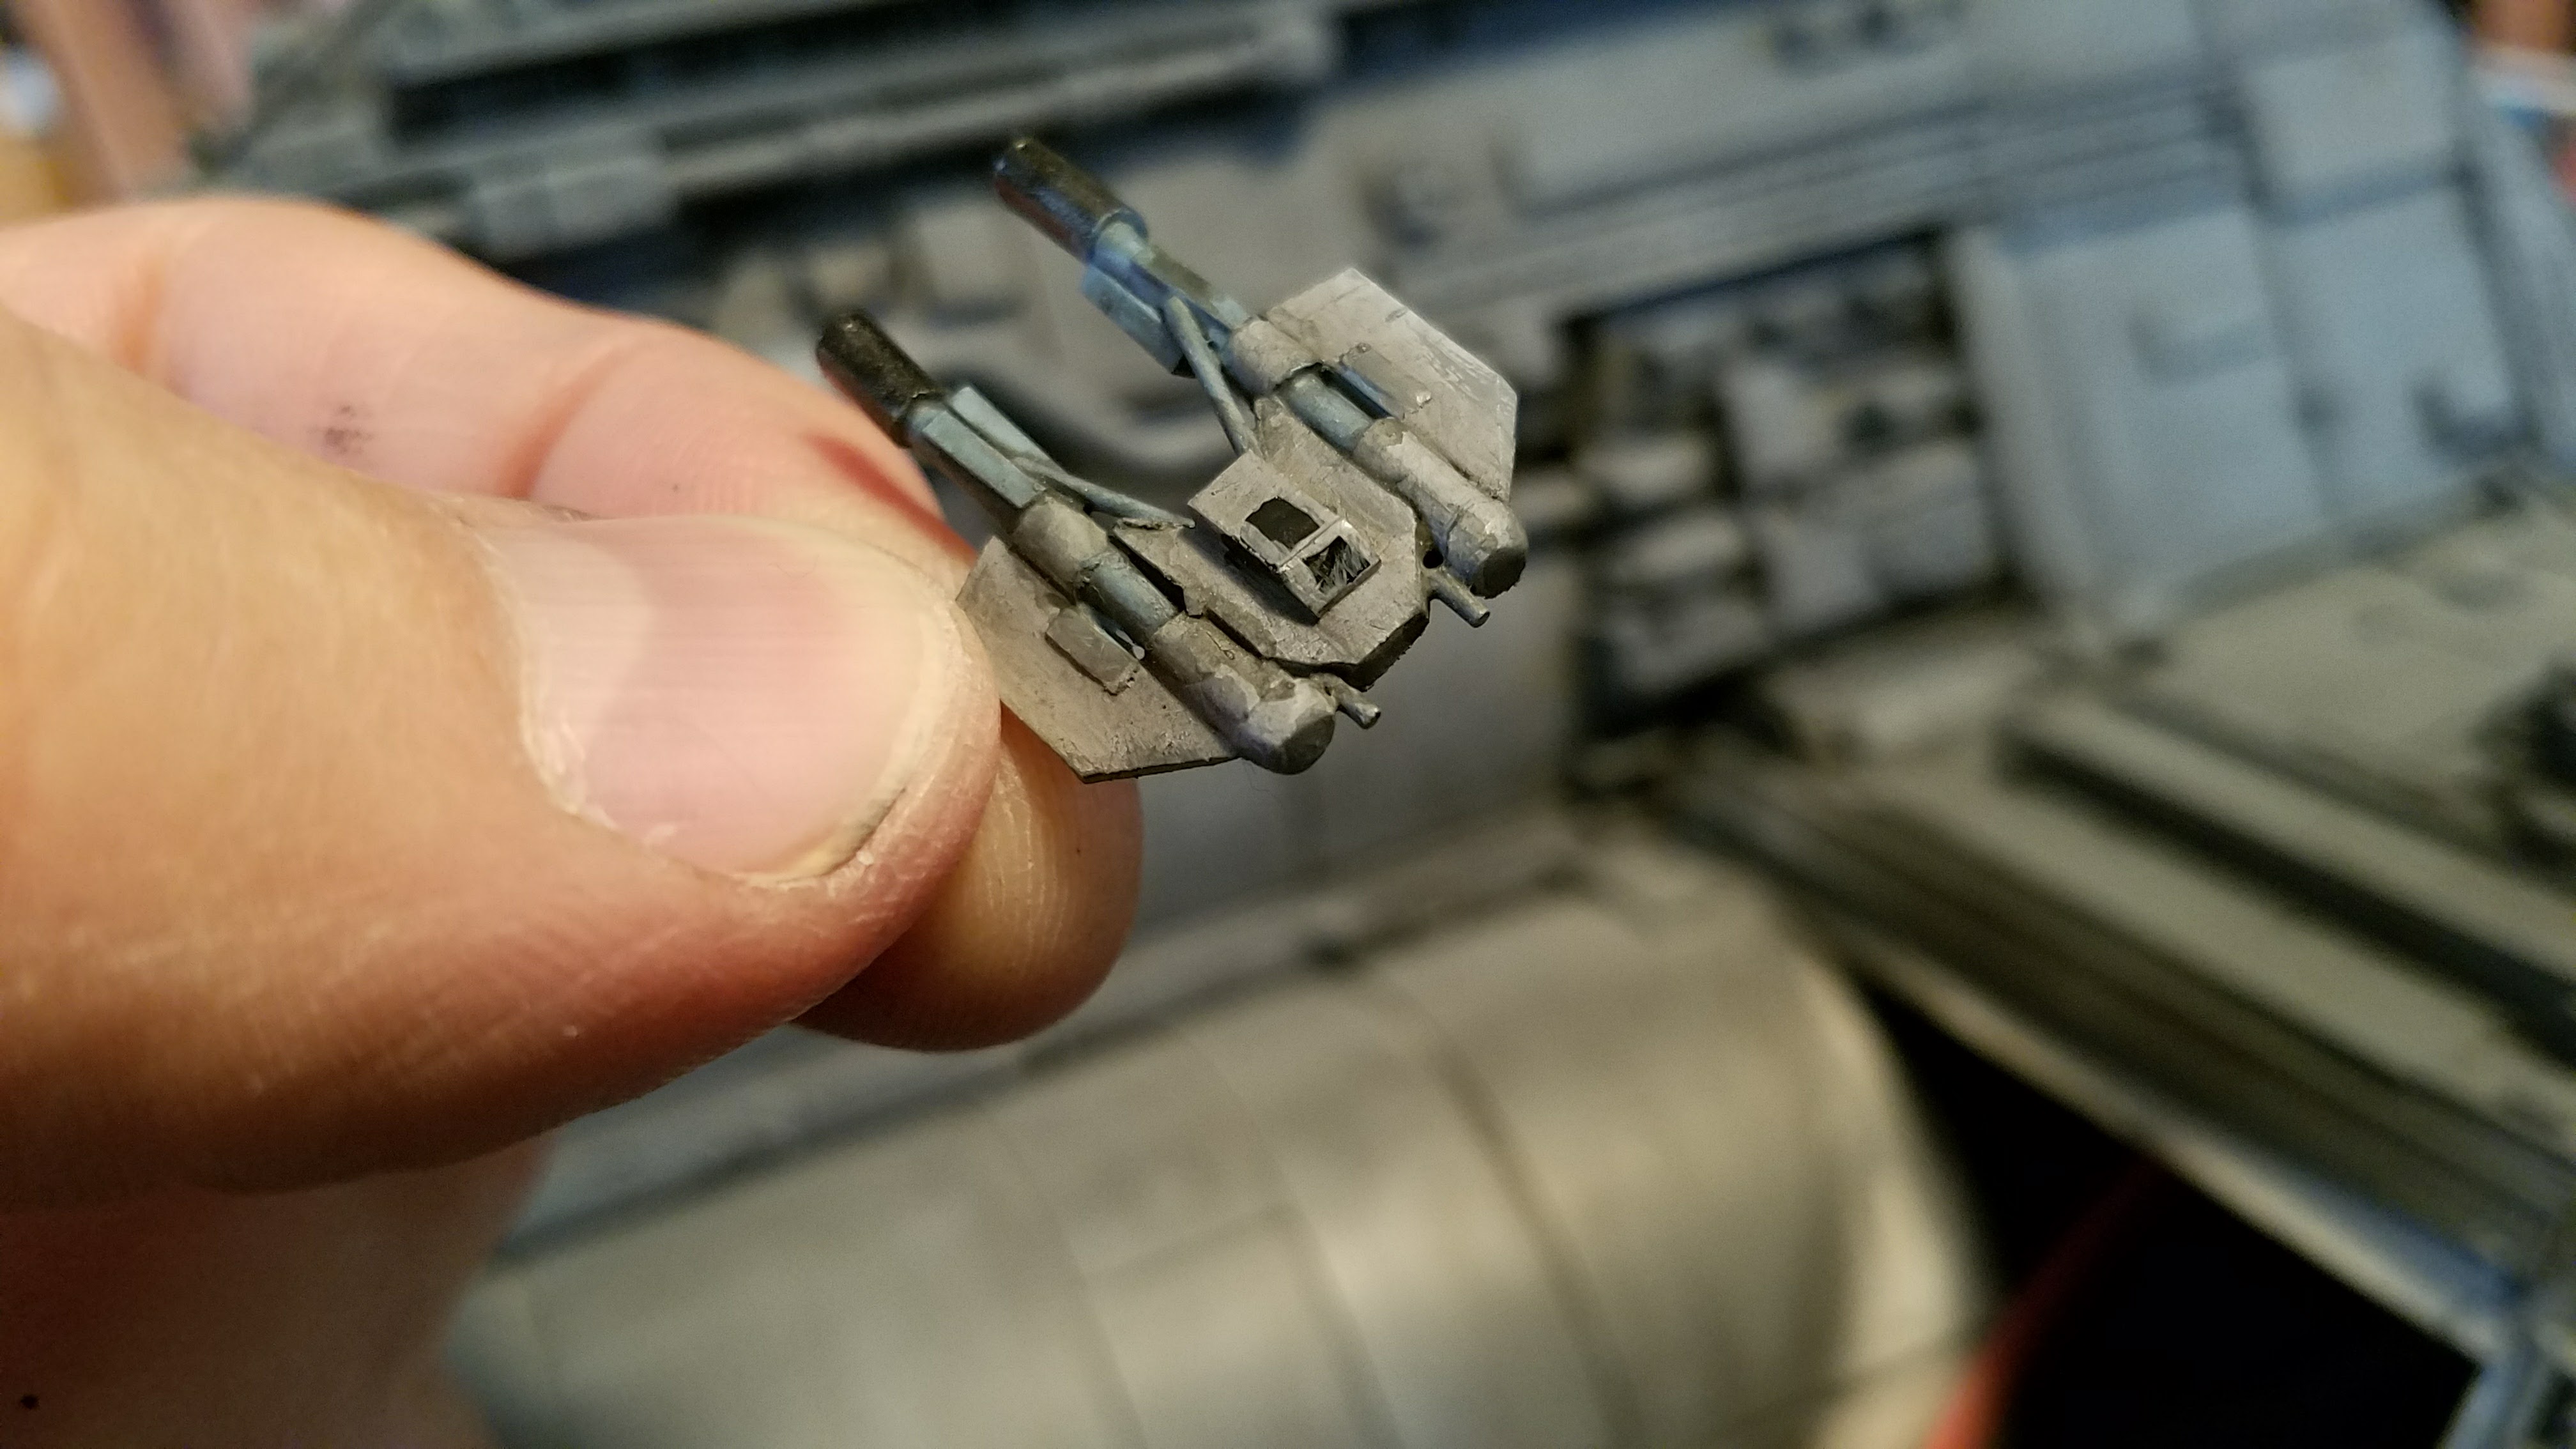
Close up of the enemy fighter.
Finally, here’s the Sherman alongside the Griffin and the Sokol in close order drill, or something.


