Starting this time with the open fighter bay and then some fighters built to 1/350 scale. First you box in the hangar.
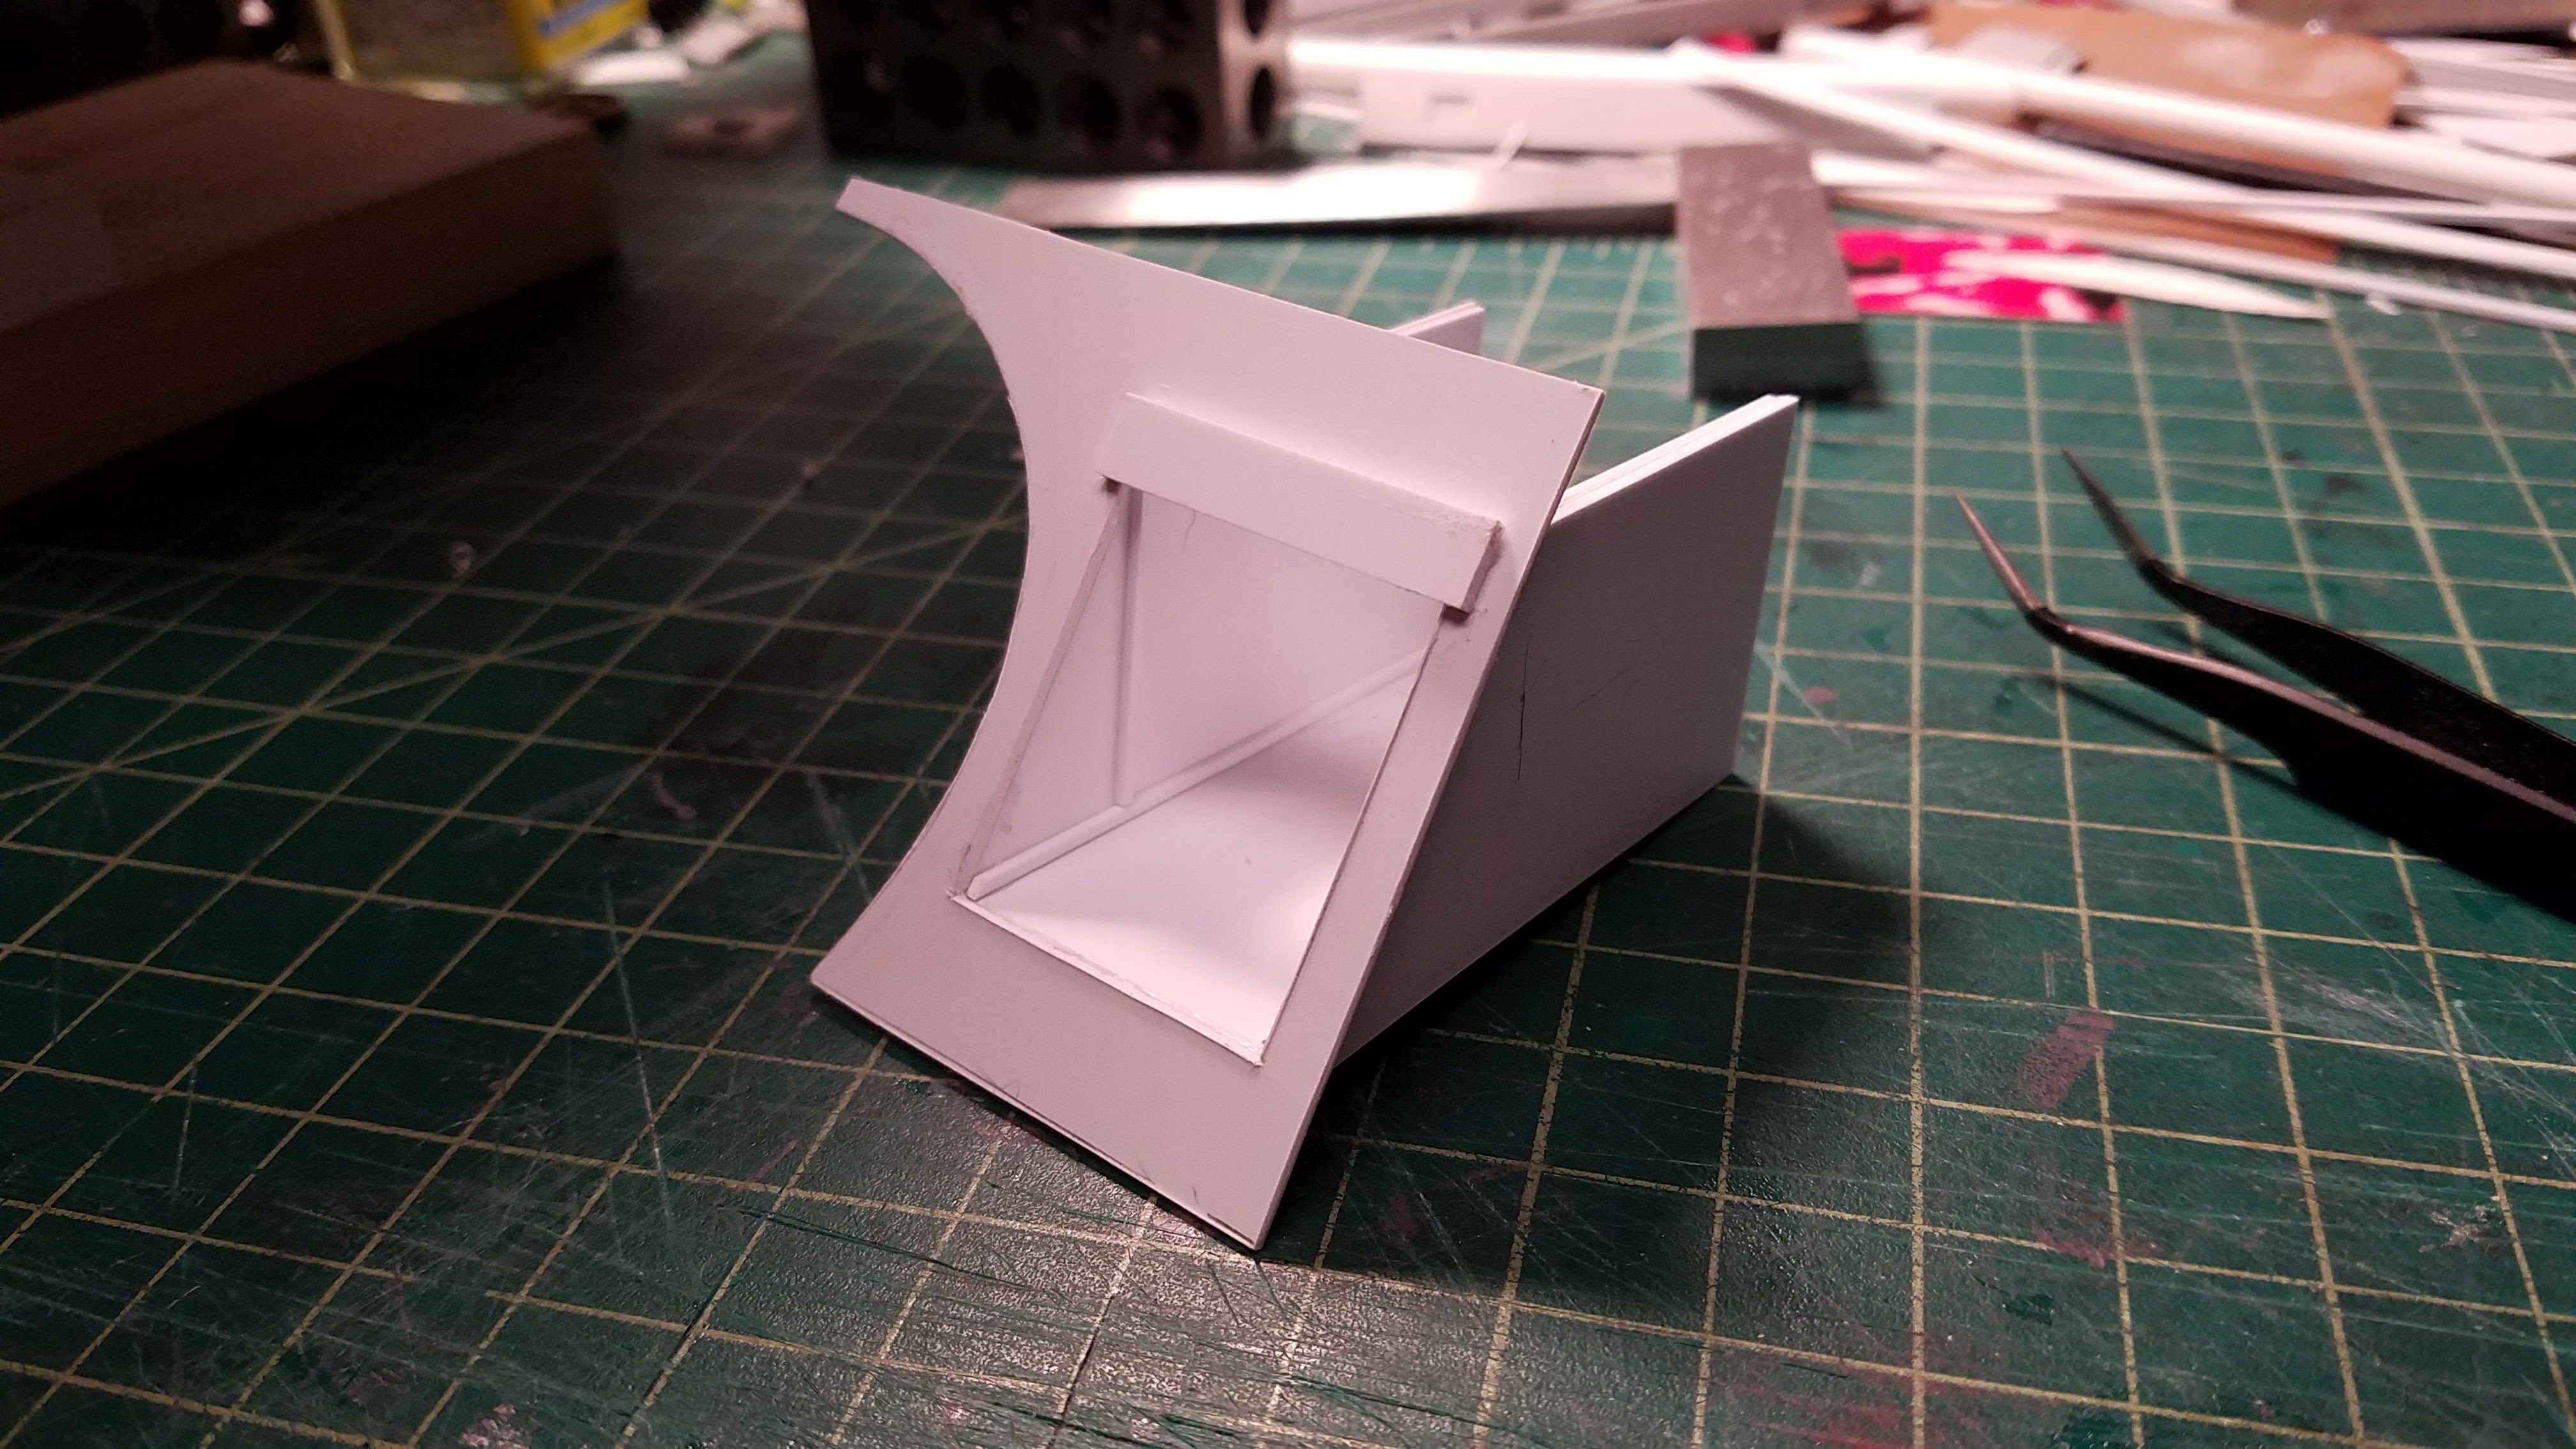
Then you test fit it in the model and start adding details. For hangars I have to make sure I use smaller parts and that they look like machinery you would find in a hangar.

I even use a bit of metal parts from a kit.

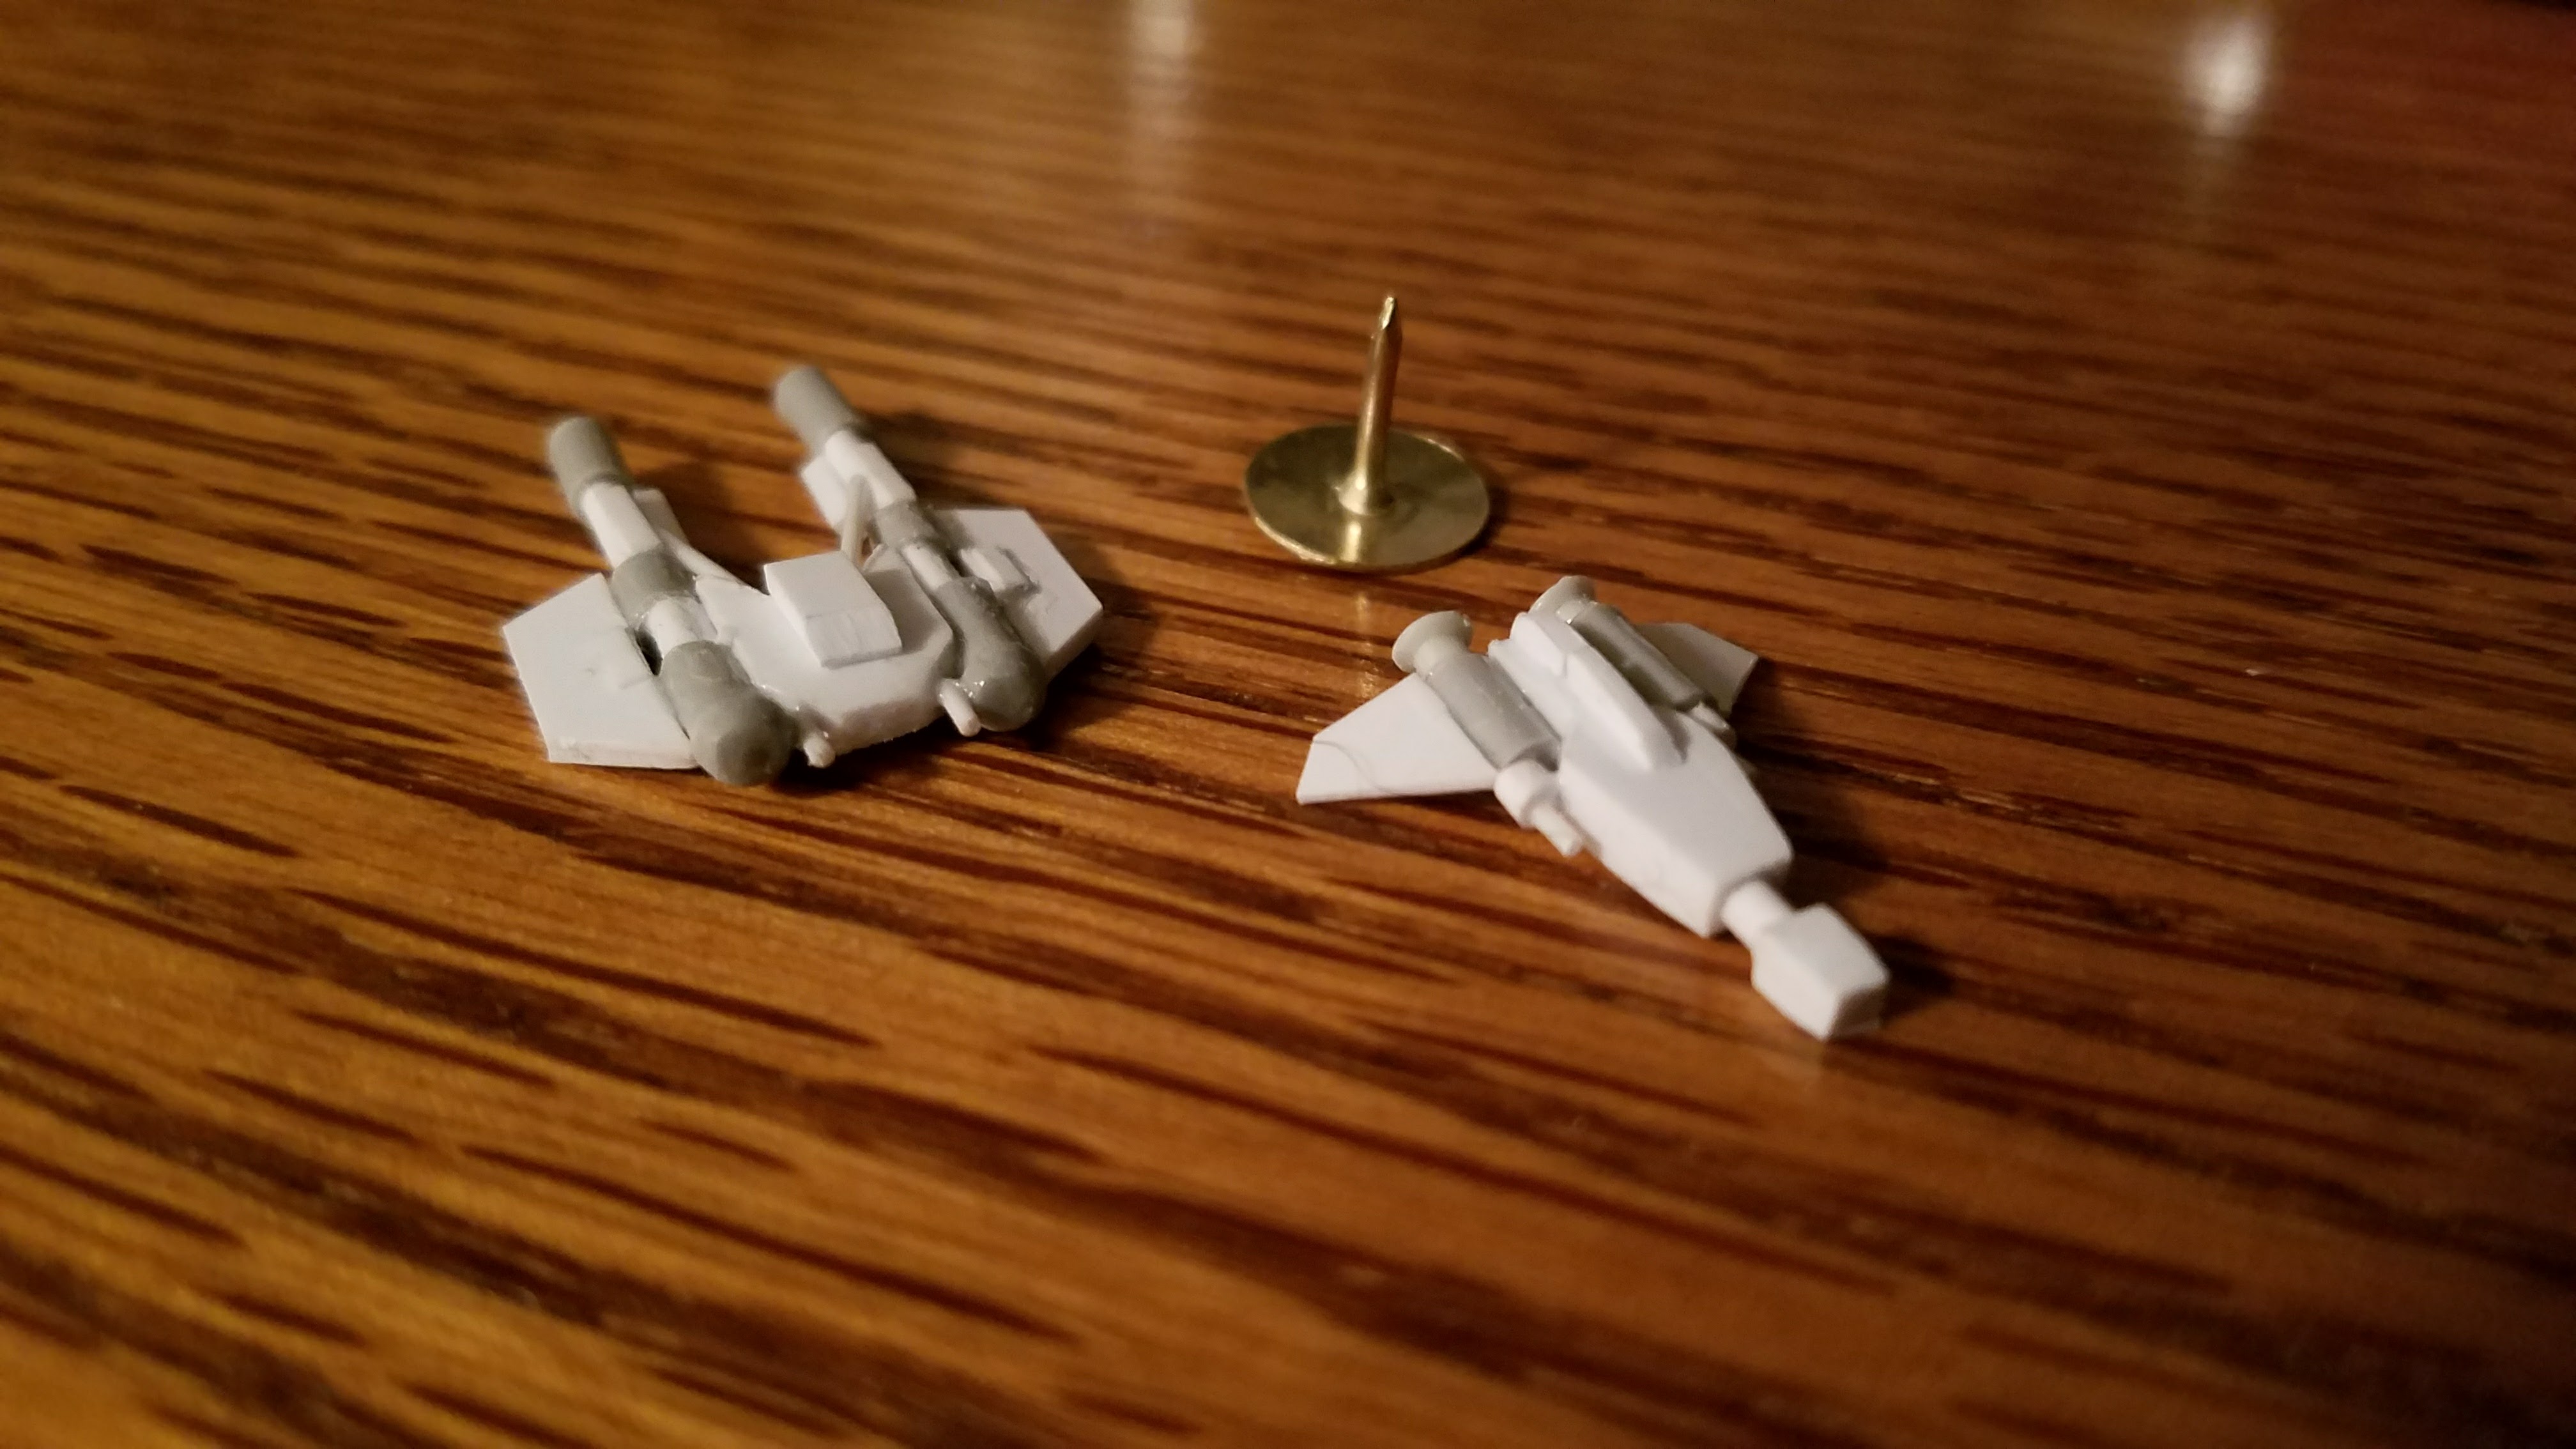
This is a Spearon starfighter made from tiny bits of stock styrene. Tweezers in the shot for scale.
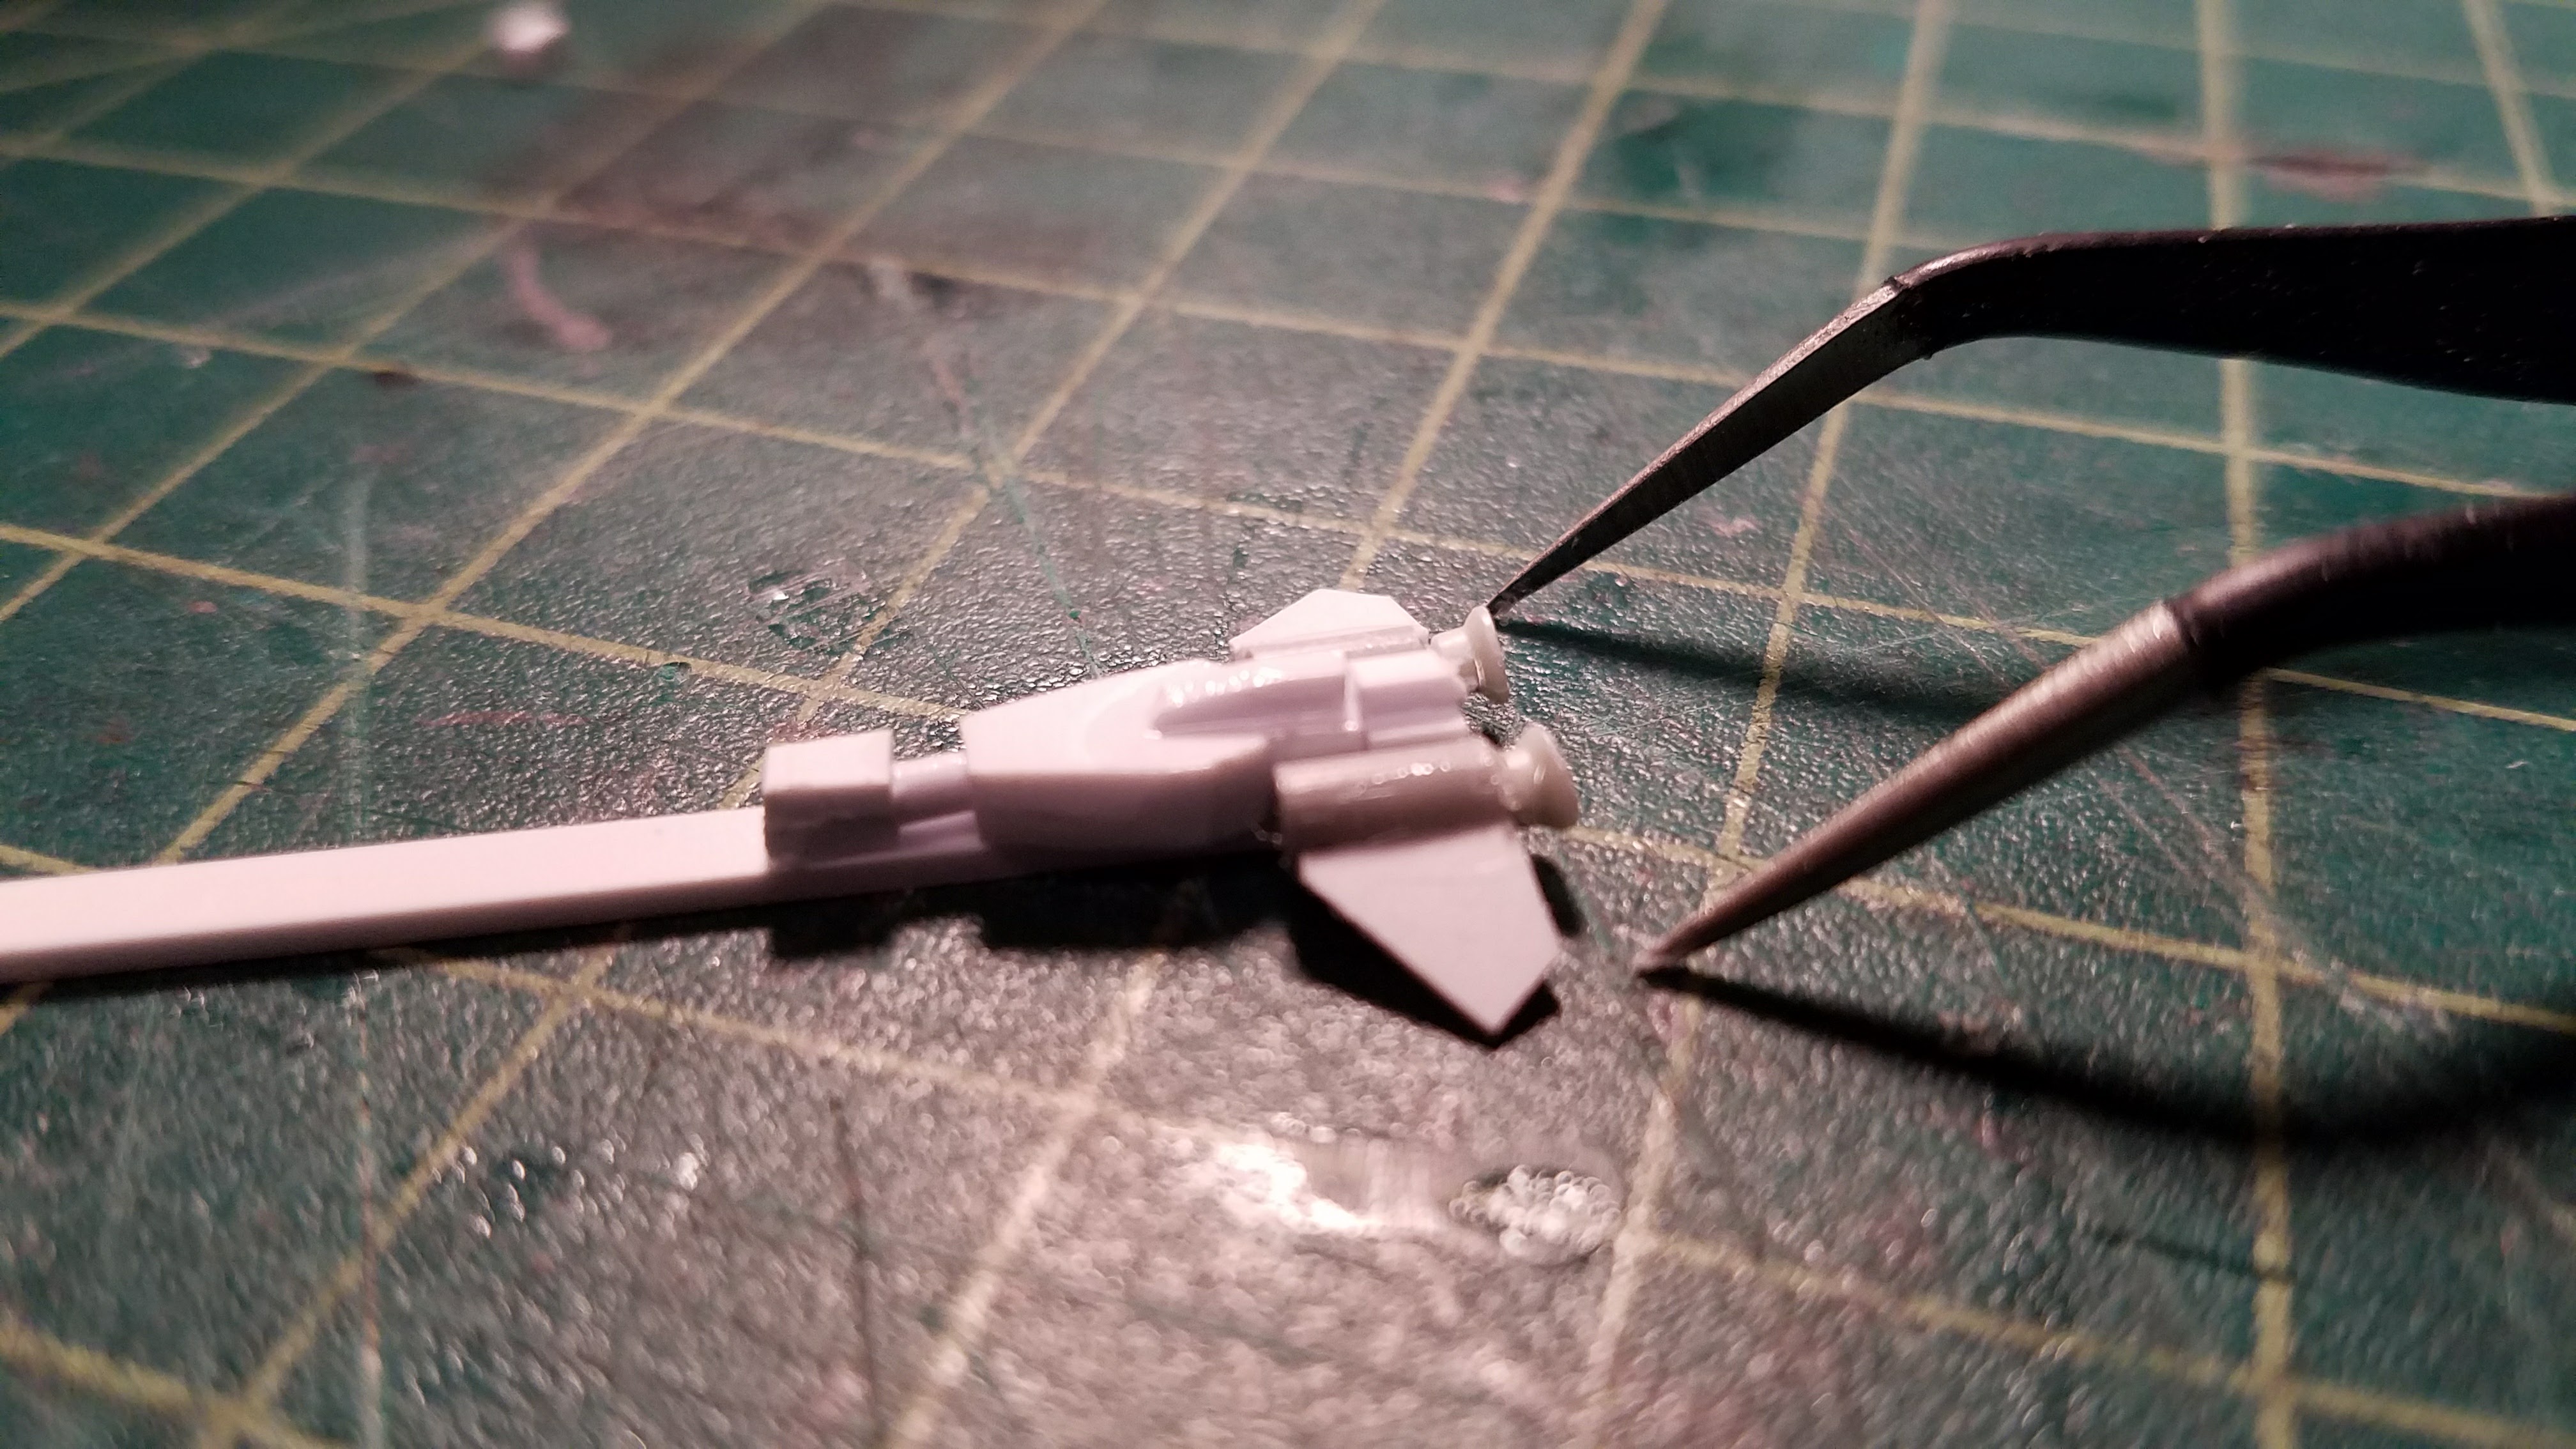
Here’s the fighter on the model Sherman for scale.

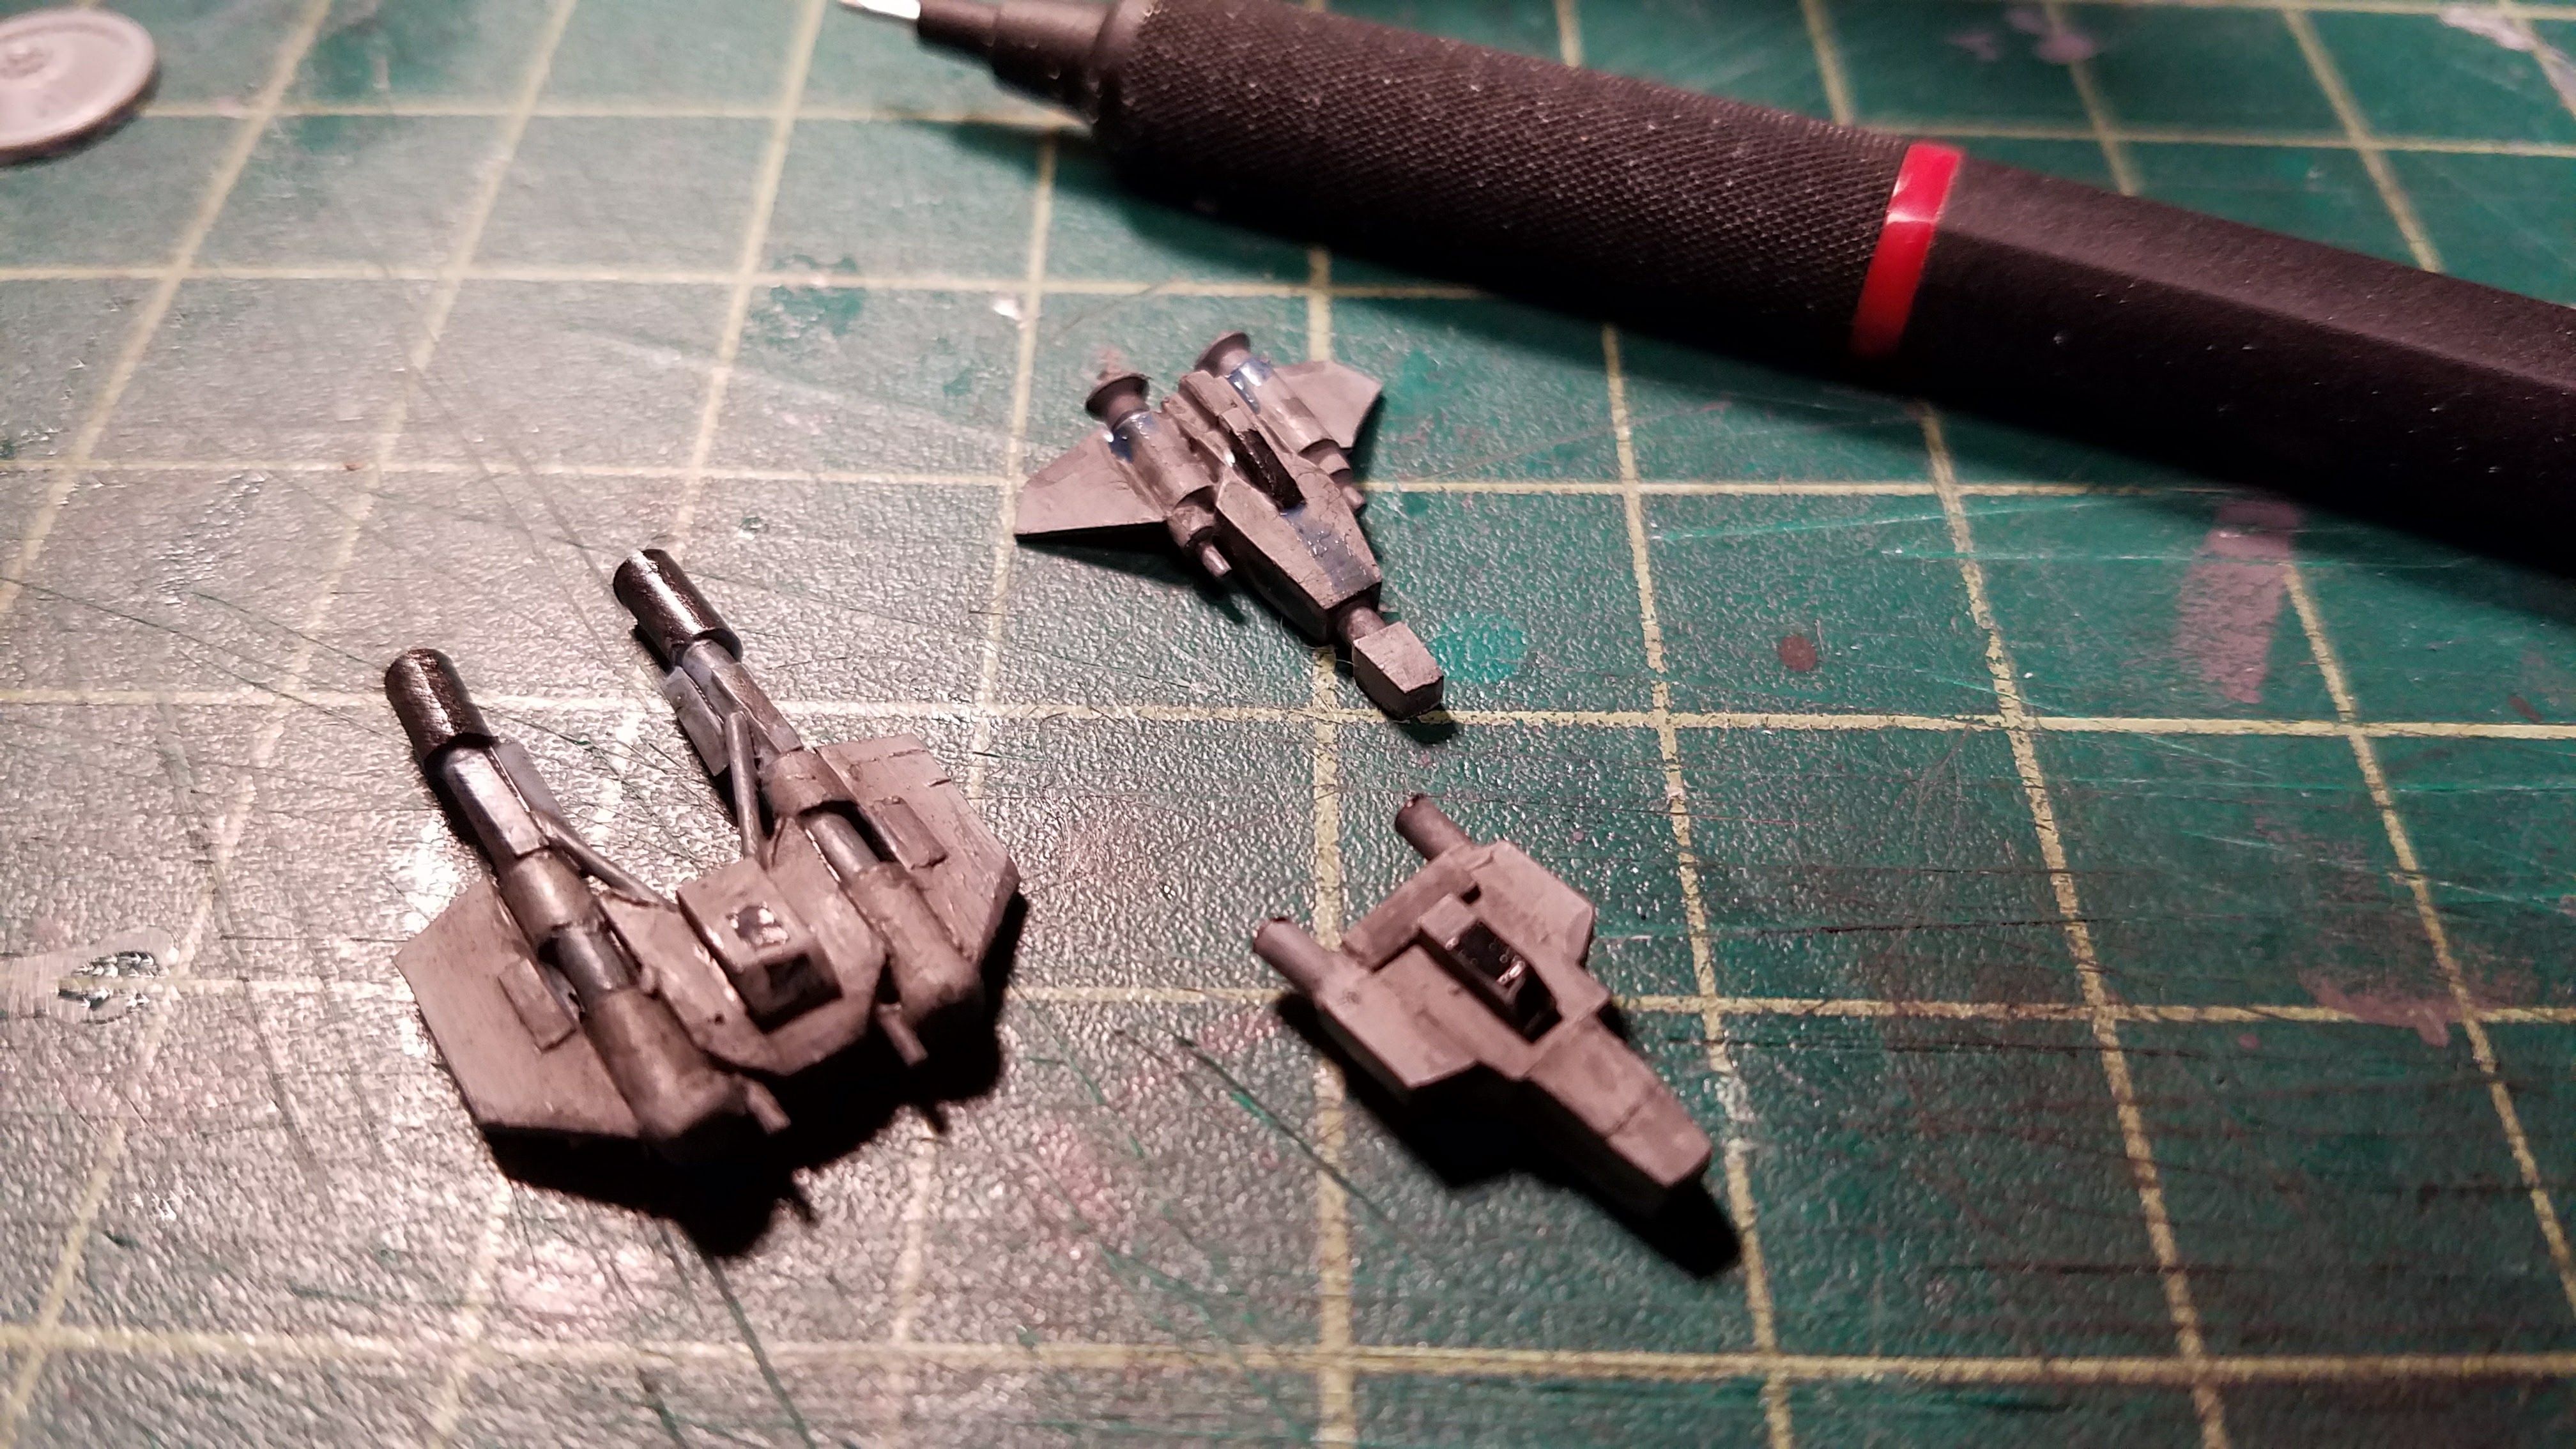
Got to have a bad guy, right?
Here’s both fighters with a thumbtack.
A bit of paint and some weathering and you got yourself a mini flight of fighters.
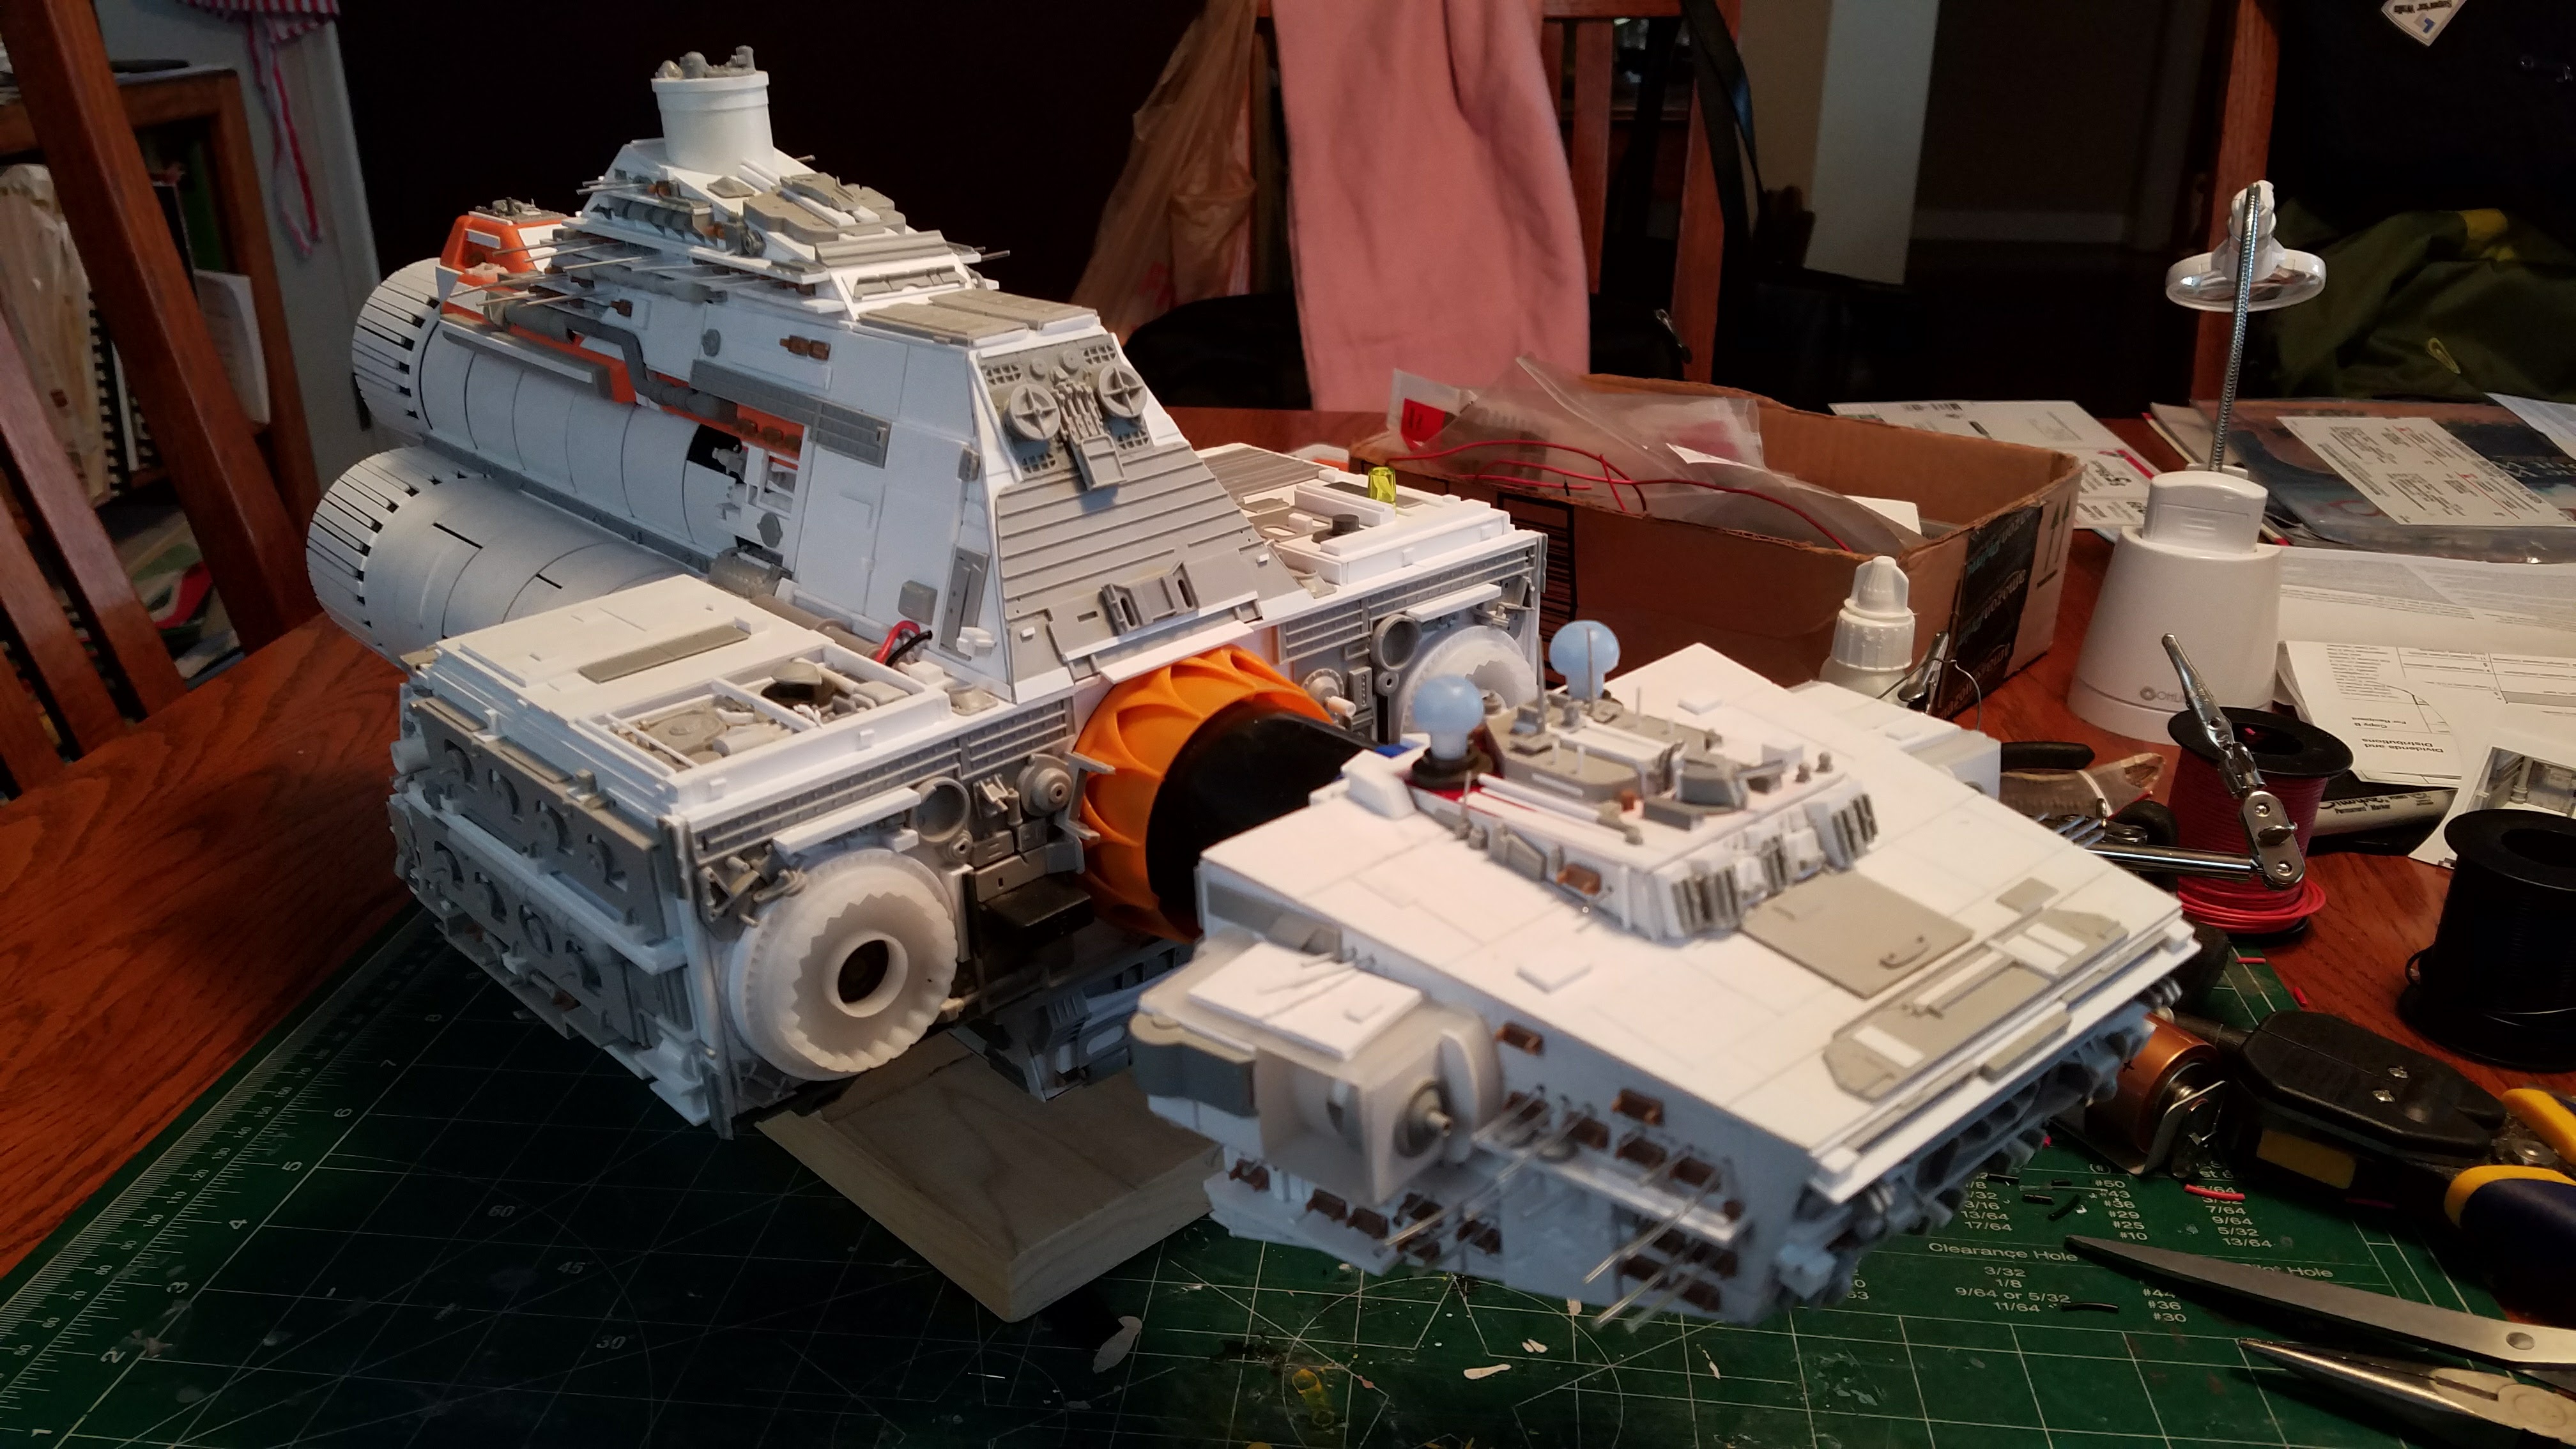
This is the keel of the Sherman and the deck plating simulated by a scribe.

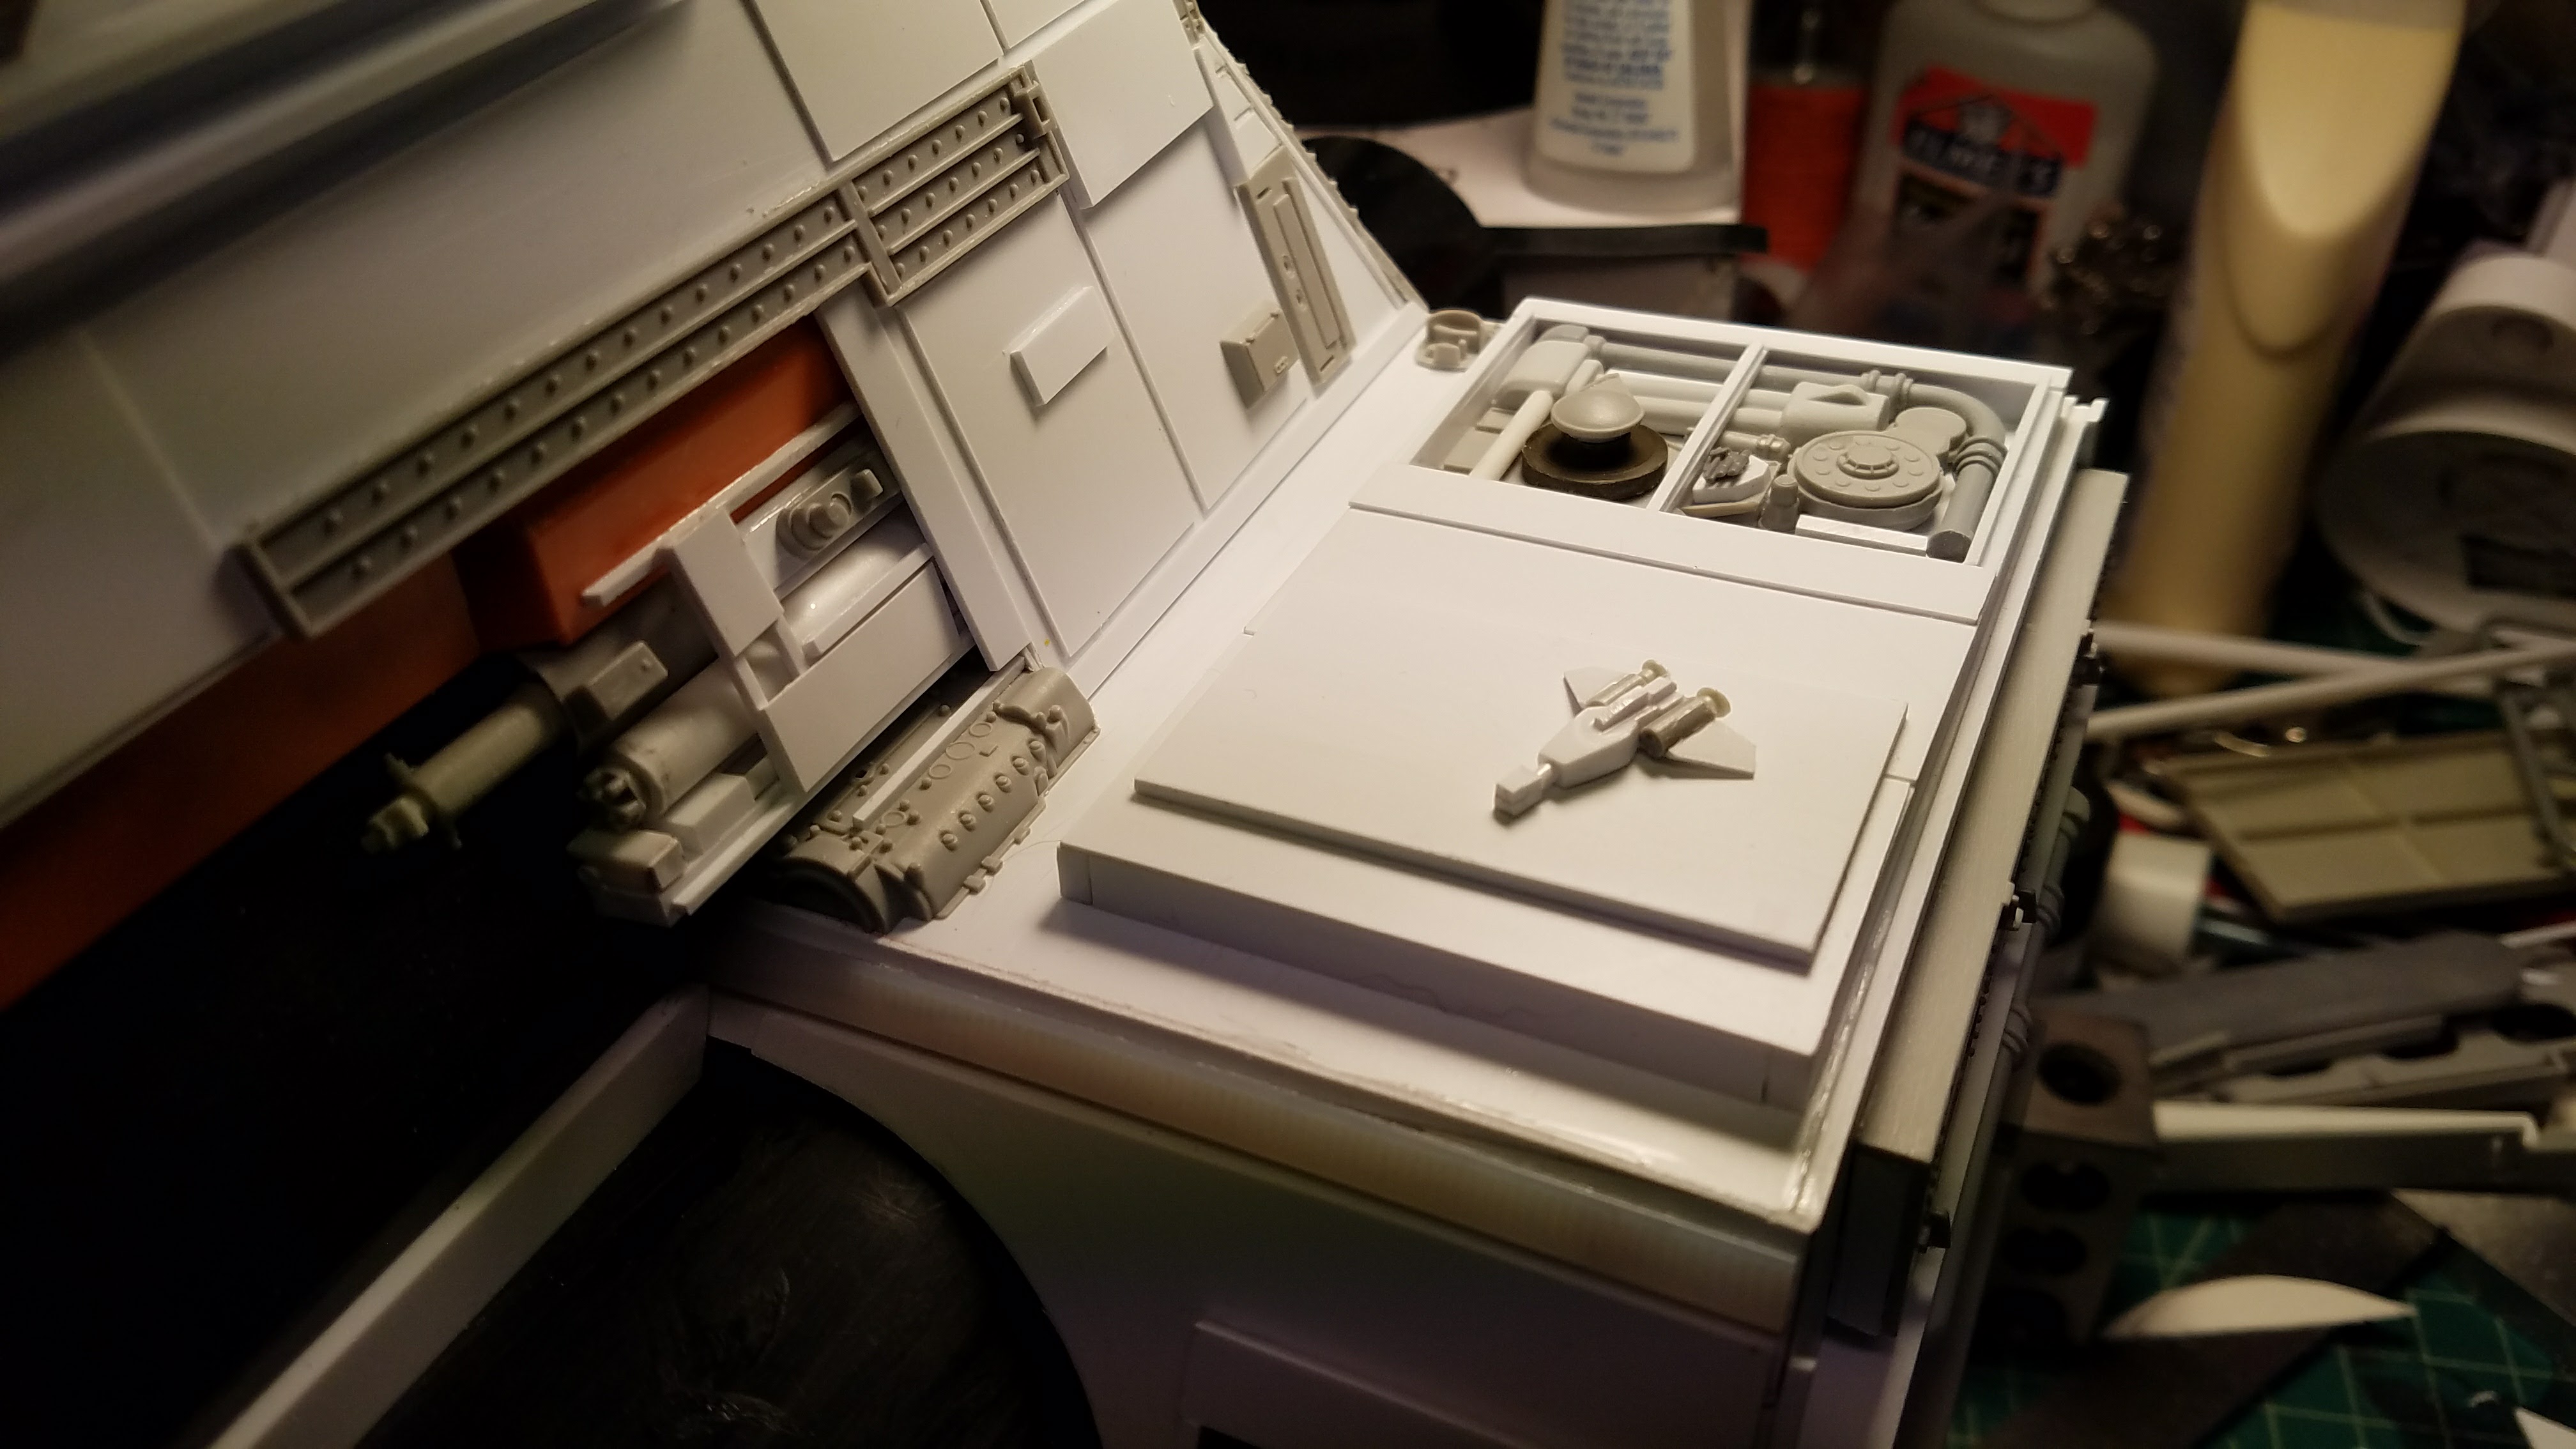
Details on the bottom of the Sherman. Larger pieces and lots of panels.

Here are the details on the stern section of the keel.
Fiber optics were installed in the front section and the top decks of the main section.

A better view of the fibers. All of this was lit by LED bulbs and ran off a single 9 Volt battery located behind the fighter bay.

One last shot of all the rainbow colors on the unpainted model.
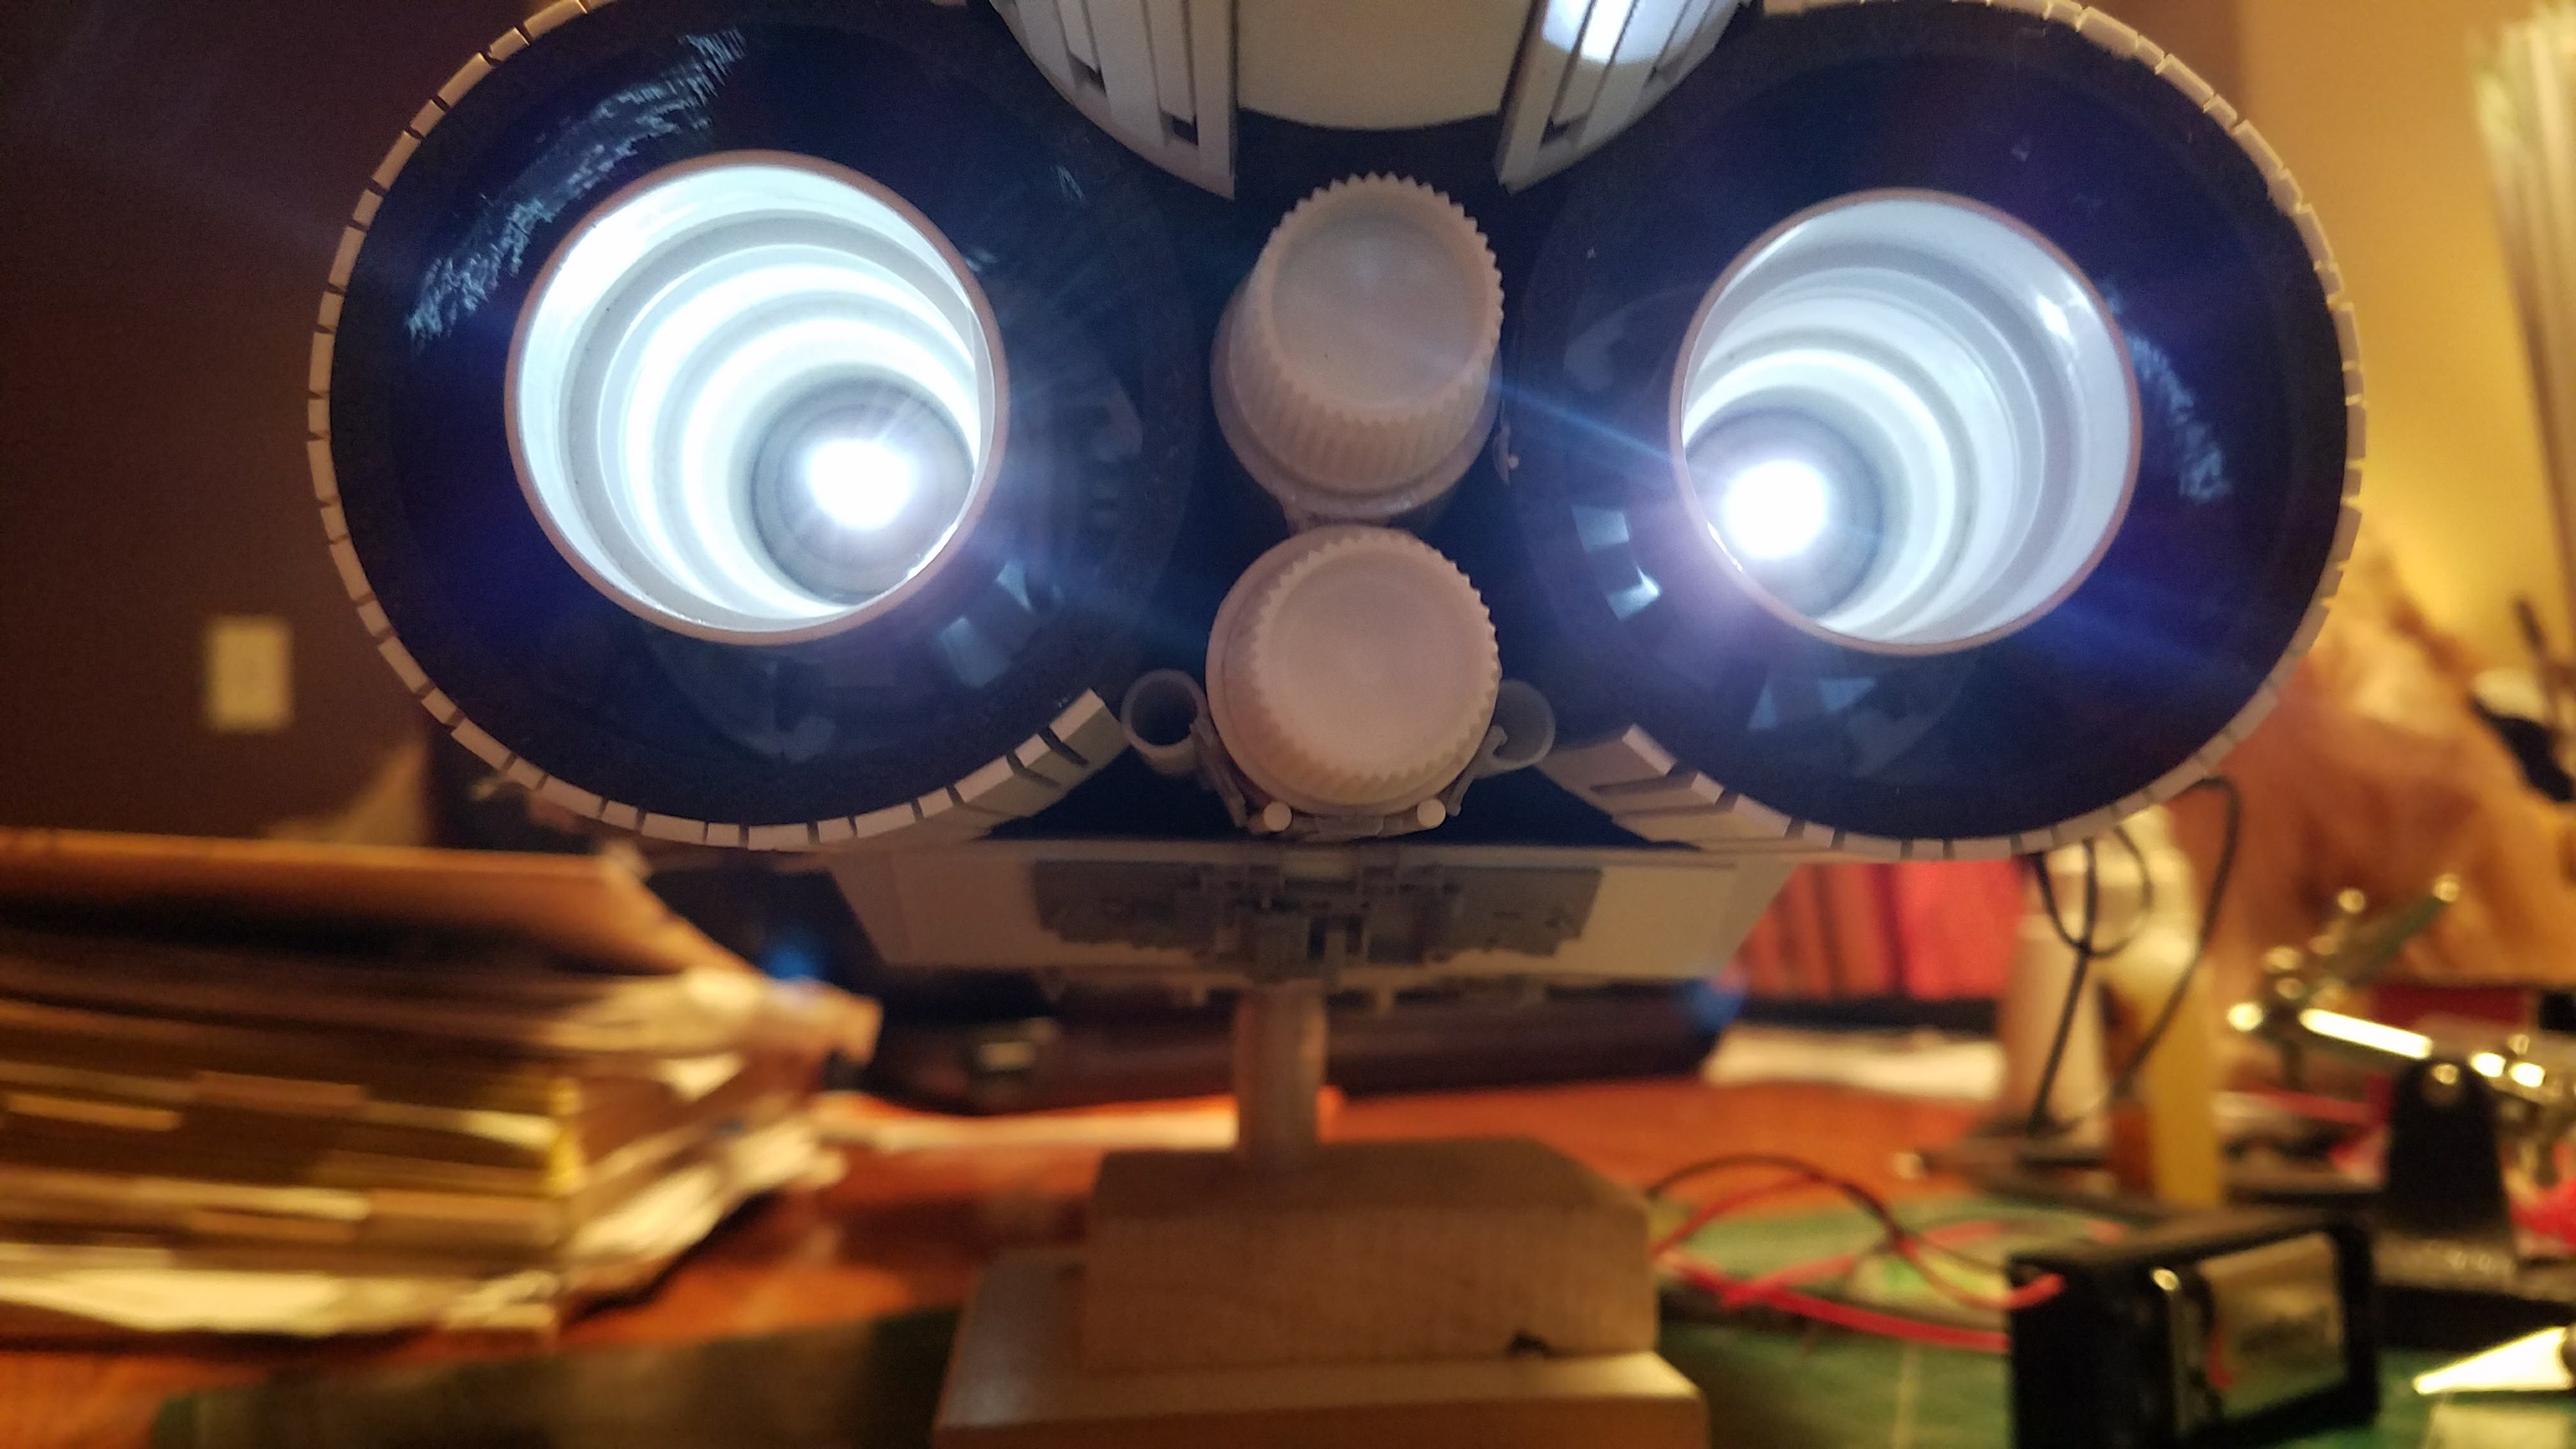
The engines alight.
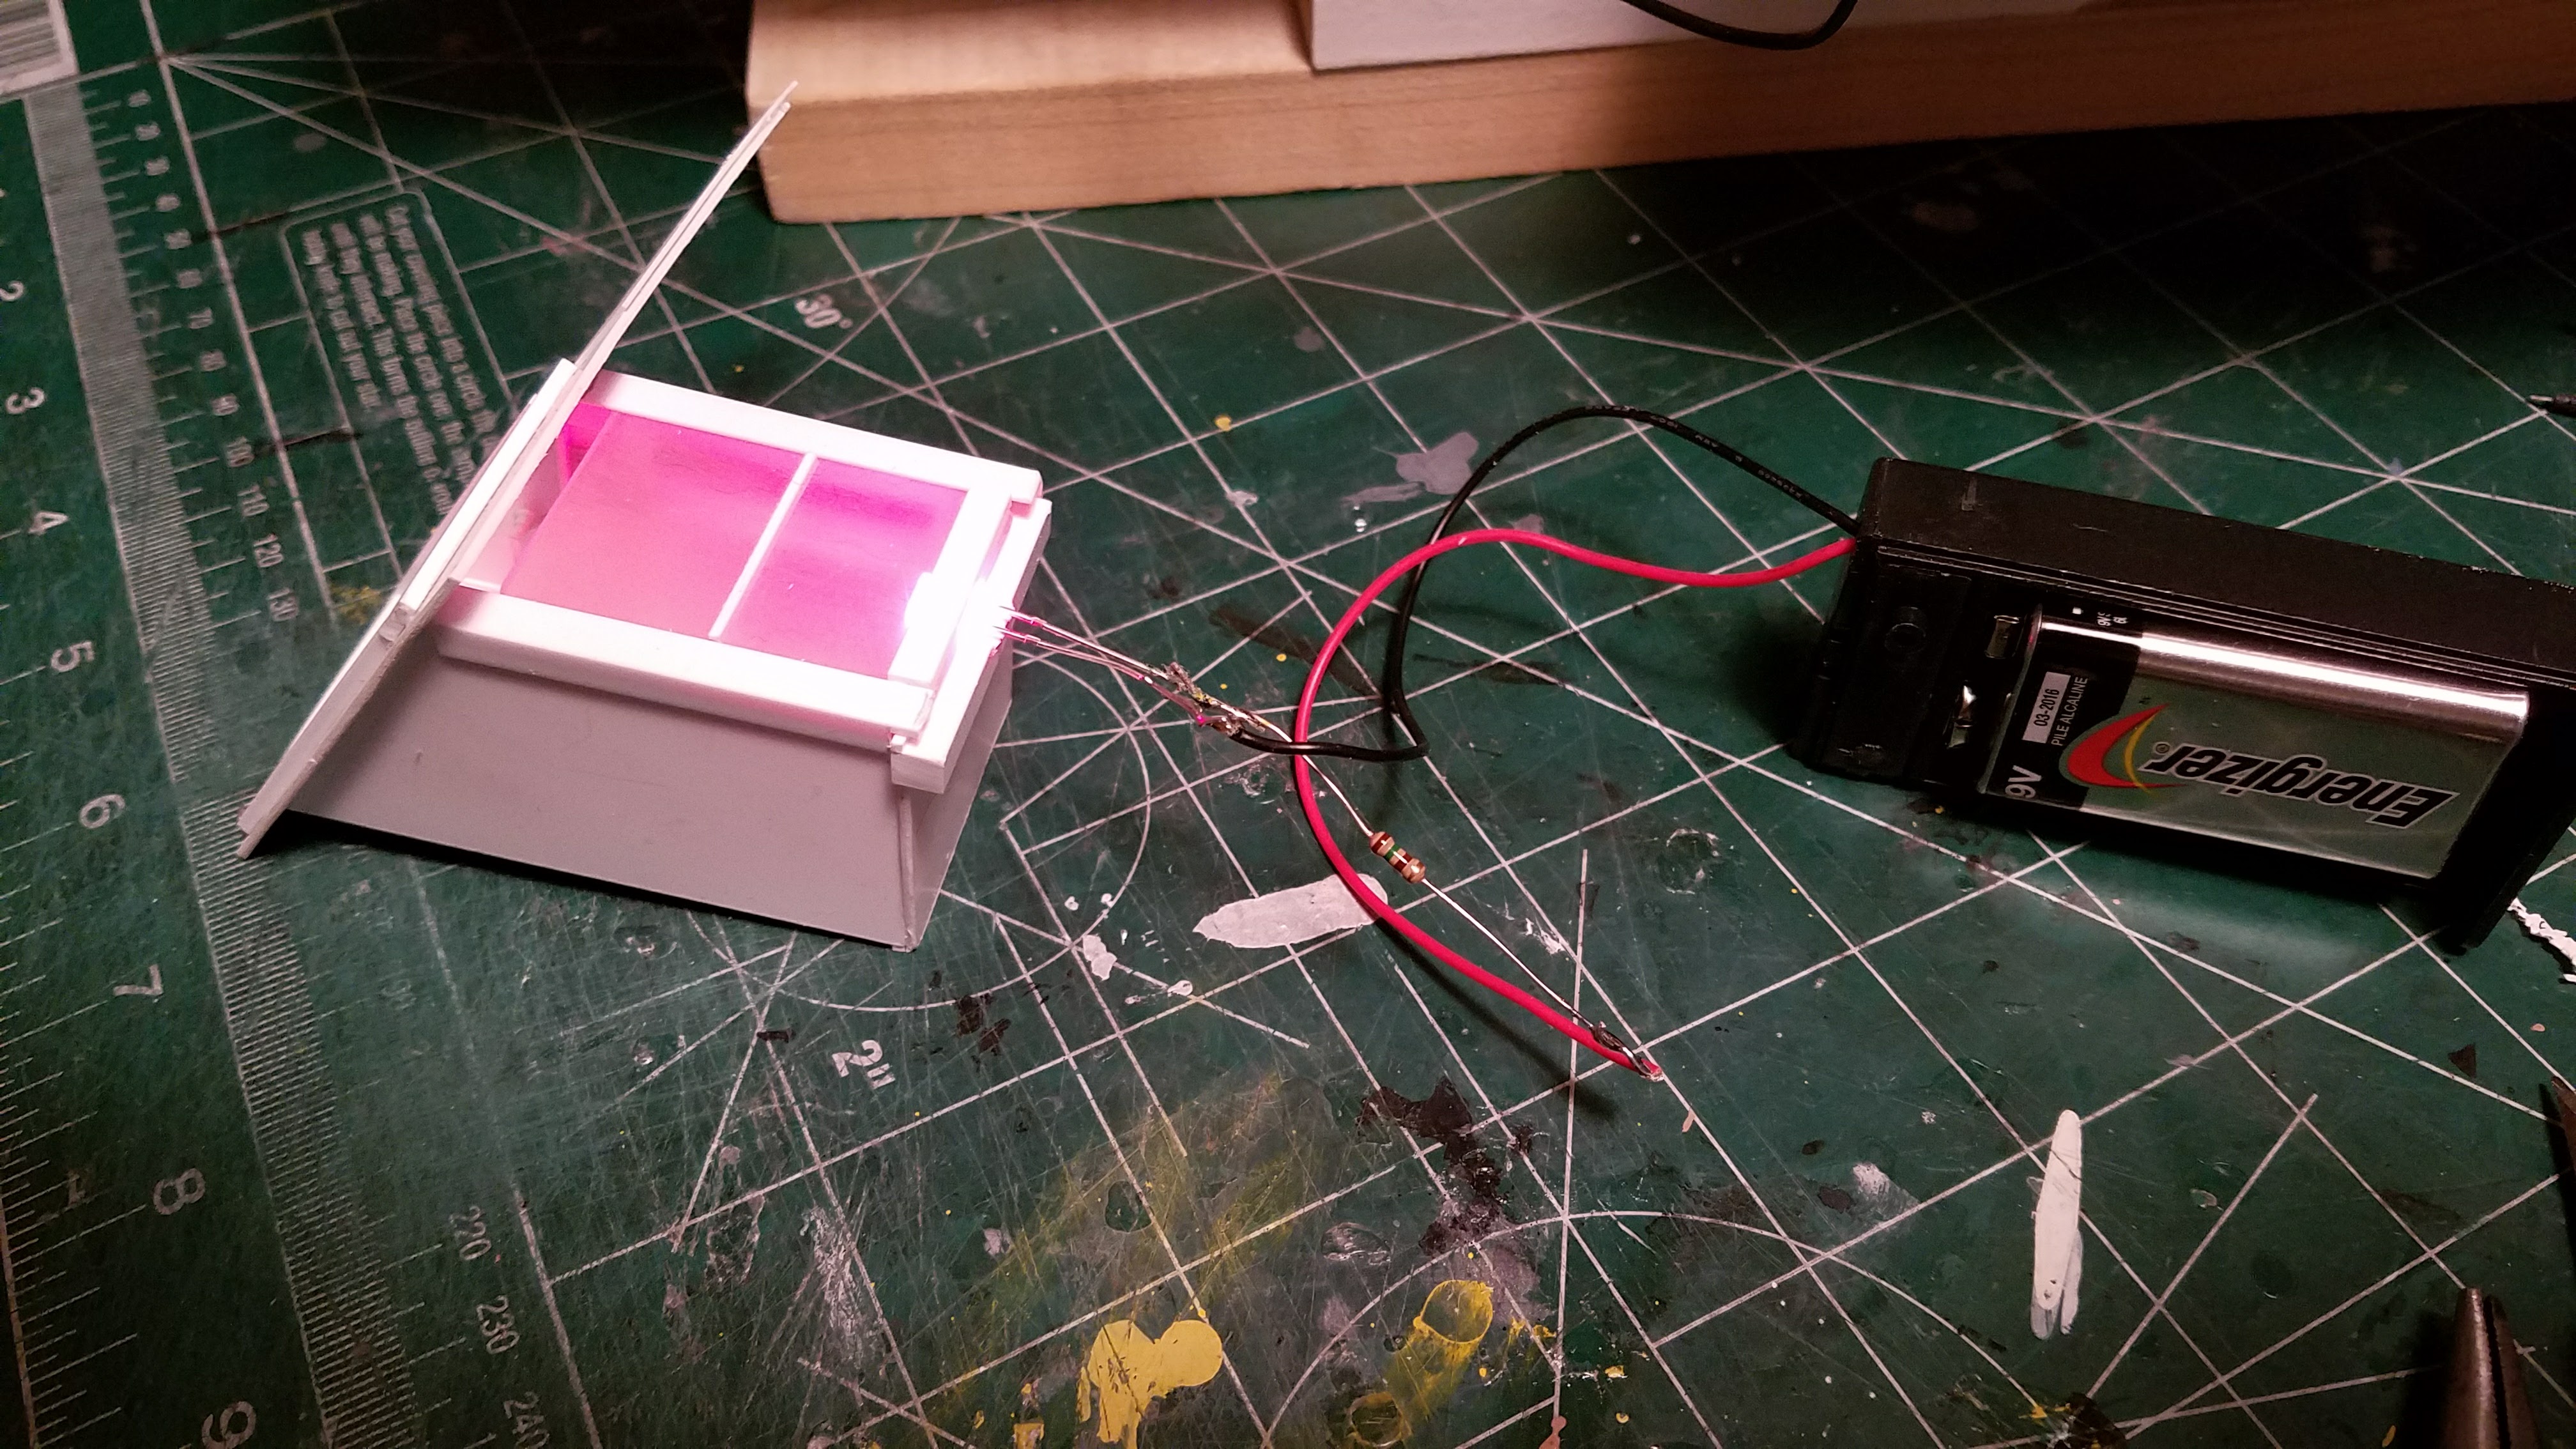
There is a red LED in the hangar bay although it looks pink to my cell phone camera.
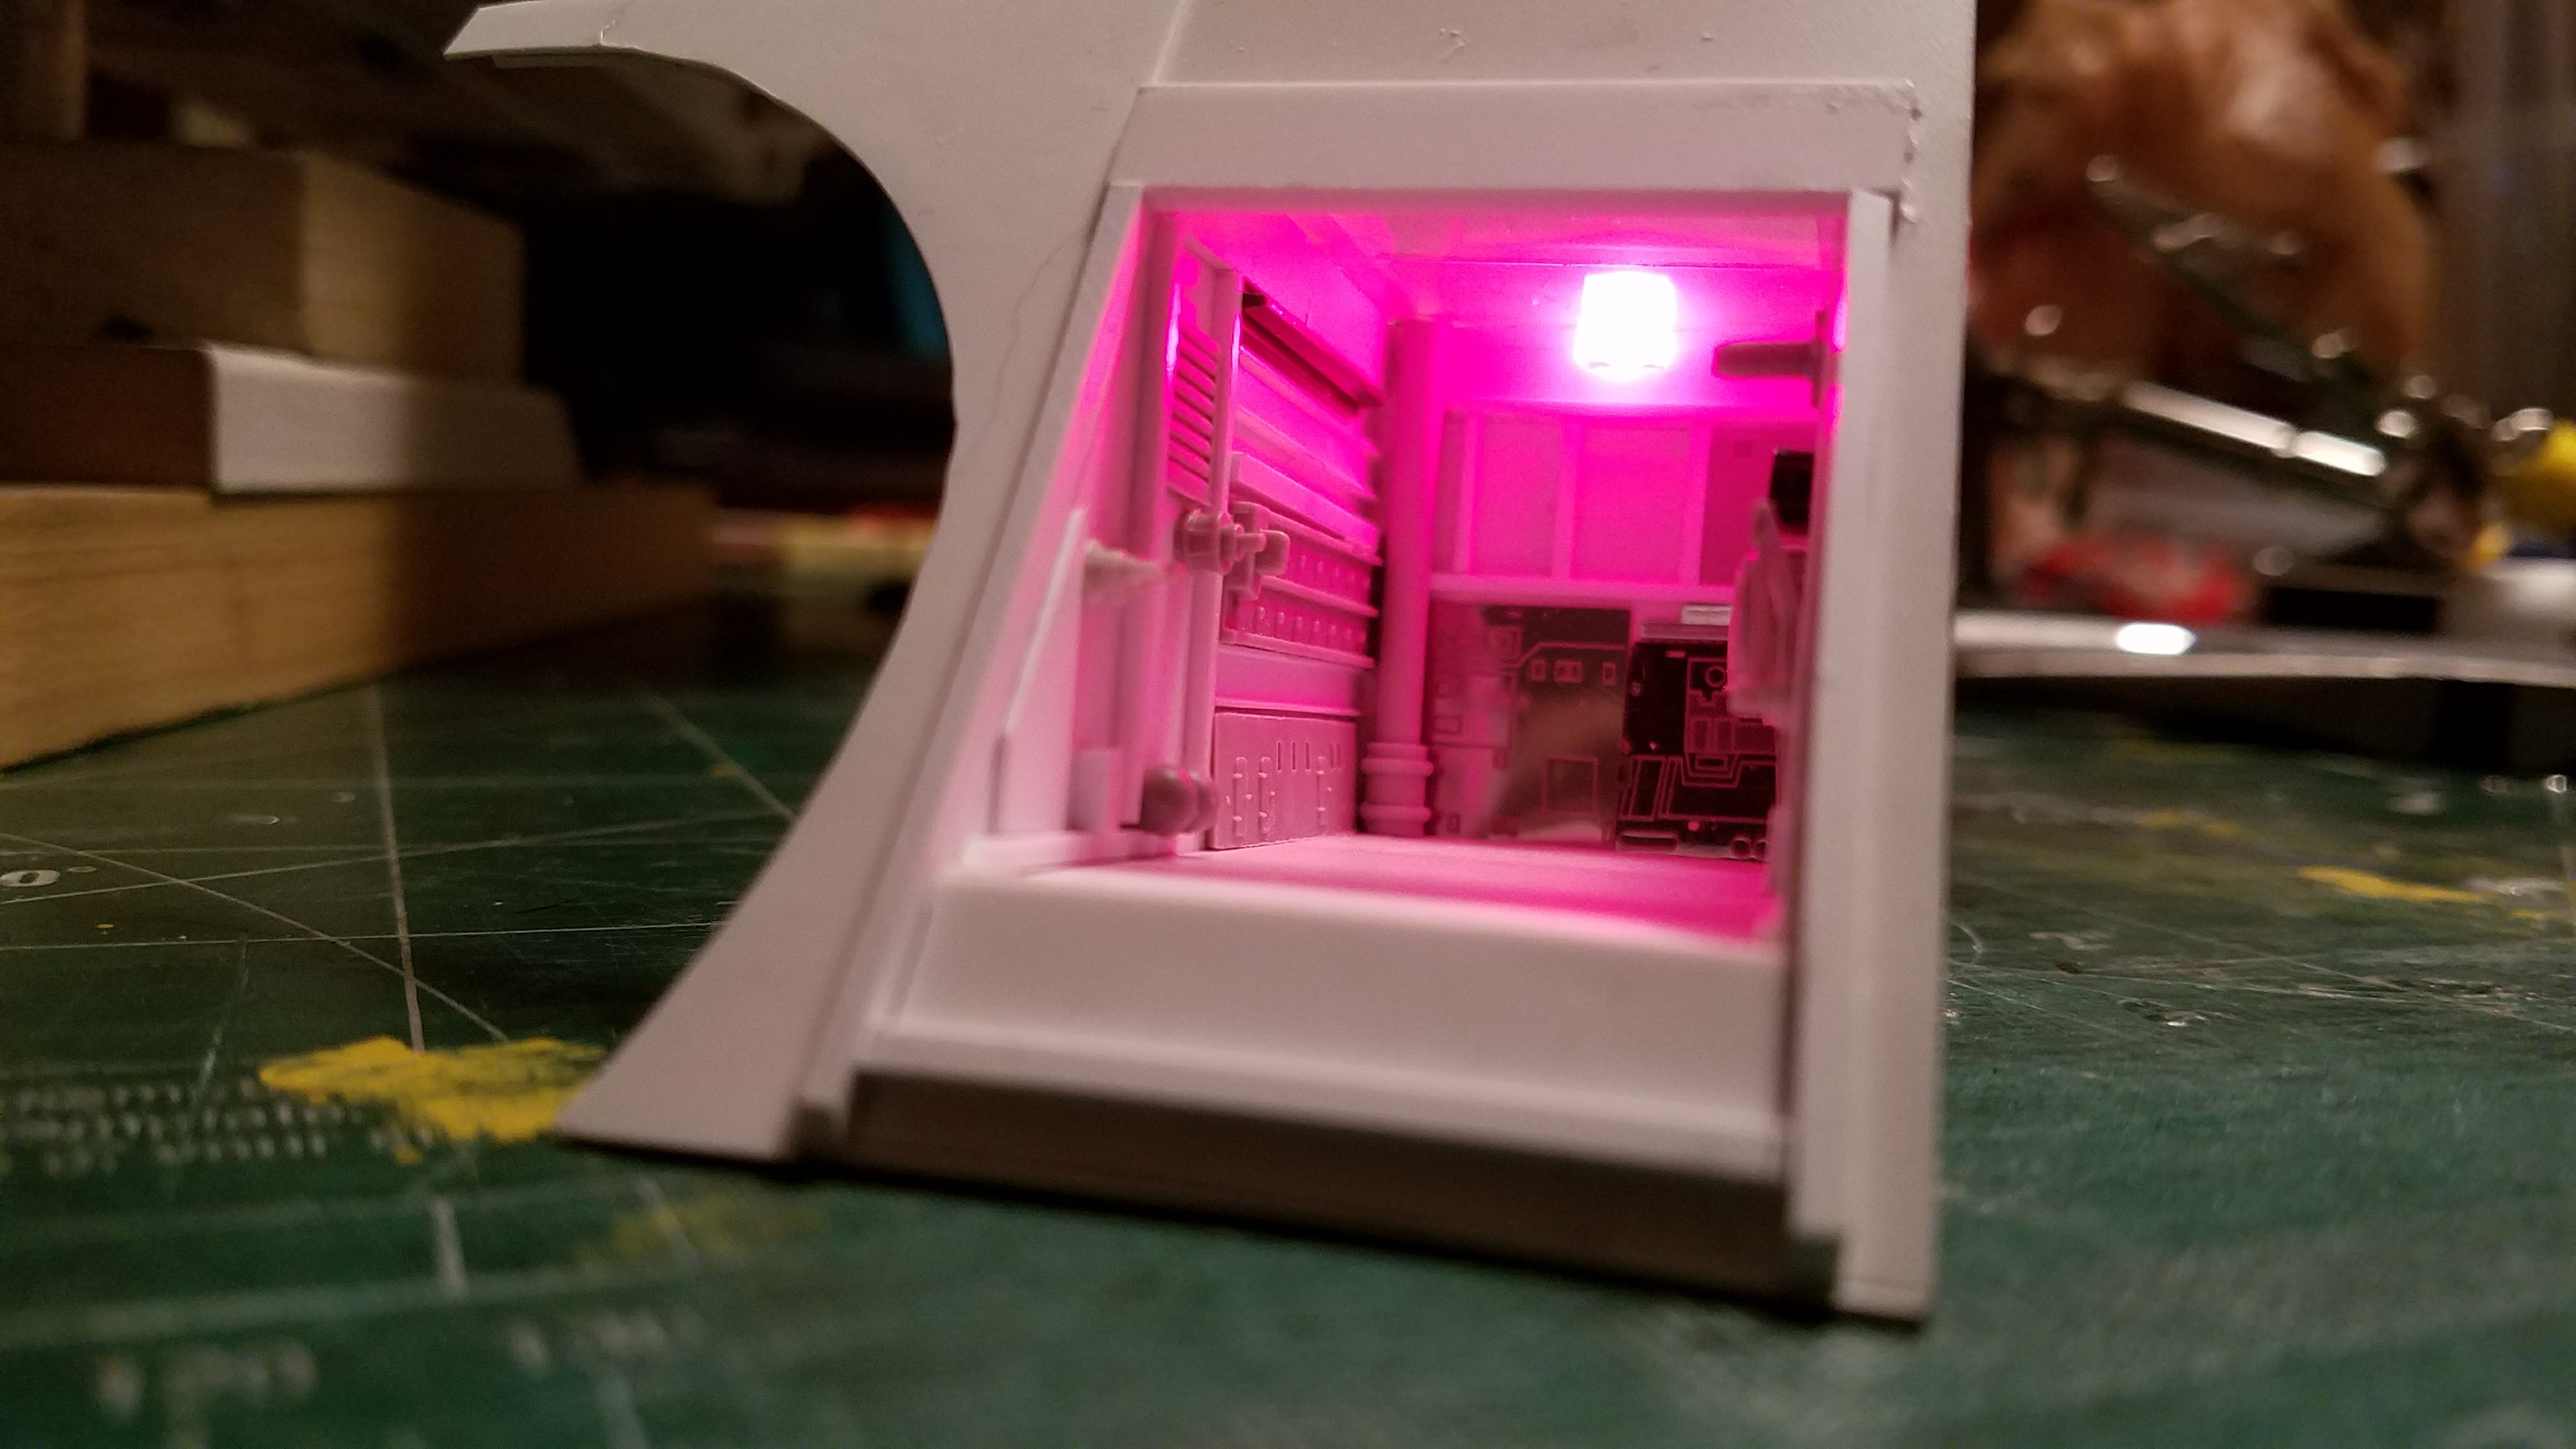
Testing the hangar bay light.
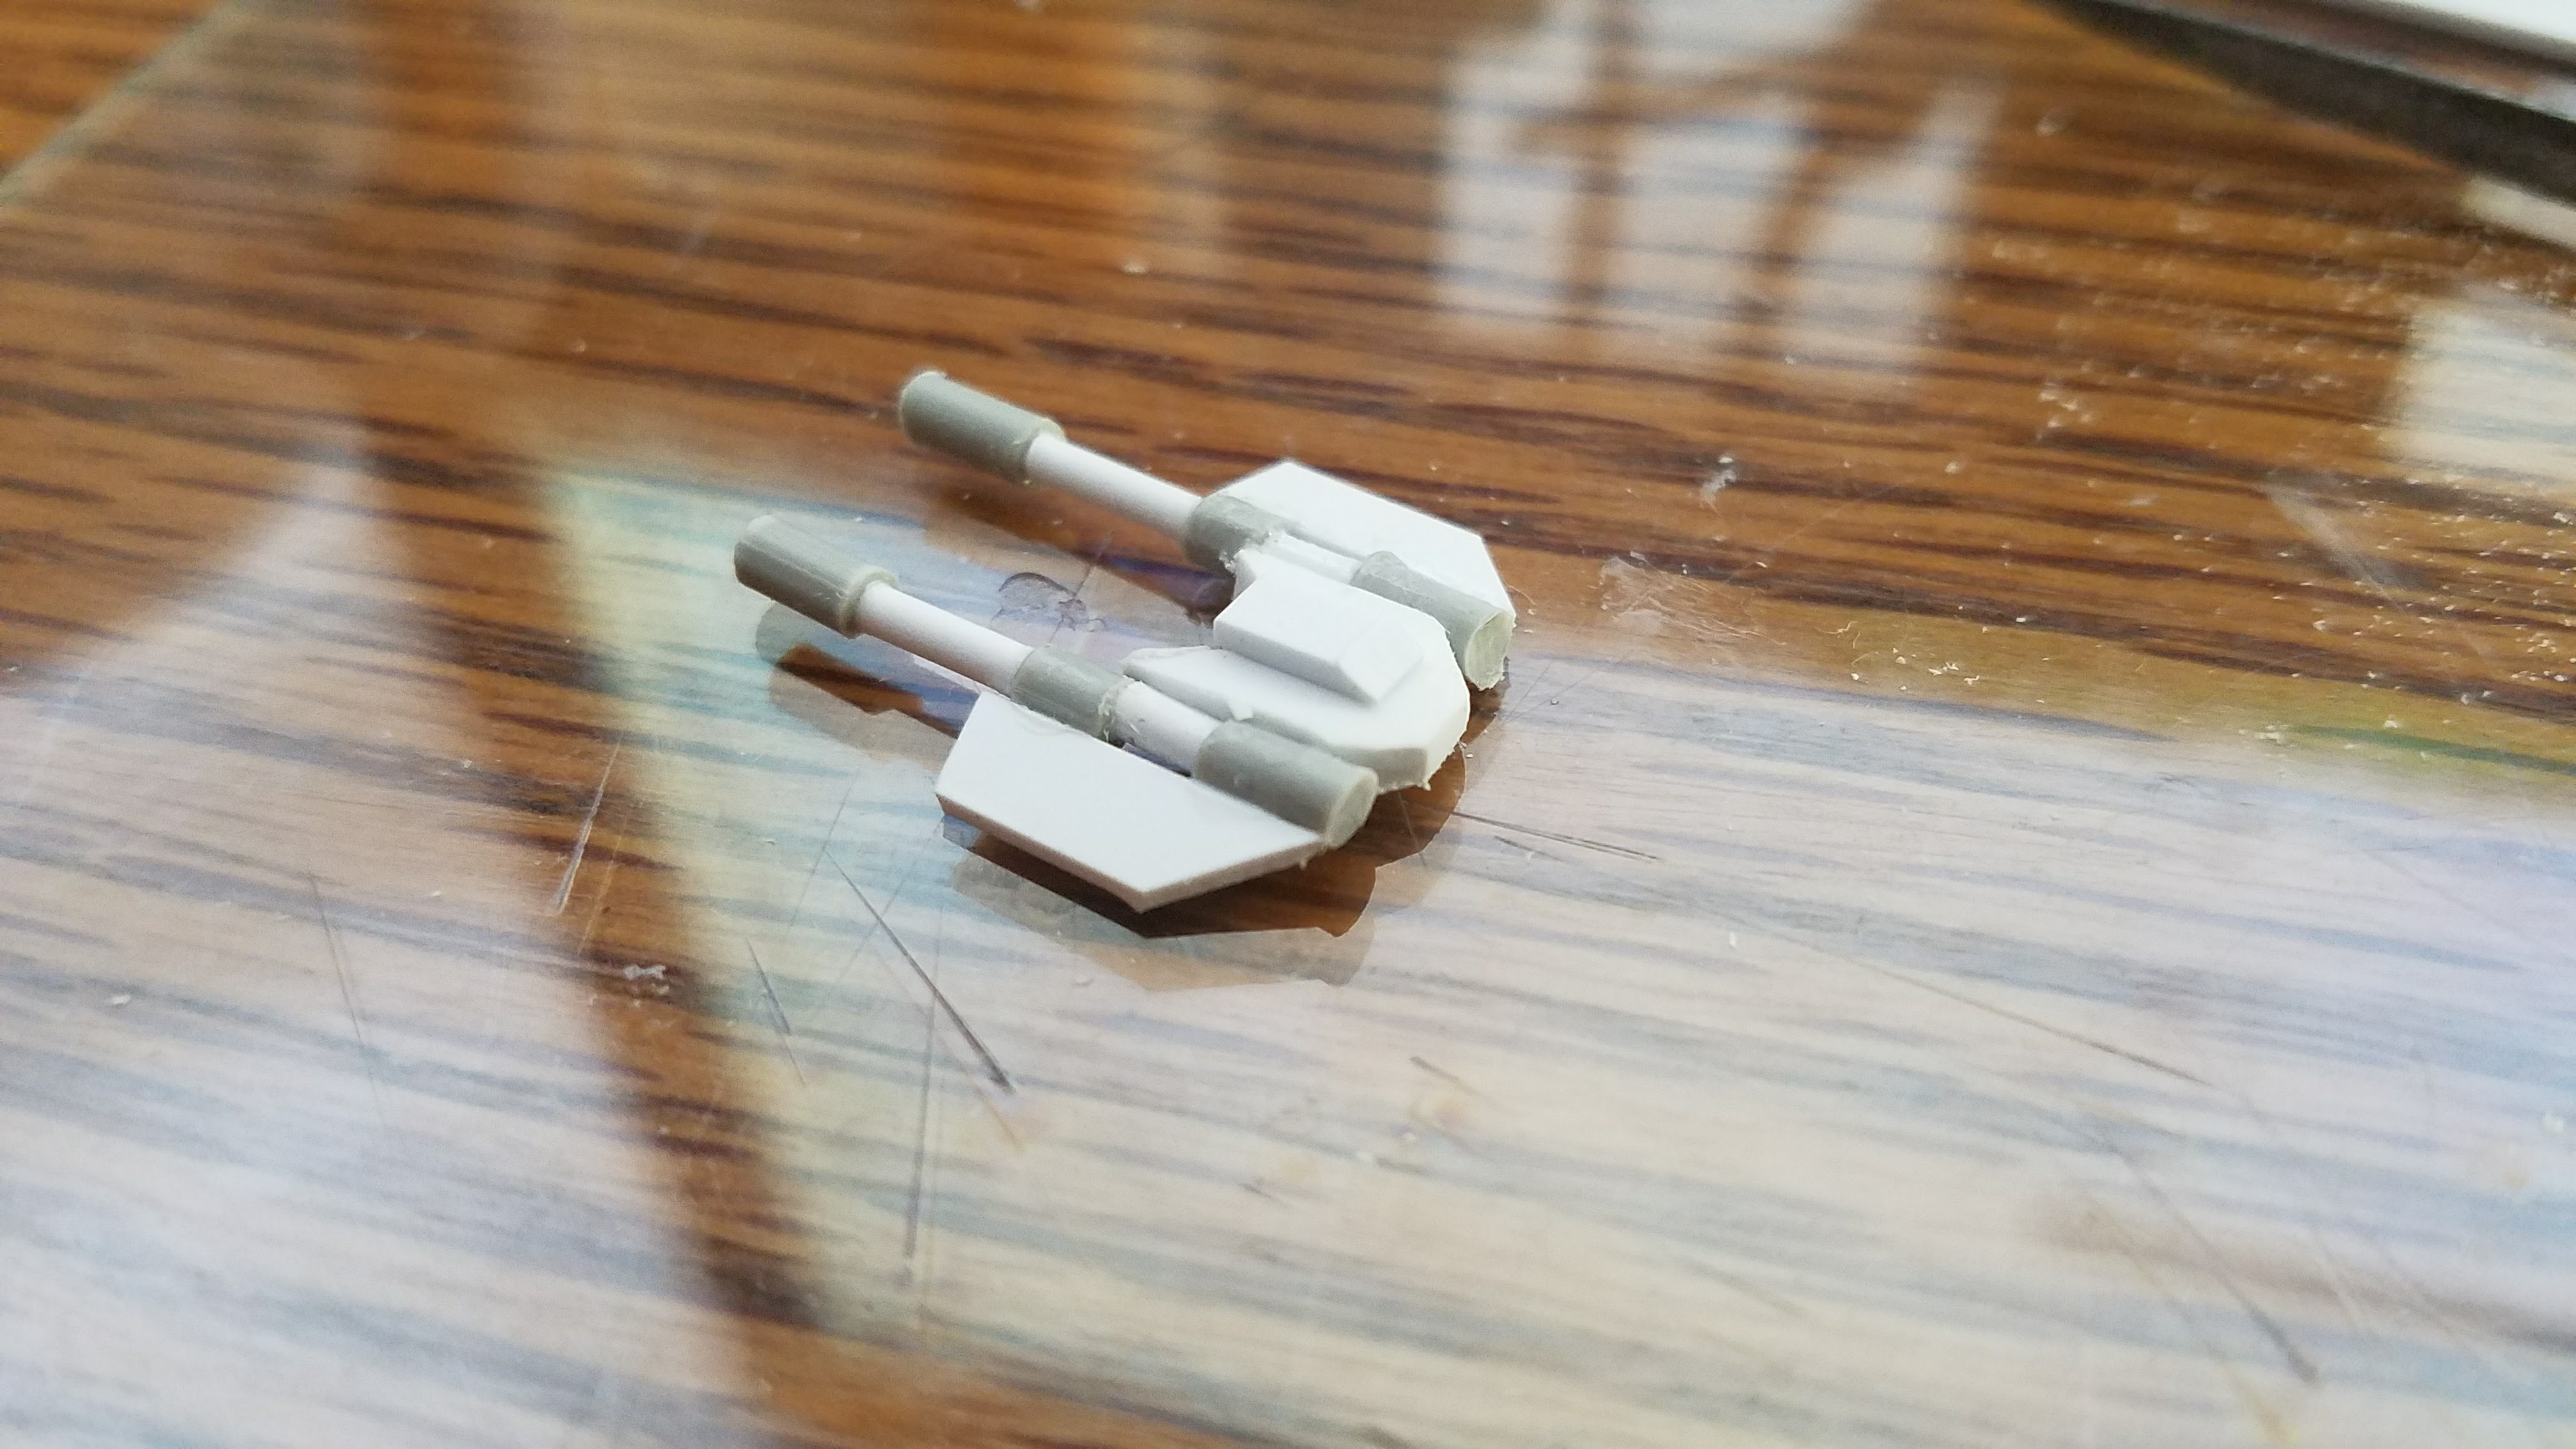
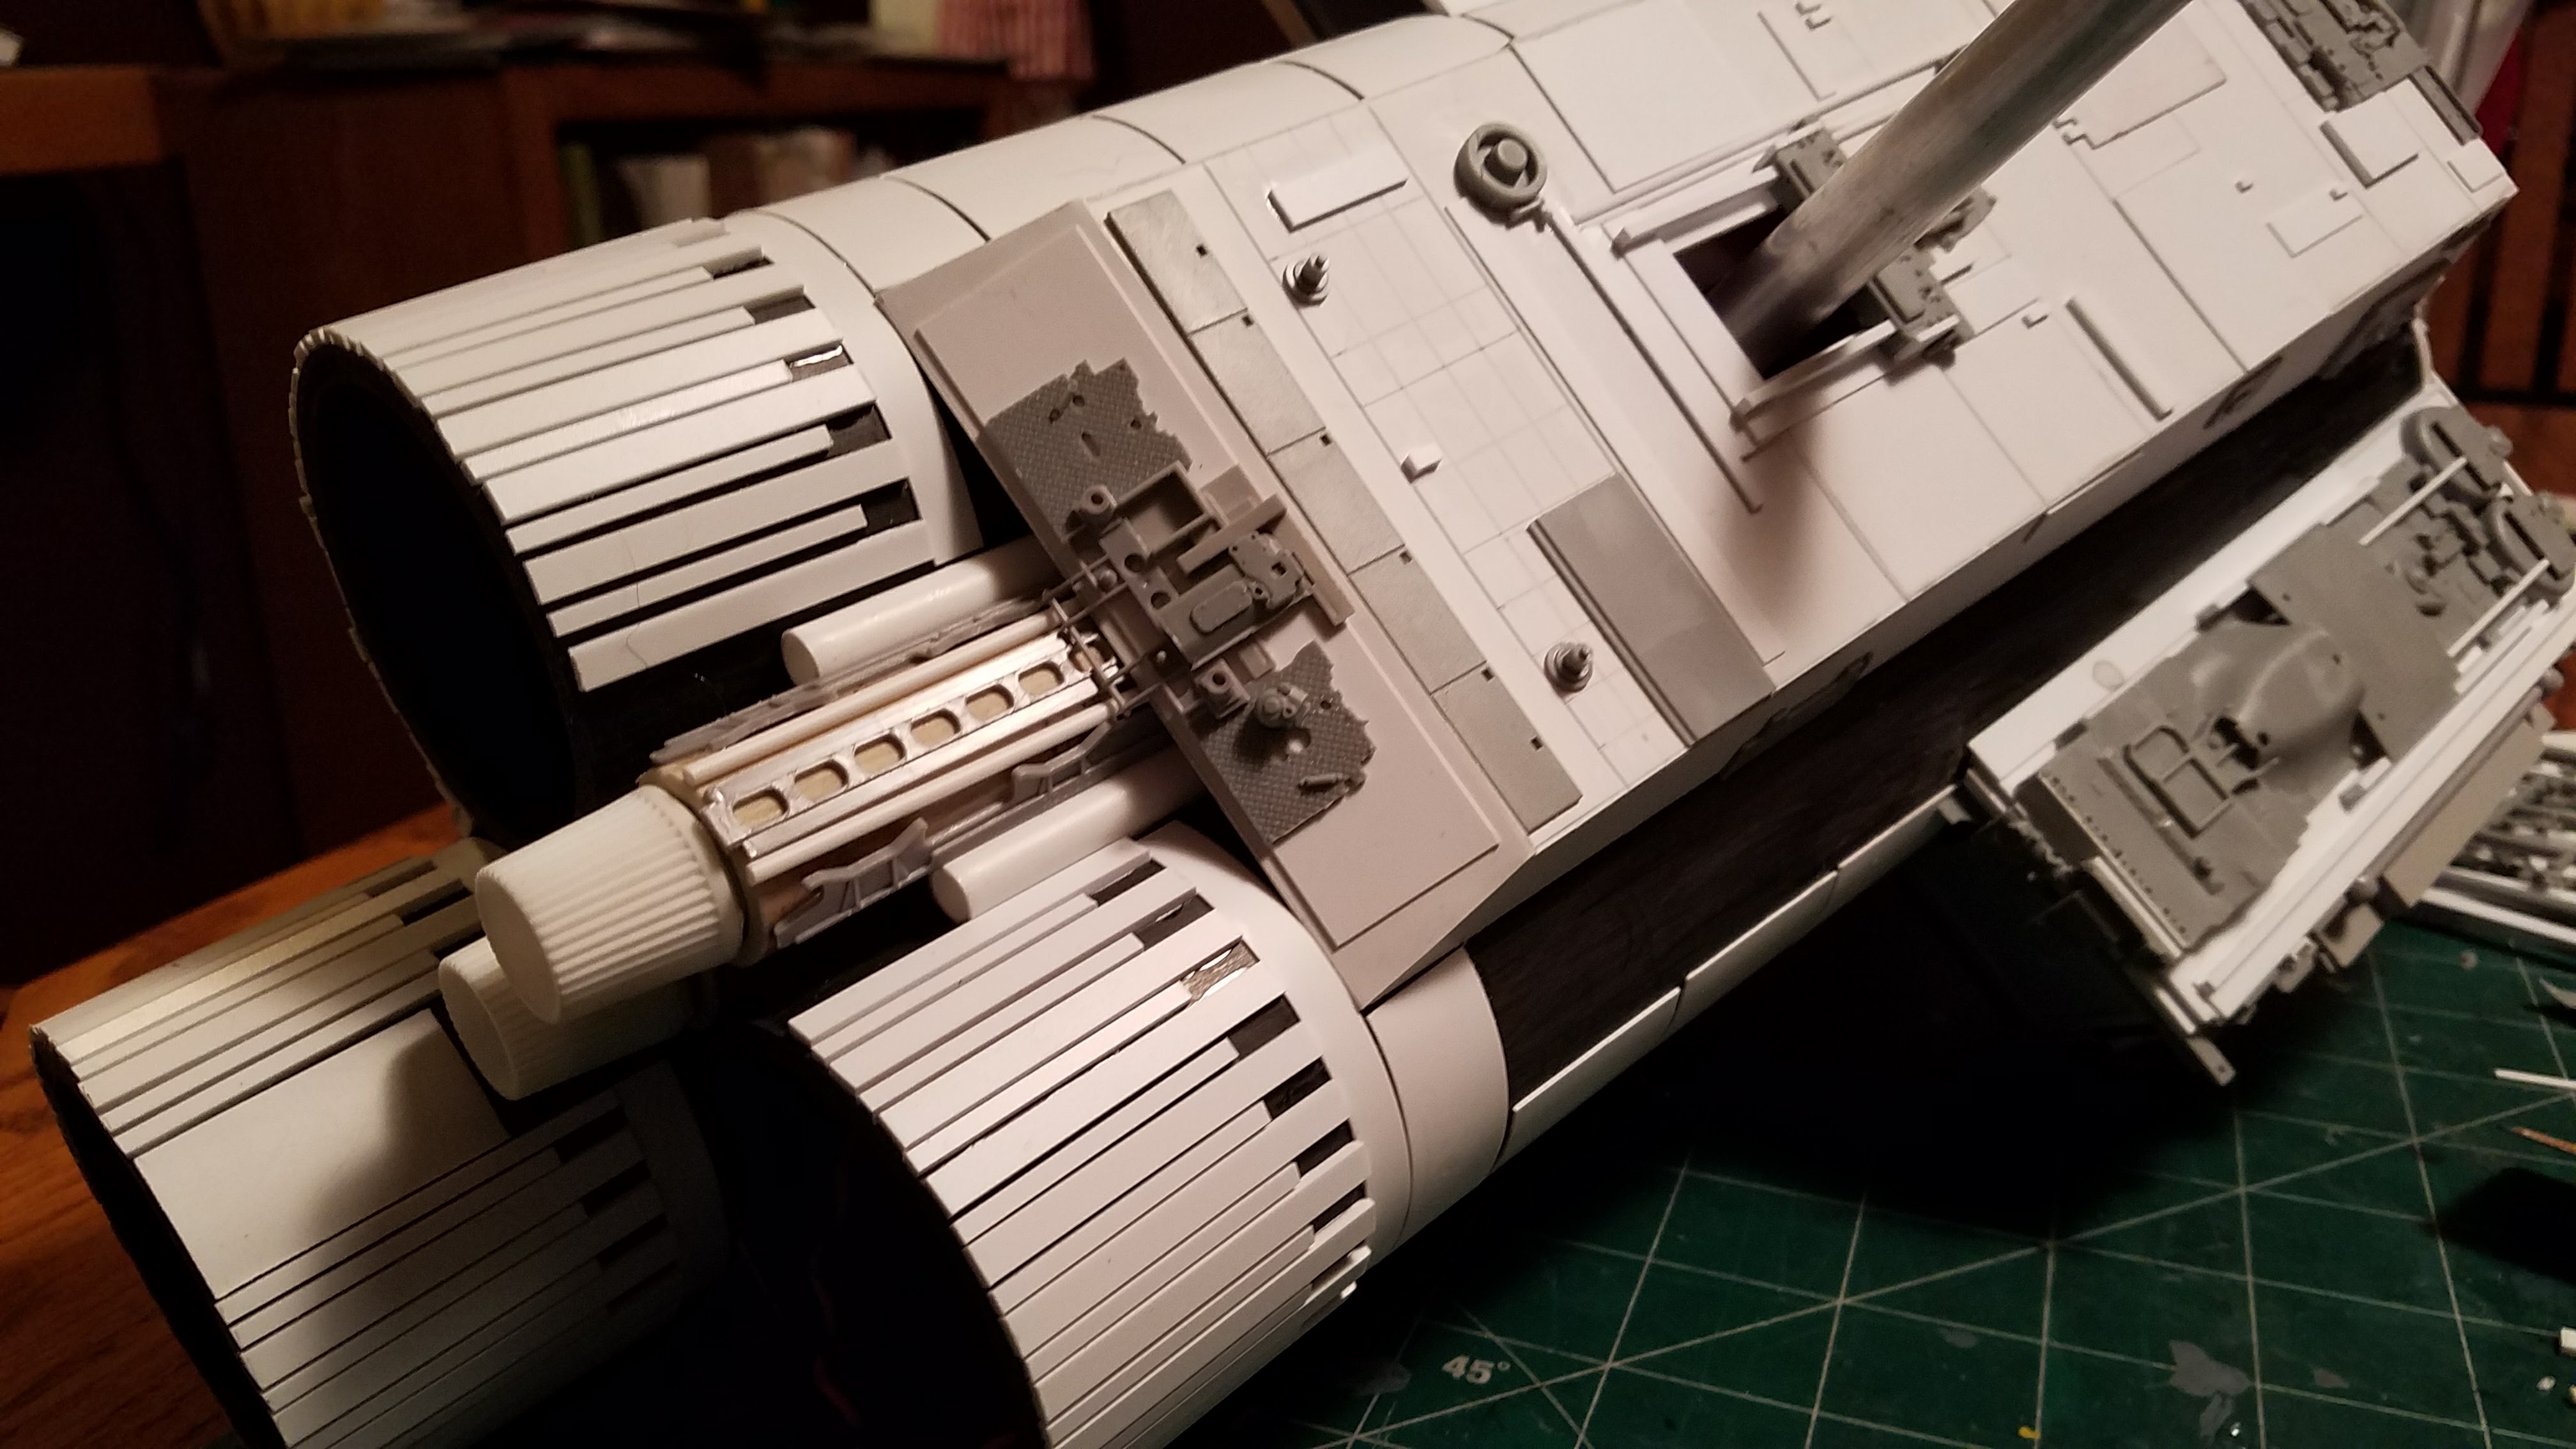
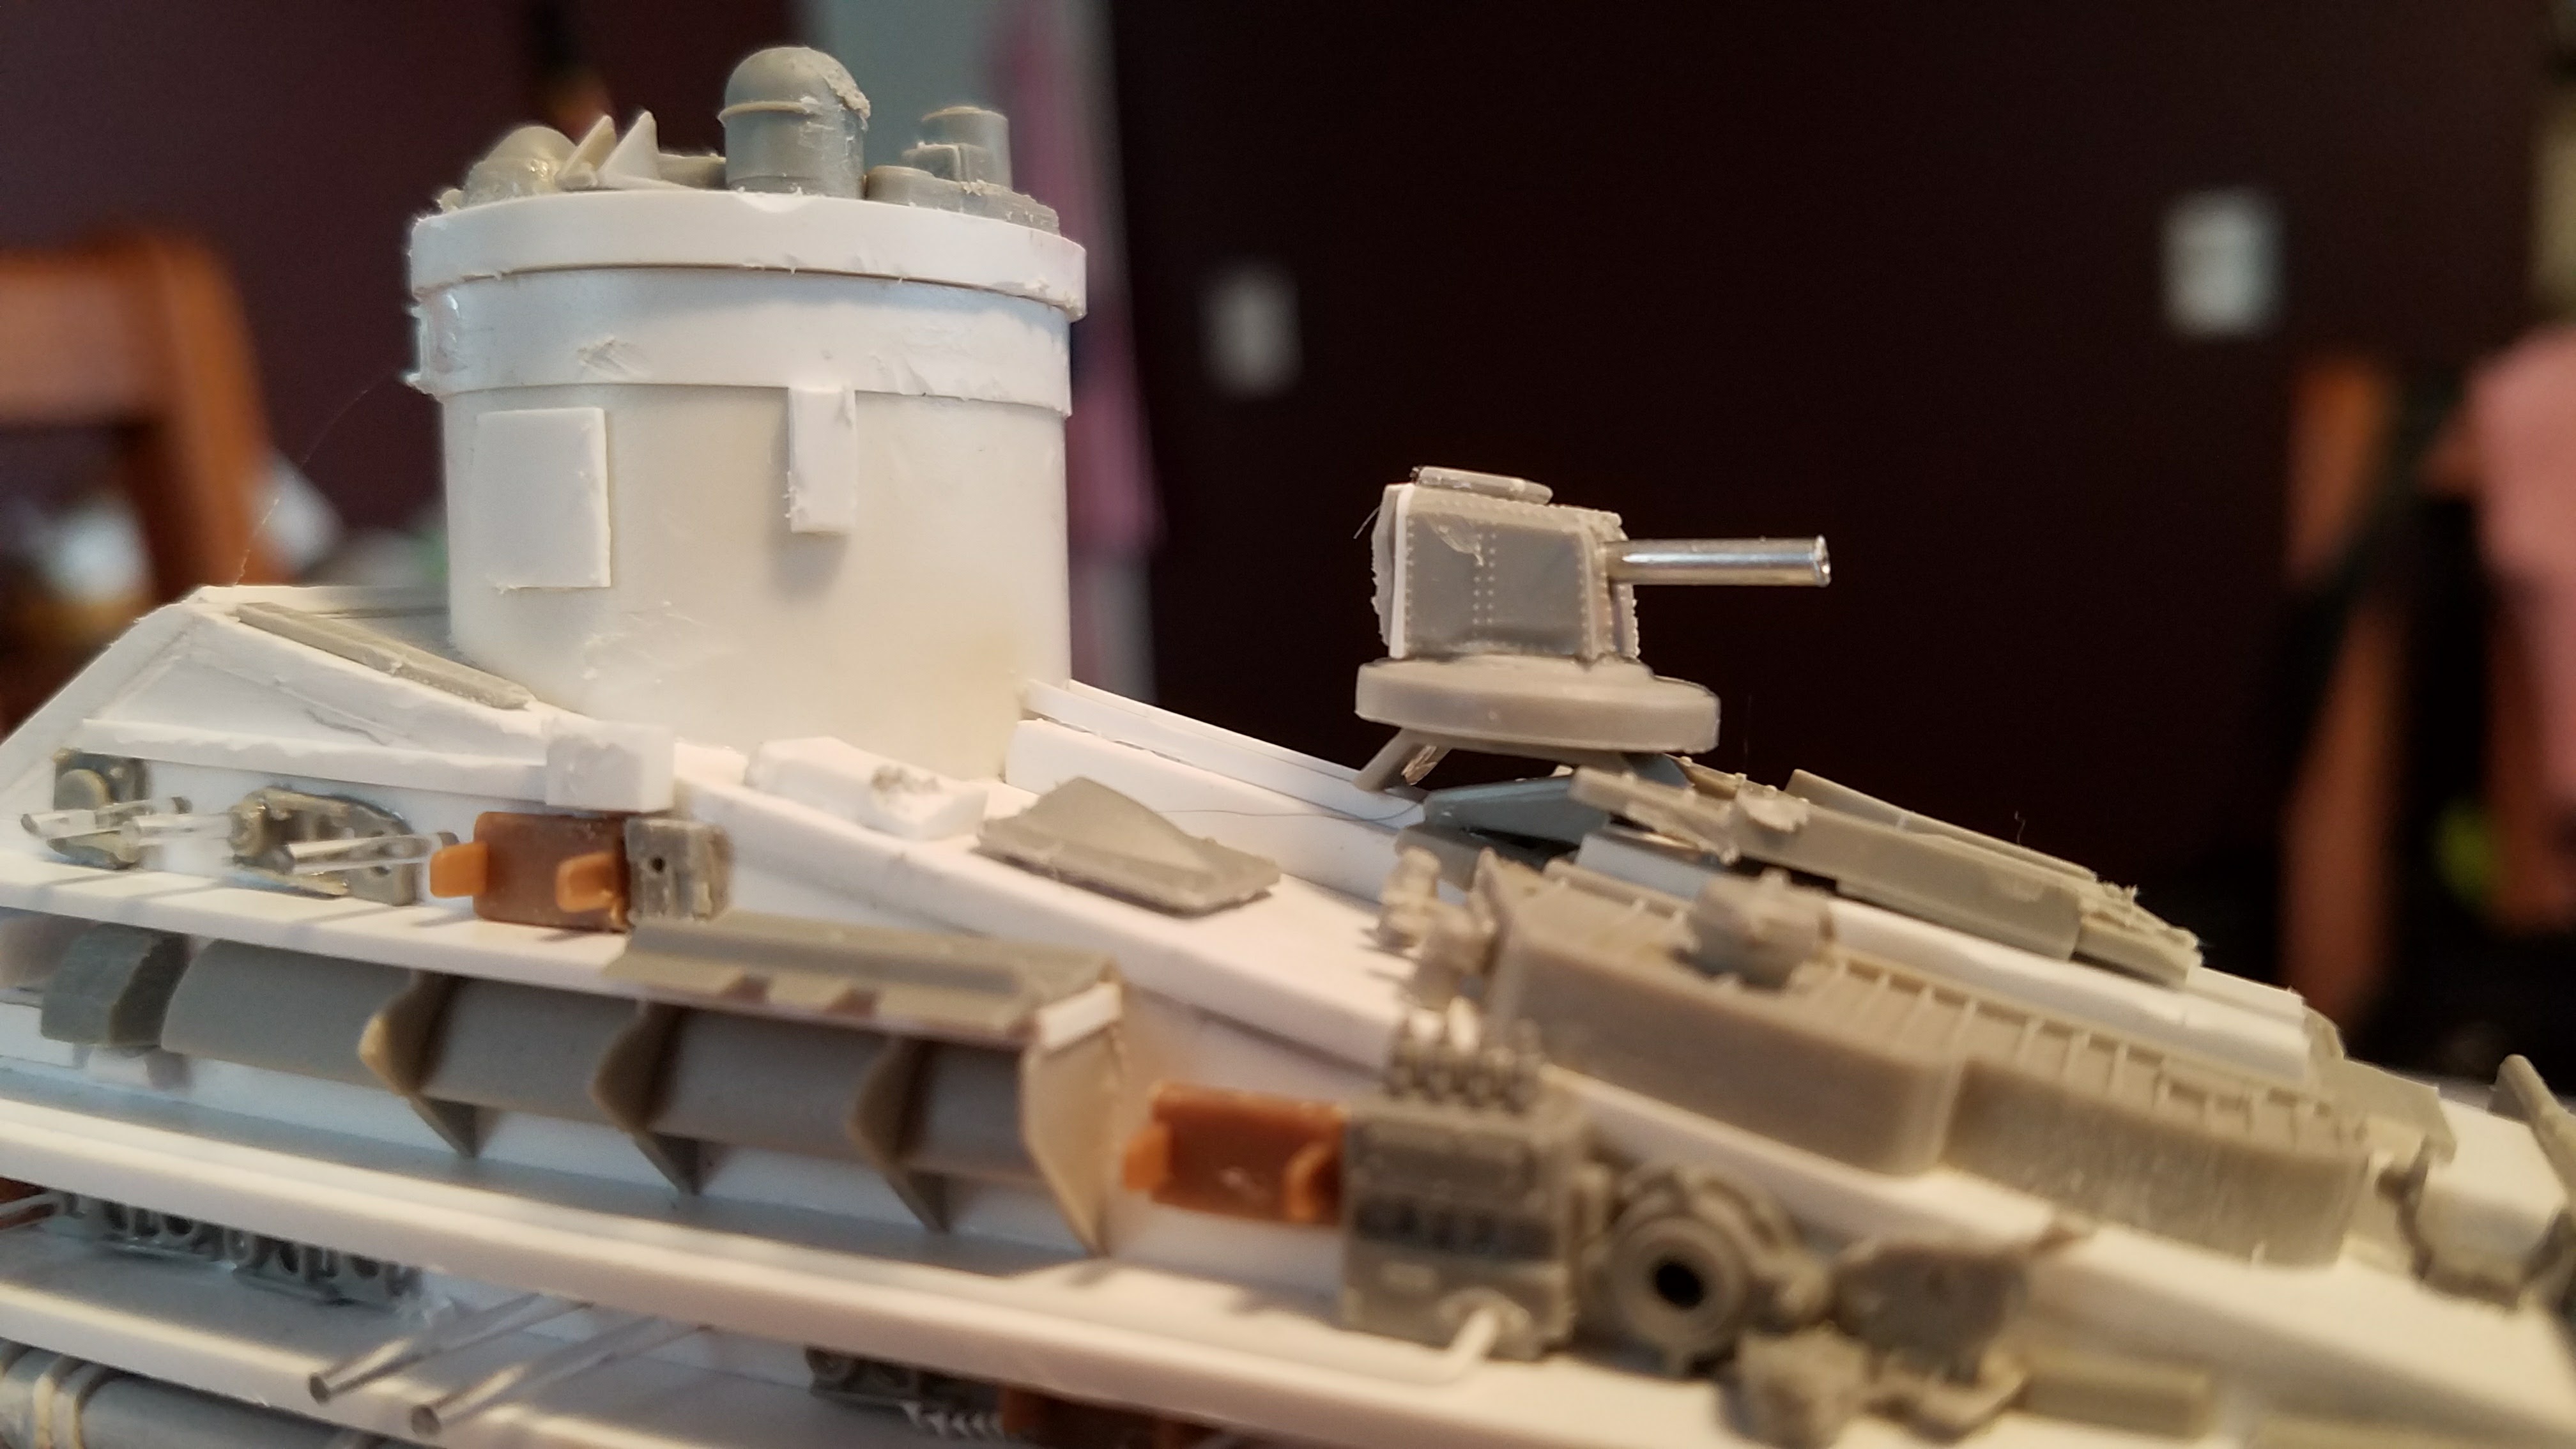
Gun turrets were made from aluminum tubes and destroyer model turrets.

Then they are places all around the model in defensive positions. Gotta use best judgement here. Also, after the guns are added, I take a hobby grinder to it in order to simulate battle damage. These canons are underneath the head section.
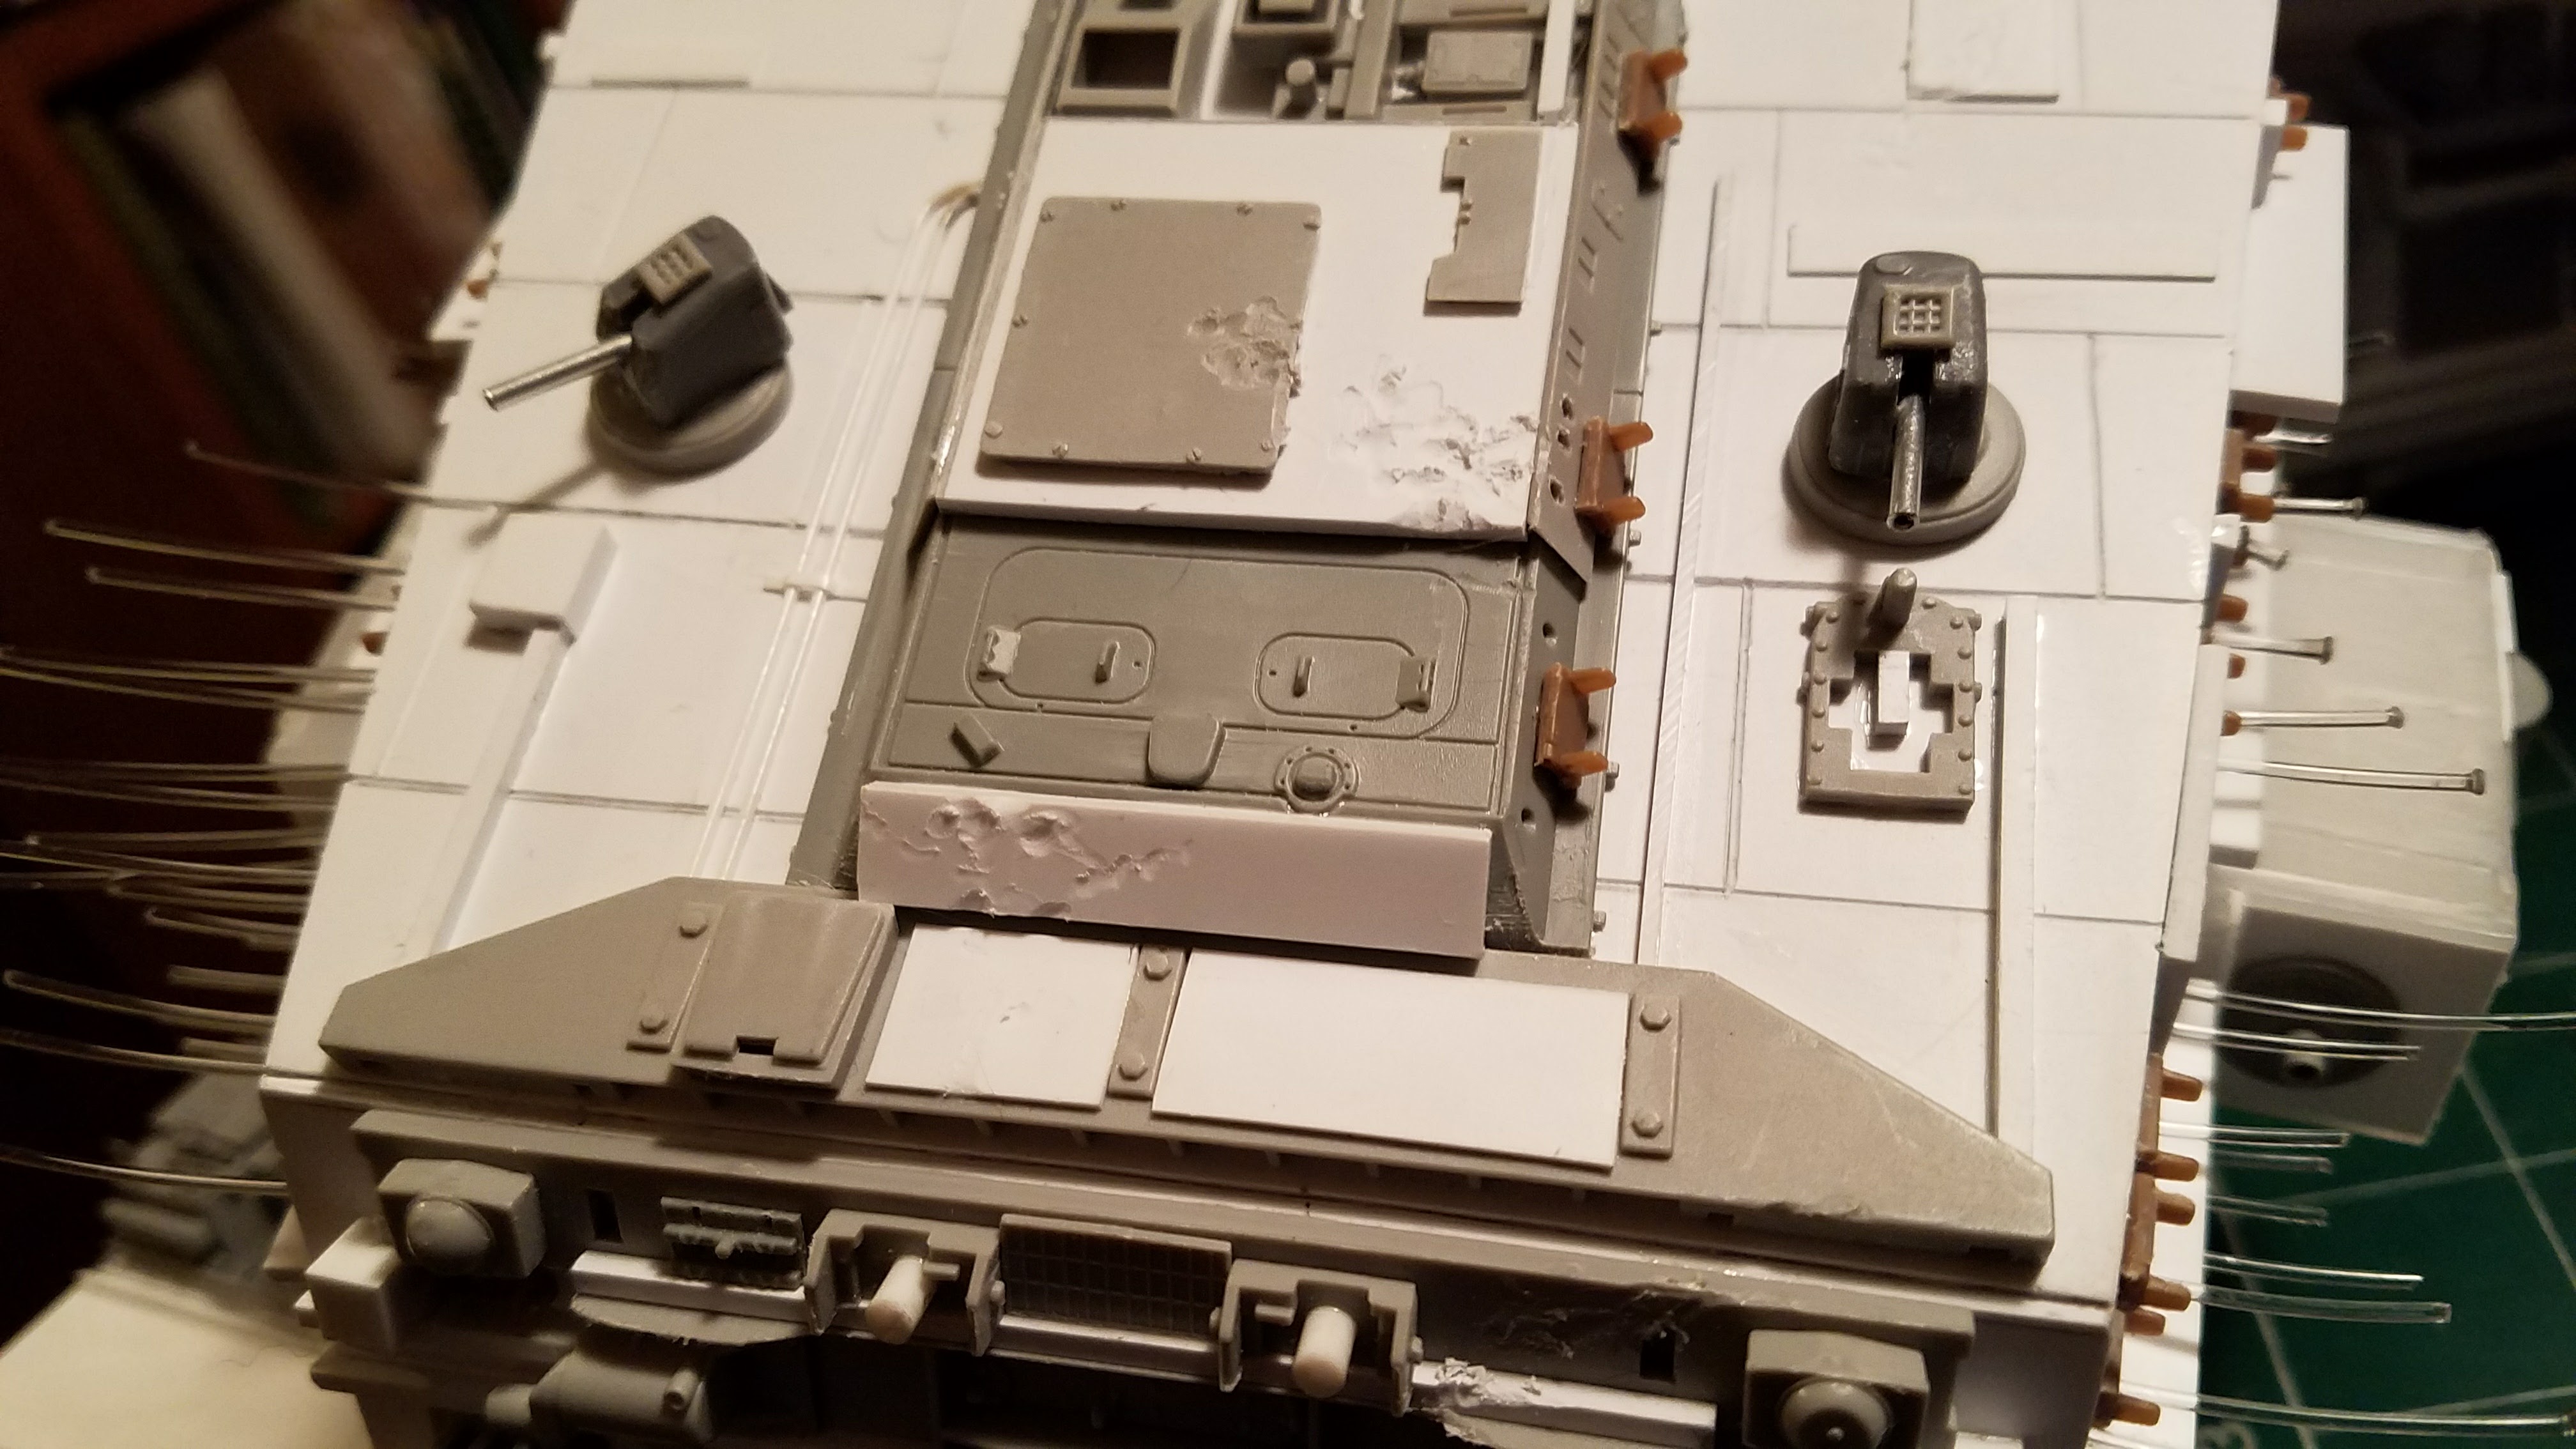
Top deck gun in place.
At this point, the model is basically done and ready for primer and paint. I don’t cut the fiber optics until painting is done.