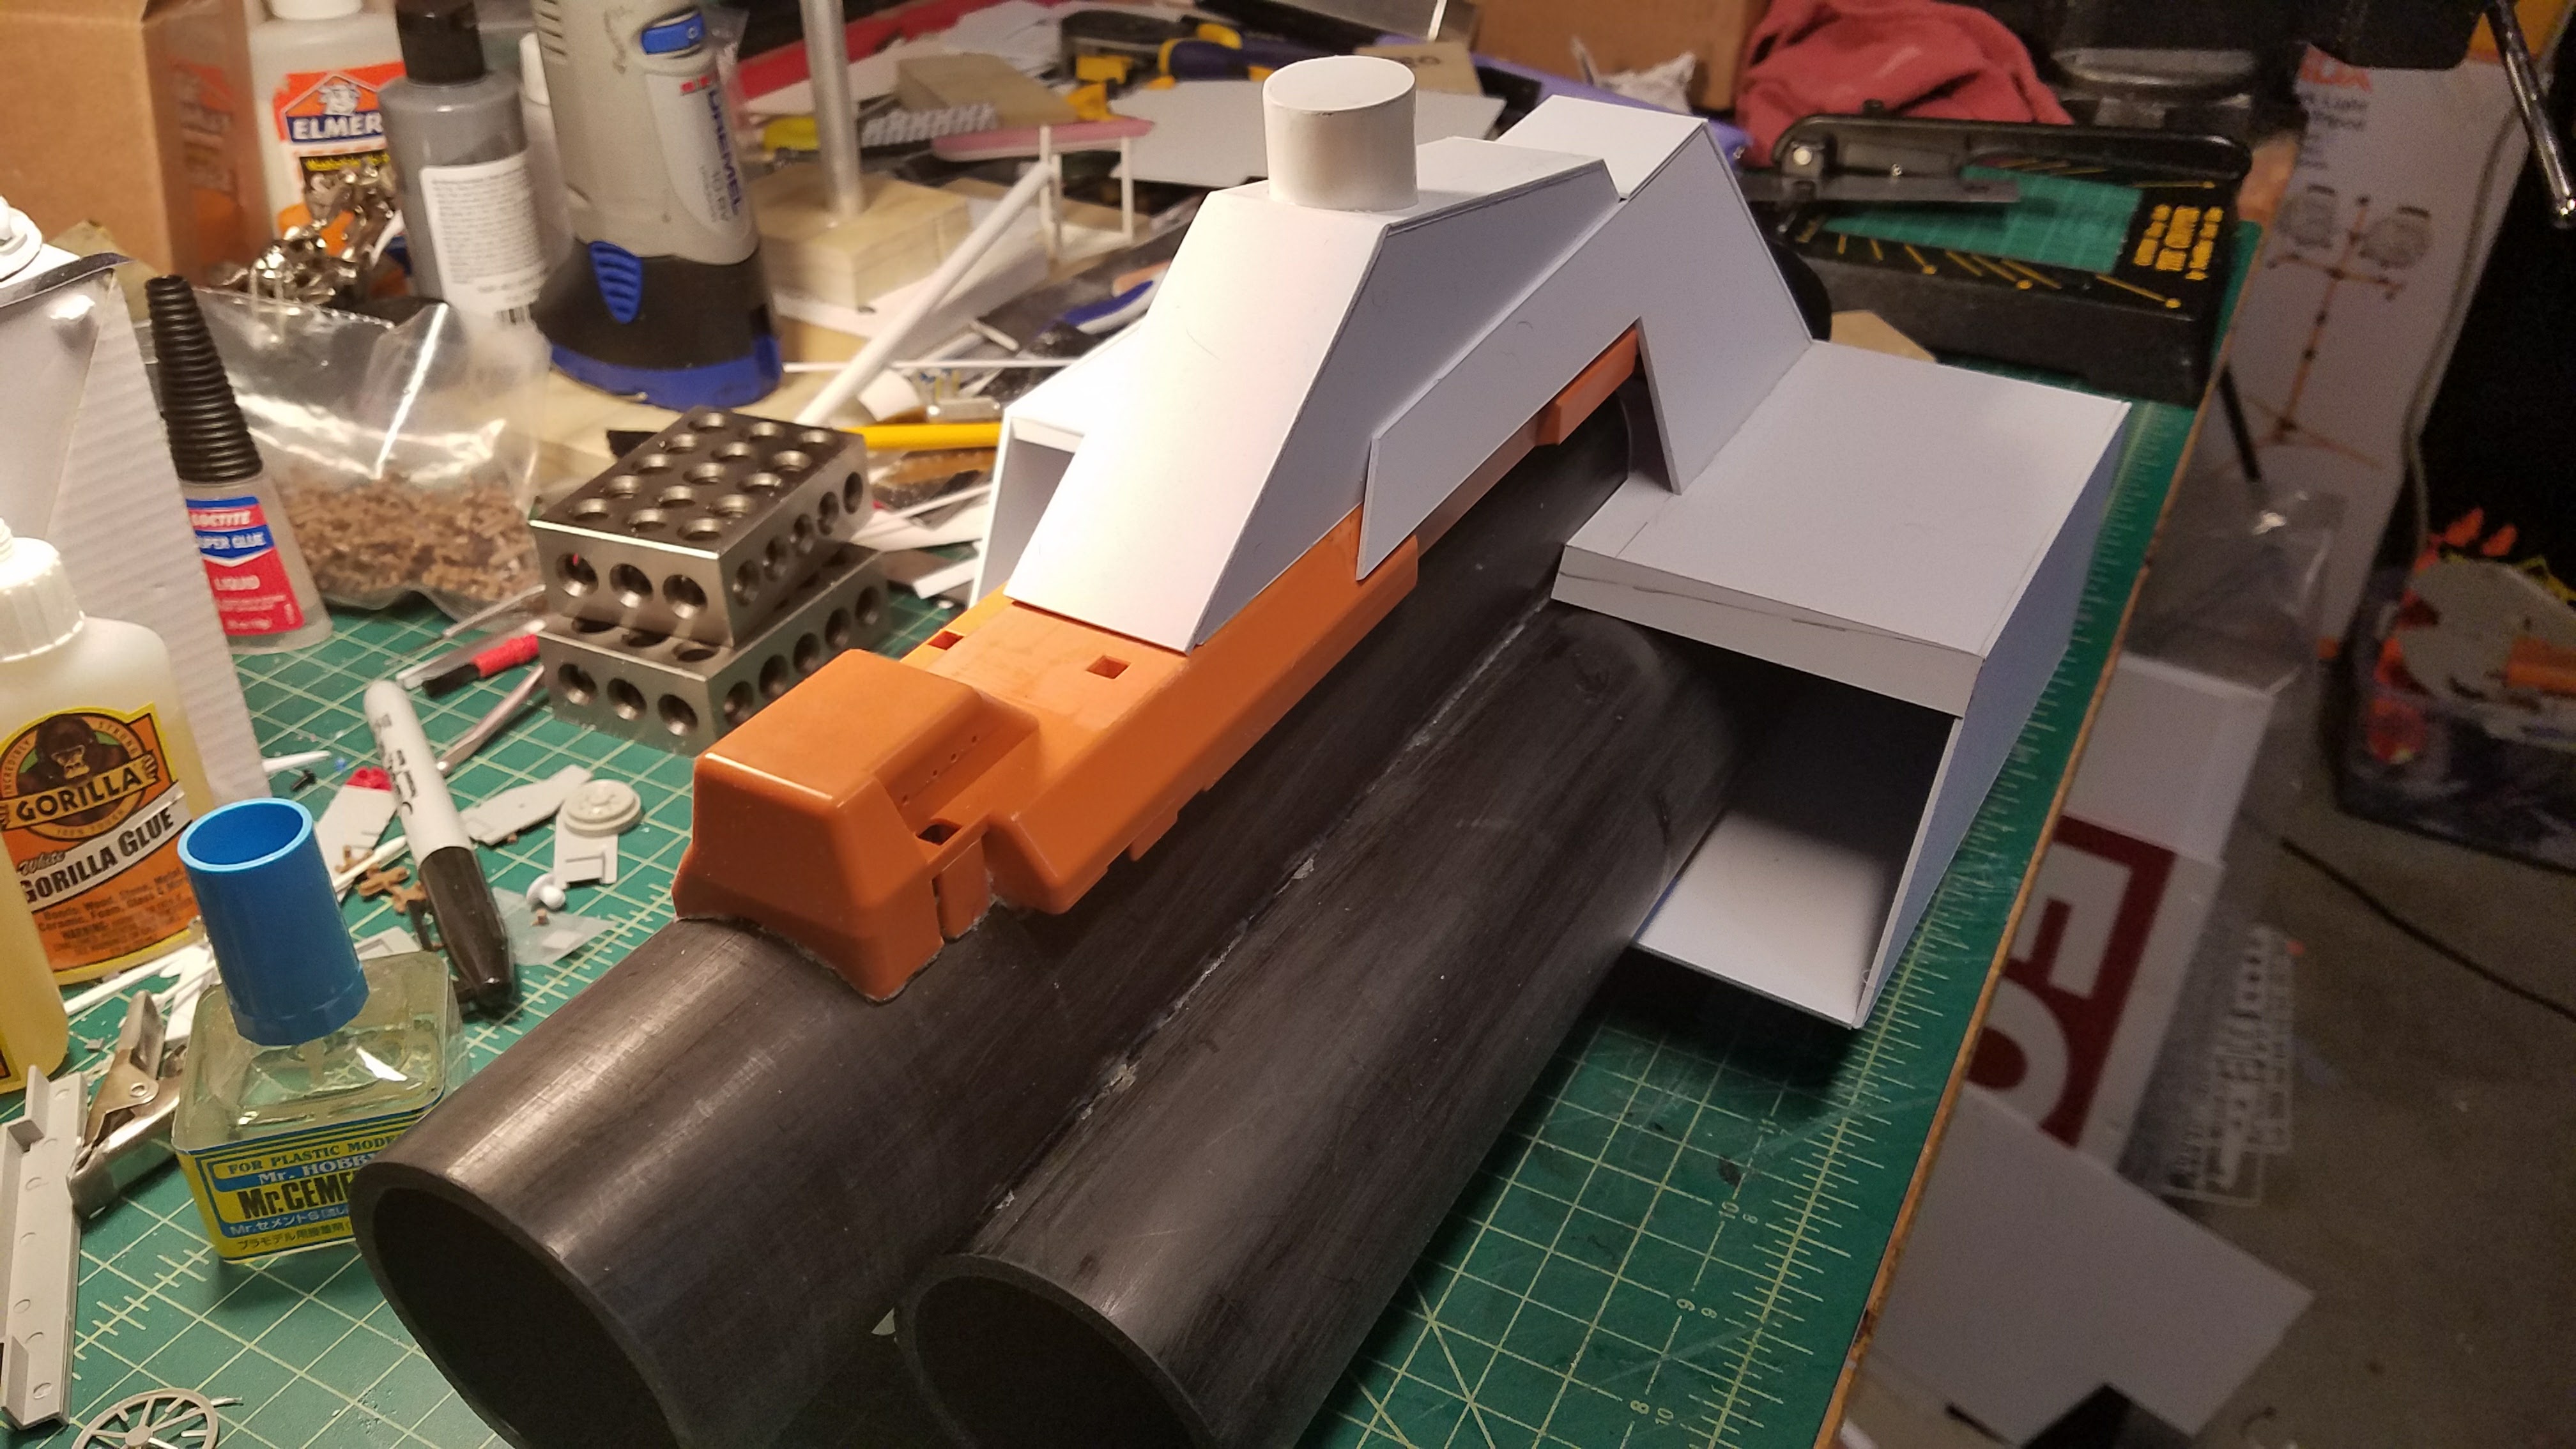
On to the main body of the ship and framing with sheet styrene. I used a printer ink cartridge cover for the stern section and then built up the walls with plastic to follow the lines of the orange piece. When the main body is small, you can get away with boxing and little internal framing.
Anything bigger and you should be framing with wood or metal.
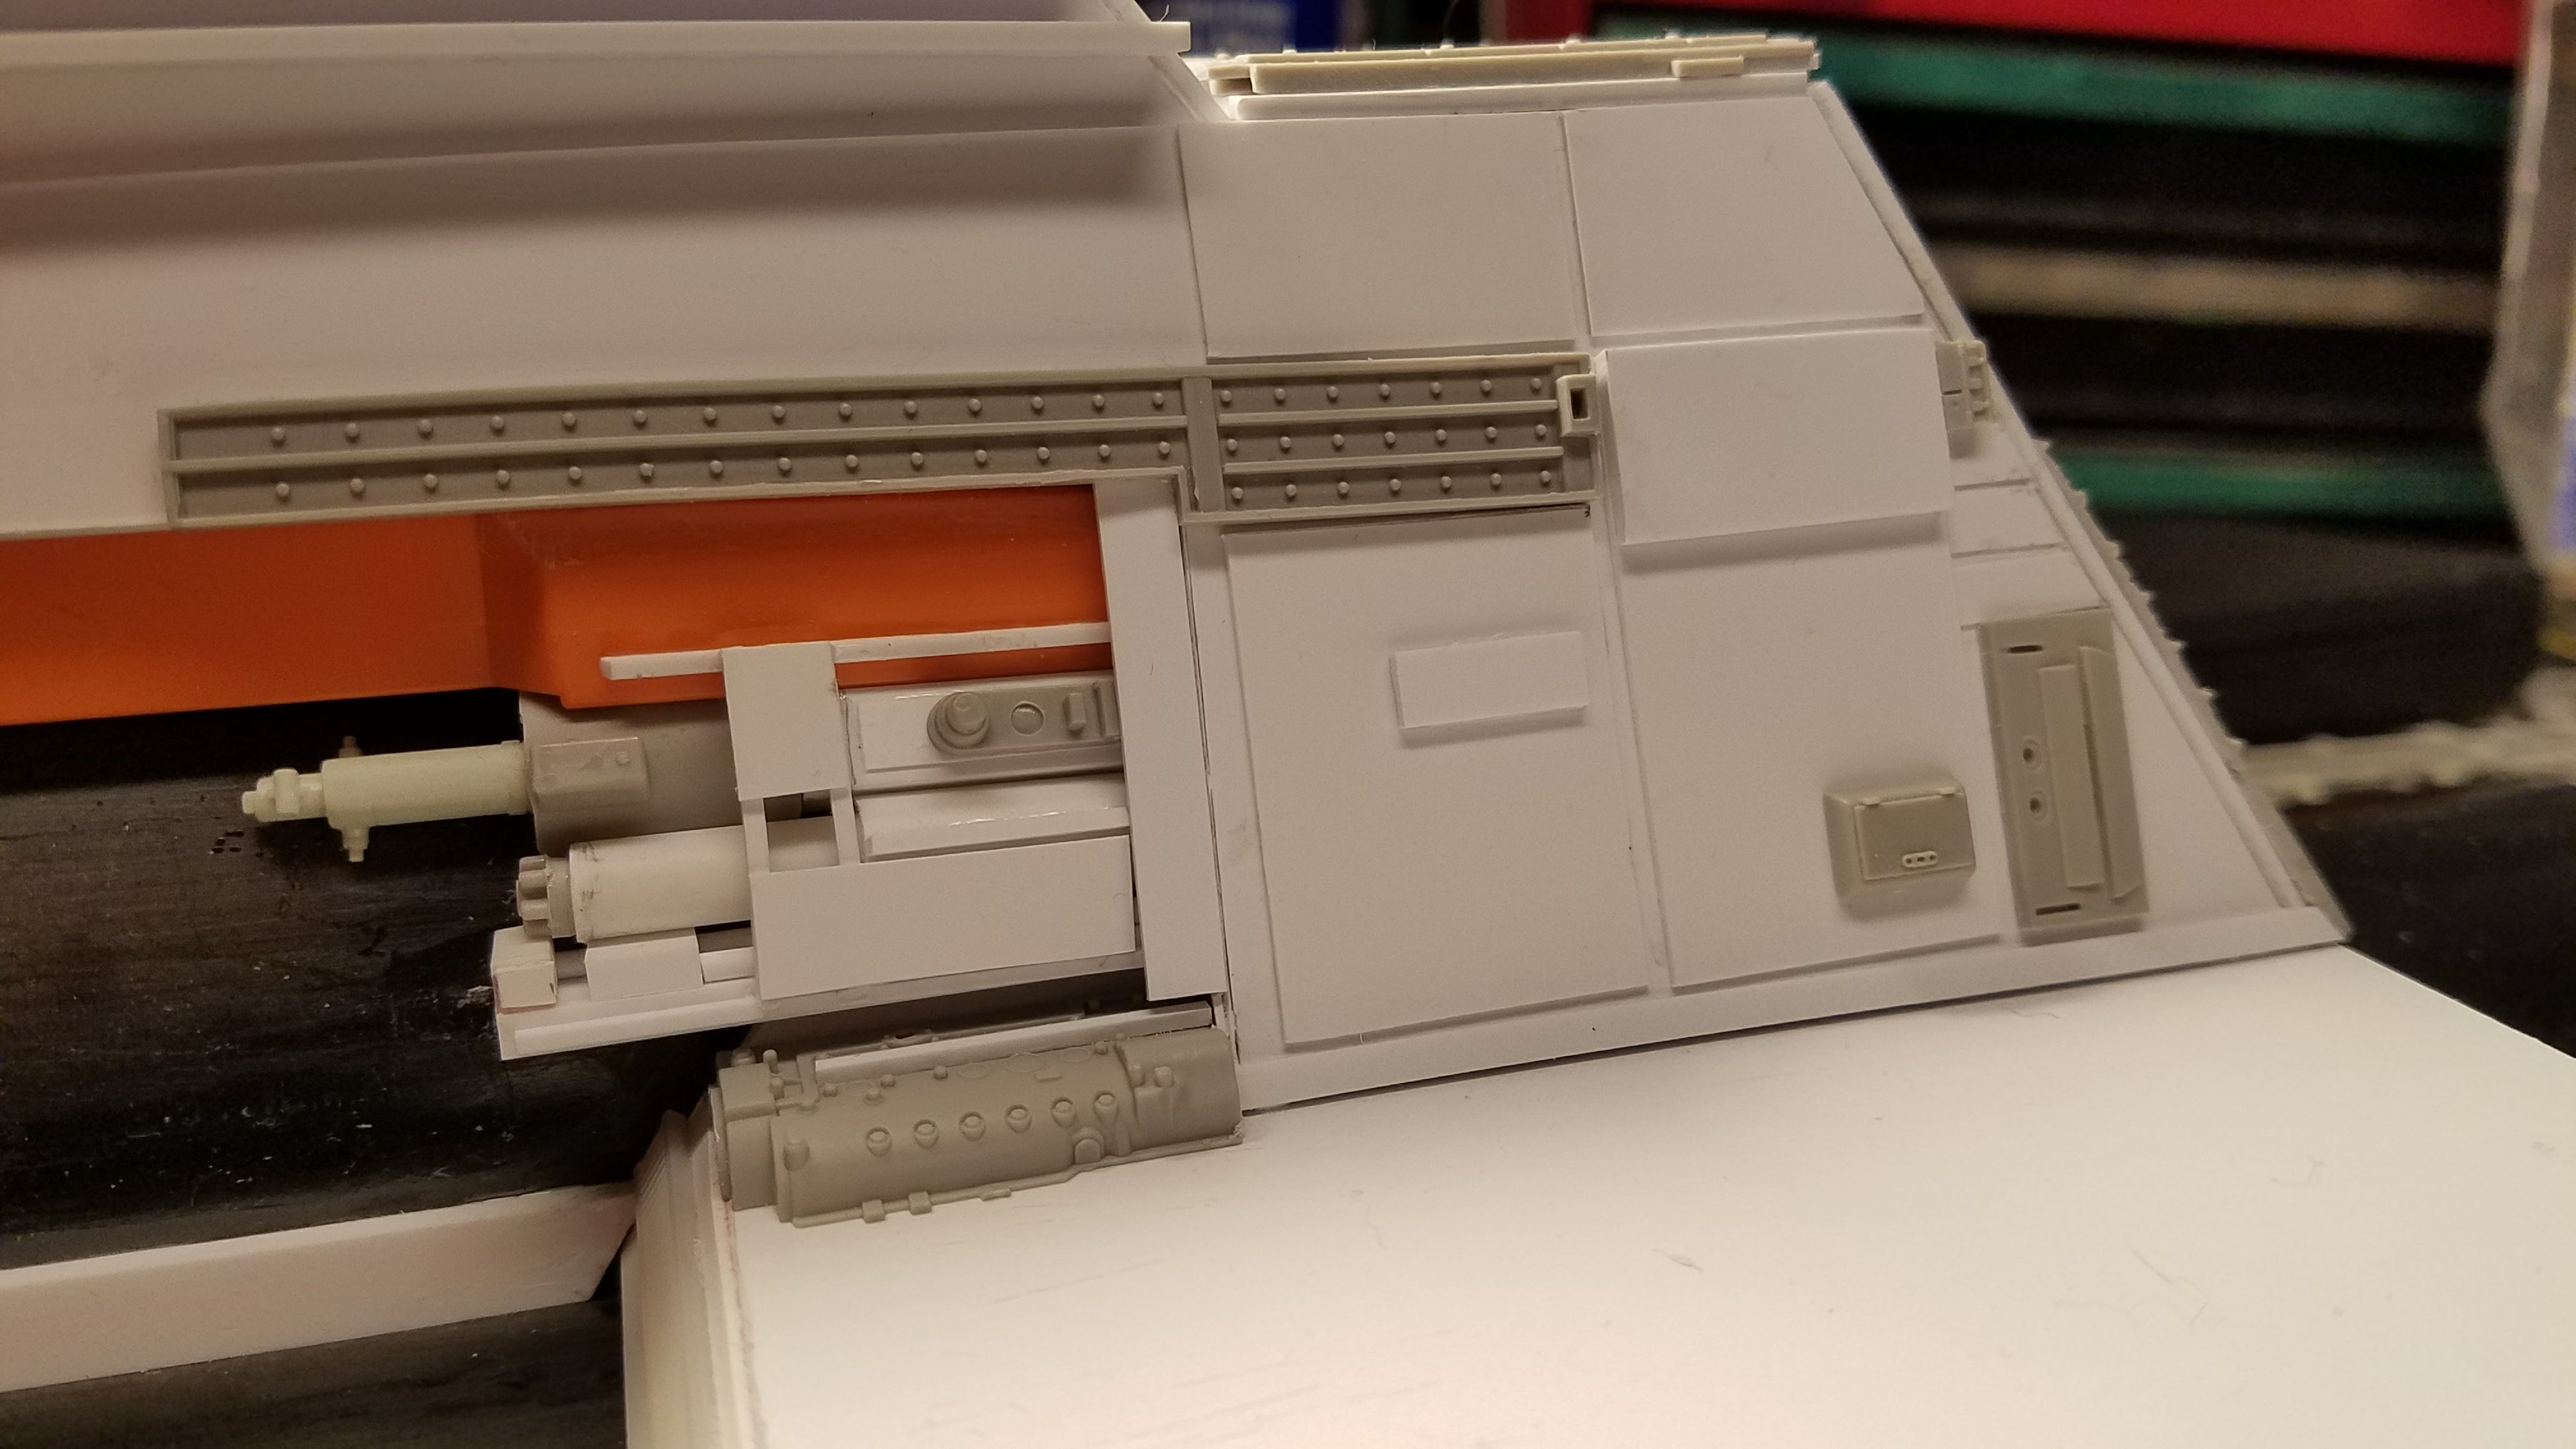
I often cover cracks with interesting greeblies or pipes.
The goal is to make sure what you add, makes sense. It has to feel like it might have a purpose. Randomly slapping parts on the model does not create that impression. It just looks bad.
I long ago on other starships of this period I established the horizontal lines of strip styrene to simulate deck levels. So I carry on with that design philosophy with this ship.
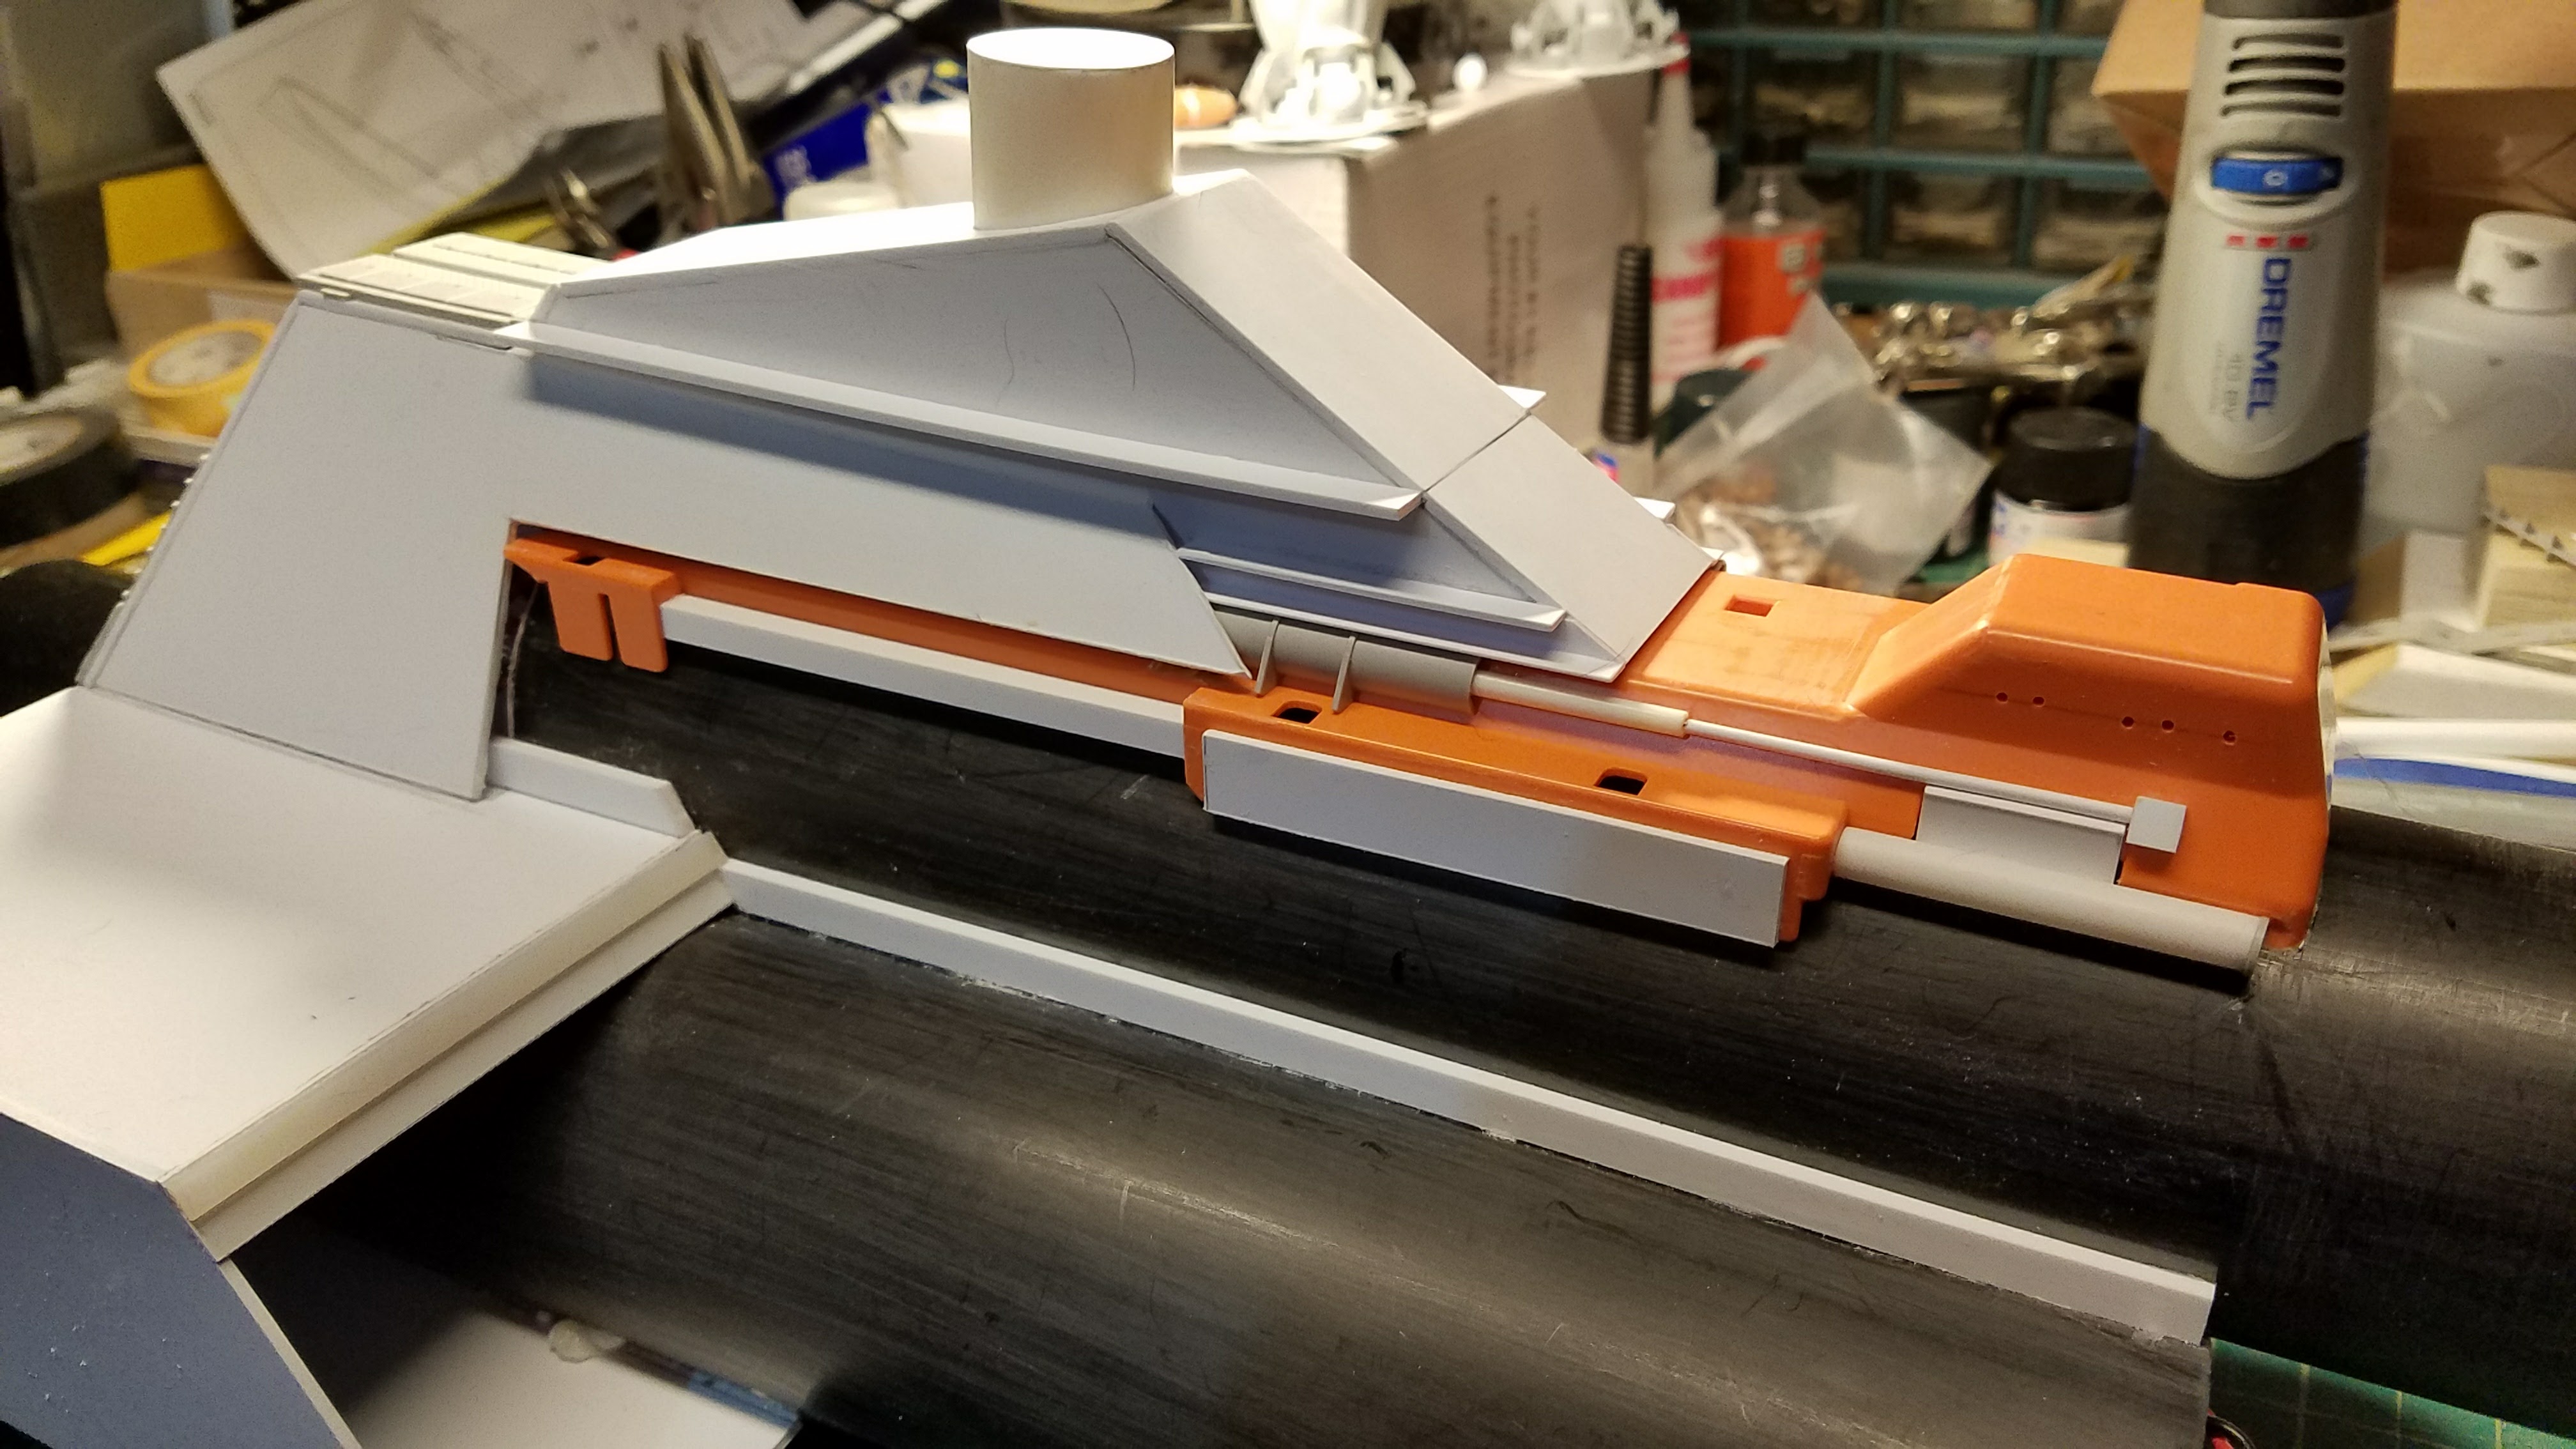
Sometimes I stack pieces together to see how it will look when it’s all together.

This ship has been in space for a long time, during a difficult war and it shows signs of ongoing maintenance and battle damage.
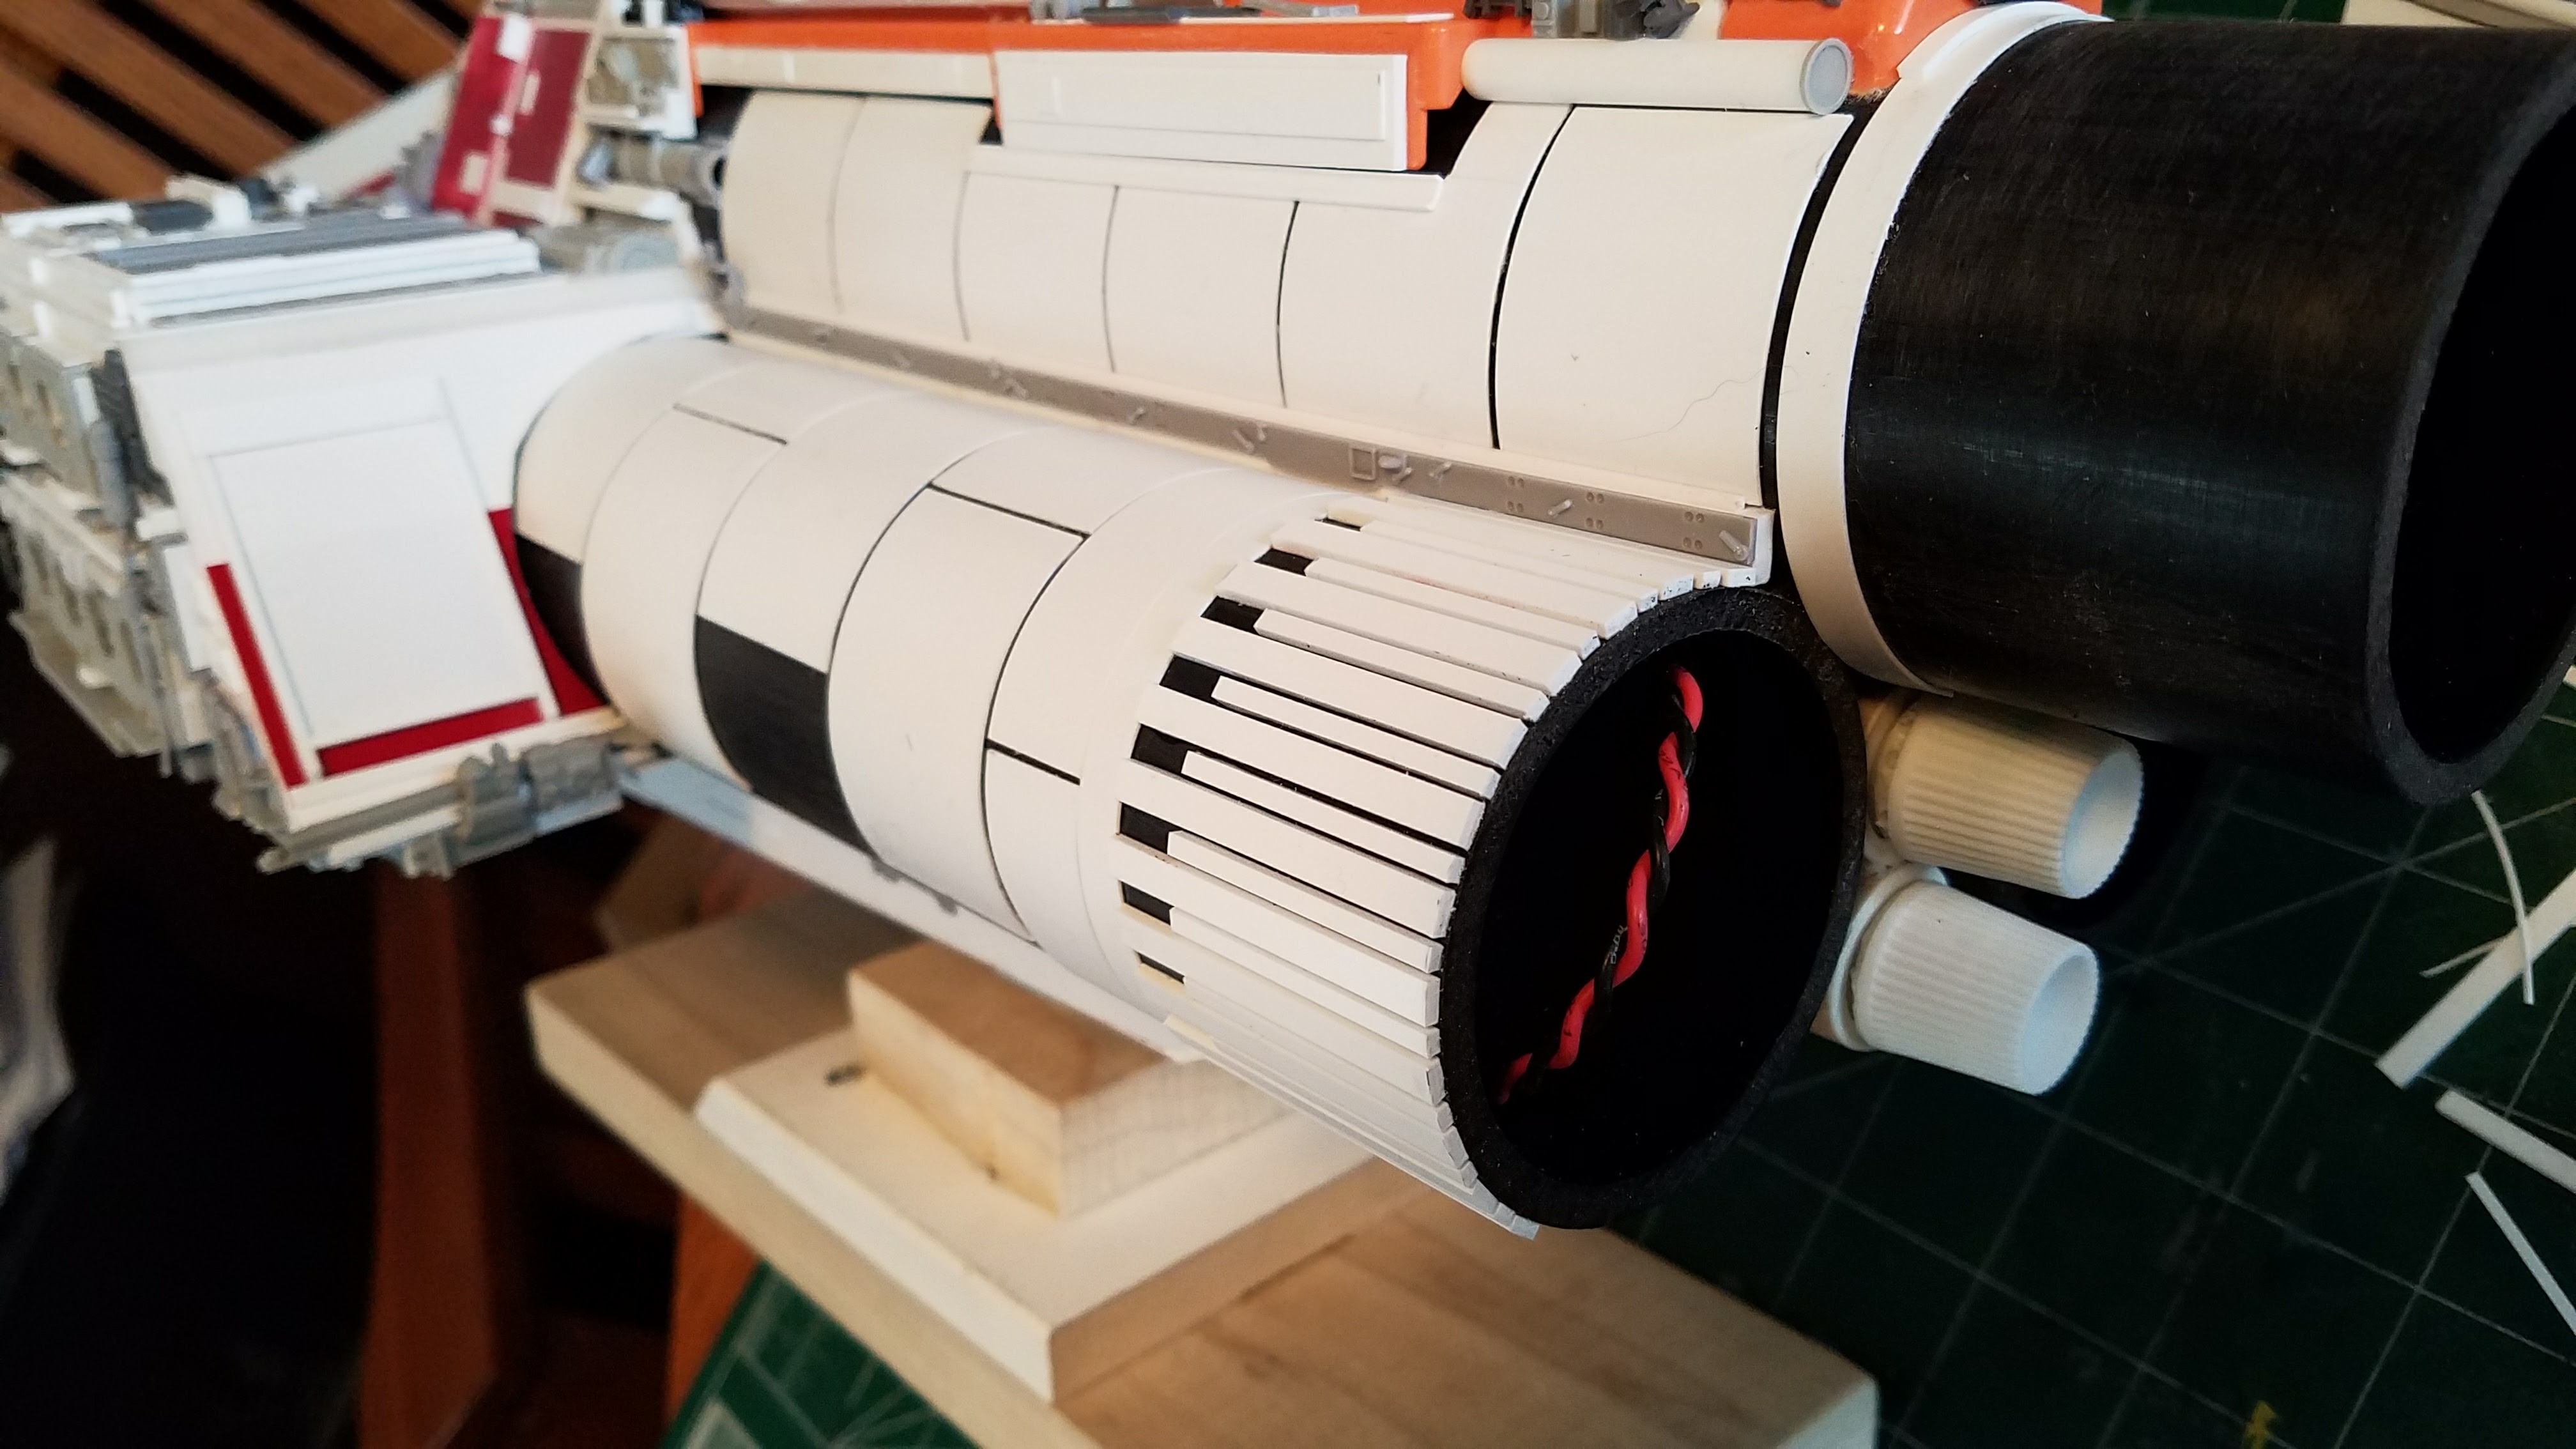
This internal detail was done just to one side to add some interest.
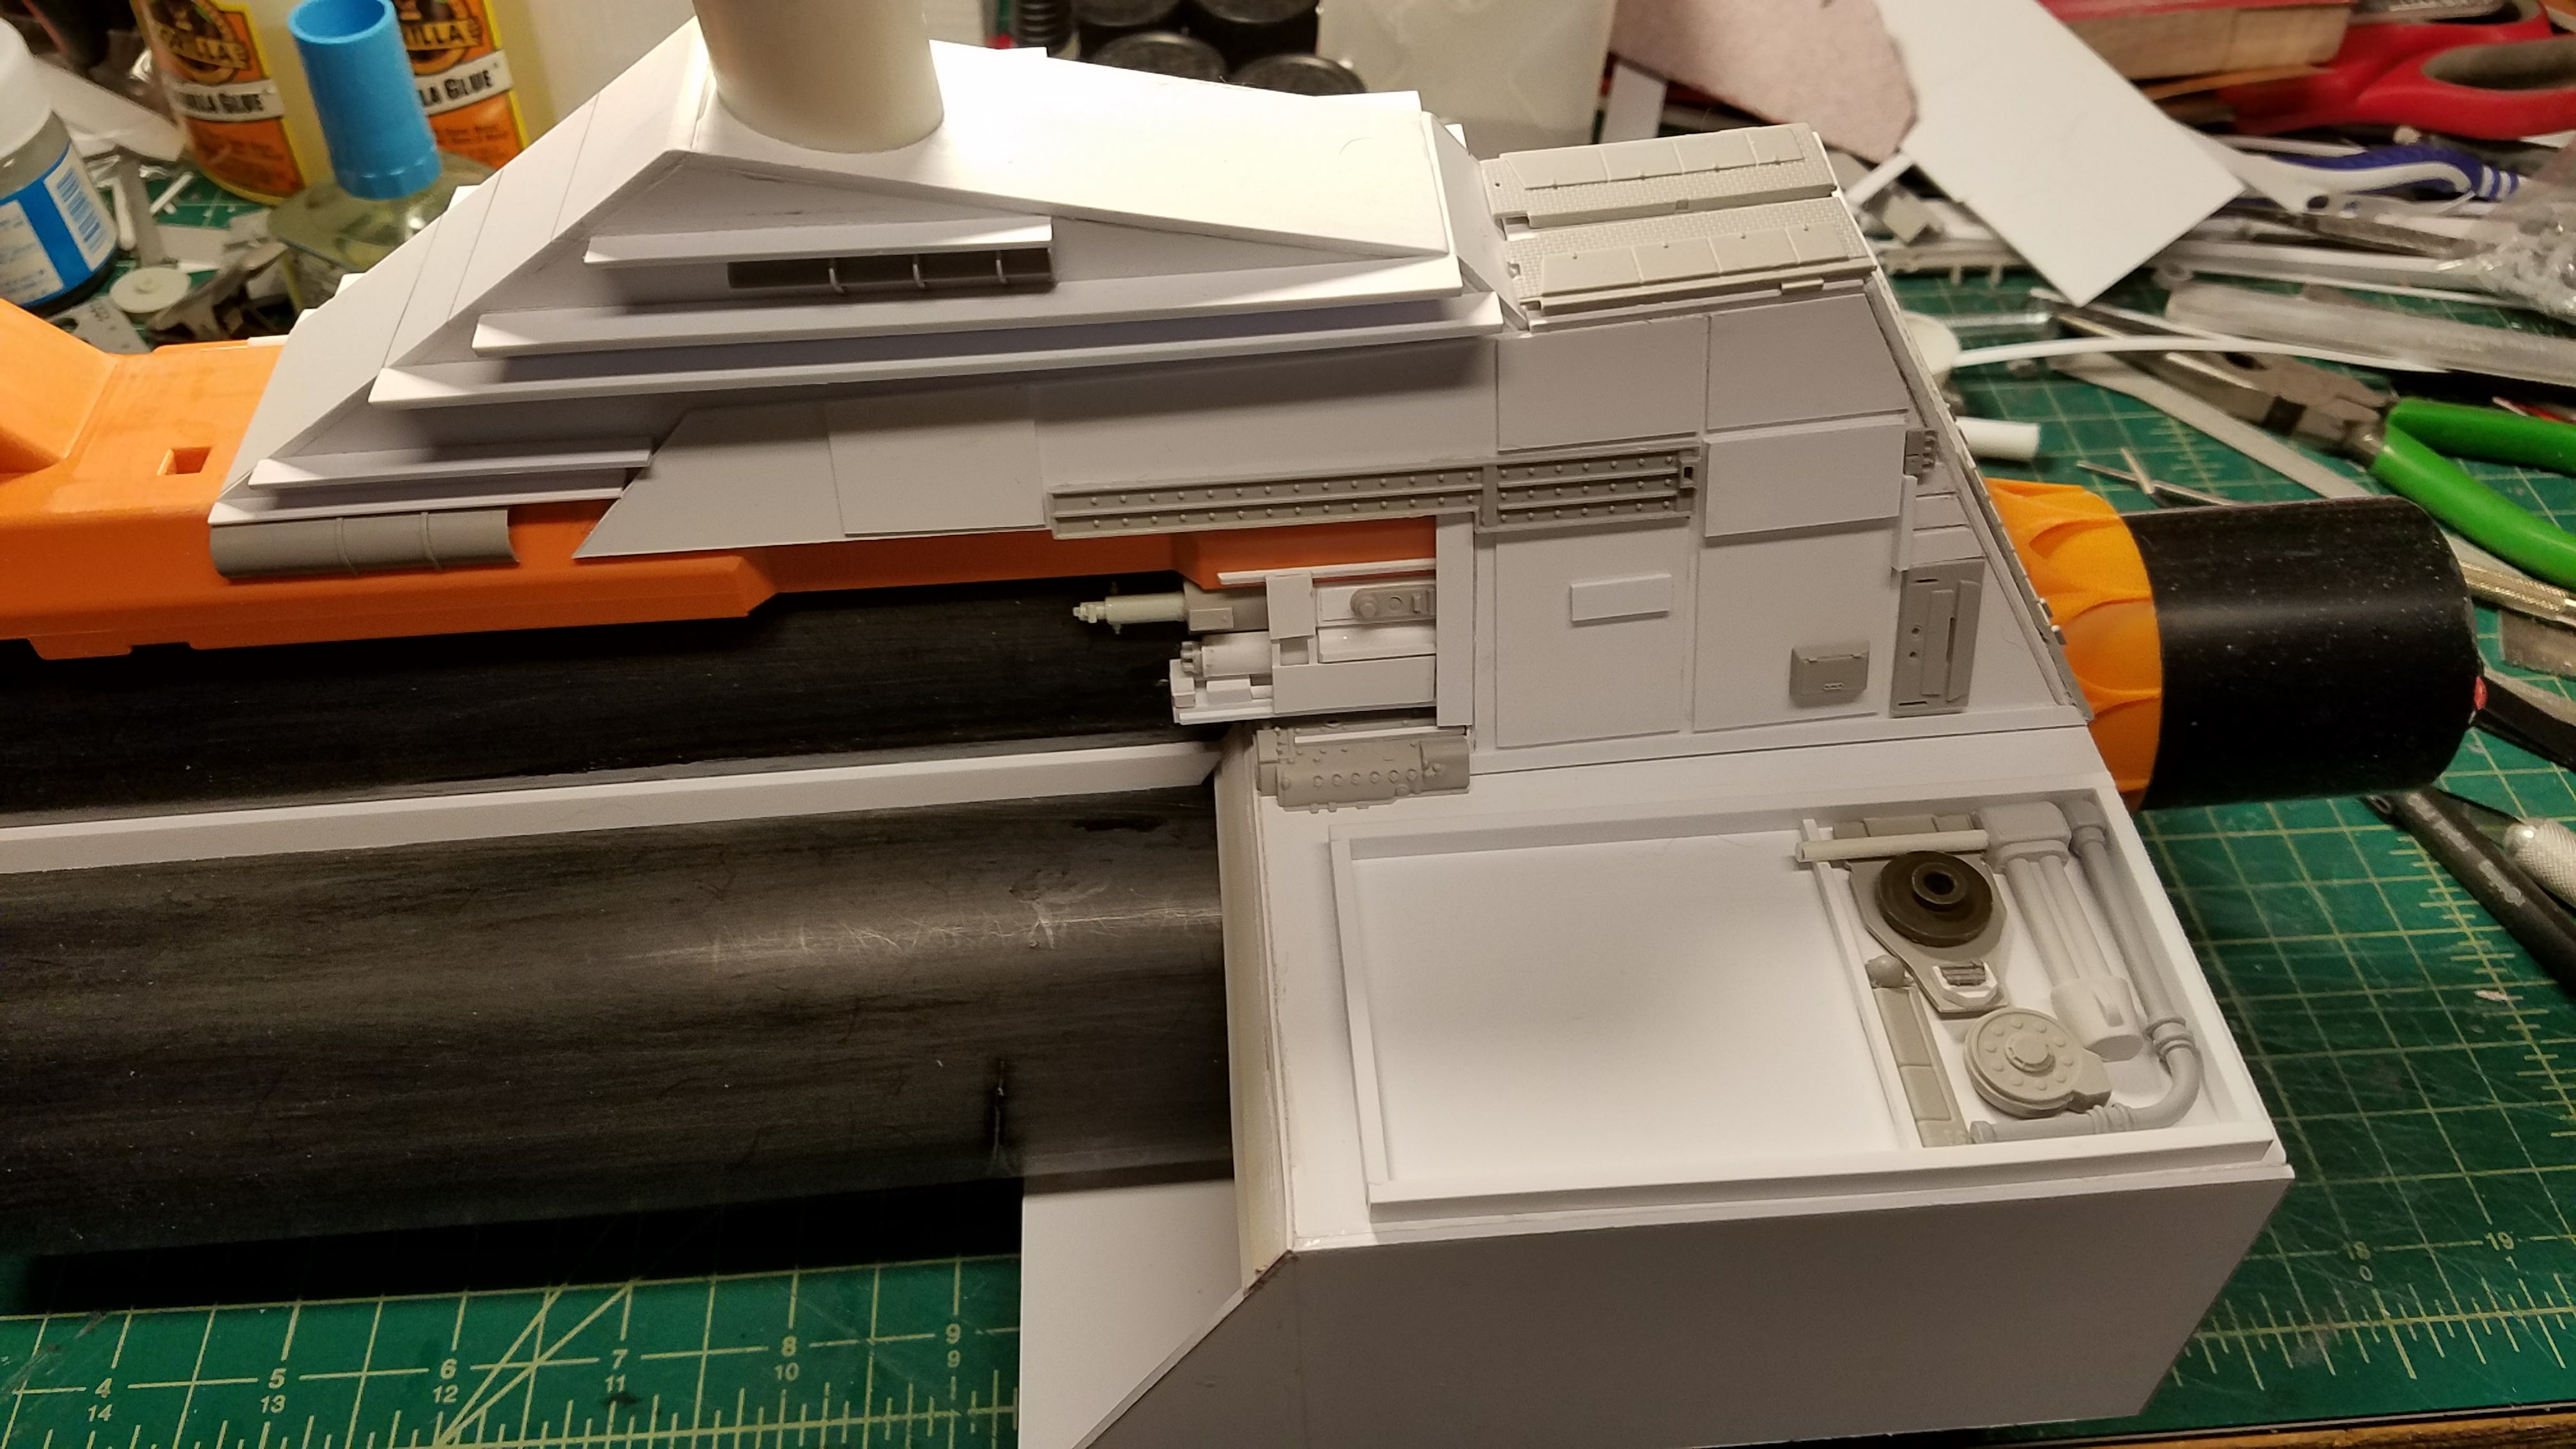
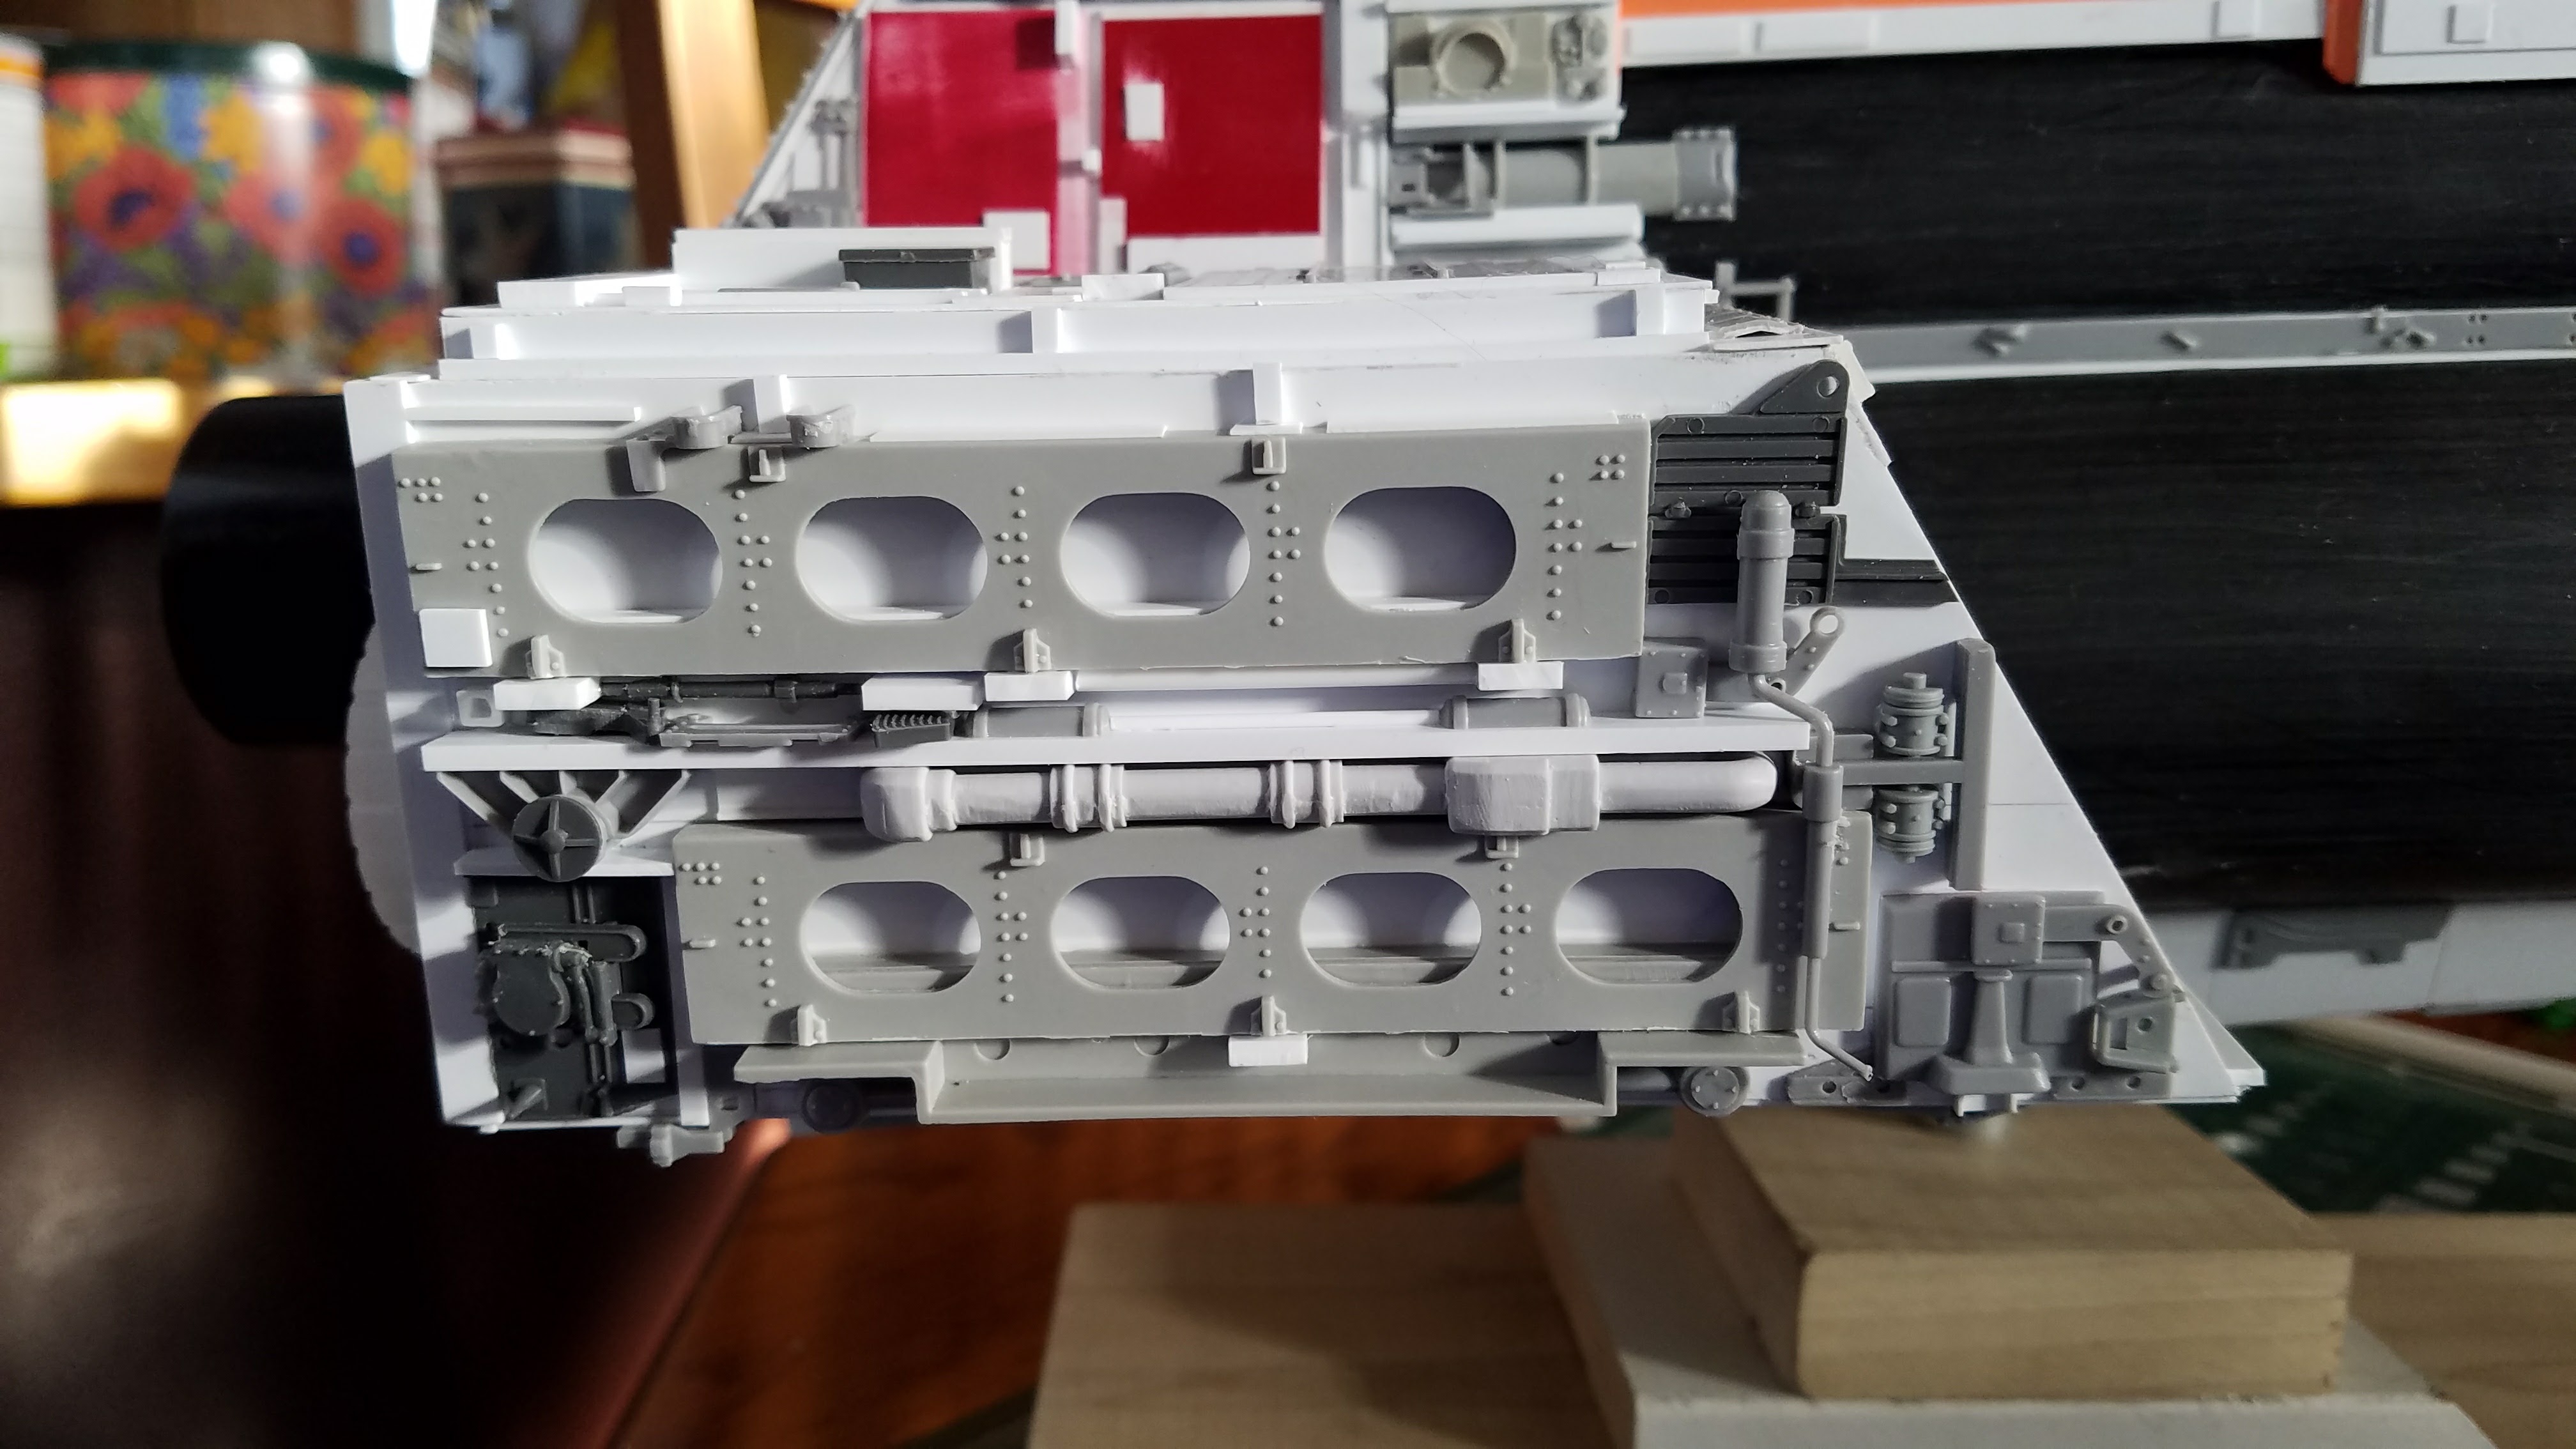
Gun ports on the side are added and more greeblies to the front of the body.
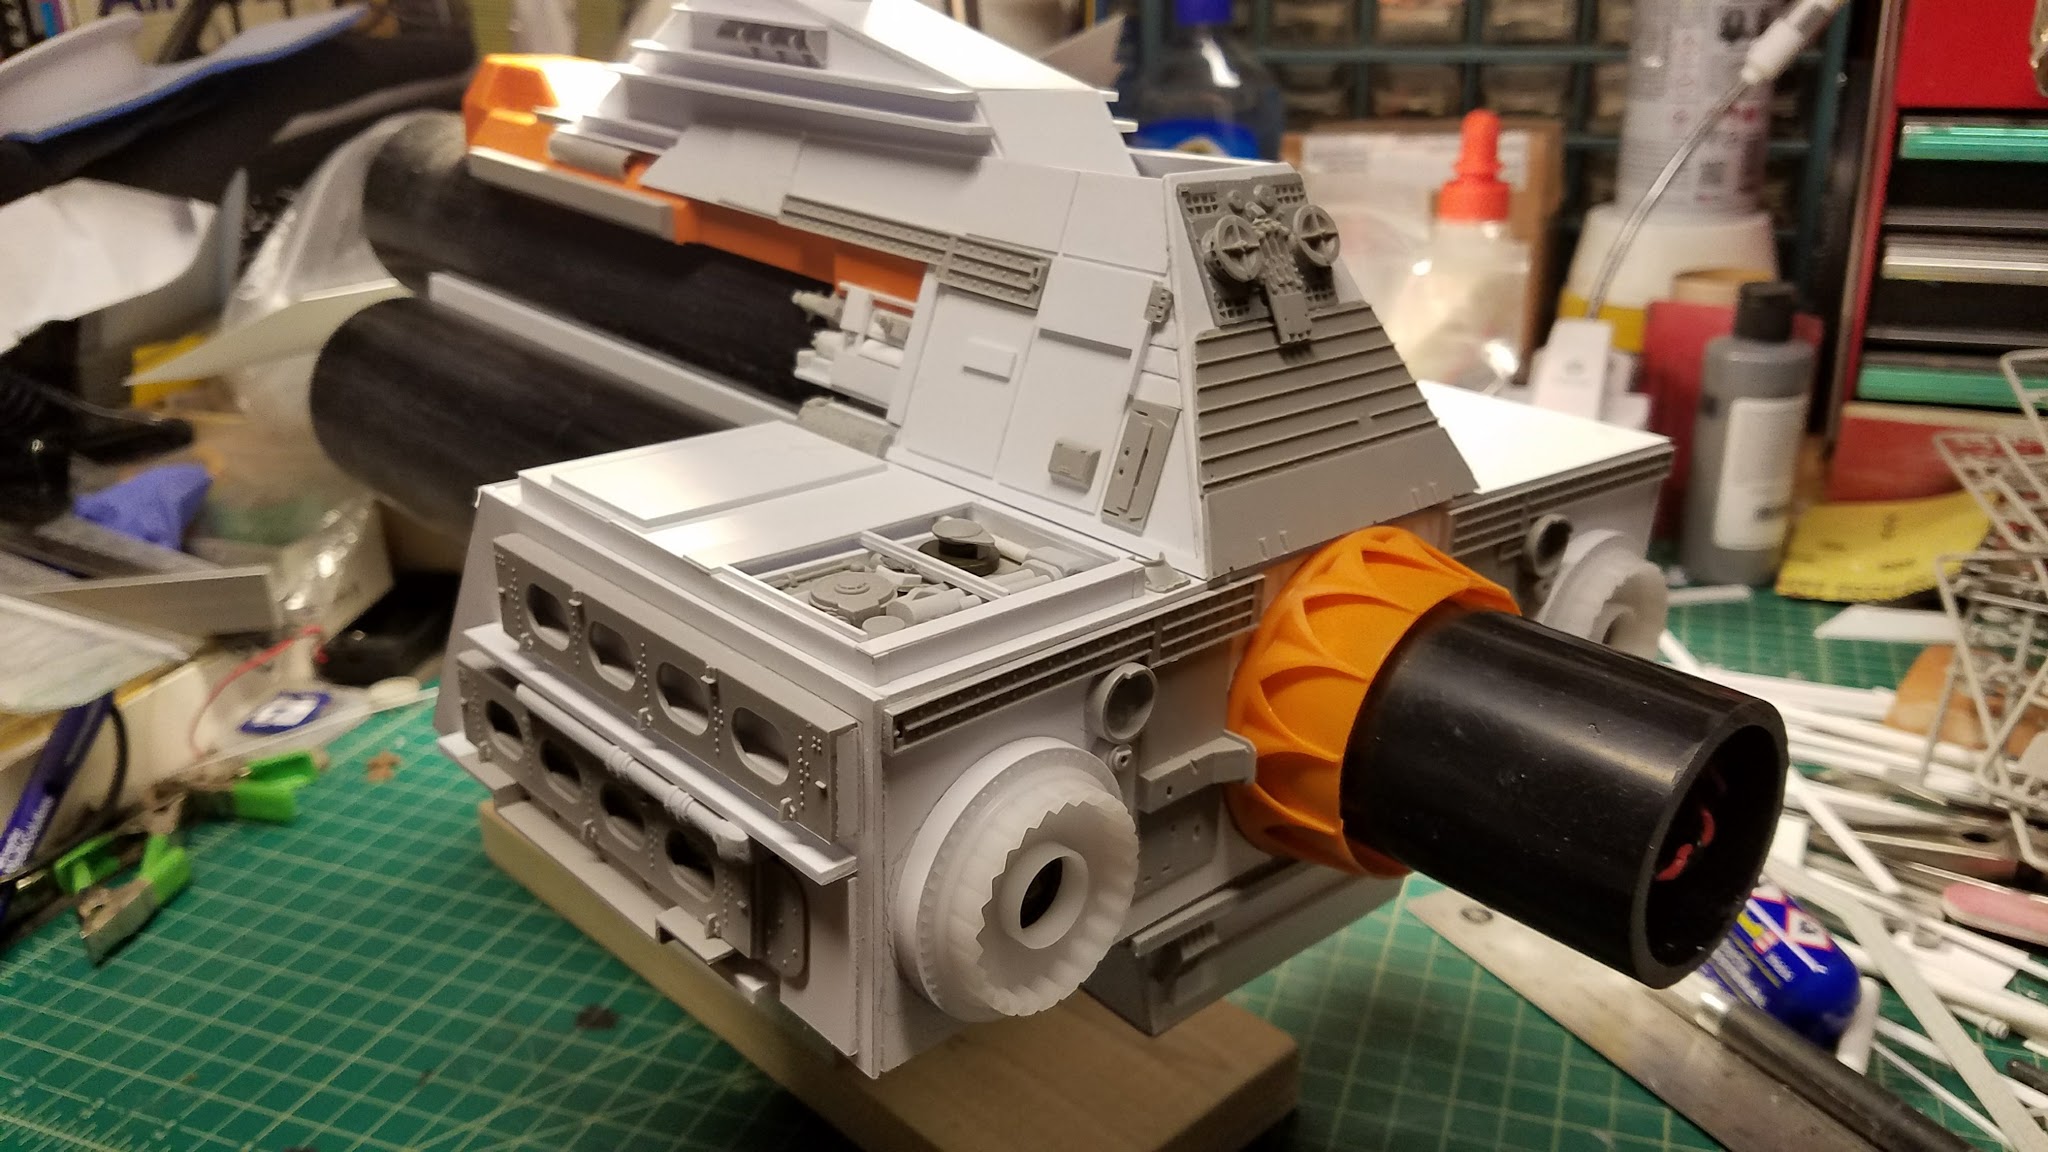
Front details complete below. Some are symmetrical and some are not.
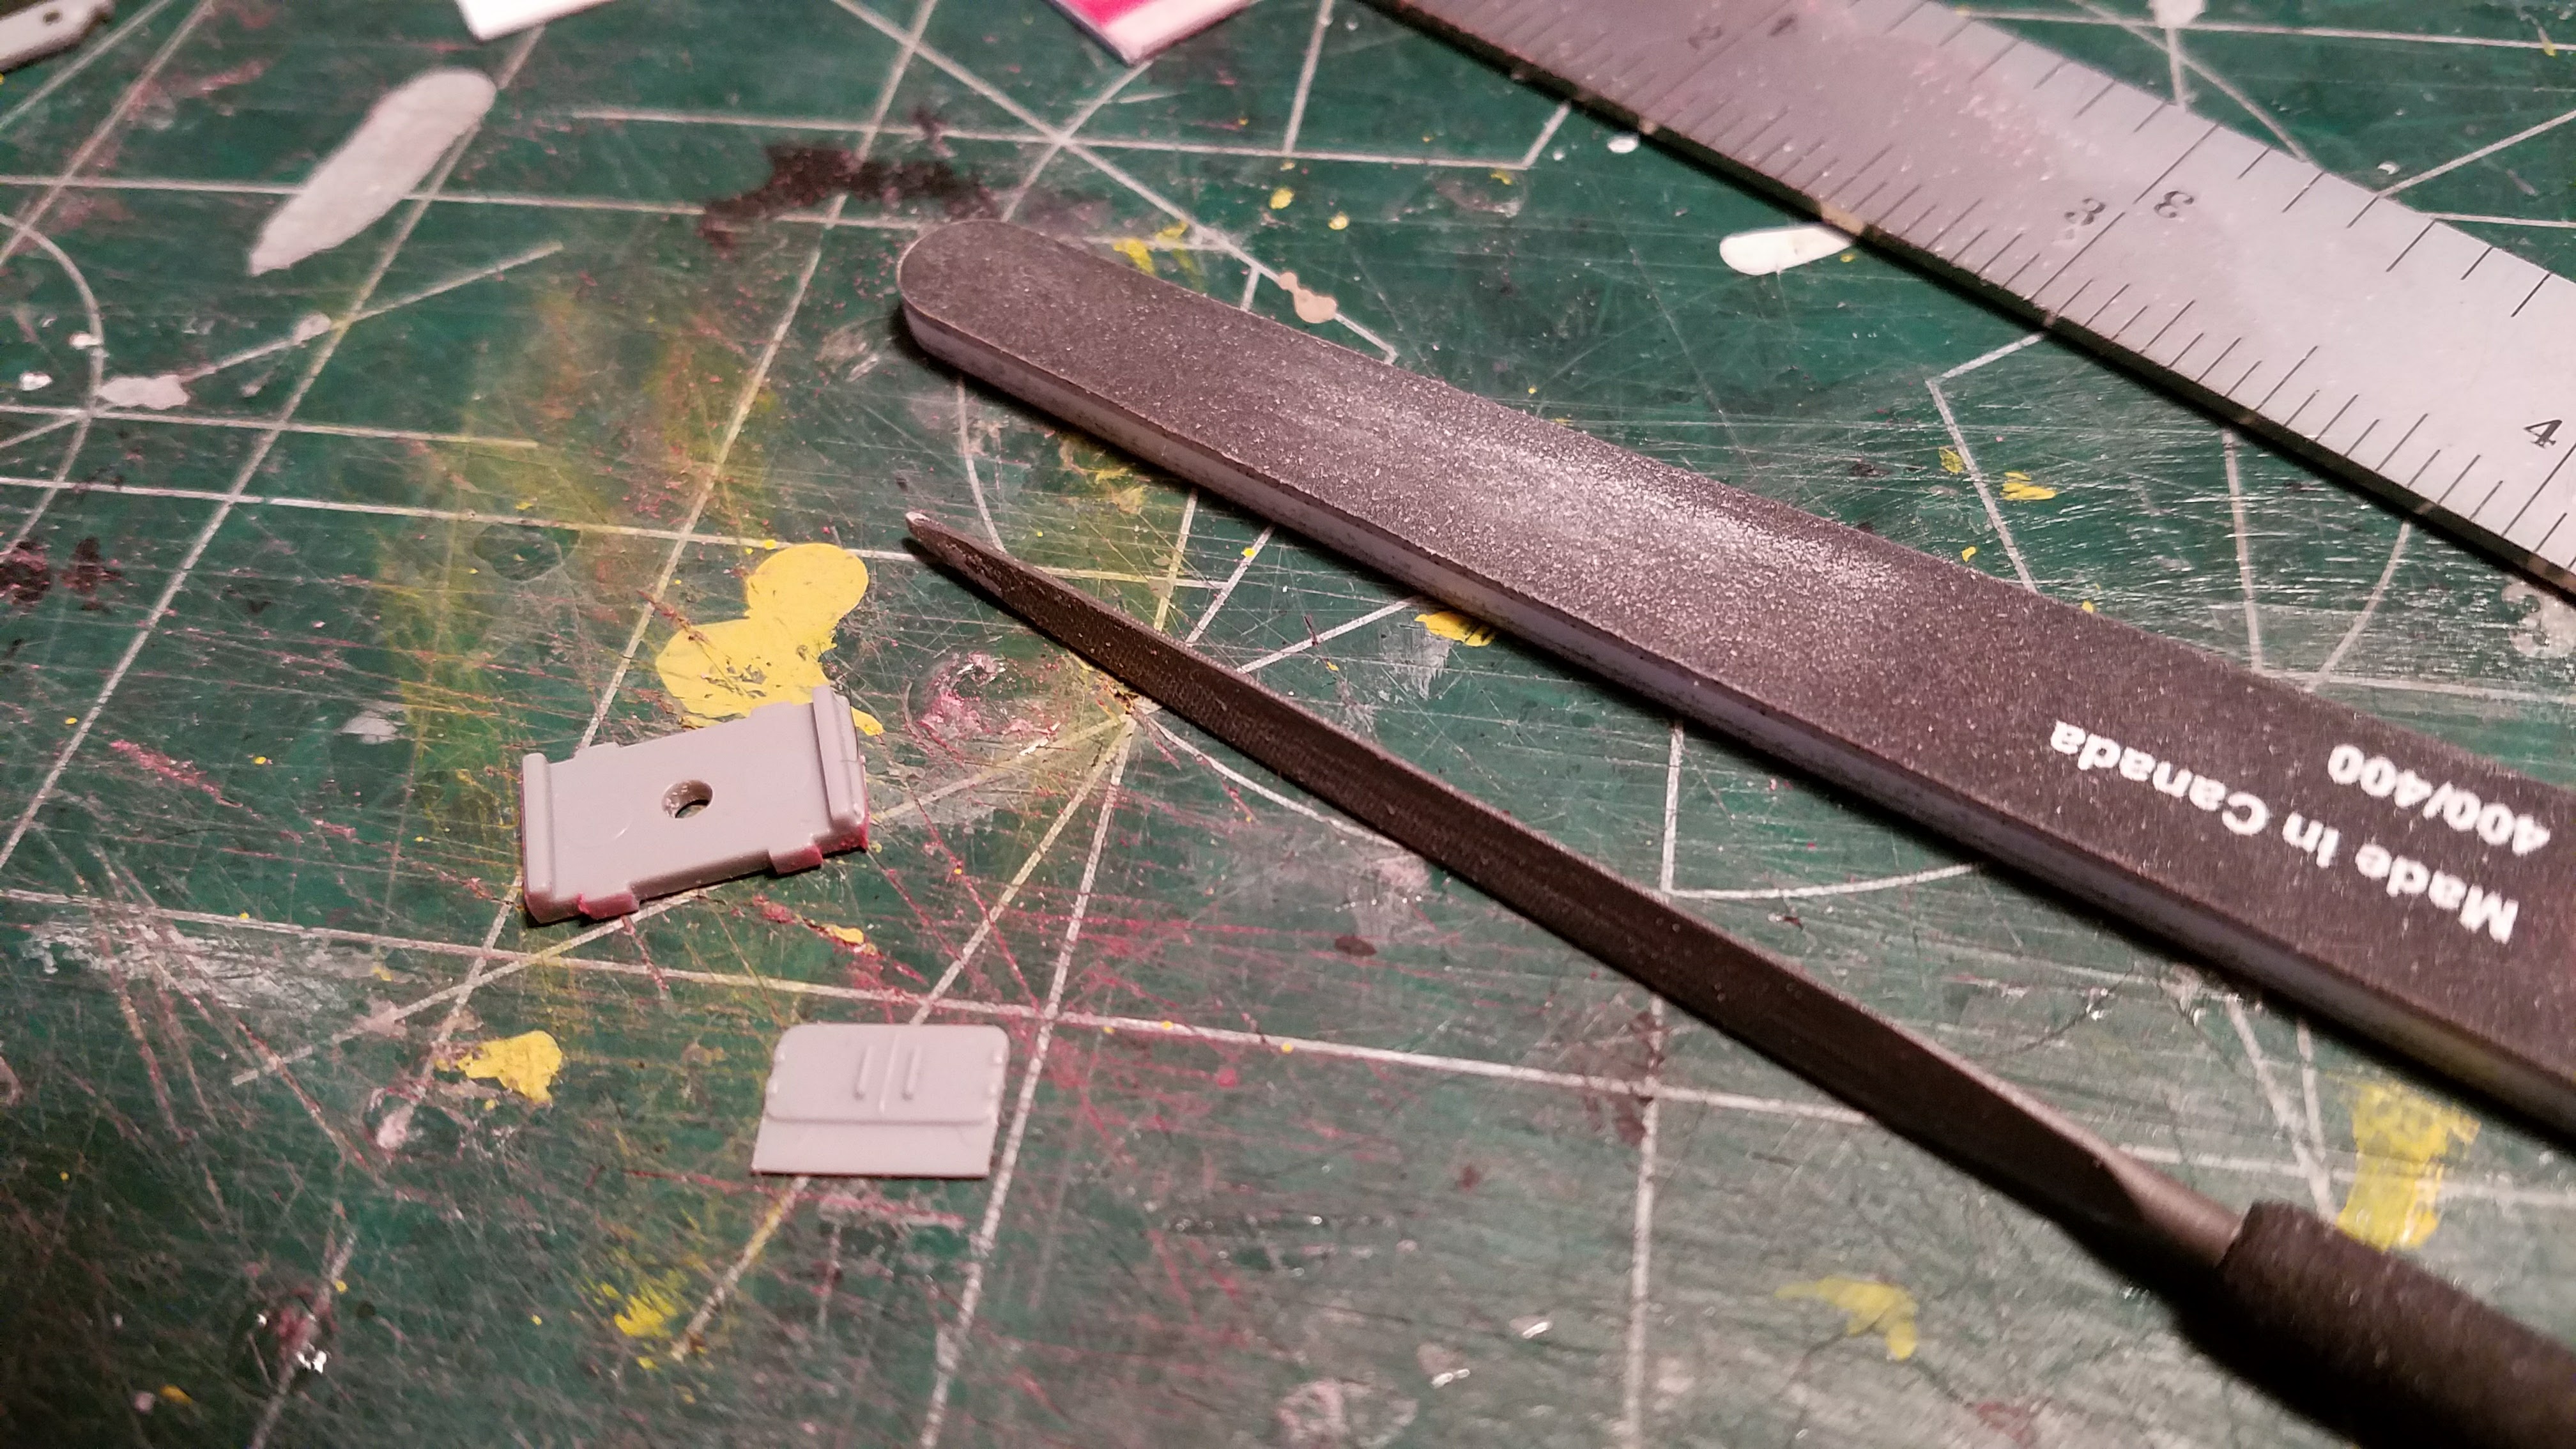
Just a reminder of the attention to detail required in modeling. Every piece of kit removed from a tree must be sanded or filed to remove flash and mold lines. This is part of what makes modeling tedious, but it separates the good ones from the marginal ones.
Plastic is not cheap. Sometimes I purchase for sale signs to get lots of it for less than the hobby store can sell it for. Thus the red panels are cut up signs and must be sanded to remove the red and make the other pieces stick to it. Panels of different thickness and sizes are used to cover battle damage.
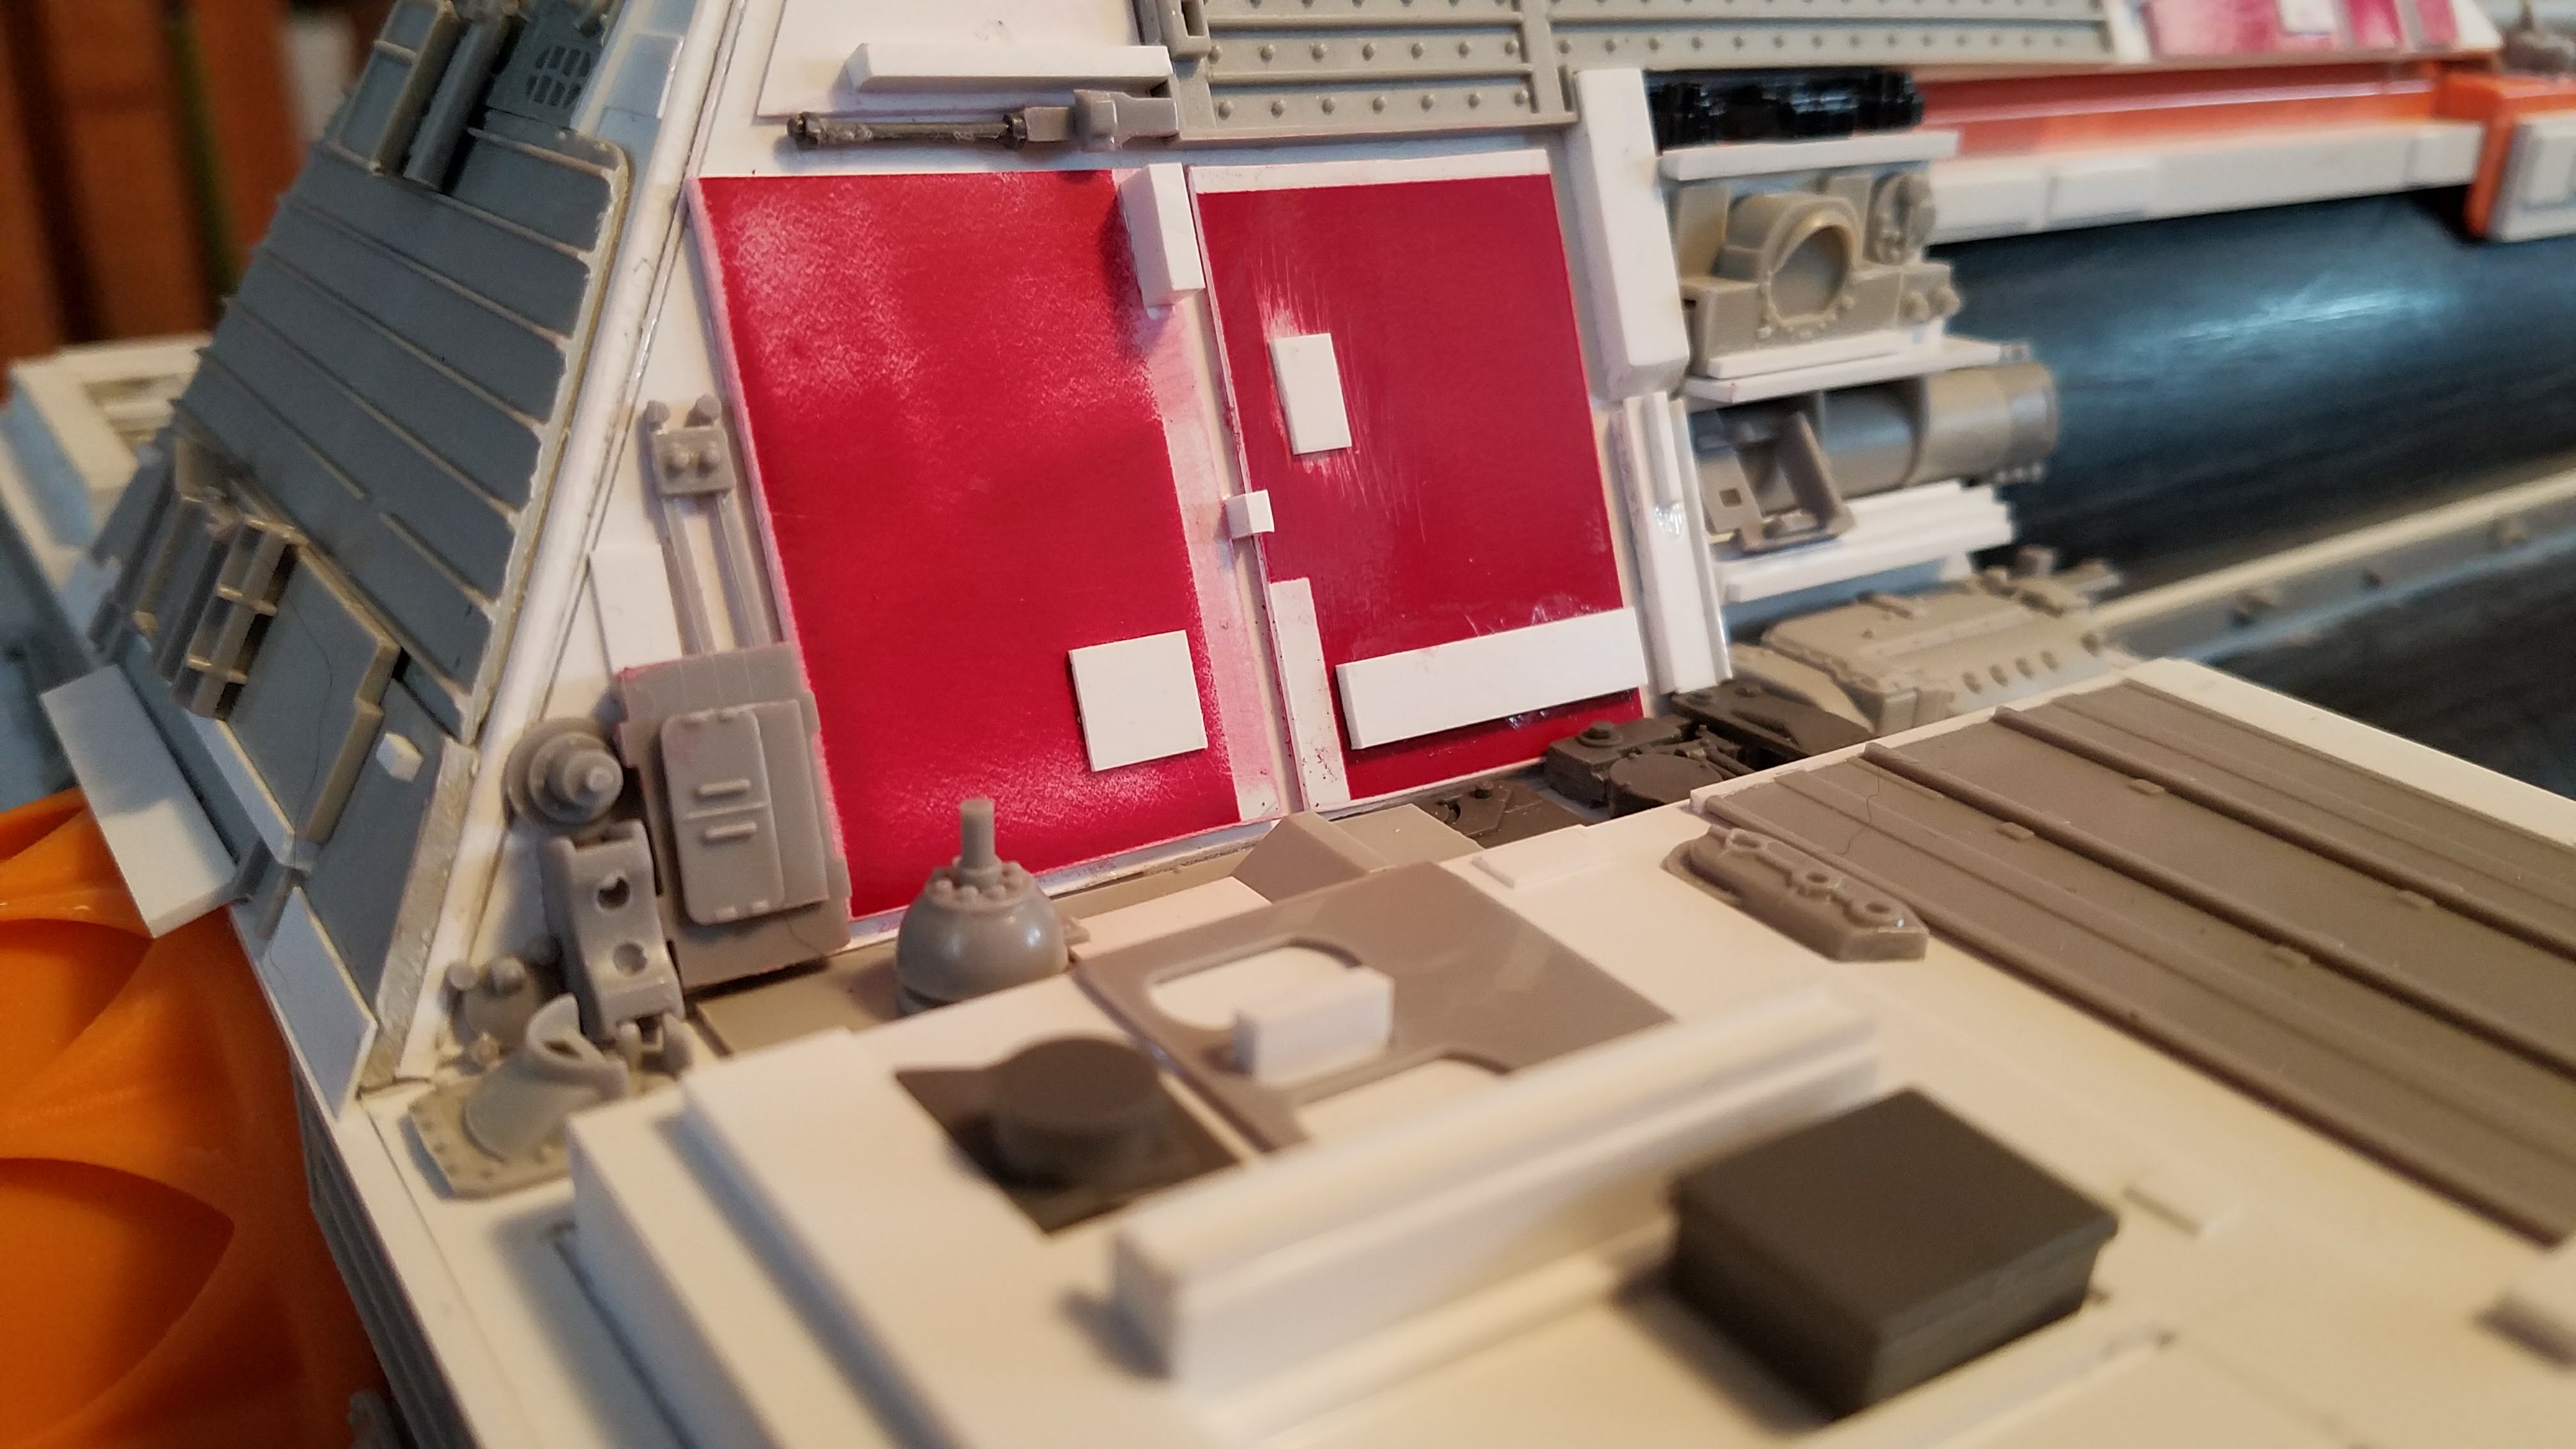
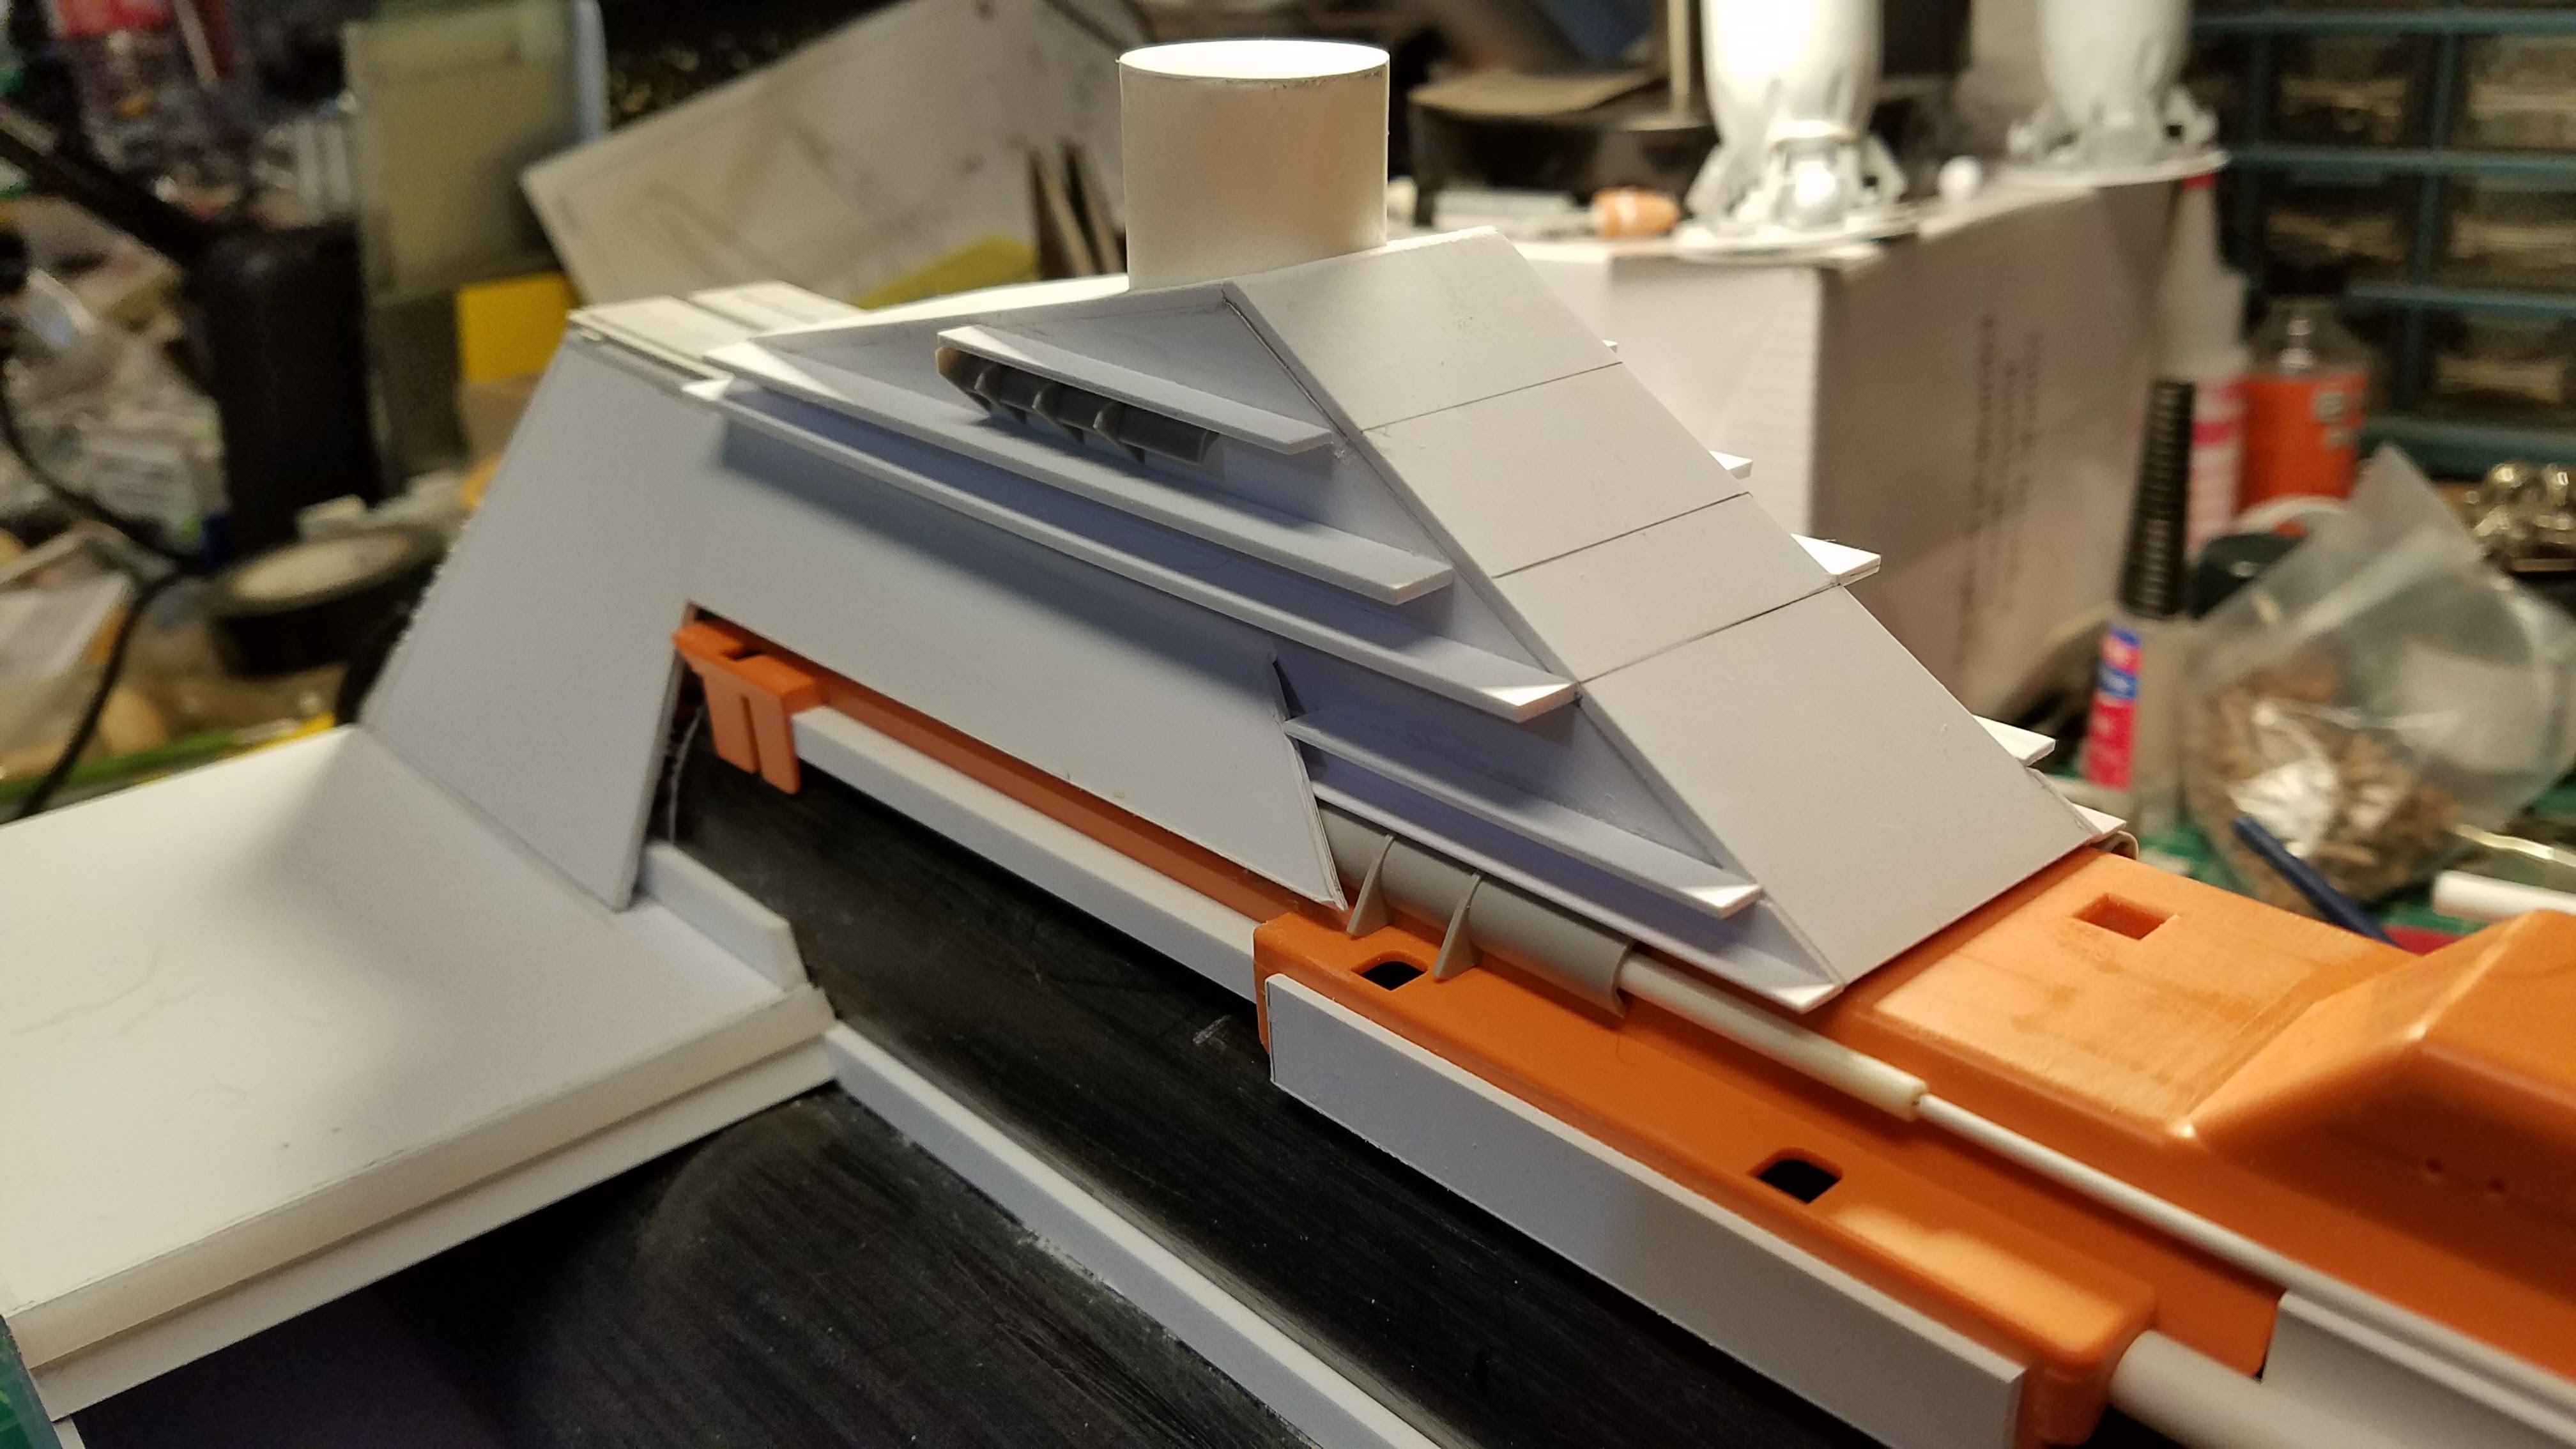
This bit of detailing is pretty cool. Turned out quite nice.
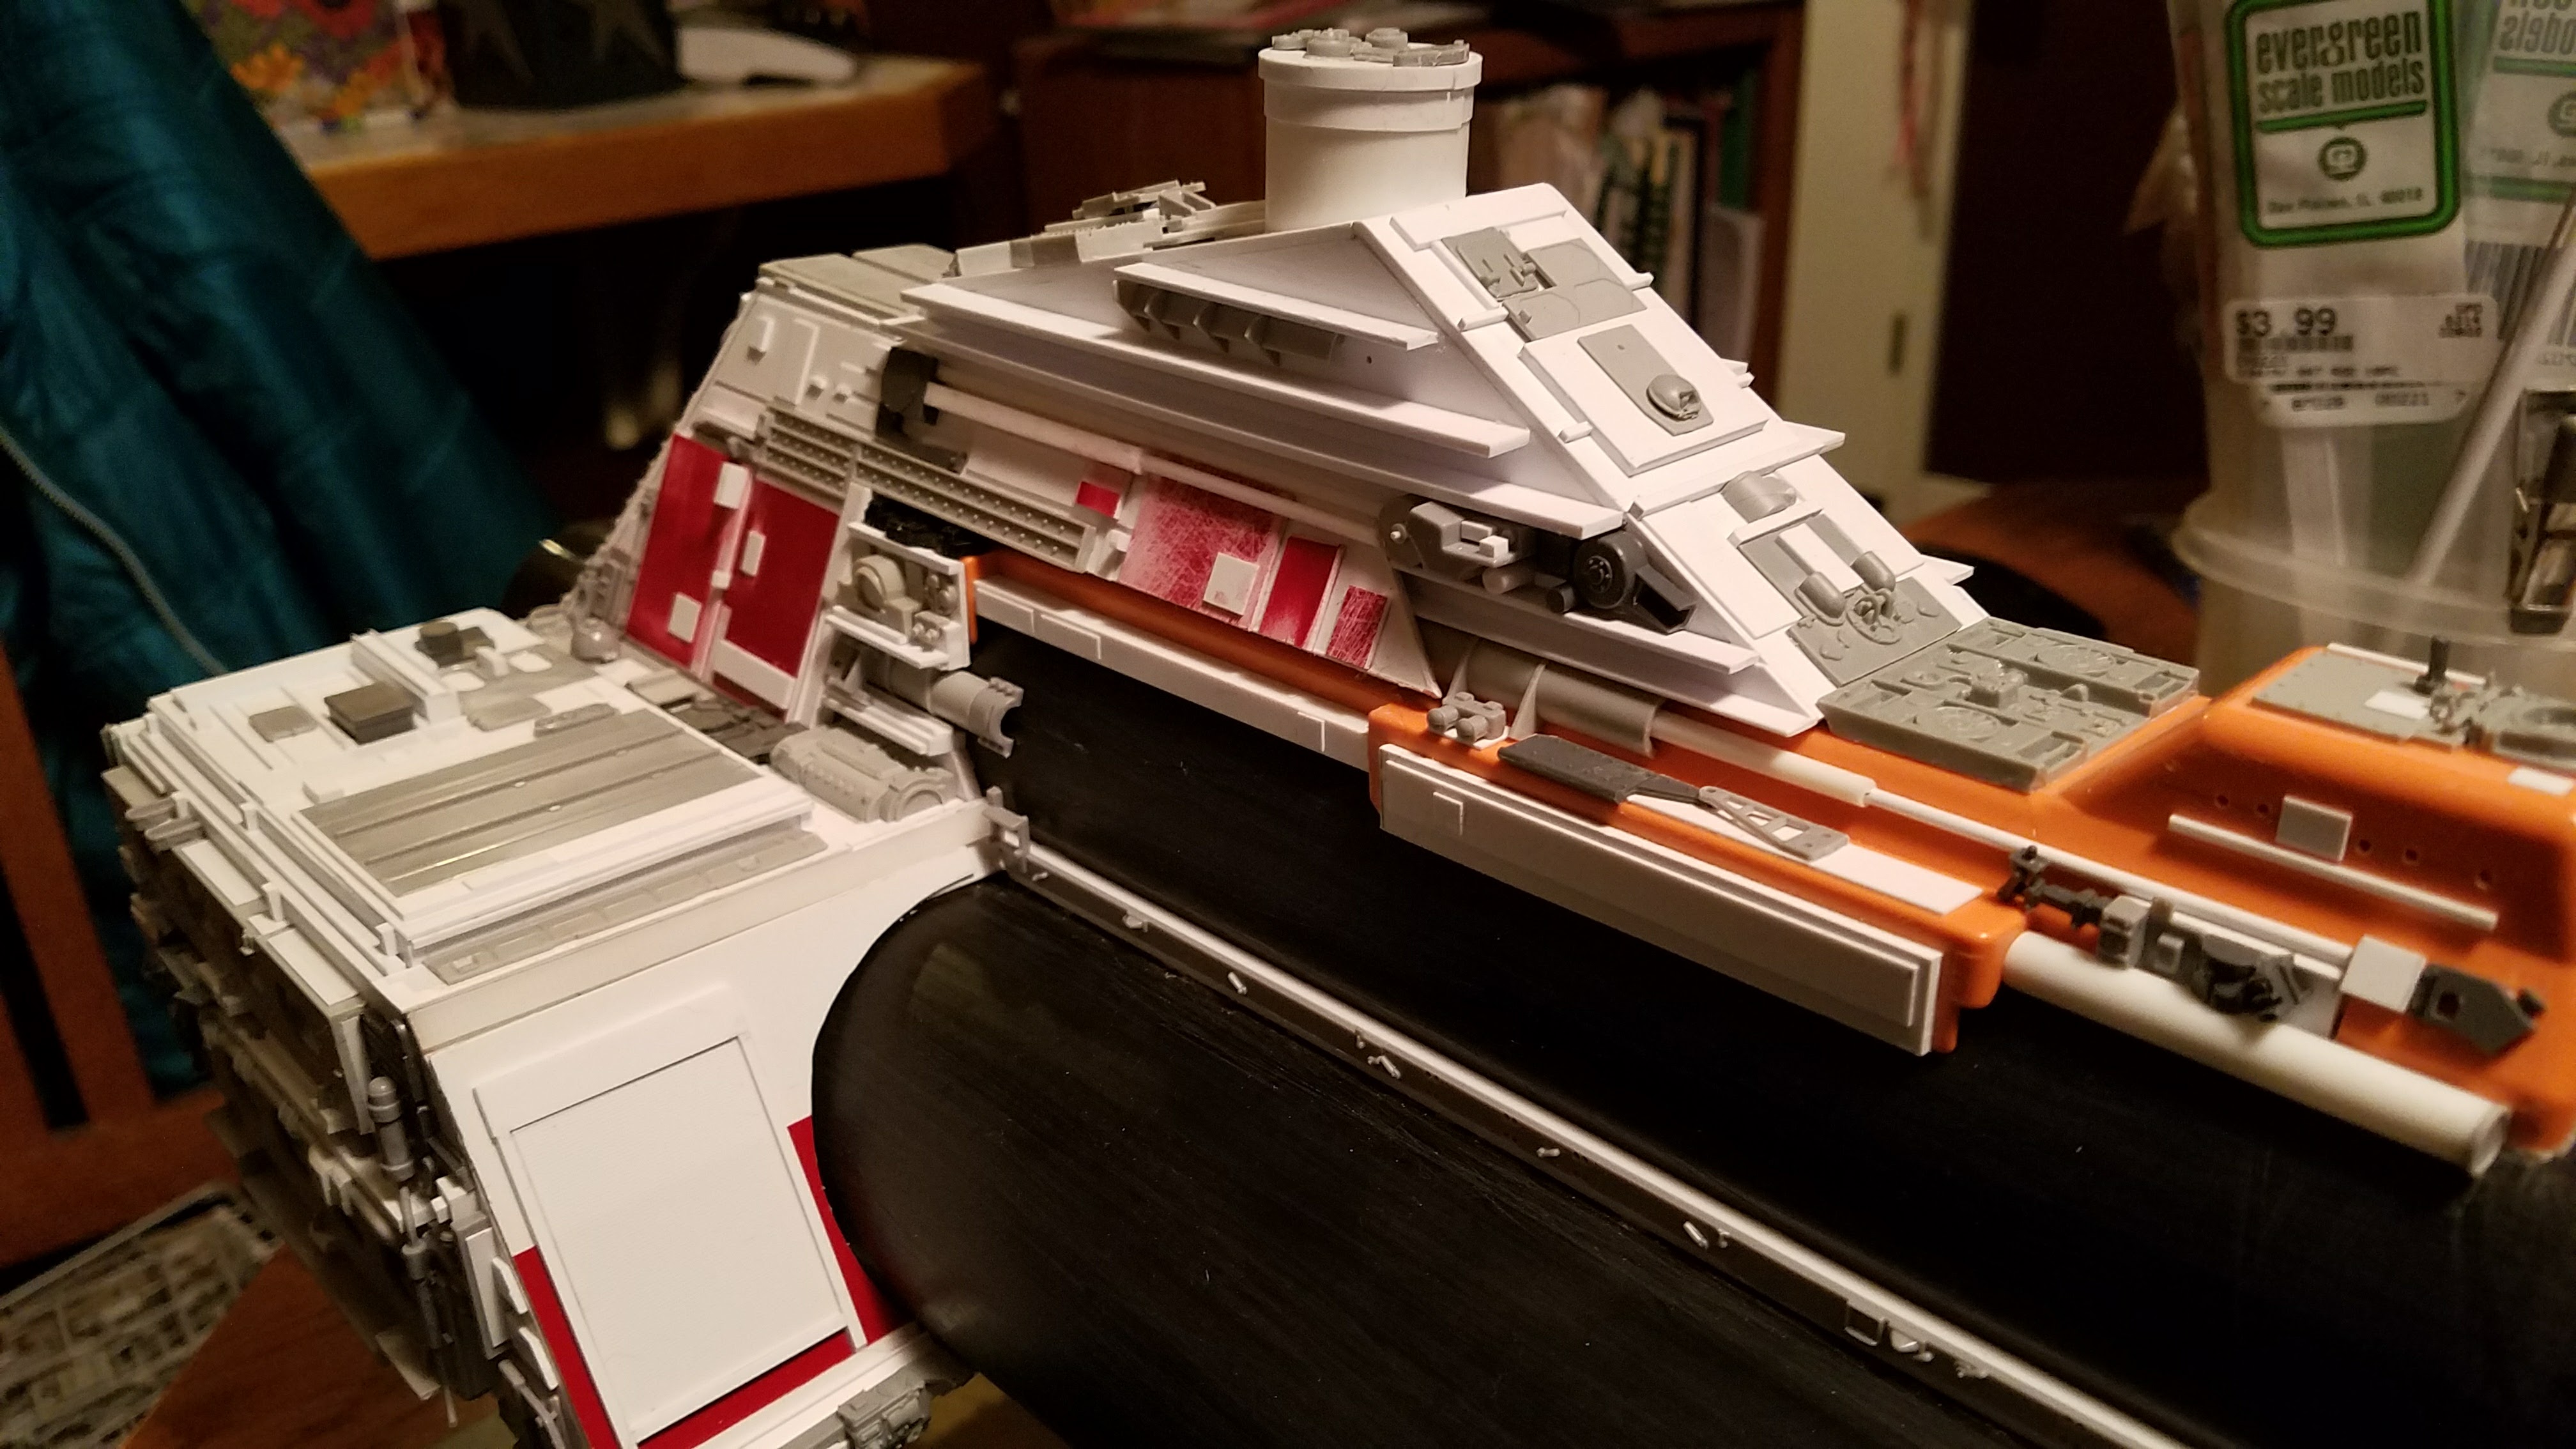
The port side bay is closed. I don’t have that much time on my hands. ;-)
Time to cover the PVC with thin sheets of cut streyne. I start with regular patterns and then adjust them for age and use.
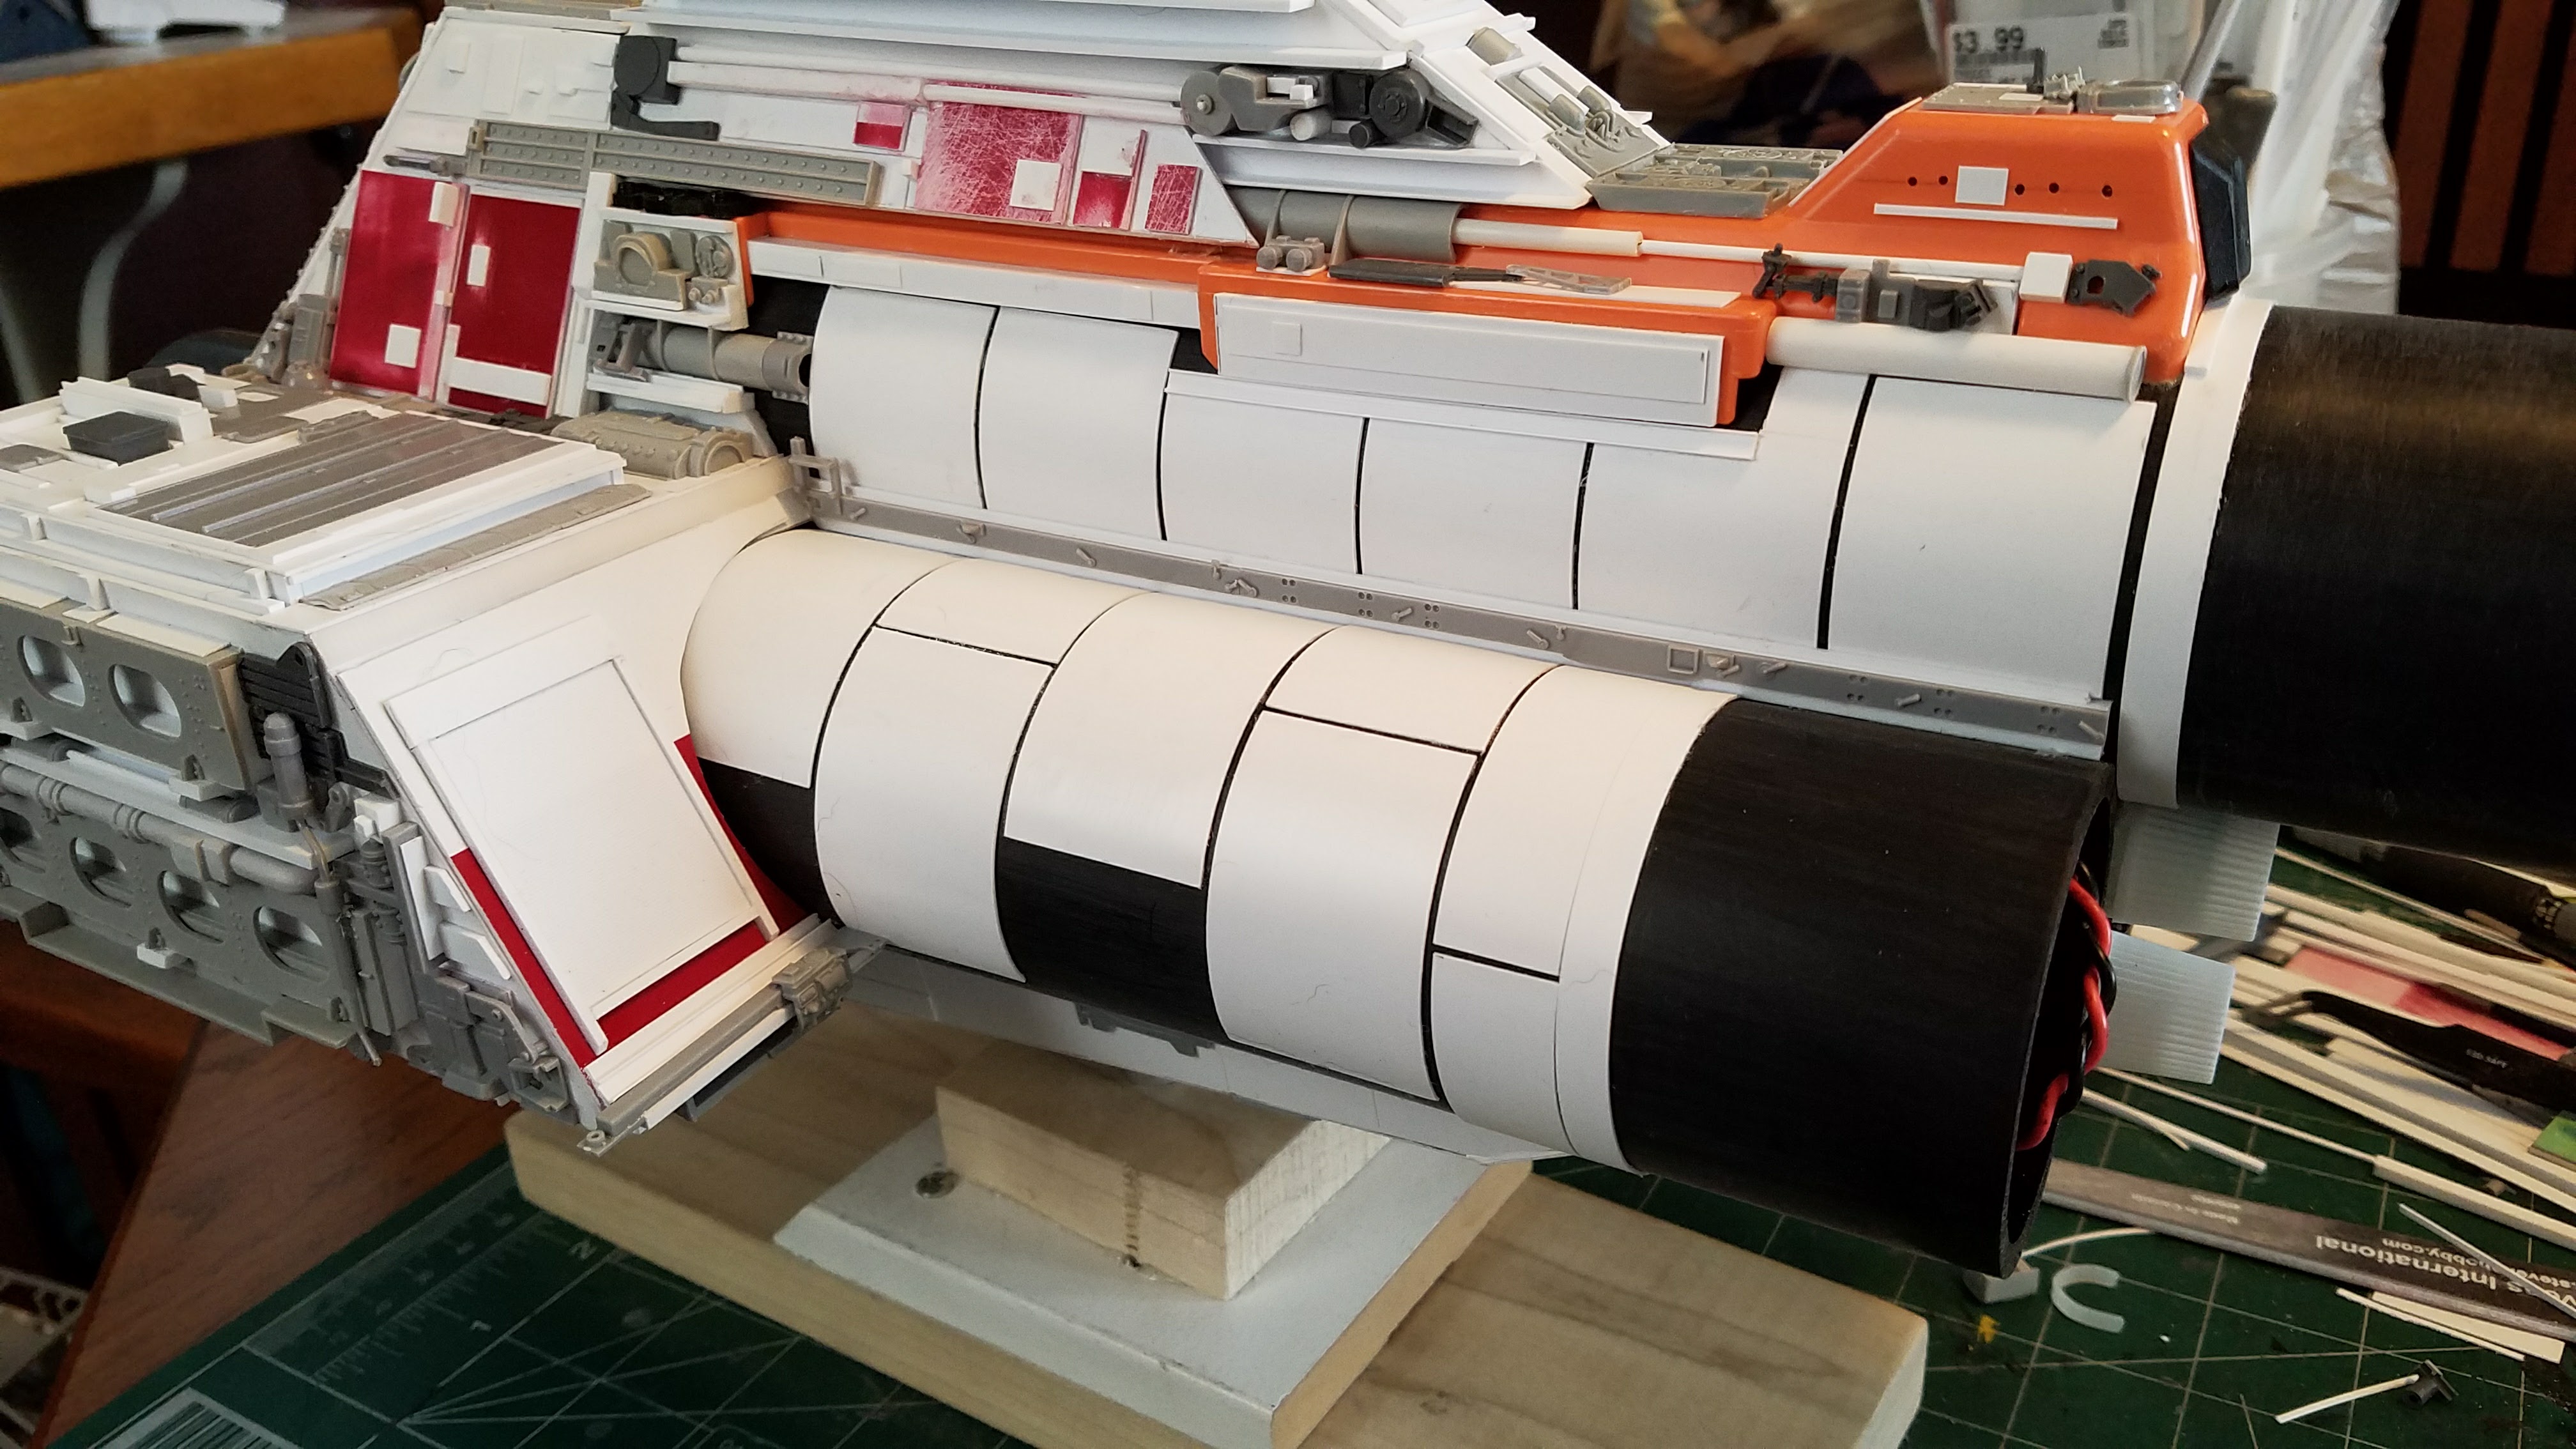
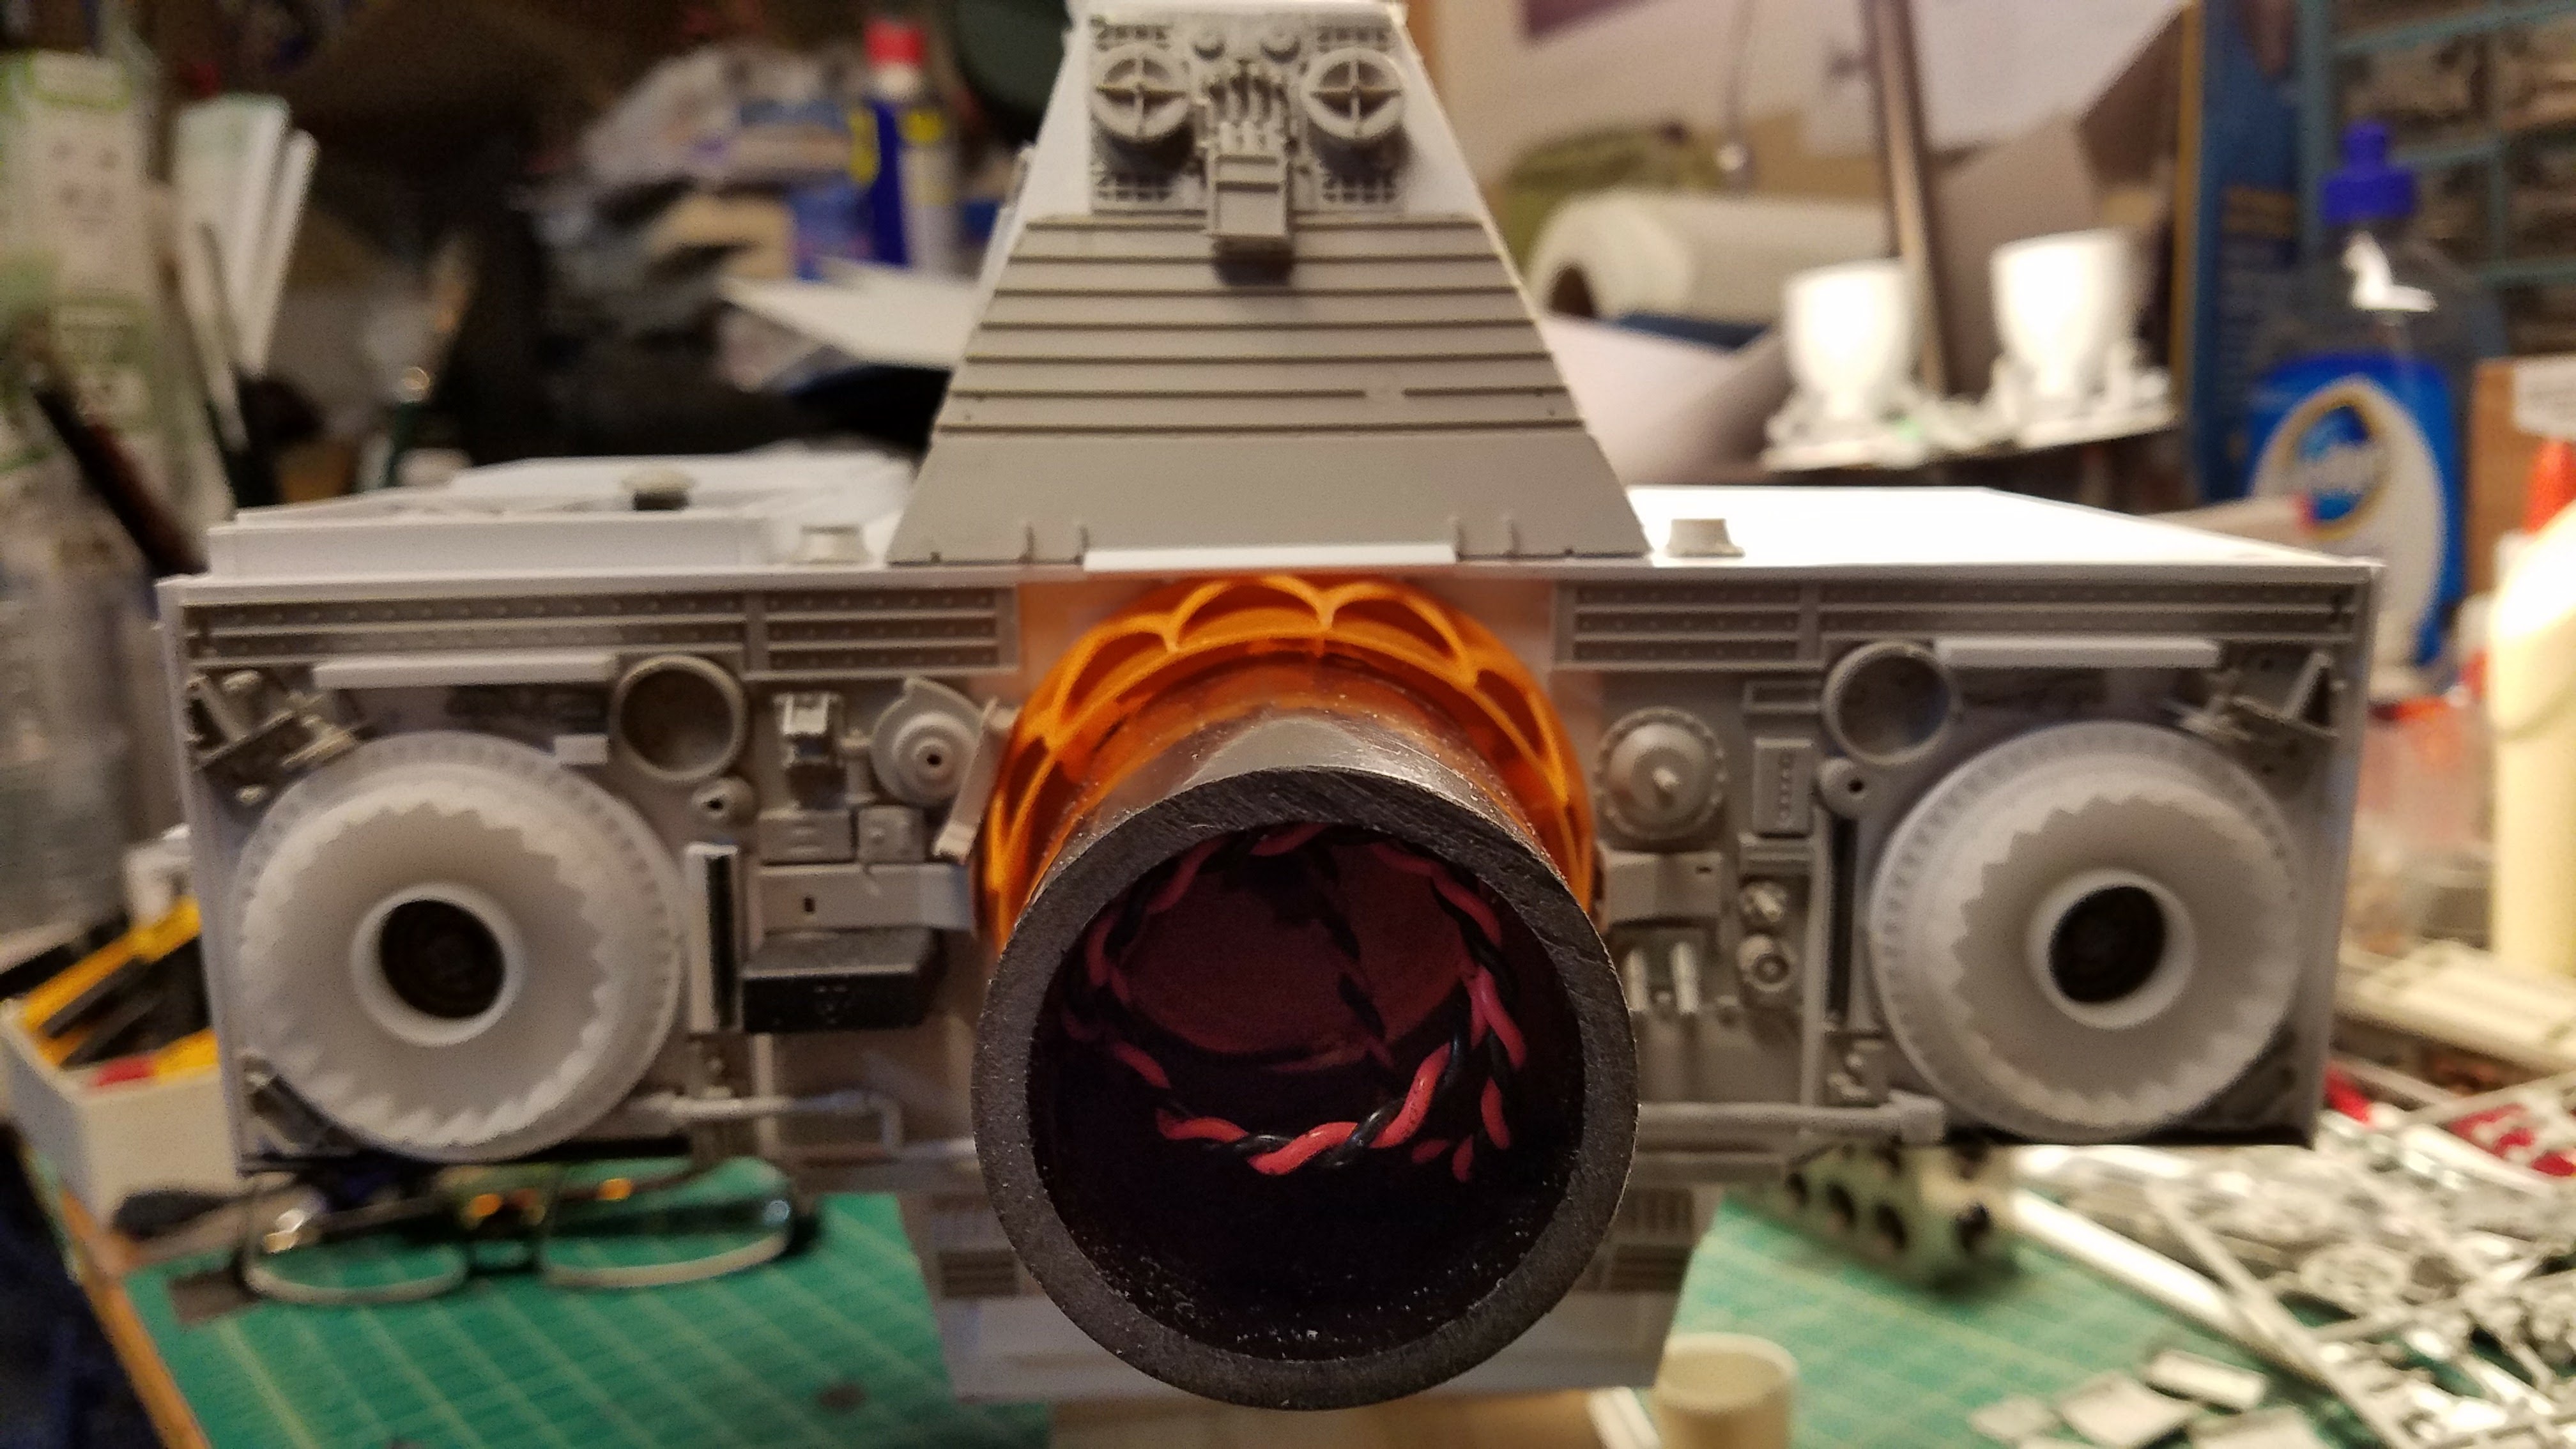
This beast has three engines, so lots of boring cuts to get these pipes.
Detailing just about done. Still needs work around the top decks.

Next up, the remaining areas and some tiny fighters.

