All of my models start with a drawing. Sometimes it’s just a thumbnail, sometimes it’s an orthogonal drawing similar to a blueprint. The later is what I started with for the Ranger. The shape of the ship lent itself to a pretty basic 2D layout on paper.
This is a pre-war design that still separated the drive, body and head sections with girders. This was an early design decision that I made a long, long time ago. I still love it and it was settle on because the early starship drives were in fact nuclear and it made sense to keep the engine away from where the crew lived.
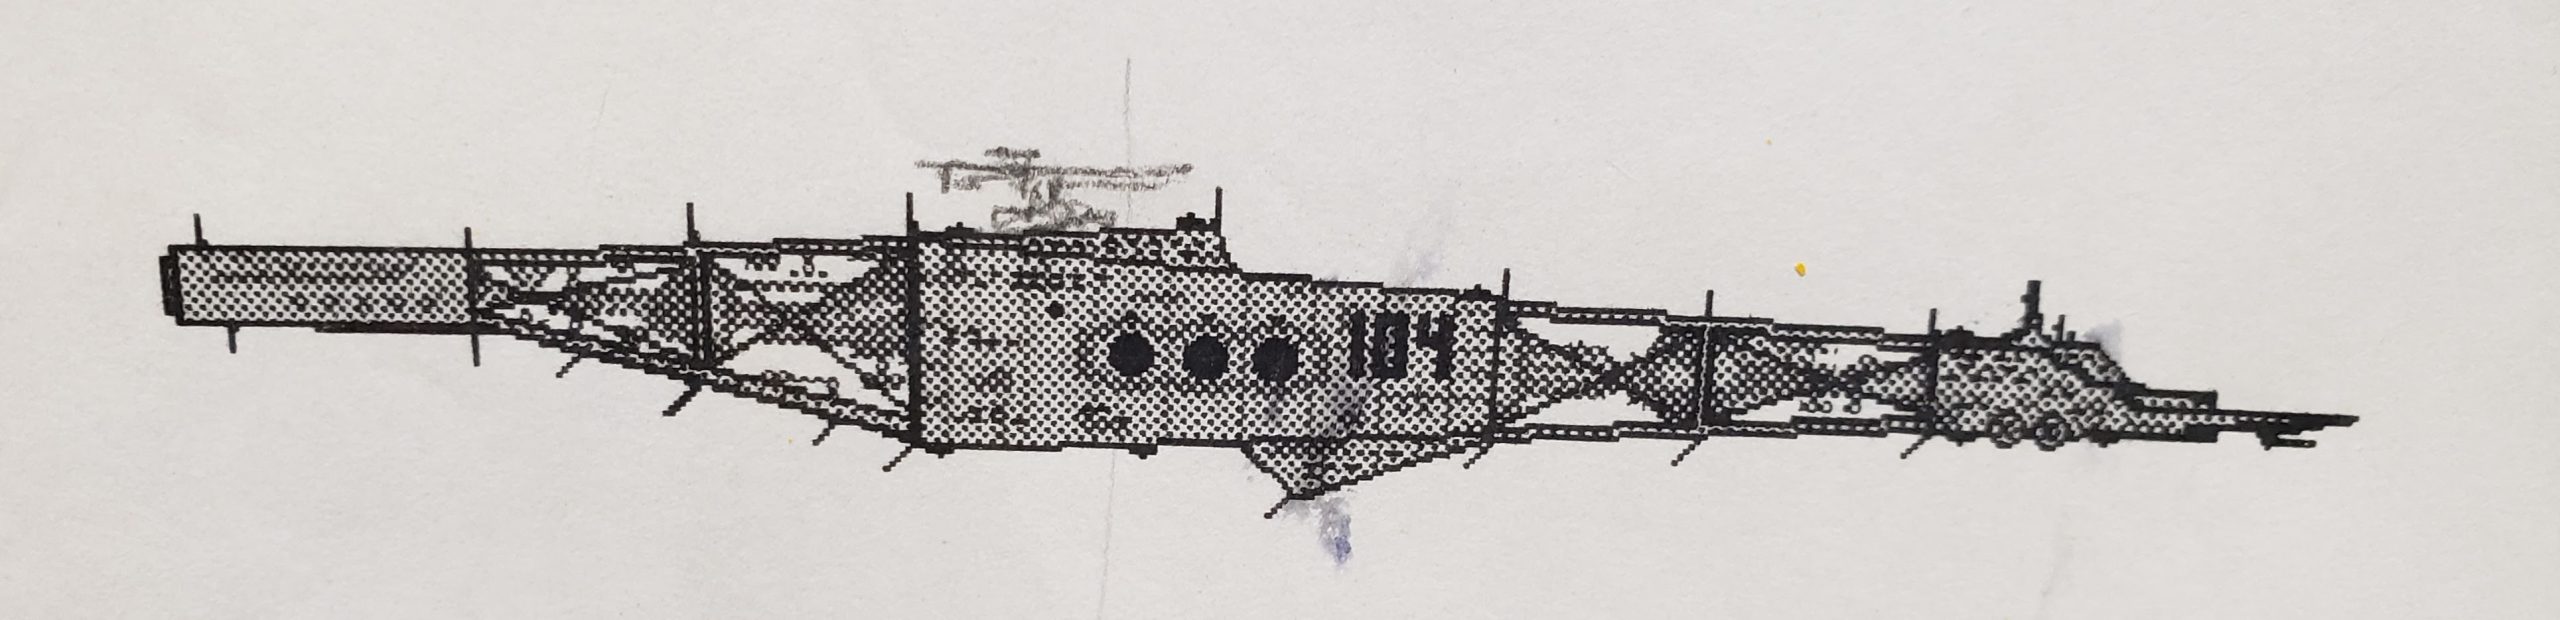
I decided to base the Ranger off of this drawing. The next step was to draw out the life size blueprint. You can see it on the work bench in the pictures of the model being built. The final design is not as long as the above image, but the hull shapes are the same. The Ranger has had a new Tunnel Drive installed and thus the engine will look a bit bigger and it round inside a rectangular shell.
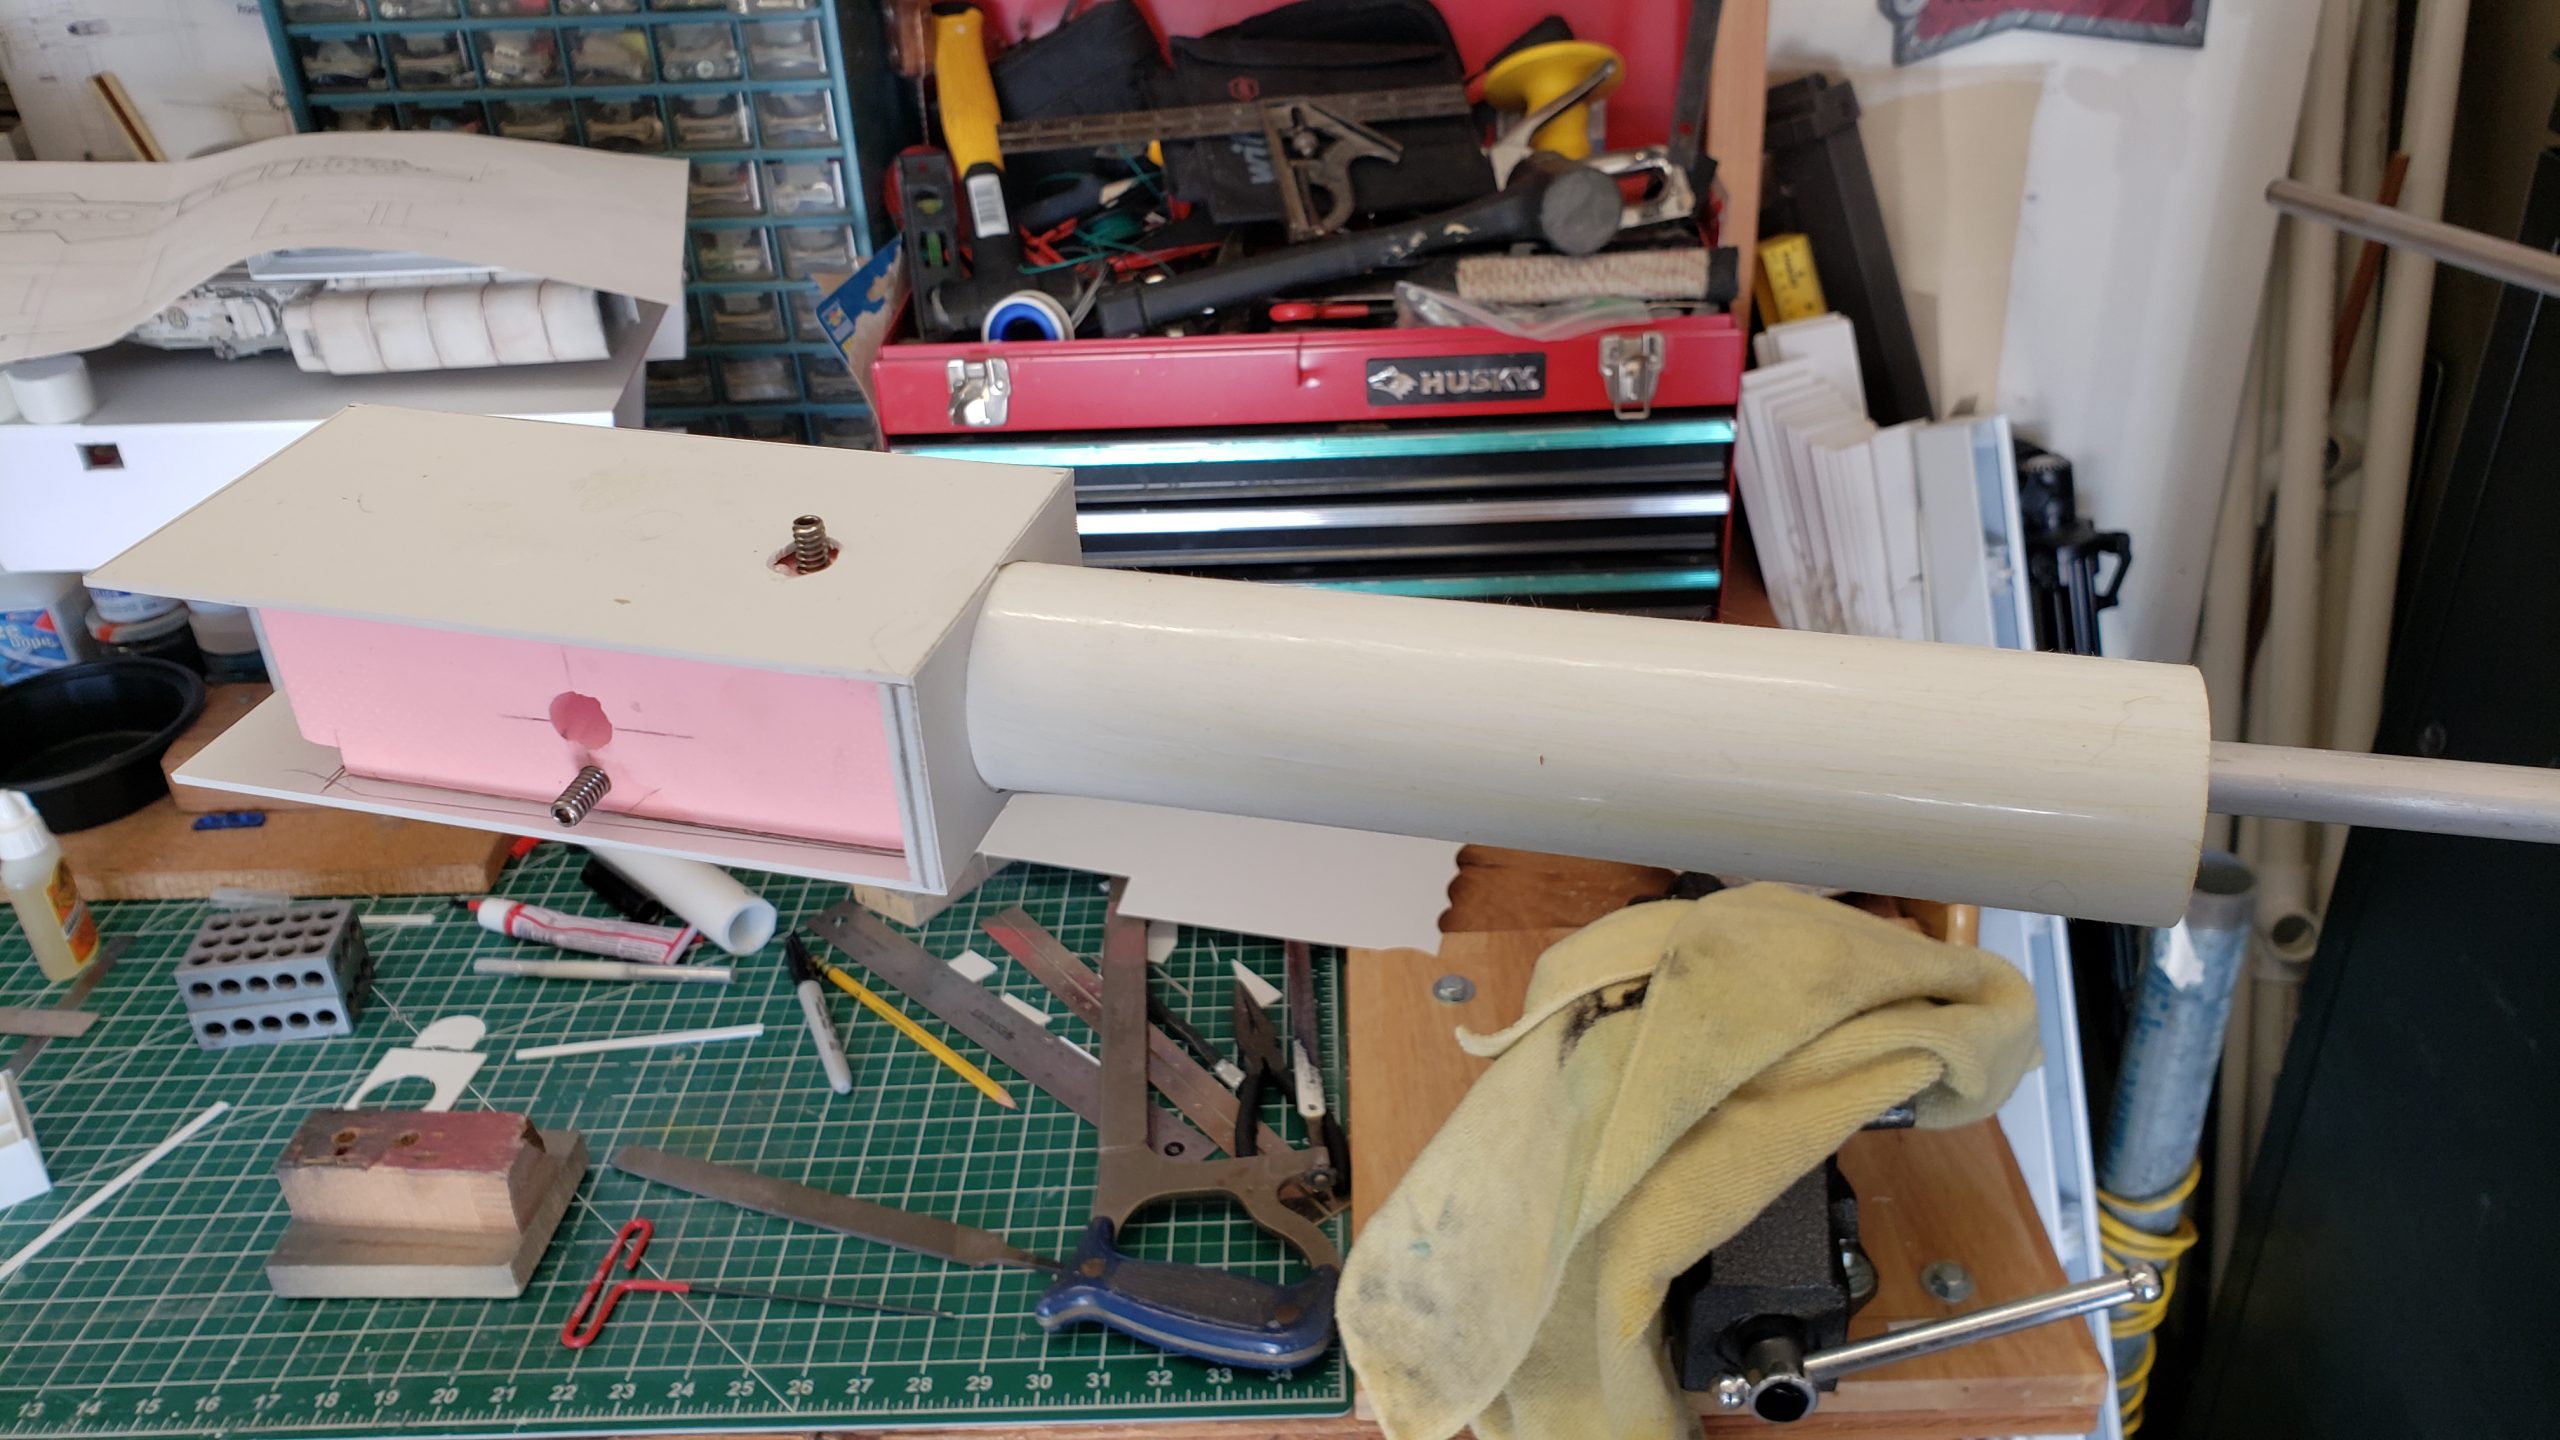
The first place I start with these studio scale build is the mount points. I use a shaped block of pink resin board sheet that I got for cheap on Amazon.
If I had any more RenShape, that would be preferred. I decide how many mount points I’ll need and drill out the block for a 1/2 inch rod. A couple of set screws allow me to secure the model from different axis.
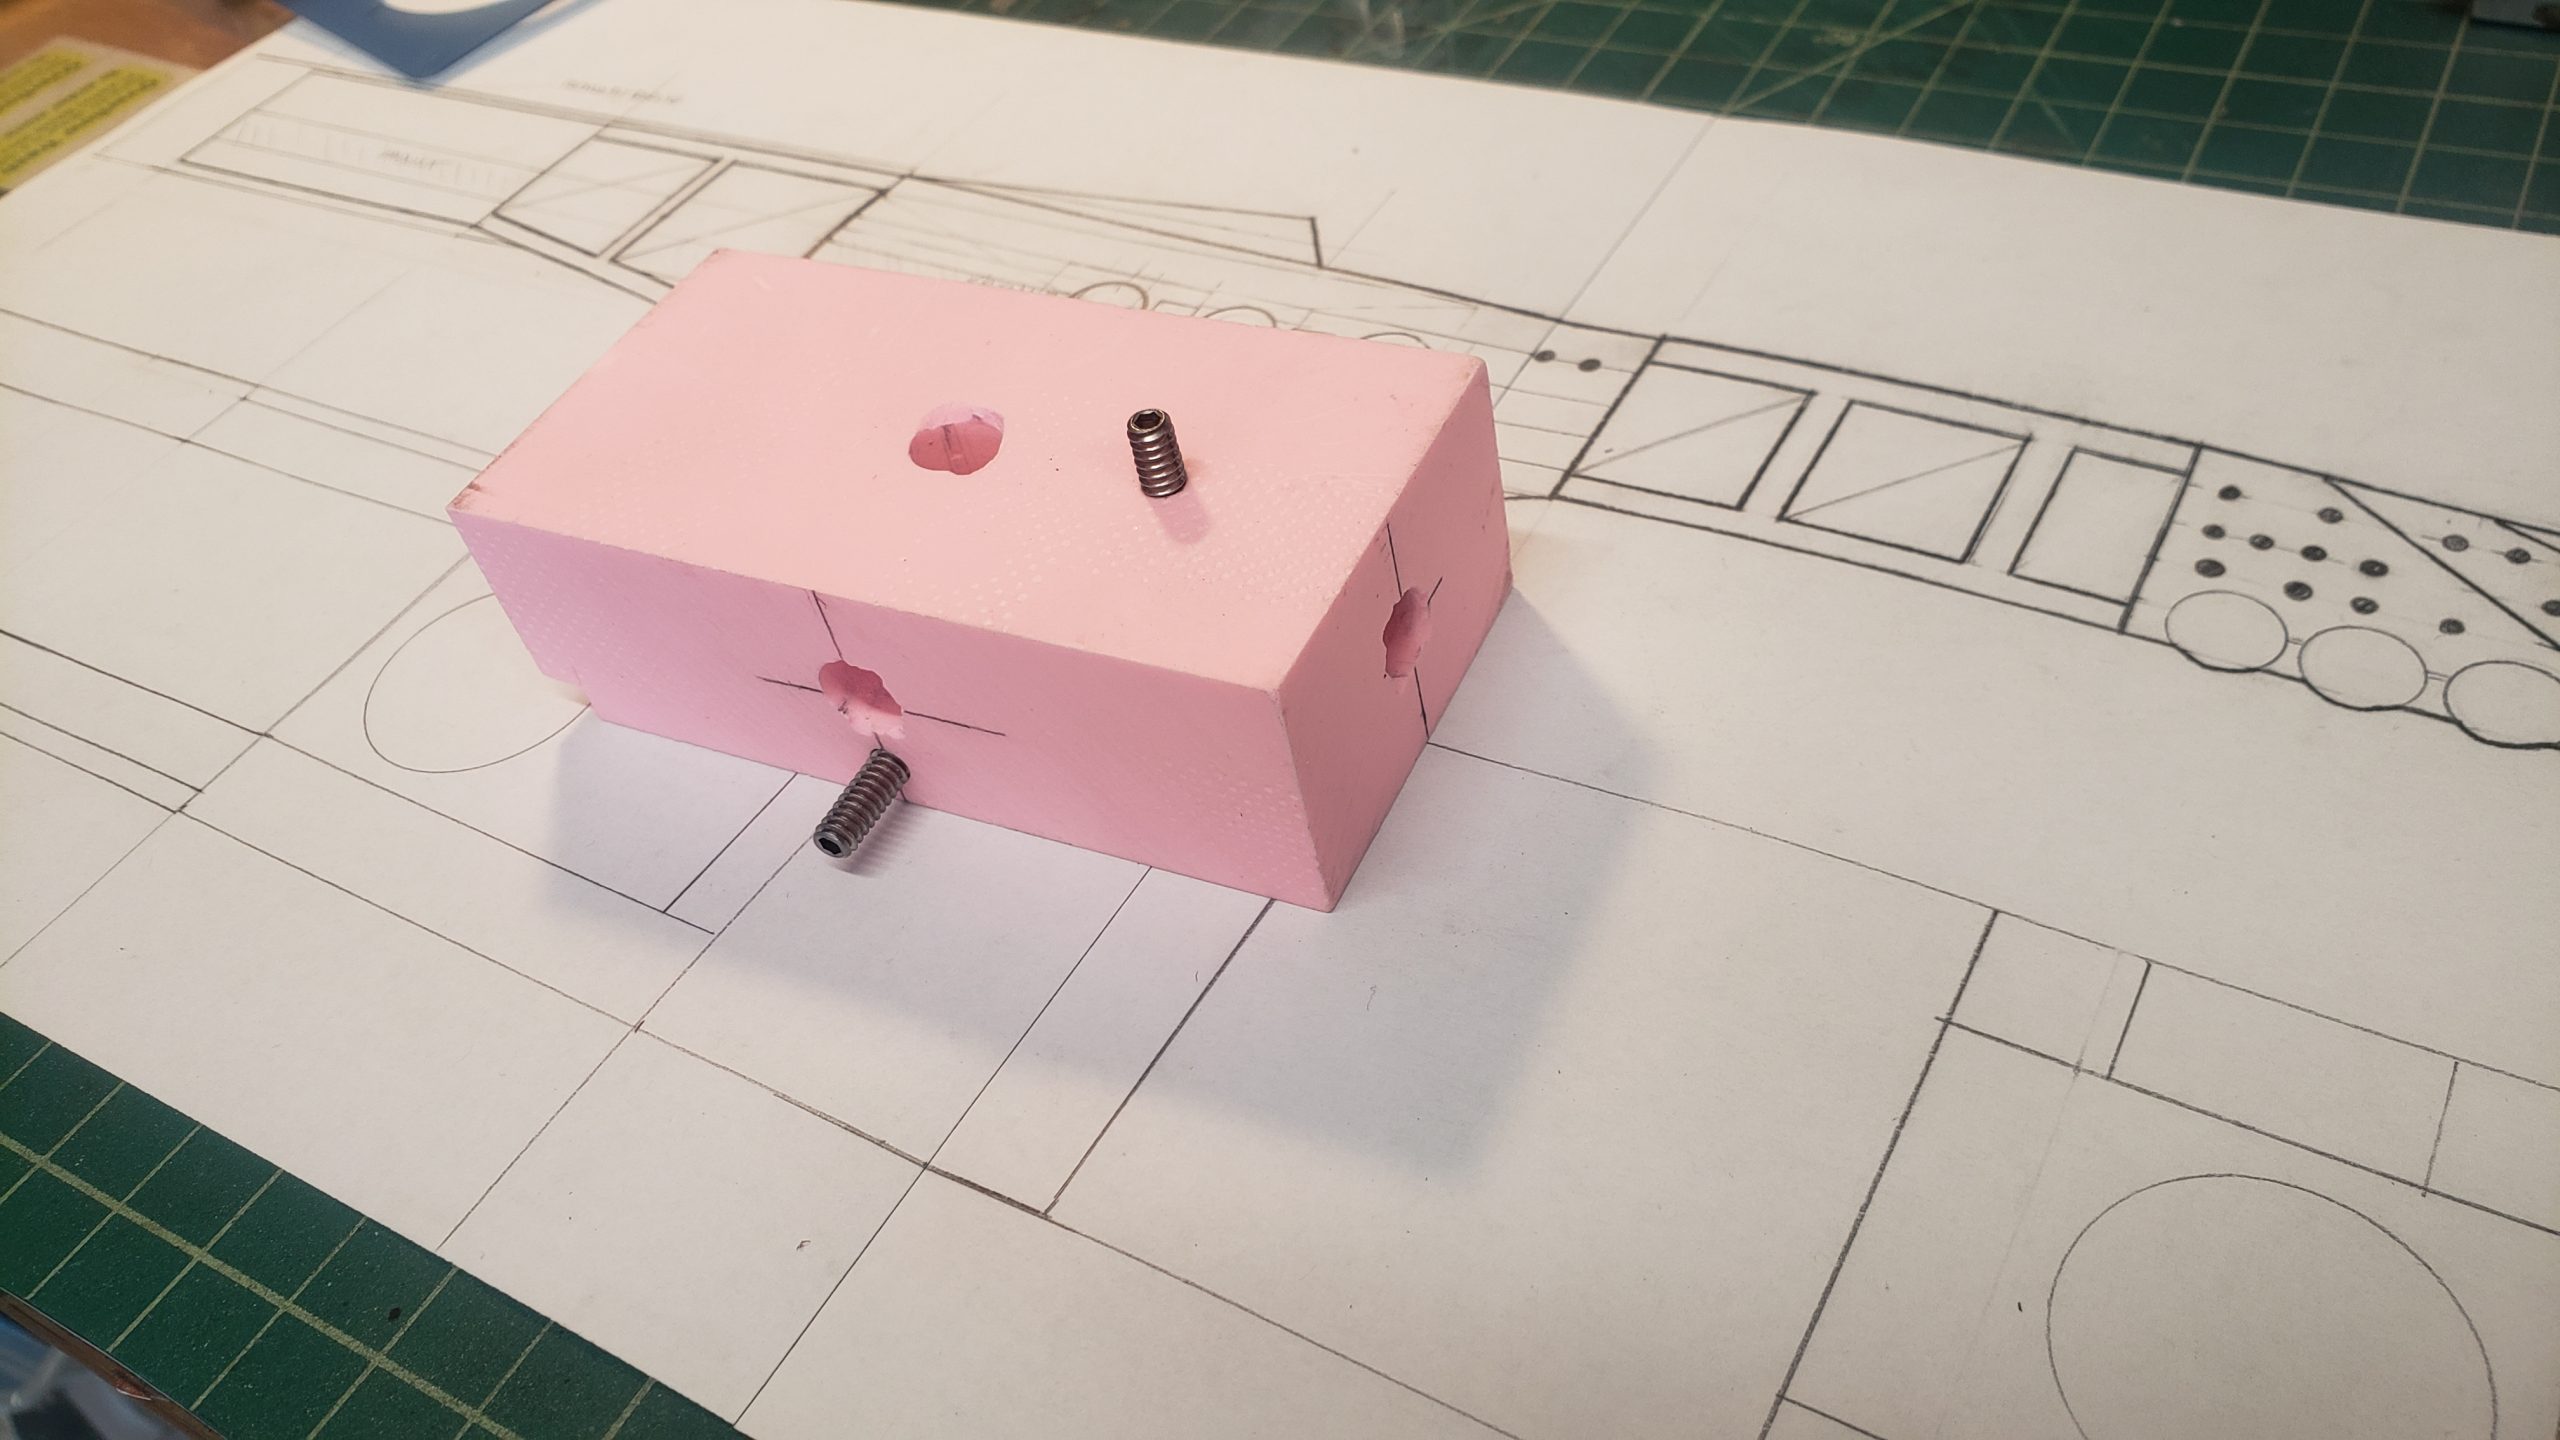
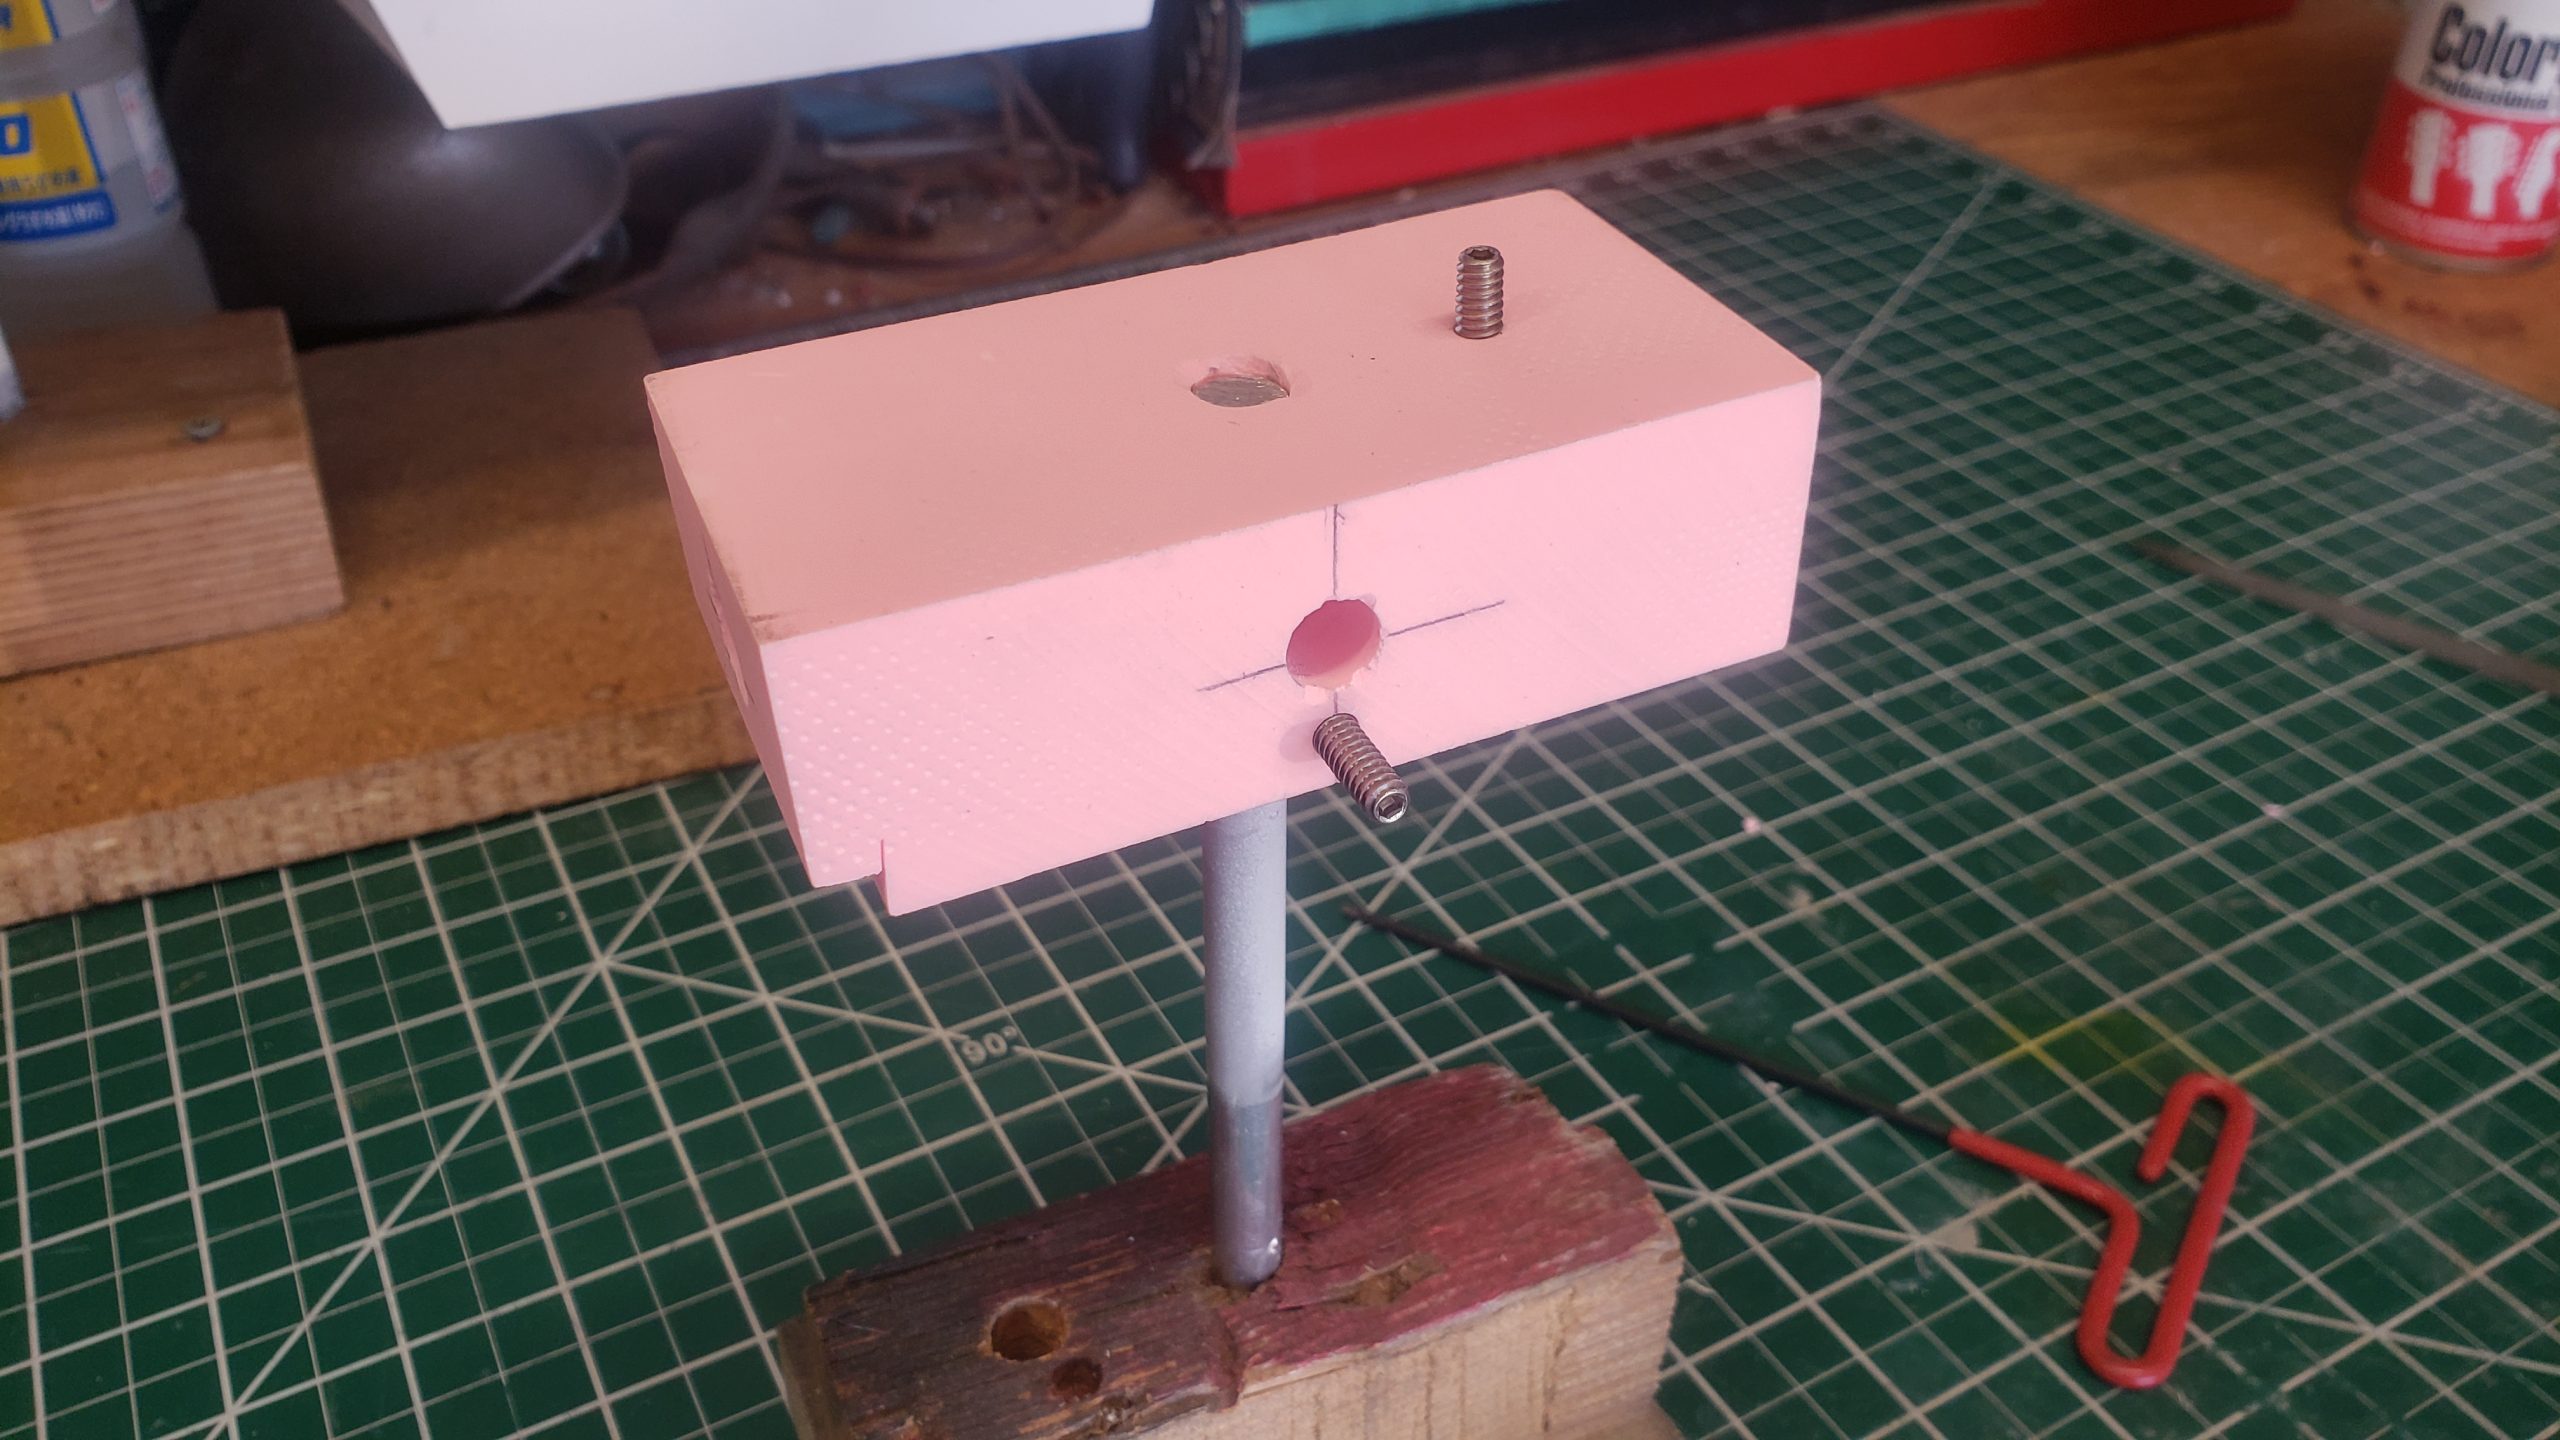
I should have used a third set screw to allow for a side mount, but truthfully, that is rarely used. So I probably won’t need it. Below the block is on a stand, ready to proceed with the build.
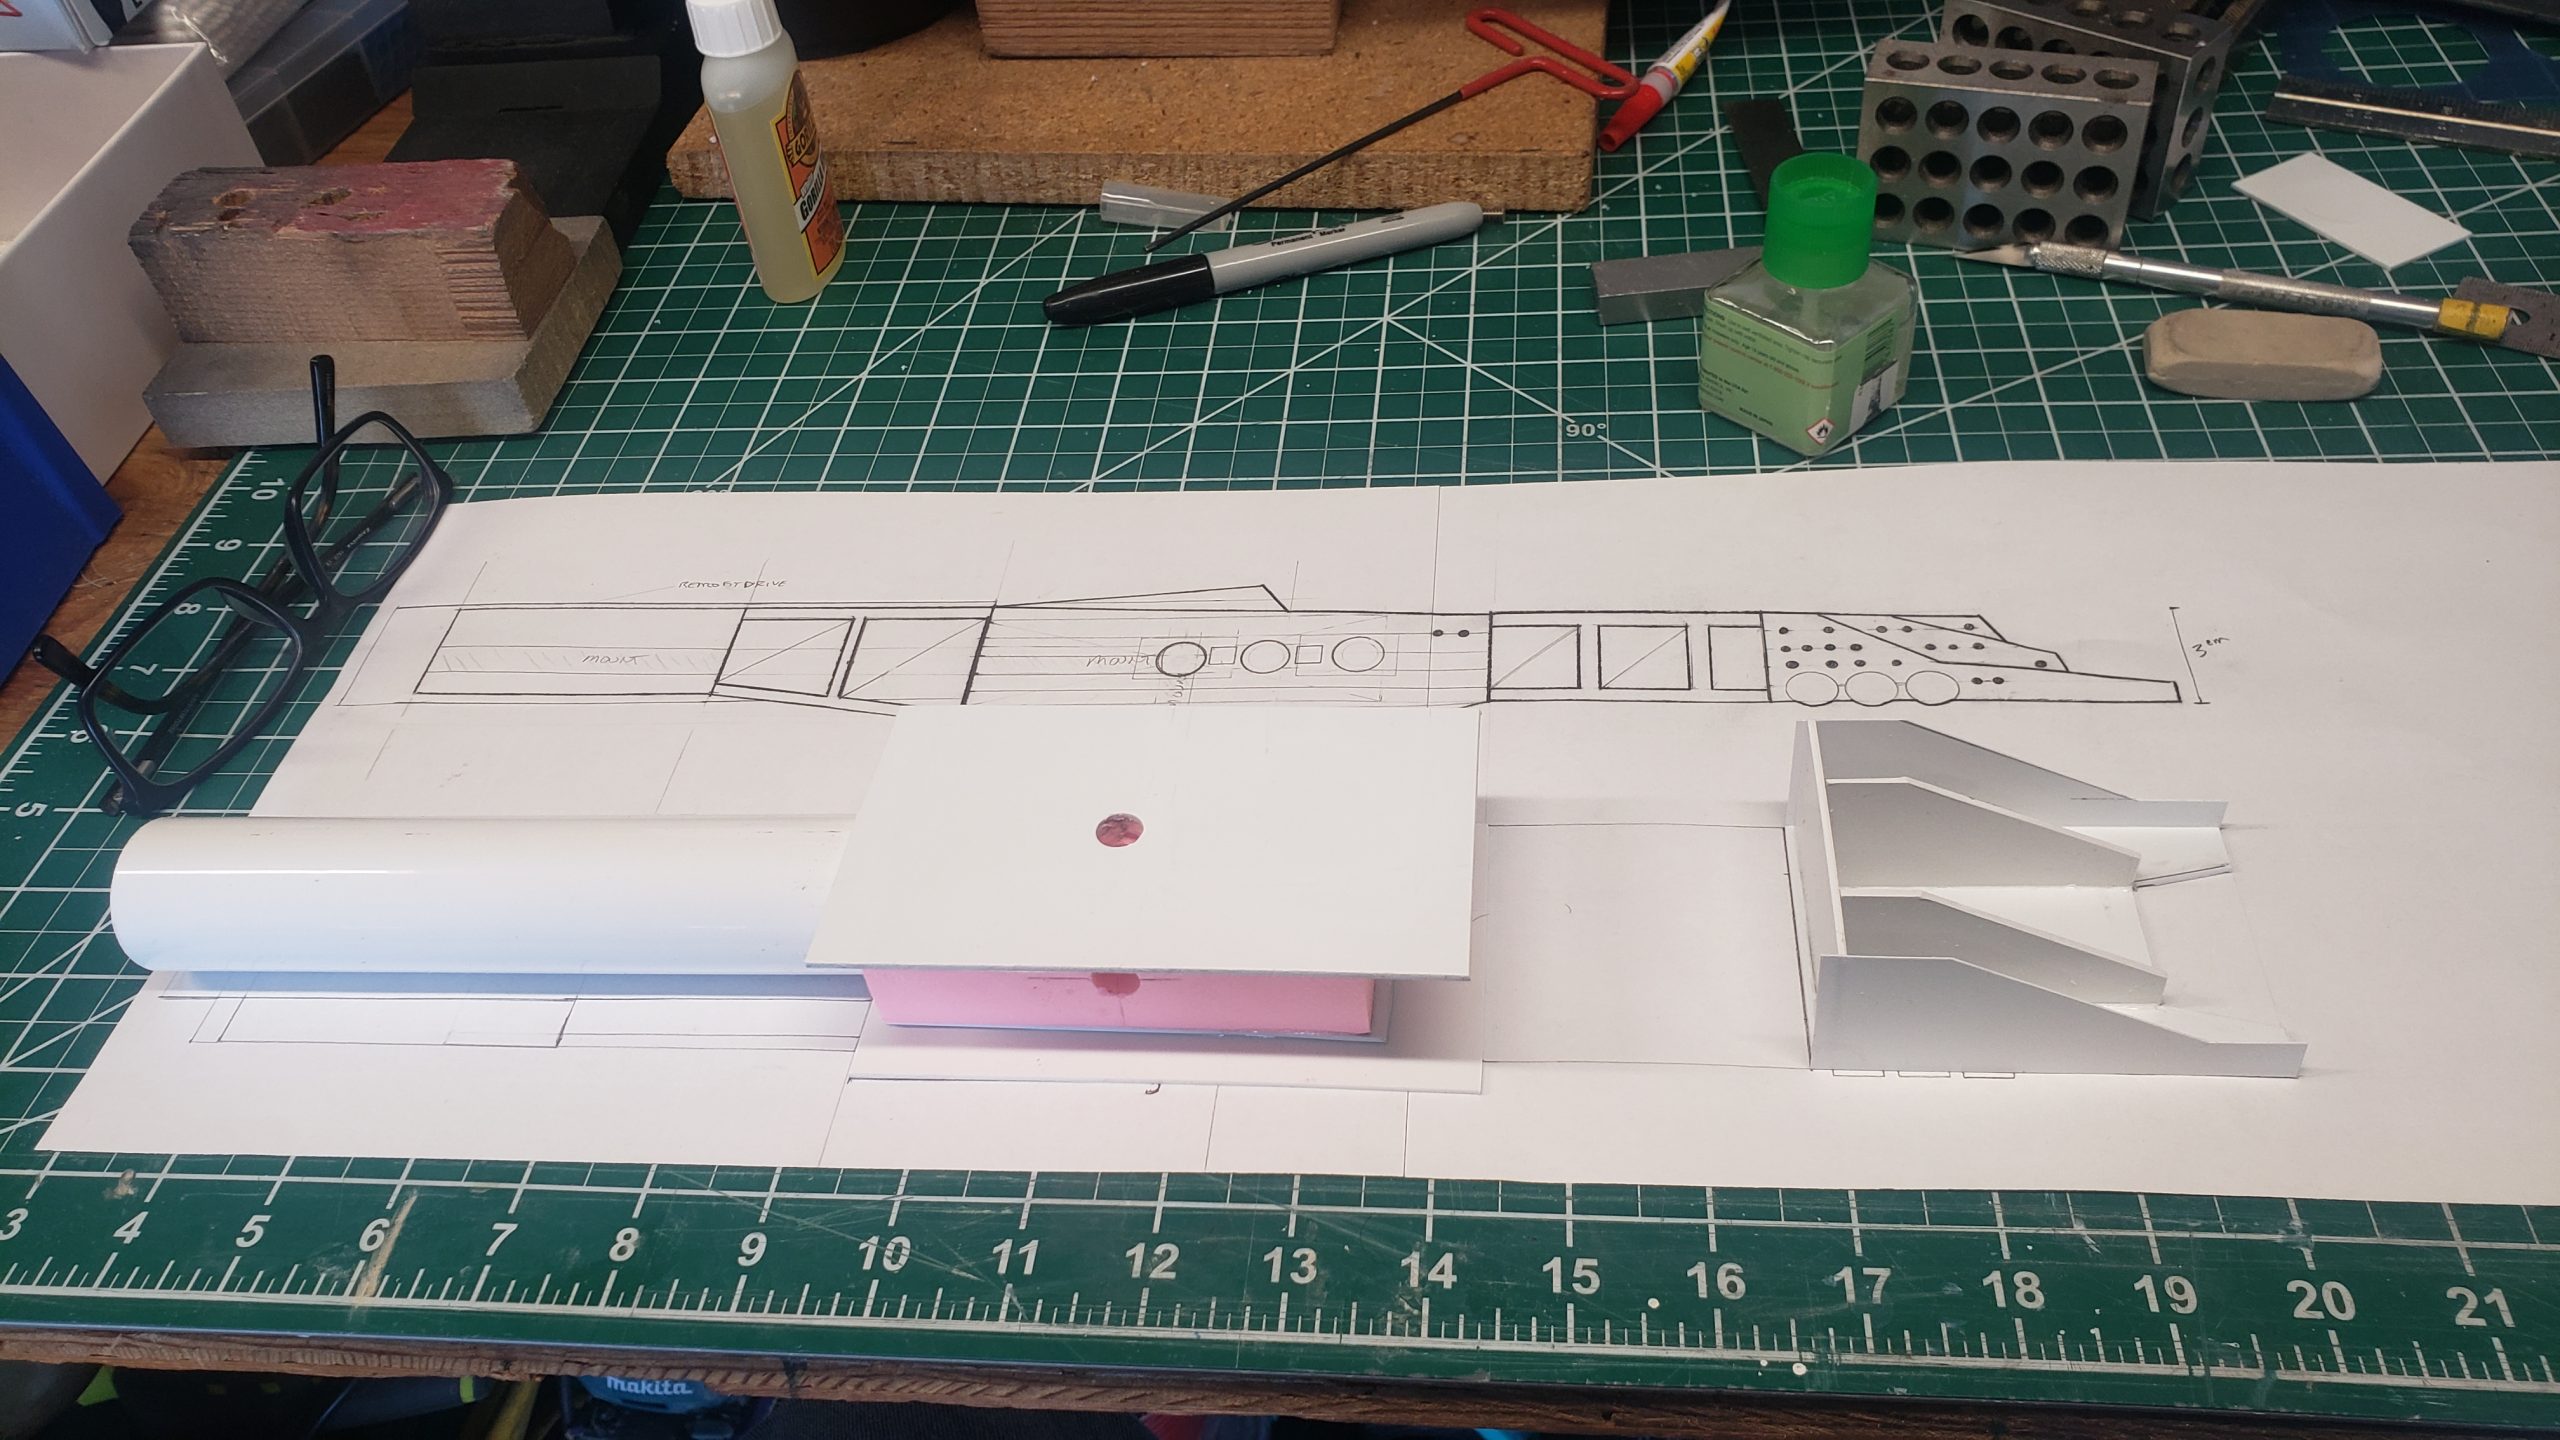
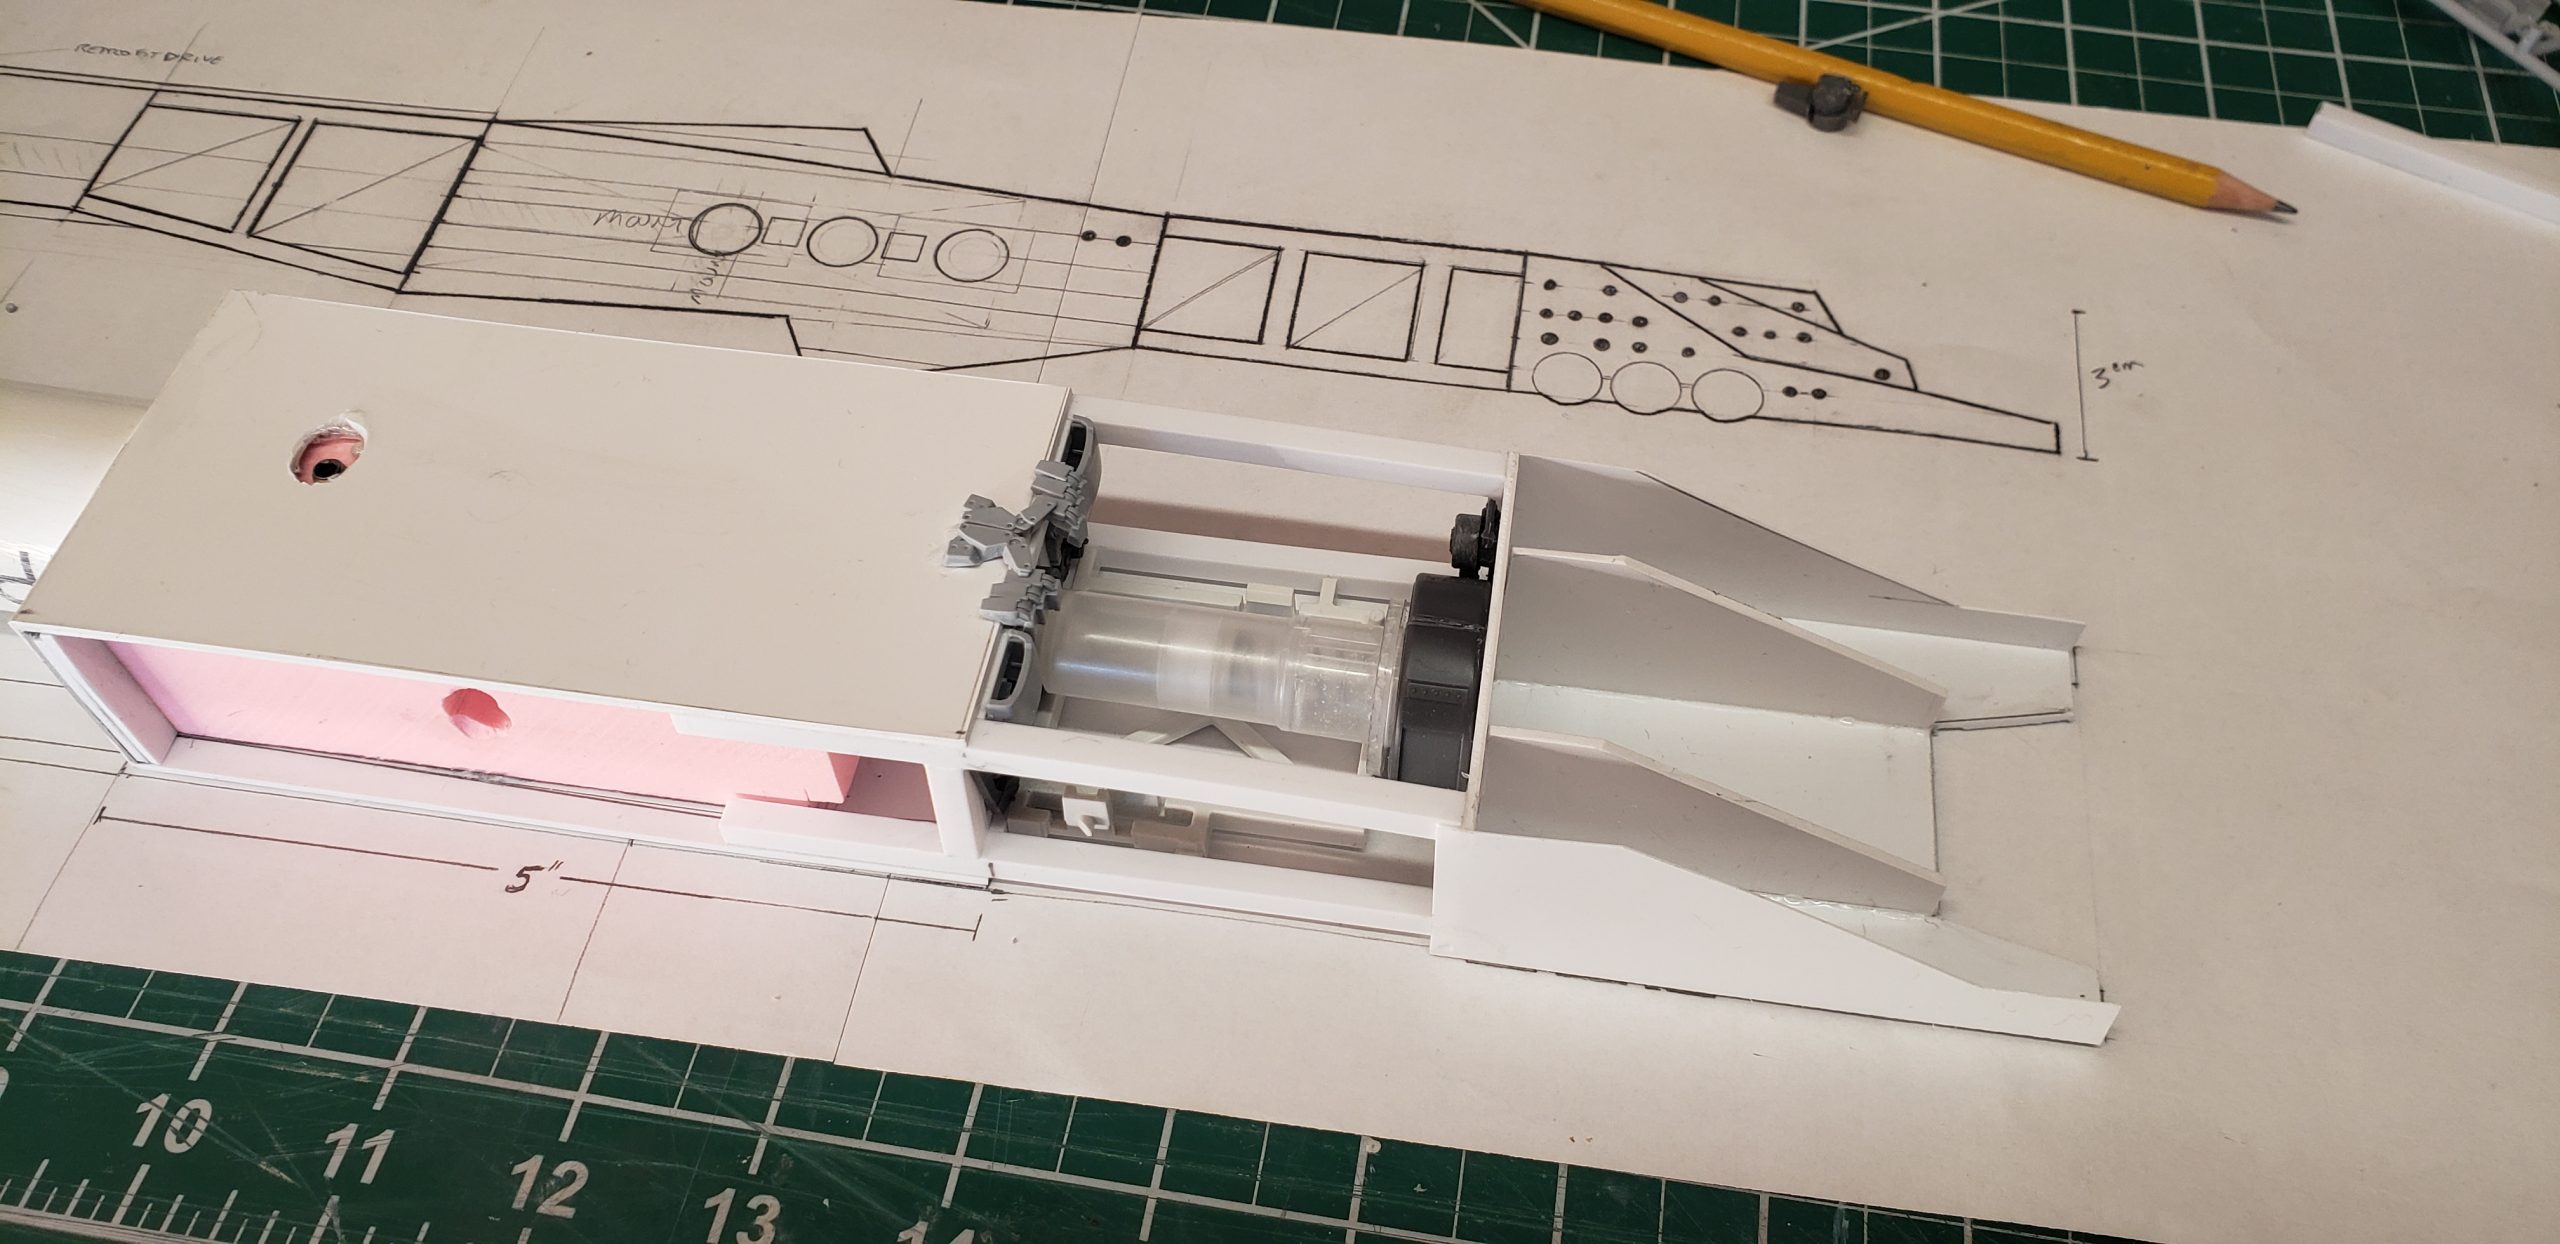
I built up the main body around the mount block and then built up the frame of the head.
The main drive engine was a one inch diameter PVC pipe. I then had to make a run to my local hobby store to get some styrene square tubes for the framework between the sections.
Below you see that model on a C-stand for demonstration purposes. This is how they are mounted for photography sessions.
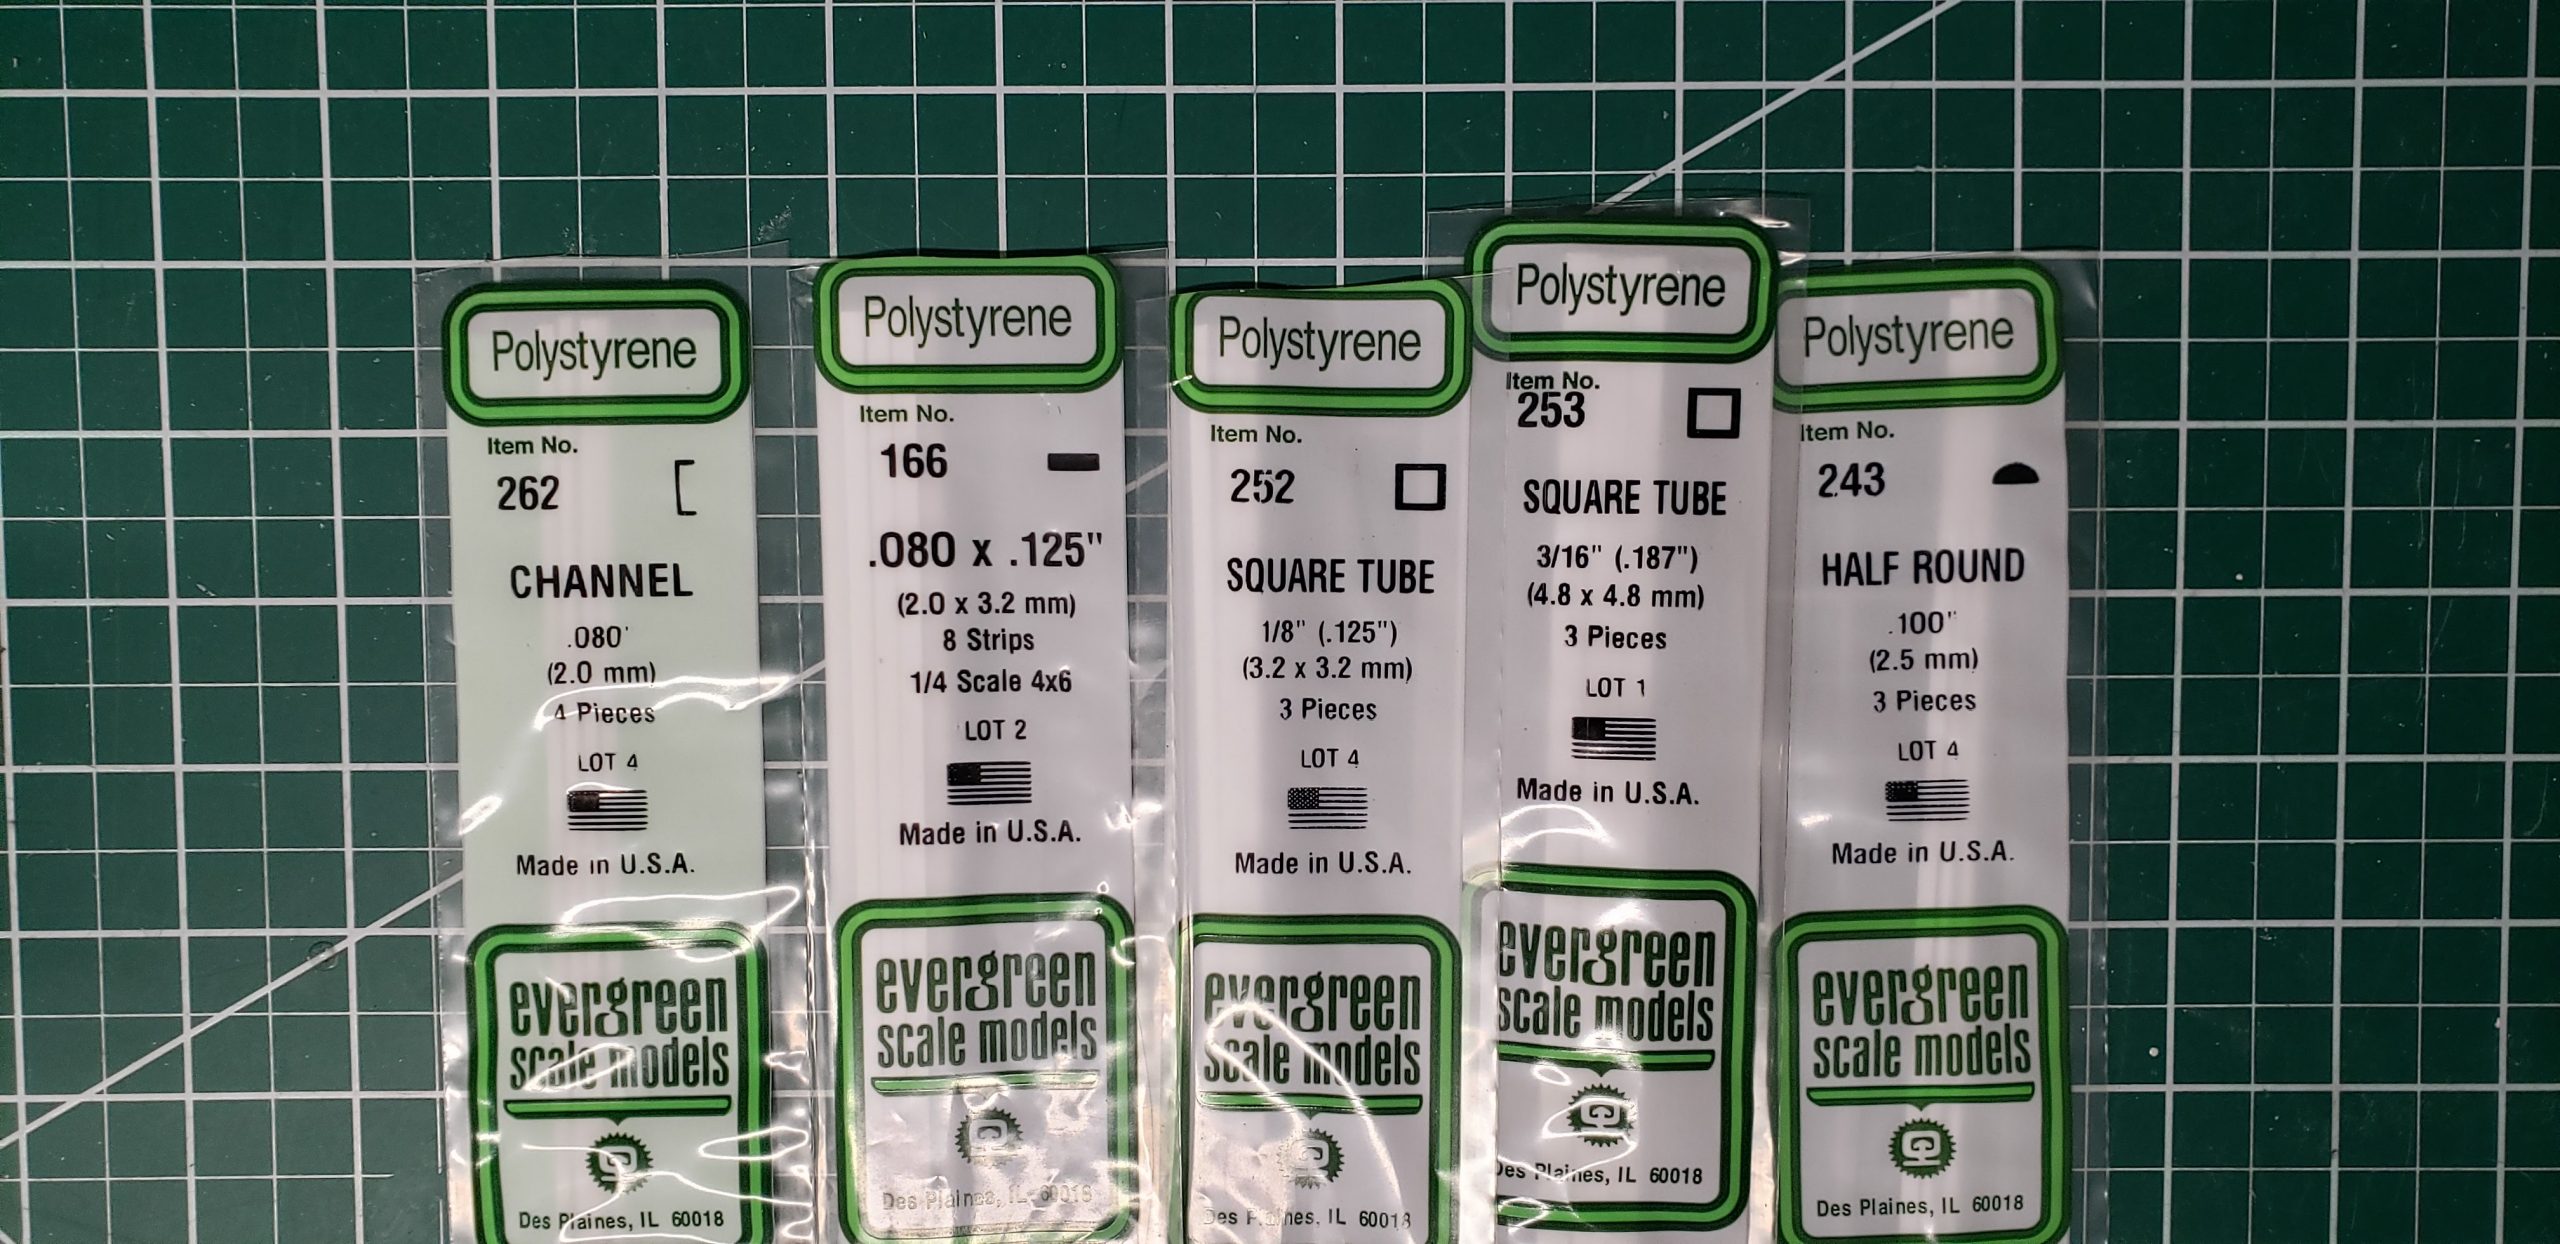
Below are the stock styrene I purchased along with some BanDai plastic pieces for greeblies.
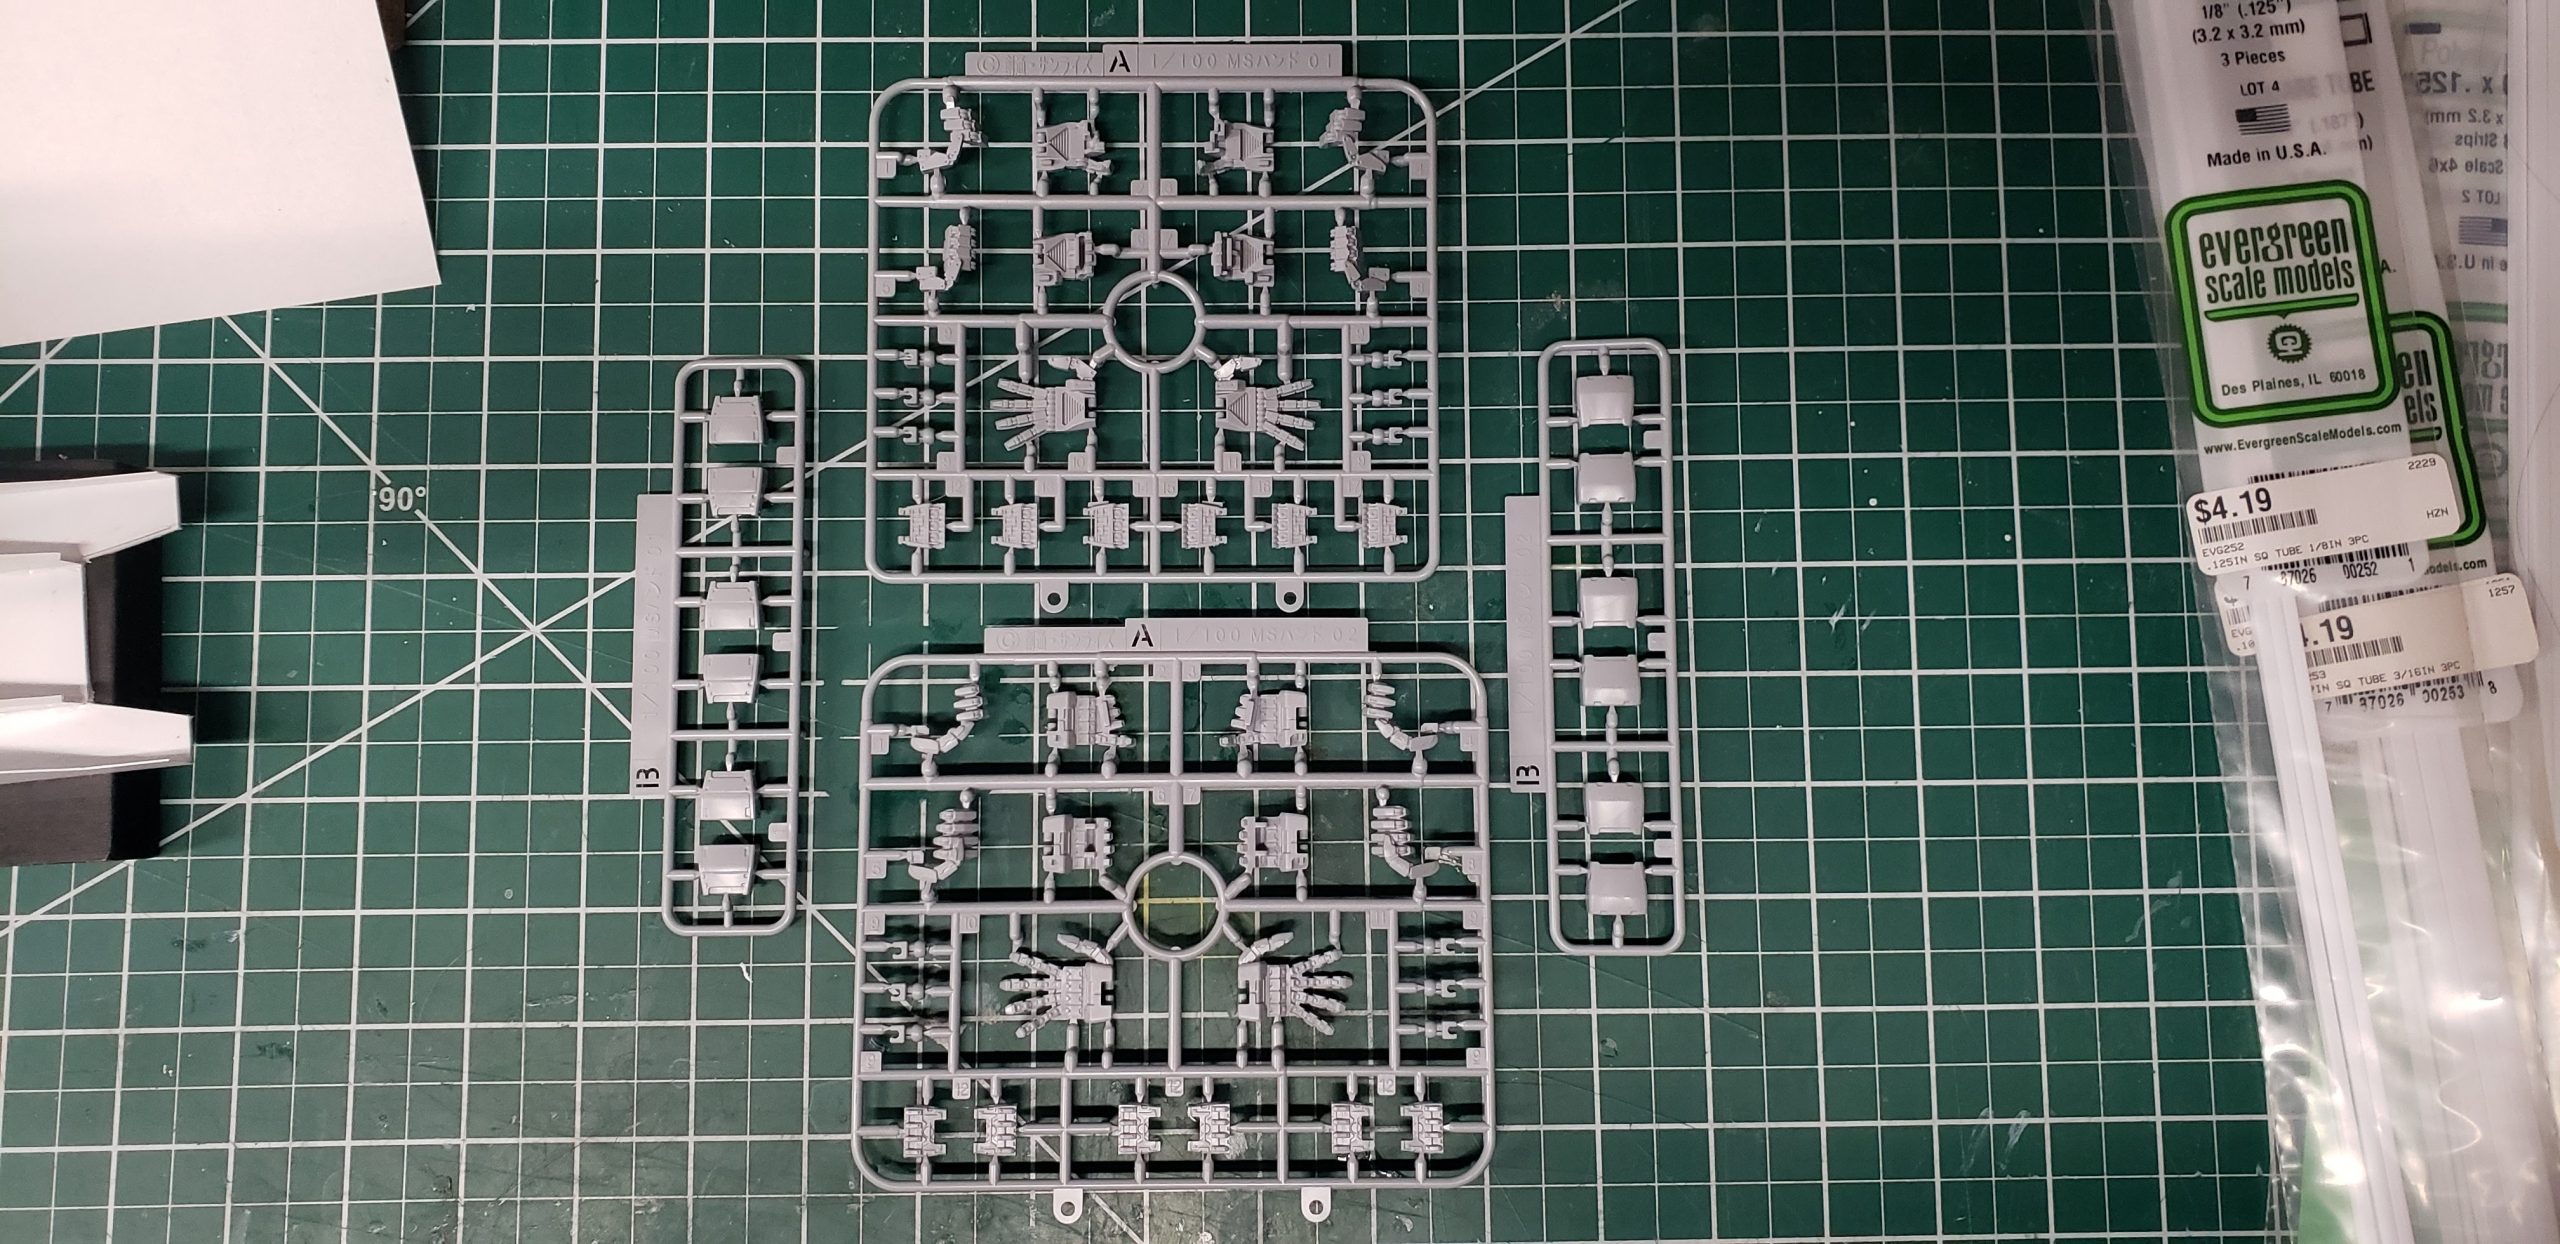
Work was then able to continue on the trestles connecting the head to the body of the ship. After that was worked out, I needed to insert some greeblies before gluing the head to the body frame.

And that’s where it sits for now.
Next up is framing the body and the star drive section.

