test text
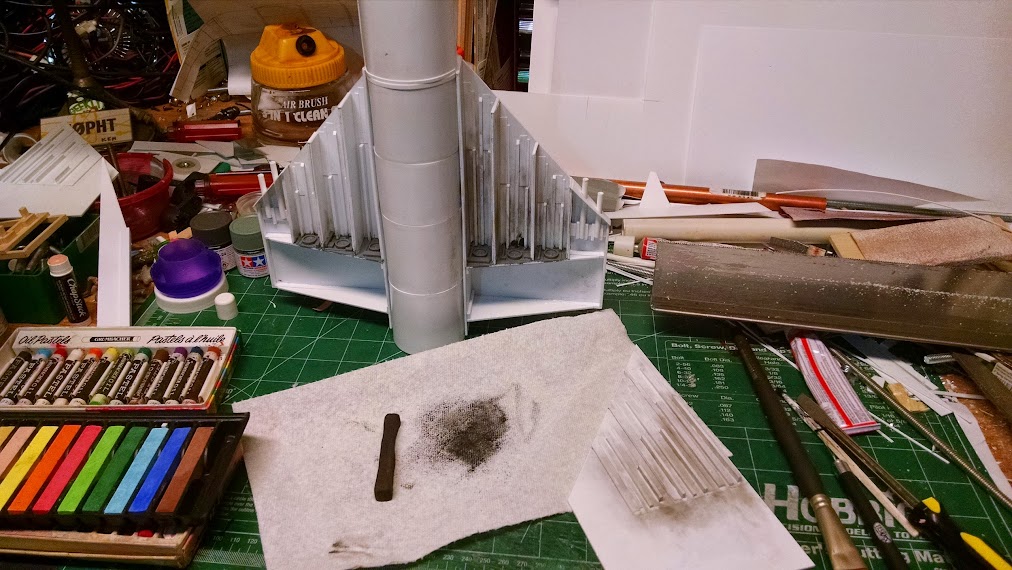
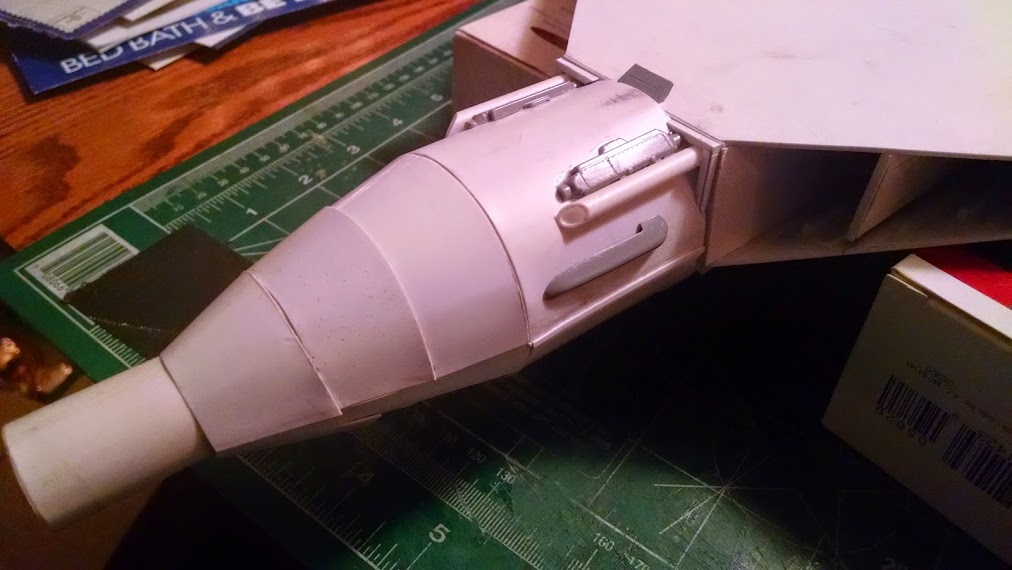
Before the main wings went on, I detailed the intakes and weathered them with artist chalk.
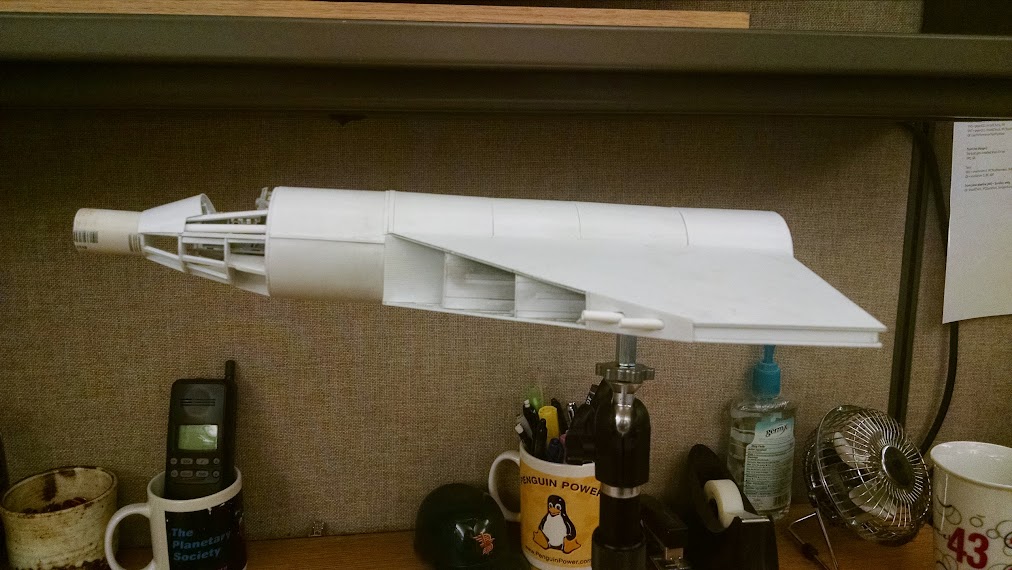
Took the Swift to work and showed it mounted to the base from which it will be photographed for the book cover.
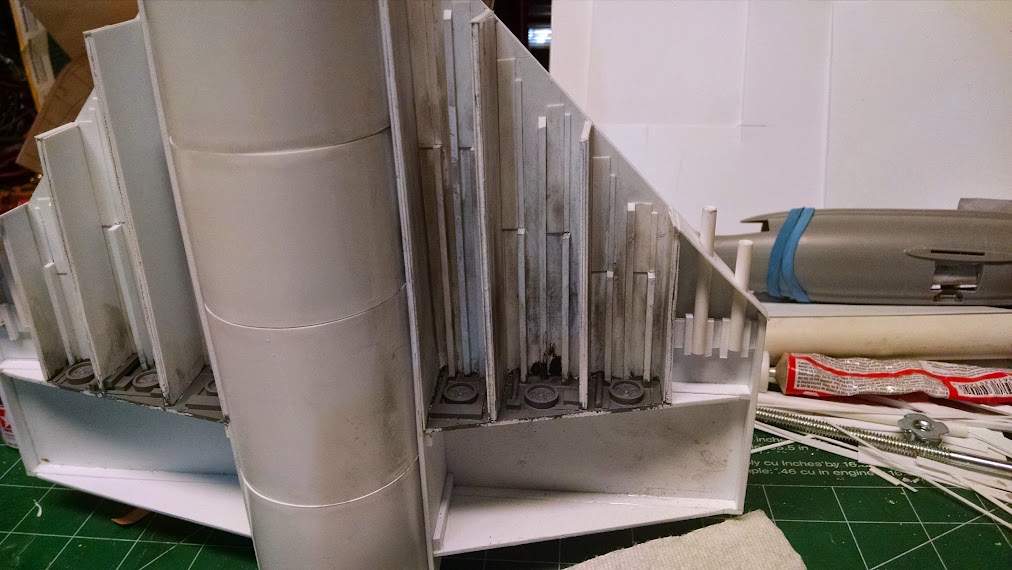
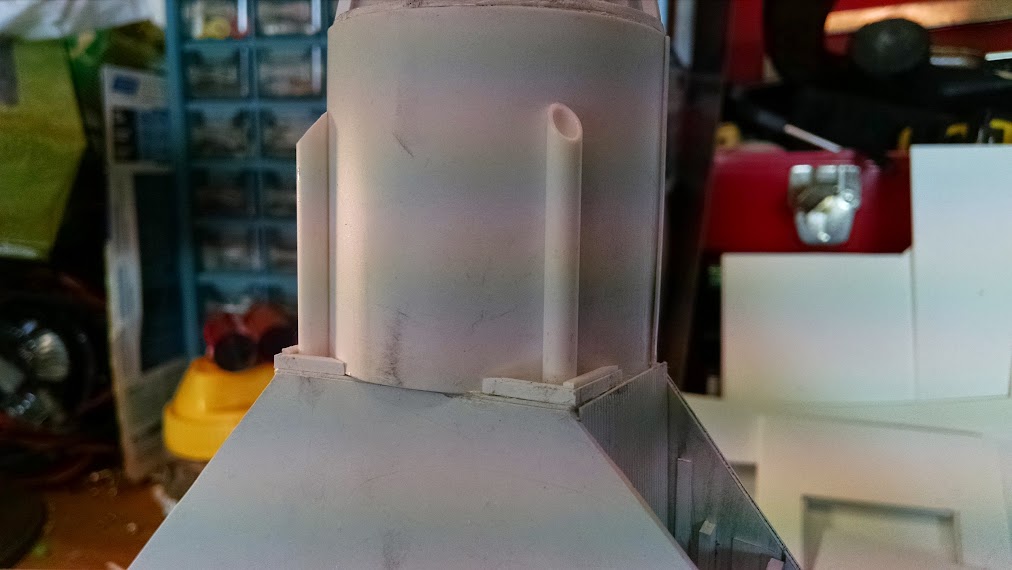
Close up of the vent details. Mostly sheet plastic strips.
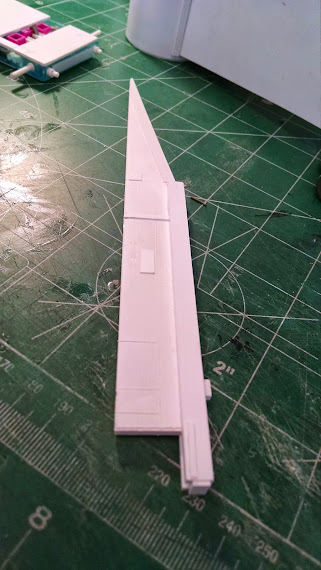
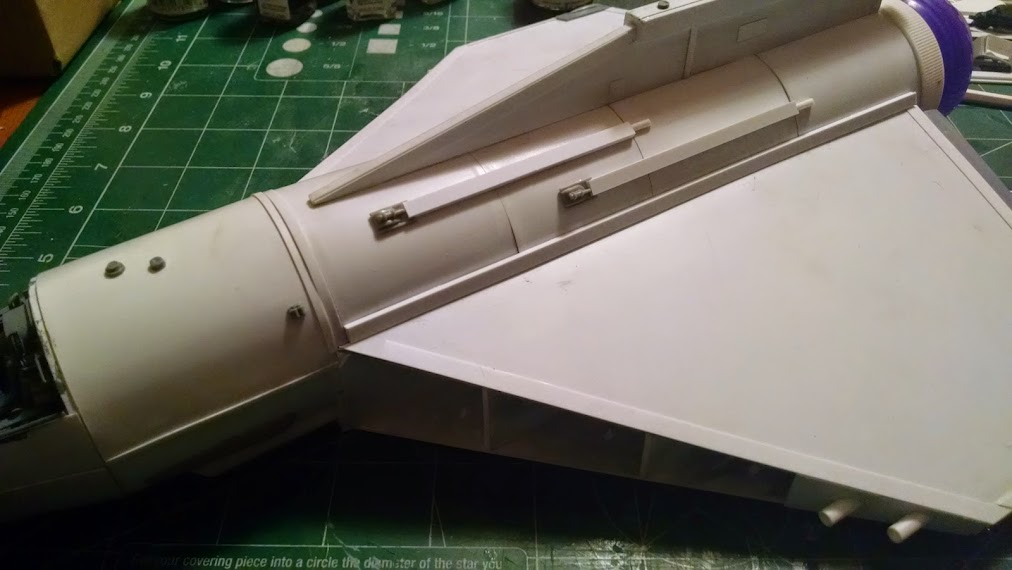
The top fin gets some panel lines and panel details.
Close up of the main cannons. Not exactly aerodynamic here, but it is a space fighter too.

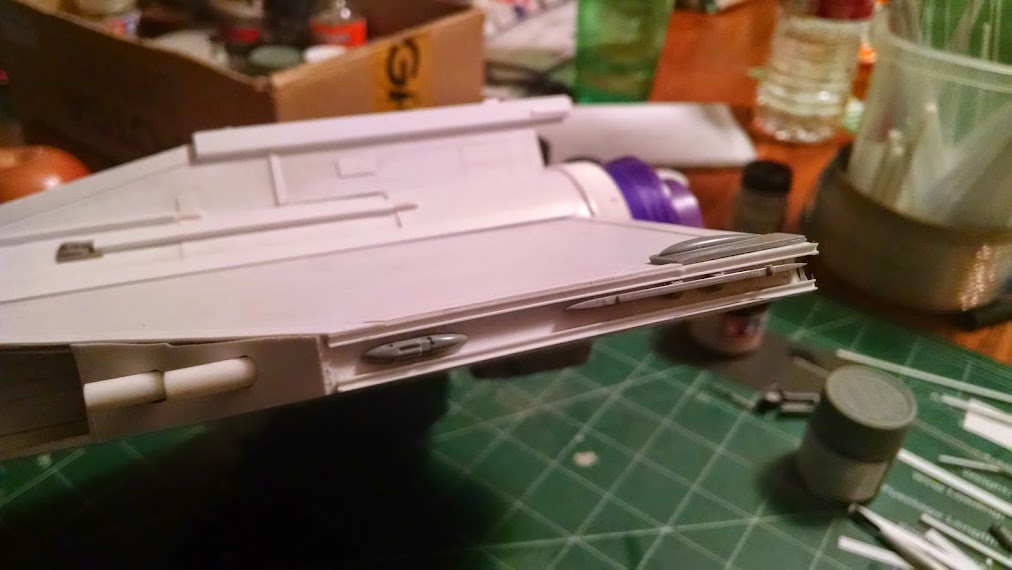
Detailing the back edge of the wings. Used mostly airplane parts from the X-1 and some 1/72 scale jet fighter munitions. AMMO, huh!
Back flaps with actuator arms and some bottom vent details taken from a Spitfire model.
Bottom of the nose area gets some attention. ECM pods for details.
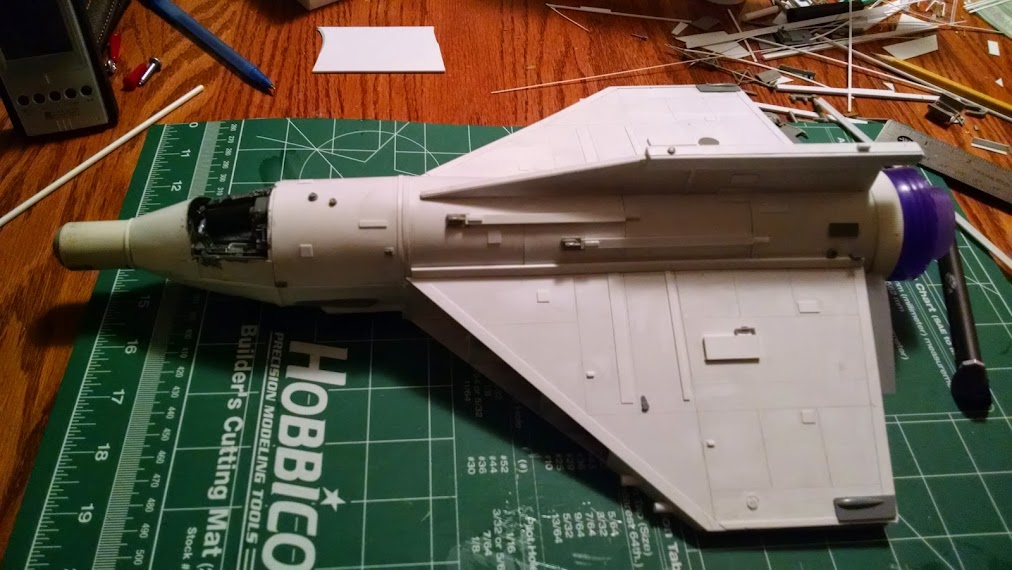
Surface details appearing on the fuselage. These details mirror the Vickers Victory fighter model and are built from aircraft parts and plastic strips.
Wing tip details coming from munitions racks and other aircraft parts.
The nose gets some wheel covers.
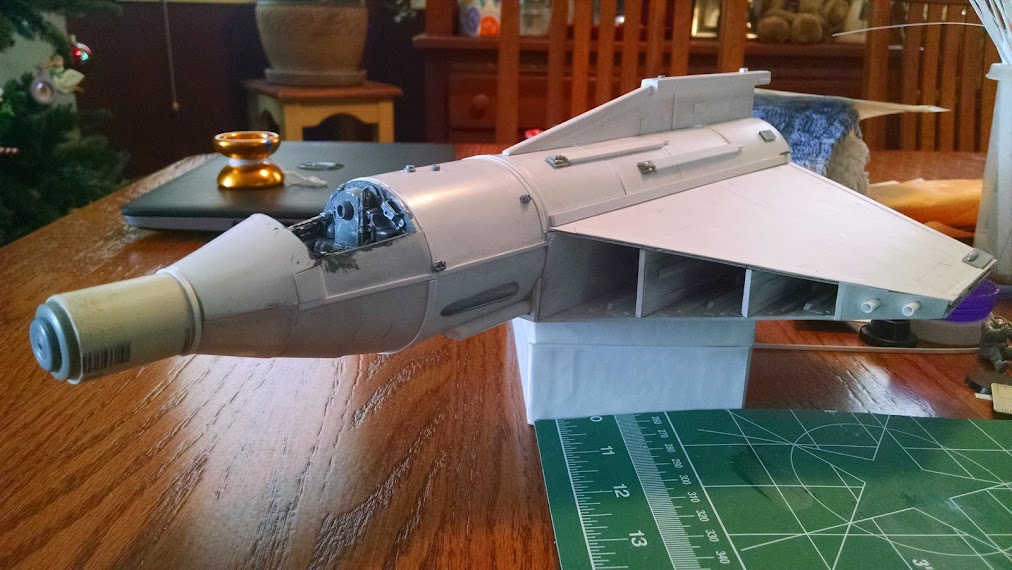
The model is starting to look more like a real starfighter now. Lots of details on the wings and fuselage to simulate aircraft style panels. Scribbed panel lines on the wings add interest to a flat surface.

A better close up of the wing and fuselage details. 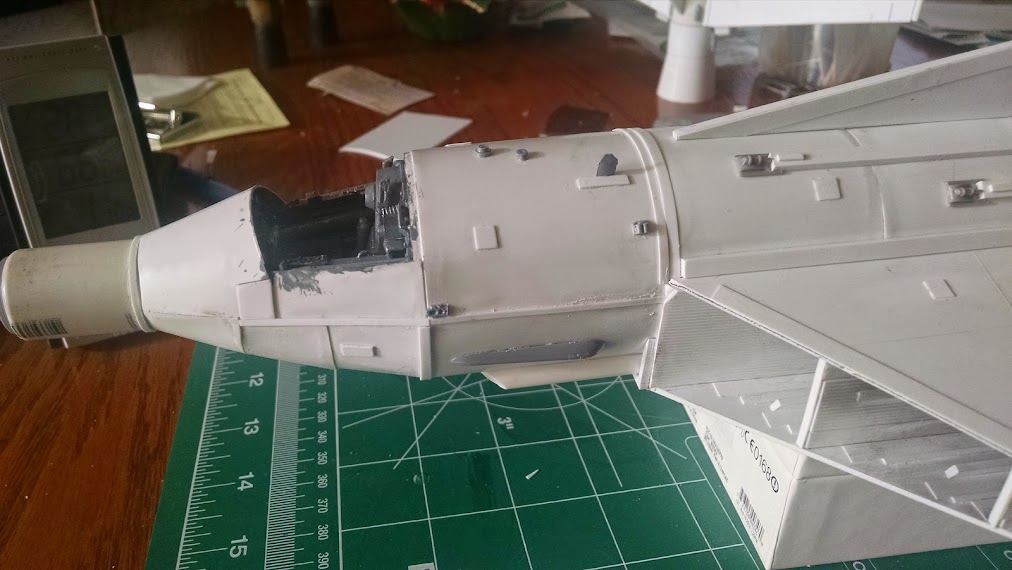
Forward fuselage details emerging.

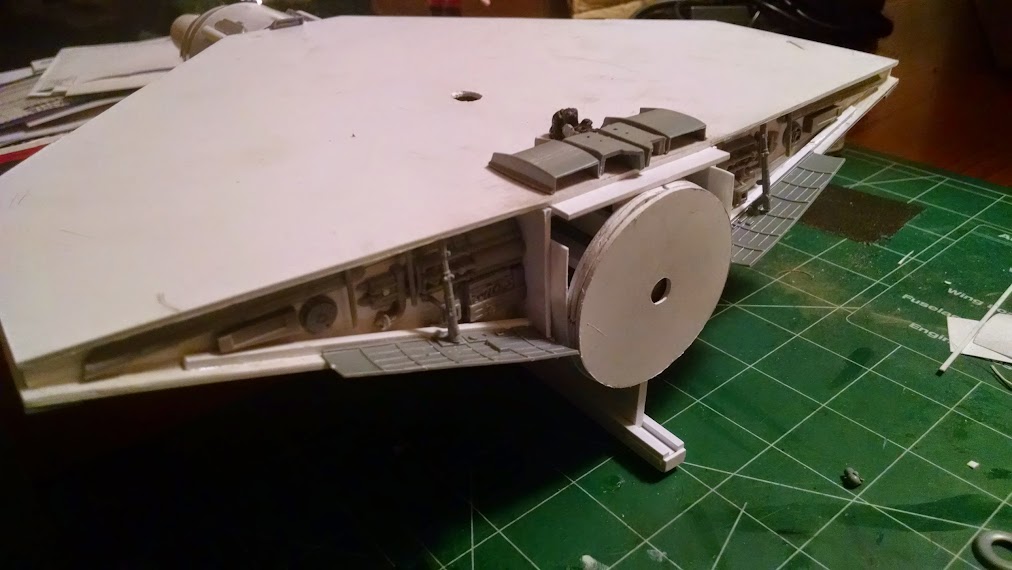
Bottom details added. This stuff won’t be seen very good in the cover shoot, but possibly could be seen in future cover shots. So it must be done. Again, panel lines and wing details are added including the landing skid panel covers for the wings and nose section. I can’t wait to weather the greasy side of this starfighter.
That’s all for this update. Next time I’ll be adding a pilot figure and boxing her in by building the canopy. Then all that will remain to do is paint it and weather it. There will be a few decals applied, but numbers will probably be added in post with Photoshop.

