In Part 5 I start going to town on the greeblies and do some panel lines. I round out the post with a light gray dusting from an airbrush to see what the basic shape will look like as a whole. This is necessary because there are too many colored parts to get a feel for what the ship will look like painted.
I’ve purchased three plastic model kits to use for detailing on this model the rest of the greeblies come from my parts bins. Many parts are from old computers and servers and a whole bunch of purchased, plastic strips of various sizes.
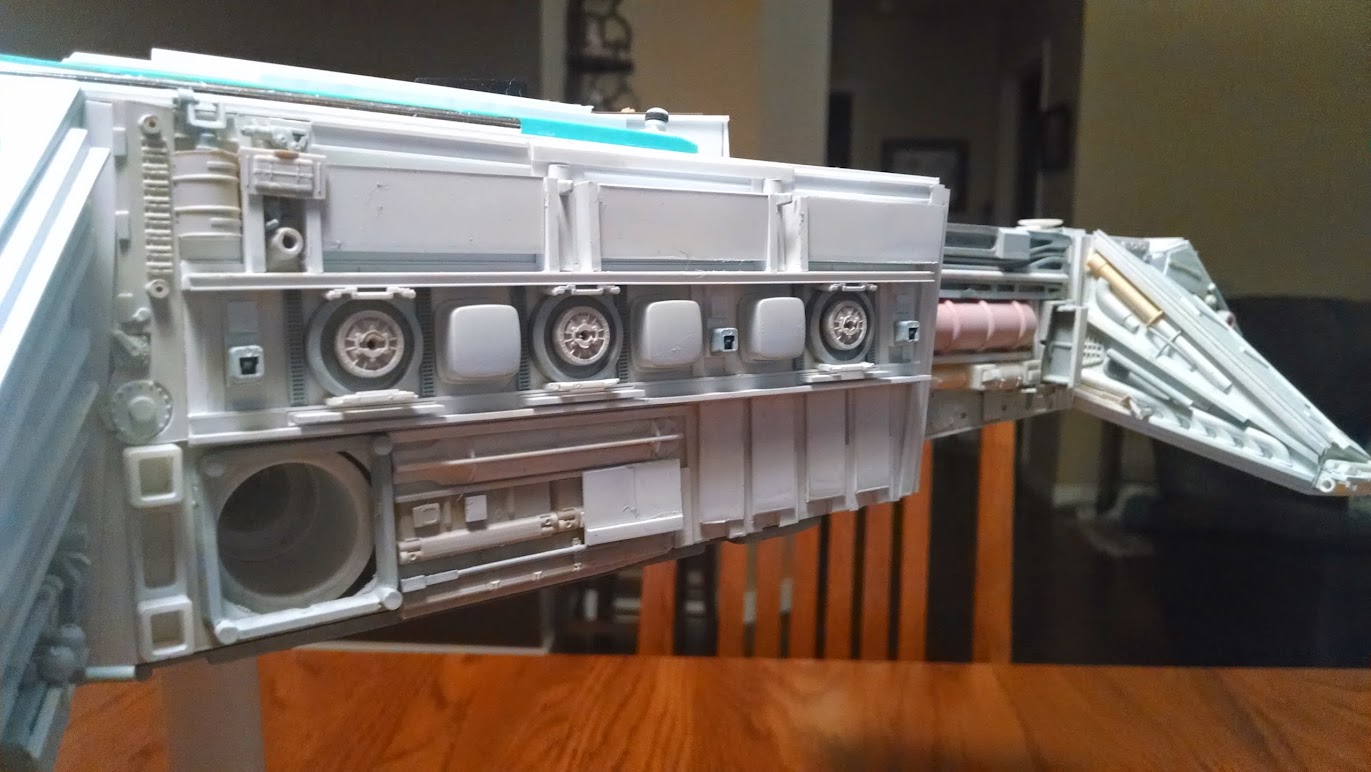
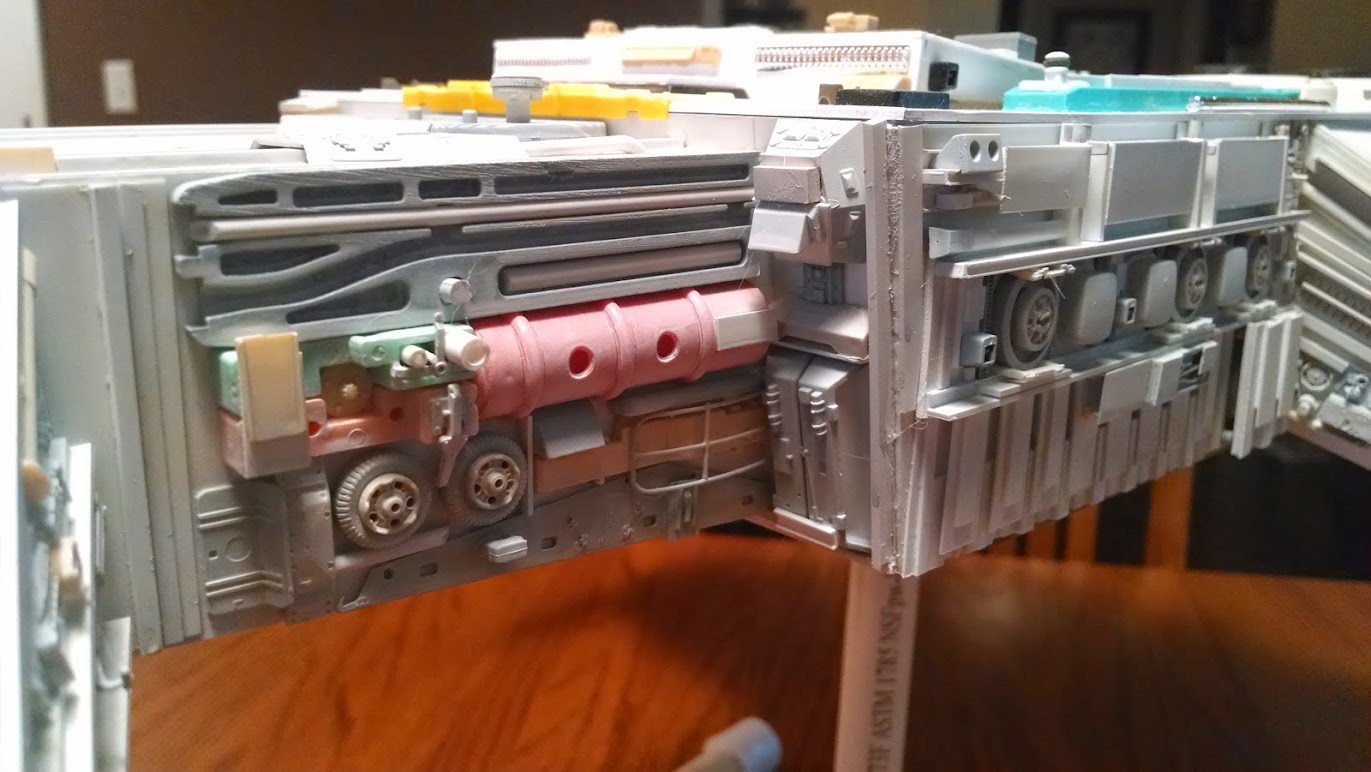
Above and below we see the progression of parts on one side of the neck. In later pictures you’ll notice that I add more pipes and smaller details to finish it off.
Above I’ve added some heat bent plastic tubes around that red piece. Which, by the way, is a dollar store greeblie that was a kid’s party flute.
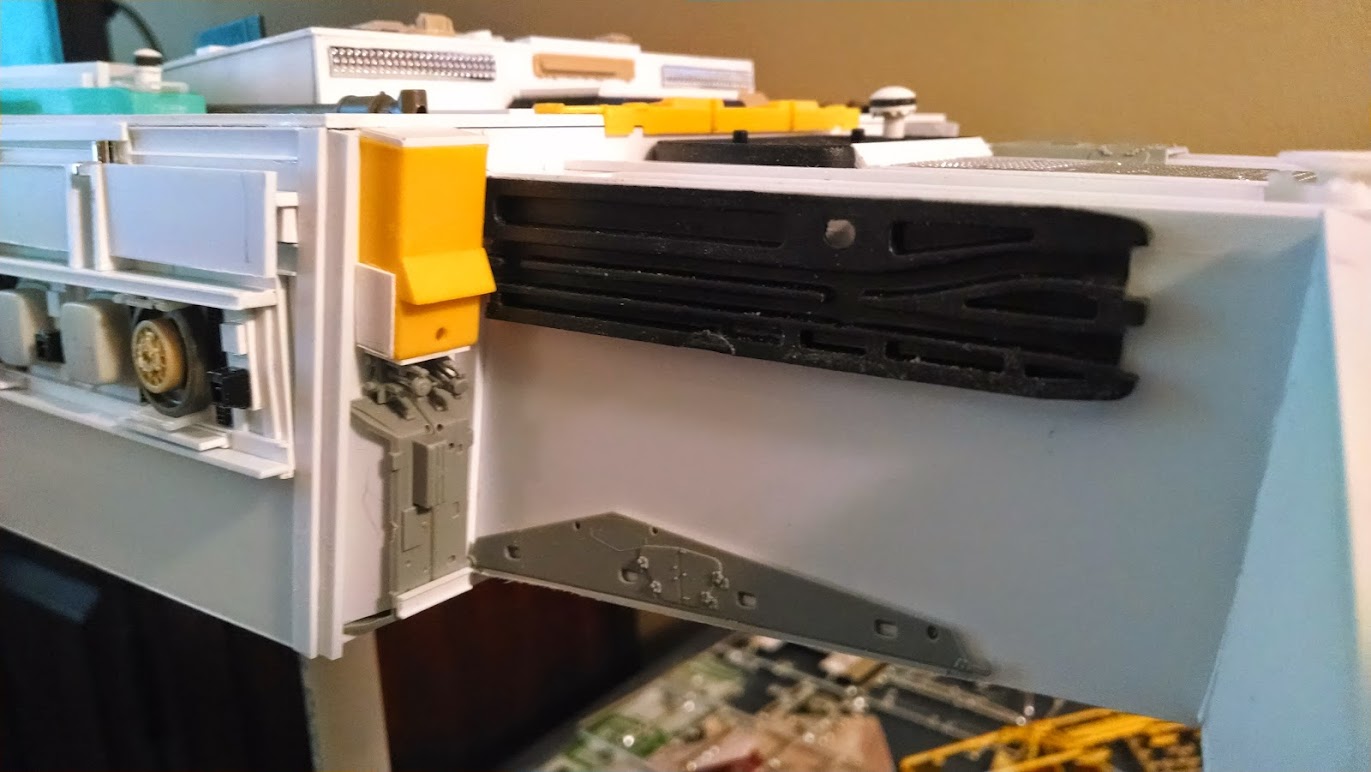
Above, we see the other side. The dark gray piece is from a hard drive mounting bracket in a server.
Above, I’ve started detailing the top of the neck area. I wanted long, narrow lines here and used greeblies sparingly.
This is a CU of one of the main sensor arrays. Most of the details are finished in this area.
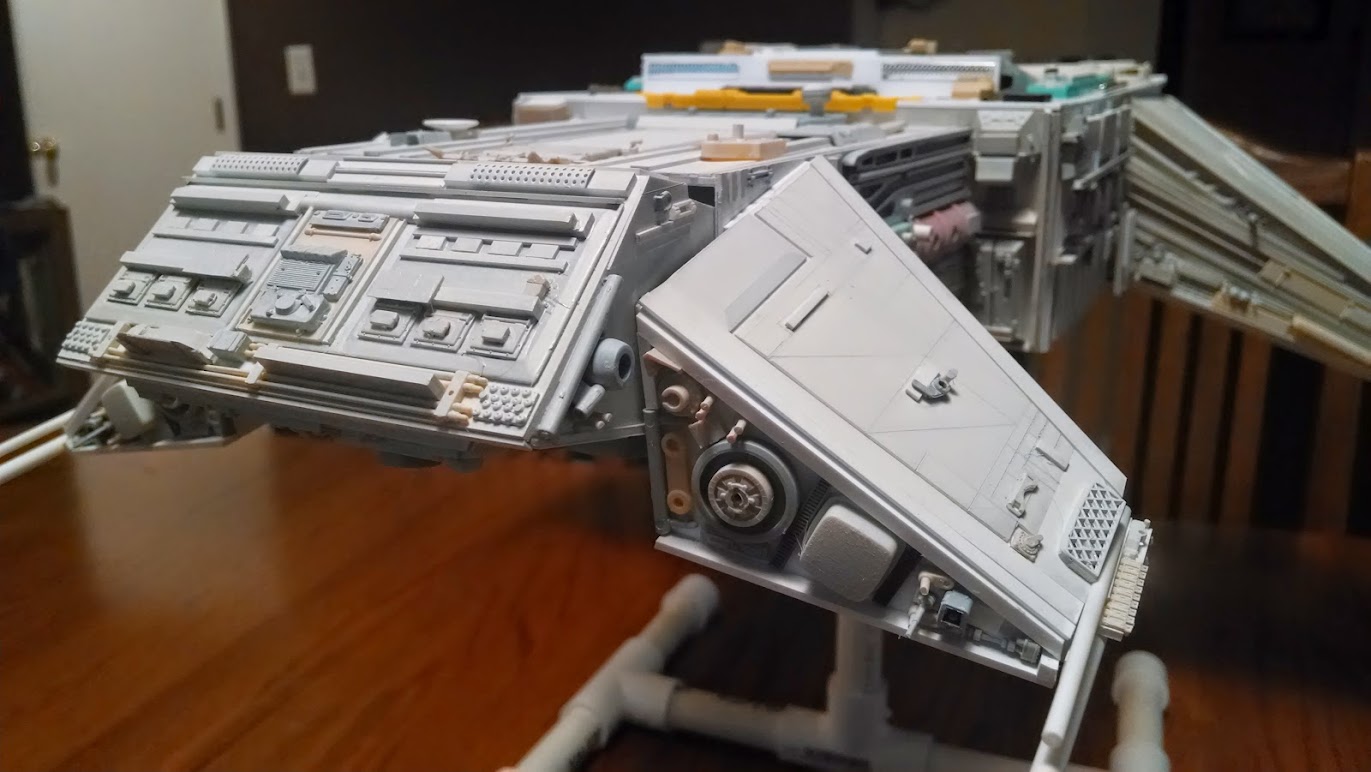
The head got some attention with a layer of tiny details and more strips of plastic. You can also see the front canard details in this shot which includes a forward facing canon. Each canon has a sensor array which is a key from an old kid’s computer. The canon itself is a combination of tank wheels.
The back of the canards needed some work and these two pics above and below show that progress.
And now for something completely different. Engraving panel lines. These are the tools I used. A ruler and pencil to draw the lines onto a thin plastic panel. A metal scribe to cut into the lines and a toothbrush to clean out eraser dust after I erase the pencil lines.
The next step is to add some smaller panels for relief. I sanded it lightly with super-fine steel wool.
Below we see the panel attached to the side of a canard. The final step is adding some tiny details from the tank kits.
Below is the other canard with slightly different panels and details to make it more interesting.
The bottom of the head got another pass with smaller details and some panel lines. Anyone recognize the long gray part?
Hint: Think original Battlestar Galactica. Yeah, a smaller version of the same part used on that classic model. Ya gots to have an homage on the model somewhere.
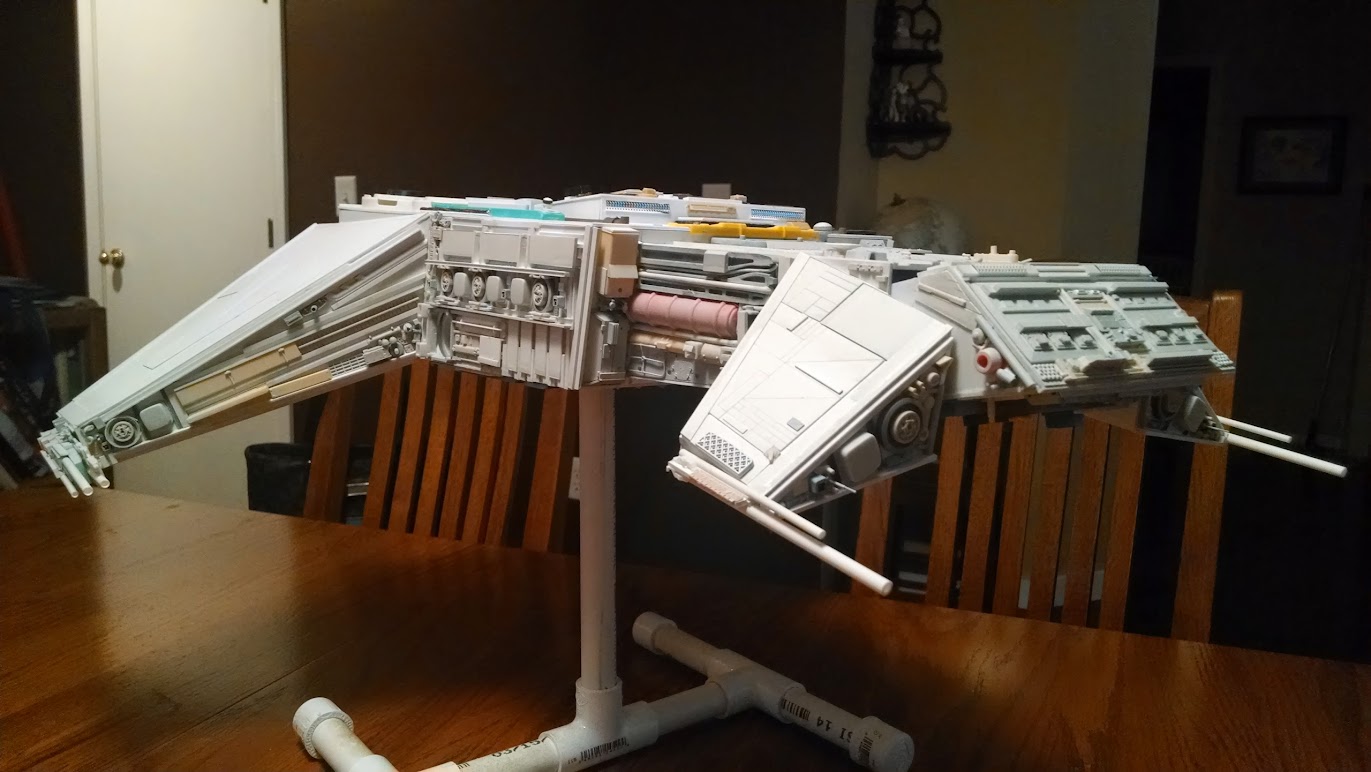
Below is the model after a light dusting from the airbrush. I very quickly went through an entire bottle of Testors lt gray paint.
Here she is coming at you! The top of the model was not painted yet. I need more paint!
Here’s a beauty pass.
Going the other direction. You can see I still need to do the panel lines on the main wing around the “V”.
Here’s the little air compressor I purchased for my airbrush. Next I’ll need to find a real airbrush as I only have a cheap Testors one at the moment.
One last look at why we do a light primer coat before calling it quits on the detailing. Here’s the side without primer.
Here’s the side with a primer coat. Some of the details blend in better when painted and look more natural. The whole model will get a good, solid coating of flat light gray before I start in with the final color – brick red.
Before I go, I thought I’d throw this parts list out there for fun. It’s always interesting for other modelers to know what parts went into your build.
That’s all for now. Next time I’ll be detailing the bottom and hopefully adding the engines.




Every time I read one of your model posts, I want to get back into scratchbuilding model boats. In particular, an Arduino based autonomous submersible photo platform. Yeah, I could have said “sub with a camera” but that’s more techy.
I kind of like the light grey coating that doesn’t quite hide all the colors. Makes it seem like it’s been in service for quite a while, but I’m curious to see what the brick red result is like, too. Too bad you can’t have both!