This weekend I spent time perfecting blue screen photography in my garage studio. Initial tests with my two new 150 watt frosted floods proved to be an insufficient amount of light. So I resorted to the poor man’s movie broads – Work Lights. Each light had a 500 watt tungsten bulb. Unfortunately, the only way I could get a tripod was with a dual light kit. So I now have four lights, two per tripod. The lights are attached so I can either have both on or one on.
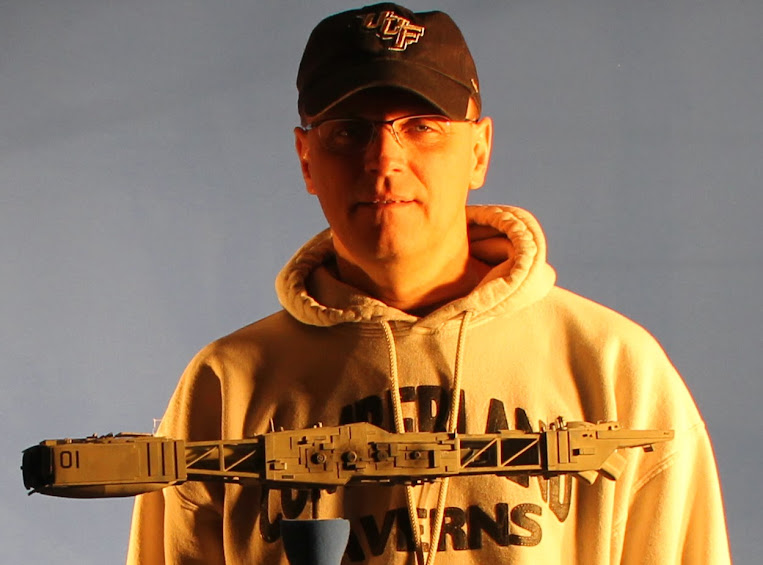
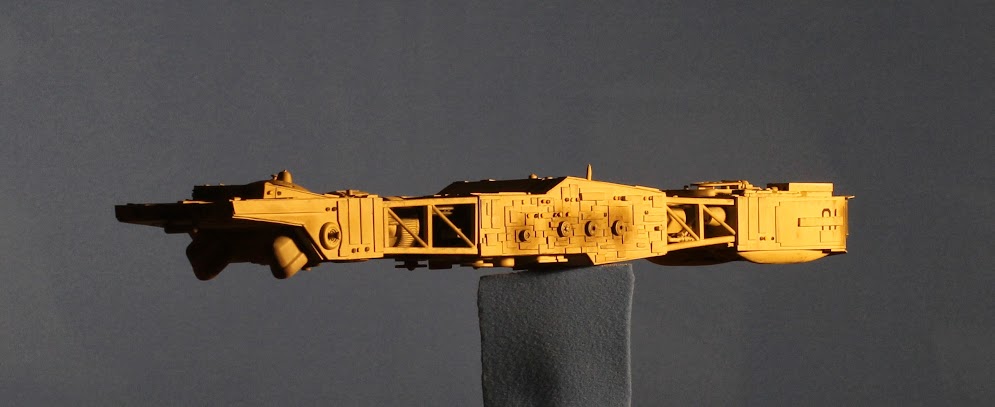
This proved to be the right amount of light for the best depth of field. My largest model was about 2ft long and if it were moving towards the camera, it needed at least a foot on either side of the central focus area. I have found that f11-f8 at eight feet with a shutter speed of 60th of a second and a film speed rating of 200 ISO to be the best DOF.
To achieve this result I had to design a proper mount for my blue screen and then ensure that I had at least ten feet to play with in regards to getting the camera away from the model subject. There were other minor set adjustments that I made in order to mount each model that I was photographing. I’ll detail each rig that I used so you can see what some gaffer tape and imagination can achieve.
Blue Screen Setup
My assistant (youngest son, Spencer) and I made a trip to Home Depot the local hardware store to pick up the PVC pipe we needed for the screen and an extra work light and tripod. We had to construct the PVC pipe frame to a 4′ X 6′ piece of blue screen fabric. I ordered the fabric from FilmTools.com. It has blue felt on one side and a foam backing to give it some weight and keep the wrinkles down. This is the same blue screen they use in Hollywood. Not the fabric only version sold in photography stores. It still wrinkles but you can easily steam them out if you have a portable steamer. Which we have and it really works nicely.

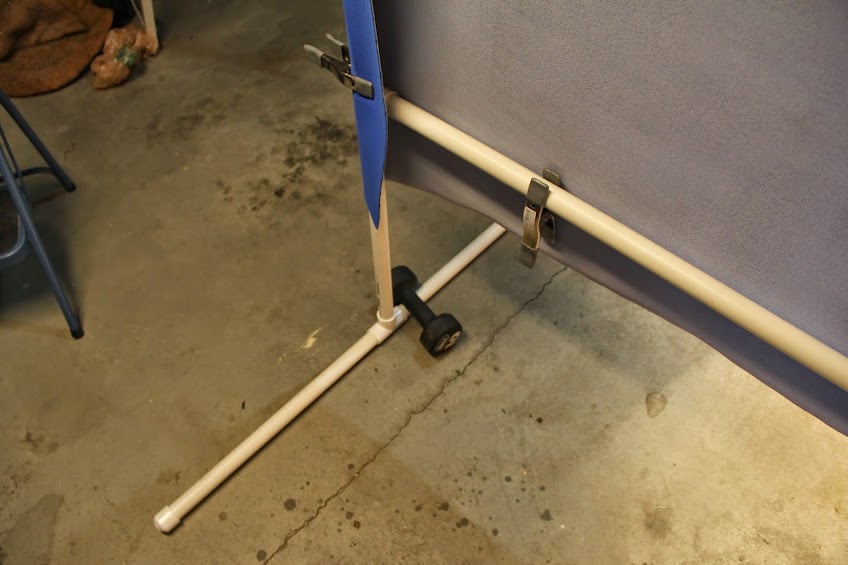
We used two corner joints and four three way joints to build our frame. Four end plugs helped make the feet stable We went with two foot long feet but I’ll probably cut them down to one foot to save floor space. Sand bags are a good idea to help keep it rock stable. We didn’t glue anything down so that we could break it down and put it away when I needed my garage back. The main tube diameter is one inch.
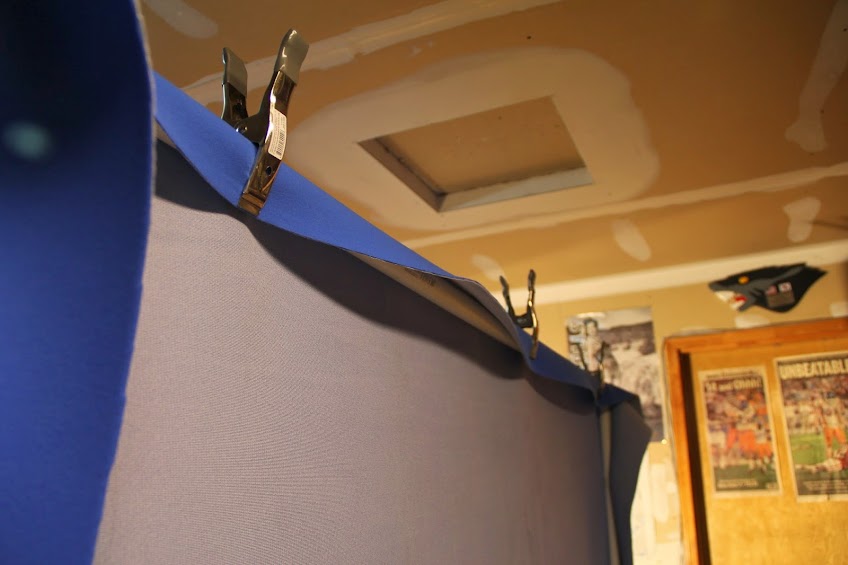
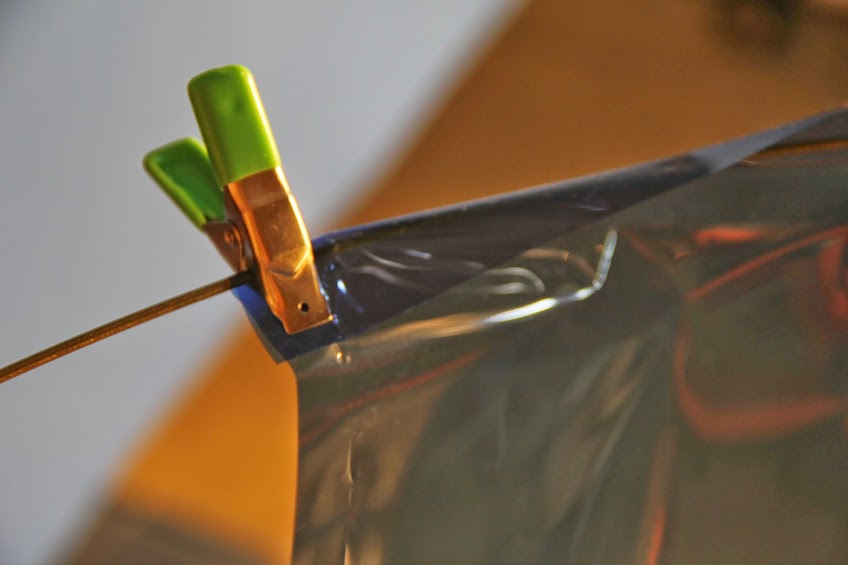
The blue screen fabric is held in place with dollar spring clamps also found at the hardware store. I now have enough of these clips to do just about anything. They are part of the cameraman’s ditty bag that should be in any working studio. Also invaluable to have is a roll of black gaffer’s tape.
Work Lights
We made one minor modification to the work lights. I initially wanted to use daylight gels to match ILM model shots from the Star Wars movies. We took metal coat hangers and bent and cut them to fit snugly into the top of the work lights to form a bracket that we then hung the gels from using little metal clips or clothespins. This worked perfectly, but I later ditched the gels for aesthetics.

The best light placement seemed to be two of them at 45 degree angles shining on the blue screen and one of them as a key light on the model. You generally don’t want any fill on the models unless they are in a binary star system.
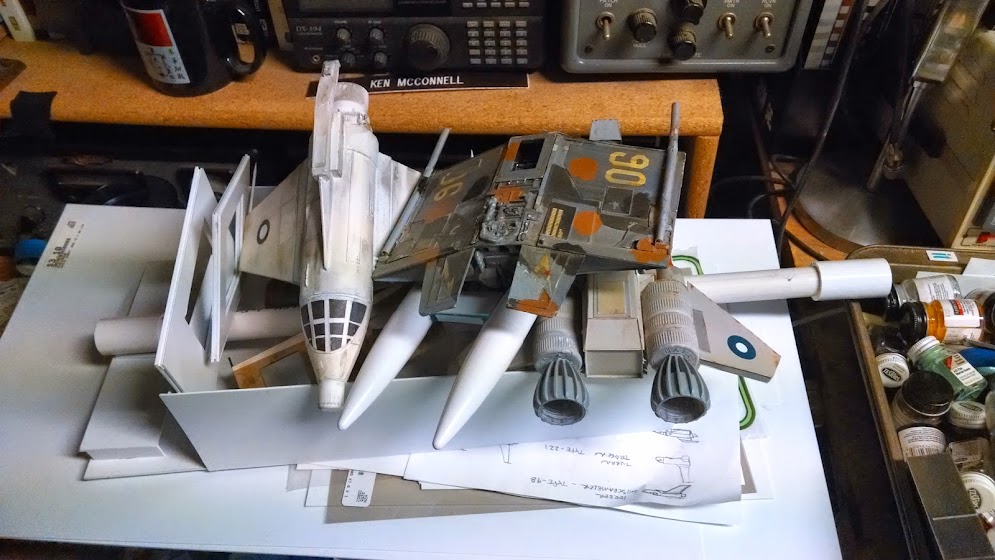
Model Stands
I had a few different mounting options but none of them were ideal. I’ve been retrofitting my models to accept the standard quarter twenty screw found on tripods and other photography equipment. This gives me plenty of options for ball and clamp mounting points. Some of my newer models have half inch PVC mount points. This required a specially build PVC stand that then had to be clamped to a regular tripod with a flat surface.

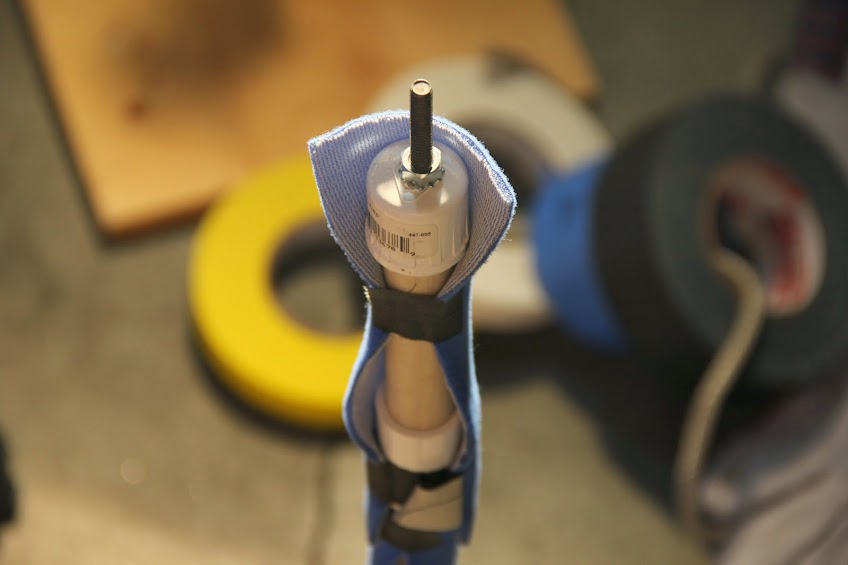
Eventually, I’ll be picking up a real C-stand or century stand to use as my fully adjustable model stand. But for now, I have to use a secondary tripod and get creative. Below are some images of the various mounting setups I used. They are for the most part, self explanatory.
Camera Setup
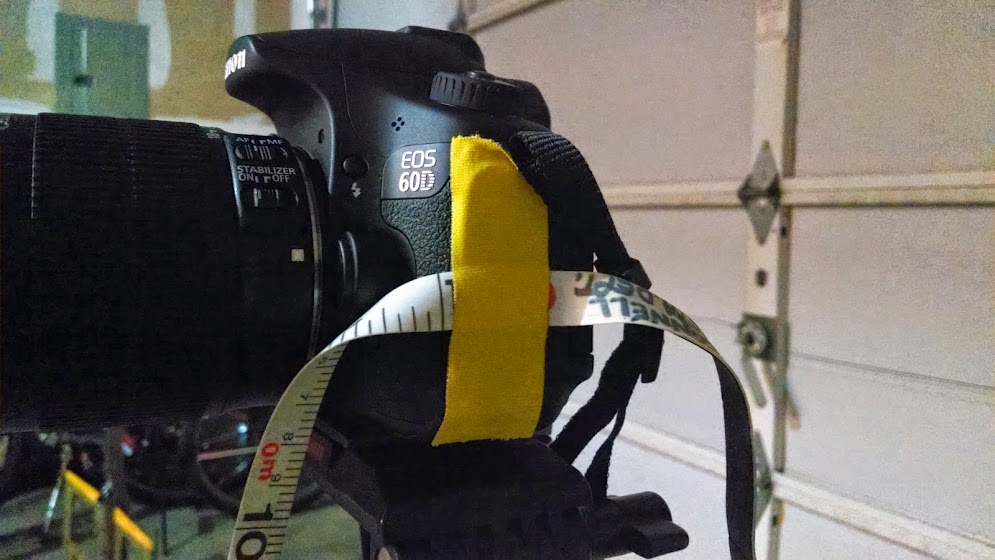
I don’t have a proper tripod yet, so I’m making due with an old pair of sticks. The camera is a Canon 60D with a 50mm Olympus f1.8 prime. I’m using an adapter ring to attach the lens. The camera was set on manual and I controlled the shutter speed, ISO and f-stops. Focusing was manual and set according to measurements taken by a plastic tape measure so as not to scratch any of the equipment. The film plane (sensor plate) is marked on the top of the camera and the zero end of the measuring tape attached to the camera with camera tape. This lets me keep the measuring tape readily available for precise focusing. I was not using any filters on the lens, save for a UV light protector.
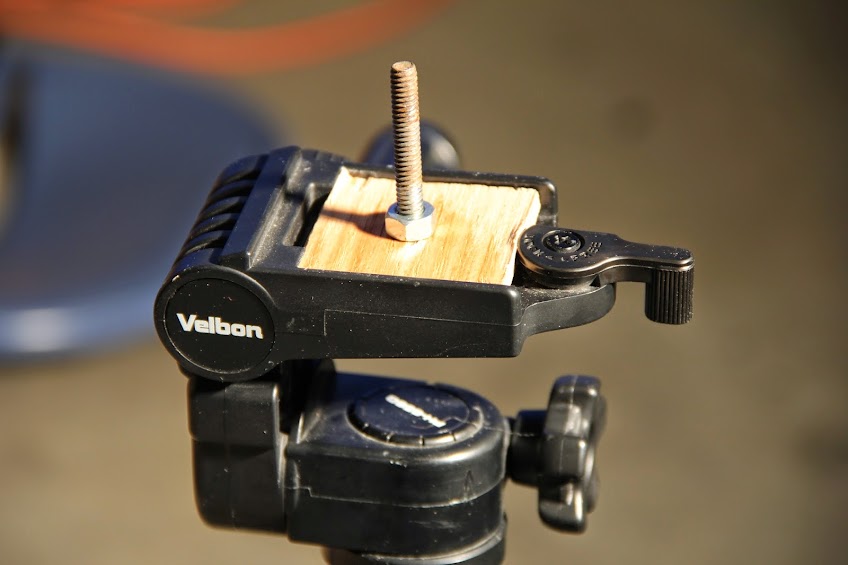
One of the tripods I was using for the models did not have a mounting plate. So I created one out of wood and a quarter twenty screw. I would not mount a camera to it, but it was fine for my light weight models.
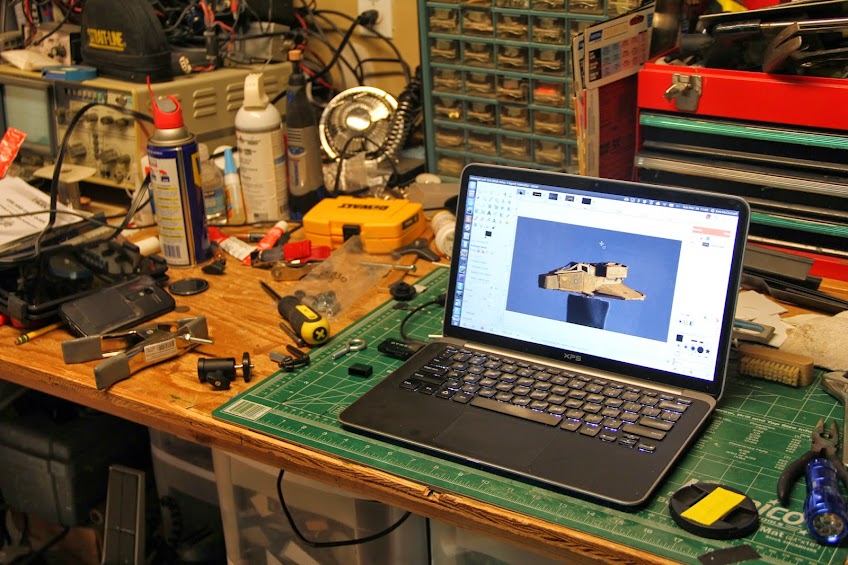
Work Bench Area
Behind our blue screen was my work bench area which became the model repair and holding area as well as the place to get a closer look at the images on my laptop. I use a Dell XPS 13 running Ubuntu and a USB adapter for the camera’s SD card. I can take images, pop the card and walk it over to the bench to look at it in minutes. Sure beats the old wait a week for processing that I was used to.
Some of my tools for the model shoot were my Moto-X phone, a Nexus 7 tablet, various adapters. The phone and tablet both had a slew of film-making apps installed that make my life easier on set. The most used tool this weekend was Green Screener, DOF Calculator and Pocket AC.
My desk in the studio was where we parked the camera bag and sometimes the models. I’ll probably make this area my computer base so as to keep the laptop away from any work needed on the models or other equipment.
Conclusion
I think I have a decent setup in place to take images of my models that my brother can easily import into Photoshop and create fantastic book covers for me. This was my goal. Achievement unlocked. There are things that I can improve on and over time, I will. Better camera and model mounts are the top priority. But for now, I go back to editing my next book and building the next model.

