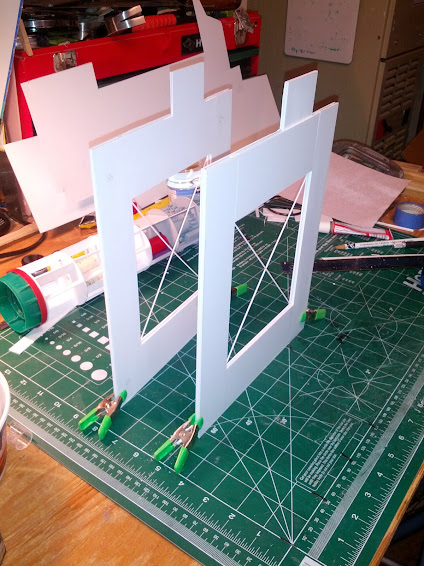
This time I get to finish construction of both wings and I begin to wrap up the fuselage. Both wings were built up in unblemished fashion. I’ll be adding battle damage to the top or starboard wing at a later date.
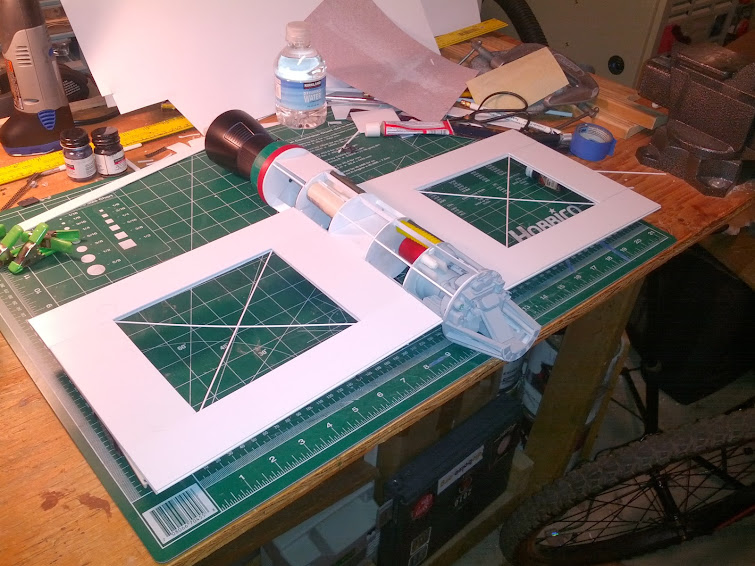
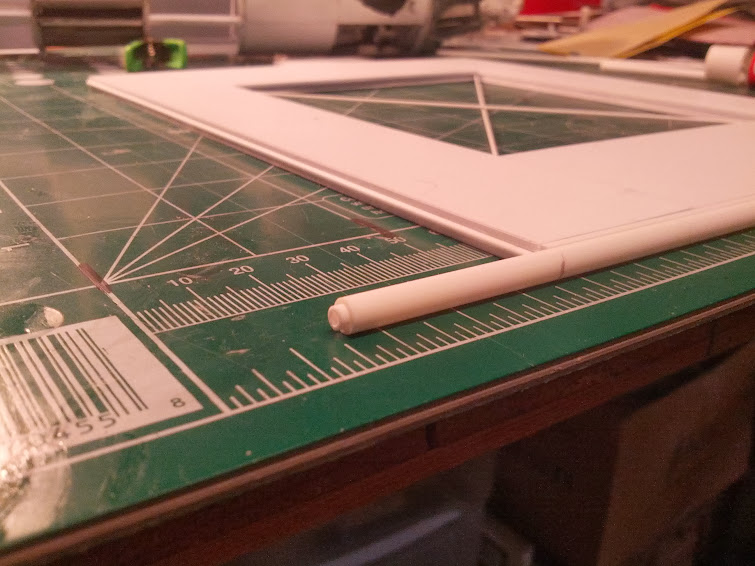
This picture shows both completed wings resting in the final position along with the tail pipe. Sometimes I like to piece things together to give some scale to the finished model. And it just looks cool.
I like this picture of the wings side by side on the workbench. Makes it look like I’ve got an assembly line. When you build something twice and you have no directions, it’s best to do them one after another or both at once so you don’t forget how you did it.
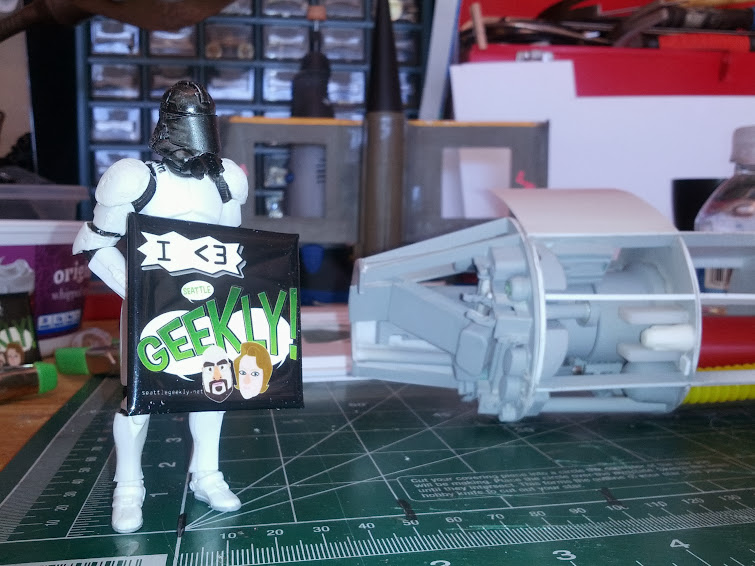
Had some fun advertising for my favorite regional genre podcast – Seattle Geekly.
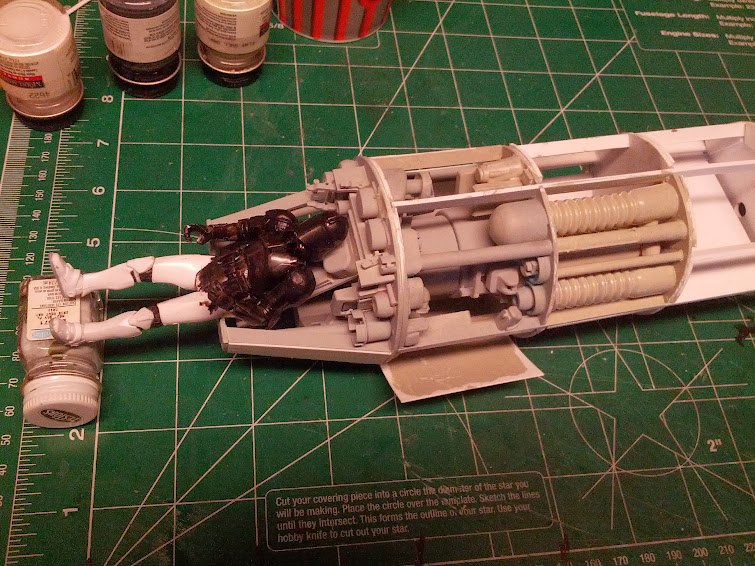
Here’s our intrepid pilot, relaxing in his still half built cockpit. You can see he’s already in the process of turning black. I also started painting the other interior details shades of gray. Sometimes you have to paint the interior before you glue the outer panel onto the fuselage.
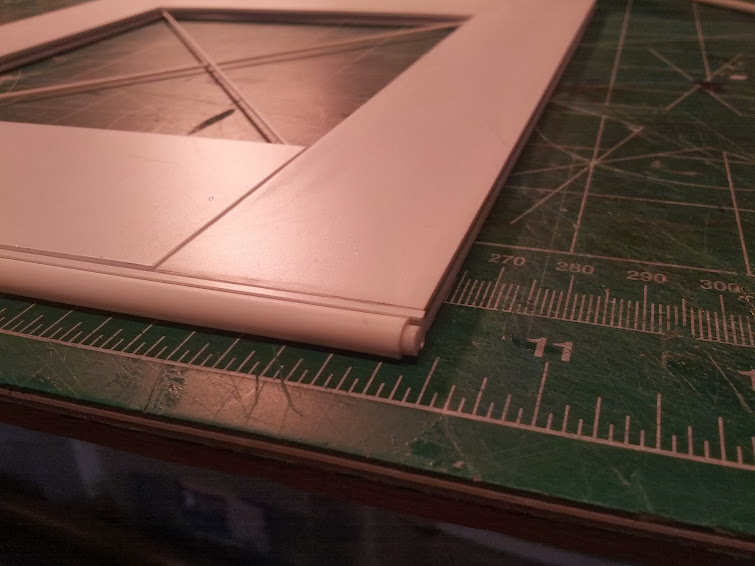
Back to the wings for a moment as I work out the details of the wingtip laser canons. This shows the plug on the back end of the cannon. Below we see the business end of the barrel.
Not sure if the above treatment will be final, as I haven’t glued things down there.
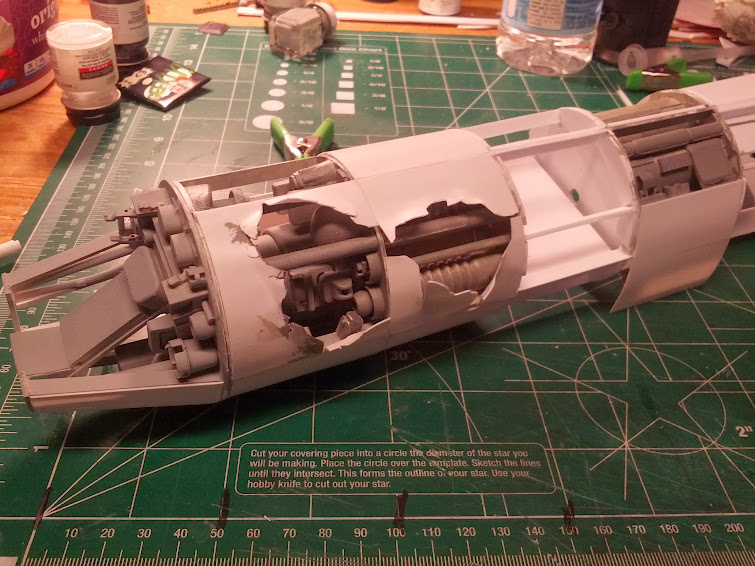
Battle damage panels are now getting applied to the fuselage. You don’t build interior details and then not show them off. This is just the start of the damage, more will follow.
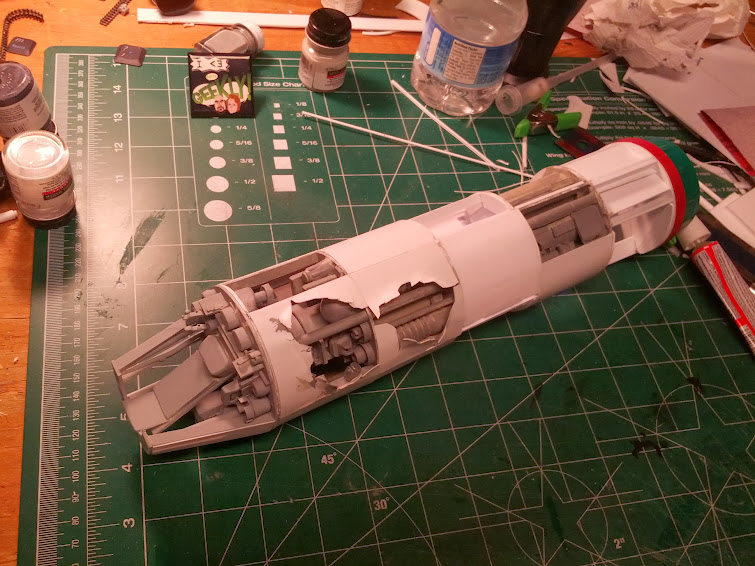
This is where I left off on it this afternoon. More panels are filled in and the model is starting to have some heft to it. It’s also starting to look like a starfighter. Albeit a heavily damaged one.
I’m really enjoying this series. One question, though I may be jumping the gun here…what kind of shooting is going on to produce such massive damage to the hull, yet leave the internal parts intact? Shouldn’t they also be showing damage?