I stared building a large scale version of the Votainion starfighter used in the Starforgers novels early in the year. This first post was delayed until now as I gathered the necessary images from my digital cameras. The model is being built to be featured on the cover of Starforgers Book 2, The Rising which will be released in the first quarter of 2014.
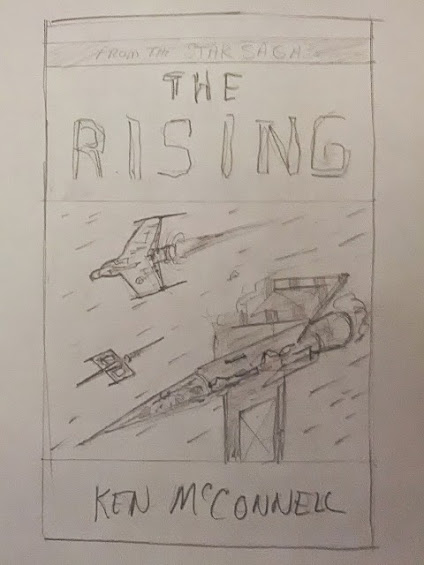
This is the thumbnail sketch of the book cover. You can see that it features a KIV-3 starfighter breaking apart in a prominent fashion. This required a larger scale model with more details added to the areas where panels had been shot away. I decided to go with a scale that was large enough to provide details and that I could find a pilot for. This is where it is sometimes useful to have kids. I rescued an old Star Wars action figure to be my Votainion pilot.
The KIV-3 is a fairly simple design and up-scaling it from 1/48 to 3″ Action Figure scale, should be easy enough. The only hard part would have been the conical nose and the conical exhaust of the main engine. The canopy would be easier if I had it blown off. Check. It would also be easier if it were battle damaged. Check. The wings would be massive at this scale, so bending one over in more damaged fashion would solve that problem. The lower wing would just be falling down strait, so that doesn’t have to be supported either.
This model would not be a display model, meaning that the parts not seen in the photo, need not be built. It could be a Hollywood set that looks great from one facade only. This cuts down on the usefulness of the model for future photo shoots, but it makes this cover shoot happen faster by cutting down on build time.
I started with the cylindrical fuselage. Building the whole model from plastic allowed me to put it together much like a wooden model airplane. Since parts of the ship would be ripped open and interior details exposed, I need the inside to look like the imagined real starfighter would look. Think about all those Star Wars books with the interior of X-wings detailed. That’s what I had to create.
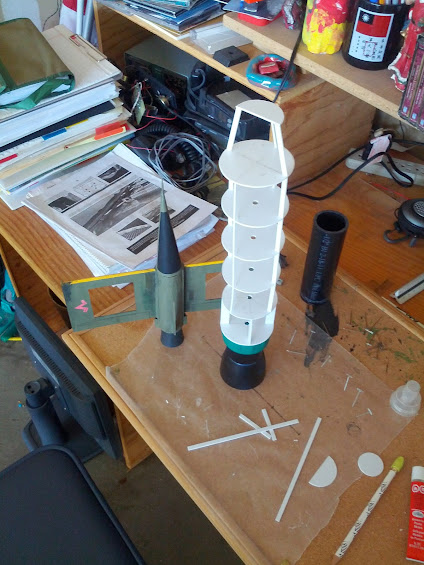
I used several round bulk heads and strung them together just like a model airplane. I even used wax paper to pin the pieces down as they were glued. This was a first for me in plastic. I’ve built dozens of balsa wood models this way but never a plastic starship.
The bulkheads were scavenged from an abandoned attempt at making engines for another starship model. Never throw anything away. The engine exhaust was made from various plastic lids from orange juice to paint cans.
Here’s a shot of the engine parts being glued together. The inner white piece is the core of a Scotch tape dispenser.
This shot shows all the main pieces setting on top of each other along with a 1/48 scale model of the same ship built from cardboard.

This image shows the cockpit being built up using C-3PO as a stand in for my pilot. The seat is raked back pretty far in this fighter and the pilot almost lays down in it. The headrest is a plastic cap from a VGA plug!
Here is a close up of the details added to the bulkhead right behind the pilot. Not sure how much of this will be seen in the final picture, but the more detail the better.
Well, that’s all for this first installment. Next up we paint some of this detail primer gray and start building the wings.


