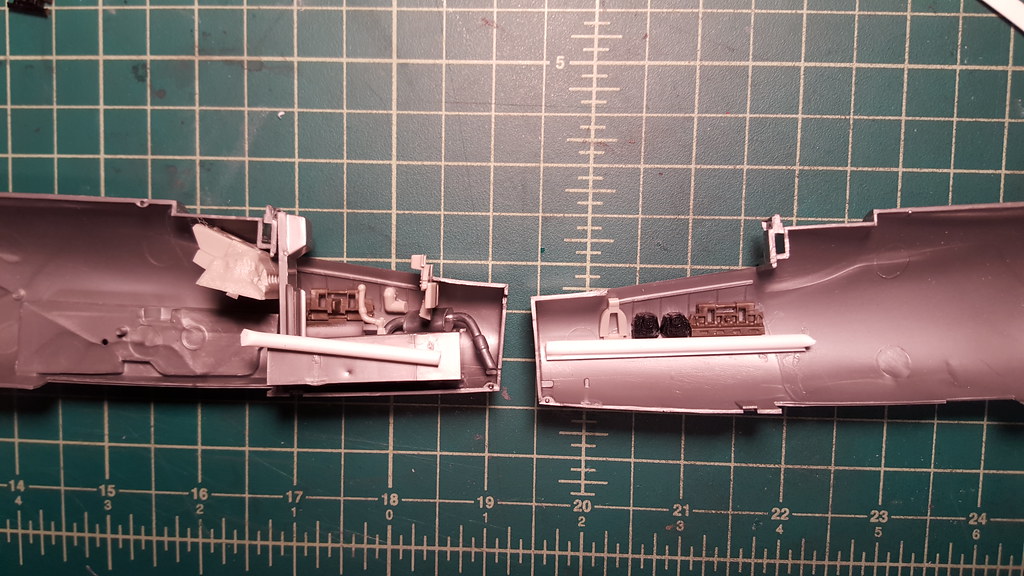
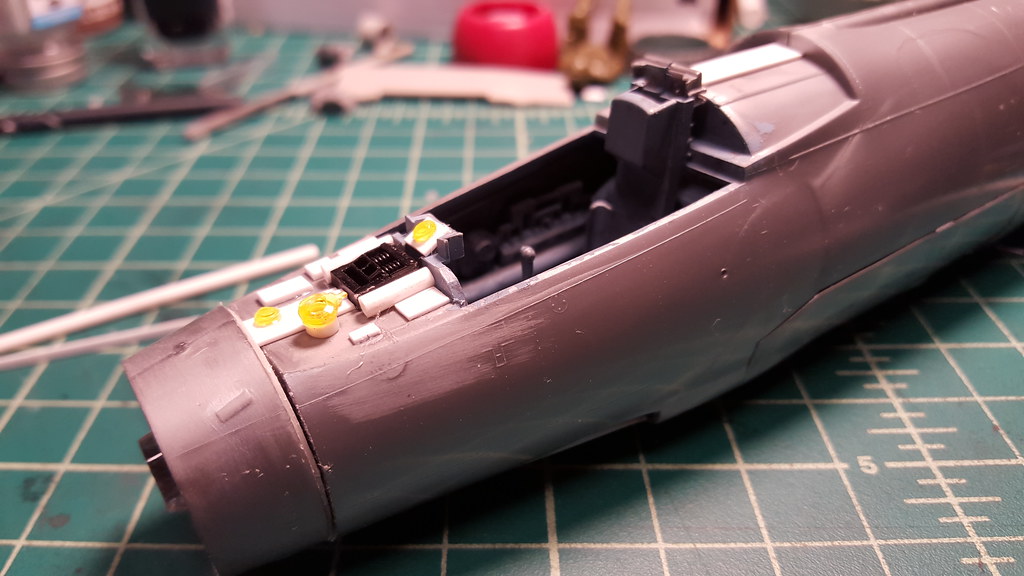
As with any airplane model, you start with the insides. Here I used the wheel well turned upside down for the seat bucket. Then added details to the side walls as needed. In looking back at this build after I put the fuselage together, I completely forgot to include a block of aluminum tapped for the 1/4 20 screw mounts. I would up just super gluing a mount into a huge hole I drilled on the bottom. Completely crude, but it can be photo shopped out.
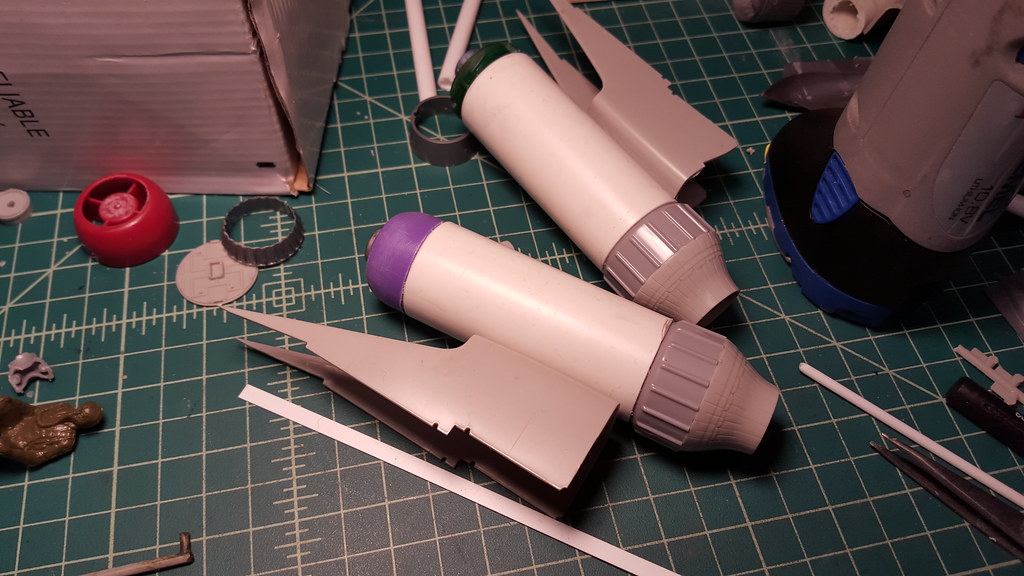
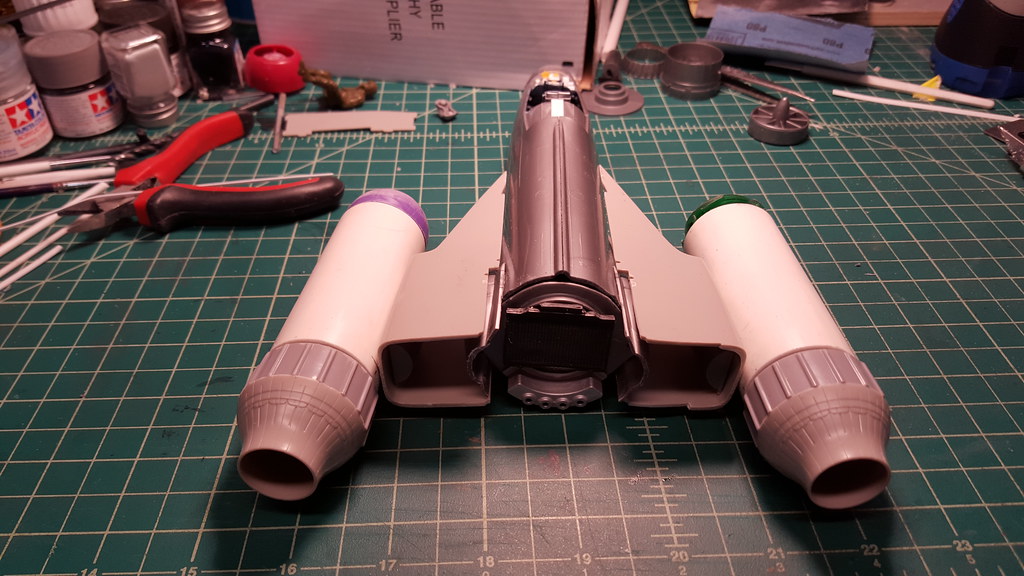
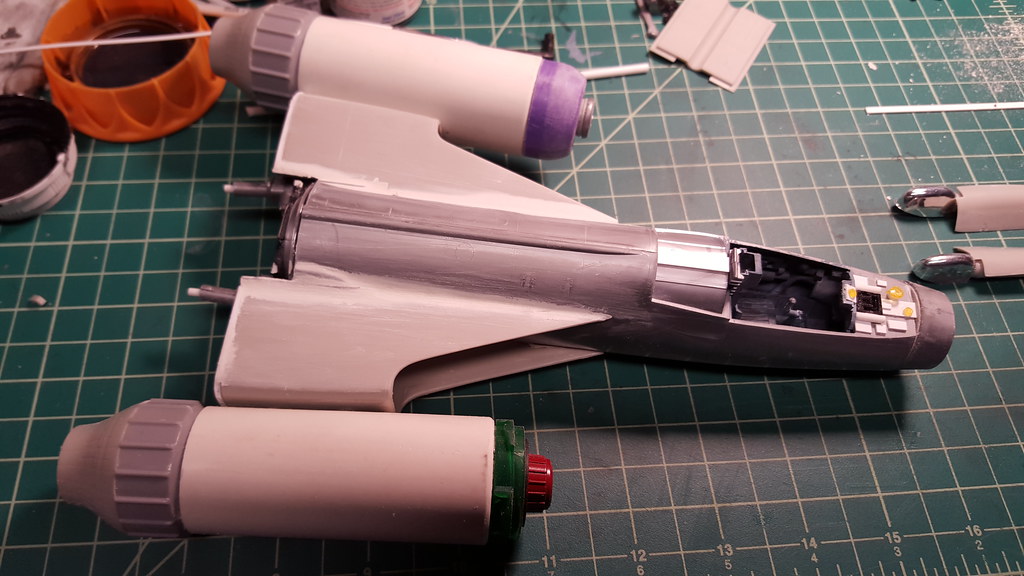
I fixed the engine nacelles to the air intakes from the Tomcat model with simple wood screws inside. Then covered the screw heads with air intake pieces from the F-104 model. As with any scratch built model, I’m always taking greeblies and trying them in different ways until I find what looks right for each section of the model. At the time I started, I only had the purple nacelle cover so I made the other one as if the cover were removed. Then I found the red one in my parts box. Too late. I like the detail on display with the cover removed.
Cockpit halves cemented together and then I start detailing the top of the nose and behind the pilot’s seat.
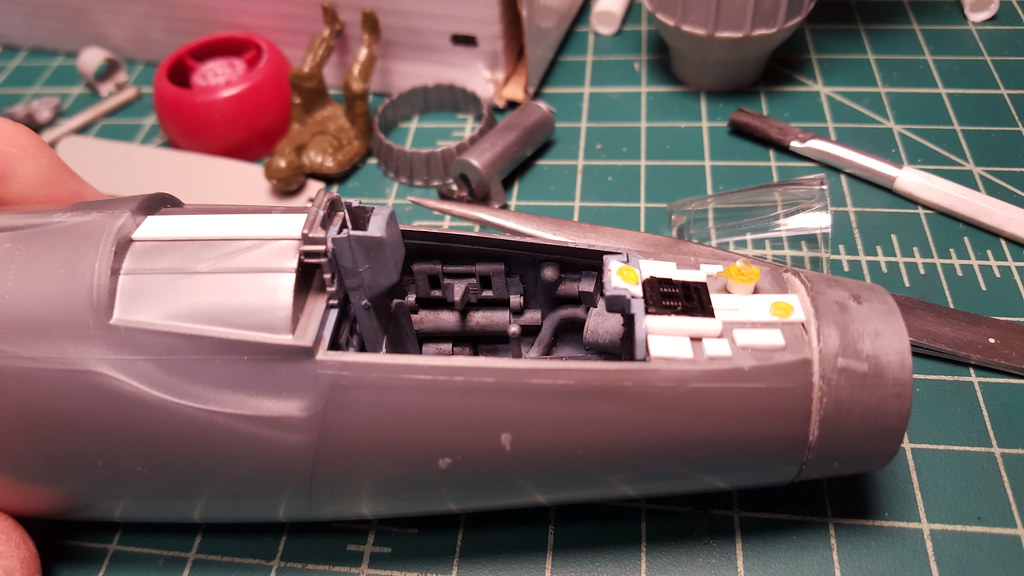
I used yellow clear pieces here, but it will all get painted blue-gray when I’m done.
Actually, these will probably be black.
I need to cut out some sheet styrene for the back of the air intakes. I already decided to include a car radiator to cover the back of the fuselage.
Why? Because what famous Star Wars ship didn’t have a radiator?
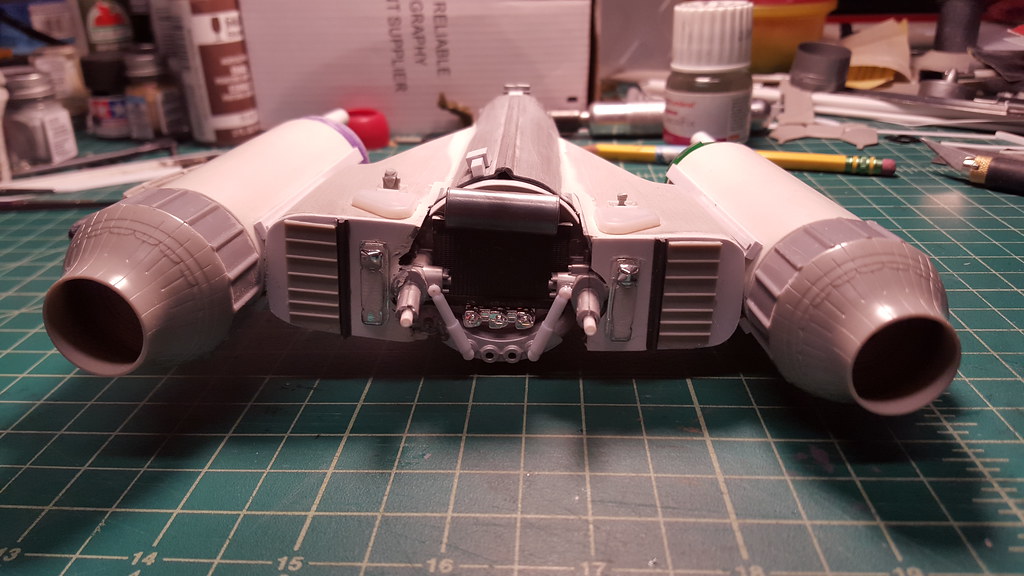
I also used some engine parts from a large scale car model for the back end.
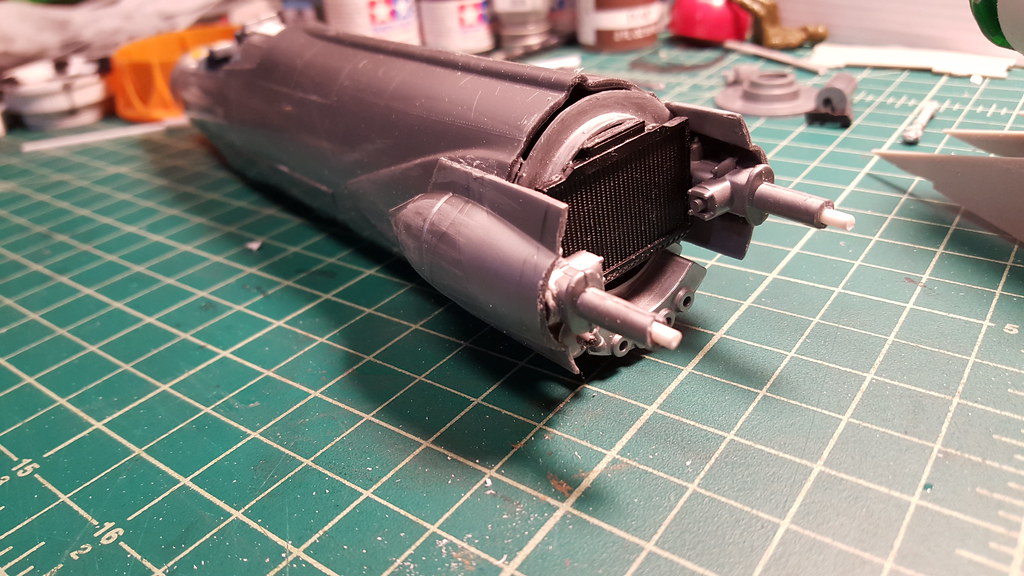
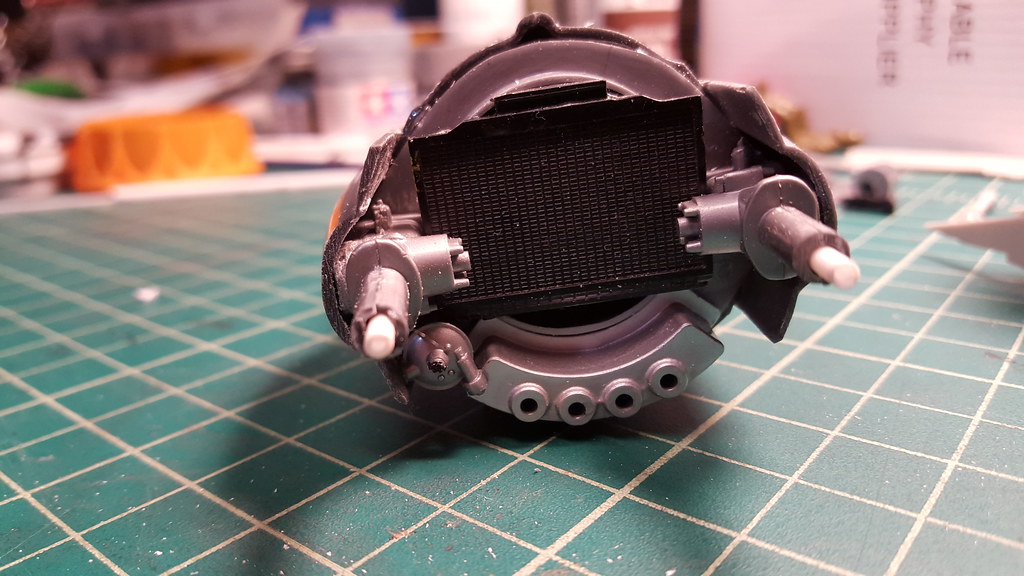
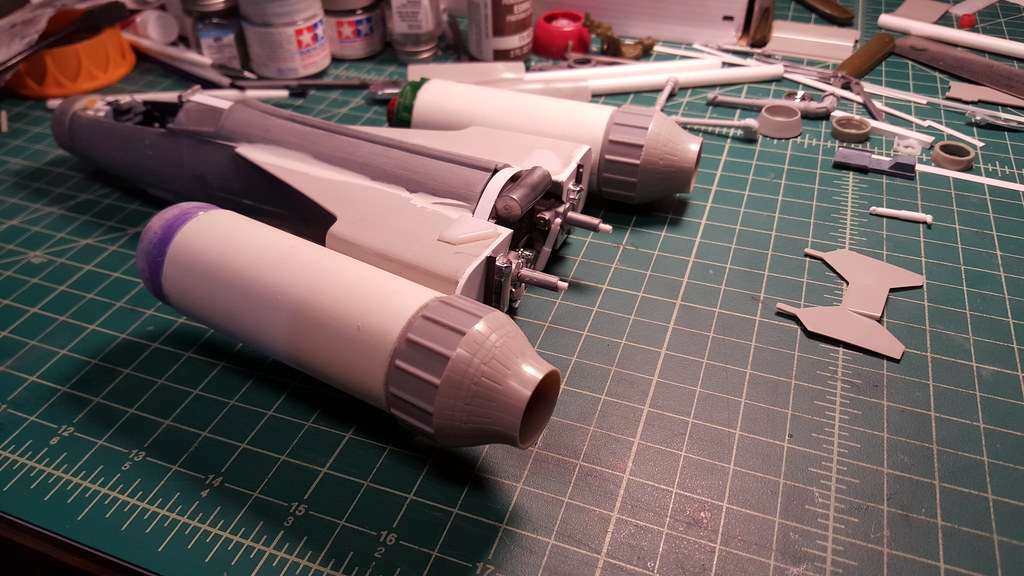
Nice shot of the radiator.
Time to fill the major gaps with modelling putty. This was a big, multi-night task. Lots of sanding.
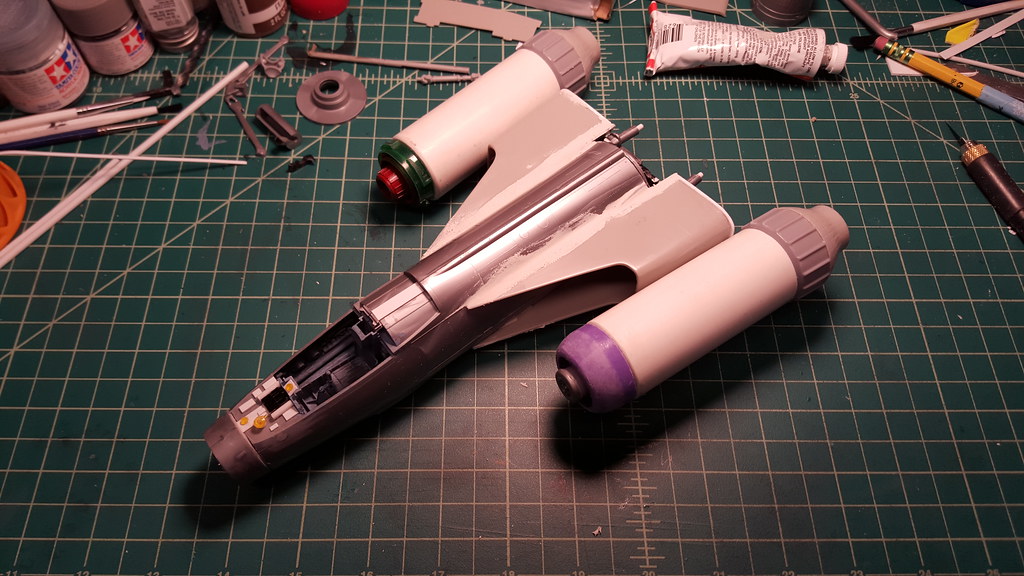
I won’t know if the sanding job is good until I primer. But It should suffice for a beat up fighter plane.
Back cover plates on and some other details added. I really like the shocks here.

For some reason, I’m putting lots of car parts on this fighter. It seems to work so far.

Little by little, more greeblies find their way onto the model. This is actually one of my favorite parts of modeling. Detailing.
More details added to the top and back of the fighter. I also added some strakes above and below where the engines are mounted. A few more details and then it will be time to do the panel scoring.