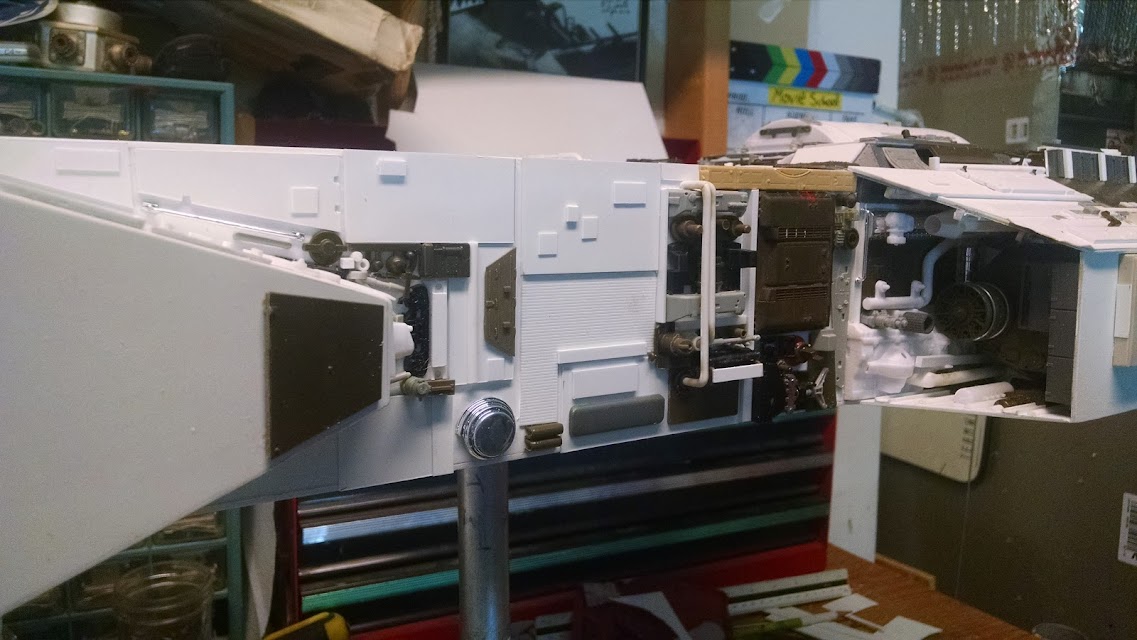
Continuing on from where we left off before, here’s the details inside the other side of the ship. Most of these parts are tank and truck related with plenty of strips of various sizes of plastic. 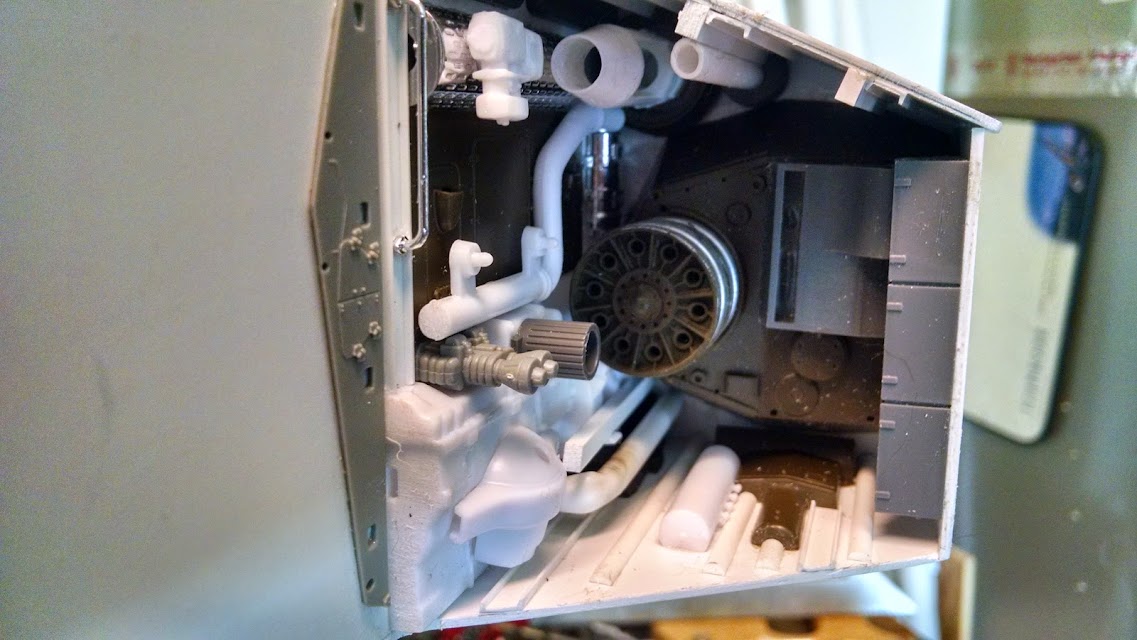 This is about the time I started building up the hump of the actual star drive and detailing the area where a second drive used to be before it was disassembled.
 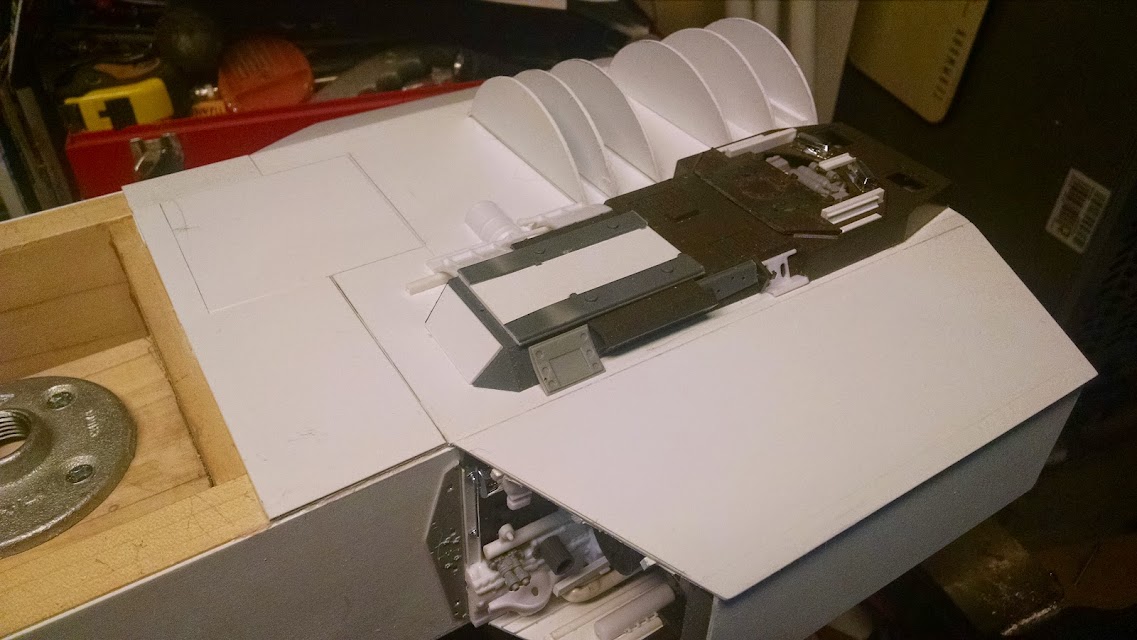 The removable hatch was created for the open store room inside.
 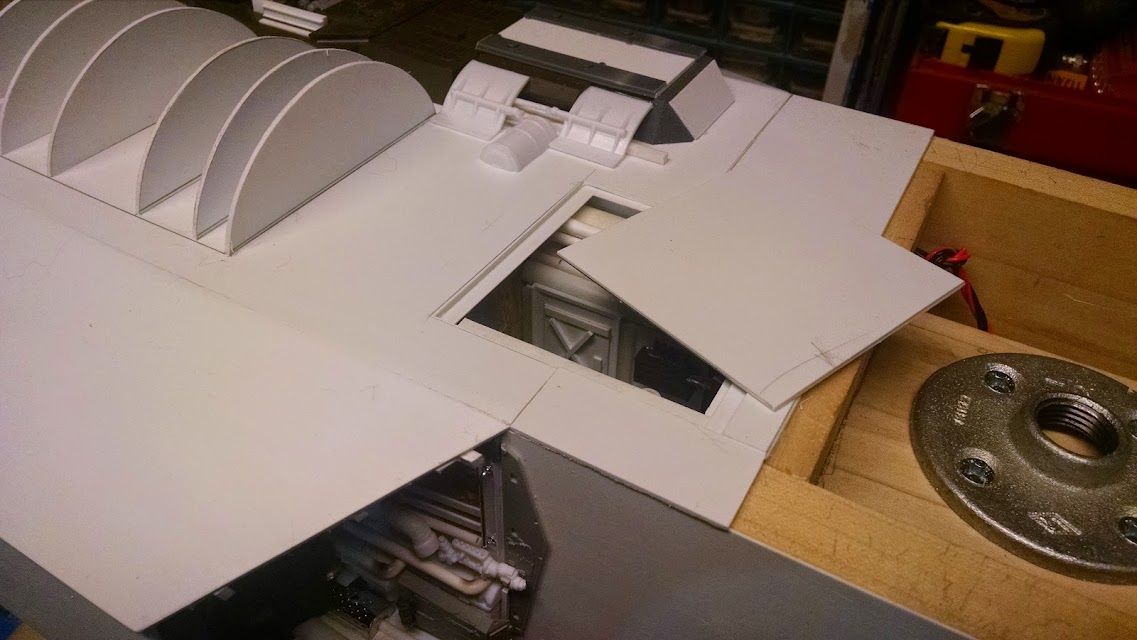 This shows the engine area covered over with thinner sheet plastic and the frame around it that existed on the original cardboard model.
 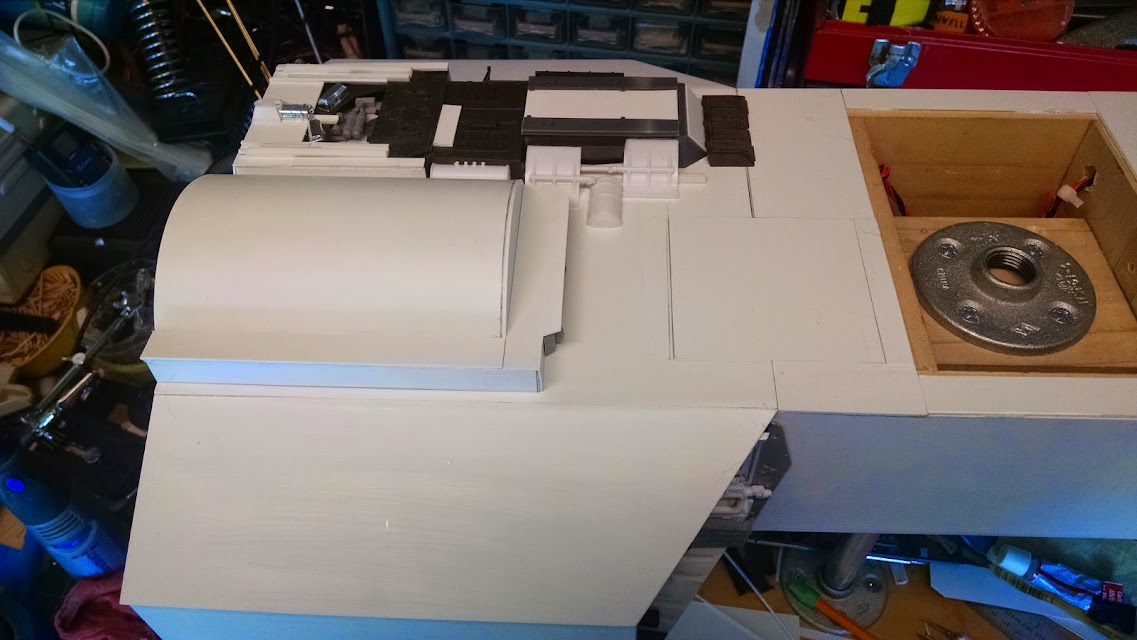 Just add details to make it come alive.
 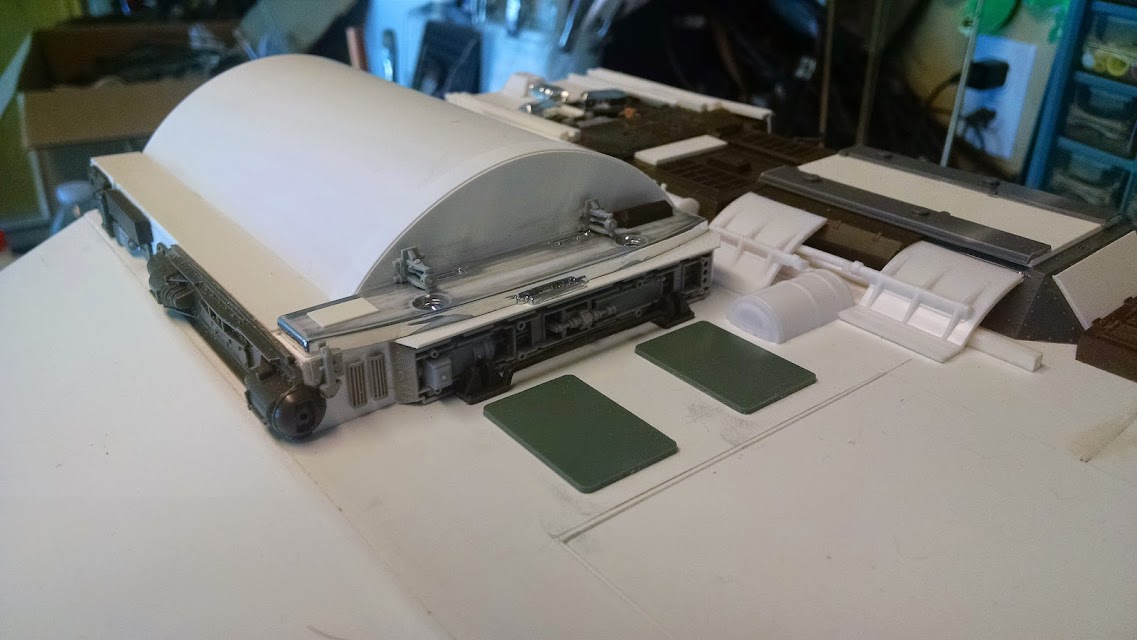 I decided to make a sliding panel to keep the hatch in place when the model is not upright.
 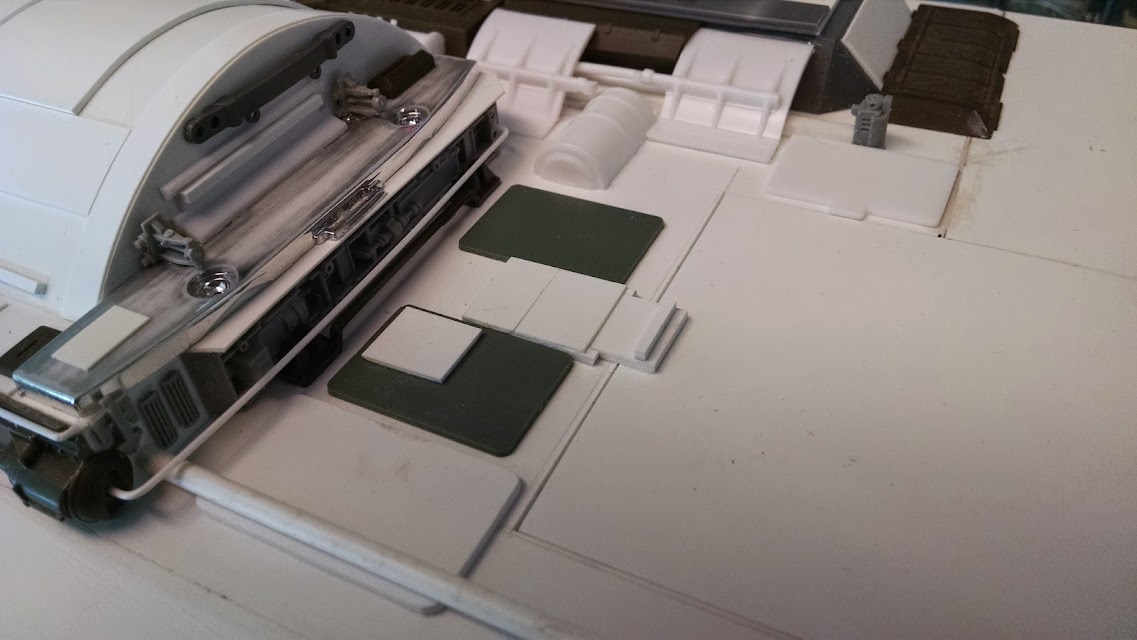 Can you see what changed?
 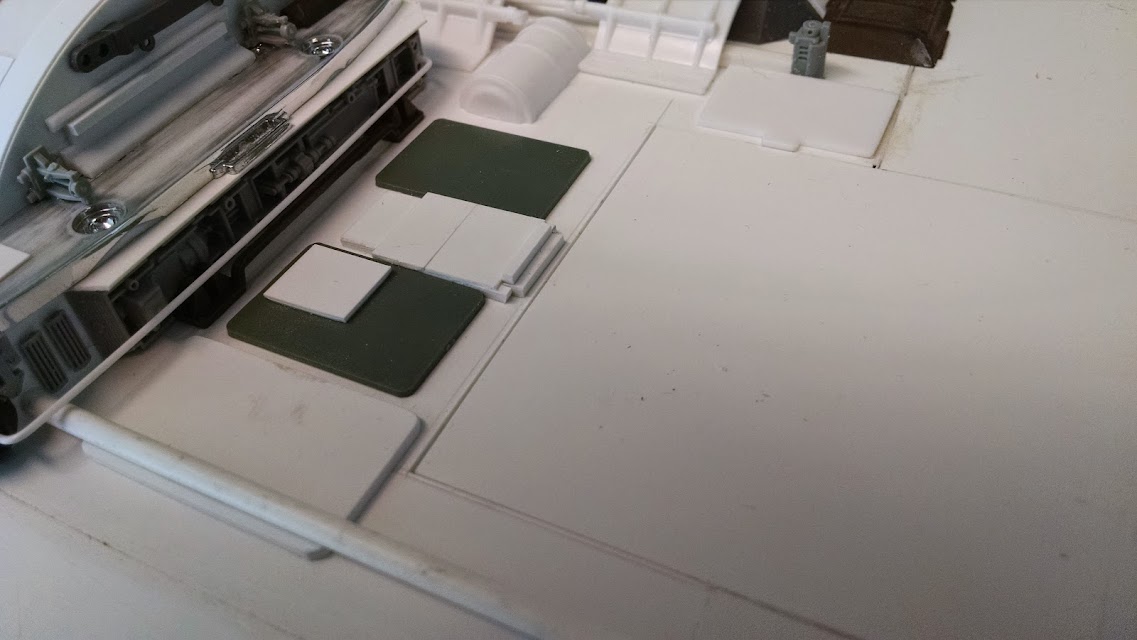 More details added to the area without an engine.
 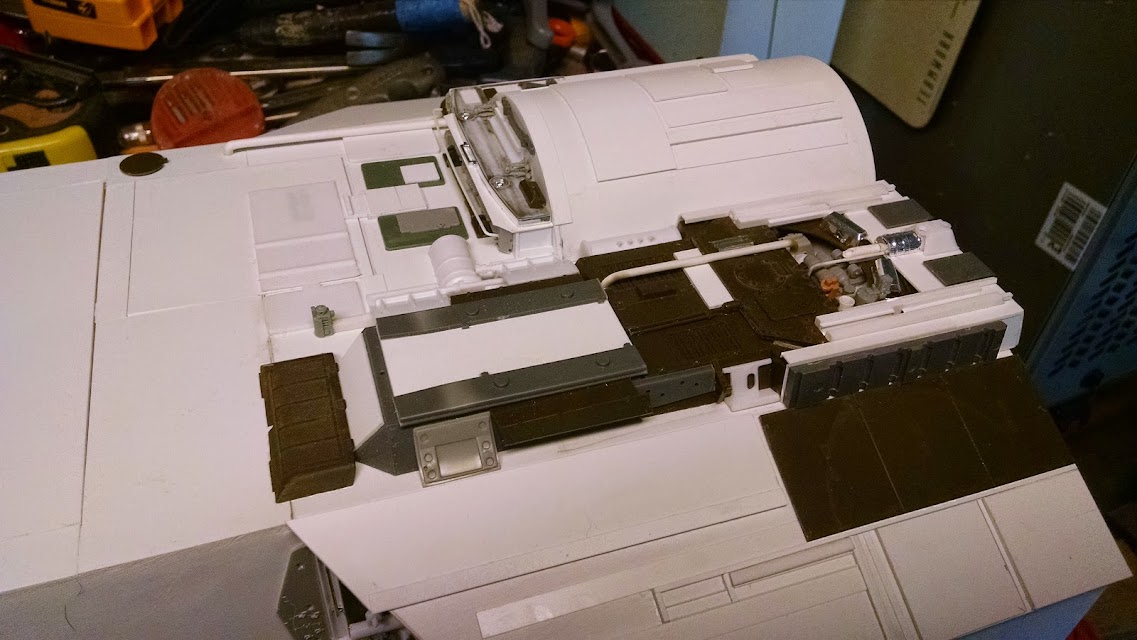 This shows the left outboard storage containers getting panels. I went with a four latch approach for two of the plastic ones.
 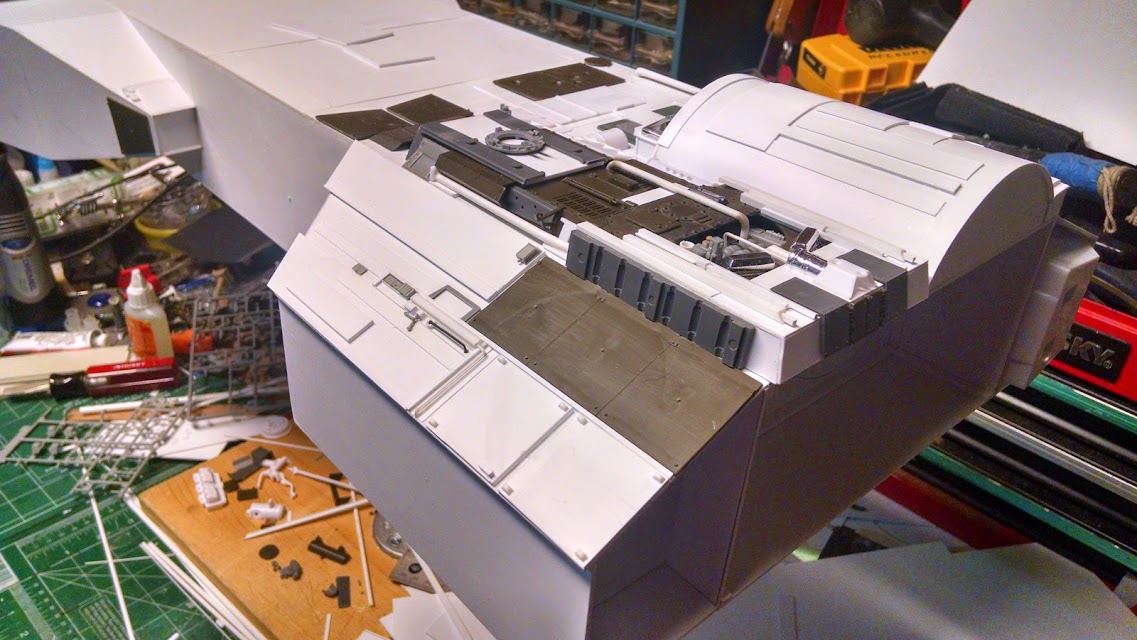 Close up of an area to show how I use different kit parts to imply that something was there but was removed.
 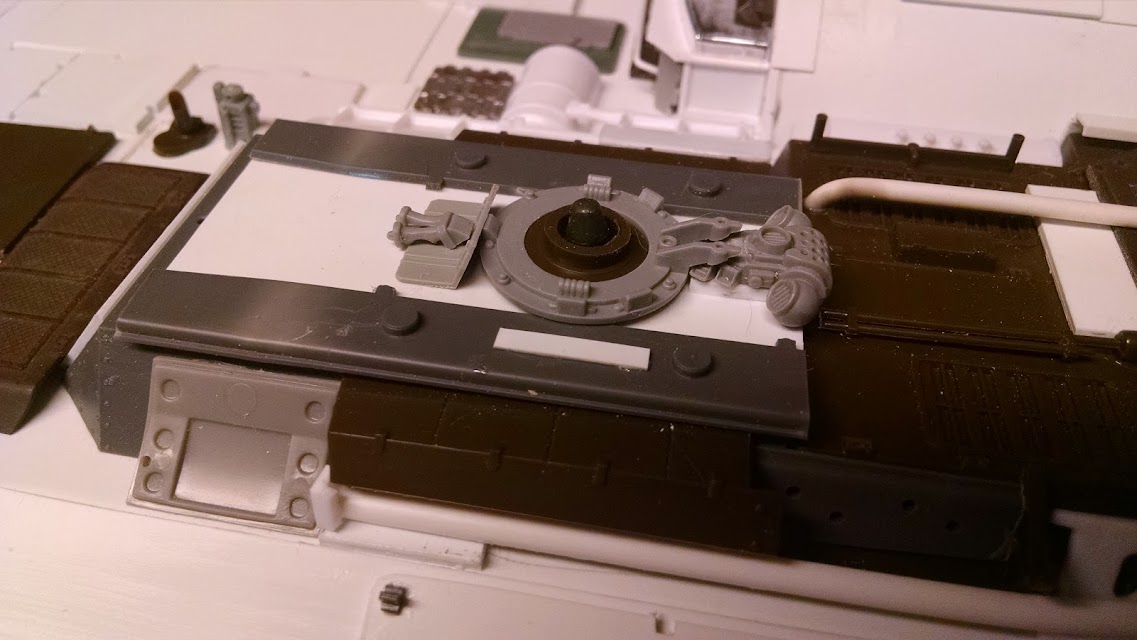 Continuing along the sides. It’s always a challenge to make things look like they do something. You can’t just lay down parts in random fashion. That’s the art in this particular bit of modeling. It can’t be rushed and its limited to what you have on hand. Which means when you get low on parts, you have to know what kits have the best greeblies. Mostly it’s tanks and trucks.